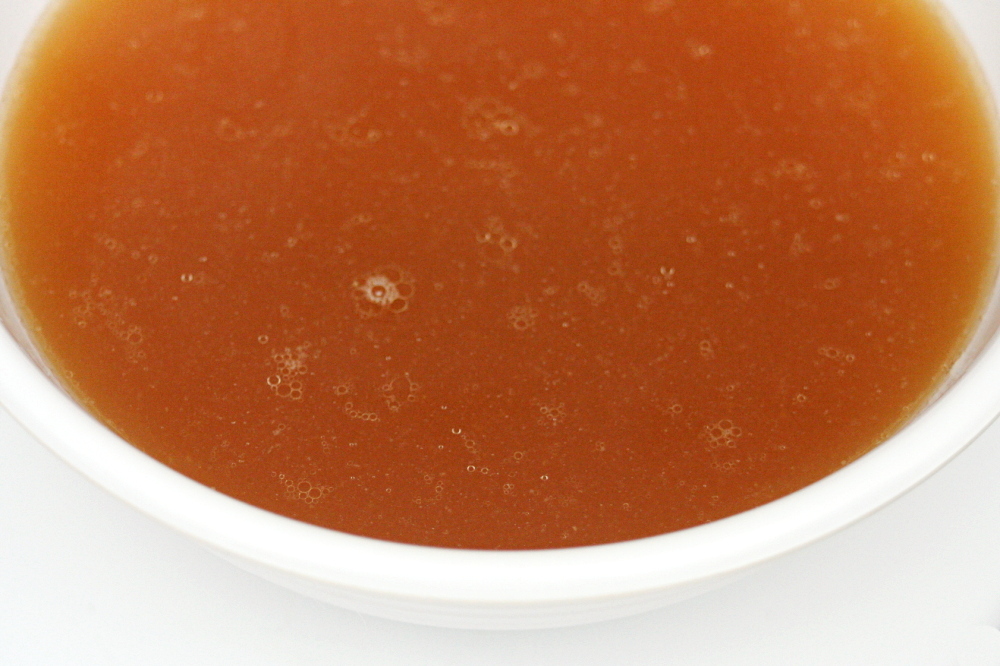
Once I started to get a reputation as someone who was into cooking, I realized that there were certain basics that I’d better master. The first step was chocolate chip cookies, and although it took me a while, I eventually learned how to consistently make them how I like them. (This was before I muddied the waters.) Chicken broth is a savory basic that, until now, I hadn’t quite figured out.
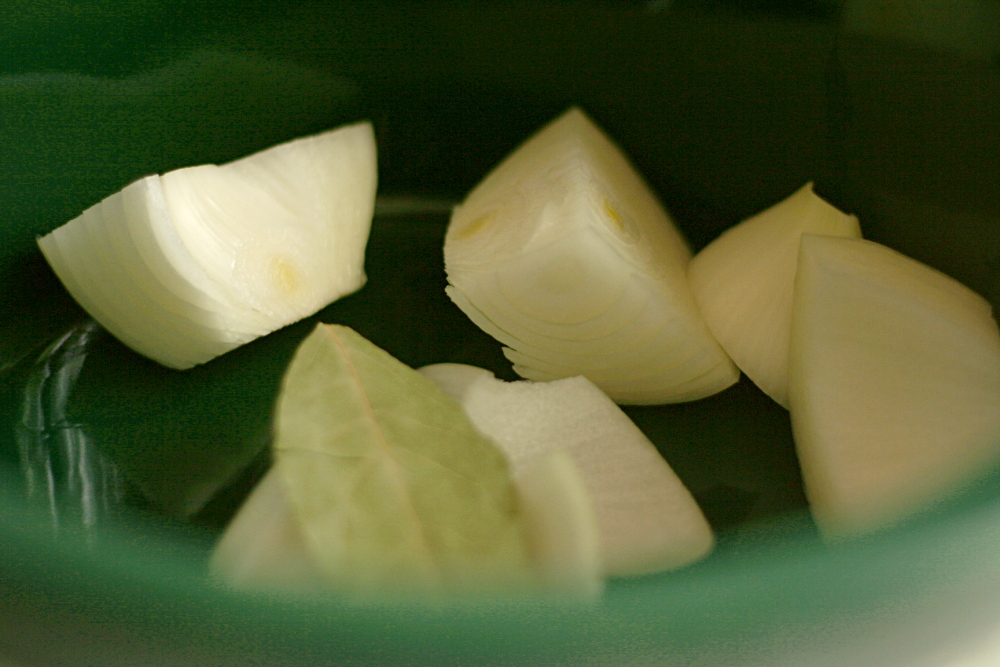
I had specific requirements for the chicken broth recipe I would eventually settle on. Most importantly, it had to be easy. I don’t want to be hacking at raw chicken bones or fussing over the stove. And not just easy, but flexible. It also had to be cheap. Obviously, it needed to taste good.

I’ve played around with a few recipes before this, and while the results of those didn’t get me excited, I did learn enough to be pretty sure that this would work.
All I did was buy the cheapest cut of chicken my store sells, dump the pieces straight from the package into the crockpot insert with an onion, a bay leaf, and salt, then fill the pot with as much water as would fit. I turned the crockpot onto high for a couple hours, to get the chicken through the bacteria-friendly temperature range as quickly as possible, then reduced the heat to low and let the mixture simmer away for a day or so. The whole process took about 10 minutes of effort and cost $4.

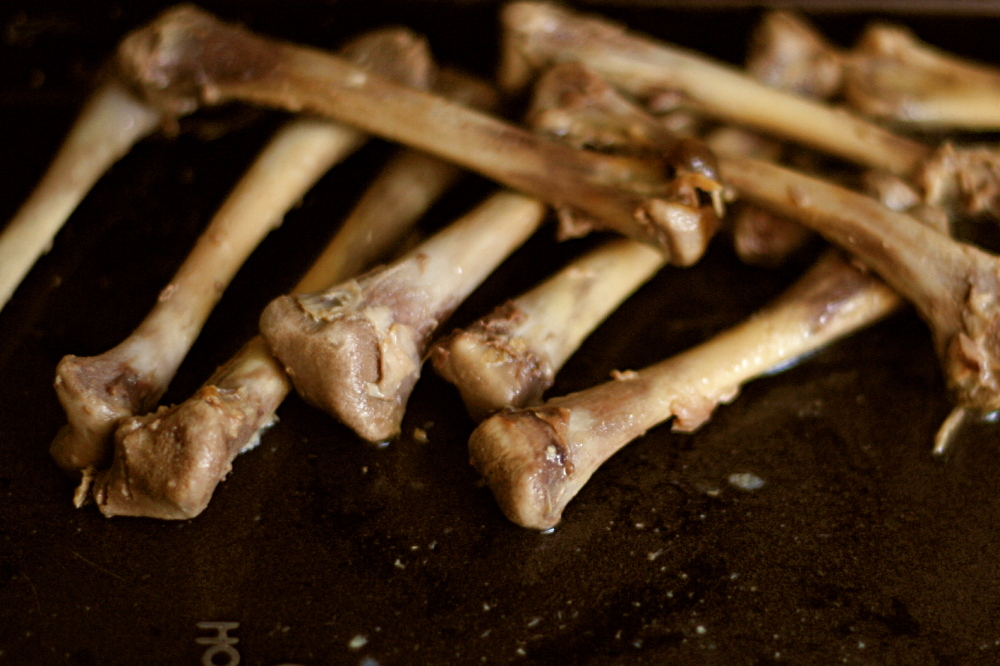
The more time-consuming part is packaging the broth up for storage once it’s made. This might be easier for me if I had a bigger strainer and more space, but usually straining liquid ends up being a mess for me. I simplified it by removing the chicken legs from the liquid first and setting them aside, then straining the smaller particles out with a fine-mesh strainer.
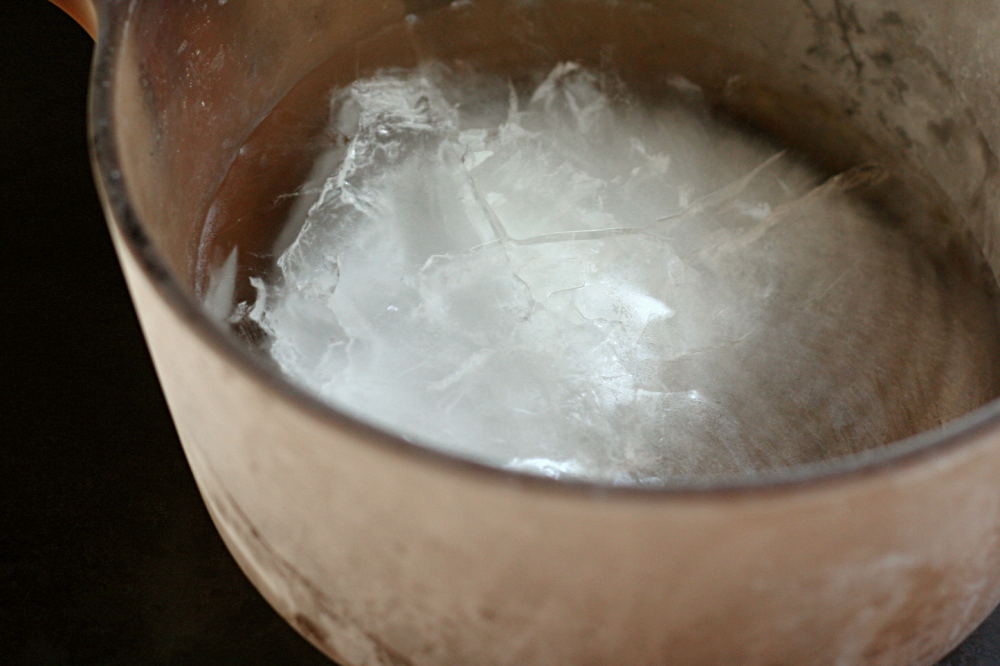
One of the trickiest parts of making stock is something you might not think about, but you definitely should – cooling it through the “danger zone” of bacteria growth (40-140F) as quickly as possible. If you simply took your bowl of freshly-strained hot stock and put it in the refrigerator, it will take hours to cool, plus it will heat up everything else in the fridge. Instead, I actually let it set, unstrained, still in the slowcooker insert, for several hours after turning the heat off. The temperature had cooled from about 200F to 160F (still significantly hotter than bacteria prefer) when I started the straining process. Then, I strained the liquid straight until a bowl that I’d previously added 2 cups of water to and then frozen – so not only was I adding ice, but the container was plenty cold. The liquid cooled to approximately room temperature in about 5 minutes, and I was happy to let the fridge do the rest.
So putting it together was super simple. Straining it and packaging it was relatively easy. It’s flexible – that 24 hours could easily be extended to 36 hours, and I think any chicken part would work. I avoided the main “danger zone” issues. As an unexpected bonus, the meat on the chicken legs was still fairly tasty, so I shredded that and stored it in the freezer. And, most importantly, the stock was great! Storebought chicken broth tastes like chicken broth, which is a flavor I like, but this homemade chicken stock tastes like chicken, which is pretty nice too!
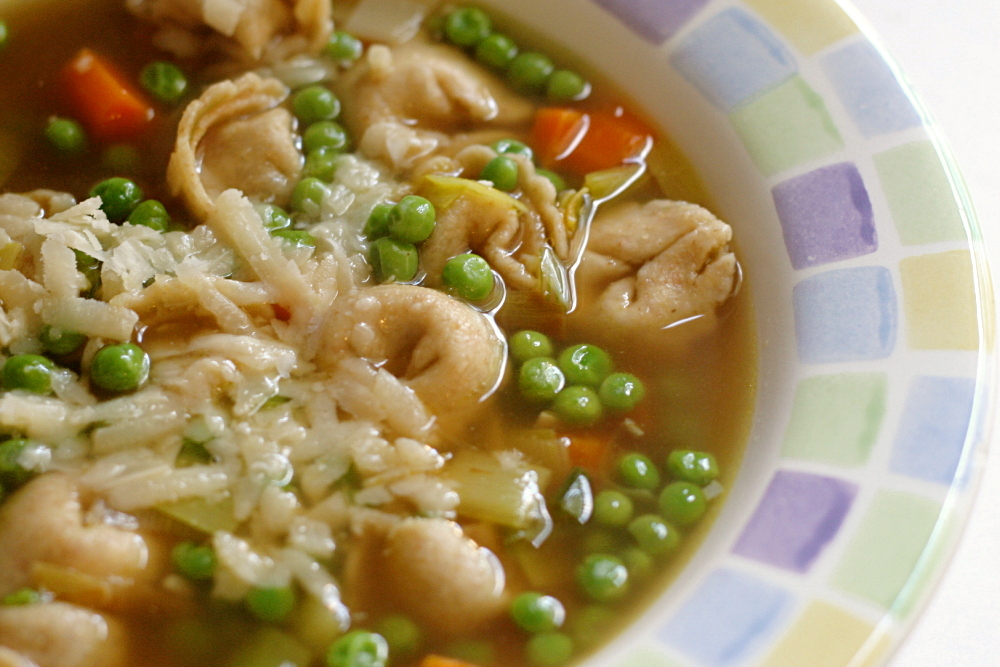
One year ago: Salad with Herbed Baked Goat Cheese
Crockpot Chicken Stock
Makes about 2 quarts (8 cups)
If leaving the slow-cooker on high for a couple hours in the beginning is inconvenient, start with boiling water, then just cook on low for about 24 hours.
Okay, so I don’t really remember how much water I used initially. I have a 5-qt slowcooker, and I filled it just about to the brim with water. My estimate of 6 cups could be totally off. I’m sorry.
4 pounds chicken legs, bone-in, skin-on
1 onion, peeled and quartered
2 teaspoons salt
1 bay leaf
6 cups water (or as much as fits in your slow-cooker)
2 cups water, frozen
1. Combine everything except the ice in a slow-cooker insert. Turn the slow-cooker onto high for 1-2 hours (the longer end of that range is better) or until the liquid starts to simmer, then turn the heat to low and continue to cook for 24 hours or so.
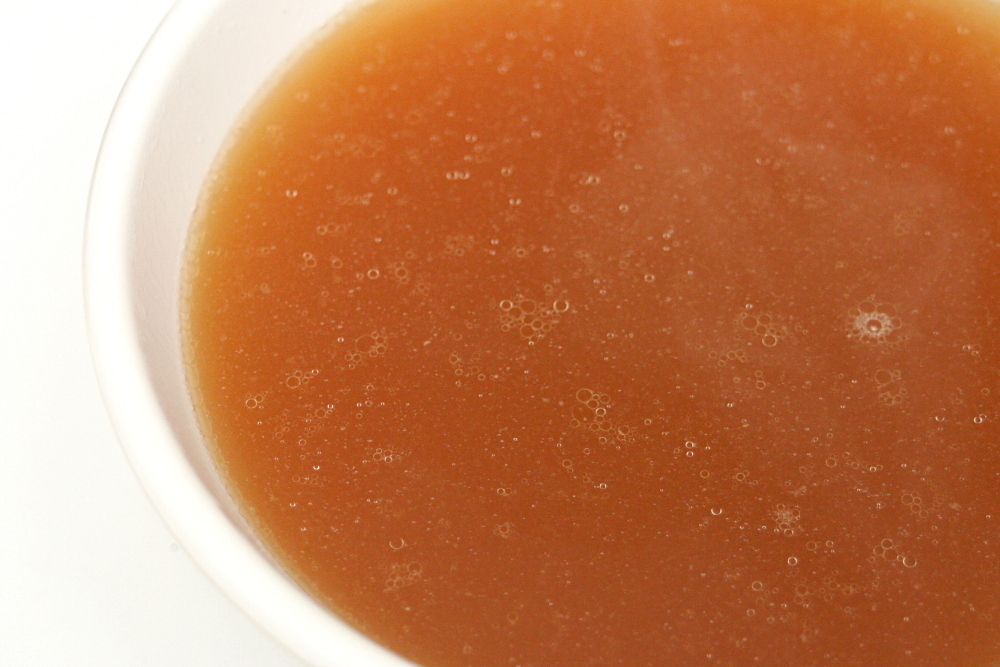
2. After about 24 hours, turn the slow-cooker off and remove the chicken legs. Place a fine-mesh strainer over a large bowl, and strain the remaining stock into the bowl, pressing on the solids to extract as much liquid as possible. Add the ice to the liquid. Refrigerate for several hours, until the fat hardens at the top of the liquid. Use a spoon to remove the fat.


I can’t believe I never thought about the cooling aspect…what kind of a biology major am I!? (Not to mention that I had a food handlers permit and went through a few trainings on it – ooops!)
I’m planning on making a big batch of broth this weekend so I’ll definitely get some ice ready.
Wow, this seems so easy! I can’t wait to try it.
This is the answer to my prayers, I always wait until I roast a chicken to make stock but I don’t roast a bunch of chickens in the summer so I always end up buying stock, this makes so much sense! Now do you save the meat from the drumsticks or just throw it out?
You should experiment with vegetable stock next. I haven’t found a store bought one I like and the one time I tried making it, it was nothing to get excited about.
Hmm I’m trying to think of ways to make straining easier for you 🙂 Colander first? Cheesecloth?
I’m glad the legs somehow still had flavor to them. I would’ve been very sad discarding them (as the tenet is that they have given their all to the broth already). Salad maybe? Mm, mayo!
Thanks for bringing up the food safety issues. I’ll remember them when I attempt this 🙂
Jennifer – I wasn’t expecting the meat from the chicken to be worth keeping, but I tasted it and was surprised by how good it was, even after 24 hours of simmering. I didn’t have any plans for it, so I just shredded it and froze it.
Wow – great idea using the crockpot. This is what we do. We buy the roasted chickens from our local market. Then after we’ve picked them pretty clean, we throw the carcass in a large pot with some onions, salt and pepper. We let it simmer for about an hour with plenty of water. It makes great, rich stock. I agree – the straining and cooling part is a PAIN. We always have fresh stock in the freezer for our next soup use as we get these chickens at least once a week, and now the bones go to use!
This looks so delicious and hardy.
I’ve made chicken broth from a chicken that I’ve roasted before, but never like this. I’ll have to try it out. It’s such a great way to boost flavor.
Hi, there! My husband is Mexican, and I’ve learned from his mom and grandmas that the very best way to prepare meat for enchilladas is to simmer it in water, just like in this recipe. Not only is it “save-able”, but it is much better than cooking it dry in the crockpot or skillet. I tried it both ways, and the meat simmered in a pot turned out fantastic. By all means, don’t throw it out!
I’ve made chicken broth a similar way with awesome results. I don’t add salt until it the end of cooking, I then salt to taste. I go through my fridge and add to the crock pot less-than-desirable veggies/fruit – a badly bruised apple, carrots or celery that won’t last much longer, old parsley, even the core of a green pepper. Also, once the chicken meat is cooked (maybe in <4 hrs), I take it off the bone and save it. Then I throw the bones/skin back in the broth to finish making the broth. This way, the meat is still very tasty. I strain it by lining my colander with cheese cloth. After it's cooled in the fridge, I remove any fat that has formed a film on top.
Angie – Removing the chicken meat from the bones after just a few hours is a great idea for maximizing the meat’s flavor without compromising the broth.
I have been making chicken stock like this for a couple of years now, and it is the best. I haven’t cooked it as long as you have, but will try that next time. Re: the question about vegetable broth, I love a recipe I found on Allrecipes.com, titled World’s Greatest Vegetable Broth (Tom West.) It calls for roasting a few of the veggies first, which really brings out great flavor. It also calls for 3 cloves in the broth, which adds a very nice bright note to the broth. I have been using veggie stock more often recently since my daughter is a vegetarian, and it works great. This recipe is also very adaptable for personal preferences and whatever is in the refrigerator. I bet using the crockpot after the roasting stage would be fine, but then again maybe it would not reduce as it does on the stove. Reducing it concentrates the flavors nicely. Anyway – it is a good recipe.
I am so happy I found this website – I love it!
I’ve been looking so long for great recipes. Thank you.