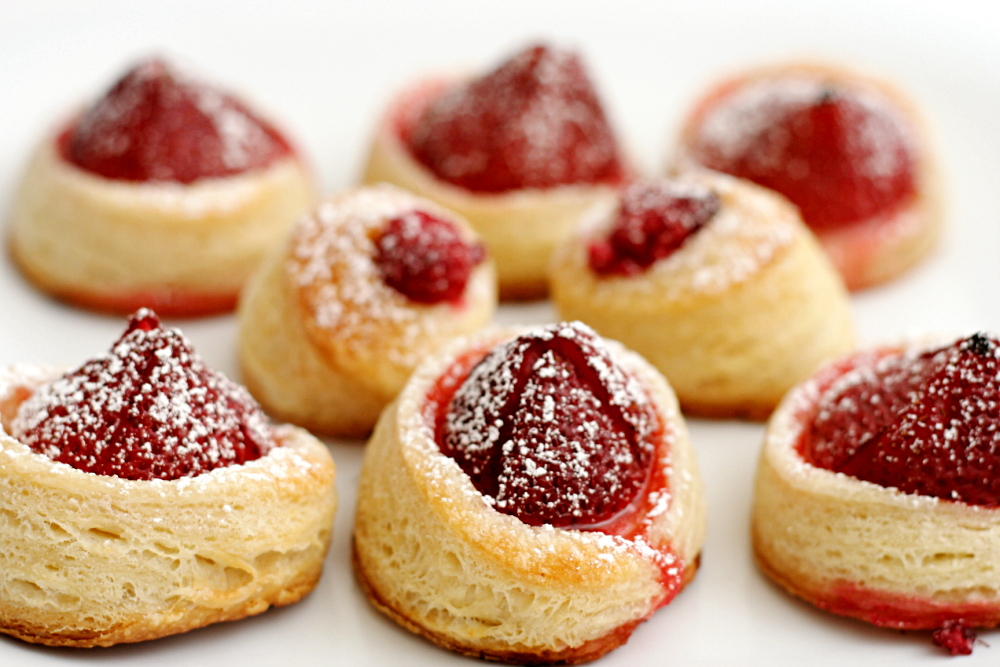
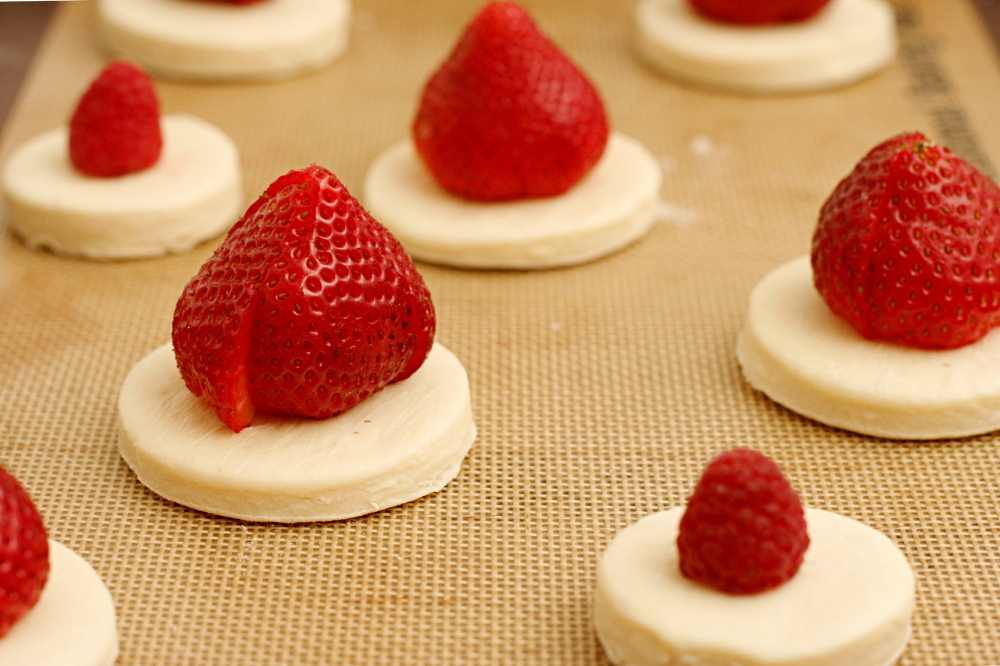
Remember when I made these? I was like, they’re so easy! Just cut out some puff pastry rounds, top with fruit and sugar, and bake until beautiful and buttery and perfect!
Um. “Easy” isn’t really my thing when it comes to baking. I am determined to overcomplicate things.
So I made my own puff pastry dough. I have tried the Pepperidge Farm stuff, years ago, and I don’t remember being particularly impressed. Plus, bleah, hydrogenated fat. I didn’t know where I could buy all-butter puff pastry dough and figured it would be easier to make my own than search for it.
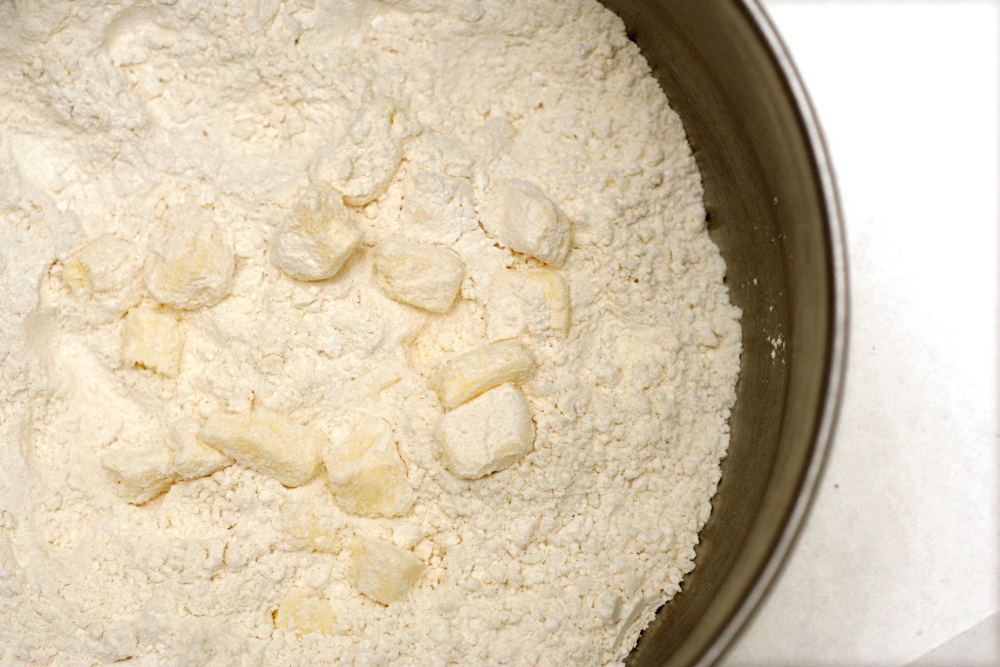
As it turns out, puff pastry isn’t all that hard to make. The first steps are similar to pie dough. You mix flour, salt, and sugar, then cut in butter. Then, because pie dough isn’t fattening enough on its own, you work a square of butter into the dough.
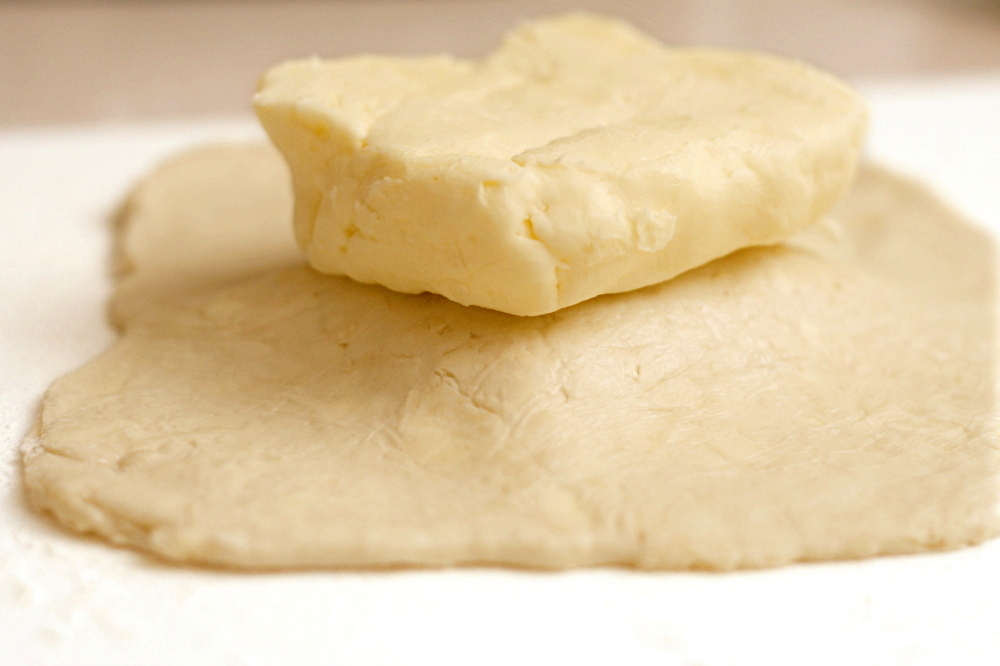
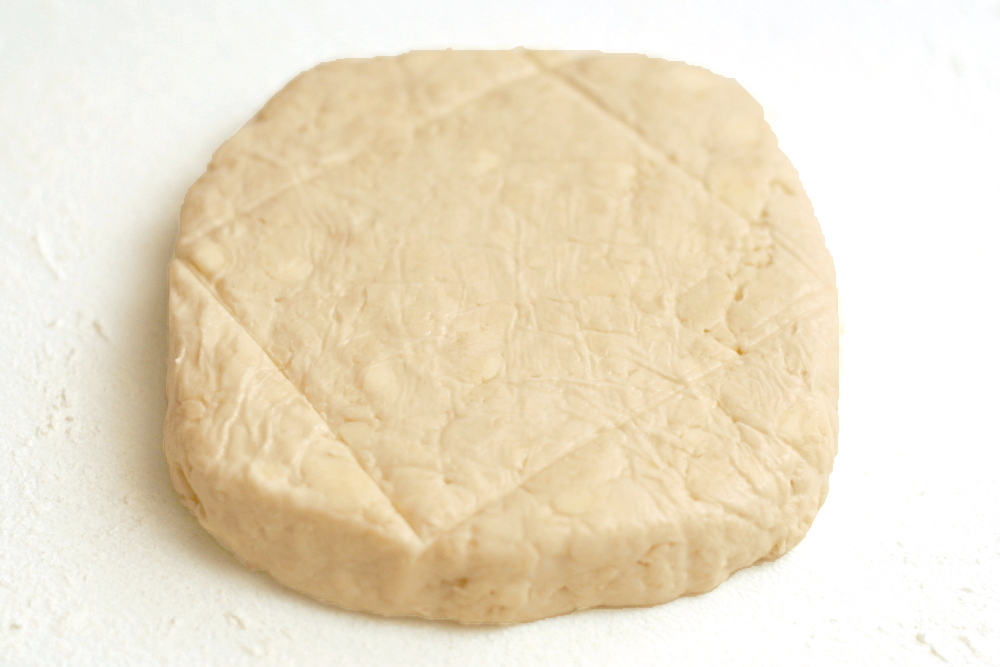
The directions for this are a bit tricky, and I think I would have had difficulty without a series of photos to follow. What you do is roll out the dough into a square that’s about twice the size of your square of butter. You place the butter square in the middle of the dough square, with the corners of the butter in the middle of the sides of the dough. (Uh…did you get that?)
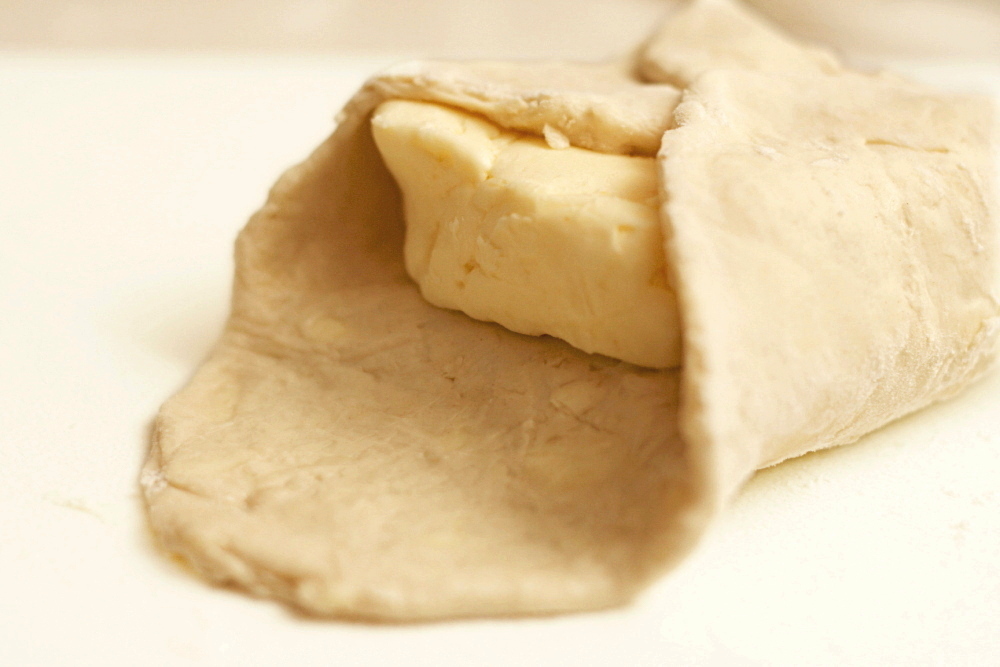
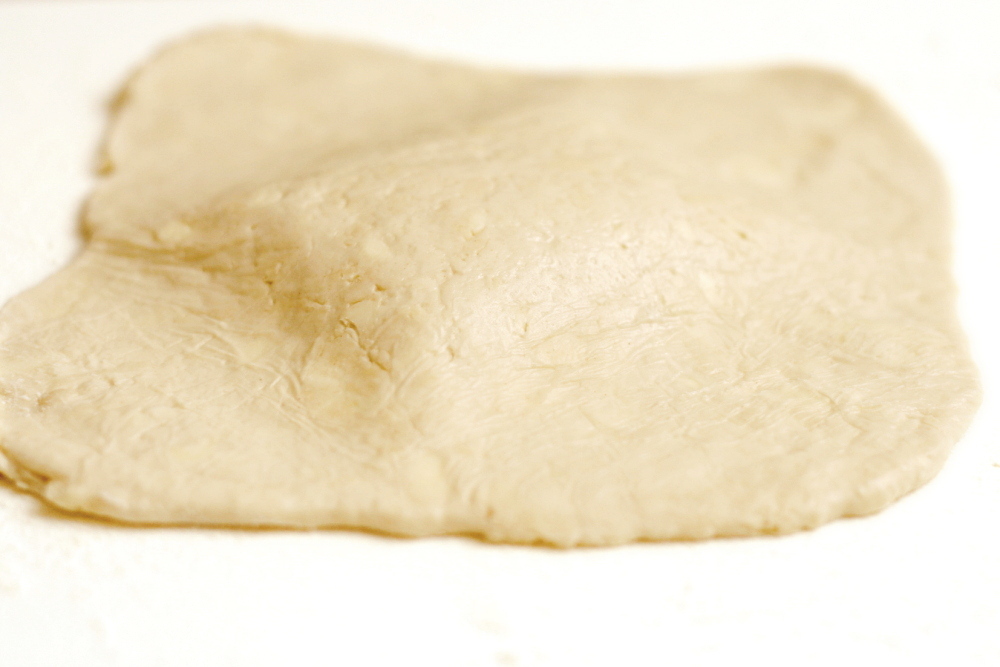
Then take the butter off and roll just the corners of the dough where the butter didn’t overlap. (Uh…did you get that?) You’re creating four flaps from the corners, but the middle, where the butter was, stays thicker. Once you’ve rolled out the flaps, put the butter back in the center of the dough and fold the flaps over. Now you have a nice little packet.
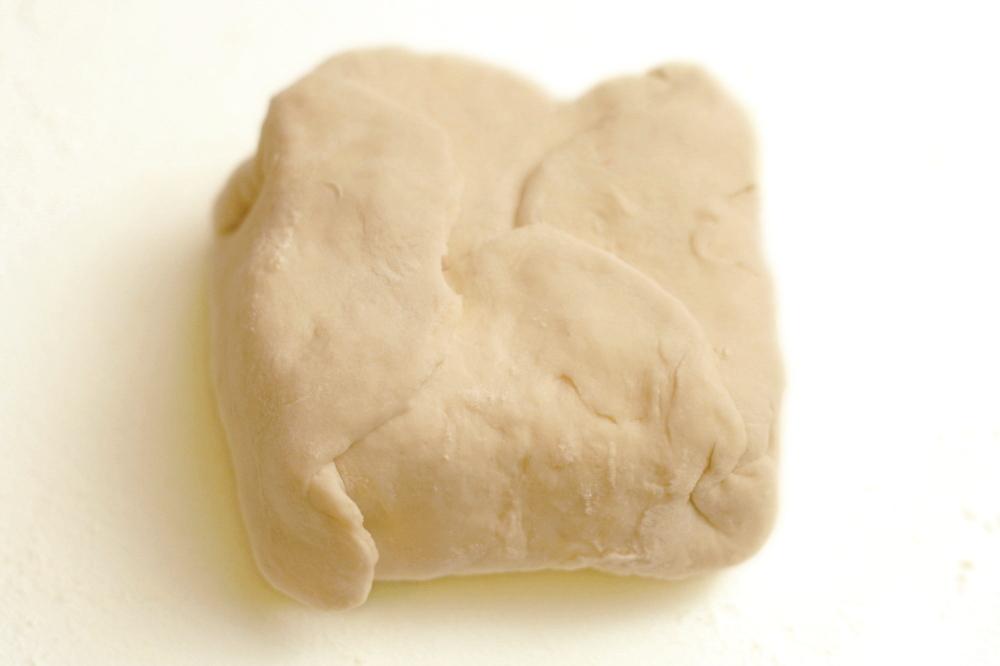
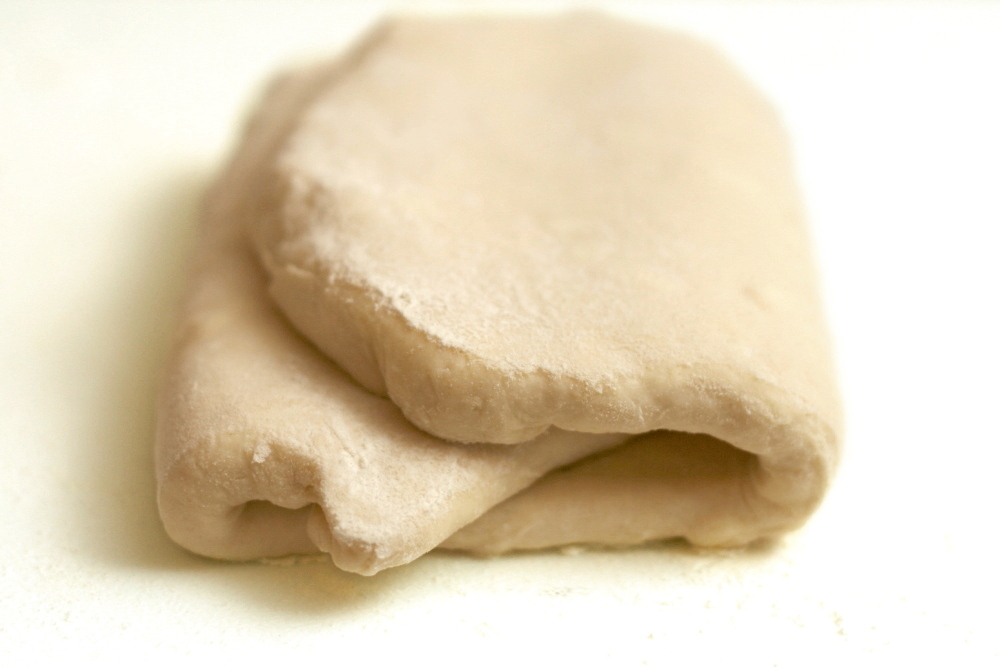
Roll the whole thing out, then fold it into thirds like a piece of paper going into an envelope. Then do that again. And again. And again and again and again. You’ll want to chill it in between there occasionally, and it sounds like a lot of rolling and folding, but the dough is really easy to work with, and each roll-and-fold takes maybe one minute. (I’ve been making a lot of croissants lately, which also involves rolling-and-folding, but croissant dough is much more difficult to work with due to its elasticity.)
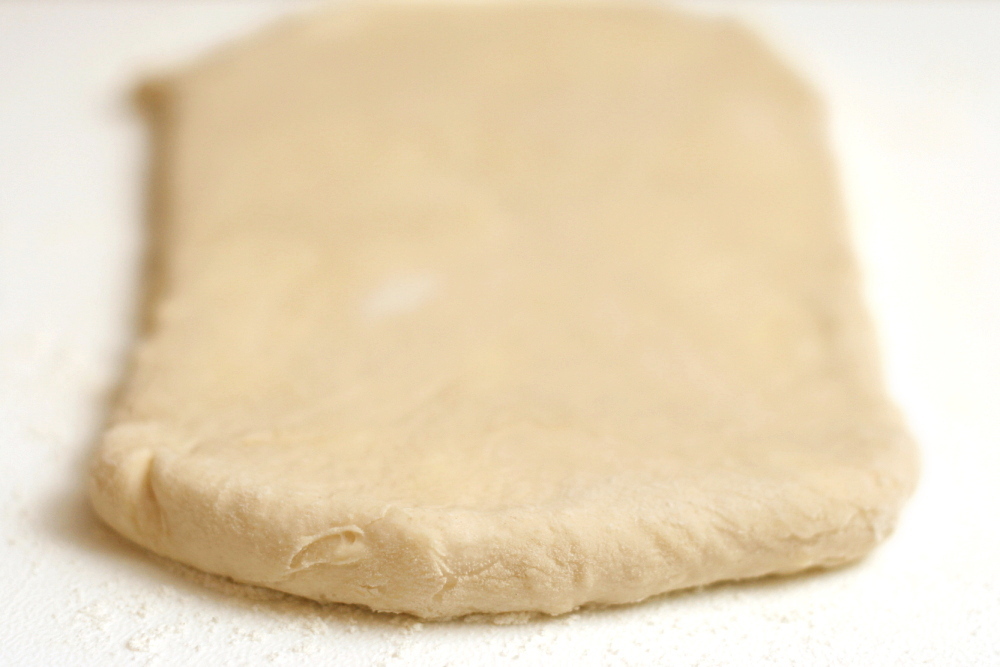
And then, you’re done. Then it’s just like having the store-bought stuff, except buttery-er. You can make whatever recipe you want, whether it be fruit tarts, pot pie, turnovers, cheese straws…etc… It’s versatile, it’s delicious, and it isn’t as hard as you think.
One year ago: Chocolate Pudding
Puff Pastry (from Martha Stewart’s Baking Handbook)
Makes about 3 pounds
I accidentally added all of the flour into the dough and then didn’t add any flour to the butter package. Everything still went smoothly.
3 cups (14 ounces) all-purpose flour, plus more for dusting
1 cup (5 ounces) cake flour (not self-rising)
1 tablespoon salt
1 tablespoon sugar
1 pound (4 sticks) unsalted butter, cold, plus 1 stick (½ cup), cold, cut into small pieces
1 teaspoon white wine vinegar or freshly squeezed lemon juice
1. In a large bowl, combine 2¾ cups (12.85 ounces) all-purpose flour with the cake flour, salt, and sugar. With a pastry blender, cut in the butter pieces (1 stick) until the mixture resembles coarse meal, with a few larger clumps remaining. Make a well in the center, and pour in 1 cup cold water and the vinegar, gradually drawing the flour mixture over the water, gathering and combining until mixture comes together to form a dough. If the dough is too dry, add more cold water, 1 tablespoon at a time. Knead gently in the bowl, and form dough into a rough ball. Wrap in plastic, and refrigerate until well chilled, at least 40 minutes or up to 2 hours.
2. Sprinkle 2 tablespoons all-purpose flour on a sheet of parchment. Lay remaining 4 sticks of butter on top, side by side; sprinkle with remaining 2 tablespoons flour. Top with more parchment; pound butter with a rolling pin until it’s about ½ inch thick. Remove top paper, fold butter in half, replace paper; pound butter until it’s about ½ inch thick. Repeat two or three more times until it is pliable. Using a bench scraper, shape butter into a 6-inch square; wrap in plastic, and refrigerate until chilled, about 10 minutes.
3. Lightly dust work surface with flour. Roll out dough to a 9-inch round; place butter package in center. Using a paring knife or bench scraper, lightly score dough to outline butter square. Remove butter; set aside. Starting from each side of marked square, gently roll out dough to form flour flaps, each 4 to 5 inches long; do not touch square. Return butter to center square; fold flaps over butter. Press with your hands to seal.
4. With the rolling pin, gently pound the dough all over in regular intervals until it is about 1 inch thick; this will soften the dough, making it easer to roll. Working in only one directly (lengthwise), gently roll out the dough to a 20-by-9-inch rectangle, squaring corners with the side of the rolling pin or your hands as you go. Using a dry pastry brush, sweep off excess flour. With a short side facing you, fold the rectangle in thirds like a business letter. Turn the dough a quarter-turn clockwise, so the flap faces right, like a book. (This completes the first turn.) Roll out the dough again to a 20-by-9-inch rectangle, rolling in the same lengthwise direction; fold dough again into thirds. (This completes the second turn.) Wrap dough in plastic and refrigerate until well chilled, about 1 hour.
5. Repeat the rolling, turning, and chilling process for a total of six turns; always start each turn with the opening of the dough to the right. (If at any time, the dough becomes too soft to work with, return it to the refrigerator until firm.) Wrap dough in plastic; refrigerate 3 to 4 hours before using the dough.


Great job and now I’m willing to give it a try because you make it look much more approachable than I initially thought!
What a terrific job you did! Your puff pastry dough looks perfect! I keep meaning to make puff pastry dough but then the temperature heats up again and I get intimidated. On the next cool day, I’m giving it a shot!
Yay! It is easier than it seems. You just need to follow the steps. Great job and gorgeous as always.
Man those are beautiful!! I’m way impressed! I think puff pastry is the BEST and horrible forzen, but it’s one of the few things I thought I had no patience for. You are totally debunking my excuse by making it look easy! 🙂
Wow! As always, this is gorgeous!
Wow! That is so impressive! Great job!
Making your own puff pastry! Impressive! I’m still too intimidated.
Great job on making the dough! I have made it once before but my kitchen is the not he best for dough making. I really should try it again….
I seriously love you for posting this. I totally agree that the Pepperidge Farm stuff is kind of eh, so I cannot wait to try this!
Wow, how can you make pastry that is so beautiful. I have to try pastry someday. Great pics 🙂
Your puff pastry looks perfect!
I am always scared to make pastry dough… you seem to have done a pretty good job with yours!
Oh this looks wonderful! I have much respect for those that make their own puff pastry 🙂 beautiful pictures!
Super cute! 🙂
I just made my own puff pastry recently too and it is SO yummy! I’ve been buying it for years and didn’t know it was that easy to make at home. Beautiful pictures!
Thank you for the step by step! Now I can make these easy puff pastry desserts completely from scratch!
Thankyou for posting this tutorial with photos! I deff saved the recipe along with the pics to make sure i make my own from now on. You made it sound easy! Thanks a bunch! =)
Oh, I *wish* I could. But my temps here mean grease, grease, grease. Not pretty, not clean, not going to be a good puff pastry 🙁 It’s straight to store-bought always for me!
Awesome job, Bridget! I have eyed that recipe since I got Martha’s book over a year ago. Can you easily freeze any unused portions of the dough? If so, what would be the best way to do it?
Michelle – I didn’t freeze any of it, but I don’t see why you couldn’t, just like the store-bought versions that are sold frozen. What I would do is wrap it in plastic wrap and put it in a ziploc bag after it’s final turn, then freeze the whole thing.
I am trying this recipe out as i type. hopefully it comes out as good as yours!!! You really made it seem easy and its actually not as bad as i thought. will let ya know how it comes out after i use it for cooking…. =)
I am always up for a challenge, then making it, and not sharing it!! This looks like to much fun. I love the strawberries. Oh, yummy
I just tried your recipe and my dough is SALTY!!! I should have known better when I read 1 TABLESPOON. Nothing takes that much salt, except playdough. I just wasted a stick of imported Danish butter and I’ll have to start from scratch. PLEASE correct your recipe. The Martha Stewart recipe that I Googled (after tasting my horrible dough) calls for 1 1/2 tsp salt. I think I’ll stick with 1 tsp. So sad….boo hoo…. 🙁
Lani – The same recipe is on Martha Stewart’s website, and as you can see, it does call for 1 tablespoon of salt. Perhaps your butter is salted and that caused your dough to taste too salty? Also keep in mind that the salty dough is going to be mixed with 1 pound of (unsalted) butter. If I were you, I would finish the turns and bake up a bit of the dough (maybe just sprinkled with sugar, so as not to waste any unneccesary ingredients) to see how it tastes in its final form. But the recipe is correct.