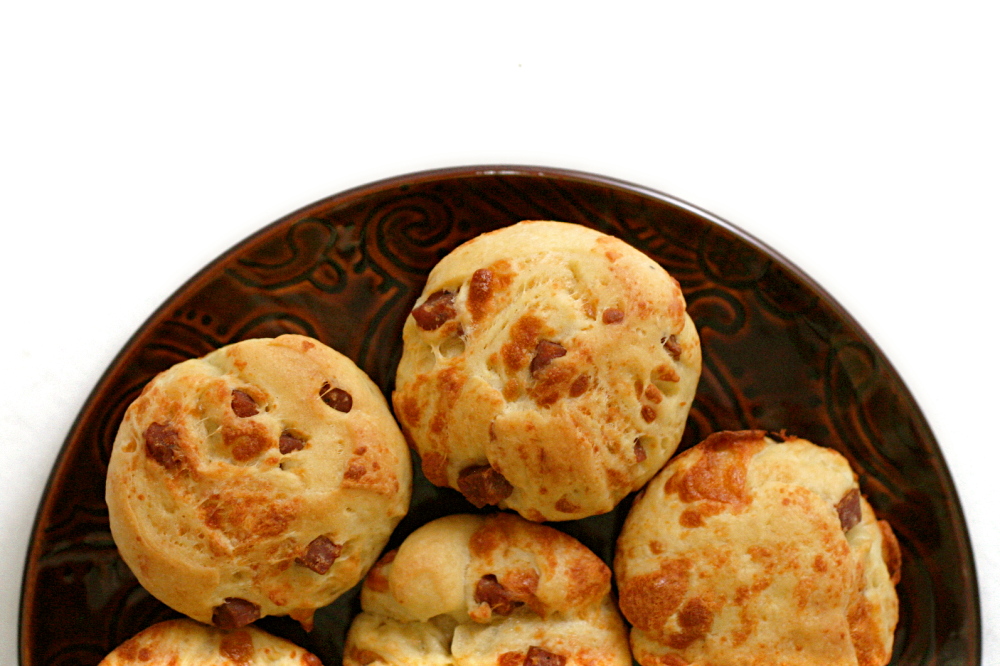
This is the third time I’ve made this bread, and the first two times just didn’t do it for me. It seems like a given, right? Bits of sausage and cheese dispersed in a tender buttery bread? What isn’t to like?
The first time, it was the type of cheese I used that ruined it. I generally like provolone, but I’d accidentally grabbed an exceptionally sharp specimen, and it was way too intense. The next time…I don’t know. Maybe it just didn’t fit the occasion. I just remember it seeming a little too rich, maybe even greasy.
Reinhart does compare this bread to brioche, and while not all brioche is as rich as the one I made a few weeks ago, you’ll never hear one described as lean. But once you add sausage and cheese to the bread, I don’t know that much butter in the dough is necessary.
In fact, I didn’t add butter at all. I added bacon fat instead. Yeah, bacon fat doesn’t sound like much of a health improvement over butter, but I did use half the amount of fat called for in the recipe. I really prefer this slightly leaner version.
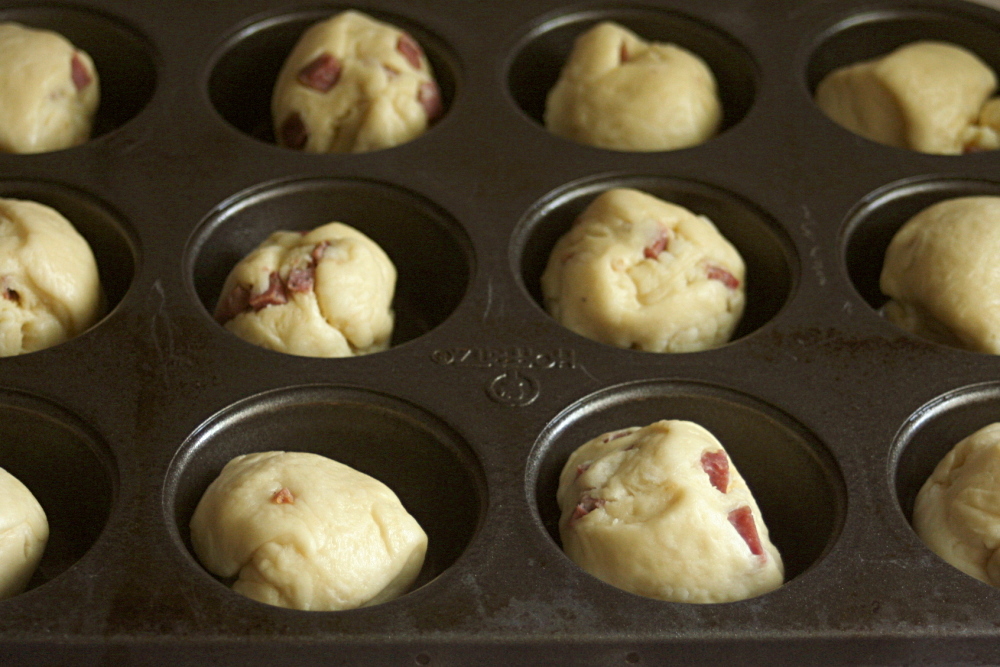
Especially because I probably doubled the salami. I wasn’t so much measuring at this point, and I just figured that the more add-ins there were, the more the bread would resemble a built-in sandwich. Which – yum. I admit that I had trouble keeping all of the tasty bits from falling out of the dough, but I’m not complaining about the excess.

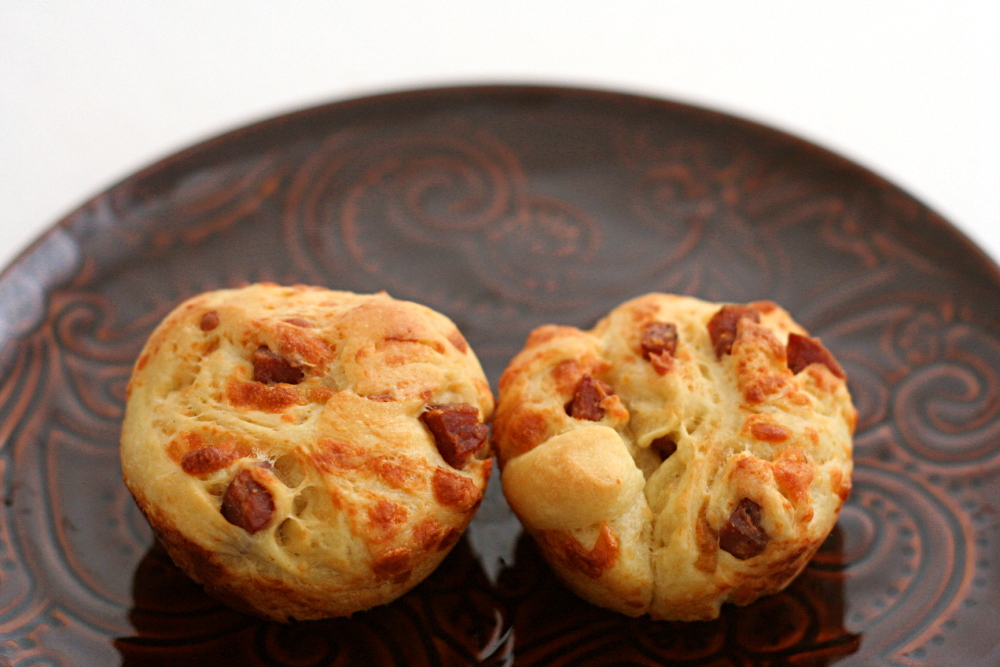
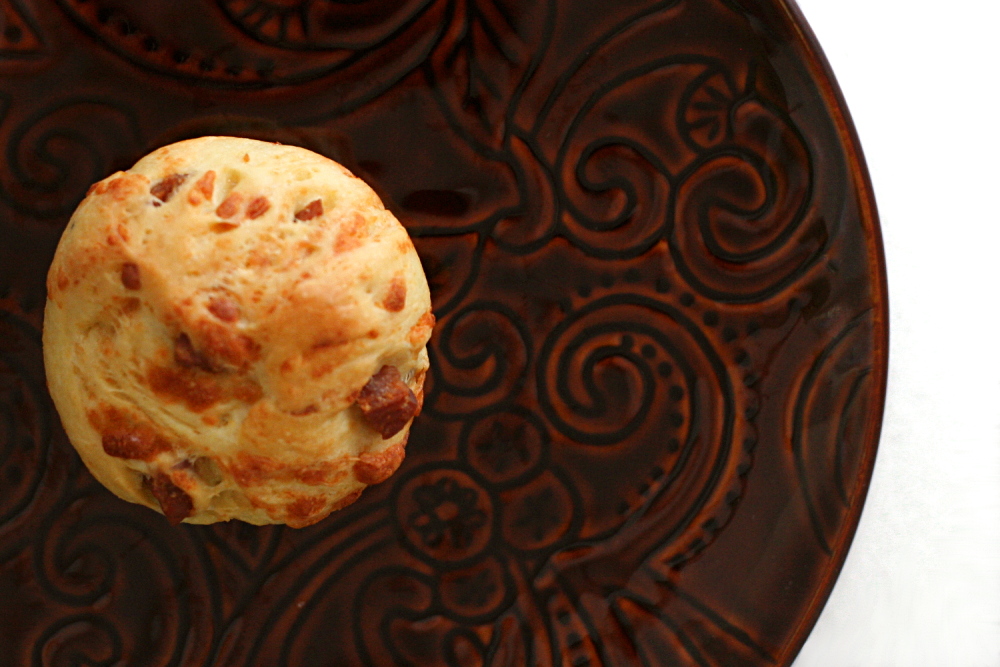
This was by far the best casatiello I’ve made. The bread was tender and light, but not greasy like I remembered from when I’ve made this before. We ate it on a roadtrip, and the muffin-size was perfect for a quick and easy on-the-road lunch. I have a few more casatiello rolls waiting in the freezer, and I think they’ll be great for a plane ride next week. These are my new favorite travel food.
One year ago: Pain a l’Ancienne – another Reinhart recipe, and probably the one I make the most
Casatiello (from Peter Reinhart’s Bread Baker’s Apprentice)
I prefer this dough to be a little leaner, so I like to cut the fat in half. I also like both the sausage and the cheese chopped into about ¼-inch cubes.
Sponge:
½ cup (2.25 ounces) bread flour
1 tablespoon instant yeast
1 cup whole milk or buttermilk, lukewarm
Dough:
4 ounces Italian salami (or other similar meat)
3½ cups (16 ounces) bread flour
1 teaspoon salt
1 tablespoon sugar
2 eggs, slightly beaten
¾ cup (6 ounces) unsalted butter, room temperature
¾ cup coarsely shredded or grated provolone or other cheese
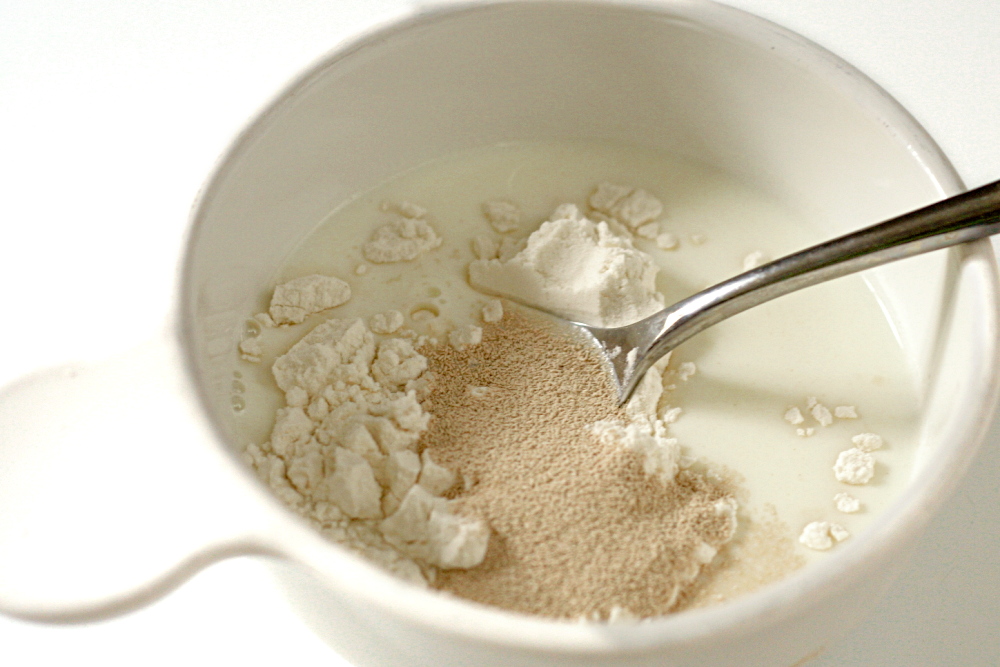
1. To make the sponge, stir together the flour and yeast in a bowl. Whisk in the milk to make a pancake-like batter. Cover with plastic wrap and ferment at room temperature for 1 hour.
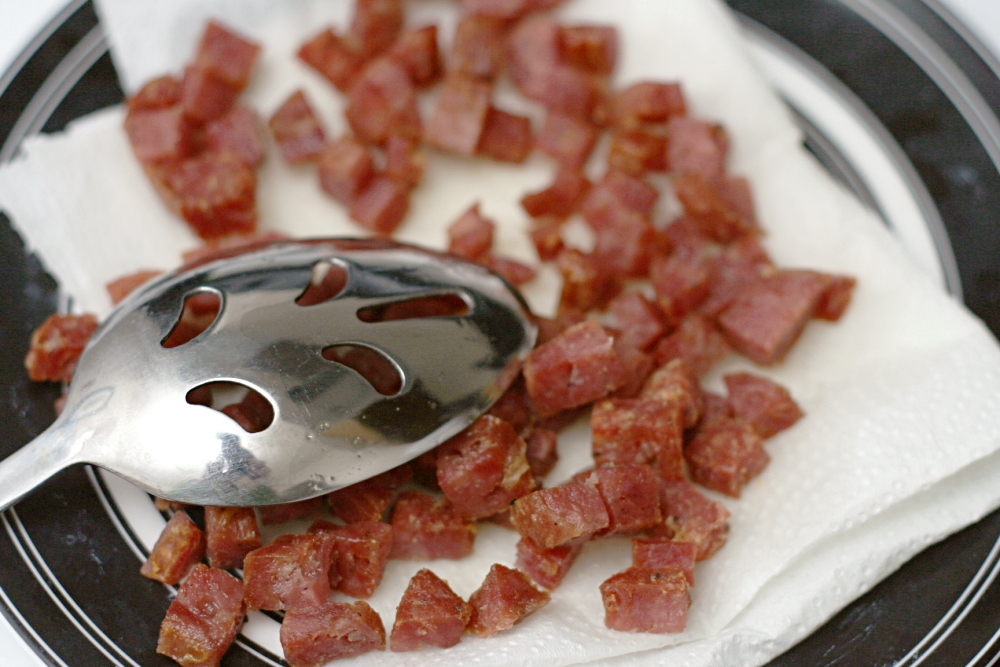
2. While the sponge is fermenting, dice the salami into small cubes and sauté it lightly in a frying pan to crisp it slightly.
3. Stir together the flour, salt, and sugar with a spoon. Add the eggs and the sponge until the ingredients form a coarse ball. If there is any loose flour, dribble in a small amount of water or milk to gather it into the dough. Mix for about 1 minute, then let rest for 10 minutes. Divide the butter in 4 pieces and work into dough, one piece at a time while mixing. After mixing about 4 minutes, the dough will change from sticky to tacky and eventually come off the sides of the bowl. If not, sprinkle in more flour to make it do so.
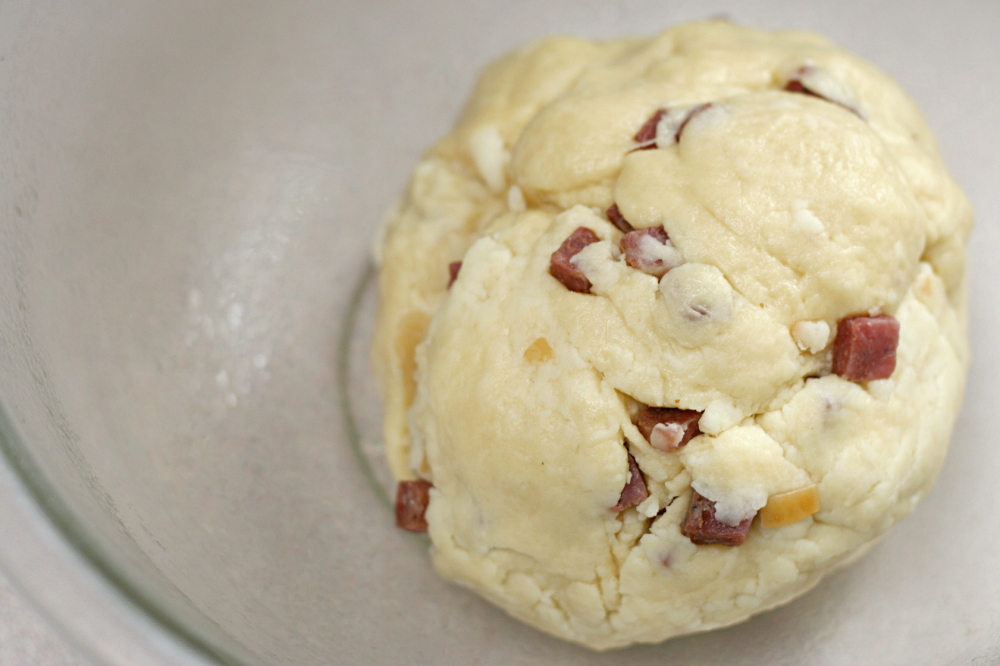
4. When the dough is smooth, add the meat pieces and mix until they are evenly distributed. Then gently mix in the cheese until it too is evenly distributed. Lightly oil a large bowl and transfer the dough to the bowl, rolling it around to coat it with oil. Cover the bowl with plastic wrap.
5. Ferment at room temperature for about 90 minutes, or until the dough increases in size by at least 1½ times.
6. Remove the dough from the bowl and leave as 1 piece for 1 large loaf or divide into 2 pieces for smaller loaves. Bake in 1 large or 2 small loaf pans by misting the pans with spray oil, shaping the dough, and placing it in the pans. Mist the top of the dough with spray oil and cover.
7. Proof for 60-90 minutes, or until the dough just reaches the top of the pans.
8. Place pans in a 350F oven and bake for 40-50 minutes until the center of the loaves registers 185-190F. The dough will be golden brown on top and on the sides, and the cheese will ooze out into crisp little brown pockets.
9. When the bread is done, remove the bread from the oven and from the pans and cool for at least 1 hour before slicing or serving.


I do like bread that’s on the savory side….this particular one is new to me. Nice! 🙂
That is man bread if I ever saw one. It’s supposed to rain all weekend, so I might make it soon. Would a nice old cheddar work in place of provolone?
Melissa – Cheddar would be great! In the book, Reinhart gives all sorts of meat/cheese suggestions. Basically he says anything goes.
This looks delicious! I made this a little over a year ago and used mozzarella cheese and pepperoni. It was great, because it’s such a perfect snack on its own.
They look amazing and completely addicting! I bought that book last year but still haven’t made anything from it because we have a great bakery right across the street from us. I’m such a slacker!
I am loving all of your photos! They’re gorgeous! My husband would love this bread if I ever get around to making it for him.
Looking at your pictures is making me really hungry. I bet it’s delicious!!!
Ooh, kudos on the favorable adjustments. Frankly I don’t know how a meat and cheese bread could go wrong too, but I trust your judgment 🙂
I love your mini casatiello. I did not make this one. I did not know if we would like it with the meat in it.
Your casatiello rolls look amazing! I can’t believe you tried it 3 times. Good for perservering!
Oh, I should perhaps clarify that the other two times I made casatiello were several years ago.
I love this recipe, it seems delicious ! My boyfriend and I love to eat small savory breads :o)
wow that looks amazing! I came across your blog via mr. tweet, I am so glad I checked out your site because you have really beautiful photos and delicious looking food 🙂
I did something very akin to your latest version – upped the salami, went with a milder cheese, and zero butter. Guess what? Still good, even without the butter! I love your miniature portions of it too.
Muffin size- what a great idea! My husband was asking for this bread again recently and I think muffins would be the perfect way to enjoy it, especially on summer road trips.
Yum, yum, yum. I’m a bit nervous to try this recipe out, because I can see myself accidentally-on-purpose finishing it alll in one day!
Hey Bridget,
These look great and will be a nice road trip snack for our upcoming drive to Florida for Easter vacation. I’m also excited to be able to use the meat that’s already in the fridge, but will spoil by the time we get back. Win, win, win, right?
To clarify, how did you change/adjust the proofing and bakings times to make these in muffin tins?
Jaime – In both cases (proofing and baking), you’ll want to keep a fairly close eye on them of course, but I would guess 30-40 minutes for proofing and about 20 minutes for baking.
Also, I know things can get crazy when you’re getting ready to travel (unless you’re far more organized than me), so keep in mind that you can make these in advance and freeze them before you leave.