These might have come out okay in the end, but it was looking bleak at first – and in the middle, and even a bit toward the end. I might have been overly confident when I agreed to make shaped macarons, with just one previous attempt at the notoriously finicky cookie. To make matters worse, the inspiration blog entry was written in Hebrew.
I’m not the first person to make shaped macarons, but most people are using the traditional method for macarons, the one I used last year, in which egg whites are beaten with granulated sugar until stiff peaks form, then almond meal and powdered sugar are folded into the mixture. It’s fussy – the egg whites need to be aged overnight, just the right amount of folding is necessary to deflate the meringue just so, and the piped batter needs to sit at room temperature for an hour before baking. Annie promised to have a simpler, more dependable method, and I wanted to try it.
In this method, half of the egg whites are mixed into the almond meal and powdered sugar; the other half are whipped into a meringue with hot sugar syrup, then folded into the pasty almond meal mixture. The cookies are piped and baked immediately.
It sounded simple enough, but things started going wrong early on. First I ran out of almond meal, which I discovered after I’d measured out egg whites, sugar, and water to the gram. I had some slivered (not blanched; they still had skins) almonds in the pantry, so I ground those up and mixed them into the batter. One obstacle was overcome.
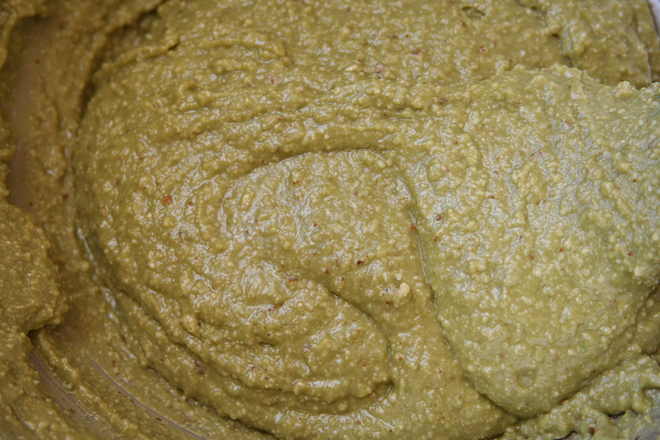
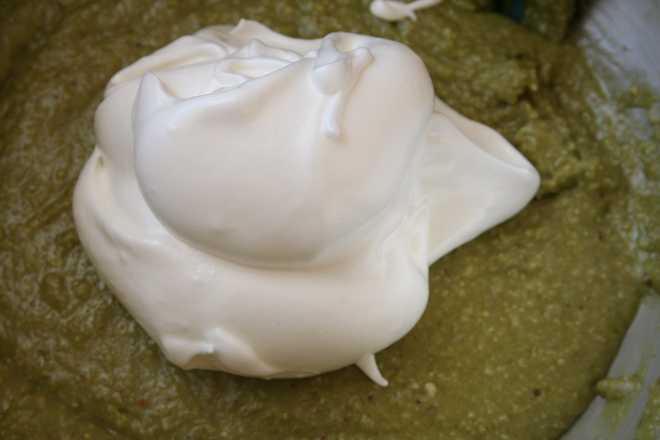
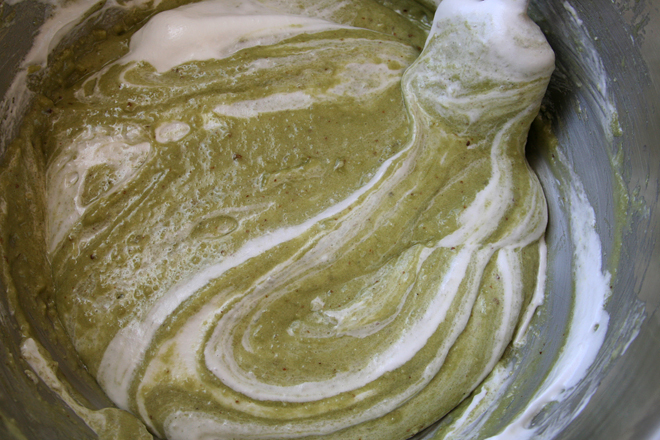
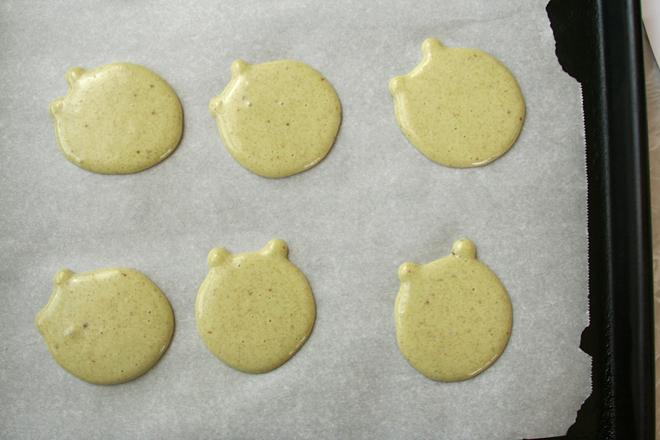
My next mistake was adding too much of the meringue mixture to the almond meal mixture. You’re only supposed to add as much of the meringue mixture for “thick ribbons to batter to run off the spatula”, but that required all of the meringue for me, and at that point, the batter was too loose, and the cookies spread when I piped them.
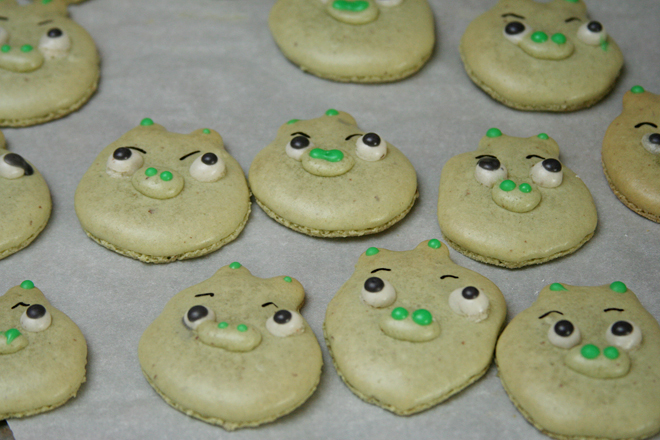
My next problem – there was always a next problem on this particular day – was trying to get the nose and ears on top of the main body of the cookie. Eventually I found that the best method seemed to be baking the plain macarons for the specified time, then piping the nose and ears on the firm surface of the cookie and rebaking them for a few minutes until the smaller portions set. The cookies seemed no worse for the extra time in the oven.
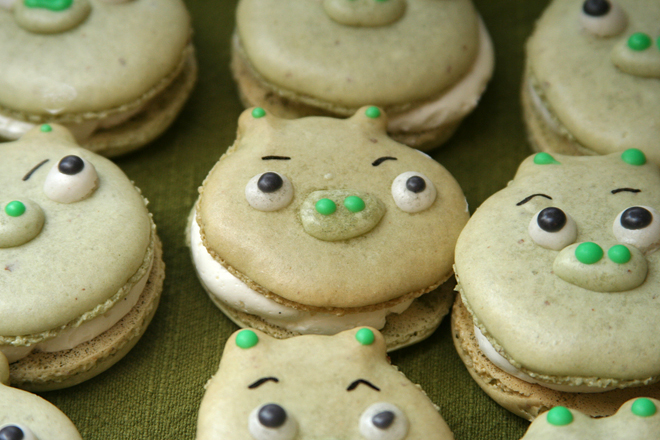
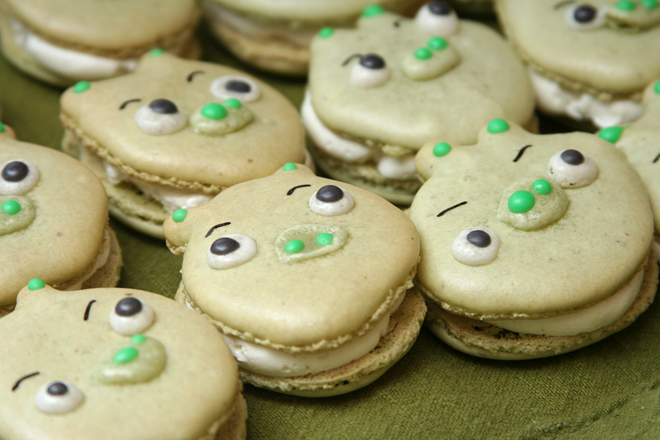
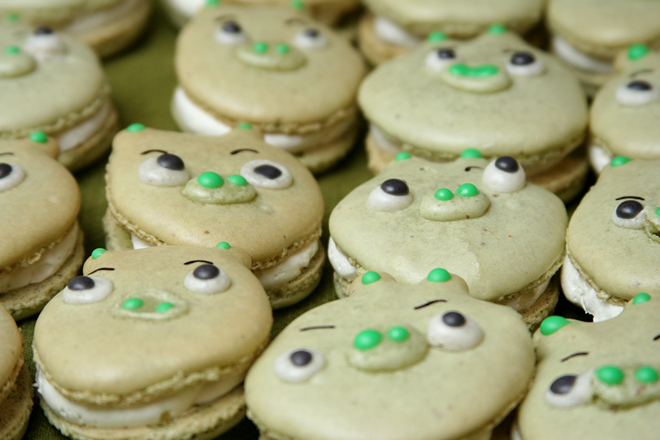
It’s a good thing that the Angry Birds pigs aren’t pristine shapes even in their original format on the game, because my cookies were anything but round, with ears of indeterminate size and shape. Sometimes the ears blended right into the rest of the cookie; sometimes the noses caved in. And by this point, my kitchen was covered in macaron batter, which, by the way, turns into concrete when it dries, and my bread dough was overrising while seemingly infinite batches of macarons hogged the oven.
The piggie faces, thankfully, were mostly saved by the addition of nostrils and pupils. Eyebrowns drawn on with a edible marker didn’t hurt either. And I think it speaks volumes about the dependability of this recipe that with all my foibles, the macarons rose enough to somewhat form those elusive foamy feet. (Not that my troubles were completely over.) But while they might not be as pristine as I had intended, the 6-year-old birthday boy didn’t seem to mind. I’m going to call this kitchen battle conquered, though it wasn’t easy.
One year ago: Chocolate Sugar Cookies
Two years ago: Fettuccini Alfredo
Three years ago: Toasted Vegetable Subs
Four years ago: Red Velvet Cake (comparison of 5 recipes)
Five years ago: Vanilla Frosting (comparison of 4 recipes)
Printer Friendly Recipe
Green Pig Macarons (Green Tea Macarons with Vanilla Bean Swiss Meringue Buttercream) (adapted from Thomas Keller and Sebastien Rouxel’s Bouchon Bakery via Annie’s Eats)
Makes 24 sandwich cookies
The very small amounts of almond meal, powdered sugar, and egg whites are for the white eyes. If you’re just making regular green tea macarons, you can skip that.
Where I went wrong with the batter was adding too much meringue. Once I got to the point where I had thick ribbons of batter, it was definitely too much meringue and the batter was too loose, spreading on the baking sheet. All I can recommend to correct this, until I gain more experience with macaron-making, is that you watch for VERY thick ribbons of batter falling off the spatula.
Green tea cookies:
212 grams almond meal, plus 16 grams
212 grams powdered sugar, plus 16 grams
1½ teaspoons matcha powder
82 and 90 grams egg whites, plus 6 grams (about 6 eggs total)
236 grams granulated sugar, plus ¼ teaspoon
158 grams water
Vanilla bean buttercream:
2 egg whites
½ cup (3.5 ounces) granulated sugar (vanilla sugar if you have it)
pinch table salt
12 tablespoons (1½ sticks) unsalted butter, softened
seeds from ½ vanilla bean
1 teaspoon vanilla extract
1. For the cookies: Preheat the oven to 350 degrees and place a rack in the middle of the oven. Line baking sheets with parchment paper. Fit one pastry bag with a ½-inch round tip and two with ¼-inch round tips (for the white eyes and the green ears and nose).
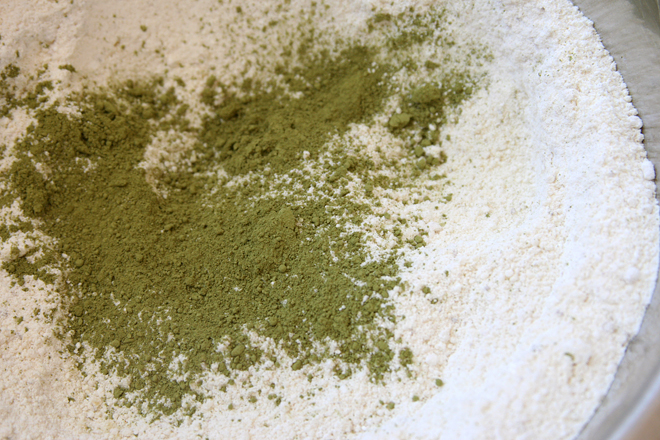
2. In a large bowl, combine the 212 grams almond meal, 212 grams powdered sugar, and matcha powder. Whisk together to blend and break up any clumps. Make a well in the center of the dry ingredients and pour in 82 grams of the egg whites. Blend the egg whites into the dry ingredients until evenly mixed. The mixture will be thick and paste-like. For the white eyes, in a small bowl, mix together the 16 grams of powdered sugar, 16 grams of almond meal, and 6 grams of egg whites.
3. Combine 236 grams granulated sugar and the water in a small saucepan over medium-high heat. When the temperature is around 210 degrees, combine the 90 gram portion of egg whites with ¼ teaspoon sugar in the bowl of a stand mixer. Begin whipping on medium-low speed. Continue whipping the whites on medium speed until they form soft peaks. If soft peaks are achieved before the syrup reaches the target temperature, reduce the speed to low to keep the whites moving.
4. Once the syrup reaches 248 degrees, immediately remove it from the heat. Increase the mixer speed to medium and pour the syrup down the side of the bowl in a slow drizzle until fully incorporated. Increase the mixer speed to medium-high and whip the meringue until stiff, glossy peaks form.
5. Add one third of the meringue mixture to the bowl with the almond mixture with the matcha. Fold in gently until the mixture is smooth. A bit at a time, gently fold in the remaining meringue until the batter is smooth and runs in thick ribbons off of the spatula. You may not need all of the meringue, so add it gradually. Repeat the process with the white batter.
6. Add most of the green batter to the pastry bag with the ½-inch tip. Hold the bag perpendicular to the baking sheet about ½-inch above the surface of the pan. Steadily pipe rounds about 1¼- to 1½-inches in diameter. The batter may create small peaks immediately after piping, but if it is the correct texture these will smooth themselves away after a minute or two. If the batter is too stiff, the peaks will remain and the tops of the shells may not be totally smooth. If the batter is too thin, the rounds will spread further.
7. For the ears: Transfer some green batter to a piping bag with a ¼-inch tip. Pipe small ears adjacent to the larger circles of batter.
8. Transfer the baking sheet to the oven and immediately reduce the temperature to 325 degrees. Bake for 9-12 minutes, until the tops are smooth and set and “feet” have formed around the bottom.
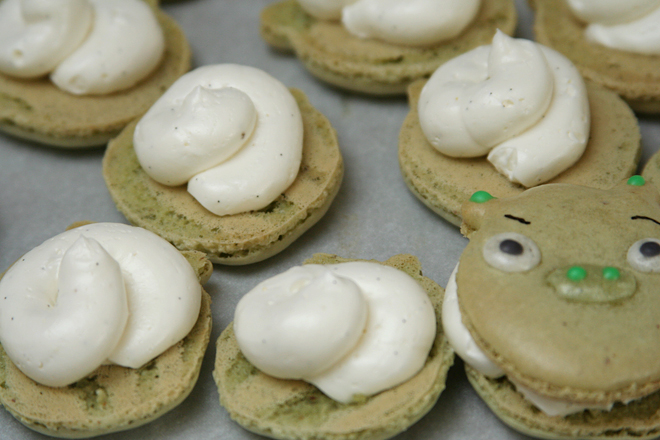
9. Transfer the white batter to a piping bag with an ⅛-inch tip. Remove the baked cookies from the oven and immediately pipe on a green nose in the middle of the circle and 2 white eyes to the side of the nose. Return the cookies to the oven for 3-4 minutes, until the nose and eyes are set. Add noses and eyes only to every other batch; the backs of the sandwiches will just need ears.
10. Transfer the baking sheet with the cookies to a cooling rack; cool 5 minutes, then peel the cookies away from the parchment and transfer to a cooling rack. Repeat as needed with the remaining batter, replacing the parchment paper with each batch, bringing the oven temperature back up to 350 degrees before baking each sheet.
11. For the buttercream: In the bowl of a stand mixer (or a large bowl if using a hand-held mixer), combine the egg whites, sugar, and salt. Set the bowl over a pot of simmering water, making sure the bottom of the bowl does not touch the water. Whisk constantly until the mixture reaches 160 degrees.
12. Fit the mixer with the whisk attachment; beat the egg white mixture on medium-high speed until stiff peaks form and it has cooled to room temperature, about 8 minutes. Reduce the mixer speed to medium and add the butter 2 tablespoons at a time, adding more once each addition has been incorporated. Increase the mixer speed to medium-high and beat until the buttercream is thick and smooth, 3-5 minutes. Add the vanilla seeds and extract; mix until incorporated.
13. To assemble: Pipe the buttercream onto the flat sides of half of the cookies. Top with the remaining cookies. Serve immediately or cover and store overnight in the refrigerator (bring to cool room temperature before serving).
Thirteen steps, and I forgot to tell you how to make the project-saving eyes and nostrils. Powdered sugar + milk + food coloring, stirred until smooth and dripped off the end of a toothpick. Tedious, but it got the job done.


Dude, way to persevere – they look awesome! I would have thrown the pan in the sink, reached for a margarita, and then spent the next 3 days trying to untrain my 3-yr old from saying a “mommy word.”
These came out fantastic! Definitely worth the trouble. They are just adorable and I love the flavors.
These are awesome! I love your creativity when it comes to cookies.
hahah they are EXCELLENT
great job, they’re so much nicer than the usual macarons 🙂
Obviously it’s been way too long since I’ve visited. These were as adorable as they were good, and my co-workers also appreciated the party leftovers. I guess I’m going to have to come up with something as equally difficult as the boys party sweets for October’s LNO since my requests tend to pose great challenges that just make you more of an awesome chef.
I love your vanilla bean cream filling, as well as the green coloring; these were very good, and I loved the idea of making them into animal shapes!