brrrrownies

Certain desserts remind me of specific people. Chocolate plus cream plus butter on a big cookie is the perfect dessert for my sister’s husband (although he might pass on the cookie part – and maybe the cream and butter), so I made it a priority to make the tart noire when I saw my family over the 4th of July weekend. He cut himself a slice during the fireworks, then had some for “breakfast dessert” the next morning (as did I).

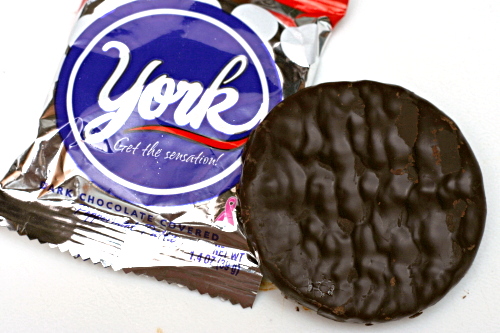
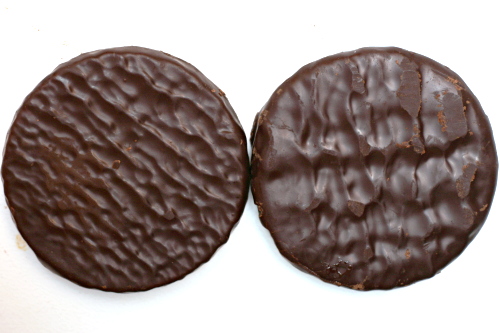
If I had looked one Tuesdays with Dorie recipe further, I might have made these br(rrr)ownies over the holiday weekend as well. I associate York Peppermint Patties with my sister; she would have been the perfect person to foist brownies with peppermint patty pieces onto. Me, I’m more of a peanut butter cup kind of girl.

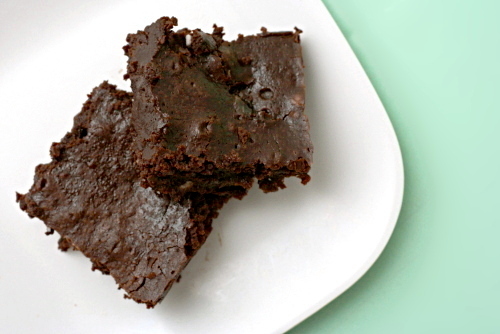
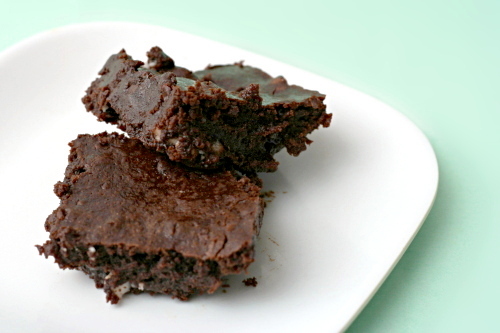
These brownies, though, they are perfect for a York Peppermint Patty lover. Or maybe a Junior Mint, with their higher ratio of chocolate to mint, lover. It seems that those pieces of peppermint saturated the whole pan of intensely-fudgy-from-lack-of-any-leavener brownies to make essentially a huge Junior Mint.

Come to think of it, based on her candy choice at the movies, my mom would have loved these too. I really missed my opportunity to get other people to eat these brownies. Ah well…I guess I’ll have to eat them myself then. If I must.

Karen chose these, and she has the recipe posted.  I’m not sure if this makes a significant difference on the outcome, but I mixed my chocolate chip-sized patty pieces into the flour before folding the whole mixture into the rest of the brownie batter.  Otherwise they were too sticky, and I didn’t think they’d disperse evenly into the brownies.

One year ago: Brioche Plum Tart
Two years ago: Chocolate Pudding

basic pancakes

Every time I want to make pancakes, I have to look up my pumpkin pancake recipe and mentally subtract out the pumpkin and fall spices. It’s about time I made my basic pancake recipe more accessible.

The thing about pancakes is that there are a lot of less-than-perfect recipes. Trust me, I’ve tried a lot of them. I suppose what’s less-than-perfect for me might be perfect for someone else. Maybe. Because if a pancake is not too thin and not too thick, not too sweet and not too bland, plus not too hard to make and not too bad for you, what else could you want?

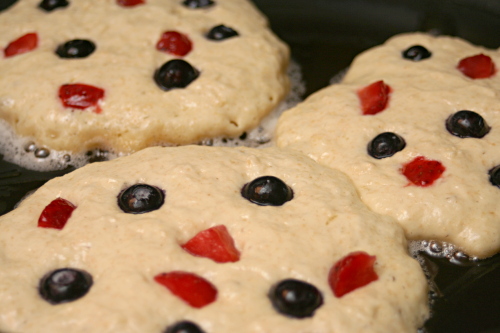
Did you want adaptability? You can have that too. Add fruit or nuts. Replace the sugar with honey. Replace half (maybe more!) of the flour with whole wheat pastry flour.

Did you want to use something other than buttermilk? I’m becoming a fan of actual buttermilk (or what passes for it in the grocery store today, which is not actually the “milk” leftover after churning cream into butter, but something more similar to yogurt – whatever, I like it). I love having it around. It lasts a while in the fridge and gives me an excuse to make pancakes, waffles, biscuits, coleslaw, cake. If you instead want to do the milk+lemon juice trick, only use ¾ cup of milk along with a tablespoon of lemon juice. If you’re using powdered buttermilk, only use 7 (liquid) ounces of water instead of the cup it recommends. If you have both plain yogurt and milk around, mixing the two together is my favorite buttermilk substitute.

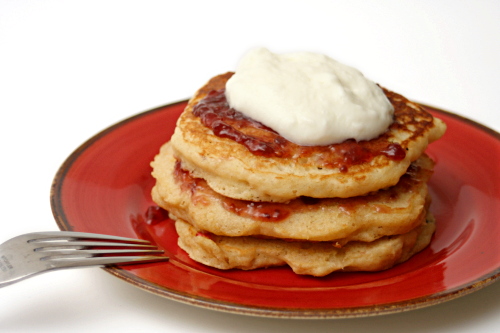
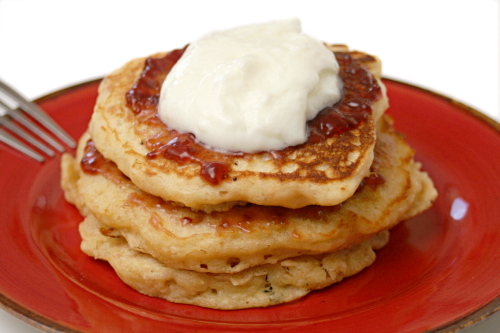
You can top your pancakes with whatever you want too, which probably means syrup. But, consider something different – maybe jam and plain yogurt? It’s healthier, but more important, it tastes great, with a nice balance of sweet and tart, hot (if you heat the jam first) and cool. Or just use syrup. However you prefer your perfect pancakes is fine by me.

One year ago: Brioche
Two years ago: Salad with Herbed Baked Goat Cheese

Printer Friendly Recipe
Basic Pancakes

Serves 2

There are all kinds of ways to play with this recipe – chunks of fruit or chocolate or nuts, spices, whole wheat pastry flour. The recipe is your oyster. You can even get away with using only 1 tablespoon of butter.

See the blog entry for notes on buttermilk substitutions.

1 cup (5 ounces) flour
1 tablespoon sugar
1 teaspoon baking powder
½ teaspoon baking soda
½ teaspoon salt
1 egg
2 tablespoons butter, melted and cooled
1 cup buttermilk
vegetable oil for the pan

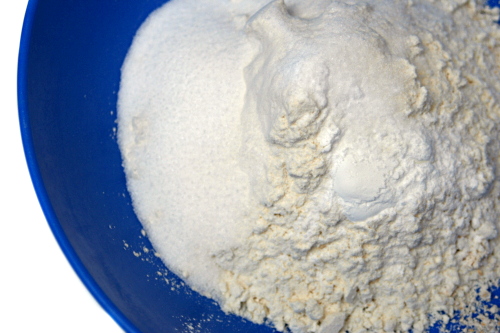
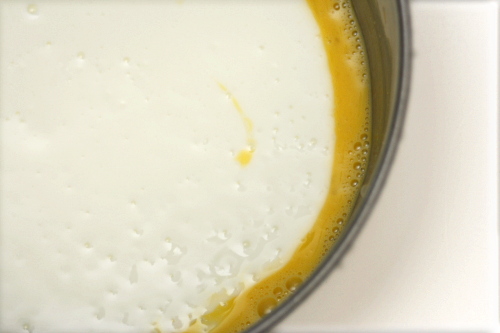
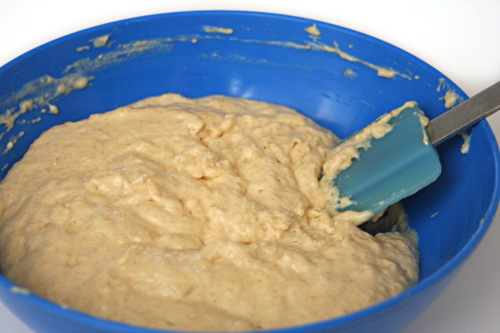
1. In a large mixing bowl, stir together the flour, sugar, baking powder, baking soda, and salt. In a separate mixing bowl, whisk the egg until thoroughly combined, then add the butter and buttermilk. Pour the liquid ingredients into the dry ingredients and whisk gently until batter is mostly mixed but still contains small lumps. Let the batter rest while the pan heats, at least 5 minutes.

2. Heat a non-stick skillet or a griddle over medium heat. Add a few drops of oil and spread it over the bottom of the pan. Using a ¼ cup measure, pour the pancake batter onto the hot griddle. When the pancakes are golden brown, after about 2-3 minutes, flip to cook the other side another 2-3 minutes. Keep warm in oven heated to 200 degrees.

garlic-mustard glazed skewers

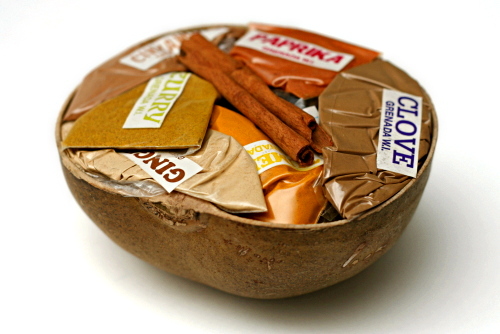
My parents went to Bolivia, Hungary, Hawaii, New Zealand, Romania, Costa Rica, China, Panama, and Peru, and all I got was these lousy spices. Okay, actually, they’re pretty nice spices, especially the saffron (and three mystery spices) my mom just brought back from the Istanbul spice market. Besides, when your parents go on 2-3 international trips per year, you don’t need a cheap T-shirt from each place. Spices, tea, and the occasional funky hat for Dave are perfect.

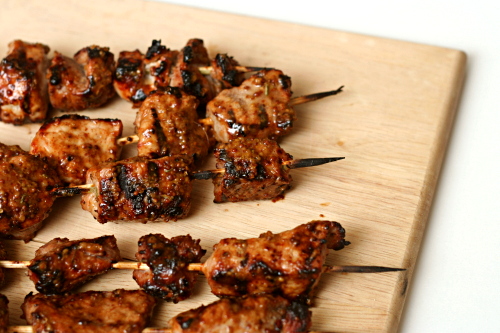
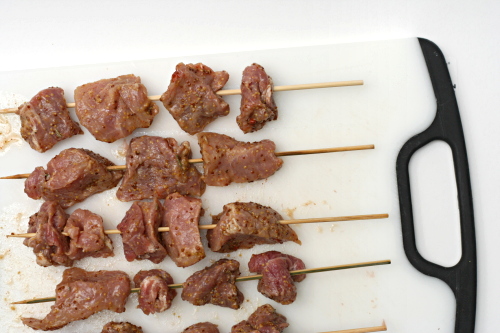
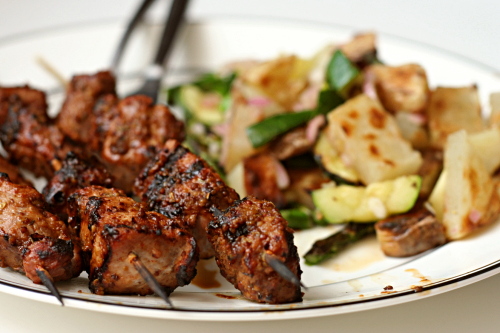
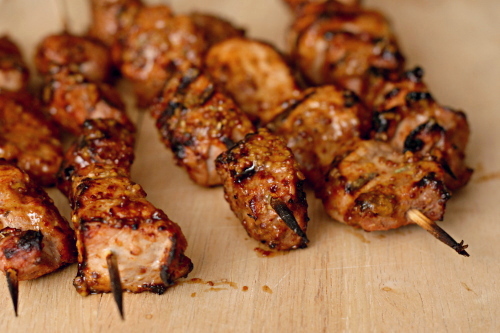
And it was a good thing I had a random set of spices from various foreign countries, because I was out of my normal paprika supply, and it would have been very very sad to miss out on this recipe. My gosh, this was good. Mustardy, garlicky, vinegary, herby – so many complimentary flavors.

Even better, I stumbled upon this weird grilled potato and vegetable salad to go with it that I was expecting to be just edible, and what do you know, it ended up being fantastic.  In all, another Saturday night dinner that knocked my socks off. That’s happened more and more since we got the grill, and I am not complaining one bit.

One year ago: Seafood Lasagna
Two years ago: Vanilla Ice Cream

Printer Friendly Recipe
Garlic-Mustard Glaze (adapted from Bobby Flay via Smitten Kitchen)

Makes about ¾ cup of glaze, or enough to cover and baste 2 pounds of meat

I used pork, but Deb used chicken (I think) and Bobby Flay uses beef tenderloin. Just be sure you choose a cut that is appropriate for fast cooking. Your cooking time will depend on the type of meat you use.

¼ cup whole grain mustard
2 tablespoons Dijon mustard
4 cloves garlic, crushed
2 tablespoons white wine vinegar
1 tablespoon low-sodium soy sauce
1 tablespoon honey
1 tablespoon finely chopped fresh rosemary leaves
2 teaspoons Spanish paprika
¼ teaspoon kosher salt
¼ teaspoon freshly ground black pepper
2 pounds meat, cubed

1. In a small bowl, whisk together all of the ingredients except the meat. Reserve ¼ cup of the glaze; add the meat to the remaining glaze, cover, and refrigerate for at least 30 minutes and up to 4 hours before using.

2. Prepare a medium-hot fire. Grill the meat, turning three times and brushing with the reserved glaze, for 4 to 8 minutes, until golden brown, slightly charred, and cooked to your desired level of doneness. Let the meat rest for 5 minutes before serving.

tart noire

Sometimes I wish I was one of those people who didn’t like rich desserts. I think it would keep me from eating a lot of rich desserts.

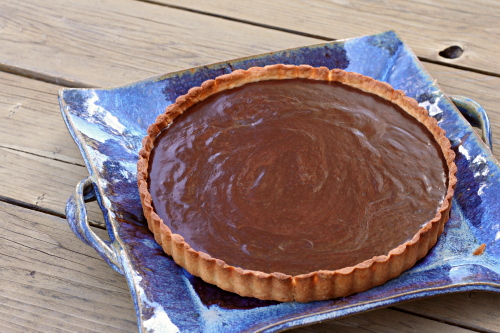
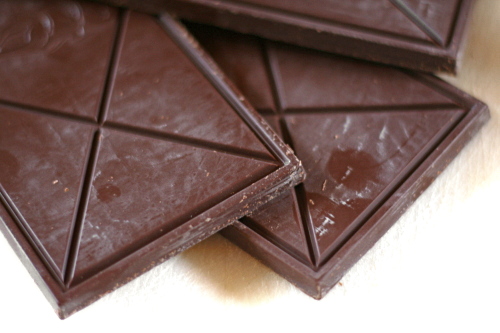
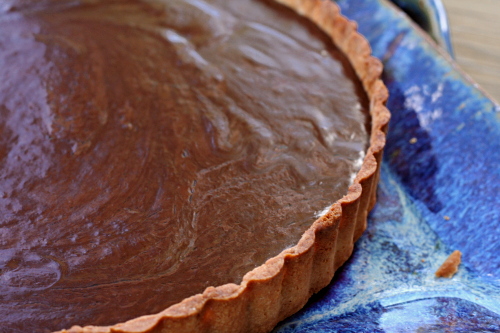
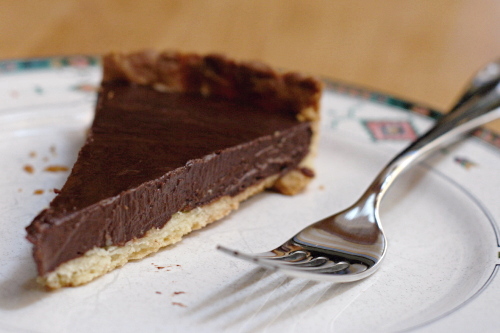
But I am not. I’m prudent enough to cut myself only a modest slice, but not prudent enough to not cut myself another and another modest slice. Never mind that what I’m eating is nothing but a mixture of chocolate, cream, and butter spread over a big cookie.

On the plus side, at least I get to enjoy rich desserts. Because missing out on a mixture of chocolate, cream, and butter spread over a big cookie would be a shame.

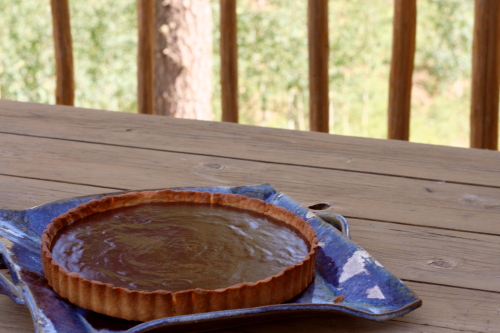
Dharmagirl chose this tart for Tuesdays with Dorie, and she has the recipe posted.

One year ago: Tribute to Katharine Hepburn Brownies
Two years ago: Blueberry Pie

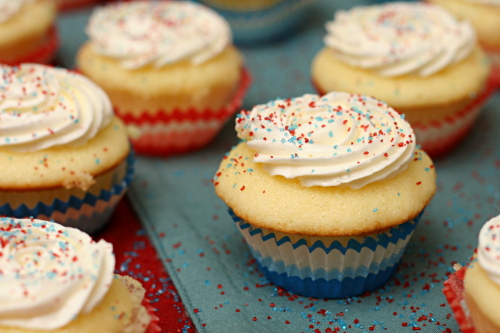
vanilla bean cupcakes

When I was unemployed, I used to bake nearly everyday. Looking back, I’m not sure who was doing all of the eating. I suppose I was doing a good portion of it. Plus there were more care packages, fresh bagels, muffins for Dave to eat at work, and a freezer overflowing with dough – cookie, pie, tart, whatever.

I still seem to be baking most days now, except instead of starting a recipe and finishing it, all in the same day, I spend a few minutes one evening getting all of my ingredients out. Then the next day I’ll measure the dry ingredients and prepare the pan. The day after that is my favorite, with the mixing and baking. Sometimes there’s an additional day for prettily packaging.

It works pretty well, actually. And even if it wasn’t a great system, it’s a heck of a lot better than not baking at all. I need opportunities to try out fun new recipes, like for vanilla bean cupcakes.

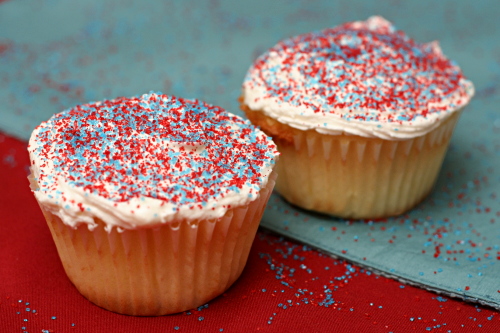
Although adding the ‘bean’ in the title is a bit of a misnomer for me, as I was all out of vanilla beans, so used vanilla sugar and homemade vanilla extract instead. Honestly, I’ve tried using vanilla sugar, Tahitian vanilla beans (which are supposed to be better than Bourbon vanilla beans for baked applications), and vanilla extract all at once in a cake before, and still couldn’t taste any appreciable vanilla-ey-ness, so what I was expecting, and what I got, was a light, fluffy, perfect basic cake. I love cake. I love baking. I especially love the mixing and baking day of baking. And the eating day of baking.
Two years ago: Salmon Clubs with Avocado Butter

Printer Friendly Recipe
Vanilla Bean Cupcakes
(adapted from Confections of a Foodie Bride and Annie’s Eats)

Makes about 30 cupcakes

3 cups (12 ounces) cake flour
1 tablespoon baking powder
1 teaspoon salt
1 vanilla bean, split lengthwise
16 tablespoons (2 sticks) unsalted butter, at room temperature
2 cups (14 ounces) sugar (use vanilla sugar if you have it)
5 large eggs, at room temperature
1¼ cups buttermilk, at room temperature
1 tablespoon vanilla extract

1. Preheat the oven to 350°F. Line two cupcake pans with paper liners. In a medium bowl, combine the cake flour and baking powder.

2. Place the butter and salt in the bowl of an electric mixer fitted with the paddle attachment. Scrape the vanilla bean seeds into the bowl of the mixer with the butter and discard the pod (or reserve for another use). Beat on medium-high speed for 3 minutes, until light and creamy in color. Scrape down the sides of the bowl and beat for one more minute.

3. Add the sugar to the butter mixture, ¼ cup at a time, beating for one minute after each addition. Mix in the eggs one at a time until incorporated. Scrape down the sides of the bowl after each addition. Combine the buttermilk and the vanilla extract in a liquid measuring cup. With the mixer on low speed, add one-third of the flour mixture, followed immediately by half of the buttermilk, mixing just until incorporated. Repeat with another third of the flour and the rest of the buttermilk, then the last of the flour. Scrape down the sides of the bowl and mix for 15 seconds longer.

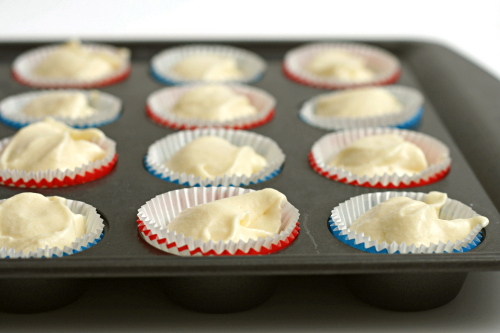
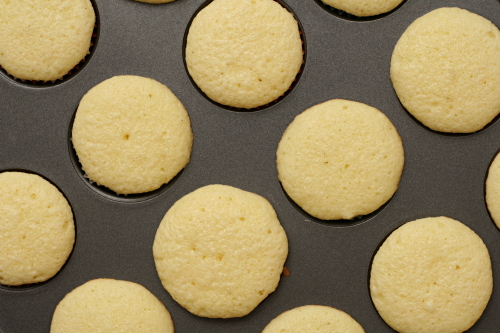
4. Divide the batter between the prepared paper liners, filling each about 2/3 of the way full. Bake 18-22 minutes, or until a toothpick inserted in the center comes out clean. Allow to cool in the pans 5-10 minutes, then transfer to a cooling rack to cool completely.

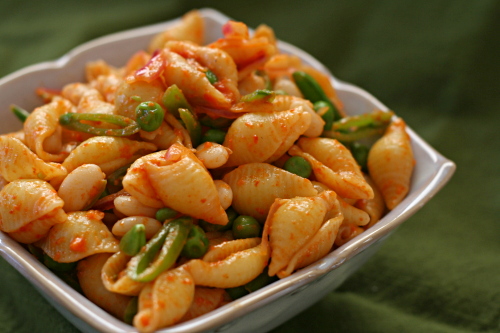
roasted red pepper pasta salad with peas and beans

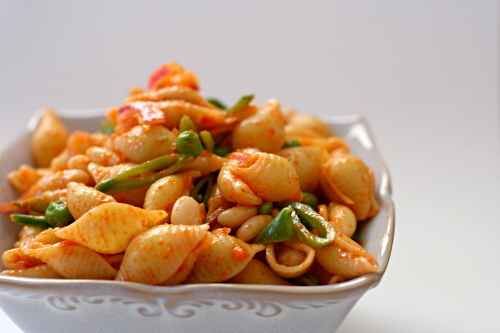
I had my doubts about this salad the whole time I was shopping for it, making it, testing it for seasoning, and serving it. But now, weeks later, my doubts are gone and I want some more. Except with better peas.

Most of the doubts came from an unsuccessful shopping trip for ingredients. Sometimes I complain after shopping at my regular grocery store, but in truth, I usually get by just fine with what I can find there. However, it is a 7-minute drive from my house. Walmart, while not my favorite place on earth, is a 2-minute drive. I tried to cut corners, and I paid the price. Walmart didn’t have whole wheat pasta, any sort of fresh pea or bean, frozen petite peas (which are sweeter and less starchy than regular peas), or shallots.

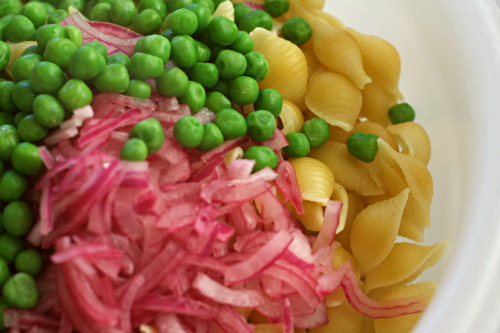
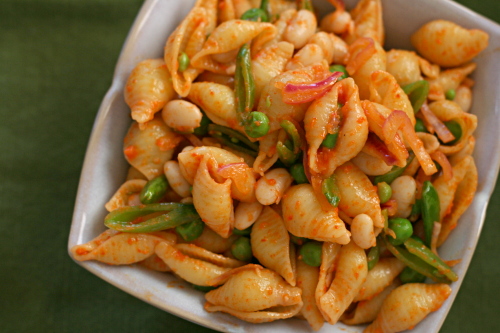
So, yes, frozen petite peas would be better than the larger starchy ones, and fresh peas are so fun, and I would love some sort of fresh beans, and yellow beans would add a nice contrasting color. But one change I was forced to make, skipping the shallots, actually worked out better I think, with some lightly pickled red onions adding tartness to the salad instead.
And even at its simplest, this salad is unique and interesting, with smoky sweet roasted red pepper dressing coating pasta, creamy white beans, and crisp vegetables. Plus I learned a valuable lesson about driving that extra five minutes to the regular grocery store, and how it’s worth every second.
One year ago: Sourdough Bagels
Two years ago: Danish Braids

Printer Friendly Recipe
Roasted Red Pepper Pasta Salad with Peas and Beans (adapted from Smitten Kitchen)

Deb based this salad on one she had in a restaurant, which also included yellow string beans, fava beans, fresh cranberry beans, among other wonderful bean types that simply aren’t available in small desert towns. I would have loved any or all of those, but the salad was wonderful at its most simple as well.

1 pound small pasta
salt
¼ red onion, very thinly sliced
1 tablespoon red wine vinegar
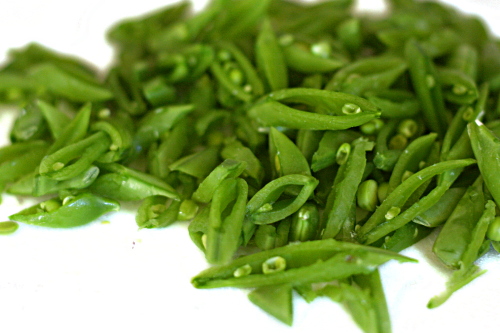
4 ounces snow pea pods, ends trimmed, cut on an extreme diagonal
1 cup peas (from about 8 ounces with their shells, if you can find fresh)
1 (15-ounce) can great northern (or navy) beans, drained and rinsed
¾ to 1 cup Roasted Red Pepper Vinaigrette (recipe below)

1. Bring a large pot of water to a boil; add the pasta and 1 tablespoon salt and cook according to the package instructions. One minute before the pasta is done, add the peas. Drain the pasta and peas together.

2. Meanwhile, combine the onion, vinegar, and a pinch of salt in a large bowl; set aside for 10 minutes. When the pasta has cooled, add the remaining ingredients and stir thoroughly. Taste and add more salt if necessary, which it probably will be.

Roasted Red Pepper Vinaigrette

Makes about one cup of dressing

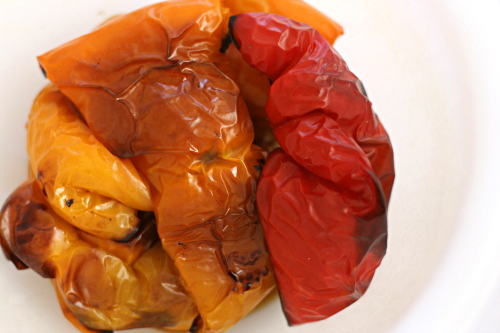
1 red bell pepper, roasted, skinned and seeded or the equivalent from a jar, drained
2 tablespoons extra virgin olive oil
2 tablespoons red wine vinegar, plus up to 1 tablespoon more
½ teaspoon salt
freshly ground black pepper

Combine all of the ingredients in a blender or food processor; process until smooth. Taste and add more salt, pepper, or vinegar if necessary.

rum-drenched vanilla cake

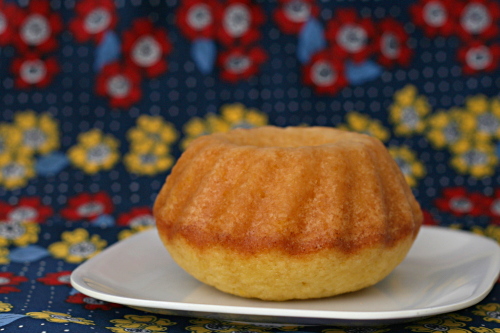
Someone brought a rum bundt cake into work last week, and oh my god, was it good. Tender, extremely moist, and intensely rummy, I could hardly resist grabbing one wedge after another. My officemate, who apparently has far better self-control than I, cut herself a piece and set it aside until the end of the day, six or seven hours later. She regretted the wait as soon as she bit into it and realized that, by then, the rest of the cake was gone. Clearly we needed to get the recipe.

It turns out that the recipe is a doctored cake mix, which just proves that of all the types of prepared, processed foods, cake mix is probably the best at imitating, and in some cases perhaps surpassing, the completely homemade version. And although I can hardly believe this cake I had could be improved upon, and I don’t think the chemicals in one boxed cake mix recipe is going to knock me dead, I’m still too stubborn to use a boxed mix.

A web search yielded nothing but that same recipe, cake mix and oil and rum, over and over. I started thinking of what cake recipe of mine I’d adapt to imitate the recipe I was finding, resigning myself to doing some experimenting.

It took me five days to make the connection that I was searching for a from-scratch rum cake, and I was planning to make rum-drenched vanilla cakes over the weekend. I’m not so smart.

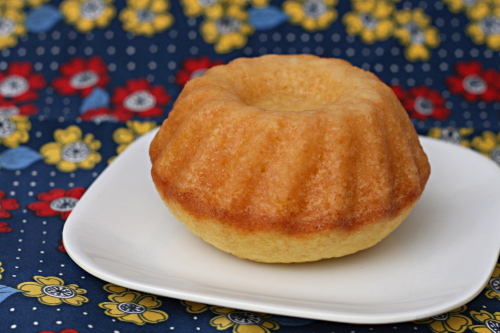
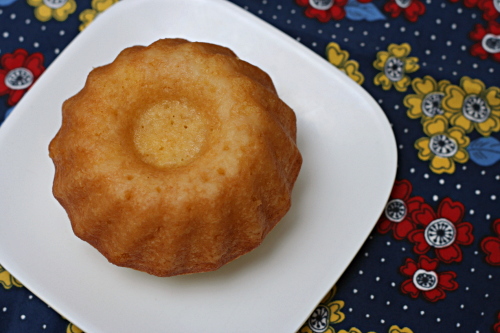
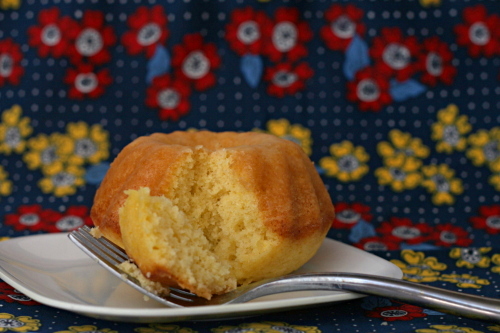
My first impression was that Dorie’s cakes weren’t as moist or tender, although they were fluffy and light with plenty of rum flavor.  Two days later, the cake had ripened, and its texture was very similar to the one I’d eaten at work.  In the future, I might replace the melted butter in the cake with oil, which I think makes cakes moister, but other than that, I think I have my from-scratch rum bundt cake recipe, and I didn’t even have to experiment.

Wendy chose these cakes for Tuesdays with Dorie, and she has the recipe posted. I doubled the salt.

One year ago: Comparison of three white cake recipes
Two years ago: Apple Cheddar Scones

triple chocolate espresso brownies

The best part about having a full-time job is having people to offload desserts to. No, I’m kidding, the best part is the money. No! It’s the feeling of self-worth I get from changing out of my pajamas before noon. Or it’s the belief that I’m making a difference in the world. The knowledge that I’m a contributing member of society. I don’t know, one of those.

Of course I carefully plan out every treat I bring in to share. Most importantly, it has to look enticing. Half-eaten leftovers obviously won’t do. It also needs to be easy to grab; no one wants to deal with forks and plates, they just want to grab a quick snack when they come in to refresh their coffee. I also want to provide a good variety – chocolate one week, fruit or vanilla the next; cupcakes one week, cookies the next. Finally, I like to (overthink things) make something new and interesting: instead of chocolate chip cookies, cream cheese chocolate chip cookies; instead of white cupcakes, margarita cupcakes; instead of brownies, espresso brownies.

People always thank me for bringing in treats, because they are polite and nice, and I always thank them for providing me an opportunity to do something I love. They also mention that I’m ruining their diets, but I figure it’s theirs or mine, and a girl’s gotta do what a girl’s gotta do.

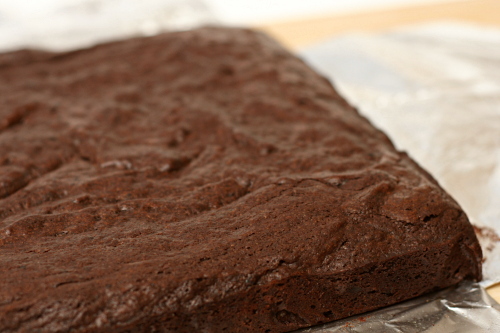
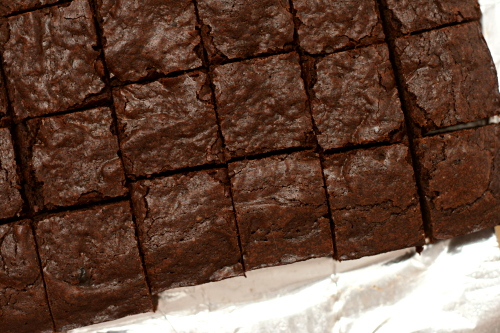
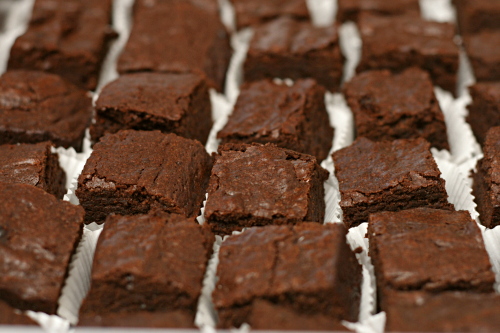
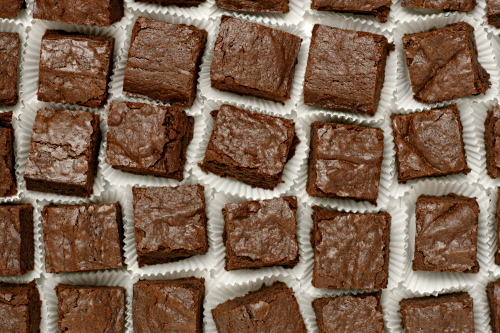
My favorite brownie recipe is a little lighter, cakey-er, and moister than these, but I love this rich fudgy texture with the bitter espresso overtones. Plus they’re perfect to cut into tiny squares, which, once displayed in little crimped cups, satisfy all of the requirements for a treat to bring to work.

Two years ago: Yeasted Waffles

Printer Friendly Recipe
Triple-Chocolate Espresso Brownies
(from Cooks Illustrated)

Either Dutch-processed or natural cocoa works well in this recipe.

5 ounces semisweet chocolate or bittersweet chocolate, chopped
2 ounces unsweetened chocolate, chopped
8 tablespoons (1 stick) unsalted butter, cut into quarters
3 tablespoons cocoa powder
1½ tablespoons instant espresso powder or coffee powder
3 large eggs
1¼ cups (8.75 ounces) granulated sugar
2 teaspoons vanilla extract
½ teaspoon table salt
1 cup (5 ounces) unbleached all-purpose flour

1. Adjust an oven rack to the lower-middle position and heat the oven to 350 degrees. Spray an 8-inch square baking pan with nonstick vegetable cooking spray. Fold two 12-inch pieces of foil lengthwise so that they measure 7 inches wide. Fit one sheet in the bottom of the greased pan, pushing it into corners and up the sides of the pan; overhang will help in the removal of the baked brownies. Fit the second sheet in the pan in the same manner, perpendicular to the first sheet. Spray the foil with nonstick cooking spray.

2. In a medium heatproof bowl set over a pan of almost-simmering water, melt the chocolates and butter, stirring occasionally until the mixture is smooth. Whisk in the cocoa and espresso until smooth. Set aside to cool slightly.

3. Whisk together the eggs, sugar, vanilla, and salt in a medium bowl until combined, about 15 seconds. Whisk the warm chocolate mixture into the egg mixture; then stir in the flour with a wooden spoon until just combined. Pour the mixture into the prepared pan, spread into corners, and level the surface with a rubber spatula. Bake until slightly puffed and a toothpick inserted in the center comes out with a small amount of sticky crumbs clinging to it, 35 to 40 minutes. Cool on a wire rack to room temperature, about 2 hours, then remove the brownies from the pan using the foil overhang. Cut into squares and serve. (Do not cut brownies until ready to serve; brownies can be wrapped in plastic and refrigerated up to 5 days.)

pasta with asparagus and goat cheese

I feel like I used to have this room (my life), and it had some stuff in it; mostly stuff I liked (cooking, reading, teaching, gardening), although of course there were things I didn’t (cleaning). My main problem was that it was too empty. There was too much space, and I could never get it arranged in any pleasing way. It made me frustrated and unhappy, and I took less enjoyment even from the things I did like.

Then I added this huge, I don’t know, piece of furniture or some other room-dominating thing (a full-time job). And now the room is too full. I like it more overall, I just don’t know where to put everything. Some things I’m willing to give up (hours mindlessly spent searching the internet), but the rest I’m trying to rearrange. Where does exercise go? What about blogging? Keeping in touch with friends, spending quality time with my husband, learning new things? I know there’s room for them all, I just have to find out how to make it work.

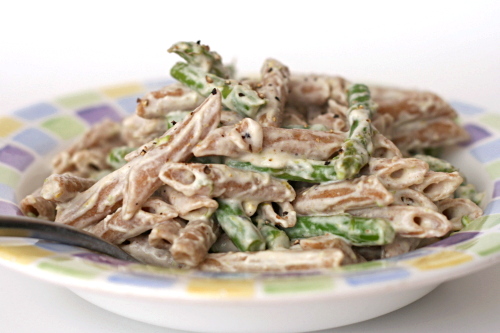
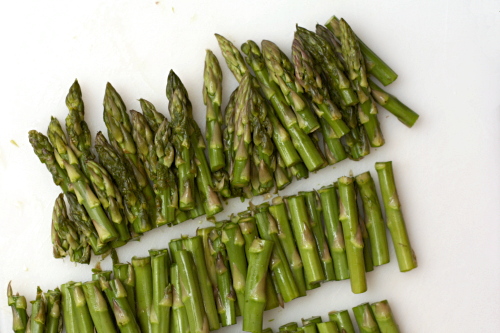
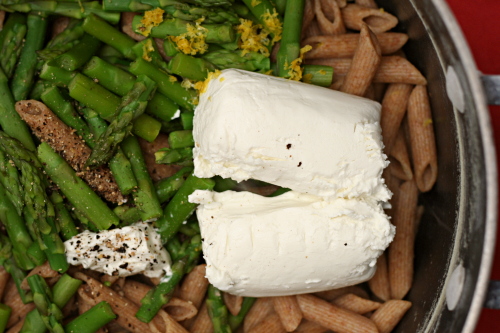
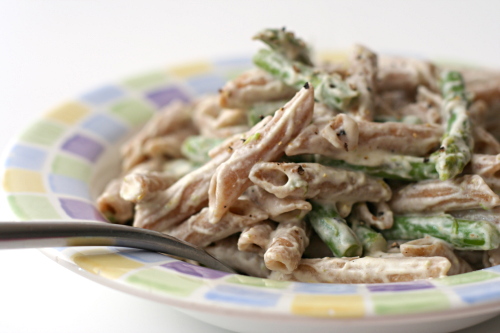
I’m not going to stop cooking, obviously. But I will change the way I cook most nights of the week, keeping things simple. This dish, with only a handful of ingredients and one ingredient to chop, is a perfect example of how easy meals can still be tasty meals. This meal definitely fits into my crowded new room, and it leaves me plenty of space for exercise, a full day of work, a long chat with a friend, and even a batch of brownies. A life too full is certainly better than a life too empty.

Two years ago: Kung Pao Shrimp

Printer Friendly Recipe
Asparagus, Goat Cheese and Lemon Pasta
(adapted from Smitten Kitchen)

Serves 6

16 ounces pasta
salt and pepper
2 pounds slender asparagus spears, trimmed, cut into 1- to 1½-inch pieces
2 tablespoons extra virgin olive oil
1 lemon
8 ounces soft goat cheese

1. Bring at least 6 quarts of water to a rolling boil over high heat. Add the pasta and 1 tablespoon of salt and cook the pasta until it is almost tender, about 2 minutes short of the package instructions. Add the asparagus and cook until it is crisp-tender, about 2 minutes. Reserving 1 cup of the pasta cooking water, drain the pasta and asparagus.

2. Return the pasta and asparagus to the pot and add the oil, zest from the whole lemon, juice from ½ the lemon, goat cheese, a generous grinding of pepper, and ½ cup pasta cooking water; stir until the goat cheese melts. Taste and add salt (you’ll probably need some), freshly ground black pepper, and more lemon juice if necessary. If the sauce becomes thick and sticky, stir in more pasta cooking water.

dressy chocolate cake

Most of us probably had the same first experience with plain yogurt. You think it’s going to be yogurt, but not quite so vanilla-ey! And then, ew, wtf, this tastes like sour cream. Force down a few bites; toss in trash. That was the end of my plain yogurt experience for several years.

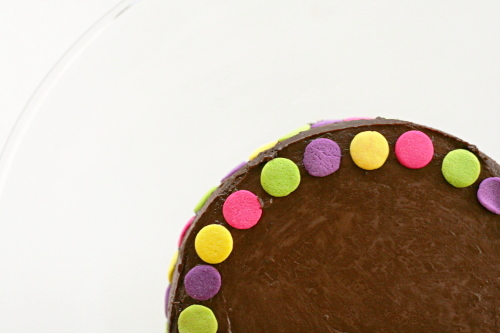
And then I made an important connection – it tastes like sour cream, but it’s good for you! And now I use it everywhere – in sauce for fish tacos, on baked potatoes, on pancakes with jam, and now, in chocolate frosting. I held my breath waiting to see if it would curdle or if it would mix with melted chocolate to form a smooth icing, and I am pleased that it worked wonderfully. What a simple but luscious frosting recipe.

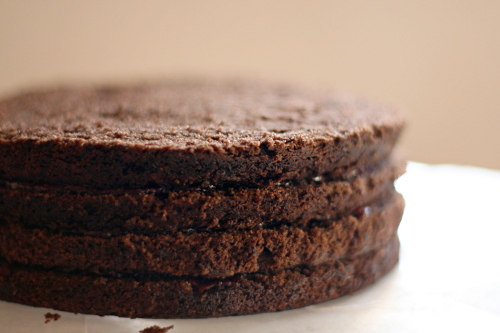
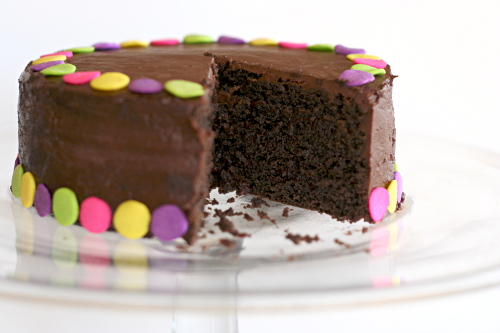
Low-fat Greek yogurt (my grocery store just started carrying Fage!) might not have been quite as good a replacement for sour cream in the cake itself. Fat in cake leads to moistness, and my cake seemed just a tad dry. A little cherry jam and chocolate yogurt frosting fixed that right up, and I’ve hardly been able to step away from this cake since, shaving dainty slivers off here and there throughout the day, hoping Dave doesn’t notice that half of the cake has disappeared.  But it’s okay, because I used yogurt, and not sour cream.

Amy chose this cake for Tuesdays with Dorie, and she has the recipe posted. Besides the yogurt substitutions discussed above, I doubled the salt in the cake.

One year ago: Mixed Berry Cobbler
Two years ago: Coconut Roasted Pineapple Dacquoise