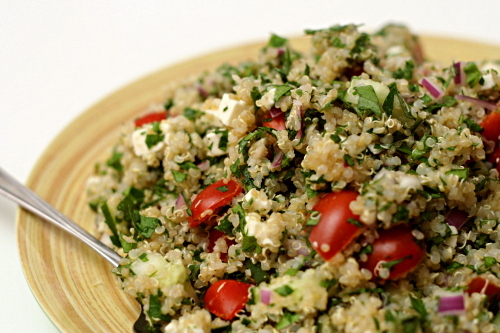
quinoa tabbouleh

I have annoying eating habits at work. Carrots – crunchy. Bananas – smelly. Hard-boiled eggs – crunchy (during the peeling) and smelly. My officemate is very tolerant. And on our first day in the office together, she asked me, “So is that how you stay thin? By eating healthy all the time?” Hmm…

  1. Call me thin some more, if you will. I will use it as an excuse to skip my workout this evening.
  2. Define “all the time.” Because…no. Not so much.

She asked me what I normally make for dinner, and I was at a loss for an answer. I’m a food blogger; I repeat dinners maybe once every couple of months. The quickest way I could think to answer that question was to give her the link to my blog. My third day at work, and I already outed myself as Food Obsessed.

She asked me what I was making for dinner that night, and when I answered, she asked what quinoa was. I was reminded: I’m the weird one when it comes to food. And so are you, probably, if you’re reading a food blog. I wonder what percentage of people in my small isolated desert town know what quinoa is?

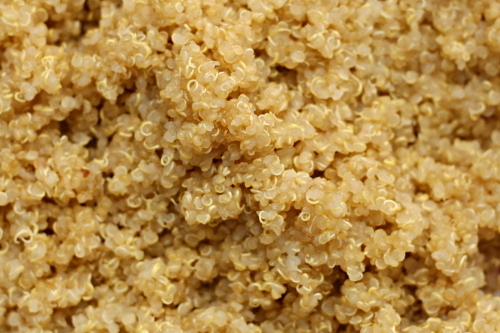
Which is sad, because, as you know if you are also one of the Food Obsessed, quinoa is what all of the other whole grains (I know, I know, not technically a grain) want to be – hearty and healthy, but fluffy and slightly sweet, the way most grains don’t taste until they’re refined. Mixing it with vegetables, herbs, and feta makes it even healthier, which is perfect because that way I get dessert.  No one can eat healthy all the time, right?

One year ago: Strawberry Lemon Sorbet
Two years ago: Ricotta Spinach Tofu Ravioli

Printer Friendly Recipe
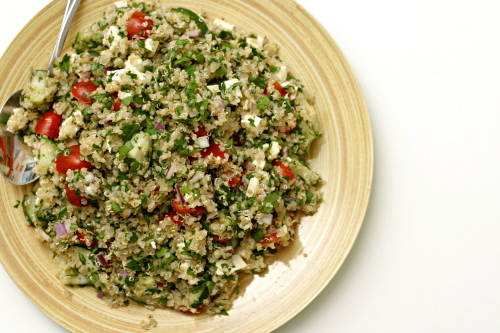
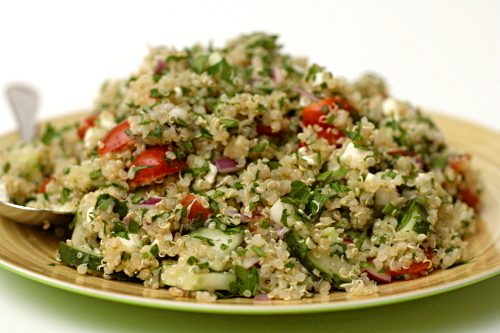
Quinoa Tabbouleh (adapted from Bookcook via the kitchn)

Makes 3-4 main course servings

Some things: I didn’t quite follow this method to mellow the bite of the onions, and my method did not work. The leftovers were particularly intense. Soak the onion in water! You may want to add the garlic too, although I have no evidence that this method would work for garlic. It just seems like it could.

The original recipe includes mint, but I don’t usually like mint with savory food. It also called for olive oil, and I intended to add it but after tasting the salad, the oil didn’t seem necessary. And less oil in dinner means more cookies for dessert.

The standard directions for cooking quinoa seem to be 1 cup quinoa to 2 cups water, so I’ve left that as it was in the original recipe. But I’m suspicious: my pot had a lot of water left in it at the end of cooking that had to be drained off. Next time I’m trying 1½ cups water for 1 cup quinoa.

I know traditional tabbouleh is more parsley than grain, but it’s also more side dish than main, which wasn’t what I was going for.

1 cup dry quinoa
2 cups water
½ teaspoon salt
½ red onion, diced fine
2 cloves garlic, minced
1 cup cherry tomatoes, halved
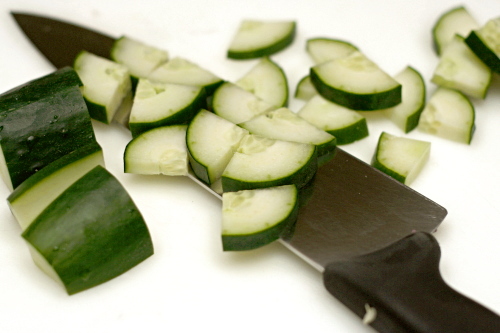
1 cucumber, quartered lengthwise and sliced ⅛-inch thick
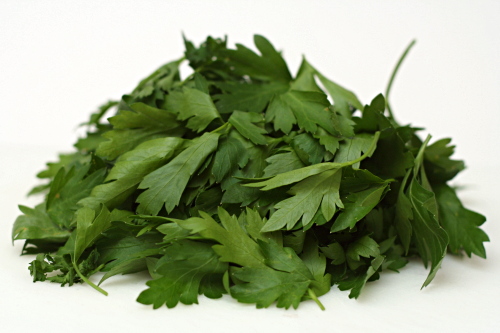
1 bunch parsley (about 2 cups), minced
8 ounces feta, crumbled
2 tablespoons fresh lemon juice

1. Rinse the quinoa well under cold water. Put it in a medium saucepan with 2 cups of water and ½ teaspoon salt. Bring the water to a boil over high heat, then reduce the heat to low and cook, covered, for 20 minutes. Transfer the cooked quinoa to a large bowl to cool slightly.

2. Meanwhile, in a small bowl, cover the diced onion and a pinch of salt with water. Let the onion soak while you prepare the other ingredients.

3. Drain the onions; add them to the bowl along with the garlic, tomatoes, cucumber, parsley, and feta; stir to combine. Add the lemon juice and toss to coat. Taste for seasoning (more salt? more lemon juice?) and serve.
cherry-cherry bread pudding

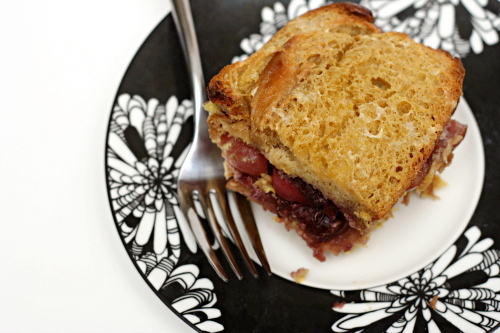
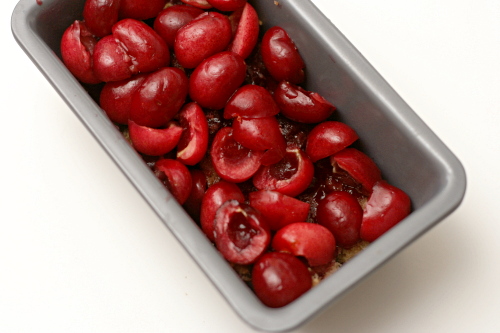
Seasonal fruit – I like it. I eat the strawberries in the spring and the blueberries in the summer and the apples in the fall and the apples, still, in the winter. I do not eat the apples in the spring. And apparently I shouldn’t eat the cherries in the spring either, because these were the most terrible, tasteless, watery cherries I’ve ever had.

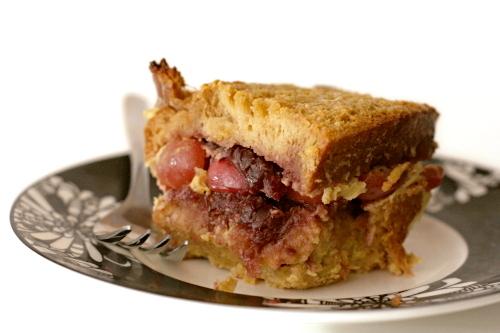
I was vaguely hoping that baking them would concentrate their flavor enough so that they, you know, had some, but no, that just gave me cooked terrible cherries. Poor bread pudding, ruined by bad cherries. I guess I should have gone for the apples after all.

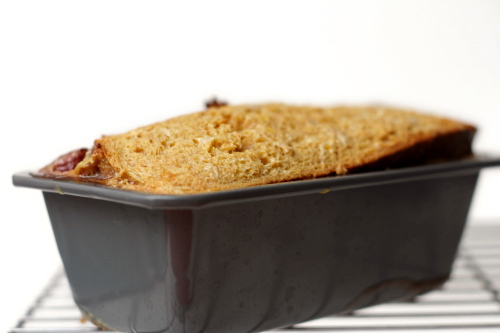
Now the bread pudding part, that I certainly enjoyed. It’s bread, it’s custard – it’s French toast! I’ll make it with the apples in the fall to enjoy this recipe in all its glory.

Elizabeth chose this recipe for Tuesdays with Dorie, and she has it posted. I used 1 cup (terrible!) cherries, pitted and halved, in place of the caramelized apples, cherry jam instead of apple butter, and all whole milk rather than a mixture of milk and heavy cream. And I forgot to add a dash of salt to the custard, which I regretted.

One year ago: Mango Bread
Two years ago: Traditional Madeleines

cream cheese spritz

I was so disappointed a few years ago, when I was sure I had a great family recipe to share, something everyone I knew who’d tried it had loved, something I hadn’t seen before on other cookie plates, something that had been a classic in my family for as long as I could remember.

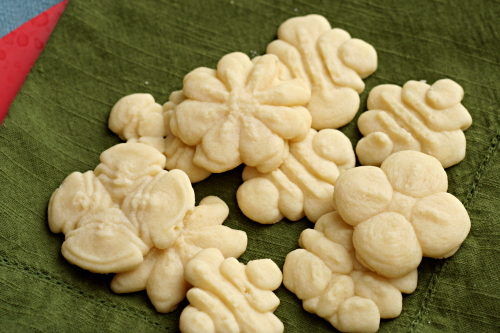
But, a quick internet search indicated that everyone knew about cream cheese spritz cookies already! It’s on every well-established recipe website, in every magazine at some point in its history, in so many blogs, and hey! It’s in this blog now too. And not even at Christmastime! Yes, I make cream cheese spritz year round, because they are so darn good.

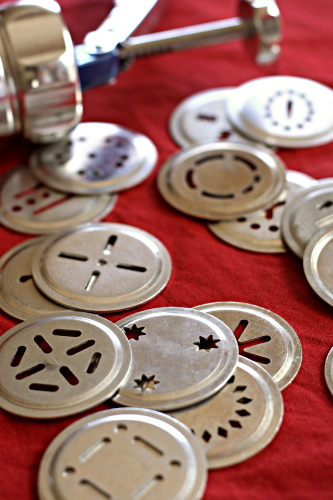
That being said…there are other spritz cookie recipes out there that are worth making, right? Please let me know if you have any! It would be nice to get some more use out of my cookie press. Although, even if I only use it for this one recipe, it’s worth having just for that.


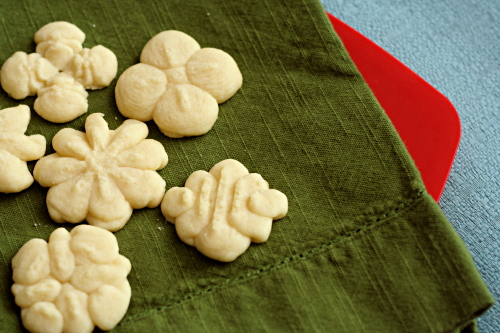
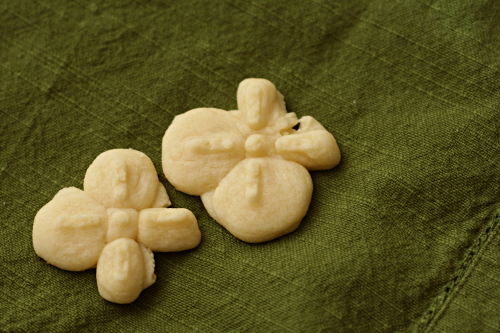
Poor deformed cookies. Clearly I need more spritz practice.
One year ago: Basic Lentil Soup
Two years ago: Snickery Squares

Printer Friendly Recipe
Cream Cheese Spritz

I’ve tweaked the amount of butter and cream cheese from the standard recipe, just so that it uses a more convenient amount of cream cheese. Also so that it’s even cream cheesier, which is never a bad thing.
14 tablespoons (1¾ sticks) unsalted butter, softened
4 ounces cream cheese, room temperature
½ teaspoon salt
1 cup (7 ounces) sugar
1 egg yolk
1 teaspoon vanilla
2½ cups flour (12 ounces) all-purpose flour

1. Adjust an oven rack to the middle position and heat the oven to 350ºF. Line a baking sheet with a silicone mat or parchment paper.

2. Fit the mixer with the paddle attachment and add the butter and cream cheese to the mixer bowl (or a large mixing bowl with a hand-held mixer). Beat on medium-low speed until the butter and cream cheese are soft and creamy, about 1 minute. Add the salt, then, with the mixer running, slowly pour in the sugar. Continue mixing on medium speed until the mixture is light and fluffy, about 2 minutes. With the mixer running, add the egg yolk and vanilla and beat until thoroughly incorporated, about 1 minute, stopping the scrape the mixer bowl as necessary. Reduce to mixer speed to its lowest setting and gradually add the flour, mixing just until incorporated.

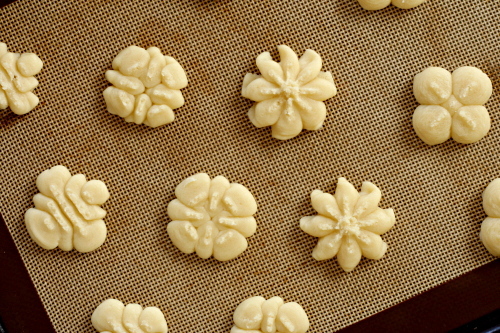
3. Fill the cookie press with the dough. Spritz the cookies onto the prepared baking sheet.

4. Bake the cookies for 8-10 minutes, until they no longer look wet on top and the edges are slightly browned. Let the cookies cool for several minutes on the baking sheet, then transfer to wire racks to cook completely. Sealed in an airtight bag, the cookies will keep for several days.

grilled artichokes

When it comes to groceries, I’m not particularly thrifty. I don’t know if my old grocery store (the much-missed Wegman’s) even had sales, and if they did, it wasn’t on anything I was buying. I see more sales at my new grocery store; I don’t plan my shopping around them, but I can’t always resist them either.

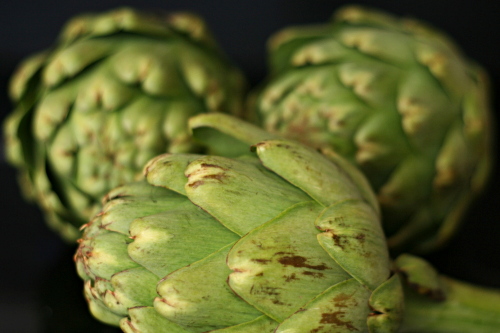
Fresh artichokes for 69 cents each! That is a deal that is not to be passed up, especially when I was keeping an eye out for some fancy sides to compliment my celebration lamb.

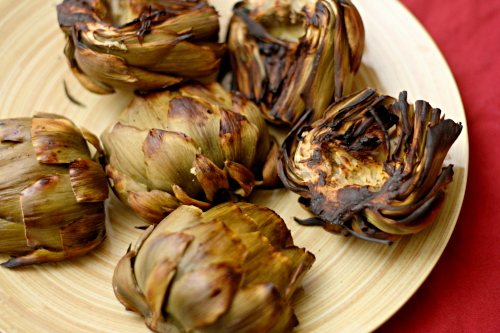
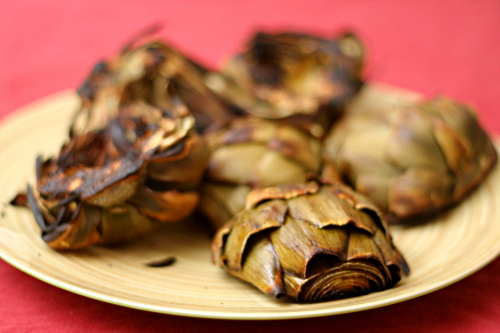
When Dave and I grill, we like to cook the whole meal on the grill, so I definitely wanted to grill the artichokes. Katie’s recipe uses the perfect approach, because the artichokes are steamed in foil packets first, and then unwrapped and seared over a hot flame. The artichokes end up both perfectly tender and decorated with beautiful grill marks.

Artichokes aren’t as time-consuming to prepare as I used to think, but they’re still pretty messy to eat. You remove individual leaves and scrape the meaty edible part off with your teeth, until you get to that delicious heart. Artichokes are good on their own, but they’re even better with a decadent dipping sauce; we used the sauce that was served with the lamb. It made a perfect compliment to perfect artichokes that accompanied a perfect meal.

Two years ago: Asparagus and Arugula Salad with Cannellini Beans

Grilled Artichokes (adapted from Good Things Catered)

Katie added extra lemon to the packets and served the grilled artichokes with cherry tomatoes. It makes for a beautiful presentation, but didn’t compliment the flavors I was serving these with. However, it serves as a great example of how easily this recipe can be adapted to the meal you’re serving.

Serves 4

8 cloves garlic, smashed and peeled
4 globe artichokes
salt and pepper
1 lemon, quartered
about 2 tablespoons olive oil

1. Prepare a two-level fire, where one side of the grill is hotter than the other.

2. Tear off four 12-inch pieces of aluminum foil. Place two cloves of garlic in the center of each square of foil.

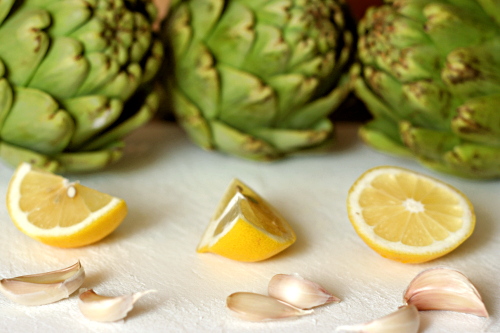
3. Working with one artichoke at a time, cut the stem off and the top 1½ inches of leaves. Cut the sharp tips off of the outside leaves. Halve the artichoke and carve out the fuzzy purple choke. Place the artichoke halves in one square of foil, season with salt and pepper, squeeze one lemon quarter over it, and drizzle with about 1½ teaspoons of oil. Enclose the artichoke in the foil. Repeat with the remaining three artichokes.

4. Place the foil packets on the cooler side of the grill and cook, rotating occasionally, for 25-30 minutes, until the center of the artichokes are tender. Remove the artichokes from the foil and place, cut side down, on the hot side of the grill. Cook for about 2 minutes, until seared.

5. Serve immediately, with a dipping sauce if desired.

quick classic berry tart

I can’t be the only one who prefers recipes that use whole eggs instead of egg parts. It isn’t just a mild packrat tendency, although I’m sure that’s part of it. I buy the expensive eggs – the ones that are hopefully (but questionably, I know) from slightly less mistreated animals. Throwing away egg whites is throwing away money. And sure, you can freeze egg whites (because it’s always egg whites I have leftover; delicious rich emulsifying egg yolks I can almost always find a use for), but what’s the point of gathering a collection of frozen egg whites that I’ll never use?

All this to say that I didn’t really make Dorie’s classic berry tart. I made Tartine’s. Their pastry cream is the only I’ve seen that uses whole eggs instead of egg yolks. I like the silky light texture that results from the addition of egg whites. Likewise, their tart dough uses whole eggs, so I went ahead and made that too, instead of Dorie’s.

Of course the result was fantastic – every baking book has some variation of tart dough + pastry cream + berries, and for good reason – it’s an unbeatable combination. I’m confident this tart would be just as good with Dorie’s recipes; I’ve made both her pastry cream and her tart dough, and they’re wonderful. They’re especially great if you enjoy egg white omelets so you don’t end up with a freezer full of egg whites.

Christine chose this, and she has Dorie’s recipes posted.

One year ago: Tartest Lemon Tart
Two years ago: Florida Pie

stuffed butterflied leg of lamb

I got some big news last week. I finally got something I’ve wanted for a long time, and life is going to change drastically. I’m a little worried about when I’ll find the time to do the things I like to do – the baking, blogging, and exercising due to the baking – but I’m sure it will be worth it.

I’m not pregnant.

I do, however, have a job; a real one, with 40 hours of work per week and benefits and a retirement plan and everything. See, I’ve kept this on the down-low because I was embarrassed by it, but since I finished graduate school several years ago, I’ve been unemployed or partially employed. But those days are over now.

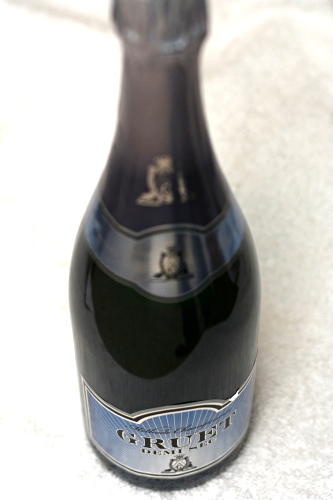
This was cause for celebration around here, which means that Dave and I have been drinking generous amounts of our favorite champagne. It also means we had an excuse for a fancy dinner. I got to decide whether that meal would be eaten in or out, and it wasn’t a hard decision for me – we don’t exactly live in area known for its restaurants, and spending Saturday night at home, drinking wine, watching the NBA playoffs, and grilling with Dave is pretty much my perfect evening.

What to make? Lamb, of course. I was deciding between two recipes, and Dave told me to pick the easier one. Yes, the easier option included trimming, butterflying, pounding, rolling, and tying the roast. And then I got to hand it off to Dave to cook…while I worked on the sauce. And the sides.

But in the end, what a great meal. Served with great wine, shared with a great husband, celebrating great news.

Two years ago: Hash Browns with Sauteed Vegetables and Poached Eggs

Printer Friendly Recipe
Stuffed Butterflied Leg of Lamb with Caramelized Lemon Jus
(adapted slightly from Bon Apetit via epicurious; suggested by Cara)

Serves 4-6

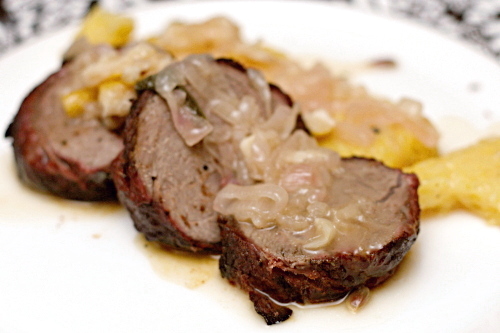
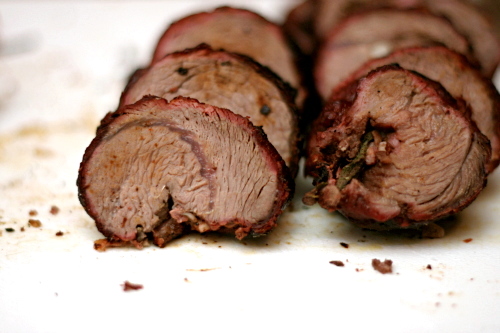
You can probably tell from the photos that my lamb isn’t cooked to rare. Oops. Next time.

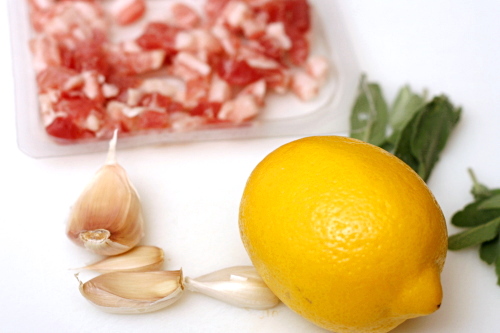
4-to 4½-pound boneless leg of lamb, shank end removed
salt and pepper
4 large garlic cloves; 3 chopped, 1 sliced
1 teaspoon finely grated lemon zest
20 fresh sage leaves (about), divided
4 ounces thinly sliced pancetta (Italian bacon)
3 tablespoons fresh lemon juice
3 tablespoons extra-virgin olive oil

1. Trim the silver skin and as much fat as possible from the lamb. Butterfly the lamb by making one ¾-to 1-inch-deep full-length cut in each thick portion of the lamb (do not cut through to work surface). Cover the lamb with a sheet of plastic wrap. Using a rolling pin or meat pounder, pound to an even 1- to 1½-inch thickness (lamb will be about 8×19 inches).

2. Remove the plastic wrap and season lamb evenly with salt and pepper, chopped garlic, and lemon zest. Top with 15 sage leaves, spaced evenly apart, then cover with the pancetta. Starting at a long side, fold the lamb in half. Tie the lamb tightly at 2-inch intervals into a long roll. Then, using a small knife, make slits in the lamb and insert a slice of garlic and a piece of sage leaf into each slit. Season the lamb with salt and pepper. (Lamb can be prepared 1 day ahead. Wrap tightly in plastic wrap and refrigerate.)

3. Whisk the lemon juice and oil in a small bowl; season with salt and pepper. Brush the lemon juice mixture all over the lamb and let stand at room temperature 1 hour.

4. Prepare a medium-hot grill. Place the prepared lamb on the grill and sear on all sides, 1 to 2 minutes per side. Continue to grill, brushing with the lemon juice mixture and rotating the lamb about every 5 minutes, until a thermometer inserted into the thickest part registers 130°F for rare.

5. Transfer the lamb to a cutting board, cover it loosely with foil, and let it rest for 10 minutes. Slice the lamb into ½-inch thick slices. Serve immediately with Caramelized Lemon Jus.

Caramelized Lemon Jus

1 large lemon, cut into ½-inch-thick slices
¼ cup extra-virgin olive oil
3 large shallots, thinly sliced (about 1 cup)
10 large fresh sage leaves
1 garlic clove, thinly sliced
3 tablespoons sugar
¾ cup dry white wine
¼ cup vodka
2 cups beef broth

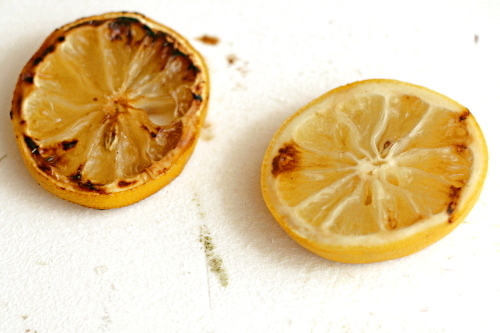
1. Prepare a medium-hot grill. Grill the lemon slices until charred, about 4 minutes per side. Transfer to plate; chop coarsely.

2. Heat the olive oil in a heavy medium saucepan over medium-high heat. Add the shallots and sauté until translucent, about 5 minutes. Add the sage leaves, garlic, and grilled lemon pieces with any juices, then the sugar. Cook until the shallots start to color, about 5 minutes. Add the wine and vodka. Using a long wooden skewer, ignite the liquors and let them burn off, about 4 minutes. Add the beef broth and bring to a boil. Reduce the heat to medium; simmer until jus is reduced to 3 cups, about 15 minutes. Season with salt and pepper. (Can be made 1 day ahead. Cover and chill. Rewarm before serving.)

cheddar shortbread

You guys know I’m a major dough-eater, right? Okay, well, if not, there you go – cookie dough, cake batter, brownie batter, any of that – major weakness. As embarrassing as this story is, I will tell you that I have actually reached into the oven to take one more spoonful of pound cake batter from the pan. (Pound cake batter is even better than chocolate chip cookie dough, I’m not even kidding.)

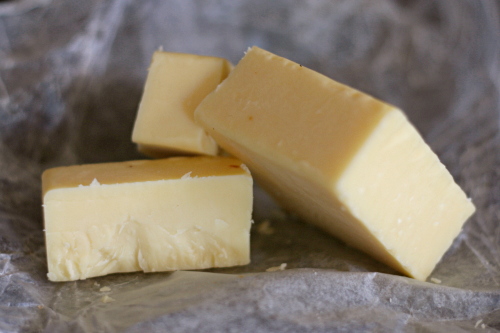
So I was a little worried about these after I mixed up the dough. It…well, frankly, it wasn’t very good. It didn’t have enough flavor. But I don’t have a lot of experience baking savory cookies, so I wasn’t sure how it was supposed to taste.

After baking, they were pretty good actually. My students must be getting braver, because I got more feedback on this one – would be good with garlic, herbs, and, um, served with wine. (“I mean, I don’t know if you drink wine”, he said. I did not respond with, “Do I ever! But only on weekends.”)

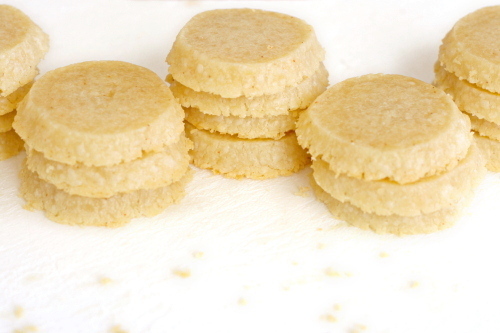
In the end, I think they mostly taste like Cheez-Its. Which is an okay thing, I think. But hey, garlic, thyme, and a bit of salt couldn’t hurt. And what isn’t better served with wine? Just wait until they’re baked before you start eating them. (Oh, you do that with all cookies? Well, aren’t you the picture of self-restraint.)

One year ago: Fresh Strawberry Scones
Two years ago: Caesar Salad

Printer Friendly Recipe
Cheddar Shortbread (adapted from Whisk: a food blog)

Makes about 30 cookies

Despite the advice of my students, I’m not sure I’d add garlic, which sounds like it could easily become overpowering. I could go either way on herbs, and I definitely think some salt (maybe ¼ teaspoon to start) would be a nice addition.

I’m not sure I baked these this long; I think it’s more likely that I baked them about 10 minutes, just until they no longer looked wet on top and they were slightly browned around the edges.

6 tablespoons unsalted butter, softened
6 ounces (about 1 1/2 cups) cheddar cheese, shredded
1 cup (4.8 ounces) all-purpose flour
½ teaspoon cayenne pepper

1. In a food processor, mix all of the ingredients with the metal blade until the dough forms a ball.

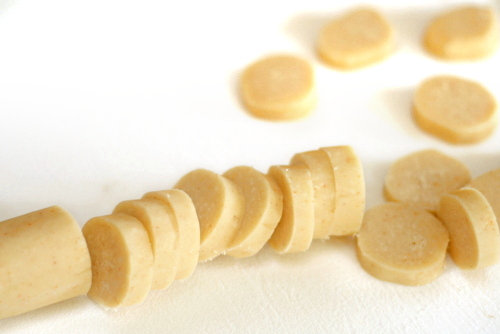
2. Roll the dough into a log. (You can freeze the logs by wrapping them in plastic wrap and put them in a freezer bag. Thaw overnight in the refrigerator before baking.) Slice into ¼-inch rounds and place on baking sheet. Chill for 1 hour in the refrigerator or 30 minutes in the freezer.

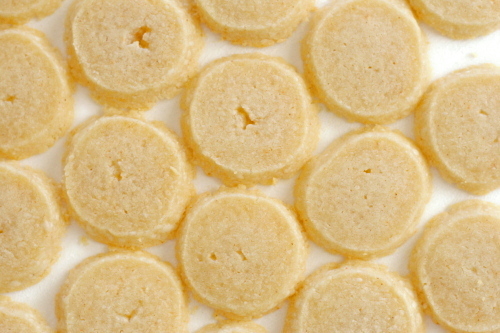
3. Meanwhile, preheat the oven to 350˚F. Bake for 17-20 minutes, or until light brown. Cool completely on a wire rack.

burnt sugar ice cream

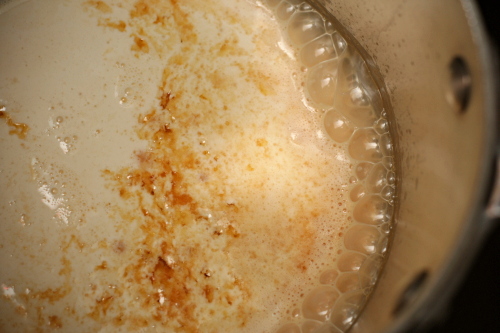
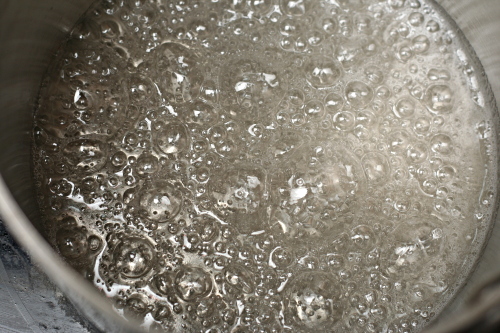
I used to be so good with caramel. For years, I made caramel with no problems, and then when I made this hazelnut cake, everything changed. I can’t remember how many batches of caramel I made for that cake, each one forming crystals instead of turning amber; I do remember that even the final batch crystallized, but I had given up. Since then, it’s been hit or miss – probably half of my caramel attempts crystallize. I’ve lost my caramel mojo.

I know a lot of my problem is that I’m working with smaller batches than the recipe recommends. Working with caramel is notoriously difficult in small batches, but my freezer is already stocked with vanilla cake, three types of cookies, and cheesecake. A half batch of burnt sugar ice cream would be plenty for us.

Fortunately, there’s an ace in the hole when it comes to caramel – corn syrup. A seemingly insignificant squirt of the sticky stuff can make all the difference in whether you get to move on to the next step in the recipe or you dump out yet another batch of sugar and start over.

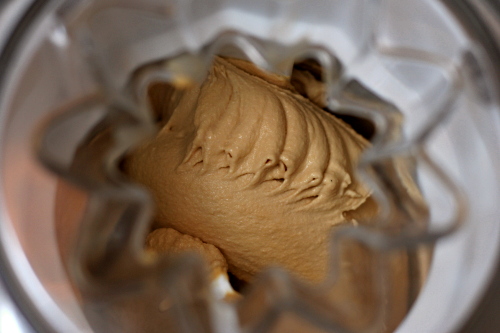
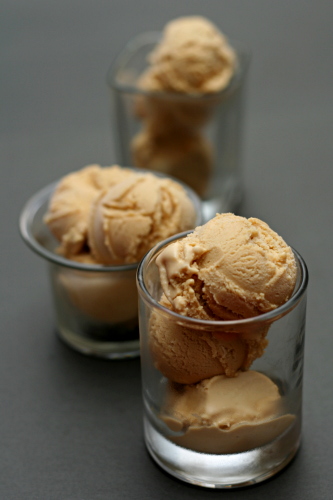
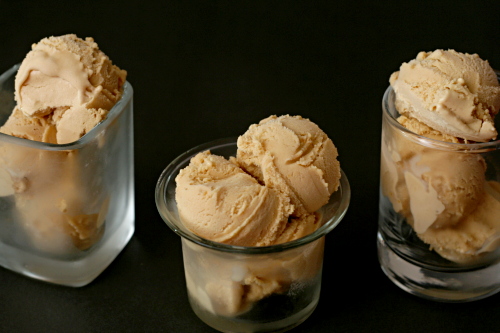
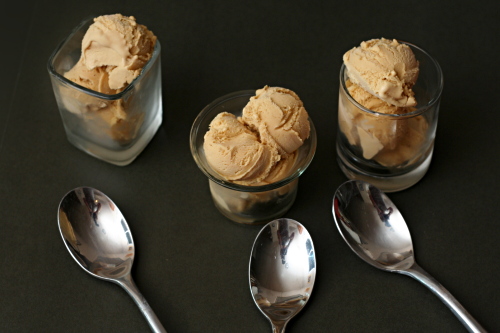
So with that taken care of, I was finally able to make some ice cream. And lo! it was good. Smooth and chunk-free, which is my preference, plus that deep caramelly hint of bitterness makes for a really fun ice cream flavor.

Becky chose this for Tuesdays with Dorie, and she has the recipe posted. For the first time in weeks, I didn’t add any salt to Dorie’s recipe!  But I did add a squeeze of corn syrup to the sugar/water mixture.

One year ago: Tiramisu Cake
Two years ago: Peanut Butter Torte

corned beef hash

One time at the zoo, I walked by the reindeer exhibit, but they weren’t out. Huh, I thought. Bummer. I would have liked to see the reindeer. But on the other side of the path, there was another animal to ooh and ahh over, and I moved on. When the reindeer came back out just a few minutes later, I overheard someone tell her friend that they could go see them now, and the lady said “Reindeer? I was excited about that 10 minutes ago!”

Reindeer lose their interestingness after 10 minutes apparently.

The moral of the story is this: No one cares about corned beef in May. You were excited about that 2 months ago. But, I am not the type of person to sit on an entry (or two, in this case) for 11 months until its season of popularity comes back, so if you’re not one to cook corned beef outside of March, you are missing out you can bookmark this post for next year.

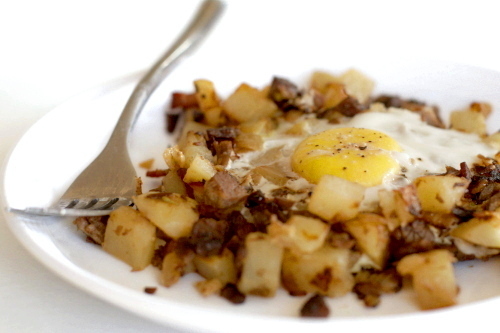
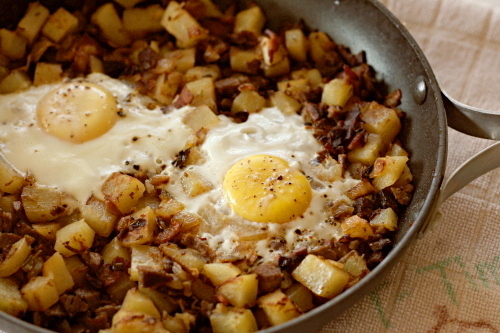
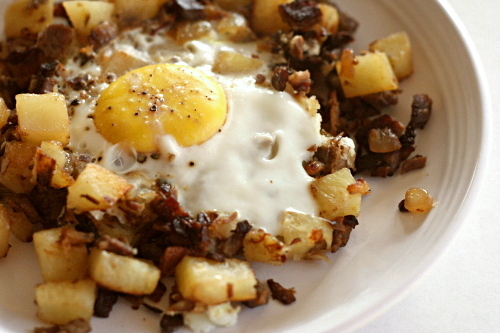
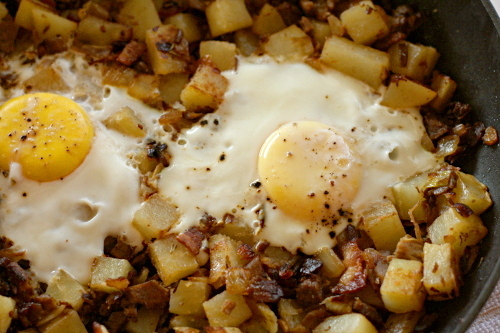
And don’t forget about it! That would be sad, because this is not just the best way to use corned beef leftovers, it is one of the best breakfasts, ever. It’s bacon, browned onions, crispy potatoes, salty seasoned beef, drippy yolks. What more could you ask for for breakfast? I’m excited about corned beef hash all year.

One year ago: Orange-Oatmeal-Currant Cookies (This is the recipe that’s had me complaining about not being able to find currants. But I recently discovered that the flavors are perfect with dried cranberries too.)
Two years ago: Double (or Triple) Chocolate Cookies

Printer Friendly Recipe
Corned Beef Hash (from Cooks Illustrated)

You absolutely do not need corned beef leftovers to make this. I often make it with thick-sliced deli corned beef, and it’s still delicious. That being said, last time I made it, I par-boiled the potatoes in the liquid leftover from cooking the corned beef, and was that ever good!

I like to give Cooks Illustrated recipes exact, because they’re so nicely detailed. However, this is one of those recipes that I’ve made so often that I often cut corners now – skipping the hot sauce, which I never have around; leaving the corned beef in large chunks; using Yukon Gold potatoes so I don’t have to peel them; pouring in a bit of whatever milk I have around instead of using cream. As long as you have the same basic ingredients and everything is crisped and browned, you can’t go wrong here.

2 pounds russet potatoes, peeled and cut into ½-inch dice
salt
2 bay leaves
4 ounces (4 slices) bacon, diced
1 medium onion, diced
2 medium garlic cloves, minced or pressed through a garlic press
½ teaspoon minced fresh thyme leaves
1 pound corned beef, minced (pieces should be ¼-inch or smaller)
½ cup heavy cream
¼ teaspoon hot pepper sauce
4 large eggs
ground black pepper

1. Bring the potatoes, 5 cups water, ½ teaspoon salt, and the bay leaves to a boil in a medium saucepan over medium-high heat. Once the water boils, cook the potatoes for 4 minutes, drain, and set aside.

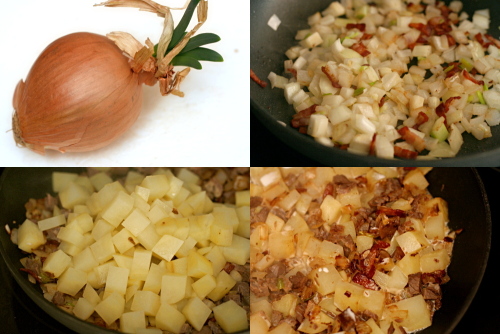
2. Place the bacon in a 12-inch nonstick skillet over medium-high heat and cook until the fat is partially rendered, about 2 minutes. Add the onions and cook, stirring occasionally, until the onion has softened and browned around the edges, about 8 minutes. Add the garlic and thyme and cook until fragrant, about 30 seconds. Add the corned beef and stir until thoroughly combined with the onion mixture. Mix in the potatoes and lightly pack the mixture into the pan with a spatula. Reduce the heat to medium and pour the heavy cream and hot pepper sauce evenly over the hash. Cook, undisturbed, for 4 minutes, then, with the spatula, invert the hash, a portion at a time, and fold the browned bits back into the hash. Lightly pack the hash into the pan. Repeat the process every minute or two until the potatoes are thoroughly cooked, about 8 minutes longer.

3. Make 4 indentations (each measuring about 2 inches across) equally spaced on the surface of the hash. Crack 1 egg into each indentation and season the egg with salt and pepper to taste. Reduce the heat to medium-low, cover the pan, and cook until the eggs are just set, about 6 minutes. Cut the hash into 4 wedges, making sure each has an egg, and serve immediately.

home corned beef

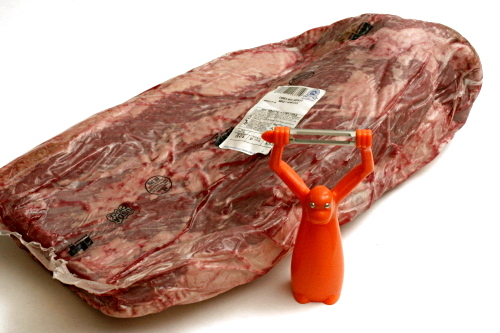
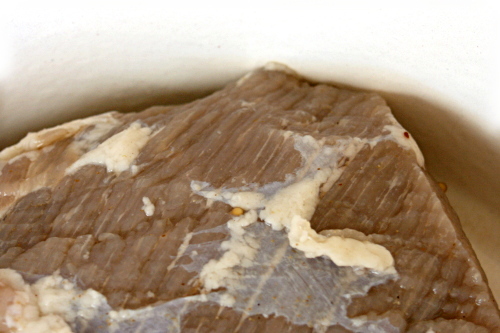
Can someone explain to me why the only way I can buy brisket in my tiny town is to get the whole brisket? (And why are there no dried currants? Or mini-cupcake liners?) I didn’t even know what a whole brisket looked like before last month. First off, it’s huge. Who needs to buy 15 pounds of meat at a time? Second, half of that 15 pounds is fat. I actually weighed the fat after I spent an entire hour aaaargh! trimming it off the brisket. An inch-thick layer of fat, yum.


monkey peeler for scale

And why is brisket so much more expensive to buy than prepared corned beef anyway? Corned beef is just seasoned brisket. I didn’t corn my own beef because I have a problem with the store-bought versions of corned beef; it’s just that…I can’t help myself. Homemade corned beef sounded fun.

I tried it a few years ago (back in the glorious days when I could buy pre-trimmed brisket in reasonable sized roasts), using Cooks Illustrated’s dry rub recipe. In that one, a mixture of salt and other seasonings is rubbed onto the brisket and left to set for several days. It was good, because it’s salty brisket, but I didn’t think it was significantly better than what I could buy.

I started out this time using Alton Brown’s recipe, which is a wet brine similar to what is often used for chicken. However, I balked when I was supposed to add 2 pounds of ice to 2 quarts of water to make the brine for four pounds of brisket. That seemed like an excessive amount of liquid per meat; I’m not sure I have the fridge space for all that. So I halved the liquid, but that means that my brine was far more concentrated, and the resulting corned beef was not-quite-inedibly salty.

I tried again (after all, I still had plenty of brisket in the freezer), dialing back the amount of salt by half. And what do you know? Perfection. Dave is already requesting more reubens, so it looks like I’ll use up 15 pounds of brisket after all.  Maybe next time I can get the butcher to trim it for me.

One year ago: Roasted Baby Artichokes
Two years ago: Red Beans and Rice

Printer Friendly Recipe
Corned Beef (adapted from Alton Brown)

6 to 8 servings

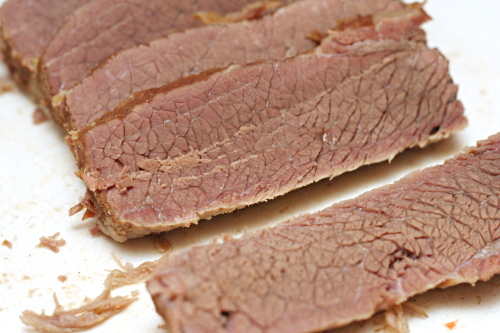
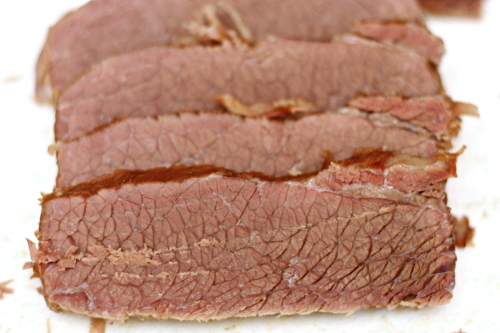
The use of saltpeter (potassium nitrate) is up to you. Its purpose is to make the meat pink; without it, it turns the purpley gray that you see in my pictures. Cooks Illustrated’s corned beef write-up reported chemical flavors whenever they used saltpeter, and I couldn’t find it anyway, so I left it out, and truthfully, I quite like the color of the meat at the end of cooking.

4 cups water
½ cup kosher salt
6 tablespoons brown sugar
1 tablespoon saltpeter (optional)
½ cinnamon stick, broken into several pieces
1 teaspoon mustard seeds
1 teaspoon black peppercorns
4 whole cloves
4 whole allspice berries
6 whole juniper berries
2 bay leaves, crumbled
¼ teaspoon ground ginger
4 quarts ice
1 (4 to 5 pound) beef brisket, trimmed

Place the water in a 5-quart pot along with the salt, sugar, saltpeter (if using), and spices. Cook over high heat until the salt and sugar have dissolved. Add the ice and let set the mixture until the ice is mostly melted. Once the liquid is cold, place the brisket in a 1-gallon zip-top bag and add the brine. Seal and lay flat inside a 9×13-inch pan. Refrigerate for 5 days, turning occasionally. After 5 days, remove the meat from the brine and rinse it under cool water. Cook using your favorite recipe. (I like to keep it very simple, just simmering the brisket in water for a few hours until it’s tender, adding potatoes, carrots and cabbage near the end.)