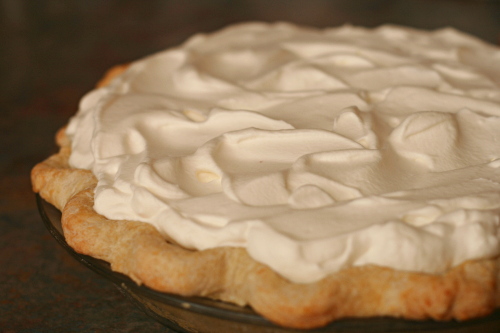
dorie’s best chocolate chip cookies

Before I joined Tuesdays with Dorie, I baked chocolate chip cookies a couple times a month. They were my standard weeknight dessert; I’d eat dinner early and then by the time I was ready to drink my evening tea, I was hungry for a dessert, and a cookie or two was just the right portion. When I saw Dave on the weekend (before we were married and living together), I’d give him whatever cookies I hadn’t eaten. He’d usually eat the rest of the batch in one evening.

That was before I was experimenting with chocolate chip cookie recipes, so I stuck with the Tollhouse recipe back then. I did find, however, that I liked the cookies better if I added an extra quarter cup of flour to the recipe, which made the cookies taller, drier (less greasy), and more cakey.

Dorie’s favorite chocolate chip cookie recipe goes in the opposite direction, reducing the flour from the Tollhouse recipe. I knew that wasn’t my preference, but I stayed true to the recipe anyway – I’m familiar with the results of the recipe with more flour, but I didn’t know precisely what the cookies would be like with Dorie’s exact recipe.

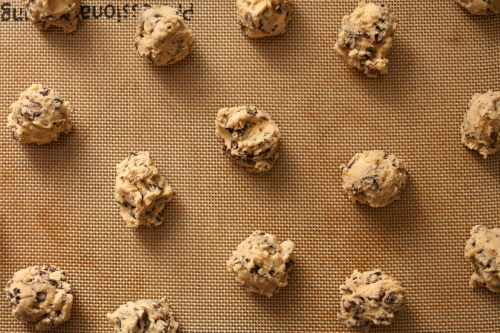
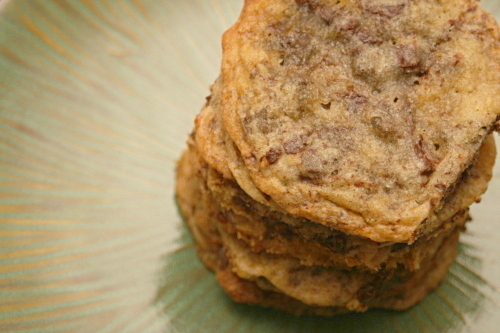
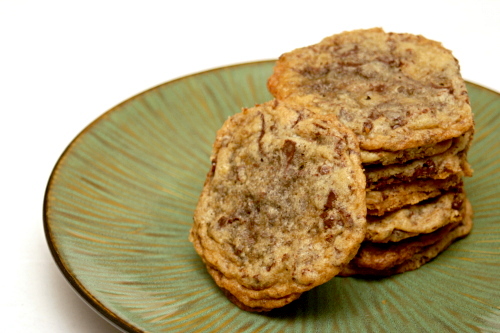
They were what I expected, but even flatter. I had frozen the balls of dough early in the week and then baked them straight from the freezer, which I thought would reduce the spreading and result in taller cookies, but they were nearly paper thin. I did like their texture – crisp at the edges with soft, slightly chewy centers.

Everyone has their own opinion of what the perfect chocolate chip cookie is. This was good, but it wasn’t quite what I look for in a chocolate chip cookie. If your ideal is closer to Dorie’s than mine is, Kait has the recipe posted.
jalapeno-baked fish with roasted tomatoes and potatoes

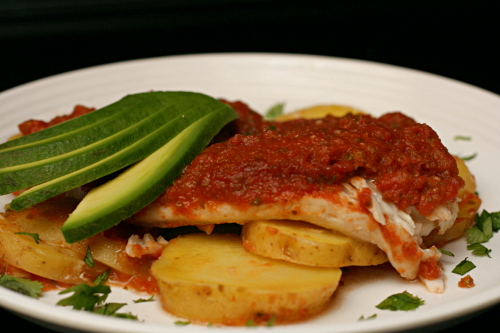
I need every weekday meal to be exactly like this one.

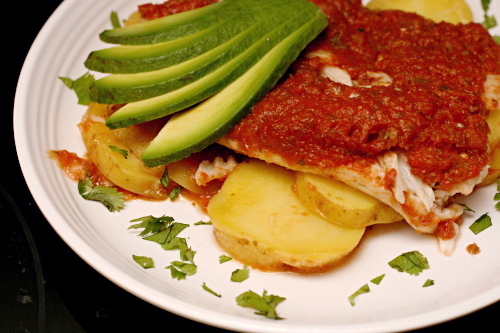
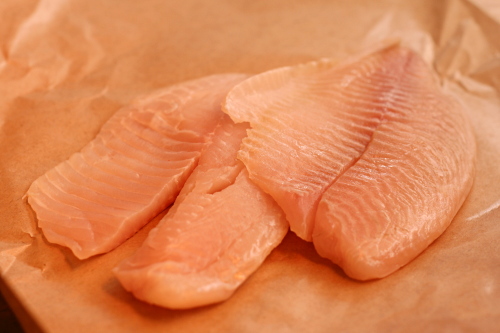
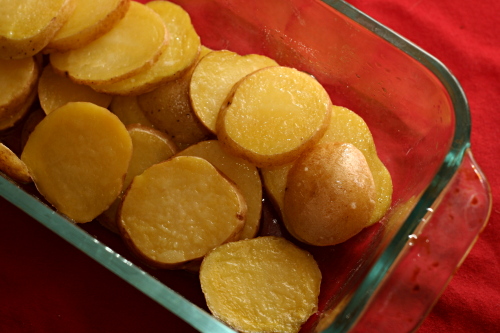
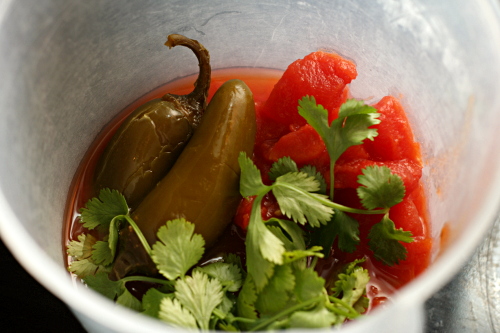
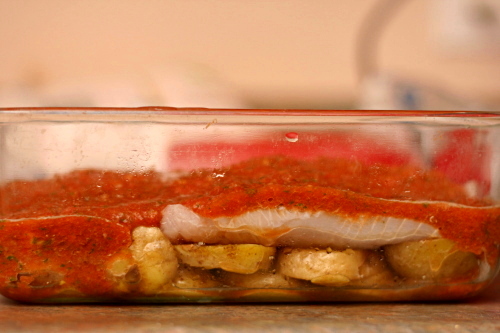
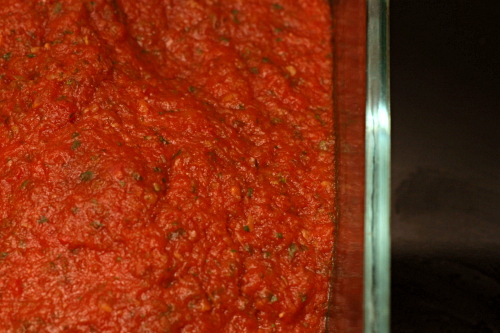
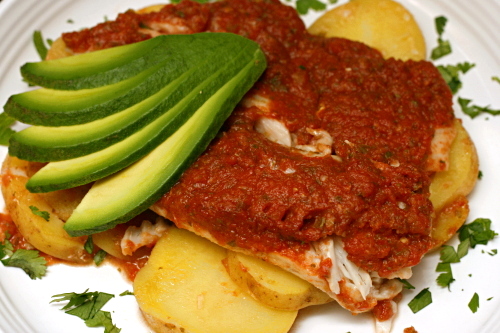
First, it took only 20 minutes of actual effort. Sliced potatoes are softened in the microwave right in the baking dish. Meanwhile, I pureed a few other ingredients, mostly straight from cans, with my immersion blender. Then I laid some fish filets over the potatoes and poured the pureed sauce on top.

Second, it only bakes for 20 minutes. This was the perfect amount of time for me to empty the dishwasher, clean up the kitchen and unpack groceries.

Third, it’s nice and light, with lean white fish, vegetables, and just a small amount of oil to help the potatoes cook.

Fourth, and of course the only point that really matters, it was just so good. The fish, potatoes, and sauce were balanced nicely and the spice level was just right.

My favorite meals have all the ingredients jumbled together like this, protein and starch and vegetables. It’s especially nice on a weeknight so I don’t have to make side dishes as well. I haven’t found many fish recipes like that, so this is perfect – in every way, really.

One year ago: Red Velvet Cake comparison
Two years ago: Olive Oil Bread

Printer Friendly Recipe
Jalapeno-Baked Fish with Roasted Tomatoes and Potatoes
(from Rick Bayless’s Mexican Everyday via Dinner and Dessert)

Serves 4

4 medium (1 pound total) red-skin boiling or Yukon Gold potatoes, sliced 1/8-inch thick
1 tablespoon vegetable or olive oil
Salt
1 (15-ounce) can diced tomatoes in juice
1 large garlic clove, peeled and cut in half
⅓ cup (loosely packed) coarsely chopped cilantro, plus extra for garnish
About ¼ cup sliced canned pickled jalapenos
1 tablespoon jalapeno pickling juice
Four 4- to 5-ounce (1 to 1¼ pounds total) skinless fish fillets, preferably ¾ to 1 inch thick

1. Turn on the oven to 400 degrees. Scoop the sliced potatoes into a microwaveable 8×8-inch baking dish. Drizzle on the oil and sprinkle with ½ teaspoon salt. Toss to coat, then spread the potatoes in an even layer. Cover with plastic wrap and poke a couple of holes in the top. Microwave on high until the potatoes are nearly tender, about 4 to 5 minutes.

2. Meanwhile, in a food processor or blender, combine the tomatoes with their juice, garlic, cilantro, jalapenos, and pickling juice. Process to a puree, leaving just a little texture.

3. Lay the fish fillets in a single layer over the potatoes. Pour the tomato mixture evenly over the fish and potatoes.

4. Slide the baking dish into the oven. Bake for 20 minutes, until the fish flakes when pressed firmly.

5. Scoop a portion of the fish-potato-sauce onto each dinner plate, sprinkle with cilantro, and serve right away.

rick katz’s brownies for julia child

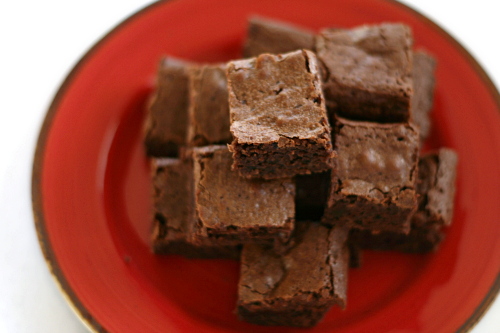
You can laugh, based on years on my often-but-not-always-positive critiques of Dorie’s recipes, but I actually think I’m pretty open-minded about desserts. For example, I definitely already have a favorite brownie recipe. It’s evenly balanced between cakey and fudgy, which is exactly how I like my brownies. When one report after another started rolling in that these brownies were ultra gooey, I started to get the feeling that they wouldn’t be my style.

But you know what they would be? Brownies. And that is a very good thing.

I did reduce the butter a bit, not so much in an effort to change the texture of the brownies or to be healthier, but just because I happened to have 7 tablespoons (for a half recipe, which called for 8 tablespoons) handy when I was baking these.

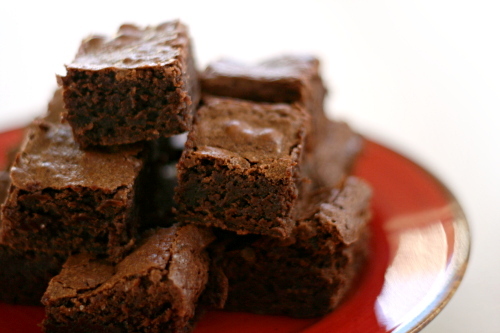
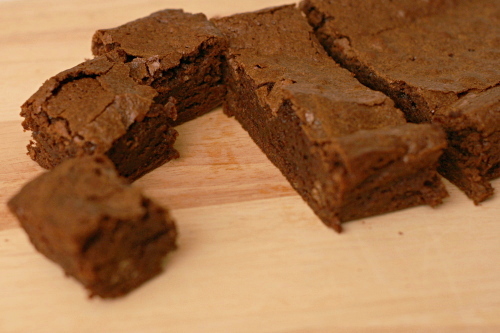
I don’t know if it was the slightly reduced amount of butter or because I baked the half recipe for the same time Dorie recommends baking the full recipe, but these brownies ended up with my perfect brownie texture. They were nice and rich, but still firm enough to hold their shape like a brownie should. Once they were cut into near bite-sized squares, they were perfectly irresistible.

Tanya of Chocolatechic, appropriately enough, chose these brownies for Tuesdays with Dorie, and she has the recipe posted.
One year ago: Floating Islands

toasted vegetable subs

I wouldn’t say that I get tired of pizza, but with nothing to break our Friday night pizza routine lately, I thought a break might be in order. I considered some of my other favorite take-out options that I could make at home and decided, mm, big cheesy toasted sandwiches.

As much as I love a bunch of different spicy meats (my god, I cannot avoid the innuendos around here lately) on a sandwich, Dave and I had a lot of meat plans (ack) for the weekend already. Plus, I was pretty sure I could make a vegetarian sandwich every bit as good as my favorite carnivorous version.

Maybe you don’t need a recipe for a veggie sandwich – just put your favorite vegetables on bread, right – but I looked around for one anyway and found several. Most were based on eggplant and zucchini, which…eh. I don’t know. Maybe that’s a little too earnest for a Friday night. I wanted a meatier vegetarian sandwich.

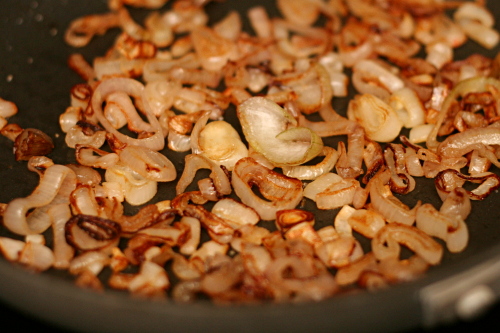
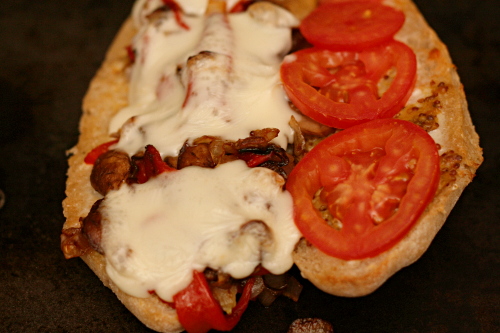
So mushrooms were in, of course, as well as caramelized shallots and roasted red peppers. I added the out-of-season mealy tomatoes simply because it seems traditional on a toasted sub, but I think chopped sun-dried tomatoes mixed with the other vegetables would be more flavorful.

Bread topped with melted cheese, tomatoes, and vegetables is the perfect way to take a break from pizza, isn’t it? But with a sandwich this good, I didn’t miss my normal Friday night pizza at all.

One year ago: Crispy Bagel Sushi Roll
Two years ago: Queso, Sun-Dried Tomato Dip

Printer Friendly Recipe
Toasted Vegetable Subs

Serves 4

2 red bell peppers
2 tablespoons olive oil
6 large shallots, peeled and sliced 1/8-inch thick
salt
8 ounces mushrooms, sliced 1/8-inch thick
ground black pepper
4 large sub/hoagie rolls, halved lengthwise
mayonnaise
mustard
1 roma tomato, sliced then or 8 sun-dried tomatoes, diced small
4 ounces sliced provolone

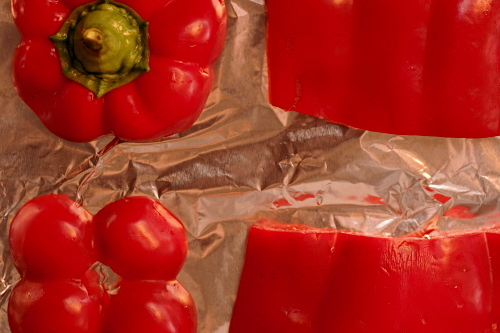
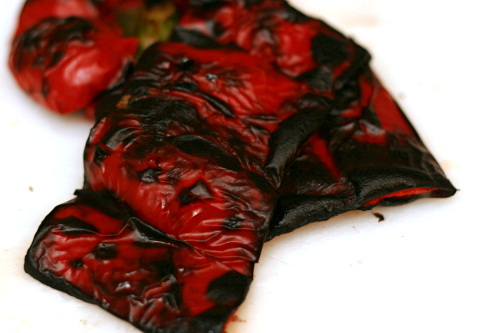
1. Adjust a rack to the upper-middle position and heat the broiler. Line a baking sheet with foil. Cut a ½-inch slice from the top and bottom of the red peppers. Remove the seeds; cut the middle section of the pepper in half from top to bottom; cut out the veins. Place the pepper skin-side up on the prepared baking sheet and broil until the skin is blistered and black, about 15 minutes. Remove the peppers from the oven and place them in a medium bowl. Cover the bowl and let the peppers steam for at least 10 minutes to loosen the skin. Leave the broiler on.

2. Meanwhile, heat 1 tablespoon oil in a medium nonstick skillet over medium-high heat. Add the shallots and ½ teaspoon salt; sauté, stirring constantly, until the shallots just start to brown. Reduce the heat to medium-low and continue to cook, stirring occasionally, until the shallots are golden to dark brown, about 15 minutes. Scrape them from the skillet to a medium bowl.

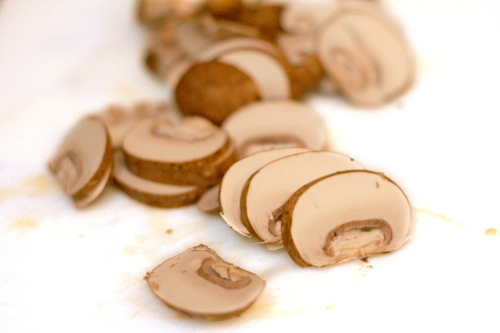
3. Heat the remaining 1 tablespoon oil in the same skillet (there’s no need to wash it) over medium-high heat. Add the mushrooms and ½ teaspoon salt and sauté, stirring constantly, until browned, about 3 minutes. Scrape them into the bowl with the shallots. Season the mixture with ground black pepper.

4. Peel the skin from the red pepper’s flesh and cut the flesh into 1/8-inch slices. Add it to the bowl with the mushrooms and shallots. If you’re using sun-dried tomatoes, add those to the bowl as well.

5. Spread a thin layer of mayonnaise, then mustard, over both sides of the rolls. Divide the vegetable mixture evenly between the bottom pieces of the rolls; top with the cheese. Arrange the slices of fresh tomato, if using, on the top piece of the sandwich bread. Place the sandwiches on a baking sheet, with the tomato and cheese facing up.

6. Broil until the cheese is melted and the bread is slightly toasted, 3-5 minutes. Let the sandwiches cool for a few minutes before serving.

oatmeal pancakes

Dave gets a man magazine – not one with naked ladies, but one about fashion and supposedly culture and, I don’t know, other manly stuff. I know he’ll insist that I clarify that he doesn’t pay for it. Anyway, the last issue had an article about getting in shape in which the author claims that whole wheat gives guys man boobs. Instead, men should focus on grains like oats and quinoa.

Yes, it’s whole wheat that gives you man boobs, and not, you know, overeating. I suspect that eating too much quinoa without exercising would also result in man boobs.

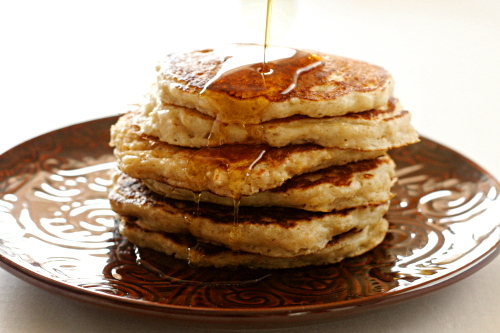
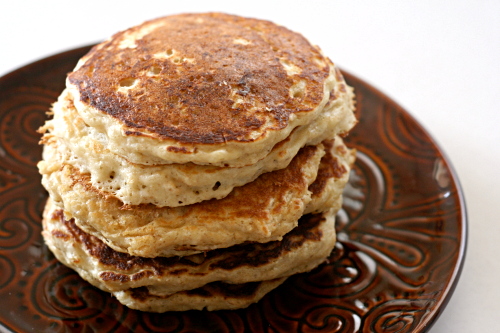
But hey, if you’re concerned about your man boob potential, these pancakes are perfect for you, because they are almost completely oats, with just a small amount of flour. Of course, they have a stick of butter in them, but hey, the problem is whole wheat, right, not fat.

Plus I cut the amount of butter in half and the pancakes were still perfect. I also substituted whole grain pastry flour for half of the flour in the recipe, my new favorite trick with quick breads. I increased the milk a little to make up for the lost liquid from the butter.

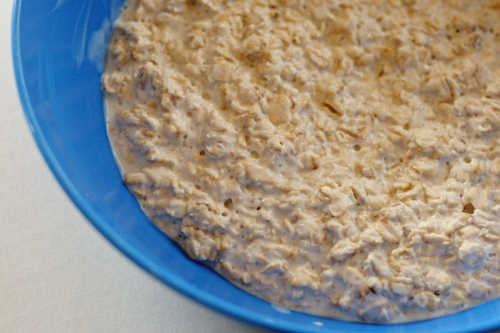
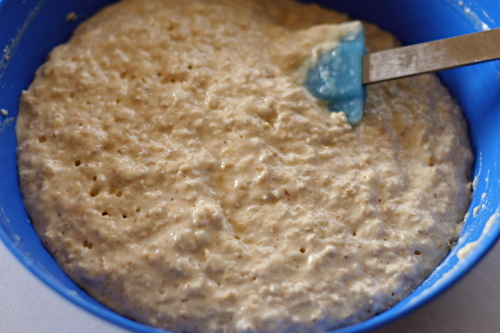
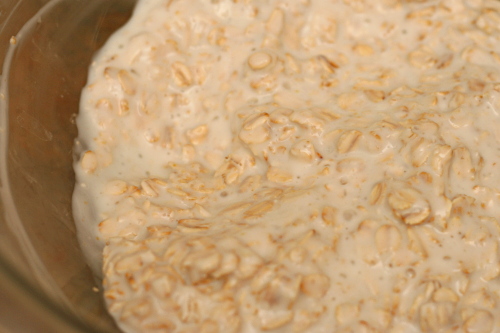
I’m loving the result of soaking oats before mixing them into batter. Once the oats are softened, they blend better with the rest of the ingredients. I’m also really eager to try toasting the oats before mixing them with the liquid, because I love the flavor that toasting gives oats. I’ll have to try that next time, which might be soon, since I don’t want to give Dave man boobs by making him regular pancakes.

One year ago: Tofu Croutons
Two years ago: Old-Fashioned Chocolate Layer Cake

Printer Friendly Recipe
Oatmeal Pancakes (adapted from Orangette, who adapted it from the Inn at Fordhook Farm in Doylestown, PA)

4 servings

I replaced ¼ cup of the flour with the equal amount of whole wheat pastry flour, a trick I’ve found very successful with pancakes and muffins.

2 cups old-fashioned oats
2 cups + ½ cup buttermilk
½ cup (2.4 ounces) all-purpose flour
2 tablespoons sugar
1 teaspoon baking powder
1 teaspoon baking soda
½ teaspoon table salt
2 large eggs, lightly beaten
4 tablespoons (½ stick) unsalted butter, melted but not hot
vegetable oil for the pan

1. Combine the oats and 2 cups of the buttermilk in a medium bowl. Cover with plastic wrap and refrigerate overnight.

2. In a medium bowl, whisk together the flour, sugar, baking powder, baking soda, and salt. Whisk the remaining ½ cup buttermilk, the eggs, and then the butter into the oat mixture. Fold the flour mixture into the batter.

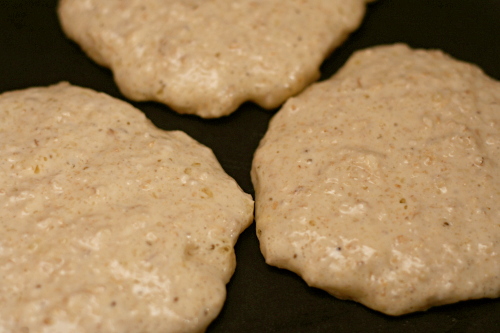
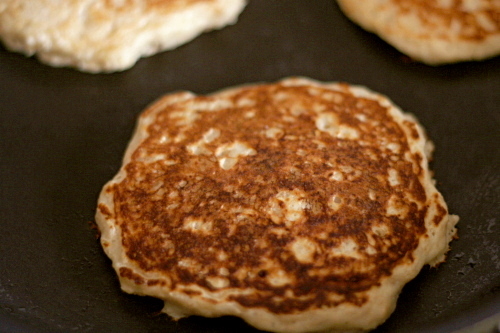
3. Brush a large nonstick skillet or griddle with vegetable oil; heat over medium heat. Spoon scant ¼ cups of the batter onto the pan. Cook until the sides of the pancakes start to look dry and the bottom is golden brown, 2-3 minutes. Flip, then continue to cook until the second side is also golden brown, about 2 minutes. Repeat with the remaining pancakes, adjusting the heat if necessary. If you’d like, you can keep the pancakes in a 200 degree oven on a cooling rack set over a baking sheet until the whole batch is cooked.

milk chocolate bundt cake

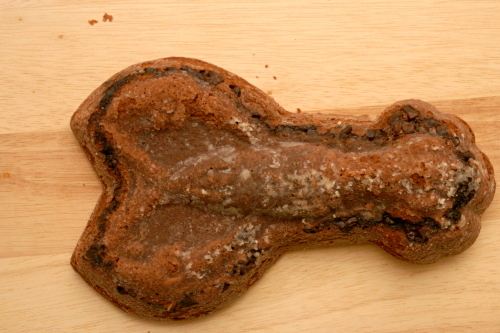
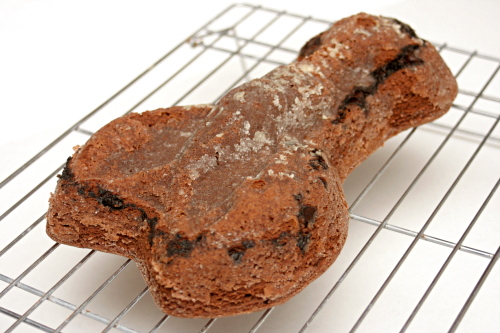
It’s a lobster!!! Get your mind out of the gutter.

I’ve come full circle on milk chocolate. As a kid, like most of us I think, I didn’t like dark chocolate at all. Ew, too bitter! Recently, I’ve felt the opposite. Milk chocolate was too sweet – where’s the chocolate flavor?

But now milk chocolate just reminds me of the time I left a chocolate bunny on my windowsill right after Easter, and it melted and was suddenly ten times better than any milk chocolate I’d had before. It may just be that I’m buying higher quality milk chocolate these days; regardless, I like having another type of chocolate to enjoy.

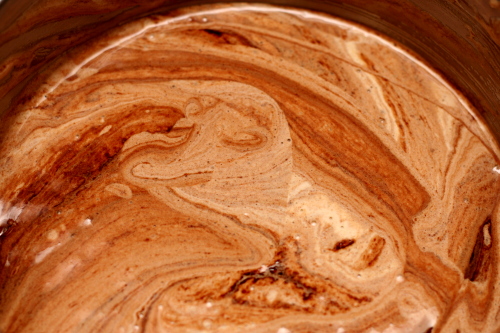
Whatever the reason, I really enjoyed this milk chocolate cake. After three weeks of banana cream pie, I was in the mood for something dark and rich.  I was still interested in the milk chocolate idea, so I just replaced the nuts in the swirl with more milk chocolate. Ooh yeah, there’s a nice chocolate kick.

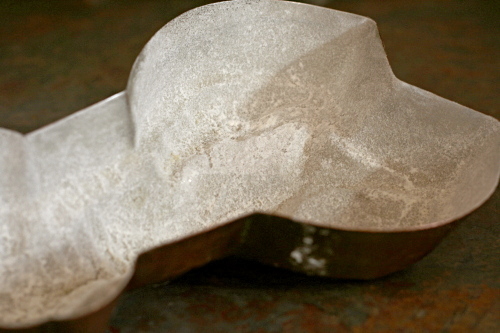
Even more exciting than chocolate-glazed chocolate cake with a cocoa-chocolate swirl is that it’s lobster shaped! Yay, lobster shaped cake!

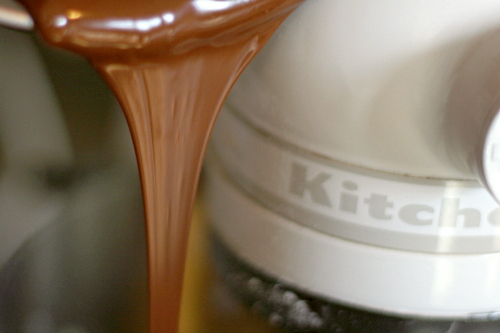
Kristin chose this for TWD and has the recipe posted. The glaze, a simple mixture of melted chocolate and corn syrup, didn’t work for anyone. I added milk until it smoothed out and was quite happy with the result.
One year ago: World Peace Cookies

oatmeal raisin muffins

I must be growing up. Since when do I like raisins? At least I still think green peppers are blech. If that ever changes, I know I’ll be ready to pick up my cane and trade in my real teeth for the kind you take out at night to clean. Oh, and buy one of those plastic bag things to wrap around my head when it rains.

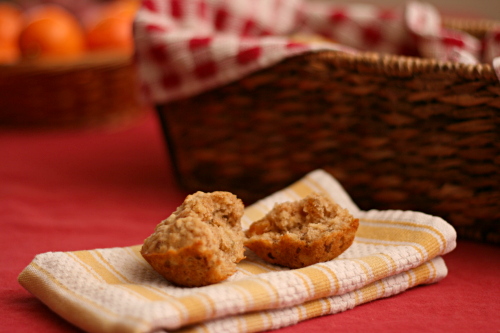
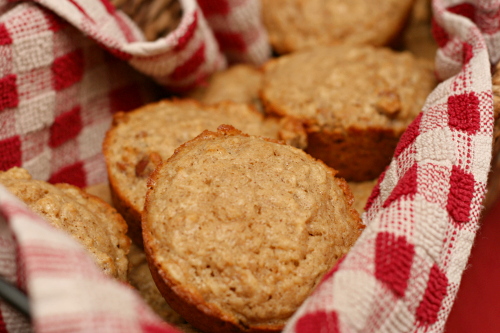
Granted, Dave pointed out that these are particularly good raisins. Even so, these muffins are wonderful – soft and fluffy and tender, and the raisins add some tartness and the pecans a bit of crunch, and all together, kinda sorta perfect actually!

They’re not too bad for you – oats are whole grains, right? I replaced a third of the flour with whole wheat pastry flour, a great trick with muffins. Let’s forget about the butter, okay? You have to pay a small price for muffins this good.

It seems inconceivable, but could oatmeal raisin cookies be my next favorite thing? I did buy yellow peppers for the fajitas we’re making for dinner tonight, instead of the green peppers called for in the recipe, so I feel safe there. Still young! (And picky, apparently.)

Two years ago: Potstickers

Printer Friendly Recipe
Oatmeal Raisin Muffins (adapted from Morning Food, by Margaret S. Fox and John B. Bear, via recipezaar)

Makes 12

I substituted ¼ cup whole wheat pastry flour for an equal amount of white flour, and the muffins were still wonderful.

1 cup old-fashioned oats
1 cup buttermilk
¾ cup (3.6 ounces) all-purpose flour
½ teaspoon baking powder
½ teaspoon salt
¾ teaspoon baking soda
1 teaspoon cinnamon
pinch nutmeg
½ cup pecans or walnuts, chopped
2 eggs, beaten lightly
⅓ cup (2.35 ounces) packed light brown sugar
6 tablespoons melted butter
½ cup raisins

1. Combine the oats and buttermilk and let stand 30 minutes. Adjust a rack to the middle position and heat the oven to 400ºF. Spray the bottoms only of a 12-cup muffin pan with nonstick spray or line with paper liners. Combine the flour, baking powder, salt, baking soda, cinnamon, and nutmeg.

2. Spread the nuts evenly on a baking sheet. Bake, shaking the pan every couple of minutes, until fragrant, about 5 minutes. Transfer the nuts to a small bowl. (If you leave them on the hot pan, they’ll continue to cook and might burn.)

3. Add the eggs to the oatmeal mixture one at a time, whisking thoroughly after each addition. Whisk in the sugar, then the butter. Switch to a rubber spatula and fold in the flour mixture. Once the flour is dispersed, but not completely moistened, gently stir in the raisins and nuts.

4. Divide the batter evenly between the muffin cups. Bake until a toothpick inserted into a muffin comes out clean, 13-18 minutes. Set the pan on a rack to cool slightly, about 5 minutes, then use a thin-bladed knife to remove the muffins from the pan.

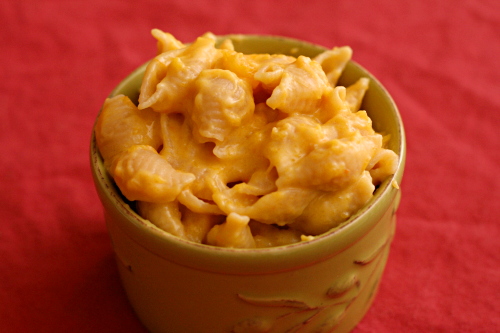
butternut squash macaroni and cheese

I don’t think I do too badly with self-control. I can sit at home all day with banana cream pie in the fridge and not even think about it until it’s time for dessert and tea. I don’t drink alcohol on weekdays (those extra calories are saved for dessert), and it isn’t a struggle, even though we have plenty of it around.

But there are two foods that I have no control with – chocolate chip cookie dough and macaroni and cheese. No kidding, I can eat both until I’m feeling not so good, and even that won’t stop me from craving more as soon as I digest a bit. As a result, macaroni and cheese has been allocated to a once-in-a-blue-moon treat.

But…can I make a version of macaroni and cheese that is healthy enough to eat more often, but still worth craving?

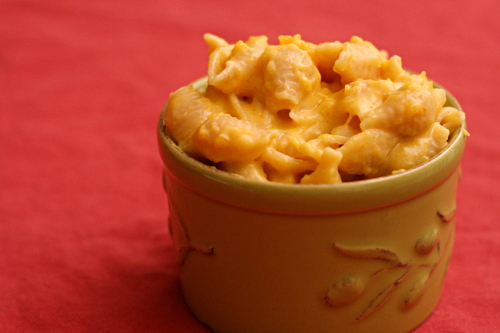
Apparently. I’m not saying that this is hardcore health food, but it’s not so bad nutrition-wise. The squash does an admirable job of replacing some of the cream sauce, and it isn’t just a “hide the vegetables” trick, because the flavor is surprisingly complementary. The final dish was sweeter than regular mac and cheese, but that wasn’t a bad thing. And it doesn’t hurt that the golden color of the squash makes the pasta look even cheesier.

I shouldn’t be shoveling this into my maw without abandon any more than I do regular macaroni and cheese, but at least it’s healthy enough to eat more than twice a year.  Tasty enough too.

One year ago: Fish Tacos

Printer Friendly Recipe
Butternut Squash Macaroni and Cheese (adapted from Branny Boils Over)

You can adapt this in a number of ways. The easiest is by changing the type of cheese, although if you can, using a combination of cheddar and a good melter will give you consistently great results. Branny adds in a couple ounces of cream cheese, which will make the sauce extra creamy, but I decided I could skip it and make this a little healthier.

Most homemade macaroni and cheese recipes call for a final baking step, which I’ve skipped here simply because I wanted to make this as easy as possible for a weeknight dinner. If you prefer your mac and cheese baked, I recommend pouring it into a broiler-safe 8-inch square pan, topping it with bread crumbs made from fresh bread, and heating it about 5 inches from the broiler for a couple of minutes.

Each serving has about 325 calories.

Serves 8

1 small butternut squash
12 ounces elbow macaroni
salt
2 tablespoons unsalted butter
2 tablespoons all-purpose flour
½ teaspoon powdered mustard
2 cups milk
4 ounces Monterey Jack cheese, shredded (1 cup)
4 ounces sharp cheddar cheese, shredded (1 cup)

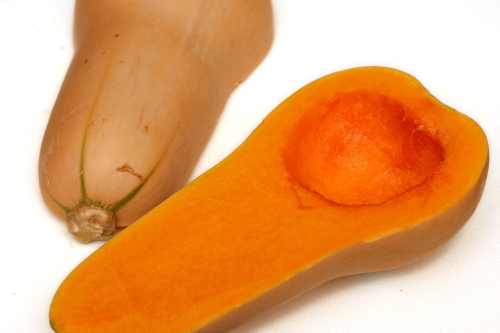
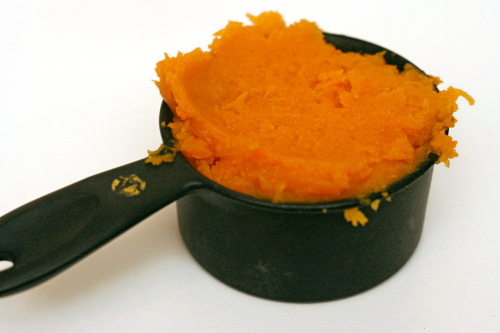
1. Adjust on oven rack to the middle position and heat the oven to 425 degrees. Cut the squash in half lengthwise, scoop out the seeds, and lay the halves cut side down on a parchment-lined baking sheet. Bake for 25-35 minutes, or until a butter knife inserted into the flesh meets no resistance. Scoop 2 cups of flesh from the squash and mash it with a fork, or, if you’re willing to put a bit more effort into it (I wasn’t), puree it in a blender or food processor.

2. Meanwhile, bring a large pot of water to a boil over high heat. Once it boils, add about a tablespoon of salt and the pasta. Cook the pasta until it’s tender. Drain and return the pasta to the pot.

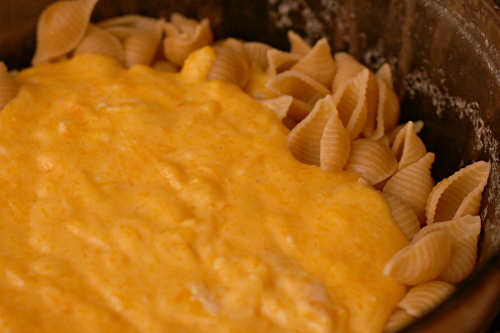
3. Melt the butter in a medium saucepan over medium heat. Once the foaming subsides, add the flour and mustard. Whisk constantly for 1 minute, then gradually whisk in the milk. Bring the mixture to a simmer over medium heat, whisking frequently, then lower the heat to medium-low and simmer for 5-6 minutes, until the mixture has the consistency of heavy cream. Add the cheeses, ½ teaspoon table salt, and the squash, stirring until the cheese melts.

4. Pour the sauce over the drained pasta and stir thoroughly. Serve immediately.

coco-nana muffins

I made these, oh, a year and a half ago. And the file’s just been sitting around waiting for someone to choose them for Tuesdays with Dorie. Actually, it was the first recipe I ever made from Dorie Greenspan that was not specifically for TWD. I had told myself that I would only bake from the book with the group, but I realized that was stupid when I wanted to make muffins and happened to have all the ingredients for these.

Obviously they’re not fresh in my mind, plus I usually just eat one muffin per batch. I freeze the rest and Dave takes one to work everyday. I do remember liking these though, and indeed, my notes say “good; great texture; mostly chocolate, hint of banana.” Sounds perfect to me.

Steph has the recipe posted.
One year ago: Fresh Ginger and Chocolate Gingerbread

banana cream pie

Dave lucked out this year when his annual birthday pie didn’t come out quite right. Because then I made another one, and then when that one wasn’t perfect either, I made another one.

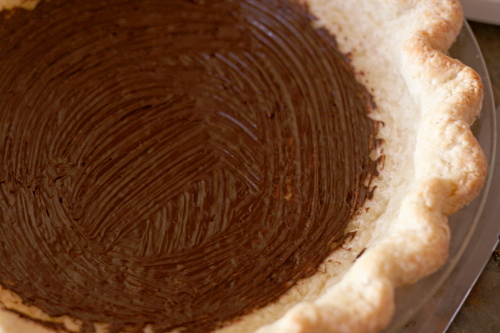
The recipe is Tartine’s, and as usual, they take a classic and kick it up a notch. Their banana cream pie has the traditional flaky crust, pastry cream, bananas, and whipped cream. Then they add caramel and a thin layer of chocolate over the crust to keep the pastry cream from compromising the crust’s crispness.

The chocolate layer in my first pie was way too thick. It was like a Hershey bar on the bottom of the pie. It was impossible to cut. Dave compared it to armor. The second time, I slimmed down the chocolate, but ran out of sugar when I was making the caramel. I thought I’d come up with a way around the sugar issue, but it must not have worked because the caramel layer was hard and chewy. If the chocolate had been like leather armor over the crust, this was chain mail.

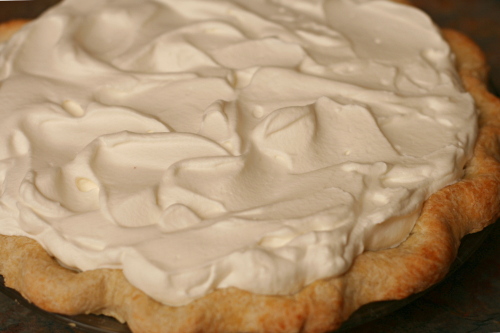
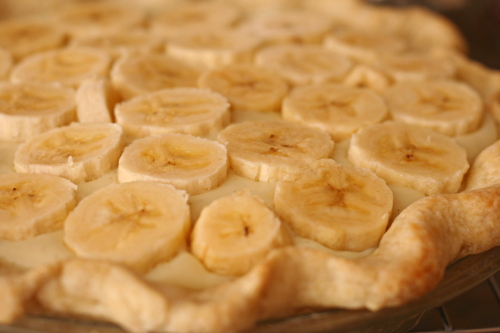
I tried one more time. And, finally! A very thin chocolate layer, the added subtleties of caramel, two layers of sliced bananas, Tartine’s wonderful light pastry cream, all topped with sweet whipped cream. Perfection. Although after my third banana cream pie in as many weeks, I am so ready for some cake or something. I’m not sure Dave agrees.

One year ago: Crispy Baked Chicken Strips
Two years ago: Moo Shu Pancakes

Printer Friendly Recipe
Banana Cream Pie (completely rewritten and slightly tweaked from Tartine’s cookbook)

Full disclosure:

1) The pastry cream pretty much always curdles for me before it boils, but I just pour it into the strainer set over a bowl, whisk like crazy and strain it, and it always ends up smooth and delicious.

2) Working with small amounts of caramel can be tricky, but I had no problems with these quantities. If you see crystals forming when the sugar mixture is bubbling, discard those ingredients and start over. If you’re worried about it working right, you might want to make twice the amount listed here and save half of it for another use.

3) I’m too lazy to set up a makeshift double boiler for 1 ounce of chocolate and I’m biased against microwaves for some reason, so I just melt the chocolate in a very small saucepan over low heat while stirring constantly.

4) The photo of the slice shows only half the whipped cream called for in the recipe, because I ran out of cream.

Pastry cream:
2 cups whole milk
¼ teaspoon salt
½ vanilla bean, cut in half and seeds scraped out
4 tablespoons cornstarch
4 ounces (½ cup + 1 tablespoon) granulated sugar
2 large eggs
4 tablespoons unsalted butter, cut into 8 cubes

Caramel:
5 tablespoons granulated sugar
1 tablespoon water
½ tablespoon light corn syrup
pinch salt
3 tablespoons cream
¼ teaspoon lemon juice
½ teaspoon vanilla extract
1 tablespoon butter, cut into four pieces

Whipped cream:
1 cup heavy cream, cold
2 tablespoons granulated sugar
1 teaspoon vanilla extract

Assembly:
1 pie crust for single-crust 9-inch pie, fully baked and cooled
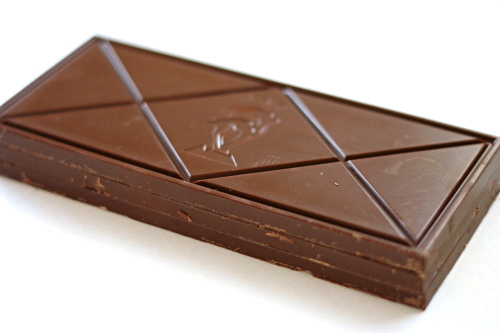
1 ounce chocolate, finely chopped
3 bananas, sliced ¼-inch thick

1. For the pastry cream: Pour a bit of water into a medium saucepan and dump it out. I know it sounds strange, but wetting the bottom of the pot before adding the milk really helps keep the milk from forming a browned layer on the bottom. Add the milk, salt, and vanilla seeds to the pot and bring to a boil over medium-high heat. Meanwhile, whisk together the sugar and cornstarch in a medium bowl, then whisk in the eggs. When the milk boils, pour just a bit of it into the egg mixture, whisking constantly. Keep whisking and very gradually add the rest of the milk to the egg mixture. Pour the mixture back into the pot and whisk constantly over medium heat until the mixture thickens and just starts to boil; it will only take a few minutes (see note #1). Quickly pour the pastry cream into a fine-mesh strainer set over a medium bowl (I use the same bowl I originally mixed everything in). Use a rubber spatula to push the pastry cream through the strainer. Let the pastry cream cool for a few minutes, occasionally stirring it, and then mix in the butter, 2 cubes at a time. Press plastic wrap directly on the surface of the pastry cream and refrigerate it until completely chilled, 3-4 hours or overnight.

2. For the caramel: Pour the sugar into the center of a tall, heavy-bottomed medium saucepan (see note #2). Carefully pour the water and corn syrup over the sugar. Gently stir the mixture with a clean spatula. Place the saucepan over medium heat and bring the mixture to a boil. Before it boils, you can stir it a bit if it seems to be heating unevenly and the sugar isn’t dissolving, but once it starts to boil, stop stirring. You can gently swirl the pan if it seems to be cooking unevenly. Once the mixture becomes a light amber color, remove it from the heat and add the cream. It will bubble up a lot, so stand back. Give it a few seconds to die down, then whisk the cream into the caramel. Add the vanilla extract and lemon juice, then stir in the butter one cube at a time. Pour the caramel into a small dish.

3. Pour about an inch of water into a small saucepan and bring to a simmer (see note #3). Place the chocolate in a small heatproof bowl, place the bowl over the simmering water, and heat, stirring pretty often, until the chocolate is melted. Pour the chocolate into the cooled crust and use a pastry brush to spread it evenly. Set the chocolate aside to set for a few minutes.
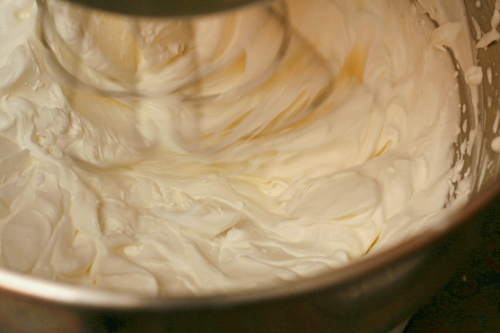
4. For the whipped cream: Place the mixer bowl and whisk attachment (or beaters for a handheld mixer) in the freezer for at least 10 minutes. When the bowl is cold, add the cream and beat at high speed until soft peaks form. Add the sugar and vanilla and continue beating at high speed until firm peaks form.

5. Pour the warm-not-hot caramel over the chocolate and spread it fairly evenly. Spread half the pastry cream over the caramel, then arrange half of the banana slices over the pastry cream. Repeat with the remaining pastry cream and bananas. Spread the whipped cream over the bananas. Refrigerate the pie at least 4 hours or overnight, until set.