beef satay with spicy mango dip

beef satay 5

People keep giving me venison. I have friends who enjoy hunting but have families that don’t love the flavor of venison. I have another friend who doesn’t prefer the front shoulder, so I’ve turned several into barbacoa (and then gave him the recipe, and that was the end of my venison front shoulder donations). I don’t even know how I ended up with the prized backstrap, a cut similar to the tenderloin, but I’m not complaining.

beef satay 1

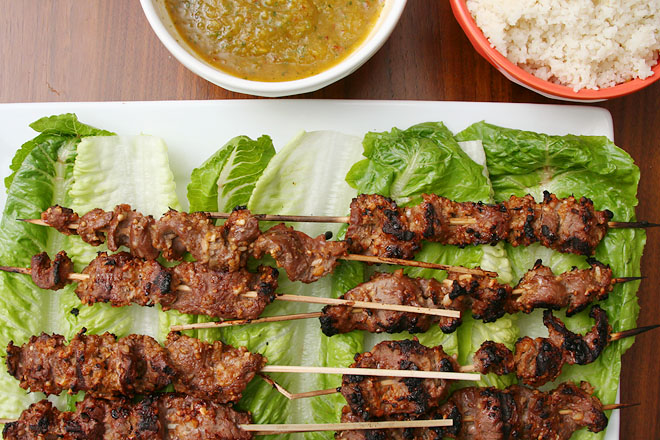
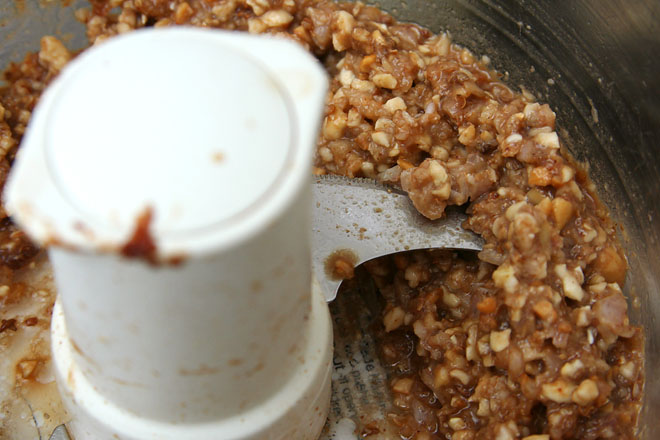
Rather than search for venison-specific recipes, I consider venison interchangeable with beef or sometimes pork. My brother sent me this recipe, and while I didn’t have the right cut of beef, I did have venison backstrap. It’s an interesting recipe, with a marinade that includes ground cashews. It ends up as more of a paste, which sticks to the meat as it cooks.

beef satay 2

It may be unusual, but it works. Dave and I made the full recipe, which supposedly feeds four, and we had no leftovers. Someone needs to give me more venison backstrap so I can make this again immediately – and this time I won’t share the recipe.

beef satay 3

Printer Friendly Recipe
Beef Satay with Spicy Mango Dip
(rewritten from Linda Doeser’s Chinese: The Essence of Asian Cooking)

The recipe recommends serving with salad greens, but I mostly considered those garnish, while rice was important to soak up the sauce.

I made tamarind sauce the same way I do for pad Thai, by soaking tamarind paste in hot water, then straining out the solids and using the liquid in the recipe. You might also be able to find tamarind concentrate. If not, it won’t ruin the recipe to leave it out.

For the satay:
1 pound sirloin steak, thinly sliced across the grain and skewered
1 tablespoon coriander seeds
1 teaspoon cumin seeds
½ cup raw cashews
1 tablespoon vegetable oil
2 shallots or 1 small onion, finely chopped
½-inch piece fresh ginger, finely chopped
1 clove garlic, crushed
2 tablespoons tamarind sauce
2 tablespoons dark soy sauce
2 teaspoons sugar
1 teaspoon rice vinegar or white wine vinegar
Salad greens, to serve

For the spicy mango dip:
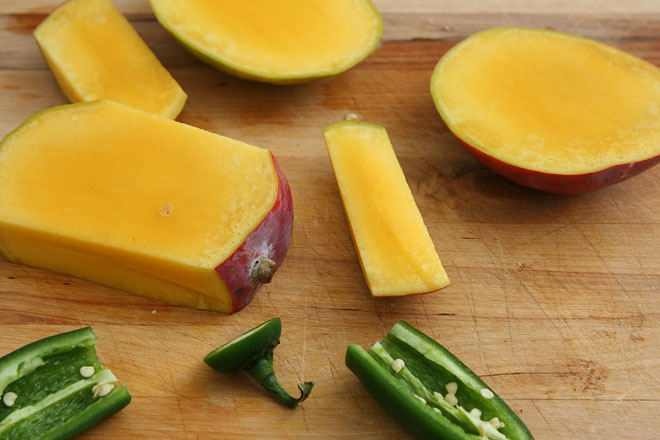
1 ripe mango, peeled and seeded
1 to 2 fresh red chiles, seeded and finely chopped
1 tablespoon fish sauce
Juice of 1 lime
2 teaspoons sugar
2 tablespoons chopped fresh cilantro
½ teaspoon salt

1. Heat a small not-notstick skillet over medium-high heat. Add the coriander and cumin seeds; toast, stirring constantly, until fragrant, about 30 seconds. Immediately transfer to a mortar and pestle or spice grinder. Let cool completely before grinding.

2. In the bowl of a food processor, combine the ground spices, cashews, oil, shallots, ginger, garlic, tamarind sauce, soy sauce, sugar, and vinegar. Process until the cashews are finely chopped. Coat the meat with the cashew mixture; cover and chill for at least 30 minutes or up to 8 hours.

3. For the dip: Process the mango, chiles, fish sauce, lime juice, sugar, cilantro, and salt in the food processor until smooth.

4. Prepare a medium-hot grill. Cook the skewers directly over the heat until browned and cooked through, 3-4 minutes per side. (Alternatively, cook for the same amount of time as close to the broiler element as possible.) Serve with the sauce and greens.
beef satay 4

soba bowls with tea-poached salmon and roasted broccoli

soba salmon broccoli 1

I’ve lost count, but I think this is the fourth year in a row I’ve made it a goal to use my cookbooks more often. I love them so much, but on the other hand, the recipes online are available even when I’m not home, plus they all have reviews. But, again: I can’t justify buying new cookbooks unless I use the ones I have, and I can’t seem to stop buying new ones whether I use them or not.

soba salmon broccoli 6

So I made a list, and everyone knows if you have a list, you have a plan. The goal is two recipes per week from cookbooks, and at least two recipes from each cookbook by the end of the year.

soba salmon broccoli 4

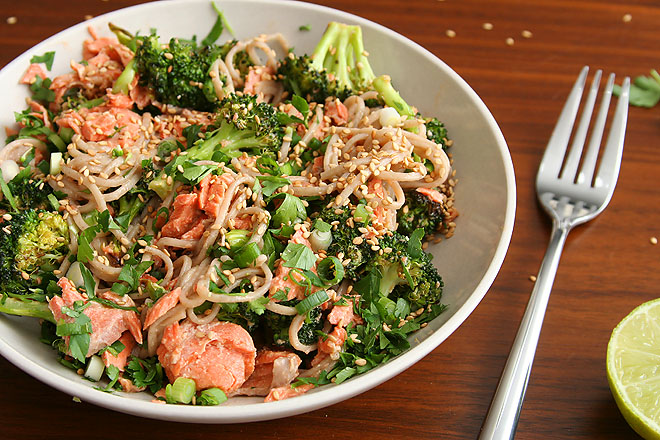
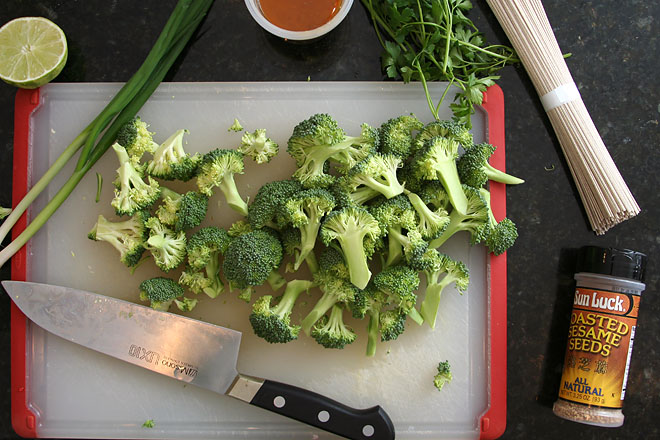
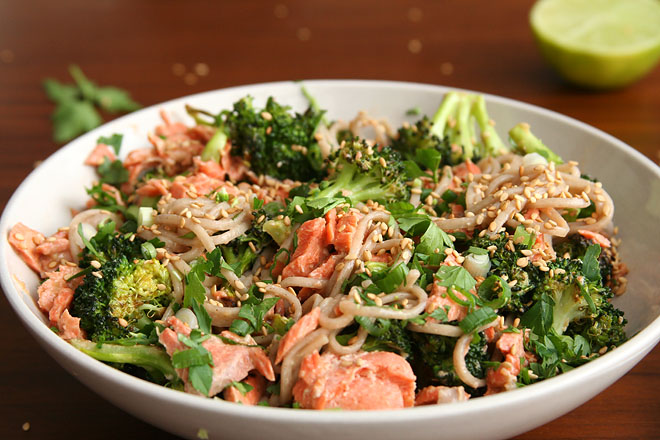
Another advantage of finally opening up my cookbooks, instead of searching through epicurious yet again, is that I’m finding new ideas. Salmon poached in green tea? How interesting. Soba noodles, which I usually keep around but rarely think to use. Roasted broccoli combined with poached salmon and boiled noodles (which does seem a little inefficient, but it’s too good to care), all combined under a sauce of tahini, soy sauce, and grated ginger. My cookbook goal is off to a delicious start, which is hopefully just the encouragement I need to keep it going.

soba salmon broccoli 2

Printer Friendly Recipe
Soba Bowls with Tea-Poached Salmon and Roasted Broccoli
(rewritten but barely changed from Sara Forte’s The Sprouted Kitchen)

Serves 4

I used about 6.5 ounces soba instead of 9.5, and it seemed like a fine amount.

3 tablespoons toasted sesame oil
2 tablespoons tahini
2 tablespoons agave nectar
grated zest and juice of 1 lime
3 tablespoons tamari or soy sauce
2-inch piece fresh ginger, peeled and finely grated
1 bunch or 2 small crowns broccoli, chopped into approximately 1-inch florets
2 teaspoons extra-virgin olive oil
pinch of sea salt
3 green tea bags
1 tablespoon peppercorns
½ cup mirin or dry white wine
1¼ pound salmon fillet
1 (9.5-ounce) package soba noodles
4 green onions, white and green parts, thinly sliced
½ cup coarsely chopped fresh cilantro
¼ cup white or black sesame seeds

1. Place a rimmed baking sheet in the oven and heat the oven to 425 degrees.

2. In a small bowl, combine the sesame oil, tahini, agave nectar, lime juice and zest, soy sauce, and ginger. Set aside.

3. Remove the hot baking sheet from the oven. Spread the olive oil on the sheet, then add the broccoli and a pinch of salt, tossing to coat the broccoli with oil. Roast until the broccoli is tender and caramelized, about 15 minutes, stirring once.

4. Bring a large pot of salted water to a boil.

5. In a medium skillet, bring 1 cup of water to a simmer. Add the tea bags and peppercorns, cover, reduce to the heat to low, and let steep for 3 minutes. Discard the tea bags and add the mirin to the skillet. Place the salmon in the liquid, skin-side down. Cover and cook over low heat until the salmon flakes and is no longer translucent in the middle, 8-10 minutes.

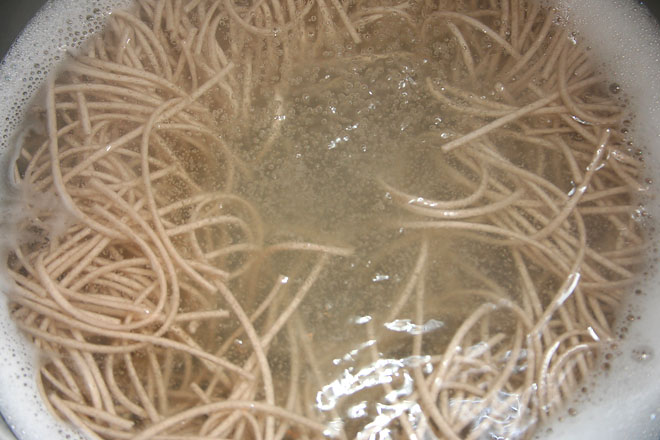
6. Cook the noodles in the boiling water according to the package instructions, 4-5 minutes. Drain and briefly rinse.

7. Remove the skin from the salmon and transfer the meat to a large bowl, breaking it into large chunks. Add the broccoli, noodles, dressing, green onions, and half the cilantro to the bowl; toss to combine. Top with the remaining cilantro and sesame seeds; serve.

soba salmon broccoli 3

vietnamese shrimp quinoa salad

vietnamese shrimp salad 8

Does anyone else think shrimp can have an off-putting texture sometimes? It’s not just when it’s overcooked and chewy; even cooked correctly, there can be an unevenly textured graininess that I don’t like. The smaller the shrimp, the less that texture is an issue. On the other hand, the smaller the shrimp, the more shrimp you have to peel.

vietnamese shrimp salad 1

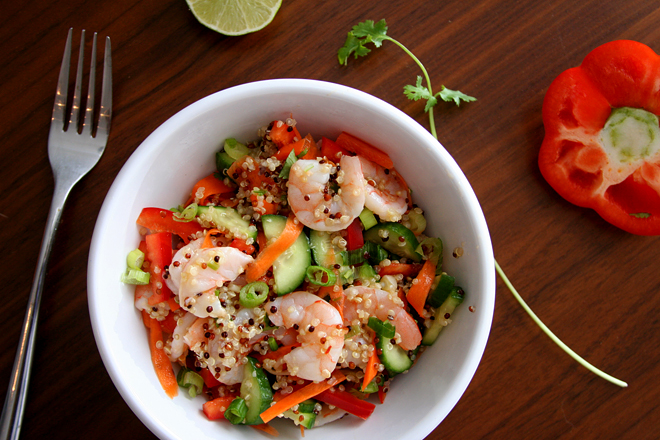
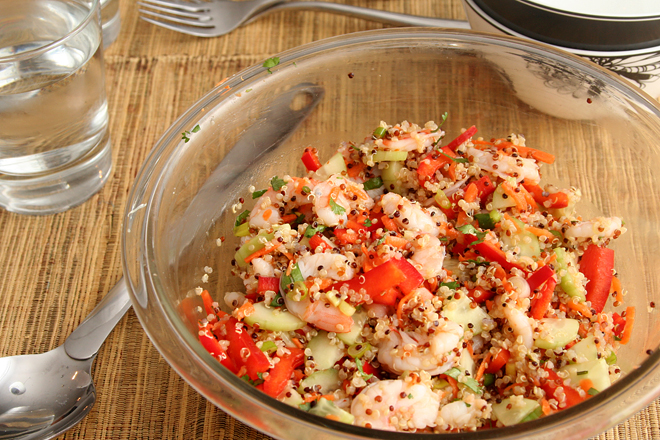
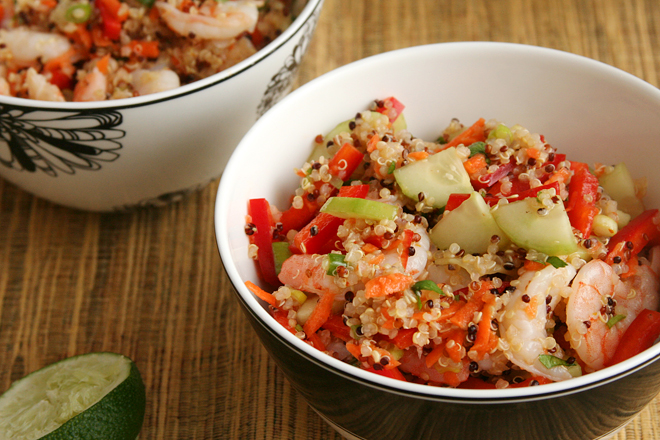
However, I love the flavor. Sweet and briny, it’s so good in a huge variety of dishes. This is one of my recent favorites. The vegetables are crunchy and fresh, but the shrimp and quinoa keep it satisfying.

vietnamese shrimp salad 2

I’ve found a trick that seems to solve my texture issues with shrimp, although it’s an extra tedious step on top of the already tedious peeling. After cooking, I cut the shrimp in half lengthwise. As an added bonus, it makes them closer to bite-sized for me, so I can get a forkful with all the goodies – shrimp and quinoa and vegetables and herbs. This one simple trick makes me love shrimp – both the flavor and the texture.

vietnamese shrimp salad 4

Printer Friendly Recipe
Vietnamese Shrimp and Quinoa Salad (adapted from Serious Eats)

You can save some time by cooking the quinoa in water instead of the cooking liquid from the shrimp, starting to cook the quinoa around the same time as the shrimp.

Shrimp:
1 pound shrimp, unpeeled
2 cups water
5 cilantro sprigs
1 tablespoon sugar
1 teaspoon salt
1 lime

Salad:
½ cup uncooked quinoa, rinsed
1 red pepper, diced
1 cucumber, peeled, seeds removed, quartered lengthwise, and sliced
1 large carrot, peeled and shredded
2 scallions, sliced thin
¼ cup cilantro, minced

Dressing:
¼ cup lime juice from 2 limes
1 tablespoon fish sauce
1 tablespoons vegetable oil
2 teaspoons sugar
¼ teaspoon red pepper flakes

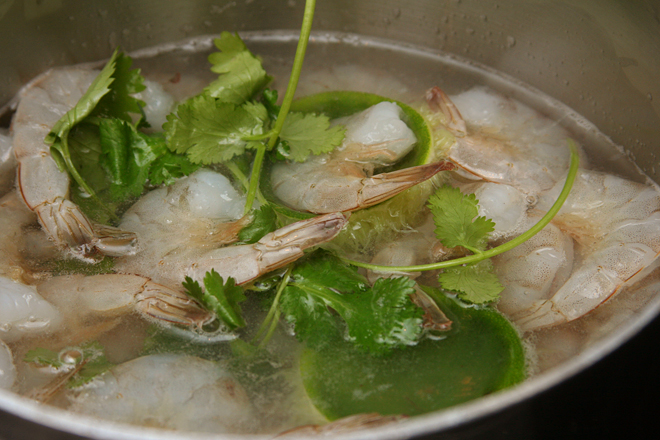
1. For the shrimp: In a 2-quart saucepan, combine the shrimp, water, cilantro sprigs, 1 tablespoon sugar, and 1 teaspoon salt. Juice the lime into the saucepan, then add the lime peels to the saucepan. Place the saucepan over medium-high heat and cook until the shrimp turn pink, 8 to 10 minutes. Drain the shrimp, reserving ¾ cup of the shrimp broth. Rinse the saucepan.

2. For the salad: Add the shrimp broth and quinoa to the rinsed saucepan and heat over medium-high heat until the broth boils. Cover, reduce the heat to low, and cook for 15 minutes. Remove from the heat and let set, covered, for 10 minutes.

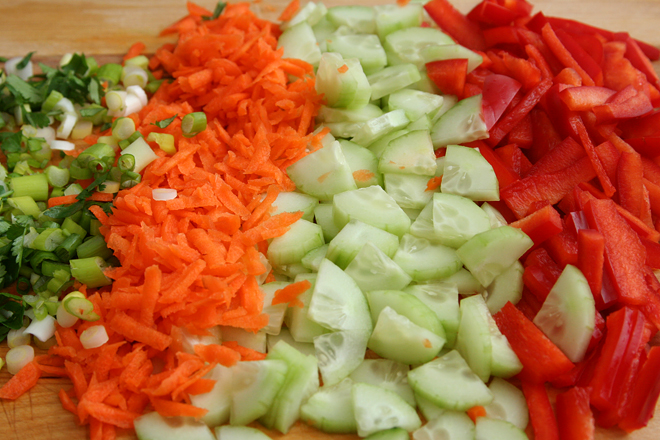
3. In a large bowl, combine the quinoa, red peppers, cucumber, carrot, scallions, and cilantro. Peel the cooled shrimp and add it to the bowl.

4. For the dressing: Mix everything. Pour over the salad and stir to combine. Serve immediately, or cover and chill for up to four hours.

vietnamese shrimp salad 6

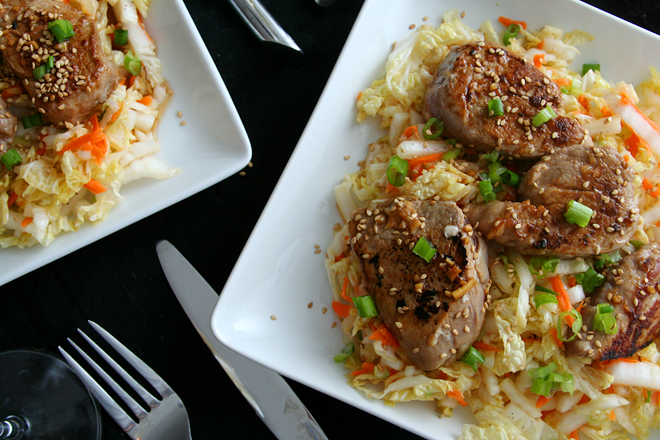
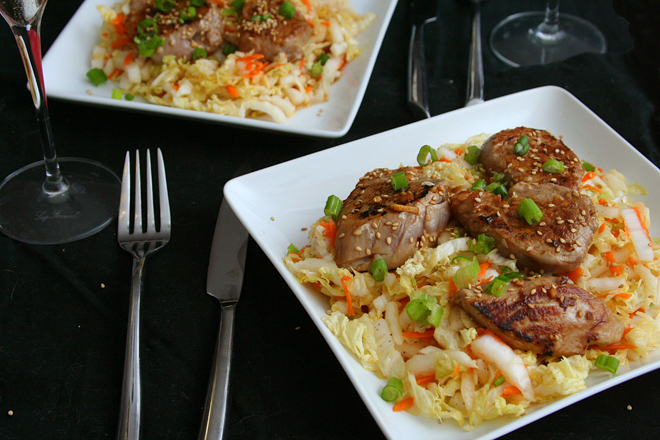
korean pork medallions with asian slaw

asian pork tenderloin with slaw 6

Can you believe we actually ate this in the middle of December? What were we thinking?! We could have been eating roast beef! mashed potatoes! macaroni and cheese! ‘Tis the season (well, ’twas the season) for rich and delicious food!

asian pork tenderloin with slaw 2

This vegetably starchless meal is clearly made for January. It’s actually exactly what I’m craving. Even though I don’t think I’m eating significantly more healthfully lately than I normally do, I’m more bored with healthy foods right now. Maybe it’s an instinctual reaction to winter, although considering that it was almost 70 degrees here last weekend, probably not.

asian pork tenderloin with slaw 3

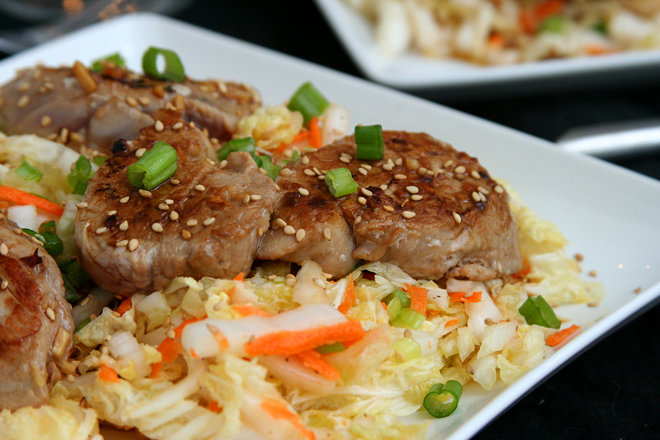
This meal, although pretty healthy, is also sweet and salty and meaty and therefore comforting. It definitely doesn’t make you feel like you’re choking down health food to make up for December’s transgressions. Sure, there’s a salad involved, but it’s topped with deeply browned meat. It really is a great meal any time of year.
asian pork tenderloin with slaw 5

Printer Friendly Recipe
Spicy Korean Pork Medallions with Asian Slaw (hardly adapted from Fine Cooking)

Serves 4 to 6

1 large or 2 small pork tenderloins (about 1¼ pounds)
⅓ cup soy sauce
¼ cup rice vinegar
3 tablespoons light brown sugar
2 medium cloves garlic, minced
1½ tablespoons minced fresh ginger
1 tablespoon toasted sesame oil
1 tablespoon sriracha
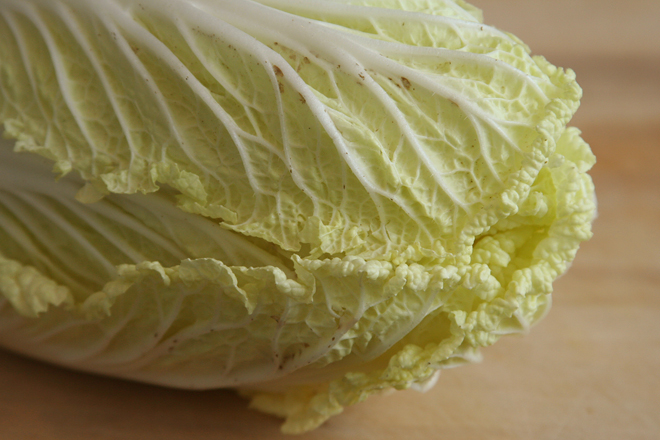
1 pound napa cabbage, thinly sliced (about 6 cups)
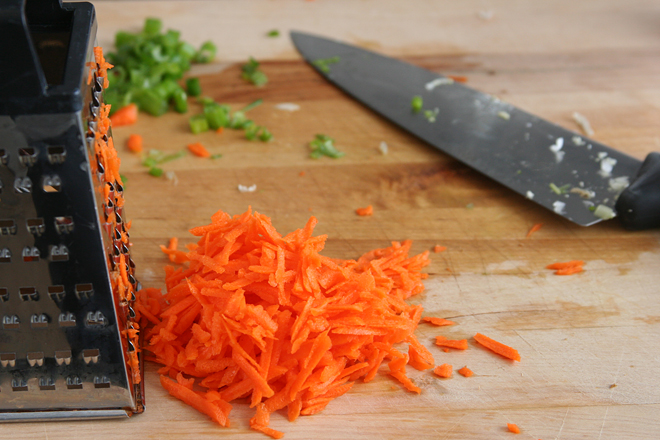
2 medium carrots, grated (about 1 cup)
4 scallions (both white and green parts), trimmed and thinly sliced
2 tablespoons canola or peanut oil
kosher salt

1. Trim the pork of any silverskin and excess fat, and cut on the diagonal into ½-inch-thick medallions.
2. In a small measuring cup, whisk together the soy sauce, 2 tablespoons of the rice vinegar, 2 tablespoons of the brown sugar, the garlic, ginger, ½ tablespoon of the sesame oil, and 2 teaspoons of the chile sauce. Toss ½ cup of this mixture with the pork medallions in a large bowl; reserve the remaining mixture to use as a sauce. Let the pork sit at room temperature for 25 minutes or refrigerate for up to 2 hours.
3. Meanwhile, in another large bowl, toss the cabbage and the carrot with half of the scallions, 1 teaspoon salt, and the remaining 2 tablespoons rice vinegar, 1 tablespoon brown sugar, ½ tablespoon sesame oil, and 1 teaspoon chile sauce. Let sit for 15 minutes, toss again, and transfer to a large serving platter.

4. Heat 1 tablespoon of the canola oil in a 12-inch, heavy-based skillet over medium-high heat until shimmering hot. Remove the pork from the marinade, shaking off the excess, and transfer the pork to a clean plate. Discard the marinade. Add half of the pork medallions to the skillet, spacing them evenly. Cook them without touching until well browned, about 2 minutes. Flip and cook until the pork is just cooked through (slice into a piece to check), about 2 more minutes. Set the pork on top of the slaw. Pour out the oil and wipe the pan with paper towels (if the drippings on the bottom of the pan look like they may burn, wash the pan). Return the pan to medium-high heat. Add the remaining 1 tablespoon canola oil, and cook the remaining medallions in the same manner. Top the slaw with the remaining pork, and pour the reserved soy-ginger sauce over the medallions. Serve immediately, sprinkled with the remaining scallions.

asian pork tenderloin with slaw 4

shitake mushroom and lentil asian tacos

mushroom lentil tacos 4

Vegetarian food, for me, means something quick and easy, healthy, perfect for a weeknight dinner. There’s no fussing with the handwashing of cooking with chicken, no long braising times. Most are one-bowl meals that don’t require side dishes. The exceptions to these rules invariably include lots of cheese, almost certainly pasta, and a long prep time – and are relegated to weekend meals.

mushroom lentil tacos 6

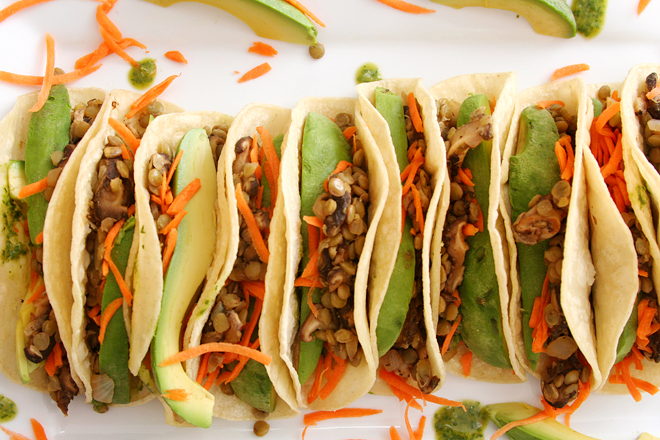
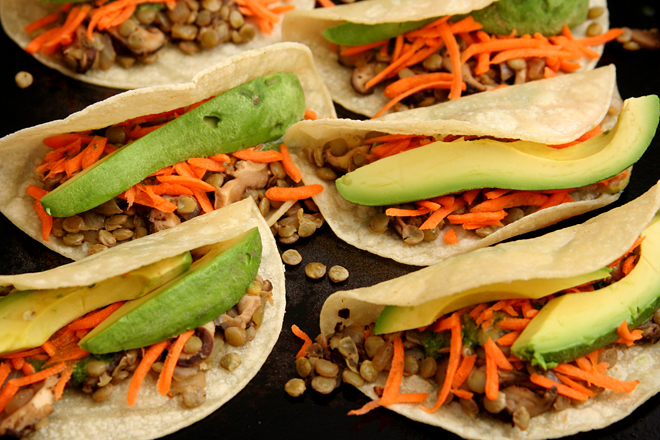
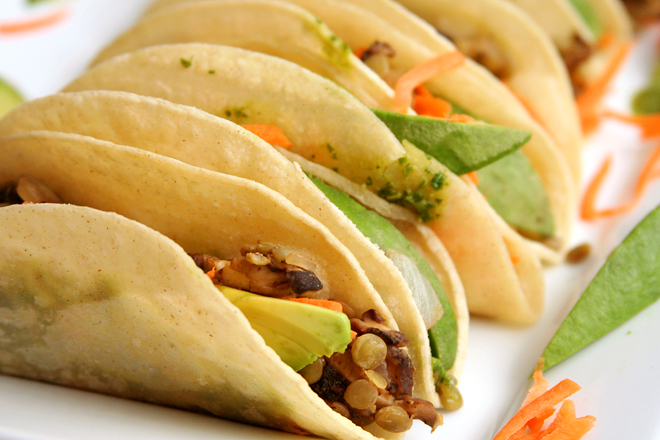
Few and far between are vegetarian meals that are not only healthy and delicious, but also feel special. This is one. First, it’s tacos, and I’m not out of my taco phase. Second, so many fillings and toppings in the tacos satisfy all sorts of flavor and texture desires.

mushroom lentil tacos 1

The mushroom-lentil mixture has plenty of ingredients that kick up the umami sensation that usually comes from meat. The miso and soy sauce in the sauce don’t hurt either, but the sauce is about more than just umami; it’s sweet and herbal and a bit sour from the rice vinegar. There’s crunch from the carrots and the buttery richness of avocados. All of it combines to form a special occasional dish that is perfectly healthy and not just vegetarian, but vegan. It’s a far cry from most of my favorite vegetarian dishes, and I love it.

mushroom lentil tacos 2

Printer Friendly Recipe
Shitake Mushroom and Lentil Asian Tacos (adapted from Sprouted Kitchen)

Serves 4 to 6

I toasted the garlic, while still peeled, in a small not-nonstick skillet over medium-high heat until the papery peel started to brown on a few sides. This softens the bite of raw garlic, making it sweeter and more mellow.

My favorite new way to soften corn tortillas for tacos is to spray both sides of them with oil, then heat them in a 400 degree oven until pliable, about 5 minutes. Even better, add some of the mushroom-lentil mixture to the tortillas at that point and fold the tortilla over the filling; continue baking until the tortilla starts to crisp, another 3-5 minutes.

I grew radish sprouts just for this recipe, but they didn’t sprout in time. Bummer. They made a good garnish for avocado and shrimp-filled tortilla cups the next day though.

Miso herb sauce:
3 garlic cloves, peeled (see note)
2 packed cups basil leaves
1 packed cup cilantro
2 tablespoons white or yellow miso
1 tablespoon honey
1 tablespoon soy sauce
pinch of red pepper flakes
3 tablespoons orange juice
3 tablespoons rice vinegar
2 tablespoons toasted sesame oil

Tacos:
¾ cup brown or green lentils
salt
2 tablespoons olive oil, divided
1 onion, thinly diced
12 ounces shitake mushrooms, stems discarded, sliced
1 tablespoon apple cider vinegar
about 16 corn tortillas, warmed (see note)
2 large or 3 small avocados, peeled and sliced
5 small carrots, peeled and grated
micro greens, for garnish (see note)

1. For the sauce: Place the garlic in the bowl of a food processor fitted with the cutting blade; process until minced. Add the herbs and process until pureed. Add the remaining ingredients and process until the sauce is evenly mixed. Transfer to a serving bowl; set aside.

2. Bring 6 cups of water to a boil in a 2-quart saucepan. Add the lentils and ½ teaspoon of salt. Reduce the heat to maintain a simmer, partially cover, and cook for about 20 minutes, until tender. Drain.

3. In a medium nonstick skillet over medium heat, heat the oil until it flows like water when the pan is tilted. Add the onion and a pinch of salt; cook, stirring often, until the onion is softened and translucent. Add the mushrooms and another pinch of salt and cook, stirring occasionally, until the mushrooms soften and release their liquid. Once the liquid evaporates, add the remaining 1 tablespoon oil, and cook until the mushrooms and onions brown. Stir in the cooked lentils and the cider vinegar.

4. Stuff each tortilla with the mushroom-lentil mixture, carrots, avocado, microgreens, and miso-herb sauce. Serve immediately.

mushroom lentil tacos 5

pepper-crusted salmon with wasabi dipping sauce

wasabi salmon 4

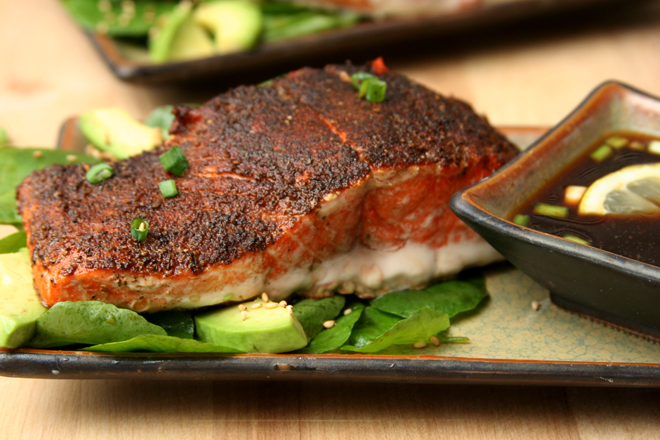
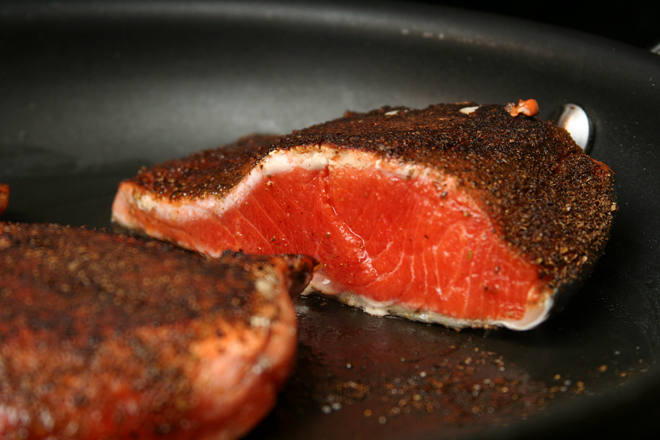
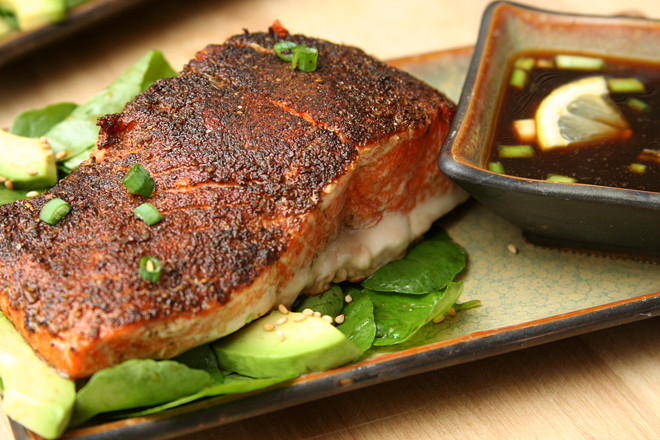
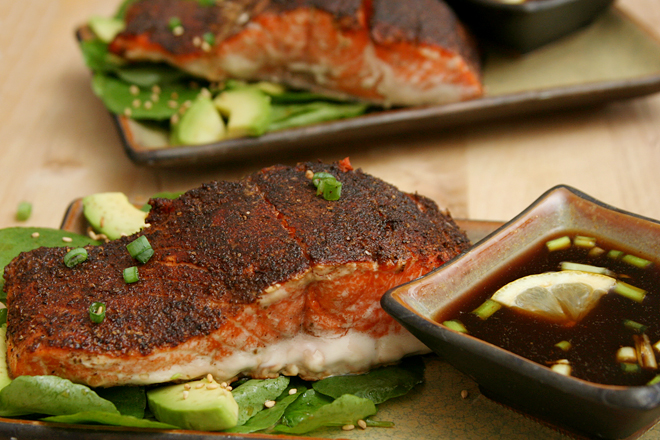
This is one of the best new meals I’ve made recently. The salmon was perfectly browned on top but still juicy in the middle. The Old Bay and lemon were interesting matches with the wasabi and ginger, but it definitely worked. The watercress and avocado salad I served the salmon with was the perfect bright balance to the umami-rich fish and soy sauce dip. The meal had a few of my favorite sushi components, with the fish, wasabi, and avocado, but it went a different direction with the salad and Old Bay.

wasabi salmon 1

It was an unusually light weekend dinner for us. Usually those tend to include a lot more carbs and red meat. It isn’t rare that they also require a serious investment of time in the kitchen, and this recipe differs from that routine as well.

wasabi salmon 2

In fact, there is absolutely no reason this wouldn’t fit right in with our weekday routine of healthy and quick meals. And that’s good news, because there are more weeknights than weekends, and that means more opportunities to make this dish.

wasabi salmon 5

One year ago: Dulce de Leche Cupcakes
Two years ago: Beer-Marinated Flank Steak
Three years ago: Zucchini Bread
Four years ago: Chocolate Whopper Malted Drops

Printer Friendly Recipe
Pepper-Crusted Salmon with Wasabi-Lemon Dipping Sauce (adapted from Steven Raichlen’s Planet Barbecue! via epicurious and from Cook’s Illustrated’s Glazed Salmon recipe)

Serves 4

I served this with Avocado and Watercress Salad (without the apple), and it was absolutely perfect.

For the sauce:
1 tablespoon wasabi powder
1 tablespoon water
1 tablespoon grated fresh ginger
juice of 1 lemon
½ cup soy sauce
1 scallion, white and green parts, minced

For the salmon:
2 tablespoons Old Bay seasoning
½ teaspoon kosher salt
1 teaspoon sugar
¼ teaspoon cornstarch
4 (8-ounce) salmon fillets
coarsely ground black pepper
1 tablespoon canola oil

1. Heat the oven to 300 degrees. In a small bowl, mix the wasabi powder and water until smooth. Set aside for 10 minutes to enhance the wasabi flavors, then add the remaining sauce ingredients.

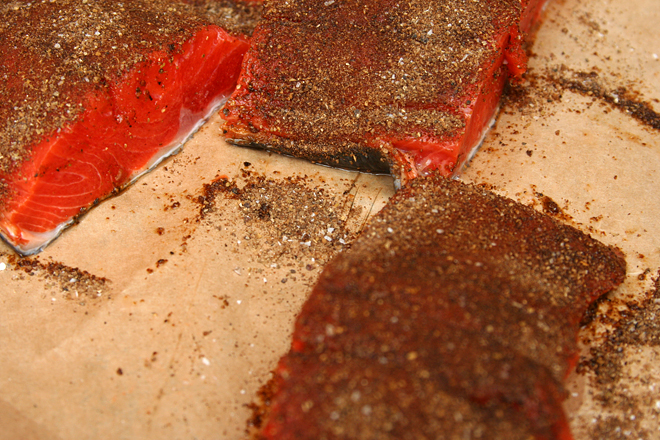
2. In a small bowl, combine the Old Bay, salt, sugar, and cornstarch. Rub into the flesh (not the skin) of the salmon. Season with a generous layer of coarsely ground black pepper, pressing the pepper into the salmon.

3. Heat the oil in a nonstick 12-inch oven-proof skillet over medium-high heat. Transfer the salmon to the pan, flesh-side down. Cook without moving for 1 minute, then flip and cook for another minute. Transfer the skillet to the oven; cook 8-10 minutes, or until the thickest part of the salmon reaches an internal temperature of 125 degrees. Serve immediately.

wasabi salmon 3

general tso’s chicken

general tso's chicken 4

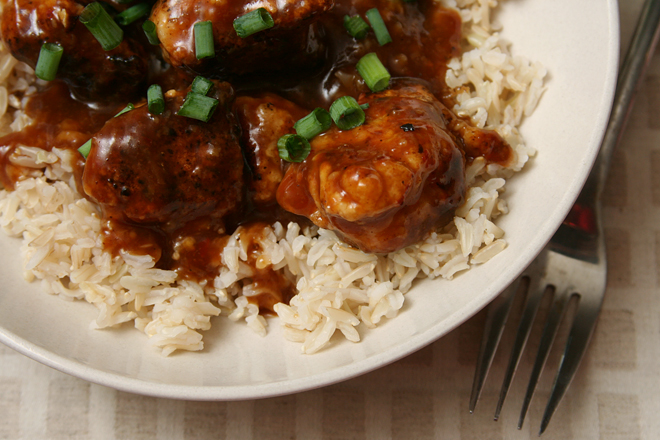
I’ve never understood fried foods that are coated in sauce, like General Tso’s chicken and buffalo wings. For me, the best part of fried food is the crisp browned coating. Once you mix that with sauce and it loses its crunch, what’s the point?

general tso's chicken 2

So I knew from the beginning that I wouldn’t be deep-frying for my version of General Tso’s chicken. Pan-frying sounded a lot easier, as least as far as clean up goes, and it seems like it should be lighter than dumping the entire piece of meat in oil, right?

general tso's chicken 3

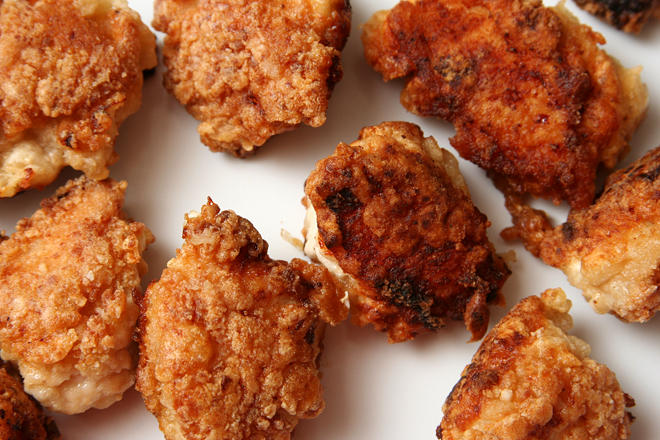
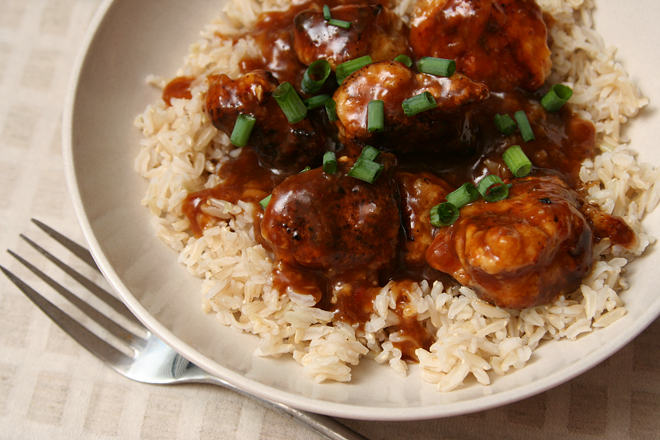
The chicken did end up good – like tender chicken nuggets – but I still have to wonder if using shredded roast chicken instead of breaded pieces would really be so bad. The rough texture of shredded chicken would soak up sauce just as well as the crags of breading. It would certainly be easier. I think the difference it would make on the final dish would be minimal, and it would without a doubt be worth avoiding the calories and mess of frying.

general tso's chicken 5

One year ago: Prosecco Raspberry Gelée
Two years ago: Espresso Chocolate Shortbread
Three years ago: Pickled Coleslaw
Four years ago: Eclairs (Daring Bakers)

Printer Friendly Recipe
General Tso’s Chicken (adapted from America’s Test Kitchen Feed and Food and Wine)

Serves 4

A couple of the commenters on the ATK recipe noted that the sauce lacked something, and I’d say what it’s lacking is balance. It was very sweet and dominated by hoisin, although this might depend largely on the brand of hoisin you use. (I used Sun Luck, the only one available in my town.)

½ cup hoisin
¼ tablespoons white vinegar
3 tablespoons soy sauce
3 tablespoons sugar
2 tablespoons cornstarch
1½ cup water
4 boneless, skinless chicken breasts, cut into 1-inch chunks
2 teaspoons oil
4 cloves garlic, minced
2 tablespoons grated ginger
½ teaspoon red pepper flakes
1½ cup cornstarch
½ cup flour
½ teaspoon baking soda
3 egg whites
oil for pan-frying
4 scallions, white and green parts, chopped

1. In a medium bowl, mix the hoisin, white vinegar, soy sauce, sugar, 2 tablespoons cornstarch, and water. Transfer 6 tablespoons of this mixture into a bowl with the chicken; stir to combine and refrigerate for 30 minutes.

2. In a medium skillet, heat the oil over medium heat. Add the garlic, ginger, and red pepper flakes; cook, stirring constantly, until fragrant, about 1 minute. Add 2 cups of the hoisin mixture; increase the high to medium-high and bring to a simmer. Simmer for 2 minutes, then remove from the heat and cover.

3. Add the cornstarch, flour, and baking soda to the bowl with the remaining hoisin mixture. Stir with a fork until the mixture resembles coarse meal. In a separate bowl, whip the egg whites until frothy.

4. Heat an ⅛-inch of oil in a large nonstick skillet over medium-high heat. Dip half of the chicken pieces in the egg whites, then the cornstarch mixture. Transfer to the hot skillet; cook, without moving, for 3-4 minutes, until the bottom is browned. Flip and brown the second side. Transfer to a plate. Repeat with the remaining chicken.

5. Reheat the sauce over the medium heat. Add the chicken and toss to coat. Serve over rice, topping with the scallions.

general tso's chicken 6

california roll burgers

sushi burgers 7

I am not the most effusive of food bloggers. I’m not much for “OMG OMG make this ASAP” types of statements. I understand that we all have different tastes, different health requirements, different time constraints; what is a perfect recipe for me might not seem so to you. But, most importantly, those types of statements need to be saved for the really special recipes.

sushi burgers 2

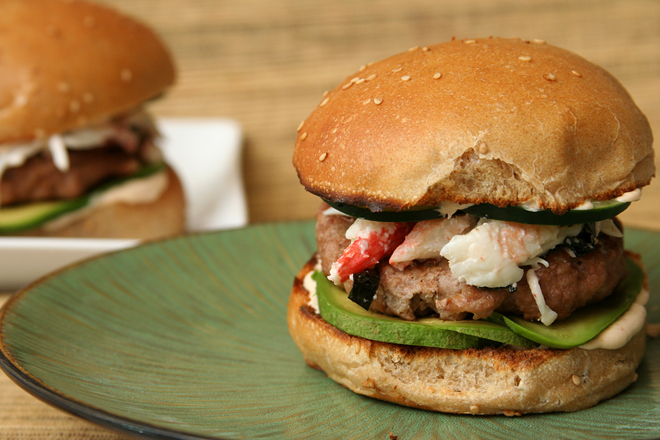
This is a really special recipe. If you consider the best burger I’ve ever eaten to be really special, that is. And I think it is, because I have eaten some pretty fantastic burgers, starting with the classic green chile cheeseburger, including lamb burgers with feta and tzatziki, and not to mention the fancy schmancy fig-glazed burger with onion jam.

sushi burgers 3

All are wonderful, and I don’t plan on giving them up, but this one is my new favorite burger. Admittedly, this is coming from a sushi lover who lives over 150 miles from the nearest sushi restaurant, so I’m always excited when I can get sushi flavors without requiring raw fish or hours of rolling.

sushi burgers 4

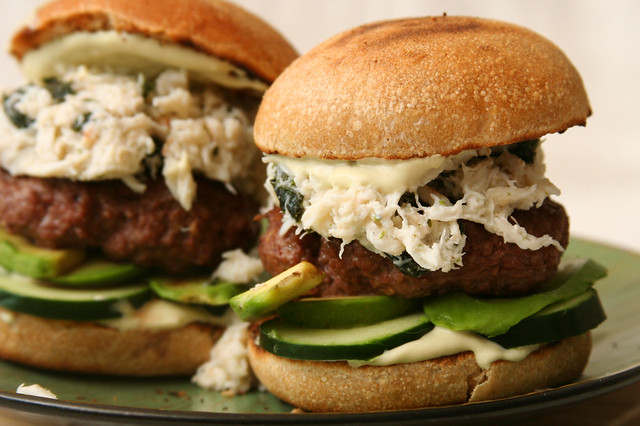
I thought at first that mild turkey burgers would work better with the light shellfish and vegetable toppings, but it turned out that the turkey was too timid, and I could hardly taste it over the king crab, avocado, and wasabi. It was still the best burger I’d ever had though. But I tried again, this time using hearty ground beef instead of turkey and pasteurized lump crab (soaked in milk for 20 minutes to null fishy odors, as per Cook’s Illustrated’s recent crab cake recipe) instead of king crab. And then that was the best burger I’d ever had.

sushi burgers 5

And next time, I’ll get the best of both worlds by using ground beef and king crab, and then that will be the best burger I’ve ever had. This small-town desert girl has figured out how to get her sushi fix, and that’s worth getting excited about.

sushi burgers 6

One year ago: Chocolate Chip Bundt Cake
Two years ago: Stuffed Butterflied Leg of Lamb
Three years ago: Fresh Strawberry Scones
Four years ago: Hash Browns with Sautéed Vegetables and Poached Eggs

Printer Friendly Recipe
California Roll Burgers (adapted from Use Real Butter)

6 burgers

The fish sauce replaces salt in this burger recipe, while also providing a dose of umami. I’ve tried it with regular burgers and didn’t notice any difference, but I like it here because the flavor matched the toppings I used for this burger. If it isn’t something you keep around, use ¾ teaspoon salt instead.

If you prefer, you can replace the Greek yogurt with additional mayonnaise.

1 pound ground beef (no leaner than 90%)
2 tablespoons fish sauce
¼ teaspoon sugar
¼ teaspoon black pepper
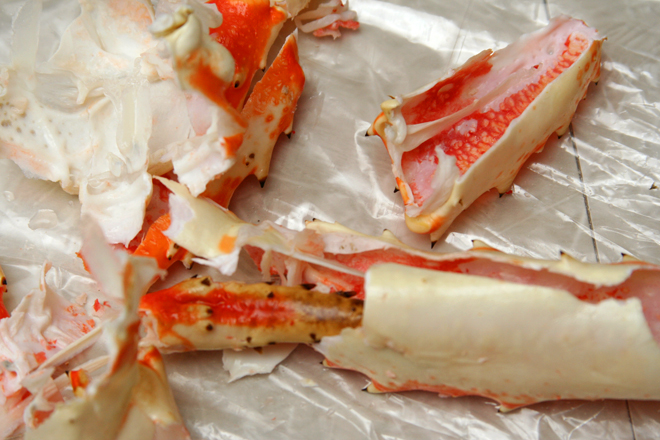
6 ounces shelled crab (from 2 king crab legs, or use pasteurized lump crab)
¼ cup mayonnaise, divided
2 sheets nori, cut into strips
¼ cup Greek yogurt
1-2 tablespoons powdered wasabi
1 tablespoon soy sauce
6 burger buns, halved horizontally
2 avocadoes, peeled, seeded, and sliced
1 cucumber, sliced thinly
sesame seeds

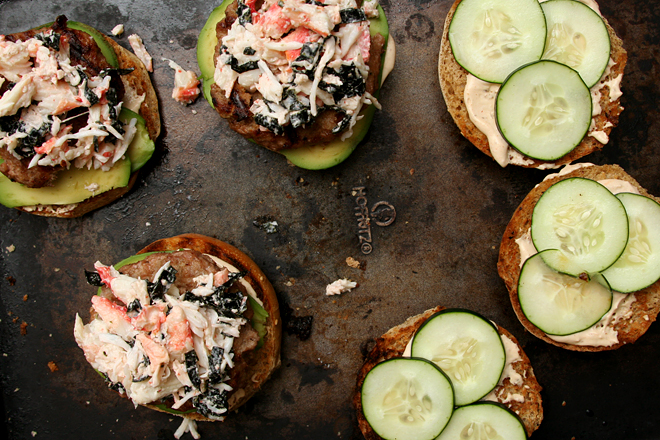
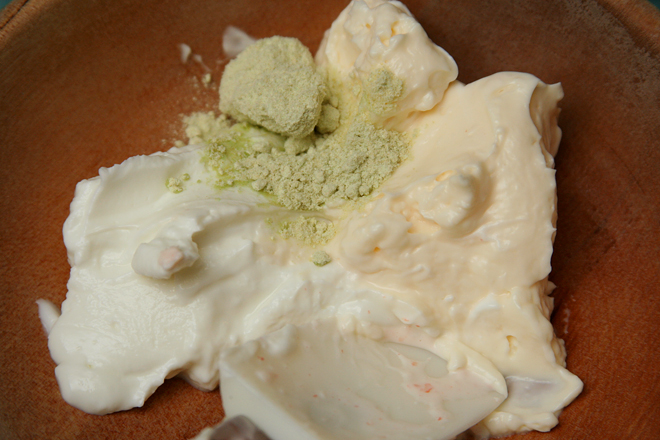
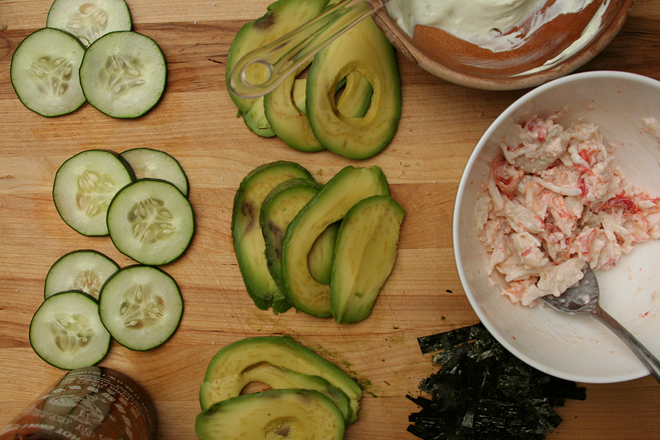
1. In a large bowl, combine the ground beef, fish sauce, sugar, and pepper. Form into 6 patties, about ½-inch thick and 4 inches wide. In a medium bowl, combine the crab, 2 tablespoons mayonnaise, and nori. In a small bowl, combine the remaining 2 tablespoons mayonnaise with the Greek yogurt, wasabi powder, and soy sauce.

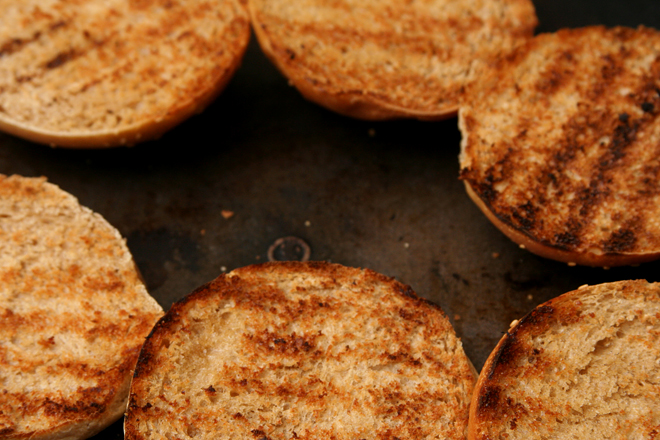
2. Prepare a medium-hot grill. Using a paper towel, grease the grate with vegetable oil. Grill the beef patties for 5 minutes; flip, and continue grilling another 5 minutes. Meanwhile, toast the burger buns on the hottest part of the grill.

3. Spread the wasabi mayonnaise on both sides of the buns. Top with slices of avocado, a burger patty, the crab salad, cucumber slices, and a sprinkle of sesame seeds. Serve immediately.

sushi burgers 9

ginger fried rice

ginger fried rice 8

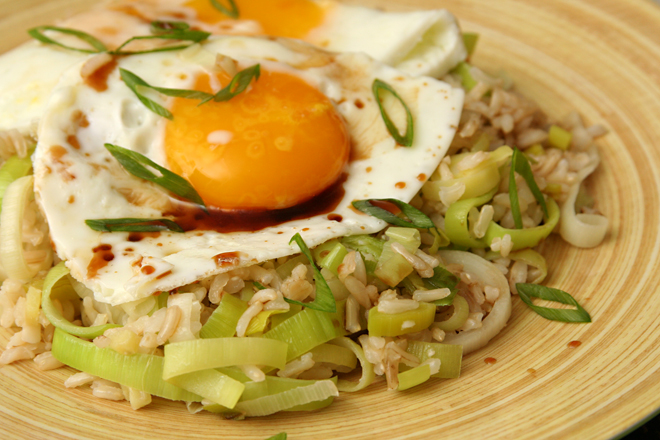
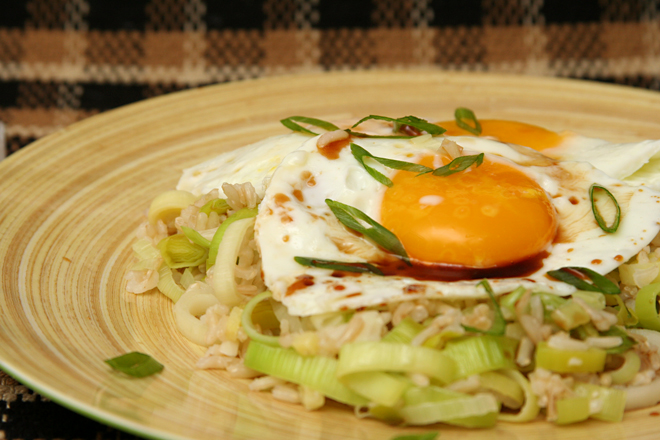
Telling someone you’re having fried rice for dinner – not with dinner, but for dinner – doesn’t sound very impressive. Someone asked me if I was adding a bunch of stuff to it, and I had to think about it before I realized that no…not really. It’s really just aromatics stirred into rice, topped with an egg and some soy sauce.

ginger fried rice 3

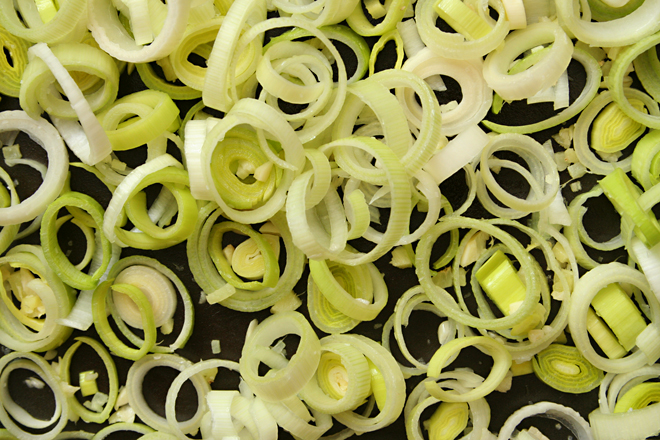
But it did seem to me that serving the egg fried and on top of the rice, instead of scrambled into the rice, made this more worthy of being a stand-alone dish. Plus, I added one leek per person, which seemed like a fair enough vegetable serving; not generous, perhaps, but adequate considering what else we’d eaten that day. With that, it has all the components many of my favorite weeknight dishes do – a whole grain, a vegetable, some protein.

ginger fried rice 5

It certainly tasted like it was worthy of having the dinner plate to itself. I thought the rice would be bland, without any sauce stirred into it, but a heavy dose of garlic and ginger, not to mention the grassy onionness of the leeks added plenty of flavor. The drips of soy sauce and toasted sesame oil offer hits of strong seasonings, especially once carried into the rice with the unctuous yolk. This won’t be the last time I have to tell someone I’m having something as simple as fried rice for dinner, so I’d better get used to it.

ginger fried rice 9

One year ago: Green Pea Ravioli in Lemon Broth
Two years ago: Brown Sugar Cookies
Three years ago: Pasta with Roasted Red Pepper Sauce
Four years ago: Sichuan Green Beans

Printer Friendly Recipe
Ginger Fried Rice (adapted from Mark Bittman via Smitten Kitchen)

I used 4 leeks, but since leeks are usually sold in bunches of three, I wrote the recipe for just three leeks.

Serves 4

2 tablespoons plus 1 teaspoon canola or peanut oil, divided
4 cloves garlic, minced
2 tablespoons minced ginger
salt
3 leeks, white and light green parts only, sliced ⅛-inch thick
4 cups day-old cooked rice (from 1 cup uncooked rice)
4 (or more) large eggs
2 teaspoons sesame oil
4 teaspoons soy sauce
1 green onion, sliced

1. Heat 1 tablespoon of the oil in a large nonstick skillet over medium heat; add the garlic and ginger. Cook, stirring often, until fragrant, about 1 minute. Add the leeks and a pinch of salt; cook, stirring often, until softened, about 10 minutes. Add another 1 tablespoon oil and the rice; cook until evenly heated, 3-4 minutes.

2. Meanwhile, heat the remaining 1 teaspoon oil in a medium nonstick skillet over medium heat. Crack the eggs into separate small cups. Add the eggs to the pan, season evenly with salt, and cover the pan. Cook until the whites are set but the yolks are still soft, 6-8 minutes.

3. Divide the rice between serving plates. Top with the fried eggs and a drizzle of both soy sauce and sesame oil. Garnish with green onions; serve immediately.

ginger fried rice 7

marinated roasted tofu

marinated roasted tofu 10

I cannot eat another hard-boiled egg. For a long time, it seemed like the perfect snack to bring to work – portable, easy, packed full of protein and nutrients. And, most importantly, I loved hard-boiled eggs. The creamy yolk balances the watery white, and I would try to get just the right ratio of each in every bite.

marinated roasted tofu 3

A year and a half later, they’ve lost their charm. I considered switching to a new snack before it reached this point, but I couldn’t figure out what would have similar nutrient characteristics. I already eat plenty of beans, nuts, and dairy, so I needed a new protein source.

marinated roasted tofu 5

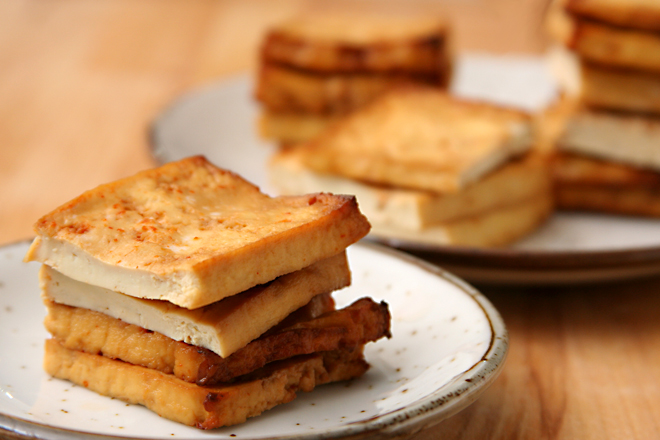
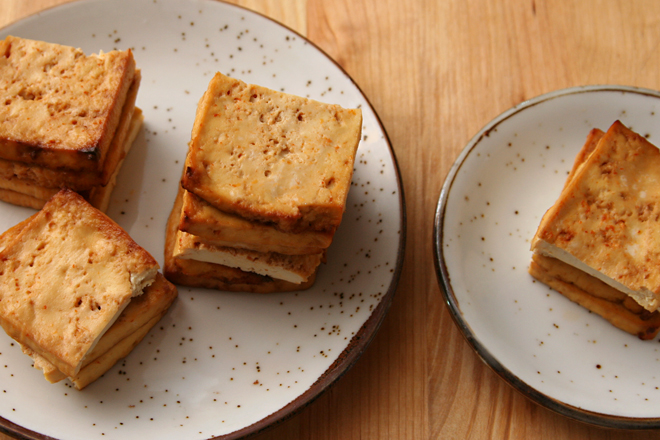
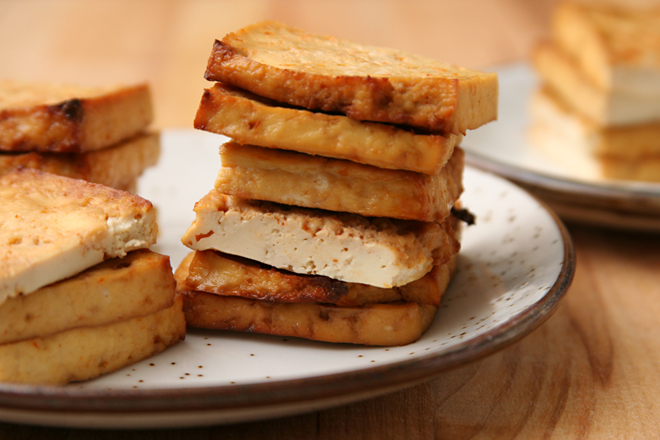
Soy is a comparable replacement, nutrition-wise, for eggs, but digging into a cube of spongy tofu wasn’t appetizing. But tofu is perfect for marinating, because it soaks up whatever flavor you add. Then you can roast it to concentrate the flavors of the marinade and firm up the texture.

marinated roasted tofu 6

I’ve eaten this tofu every afternoon at work for three weeks, and so far it’s one of my favorite daily snacks. (Still doesn’t hold a candle to my morning bagel, of course.) I’m sure I’ll go back to hard-boiled eggs eventually; maybe in another year and a half, when I get tired of tofu?

marinated roasted tofu 11

One year ago: Pasta e Fagioli
Two years ago: Oatmeal Raisin Muffins
Three years ago: World Piece Cookies
Four years ago: Chocolate Cupcakes

Printer Friendly Recipe
Marinated Roasted Tofu (adapted from Jeanne Lemlin’s Vegetarian Classics)

Serves 4

I like these plain as a snack, but they also make a good sandwich filling.

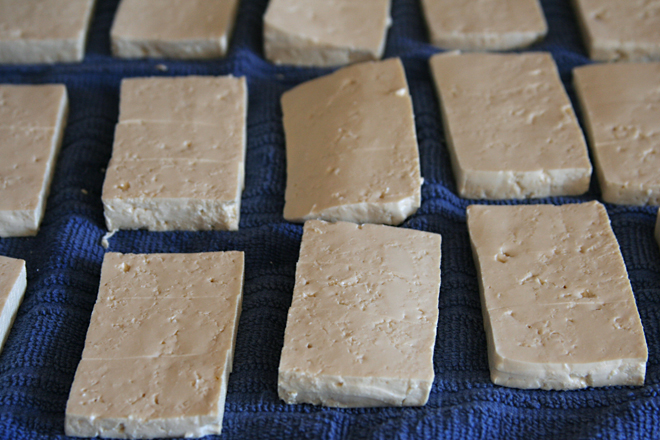
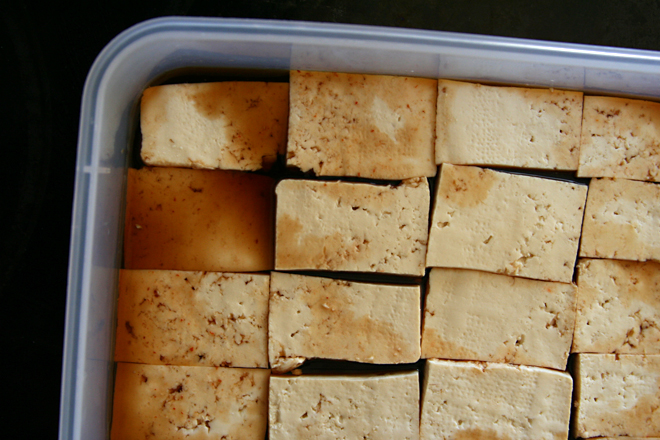
The pictures might be confusing – the first couple times I made these, I sliced the tofu into slabs and then cut the slabs into thirds.  Later, I got annoyed with arranging so many little tofu bites (I always make a double batch) on the cooling rack, so I kept the tofu as larger slices and cut them in half after baking.

1 pound firm tofu, drained
1½ tablespoons soy sauce
1 tablespoon dry sherry
1 tablespoon rice vinegar
1 teaspoon toasted sesame oil
1 teaspoon sriracha (optional)

1. On a dishtowel, slice the tofu crosswise into eight slabs approximately ½-inch thick. Arrange the slices in a single layer; cover with a second dish towel and pat dry.

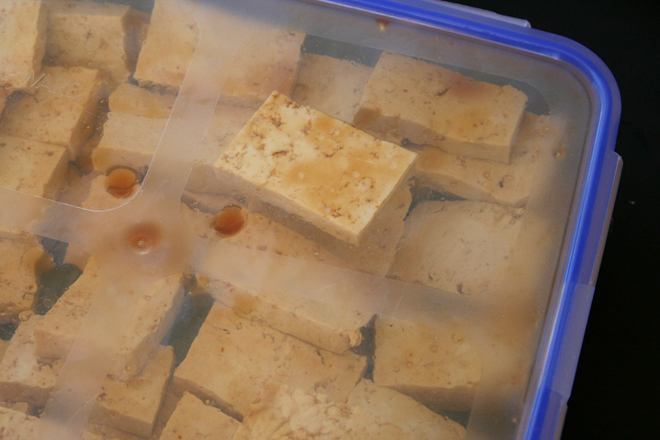
2. Meanwhile, mix the remaining ingredients in an 8-inch square container or baking dish. Add the tofu to the marinade in the dish; stir gently and set aside for at least 30 minutes, or refrigerate, covered, overnight.

3. Heat the oven to 450 degrees. Arrange an oven-safe cooling rack on a baking sheet. Transfer the marinated tofu slices to the cooling rack. Roast until dry and browned at the edges, 25 to 30 minutes. (If you don’t have an oven-safe cooling rack, bake the tofu in a baking dish in a single layer.) The roasted tofu can be refrigerated for at least 5 days.

marinated roasted tofu 12