sourdough bagels

Copy of IMG_6204

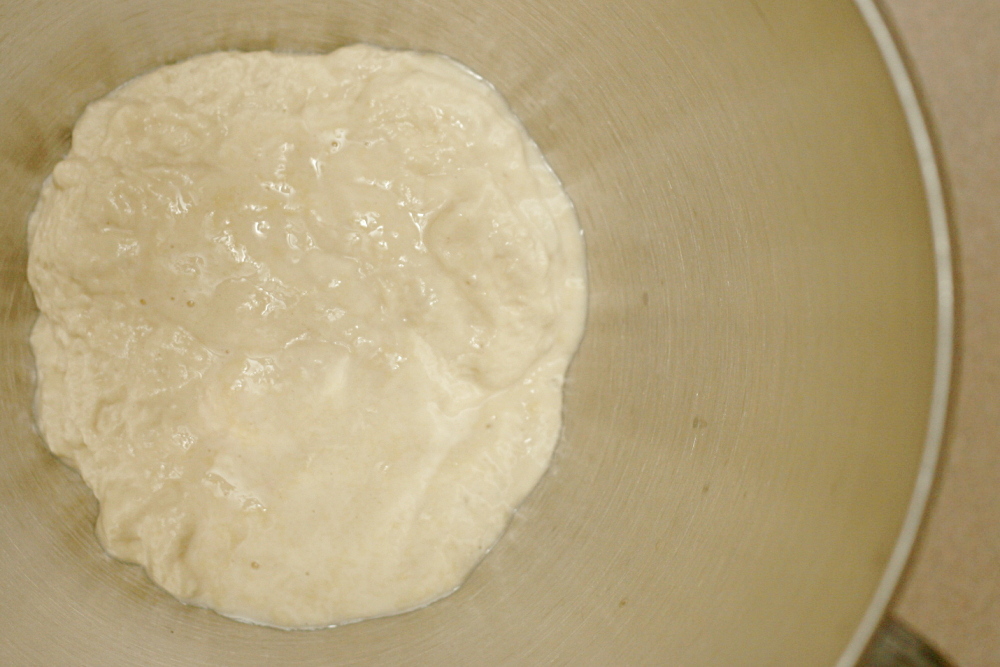
After my initial trials with sourdough last year, in which I mixed up an easy starter and made a couple loaves of not-at-all sourdoughy bread, I gave up for a while. I ignored the starter I’d made until it eventually dried up and I had to throw it away. When I visited my parents last winter, I tried making bread with my mom’s sourdough starter, which is much older than mine was, to see if it would taste sour. It did, at least a little, so my mom sent me home with some of her starter.
Copy of IMG_6138

Which I, again, basically ignored, for six months, until I had a friend visit who is experienced in the ways of sourdough. She gave me some tips on how to bring my old neglected starter back to life, and, more importantly, helped me realize that sourdough starter can be used in all sorts of breads, not just rustic loaves that I want to taste sour.
Copy of IMG_6145

This was important because I don’t make rustic breads all that often, certainly not enough to keep my sourdough starter healthy. But there are some breads that I do make every week or so – pizza and bagels. The transition to sourdough was especially easy for bagels.
Copy of IMG_6151

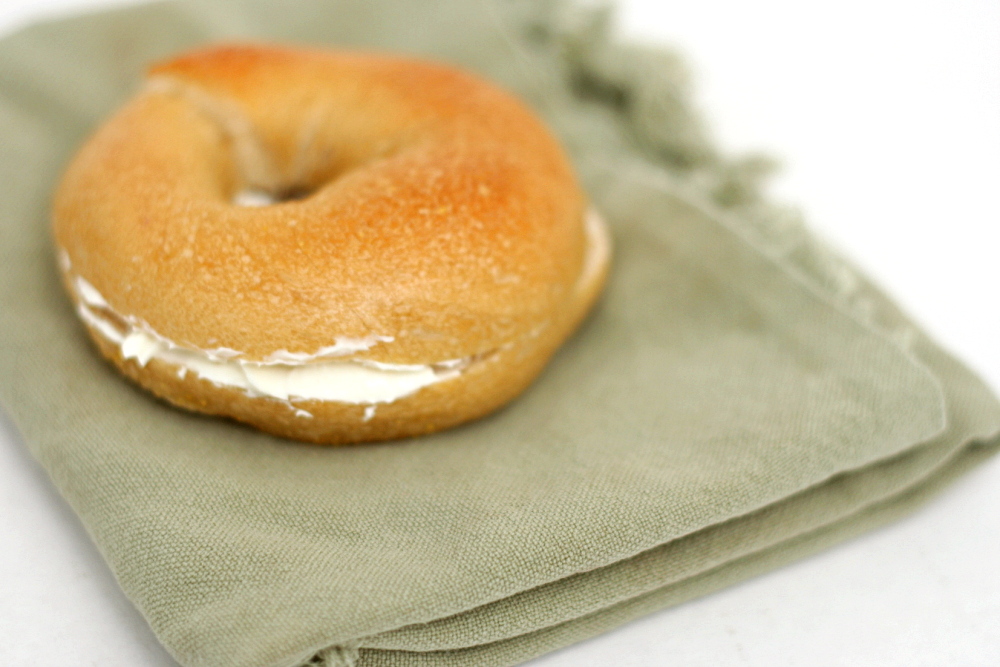
I’ve been making bagels for years, usually using a slight adaptation of Peter Reinhart’s recipe. His recipe utilizes a sponge, a mixture of flour, yeast, and water that has to sit for a few hours before the recipe can be completed. I simply replaced that sponge with sourdough starter, so I saved myself a step and could more quickly move on to mixing and kneading the dough.
Copy of IMG_6176

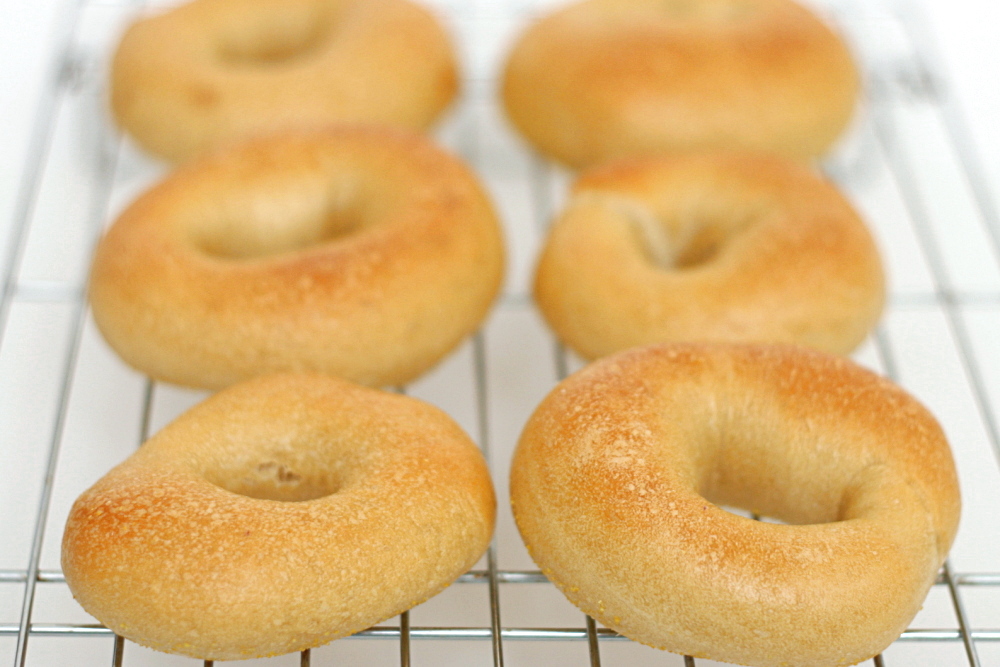
The only problem with this method is that I don’t always keep enough starter around to make even half of Reinhart’s recipe. I was only able to make six small bagels. So I tried again, this time using half the amount of starter and mixing it with more flour and water. Once that was frothy, I continued with the recipe.
Copy of IMG_6179

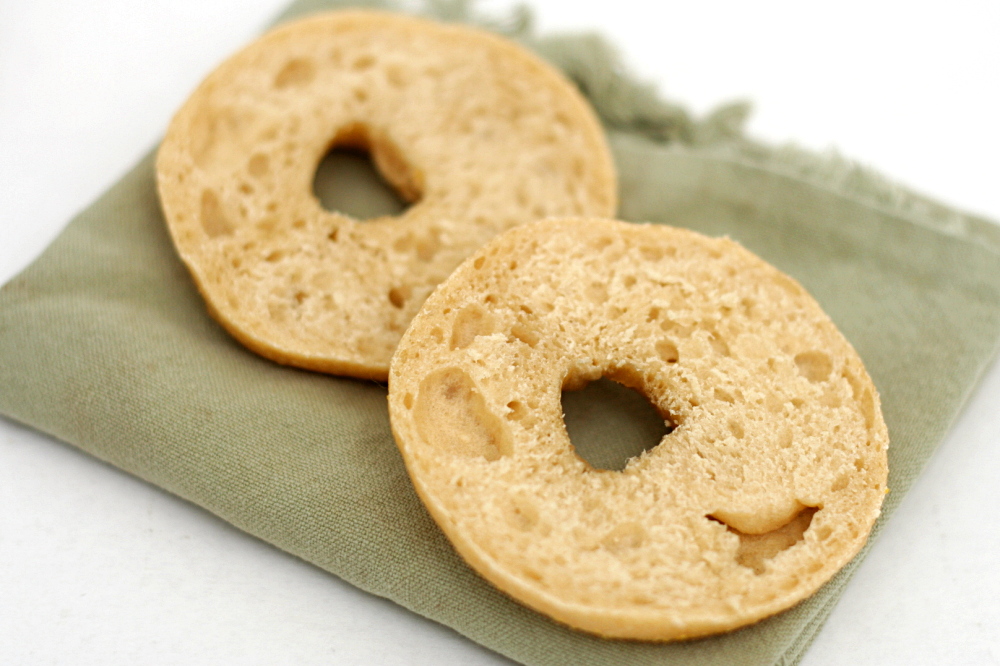
Both batches of bagels were very good. Neither had a strong sourdough flavor, although it was slightly more intense in the first batch, where the starter completely replaced the sponge. In the future, I’ll make whichever recipe I have the right amount of starter for. Because the version that completely replaces the sponge with starter is quicker, plus sourdough starter is so easy to make, I’ll probably just make some extra starter the day before I want to make bagels. Altogether, it’s a great way to use my starter often enough to keep it active.
Copy of IMG_6202

One year ago: Mixed Berry Cobbler

Sourdough Bagels (adapted from Peter Reinhart’s Bread Baker’s Apprentice)

12 small bagels or 8 large bagels

My sourdough starter is half flour and half water, by weight.

16 ounces sourdough starter
¼ teaspoon instant yeast
1¾ cup (8 ounces) bread flour (approximately)
1½ teaspoons salt
1 tablespoon barley malt syrup
1 tablespoon cornmeal

1. Place the sourdough starter in the bowl of a standing mixer and leave it at room temperature until it loses its chill and becomes frothy, 1-2 hours, depending on how active your starter is.

2. Add the additional yeast to the starter and stir. Then add most of the remaining flour and all of the salt and malt. Mix on low speed with the dough hook until the ingredients form a ball, slowly working in the remaining flour to stiffen the dough.

3. Knead at low speed for 6 minutes. The dough should be firm and stiff, but still pliable and smooth. There should be no raw flour – all the ingredients should be hydrated. If the dough seems too dry and rips, add a few drops of water and continue kneading. If the dough seems tacky or sticky, add more flour to achieve the stiffness required. The kneaded dough should feel satiny and pliable but not be tacky.

4. Immediately divide the dough into 8-12 equal pieces. Form the pieces into smooth balls.

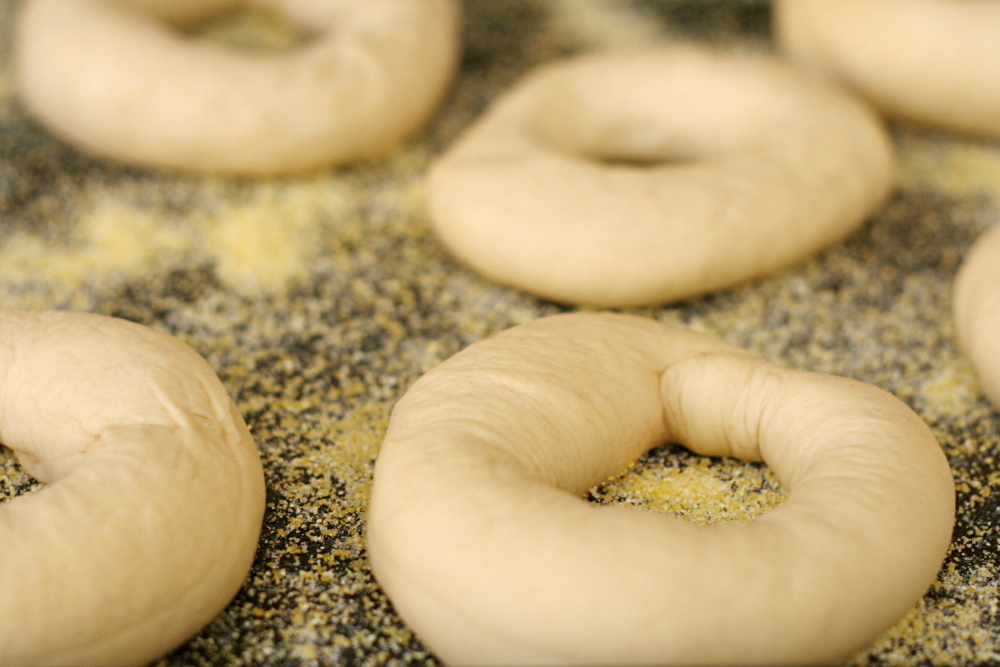
5. Cover the balls with plastic wrap and allow them to rest for 20 minutes. Dust a baking sheet with the cornmeal.

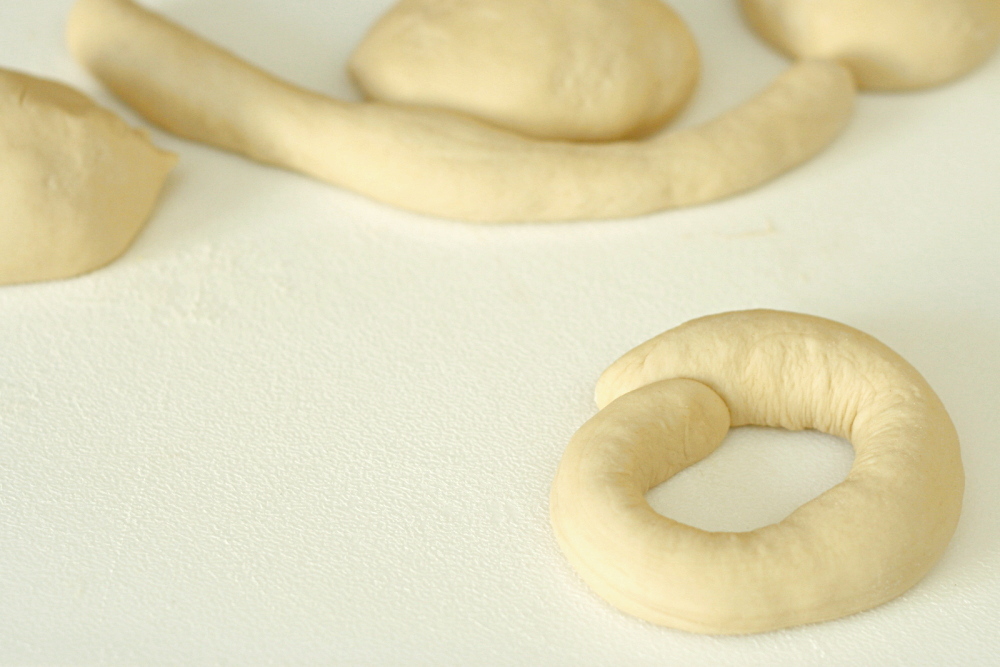
6. Form each dough ball into a rope 9 inches long by rolling it under your outstretched palms. Do not taper the ends of the rope. Overlap the ends of the rope about 1 inch and pinch the entire overlapped area firmly together. If the ends of the rope do not want to stick together, you can dampen them slightly. Place the loop of dough around the base of your fingers and, with the overlap under your palm, roll the rope several times, applying firm pressure to seal the seam. The bagel should be roughly the same thickness all the way around.

7. Place each of the shaped pieces about an inch apart on the prepared pan. Cover loosely with plastic wrap. Let the pan sit at room temperature for about 20 minutes.

8. Check to see if the bagels are ready to be retarded in the refrigerator by using the ‘float test.” Fill a small bowl with cool or room-temperature water. The bagels are ready to be retarded when they float within 10 seconds of being dropped into the water. Take one bagel and test it. If it floats immediately return the tester bagel to the pan, pat it dry, cover the pan, and place it in the refrigerator overnight (it can stay in the refrigerator for up to 2 days). If the bagel does not float, return it to the pan and continue to proof the dough at room temperature, checking back every 10 to 20 minutes or so until a tester floats. The time needed to accomplish the float will vary, depending on the ambient temperature and the stiffness of the dough.

9. The following day (or when you are ready to bake the bagels), adjust the rack to the middle position and preheat the oven to 450 degrees. Bring a large pot of water to a boil (the wider the pot the better). Have a slotted spoon or skimmer nearby. Line a baking sheet with parchment paper.

10. Remove the bagels from the refrigerator and gently drop them into the water, boiling only as many as comfortably fit (they should float within 10 seconds). Stir and submerge bagels with Chinese skimmer or slotted spoon until very slightly puffed, 30 to 35 seconds. Remove rings from water; transfer to wire rack, bottom side down, to drain.

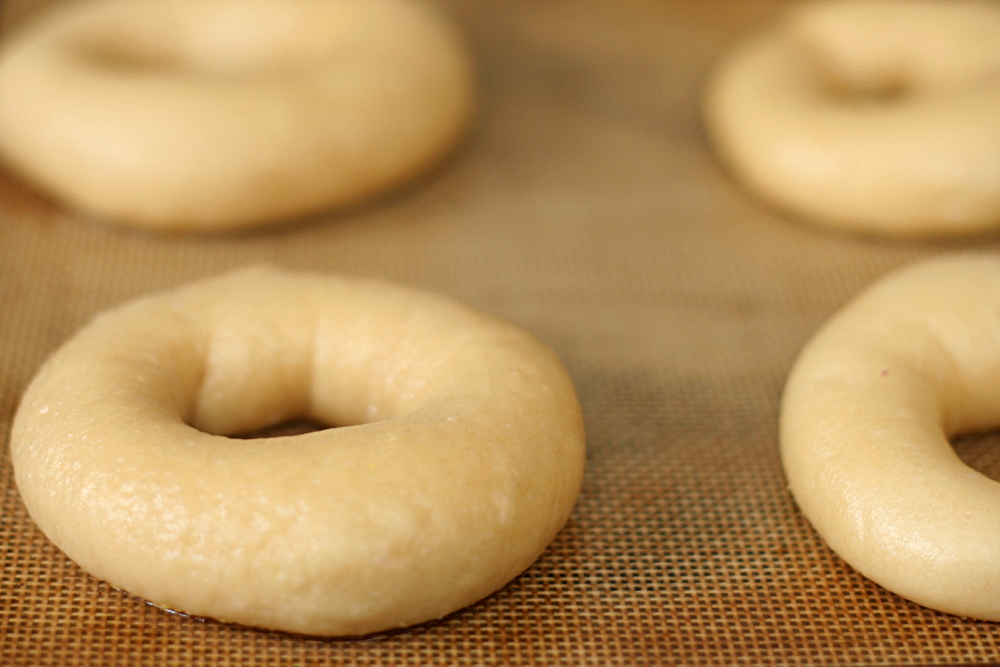
11. Transfer boiled rings, rough side down, to parchment paper-lined baking sheet. Bake until deep golden brown and crisp, about 12 minutes.

12. Remove the pans from the oven and let the bagels cool on a rack for 10-15 minutes before serving.

Copy of IMG_6182

artos (greek celebration bread)

copy-of-img_5976

I’ve always wanted to make this bread just because the shape of one of the variations is so cool. It’s a round loaf with strips of dough crossed over the top, the ends split and curled around.

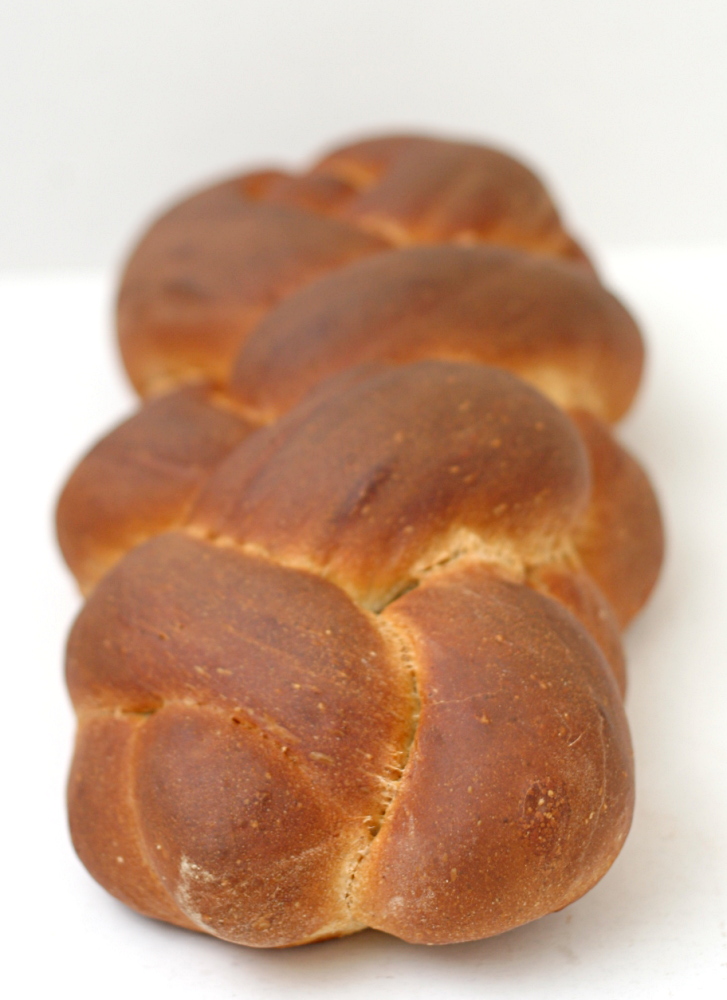
I ended up not using that shape though. The bread is flavored with all sorts of things – almond extract, lemon zest, fall spices, olive oil, honey – so I thought it would make a particularly good French toast, and a round loaf didn’t seem practical for that. Instead, I tried a 4-strand braid, which looks pretty much like a 3-strand braid after baking. That’s okay, it was easy to do.

When Dave tried the bread, he said “This smells like Christmas. Did you put Christmas in this? The bread did, indeed, make for some pretty amazing French toast. Except I think it needs more salt. I’m a broken record.

For the recipe for this bread, check Michelle’s blog.  She also shows the shape I described above.  However, I skipped the dried fruit, nuts, and glaze, plus I used sourdough starter instead of the poolish.

rhubarb scones

copy-of-img_5500

Scones get a seriously bad rap. People think they’re bland, dense, and/or crumbly. People think you can only enjoy them if you have a mug of coffee or tea with them. Branny told me that her husband thinks they taste like chalk. And these people aren’t completely wrong – some scones are pretty terrible. As for the whether they need to be accompanied by a hot drink, I happen to think that everything even a little sweet is better with coffee or tea.  But that doesn’t mean that I can’t enjoy a cookie without coffee.

copy-of-img_5281

Like a lot of foods, you might have to make scones yourself to get good ones. I can’t personally attest to the scones at coffee shops, but if they’re on par with every other baked treat I’ve ordered from a national coffee shop chain, they’ll be stale and bland. Don’t judge scones based on this example.

copy-of-img_5288

Scones are similar to biscuits, although many scone recipes have eggs included, which is rare in biscuits. In both, the dry ingredients are mixed first, and cold butter is cut in, then cold liquid is gently stirred in. Compared to the last scone recipe I made, this one has less butter, but richer dairy (cream as opposed to yogurt + milk).

copy-of-img_5517

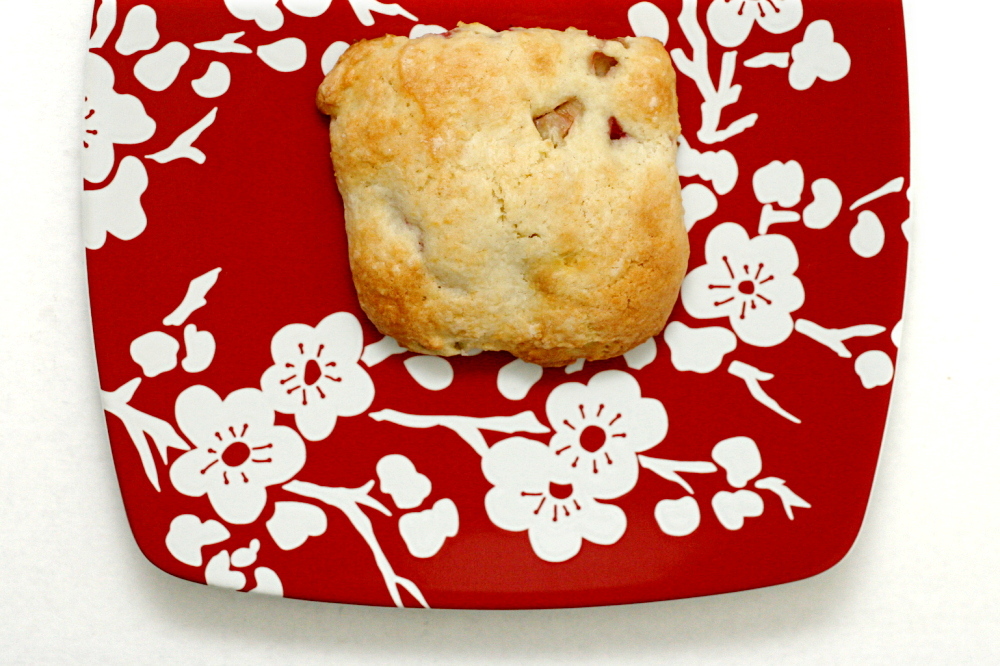
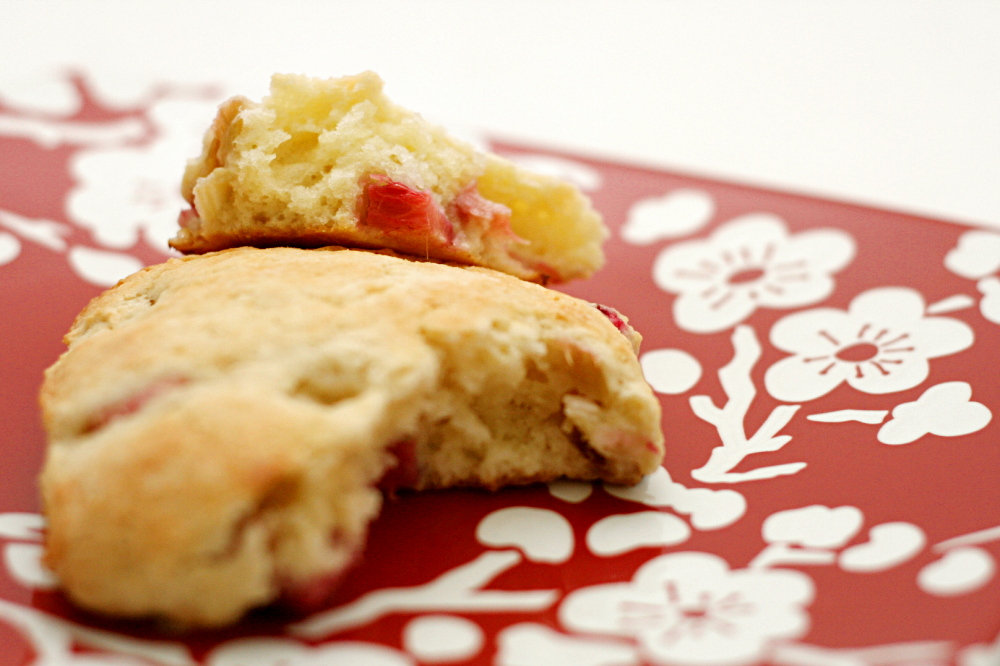
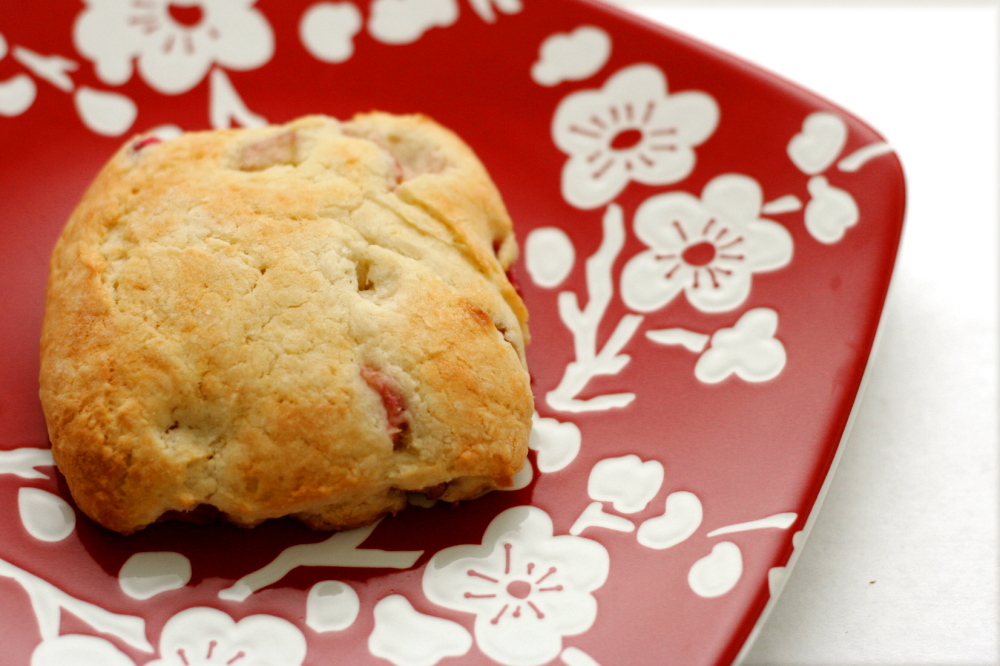
The cream changes the texture from flaky to melt-in-your-mouth tender. They’re sweet, but only slightly so, and studded by juicy, tart bits of rhubarb. There’s nothing bland, dense, crumbly, or chalky about these scones, and while I enjoyed mine with my Saturday cup of coffee, a hot drink is not required to appreciate these. If you think you don’t like scones, try these.

copy-of-img_5496

One year ago: Kaiser Rolls – I have to admit that I’ve made these twice and have decided that they’re just not worth the effort.  I like using this much easier dough instead.

Printer Friendly Recipe
Rhubarb Cream Scones
(adapted from Gourmet via Smitten Kitchen)

I only used 1½ cups (2 stalks) of rhubarb, but it wasn’t nearly enough. I would even err on the high side of 2 cups.

Update 5/8/2012 – While many people have had good results with this recipe, a few commenters have complained that their dough was too wet. This might have to do with imprecise volume measurements of flour, variability in rhubarb juiciness, or perhaps the size of the eggs used. Regardless, start with ½ cup of cream, then add more until the dough comes together but holds its shape. It might be sticky, but you should be able to pat it out with floured hands.

2½ cups (12 ounces) all-purpose flour
½ cup sugar (3.5 ounces) plus 3 tablespoons
1 tablespoon baking powder
½ teaspoon salt
¾ stick (6 tablespoons) cold unsalted butter, cut into bits
2 cups diced rhubarb (¼-inch cubes), about 3 stalks
1 large egg
1 large egg yolk
1 cup heavy cream (see update)

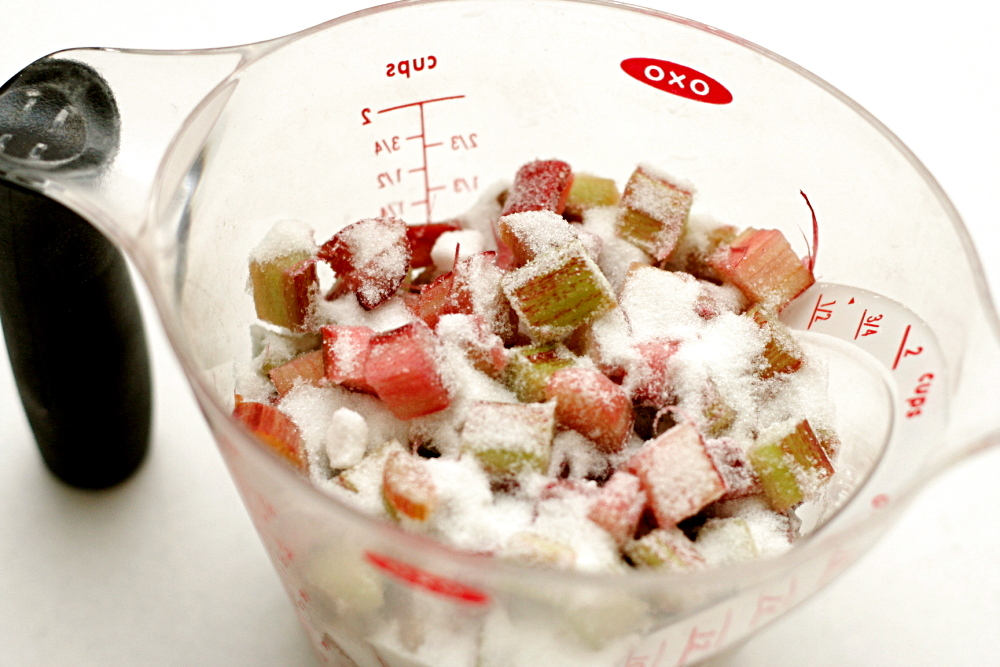
1. Preheat oven to 400F and line a large baking sheet with parchment paper. Adjust a baking rack to the middle position. In a small bowl, mix the rhubarb with 3 tablespoons sugar.

2. In a food processor, pulse the flour, ½ cup sugar, baking powder, and salt a few times, just to mix. Distribute the butter evenly over the dry ingredients and pulse until the mixture resembles coarse meal. Transfer to a large bowl.

3. Stir the rhubarb into the flour mixture. Lightly beat the egg, yolk, and cream together in a bowl (use the same one you used for the rhubarb), then add this mixture to the flour mixture. Stir until just combined.

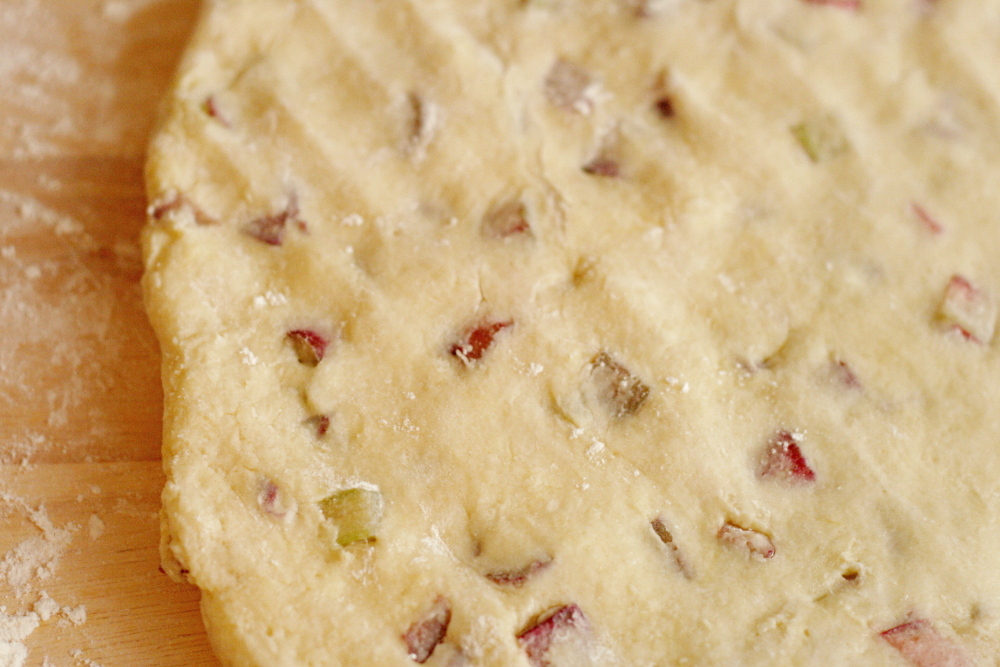
4. On a well-floured surface with floured hands, pat the dough into a 1-inch-thick round (about 8 inches in diameter). Using a 2-inch round cutter or rim of a glass dipped in flour, cut out as many rounds as possible, rerolling scraps as necessary. Arrange rounds about 1 inch apart on baking sheet and bake for 15 to 20 minutes, or until pale golden.  Transfer the scones to a cooling rack and let them cool slightly before serving.

copy-of-img_5495

cappuccino muffins

copy-of-img_5897

I apologize for being a Debbie downer, but I just wasn’t feeling this month’s Tuesdays with Dorie choices. Apples and cinnamon scream fall and winter to me, peaches won’t be ripe for another month, and two more celebration cakes? Really?

But it’s okay. I’m sure I’ll find something to enjoy about each one. I’ve made three already, and so far, so good.

copy-of-img_5877

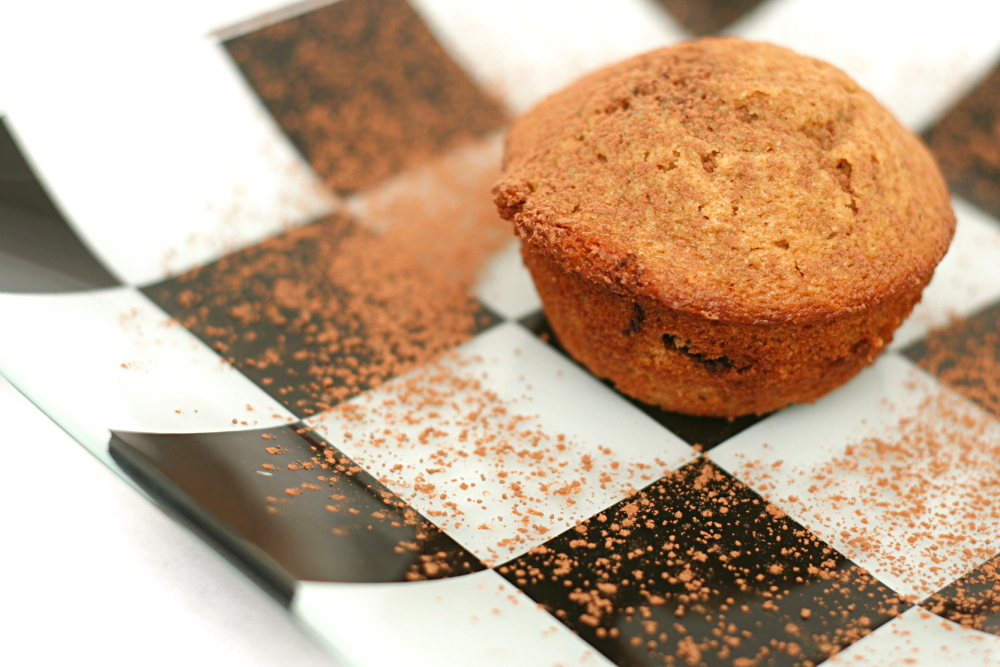
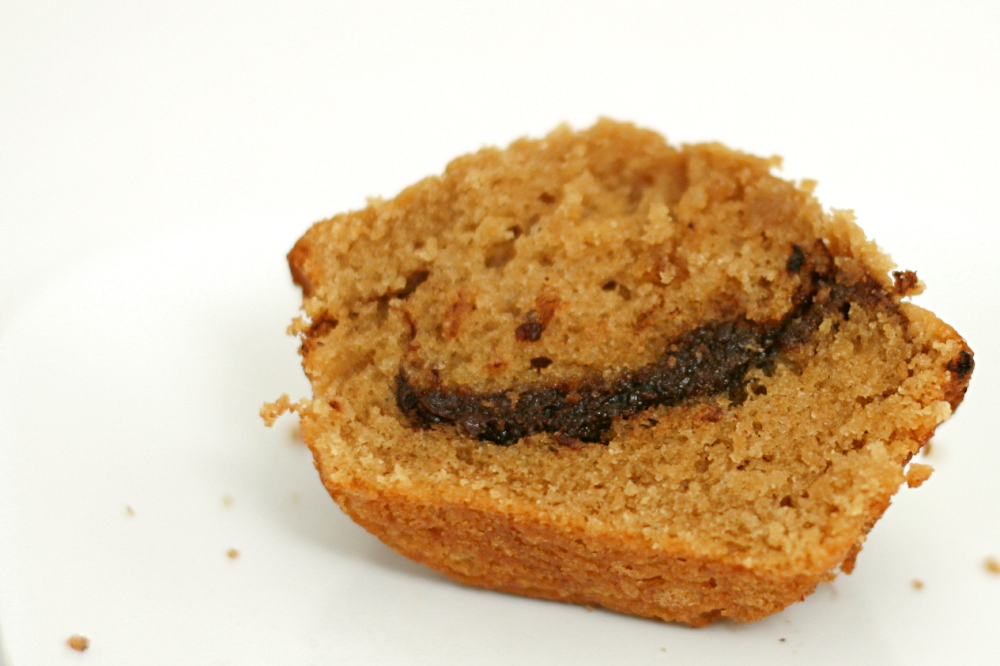
The cinnamon cake really does look great, with its tender base, layer of cinnamon, and swirls of chocolate frosting. But I thought if I could cheat by skipping the frosting and reducing the chocolate in the filling, and get something closer to a muffin than a cake, then I could give them to Dave as a morning snack, freeing me up for another dessert recipe I was eager to make last week.

copy-of-img_5874

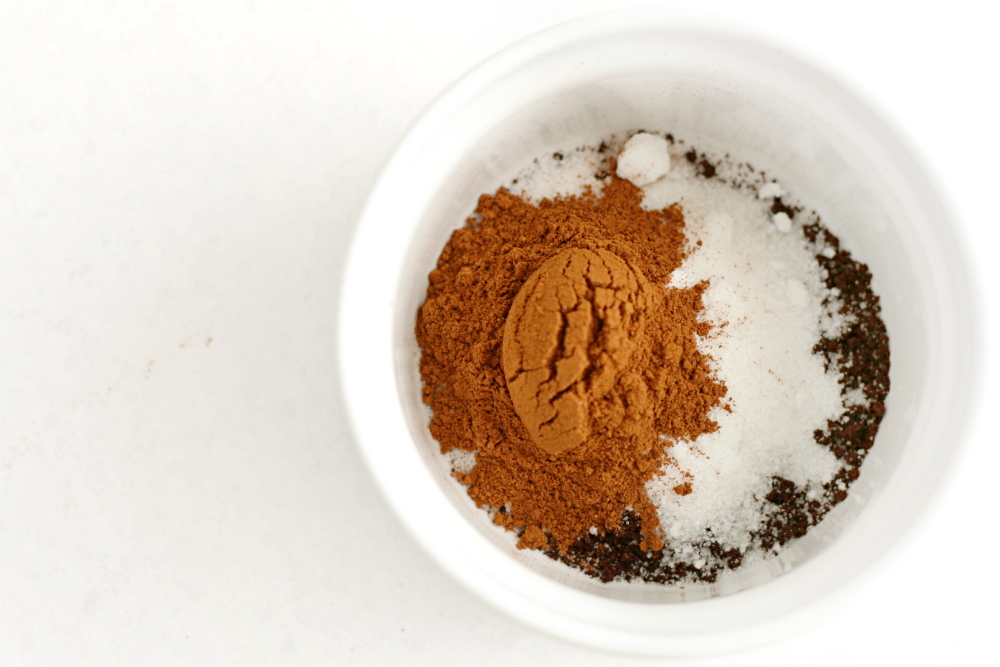
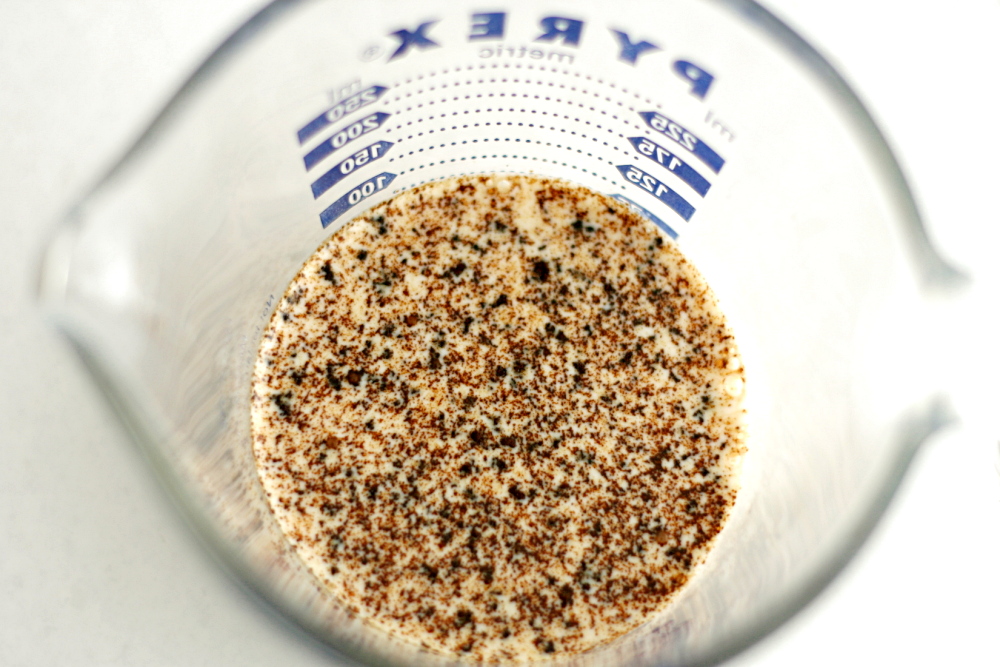
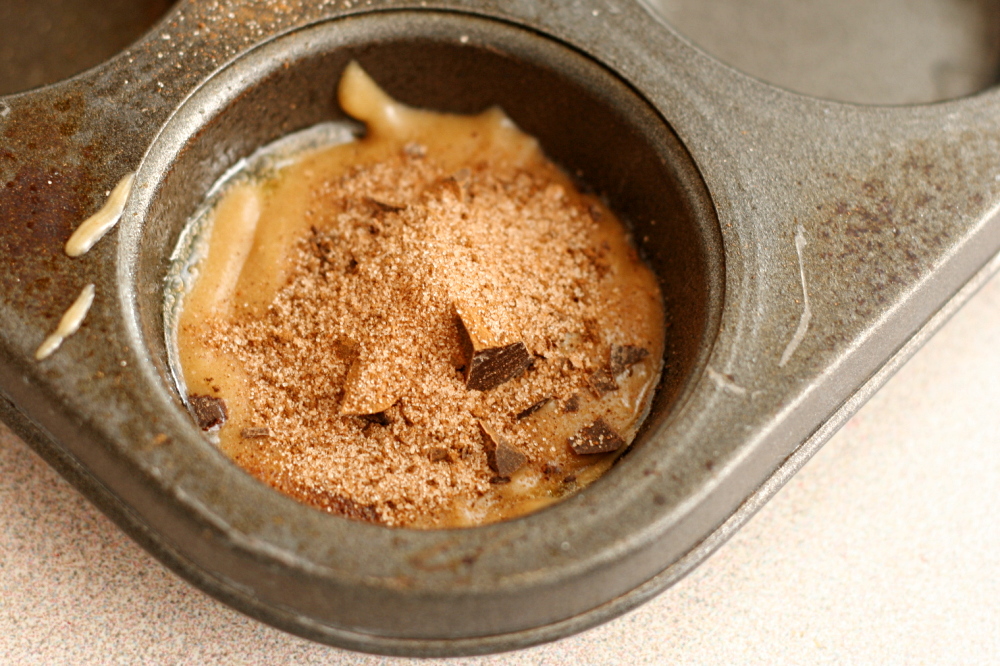
It wasn’t too far of a stretch, since the cake batter was mixed like a muffin – the dry and wet ingredients are mixed separately before being combined. Half of the batter is spread into a pan, a mixture of espresso powder, sugar, and cinnamon is sprinkled over the batter, then some chopped chocolate, and then the remaining batter. Dorie gives a cappuccino version of the recipe as well, where more espresso powder is mixed into the batter, and I made that variation in an effort to make this feel even less like a winter treat.

copy-of-img_5880

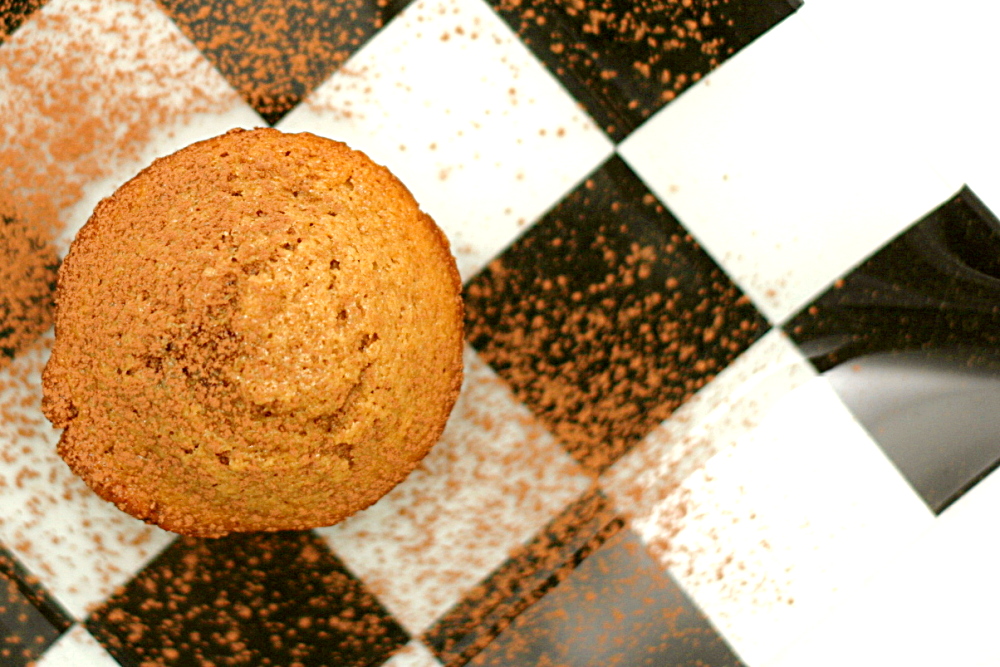
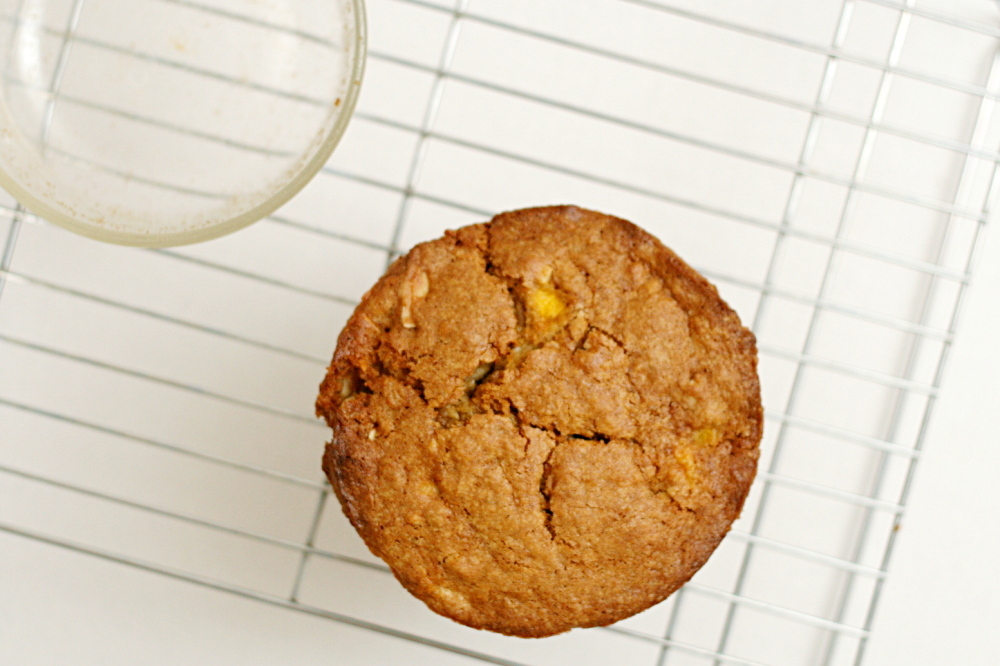
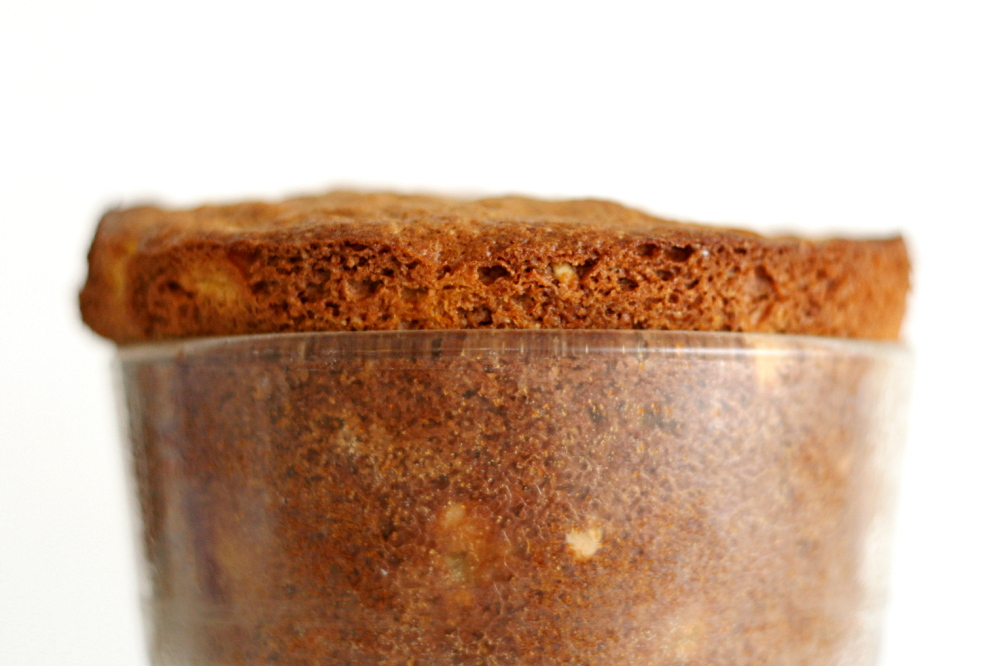
I was very happy with the result. The muffins were light and tender, with an interesting mix of flavors from the espresso, cinnamon, and chocolate. They’re certainly no replacement for our weekend cappuccino habit, but it’s not a bad substitute for a workday.

copy-of-img_5887

Tracey chose this recipe for Tuesdays with Dorie and has the recipe posted. I halved the chocolate in the filling, only used about 2/3 of the cinnamon sugar mixture, made the version with extra espresso, skipped the frosting, and baked the cake in muffin tins (use 12 for a full recipe) instead of a cake pan.

One year ago: Crockpot Pulled Pork

copy-of-img_5895

anadama bread

copy-of-img_5945

It’s a good thing I had well-behaved friends for the most part in high school, because I am apparently highly susceptible to peer pressure. A new baking group has recently been formed, somewhat similar to Tuesday with Dorie, but baking their way through Peter Reinhart’s Bread Baker’s Apprentice. I resisted joining the group for a few weeks, because I really don’t need another baking obligation. But I’ve had this book for years and love it, plus if this group can improve my bread-baking skills as much as TWD has improved my dessert-baking skills, it’ll be worth it. And when I heard that Reinhart supported the group, I made the decision to join. I’m a sucker for cookbook authors who support blogs.

I had some trouble figuring out how to fit a new baking group into my blog. I can only produce 3-4 blog entries per week, and I’d like the majority to be unaffiliated with a group. I think I’ve decided on short, simple (I’m doing something simply?!) entries with one photo and a brief analysis of the recipe. Since I joined the group a few weeks after it started, I’m doing a bit of catch up.

Anadama bread is a sandwich bread made with cornmeal and molasses. Reinhart’s MO is to soak grains and/or ferment dough slowly to release as much flavor from them as possible. In this recipe, that means soaking the cornmeal overnight before kneading in the remaining ingredients and continuing with rising and shaping. Reinhart recommends coarser-grained polenta over cornmeal, and it smelled particularly corny after soaking, which was nice.

Overall, this was a nice bread. The texture was very light. I definitely think it needs more salt (the recipe calls for 1.5 teaspoons for 20 ounces of flour; I’ll add at least 2 teaspoons next time). Also, the polenta grains didn’t soften in the bread as much as I would like, adding a crunchiness, but not a good crunchiness. I’ll use regular cornmeal next time. Or I might just stick to the last anadama bread recipe I tried, but adjust the method to soak the cornmeal overnight.

True to most groups who cook their way through a cookbook, we won’t all be posting the recipes. However, Michelle plans to post the recipes on her blog.

croissants 1 (tartine)

copy-of-img_4769

Someone must have told me “if at first you don’t succeed, try, try again” at a particularly impressionable age. Either that, or I’ve struggled through learning enough new subjects that I recognize the value of practice. Or maybe I’m just obsessive.

copy-of-img_4717

This was my first time making croissants, and it wasn’t perfect, which immediately sparked my desire to try a bunch of other croissant recipes. (Not side-by-side, mind you. My head spins just thinking about it.) The thing is that I can’t figure out exactly where I went wrong. I’m hoping that by gaining experience with different recipes, I’ll become more familiar with the process and pick up some nice tips along the way.

copy-of-img_4746

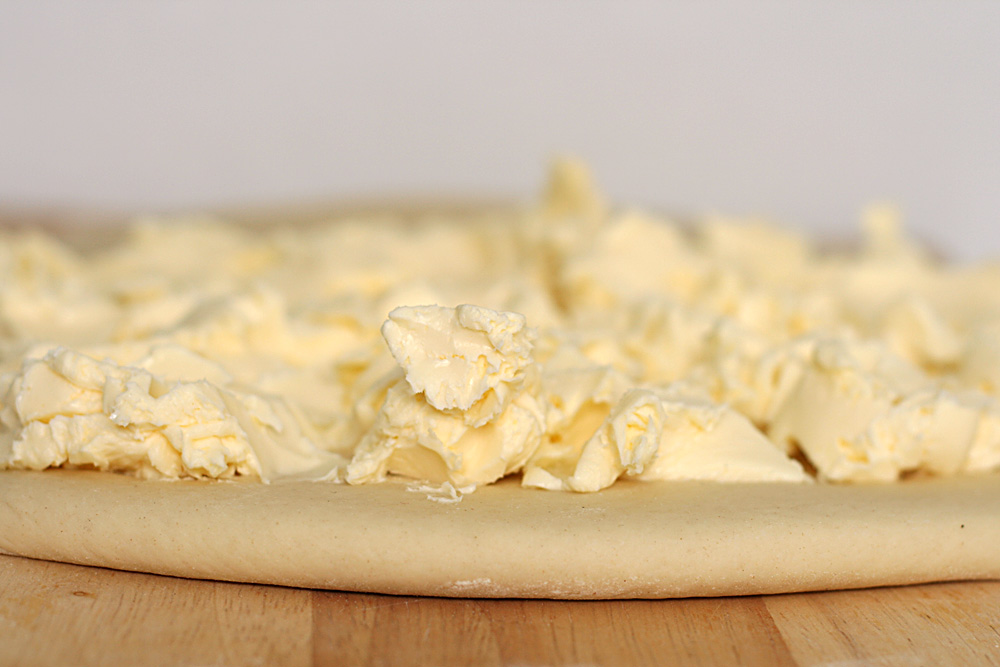
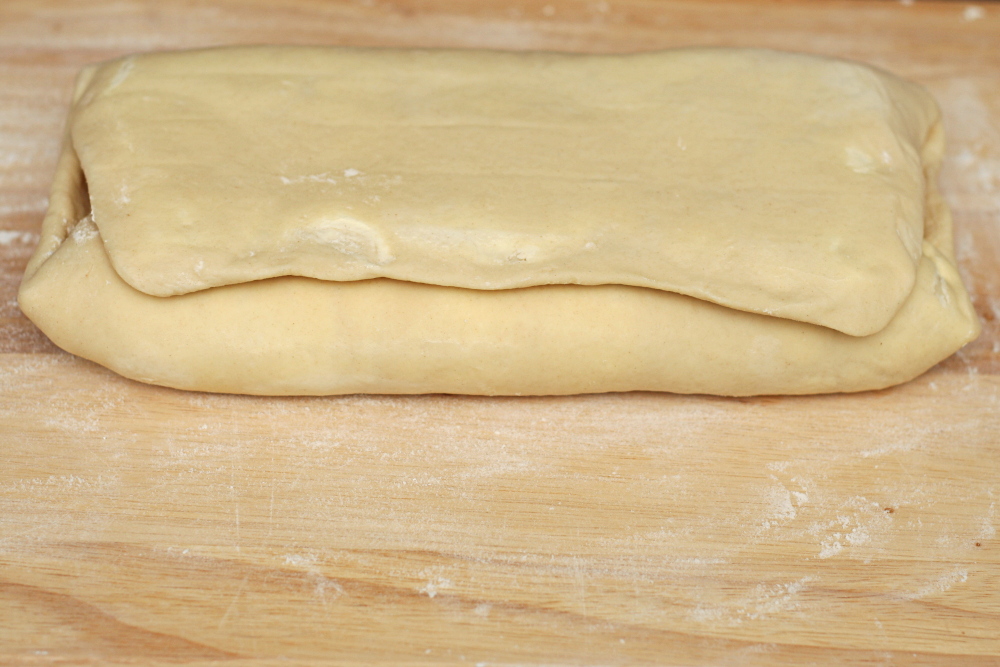
Of the recipes I’ve considered trying, this one is the most complex. First, a pre-ferment is made, two days before you want to bake the croissants. That gets turned into croissant dough the next day, and from there, most recipes are the same. Knead a little, then roll it out with a bunch of butter and fold it like a letter. Chill, then repeat the folding twice. Chill overnight. Roll out, cut, shape, rise, bake.

copy-of-img_4752

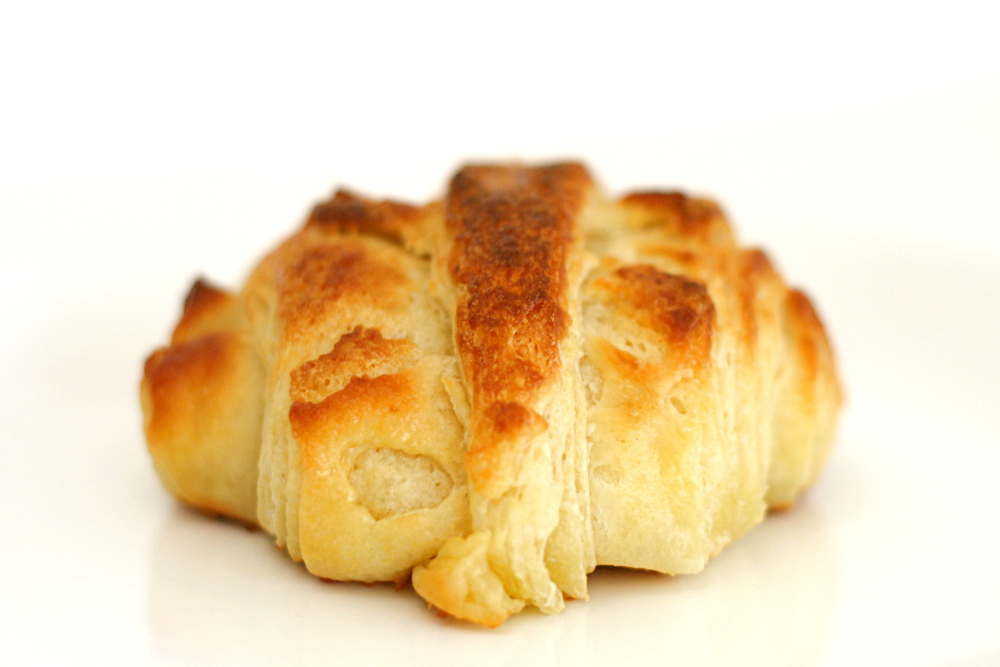
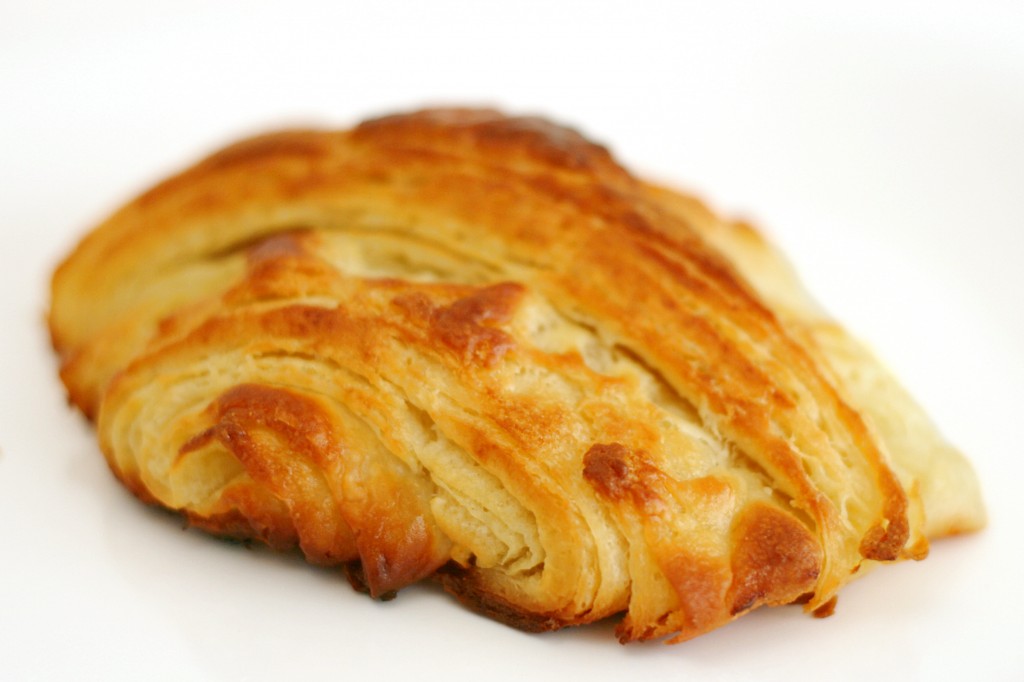
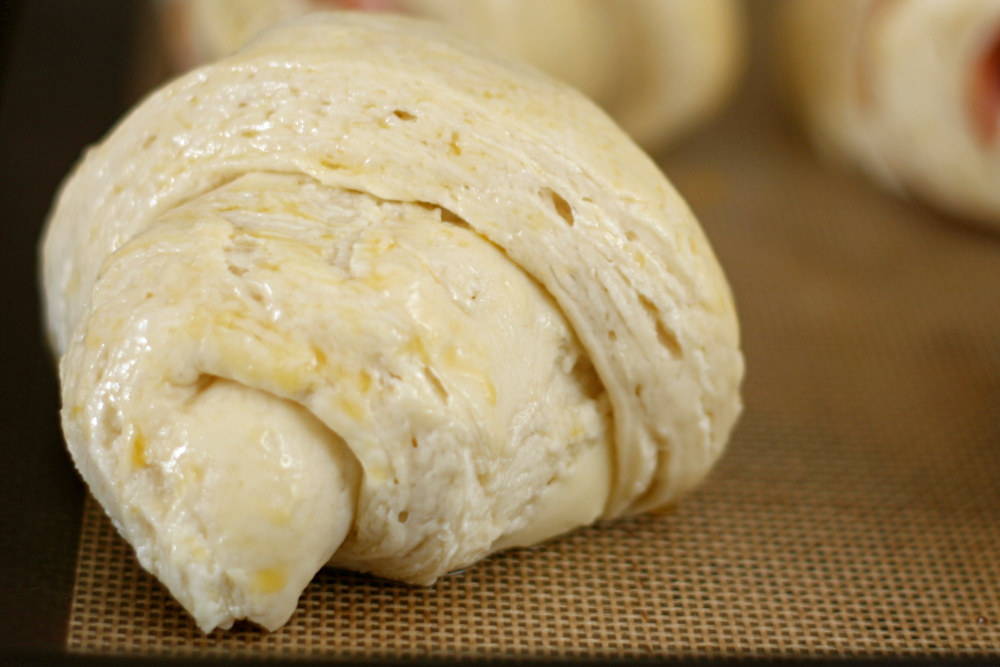
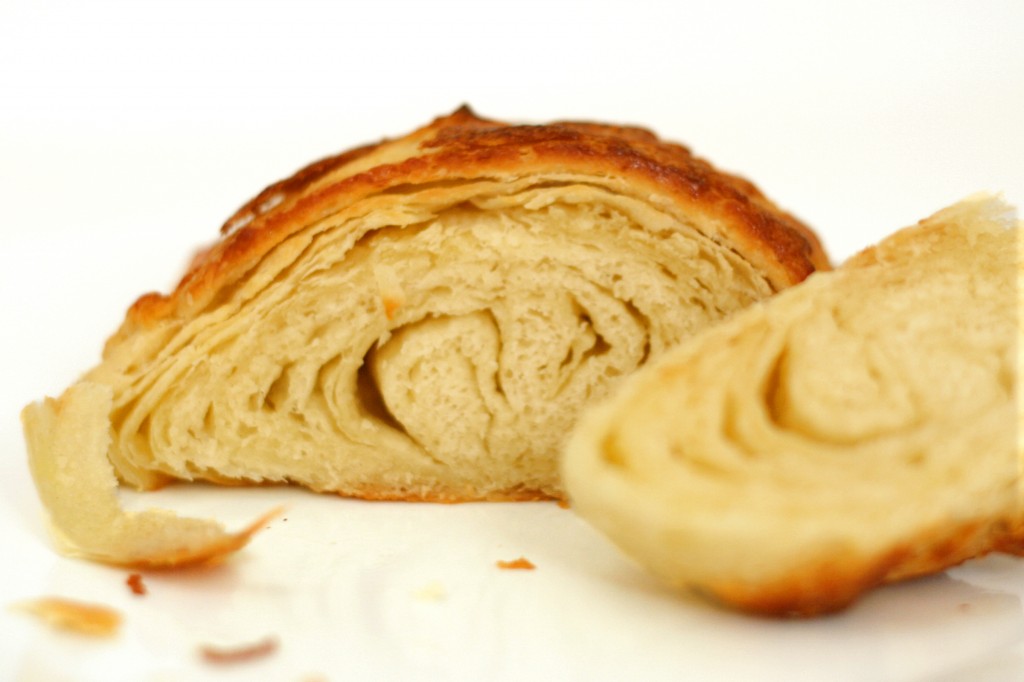
The author of the recipe, Elisabeth Prueitt, gives a lot of detail, turning my 60-word summary of the recipe into 5 pages of instructions, tips, and advice. She does not mention that the dough will be so elastic that it will fight you every time you have to roll it out, which makes me think I did something wrong. (Overkneading is my guess.) She also does not say anything about a huge pool of butter left behind in the baking pan after the croissants are removed from the oven. And I’m guessing the yeasty flavor of the croissants isn’t right either. And clearly they’re not supposed to look like this:

copy-of-img_4772

The croissants were still way better than edible – flaky, light, buttery delicious – but clearly my technique needs some refining. After I made this recipe, I was chomping at the bit to try another, and in fact, I have a handful of recipes I want to try. (Although one of them was the recipe that the Daring Bakers made a few years ago – which I just realized is this one. So never mind that one.) Expect to see reviews of one croissant recipe after another as I attempt to master this pastry.

copy-of-img_4764

One year ago: Snickery Squares

Croissants (from Tartine by Elisabeth M. Prueitt and Chad Robertson)

Preferment:
¾ cup non-fat milk (6 ounces/150 ml)
1 tablespoon active dry yeast (15ml)
1⅓ cup all-purpose flour (6¼ ounces/175g)

Dough:
1 tablespoon + 1 teaspoon active dry yeast (20ml)
1¾ cup whole milk (14 ounces/425 ml)
6 cups all-purpose flour (28 ounces/800g)
⅓ cup sugar (2½ ounces/70g)
1 tablespoon + 1 teaspoon salt (20 ml)
1 tablespoons unsalted butter (15ml)

Roll-in butter:
2¾ cup unsalted butter (22 ounces/625 g)

Egg wash:
4 large egg yolks (2 ounces/60 ml)
¼ cup heavy cream
pinch salt

To Make the Preferment:

In a small saucepan, warm the milk to take the chill off (between 80° to 90 °F). Pour the milk into a mixing bowl, sprinkle the yeast over the milk, stir to dissolve the yeast with a wooden spoon, and then add the flour, mixing with a wooden spoon until a smooth batter forms. Cover the bowl with cheesecloth and let the mixture rise until almost double in volume, 2 to 3 hours at moderate temperature or overnight in the refrigerator.

To Make the Dough:

First measure out all your ingredients and keep them near at hand. Transfer the preferment and then the yeast to the large bowl of a stand mixer fitted with the dough hook. Mix on low speed until the yeast is incorporated into the preferment batter, which will take a minute or two. Stop the mixer as needed and use a spatula to clean the bottom and sides of the bowl, folding the loosened portion into the mixture to incorporate all the elements fully. When the mixture has come together into an even, well-mixed mass, increase the speed to medium, and mix for a couple of minutes. Slowly add half of the milk and continue to mix until the milk is fully incorporated.

Reduce the speed to low, add the flour, sugar, salt, melted butter, and the rest of the milk, and mix until the mass comes together in a loose dough, about 3 minutes. Turn off the mixer and let the dough rest for 15 to 20 minutes. This resting period helps to shorten the final mixing phase, which comes next.

Engage the mixer again on low speed and mix until the dough is smooth and elastic, a maximum of 4 minutes. If the dough is very firm, add a little milk, 1 tablespoon at a time. Take care not to overmix the dough, which will result in a tough croissant that also turns stale more quickly. Remember, too, you will be rolling out the dough several times, which will further develop the gluten structure, so though you want a smooth dough, the less mixing you do to achieve that goal, the better. Cover the bowl with cheesecloth and let the dough rise in a cool place until the volume increases by half, about 1½ hours.

Lightly flour a work surface. Transfer the dough to the floured surface and press into a rectangle 2 inches thick. Wrap the rectangle in plastic wrap, or slip it into a plastic bag and seal closed. Place the dough in the refrigerator to chill for 4 to 6 hours.

To Make the Roll-in butter:

About 1 hour before you are ready to start laminating the dough, put the butter that you will be rolling into the dough in the bowl of the mixer fitted with the paddle attachment. Mix on medium speed until malleable but not warm or soft, about 3 minutes. Remove the butter from the bowl, wrap in plastic wrap, and place in the refrigerator to chill but not resolidify.

Laminating the dough:

Lightly dust a cool work surface, and then remove the chilled dough and the butter from the refrigerator. Unwrap the dough and place it on the floured surface. Roll out the dough into a rectangle 28 by 12 inches. With the long side of the rectangle facing you, and starting from the left side, spread and spot the butter over two-thirds of the length of the rectangle. Fold the uncovered third over the butter and then fold the left-hand third over the center, as if folding a business letter. The resulting rectangle is known as a plaque. With your fingers, push down along the seams on the top and the bottom to seal in the plaque.

Second turn:

Give the plaque a quarter turn so the seams are to your right and left, rather than at the top and bottom. Again, roll out the dough into a rectangle 28 by 12 inches, and fold again in the same manner. Wrap in plastic wrap or slip into a plastic bag and place in the refrigerator for 1½ to 2 hours to relax the gluten in the dough before you make the third fold, or “turn”.

Third turn:

Clean the work surface, dust again with flour, and remove the dough from the refrigerator. Unwrap, place on the floured surface, and again roll out into a rectangle 28 by 12 inches. Fold into thirds in the same manner. You should have a plaque of dough measuring about 9 by 12 inches, about the size of a quarter sheet pan, and 1½ to 2 inches thick. Wrap in plastic wrap or slip into the plastic bag, place on a quarter sheet pan, and immediately place in the freezer to chill for at least 1 hour. If you intend to make the croissants the next morning, leave the dough in the freezer until the evening and then transfer it to the refrigerator before retiring. The next morning, the dough will be ready to roll out and form into croissants, proof, and bake. Or, you can leave the dough in the freezer for up to 1 week; just remember to transfer it to the refrigerator to thaw overnight before using.

Making the croissant:

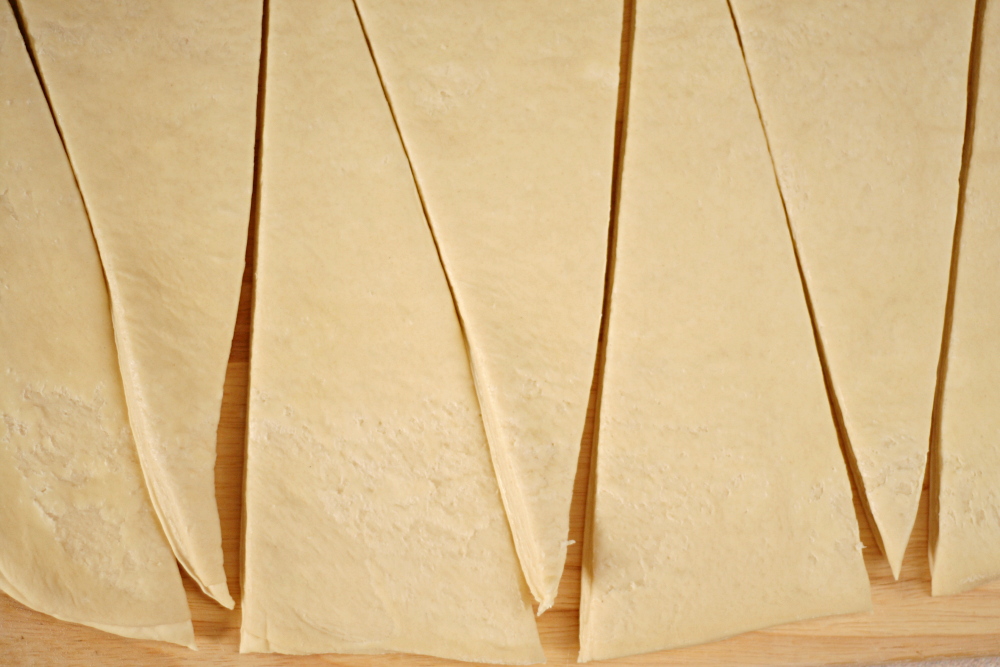
When you are ready to roll out the dough, dust the work surface again. Roll out the dough into a rectangle 32 by 12 inches and 3/8 inches thick. Using a pizza wheel or chef’s knife, cut the dough into long triangles that measure 10 to 12 inches on each side and about 4 inches along the base.

Line a half sheet pan (about 13 by 18 inches) with parchment paper. To shape each croissant, position a triangle with the base facing you. Positioning your palms on the two outer points of the base, carefully rolling the base toward the point. To finish, grab the point with one hand, stretching it slightly, and continue to roll, tucking the point underneath the rolled dough so that the croissant will stand tall when you place it on the sheet pan. If you have properly shaped the croissant, it will have 6 or 7 ridges.
As you form the croissants, place them, well-spaced, on the prepared half-sheet pan. When all the croissants are on the pan, set the pan in a draft-free area with relatively high humidity, and let the pastries rise for 2 to 3 hours. The ideal temperature is 75 °F. A bit cooler or warmer is all right, as long as the temperature is not warm enough to melt the layers of butter in the dough, which would yield greasy pastries. Cooler is preferable and will increase the rising time and with it the flavor development. For example, the home oven (turned off) with a pan of steaming water placed in the bottom is a good place for proofing leavened baked items. To make sure that no skin forms on the pastries during this final rising, refresh the pan of water halfway through the rising.

During this final rising, the croissants should at least double in size and look noticeably puffy. If when you press a croissant lightly with a fingertip, the indentation fills in slowly, the croissants are almost ready to bake. At this point, the croissants should still be slightly “firm” and holding their shape and neither spongy nor starting to slouch. If you have put the croissants into the oven to proof, remove them now and set the oven to 425 °F to preheat for 20 to 30 minutes.

About 10 minutes before you are ready to bake the croissants, make the egg wash. In a small bowl, whisk together the egg yolks, cream, and salt until you have a pale yellow mixture. Using a pastry brush, lightly and carefully brush the yolk mixture on the pastries, being careful not to allow the egg wash to drip onto the pan. Let the wash dry slightly, about 10 minutes, before baking.

Place the croissants into the oven, immediately turn down the oven temperature to 400 °F, and leave the door shut for the first 10 minutes. Then working quickly, open the oven door, rotate the pan 180 degrees, and close the door. This rotation will help the pastries to bake evenly. Bake for 6 to 10 minutes longer, rotating the pan again during this time if the croissants do not appear to be baking evenly. The croissants should be done in 15 to 20 minutes total. They are ready when they are a deep golden brown on the top and bottom, crisp on the outside and light when they are picked up, indicating that the interior is cooked through.

Remove the croissants from the oven and place them on a wire rack to cool. As they cool, their moist interiors will set up. They are best if eaten while they are still slightly warm. If they have just cooled to room temperature, they are fine as well, or you can rewarm them in a 375°F oven for 6 to 8 minutes to recrisp them before serving. You can also store leftover croissants in an airtight container at room temperature for 1 day, and then afterward in the refrigerator for up to 3 days. If you have stored them, recrisp them in the oven before serving.
copy-of-img_4779

fresh mango bread

copy-of-img_4960

I recently told someone that neither Dave or I like mangoes. Exactly one week later, Dave brought home four mangoes from work. Um…dude, we don’t like mangoes, remember?

But it turns out that I do like mangoes! I just don’t like the unripe ones I was buying from the grocery store. These were soft and sweet and a little spicy. And now I know how to tell when mangoes are ripe!

copy-of-img_4937

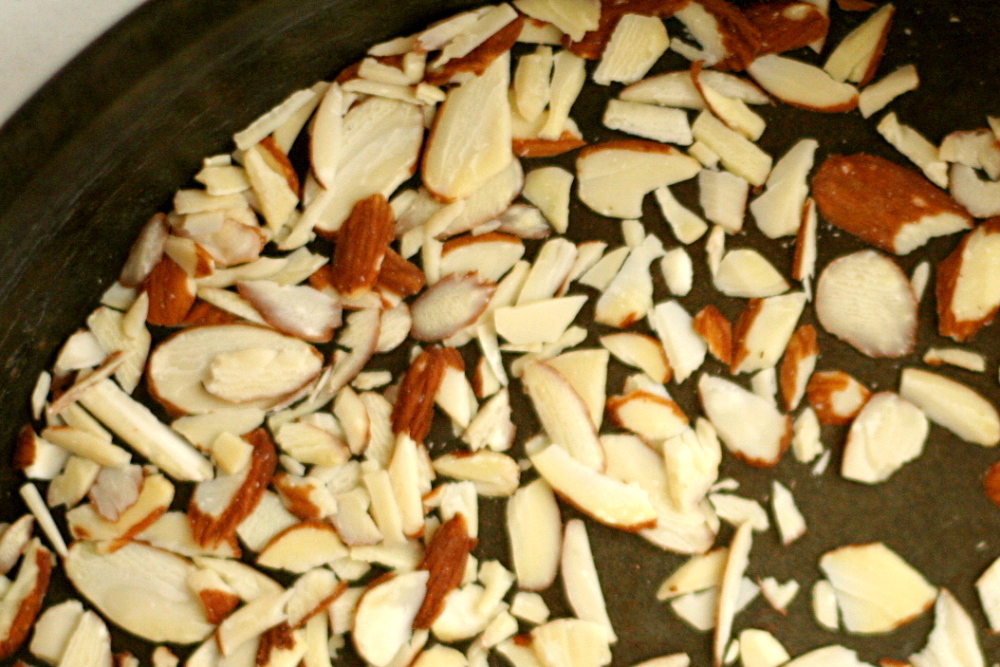
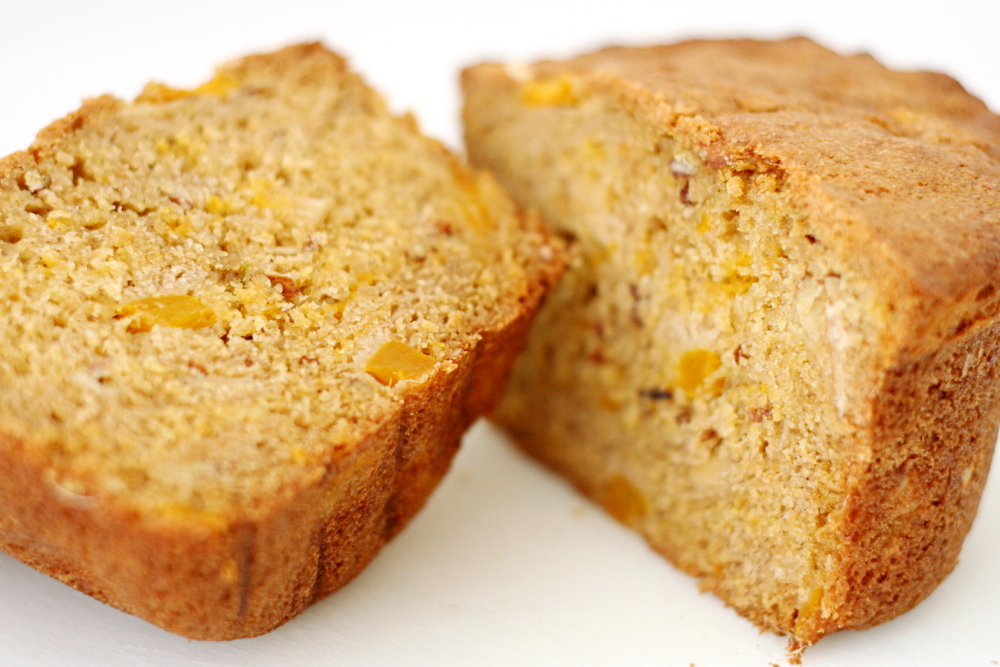
I used the last of those four mangoes in this bread, which is made like a classic quick bread, where the dry and the wet ingredients are mixed separately, then gently combined. I didn’t have raisins, so I skipped those, and I added lightly toasted sliced almonds instead. I didn’t have a lime or ginger either, so I left those out too.

copy-of-img_4942

So it turns out that I like mangoes…and I definitely like quick breads, and the bread part of this was particularly good, subtly spiced and perfectly tender without being too delicate. But I found that I don’t really like mangoes in a quick bread. Mangoes, to me, represent something refreshing and cool. Even once the bread was at room temperature, it didn’t seem like the right venue for mangoes. I didn’t hate it, but in the future, I’ll keep my mangoes and my quick breads separate.

copy-of-img_4962

If you feel differently, check out the recipe on Kelly’s site. She chose this recipe for TWD.

One year ago: Hash Browns with Sautéed Vegetables and Poached Eggs

copy-of-img_4948

fresh strawberry scones

copy-of-img_3628

What’s fun about going through phases with certain foods, like my recent scone phase, is that it gives you a chance to really explore that category. I’ve made all sorts of scones in the past few months – cream scones, scones made with lighter dairy but more butter, scones filled with fresh fruit and with nuts. So far I’ve avoided scones with dried fruit, even though it’s traditional.

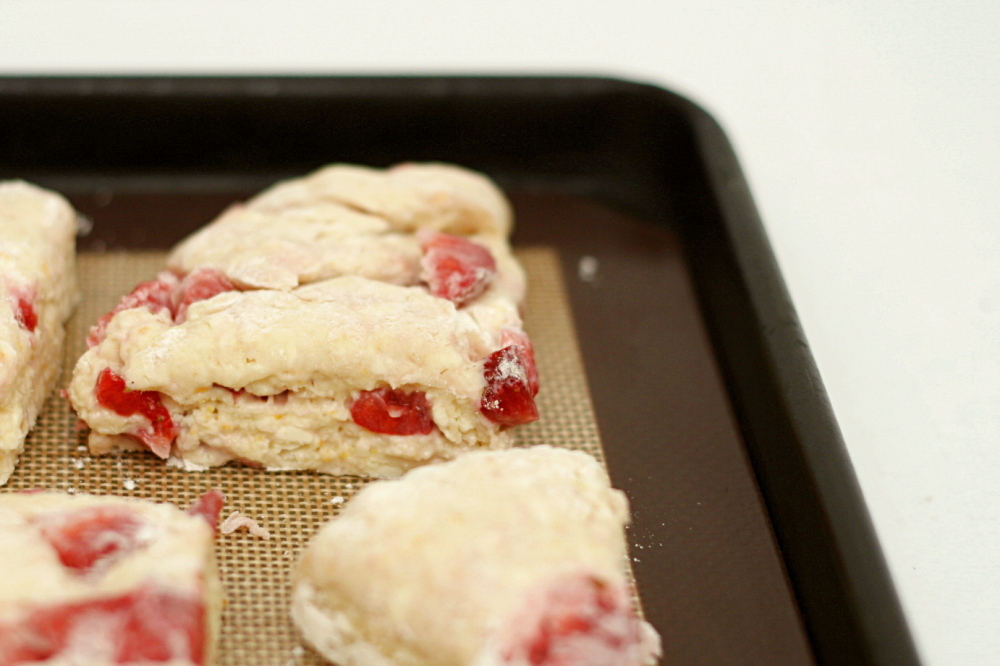
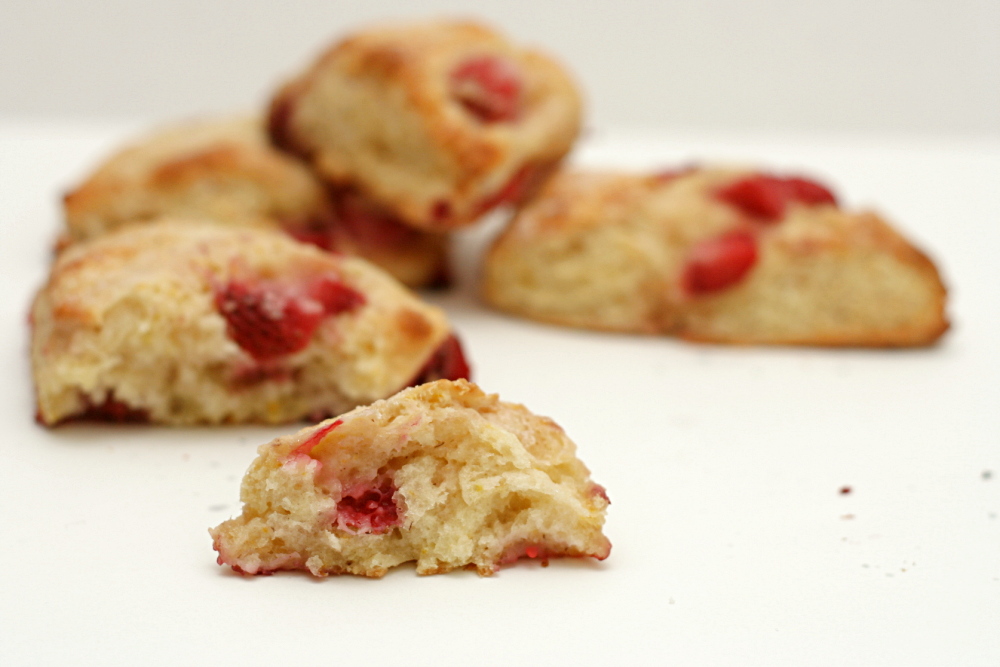
Instead, I tried scones with one of the juiciest fruits. Katie’s recipe for strawberry scones closely resembles most other scone recipes, with butter cut into the dry ingredients before dairy is gently stirred in. The recipe includes yogurt and milk instead of the richer cream often called for in scones.

copy-of-img_3487

The recipe was a little tricky for me. Because strawberries vary so much in water content, Katie recommends a range of flour. I knew my early season berries weren’t at their juicy peak, so I kept to the lower end of the range. However, I still needed far more liquid than the original recipe requires before the dough would come together. Kelsey indicated that she had a similar problem. Fortunately, it was easy enough to increase the milk until all of the flour was evenly moistened.

copy-of-img_3488

I’ve found that I generally prefer cream scones for their rich tender crumb that has no trace of dryness. These scones were a little different, and my first instinct was to prefer the cream scones that I’m used to, but then I realized that these were every bit as good. Because of the higher amount of butter compared to flour, the scones had crisper edges, especially the bottom, but it was good, almost like a flaky pie crust. And you know how scones are so good topped with jam? Putting strawberries right in the scone is ten times better.

One year ago: Peanut Butter Torte

copy-of-img_3626

Strawberry Scones (adapted from Good Things Catered)

When I make scones, I almost always prepare them up to just before baking (through step 5 in this recipe), then freeze the shaped dough. The scones can be baked straight from the freezer, with just a few minutes added to the baking time.

2¼ cups (10.8 ounces) all purpose flour
¼ cups (1.75 ounces) granulated sugar, plus extra for sprinkling
1 tablespoon baking powder
½ teaspoon salt
8 tablespoons (1 stick) butter, chilled and cut into small pieces
1 egg
¼ cup plain yogurt
½ cup milk
1 teaspoons orange zest
1 cup diced fresh strawberries

1. Adjust an oven rack to the middle position and heat the oven to 425F. Line a baking sheet with parchment paper or a silicone mat.

2. In a small bowl, combine the egg, yogurt, milk and zest and whisk to thoroughly combine. Set aside.

3. Place the flour, sugar, baking powder, and salt in the work bowl of a food processor. Pulse to combine (or mix with a whisk in a large bowl). Add the cubes of butter and pulse several times, until the butter pieces are all smaller than pea-sized (or cut the butter into the flour with a pastry cutter or two knives). Transfer the mixture to a large bowl.

4. Add the strawberries to the flour mixture and toss to coat. Add the wet ingredients and fold them into the dry ingredients, mixing just until the dough comes together and all of the flour is hydrated.

5. Turn the dough out onto a well-floured work surface and pat it into a large ball. Cut the ball in half, and shape each half into a flat disk about ½-inch thick. Cut the discs into 8 wedges.

6. Place the wedges on the prepared baking sheet and sprinkle sugar on top. Bake until slightly browned on top, about 15 minutes. Remove the baking sheet from the oven and let the scones cool on the sheet for a few minutes before transferring to a wire rack. The scones are best served when still slightly warm.

copy-of-img_3630

chocolate bread pudding

copy-of-img_3971

My first bread pudding experience involved Dessert Envy, when Dave and my brother and I went out for dessert and beer a few years ago. I ordered something rich and chocolately and otherwise unmemorable, and my brother ordered pumpkin bread pudding. I had one bite, my first taste ever of bread pudding, and was immediately smitten. Regrettably, I’ve only had it once since, another bite of someone else’s dessert order in a restaurant.
copy-of-img_3942

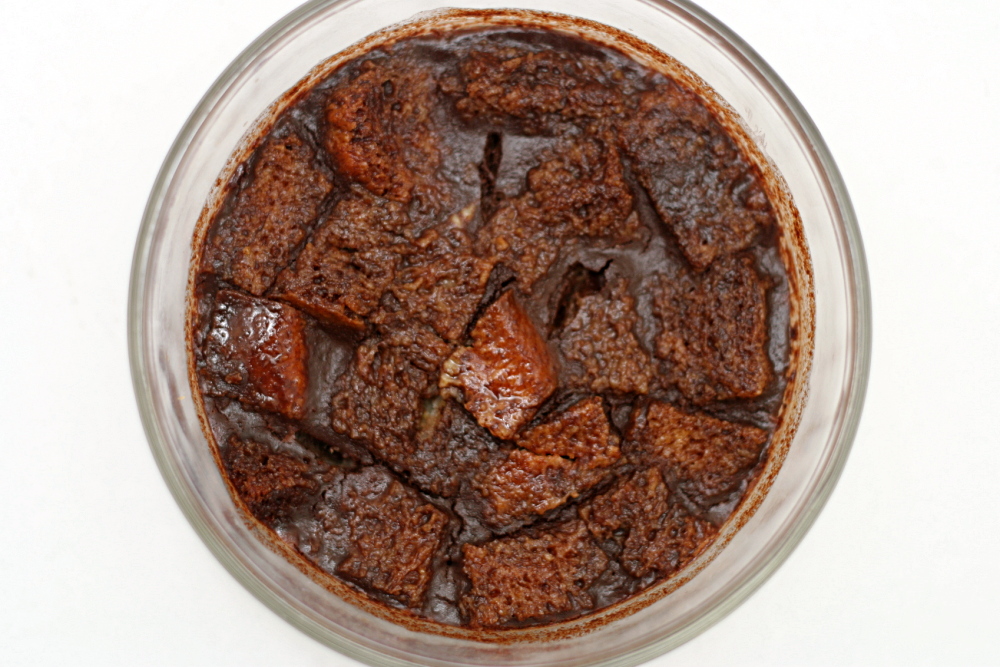
Finally, thanks to TWD, I’ve made my own bread pudding, and even got to eat a full serving instead of a single bite! But since this was my first time making it, I couldn’t troubleshoot as I baked.

copy-of-img_3954

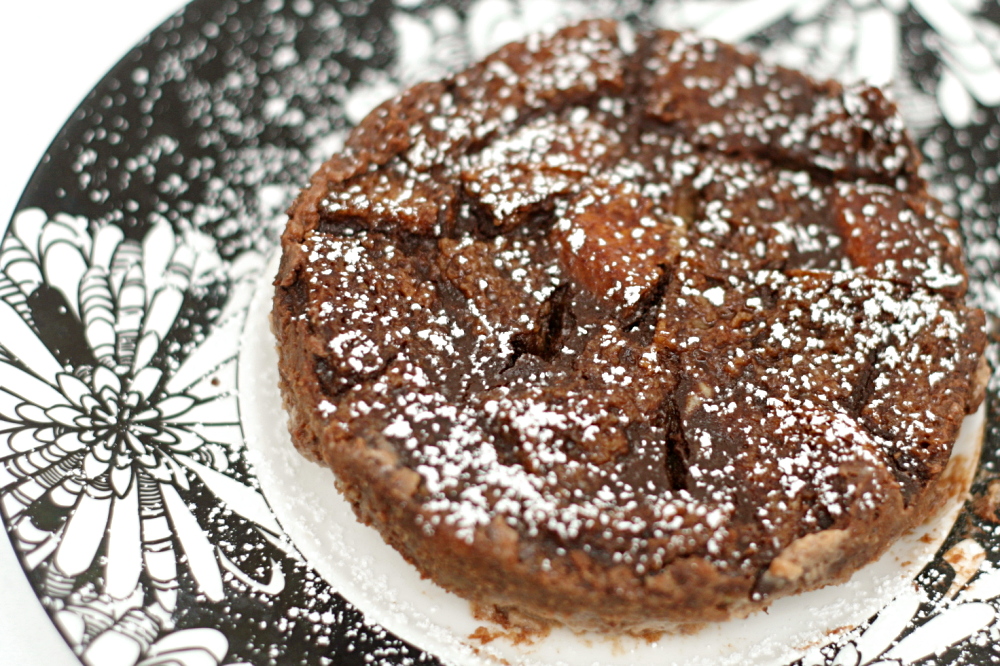
Mostly I was surprised by how much liquid there was compared to the amount of bread. I weighed out the bread before leaving it out to stale, but it lost 33% of its weight by the time I baked with it, so I probably should have used more bread. It probably should have been drier too; it was still a little soft in the middle.

copy-of-img_3969

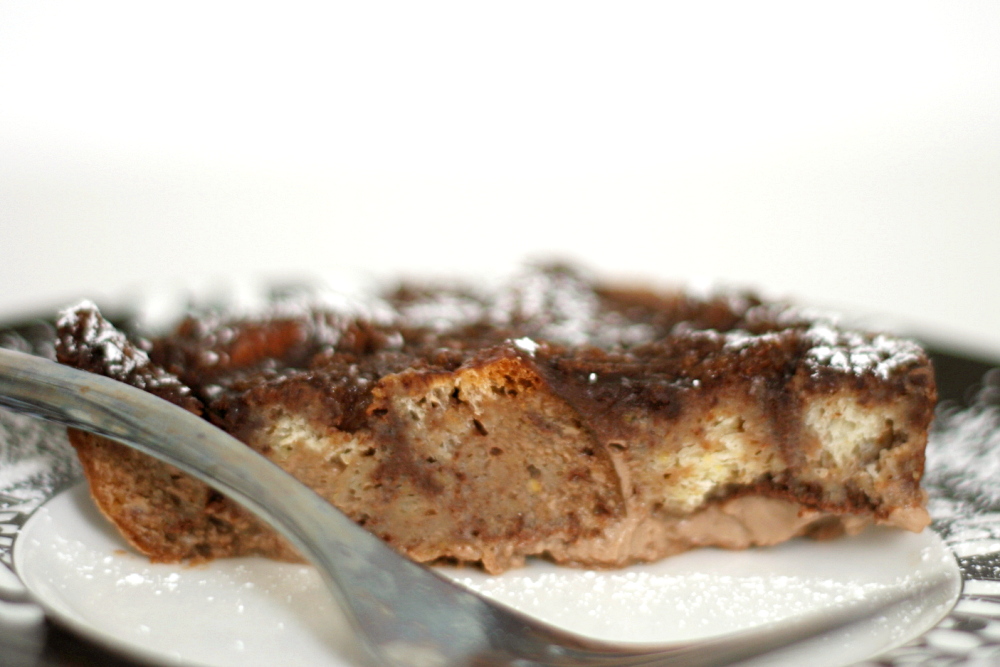
As a result, the bread wasn’t able to soak up all of the custard. (Is it supposed to? I’m assuming so, but I don’t know for sure.) The puddings baked up with a layer of pure custard on the bottom of the pan.

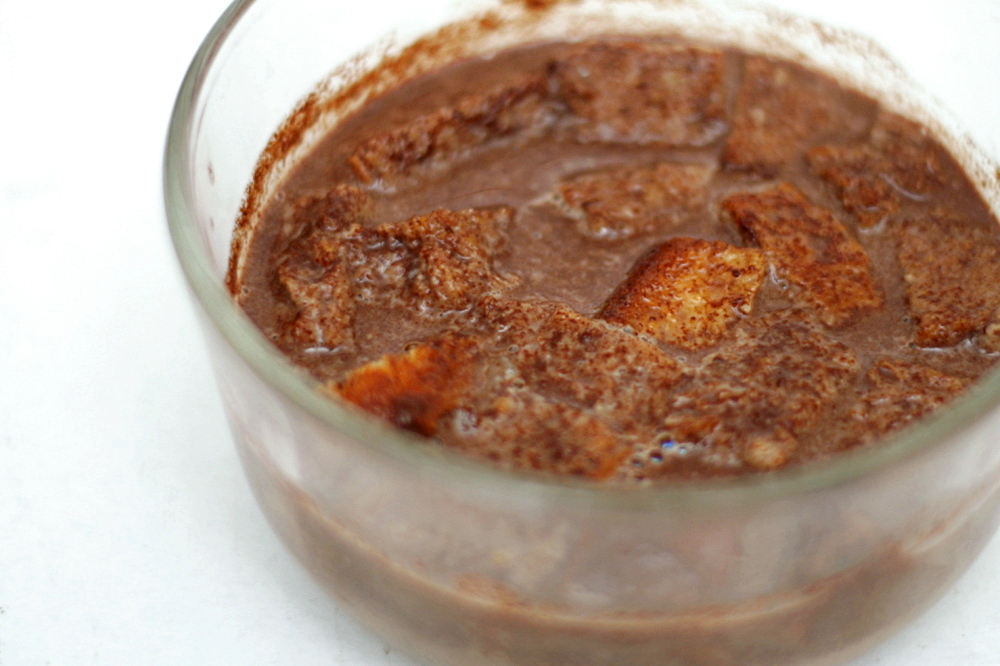
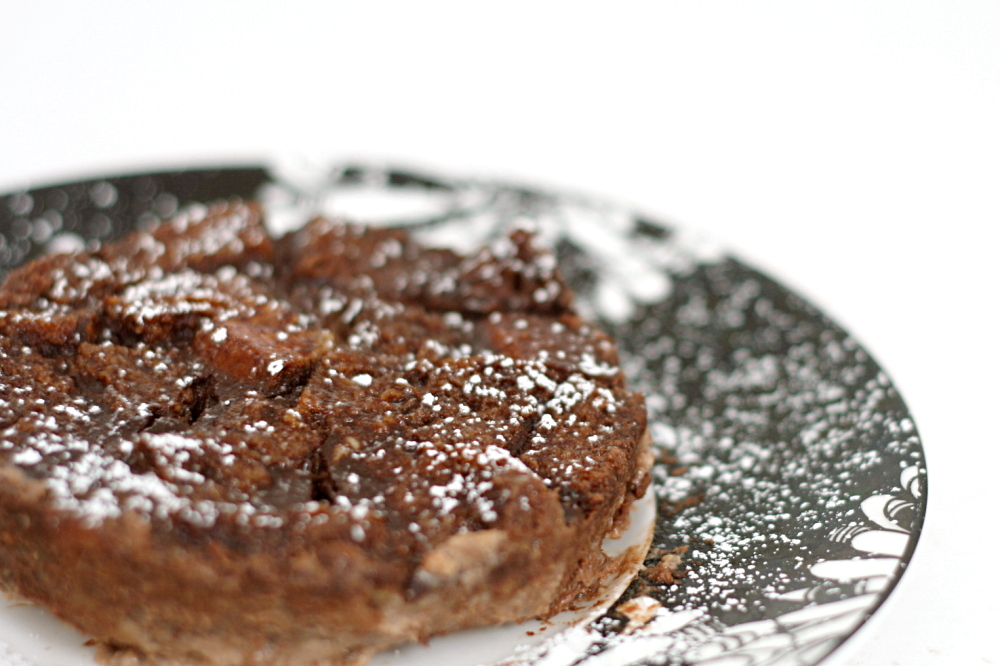
I still really enjoyed it though. Bread and custard sounds like an unlikely combination, but when the bread is saturated with the liquid, it forms, well, pudding. And pudding is good.
copy-of-img_3976

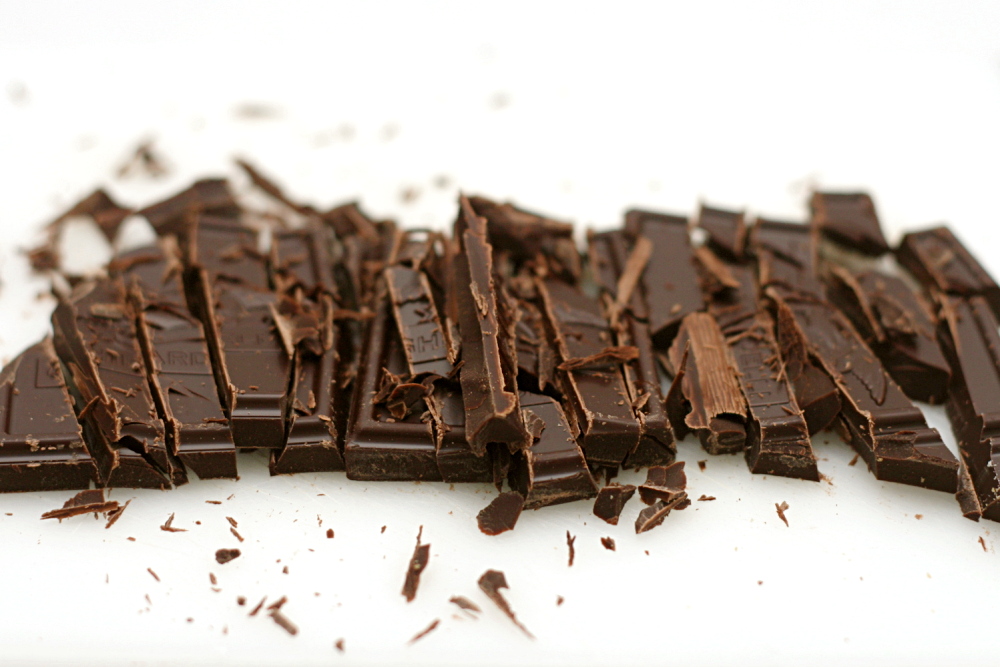
Lauren has the recipe posted. Next time I’ll use a darker chocolate (than the 60% cocao that I used), as the chocolate flavor was a little weak. And like I said, you’ll want 12 ounces of bread after it’s stale, not before.

One year ago: Marshmallows – I made this again and had some problems.   Now I want to try a marshmallow recipe that doesn’t have egg whites.

copy-of-img_3979

anadama bread

copy-of-img_3605

My friends and I aren’t amateurs at sleeping outdoors, but we went on a disaster of a trip a few years ago. Near the end of October, we went to West Virginia hoping to see some fall colors. We hiked up to a ridge with all of our gear, planning to camp at the top for a couple nights. And a little blizzard blew through. Then my friend leaned over too far while cooking dinner and fell – into the fire. The dog kept running away. Our tent blew away – while we were in it.

copy-of-img_3491

The next morning, we got off of that stupid ridge as early as possible. (Another friend fell and sprained his ankle on the way down.) Once down, we had a very nice, sunny and even warm picnic lunch in a beautiful park at the base of Seneca Rocks. My friend passed around this bread, apologizing that something had gone wrong with the baking. It clearly hadn’t risen – it was so dense it was almost crystalline. But the taste, sweet and complex, was good enough to make up for the texture. I promised her I’d try the recipe and see if I could figure out what went wrong.
copy-of-img_3501

The recipe has quite a number of issues, actually. For one thing, it calls for 12-13 cups of flour and says that it makes two 9×5-inch loafs, where most recipes use just 3-4 cups of flour per loaf. It also instructs the baker to dump cornmeal into hot liquid, but that will cause it to clump. And then there’s the place where I think my friend went wrong: the recipe starts with a hot cornmeal mush, and after that cools for “a bit”, as the recipe misleadingly states, the yeast is added. But it took at least half an hour before it was cool enough not to kill the yeast.

copy-of-img_3506

It’s good thing I’m not new at bread baking.  I halved the recipe and divided the dough between two loaf pans. The cornmeal lumps did seem to break up during kneading, but I’ve reworked the recipe to avoid this problem anyway. And fortunately, I used my thermometer to make sure the mush had cooled enough before adding the yeast.

copy-of-img_3602

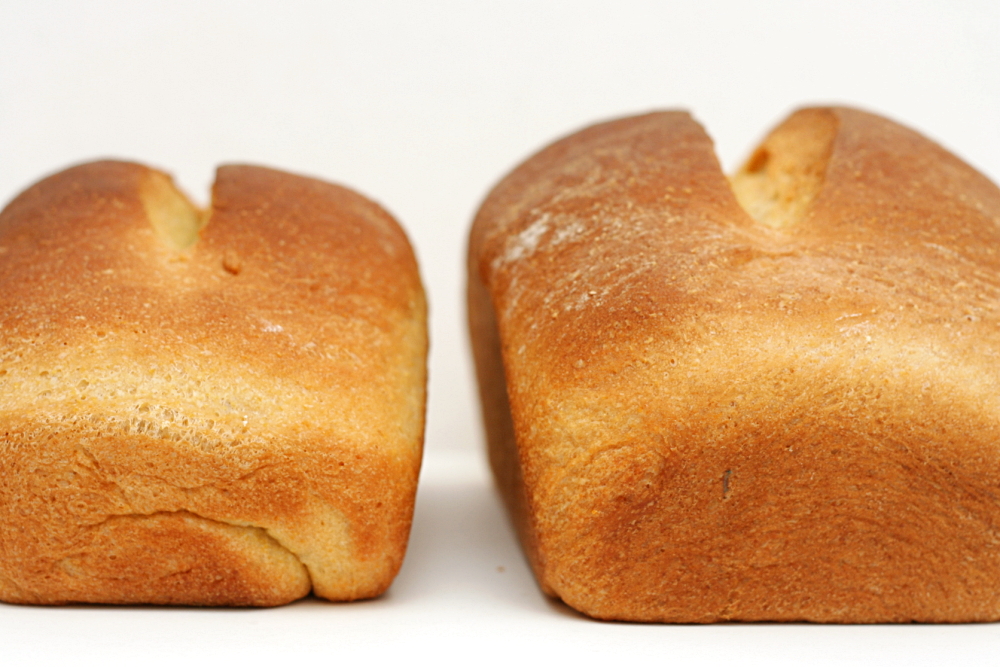
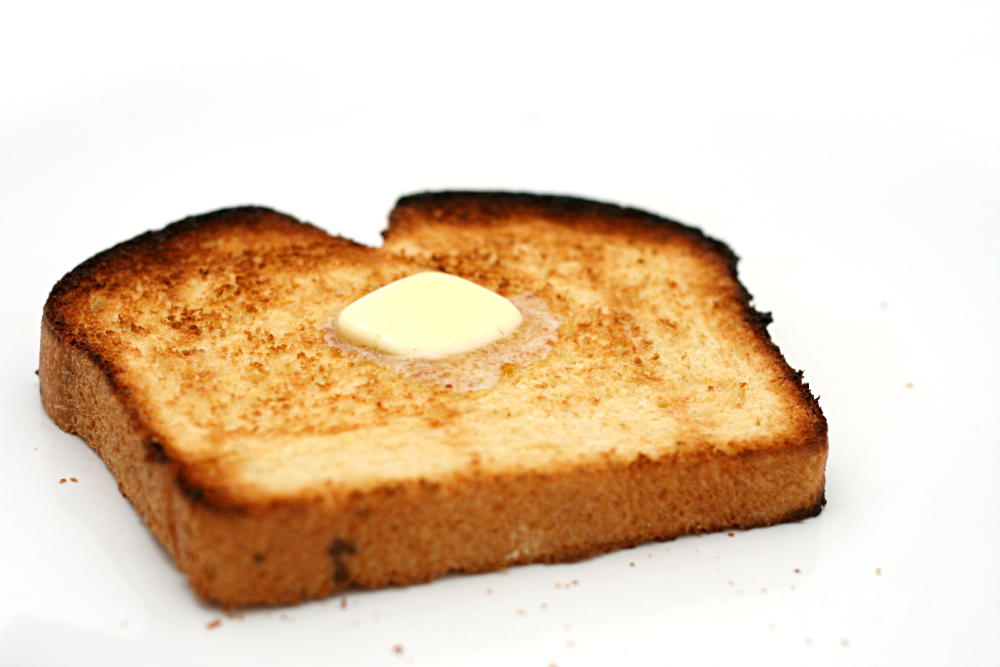
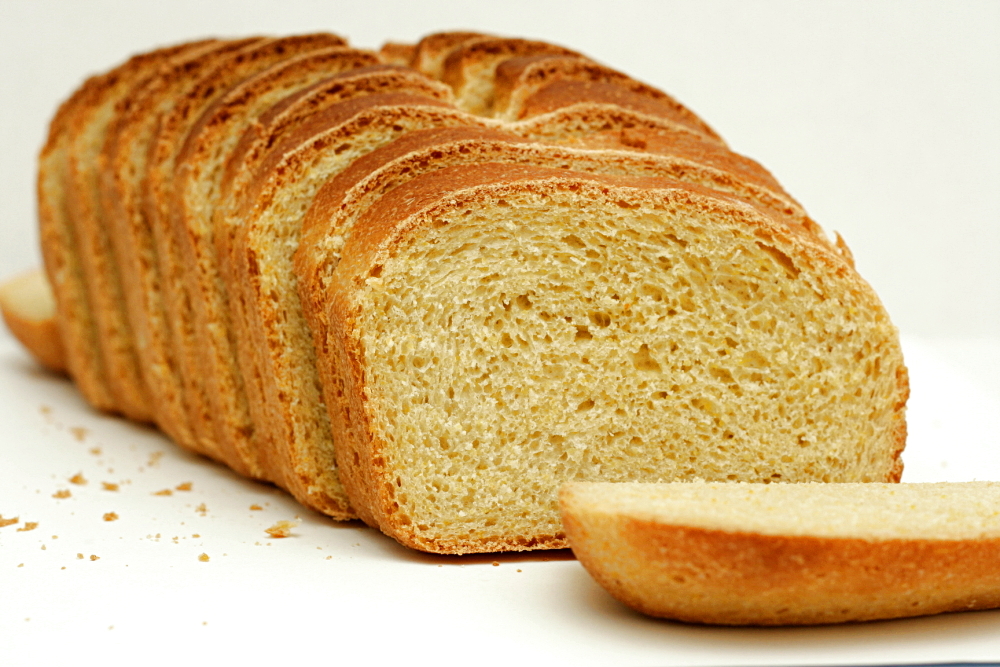
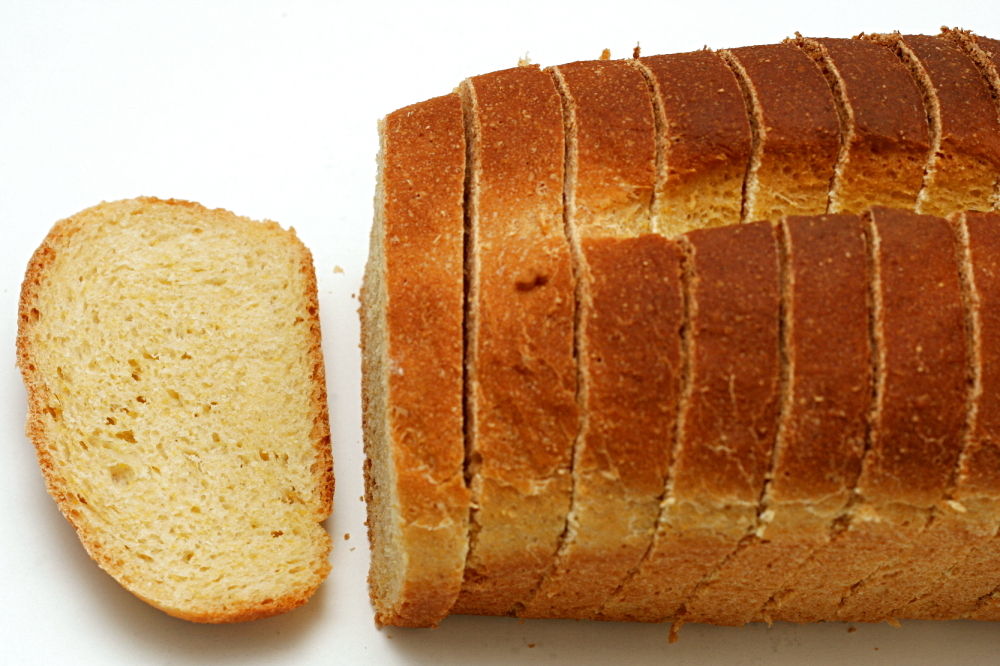
After all was said and done, the bread was great. It was just as sweet as I remember, plus light and tender. So far I’ve eaten it toasted with butter, as French toast, with sliced avocado, and as part of a ham sandwich.  Tomorrow it will be bread pudding.  It’s delicious and versatile.

copy-of-img_3610

One year ago: Cinnamon Rolls

Anadama Bread (revised from Moosewood Restaurant Daily Special)

Makes 2 loaves

Note from Bridget: I have to admit that I didn’t totally make Anadama bread, which requires molasses. It turns out that I didn’t have any, so I used honey instead. Not the same, but still good.

¾ cup water
1 cup milk
1 cup cornmeal
¼ cup (1.75 ounces) packed brown sugar
2 tablespoons molasses
1 package (2¼ teaspoons) instant yeast
6 to 6½ cups (28.8 to 32.2 ounces) unbleached flour
2 tablespoons vegetable or canola oil
1 tablespoon salt

1. Heat the water, milk, cornmeal, and sugar in a medium-saucepan over medium heat, stirring frequently. Once it thickens, transfer to it to the bowl of a standing mixer or other large bowl, stir in the molasses, and set the mixture aside to cool, about 30 minutes.

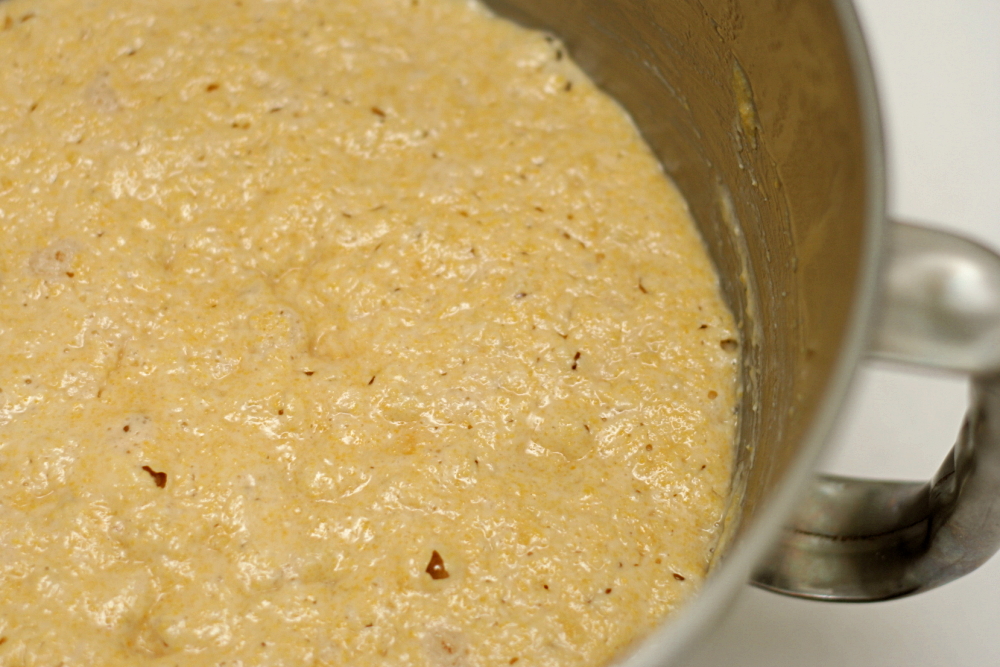
2. When the cornmeal mush has cooled to 105-110F, add the yeast and 1 cup of the flour, and stir until smooth. Cover the bowl with a damp cloth and set aside until the mixture bubbles, about 45 minutes.

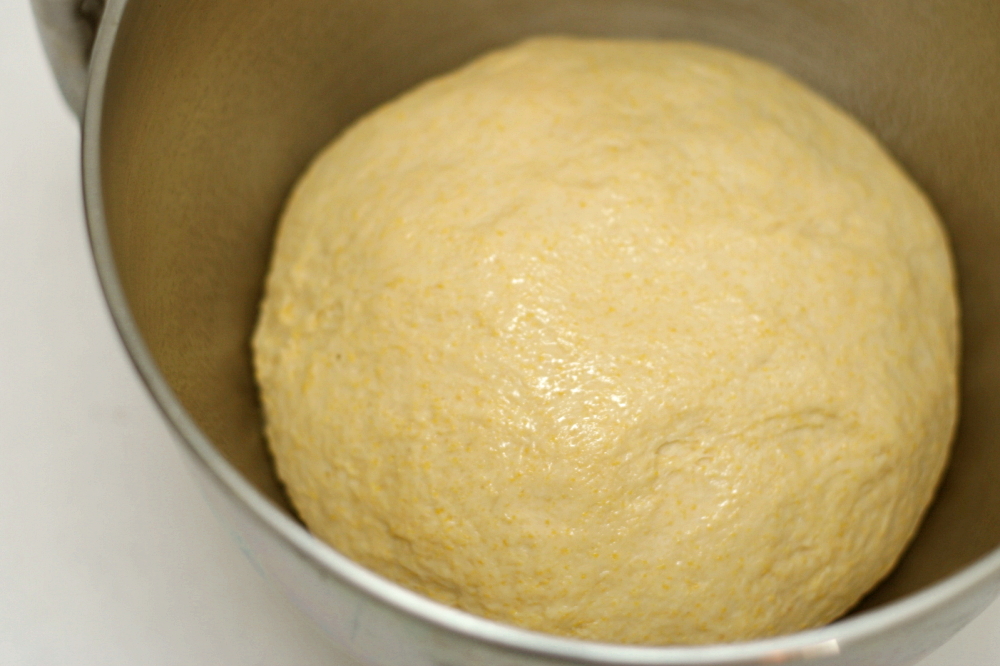
3. Stir the oil, salt, and 3½ cups of the remaining flour into the sponge to make a stiff dough, mixing well (or mix for 2 minutes on low speed in a stand mixer fitted with the dough hook). Generously dust a board with the remaining flour. Turn the dough onto the board and knead it until elastic, about 10 minutes (or knead on medium low for 6 minutes, slowly adding flour until the dough pulls away from the sides and bottom of the mixing bowl). The dough may be sticky, but should be firm.

4. Lightly oil a large bowl, shape the dough into a round, and put it in the bowl, turning it to coat both sides with oil. Cover the bowl with a damp cloth and set aside in a warm place until the dough has doubled in size, 45 to 60 minutes.

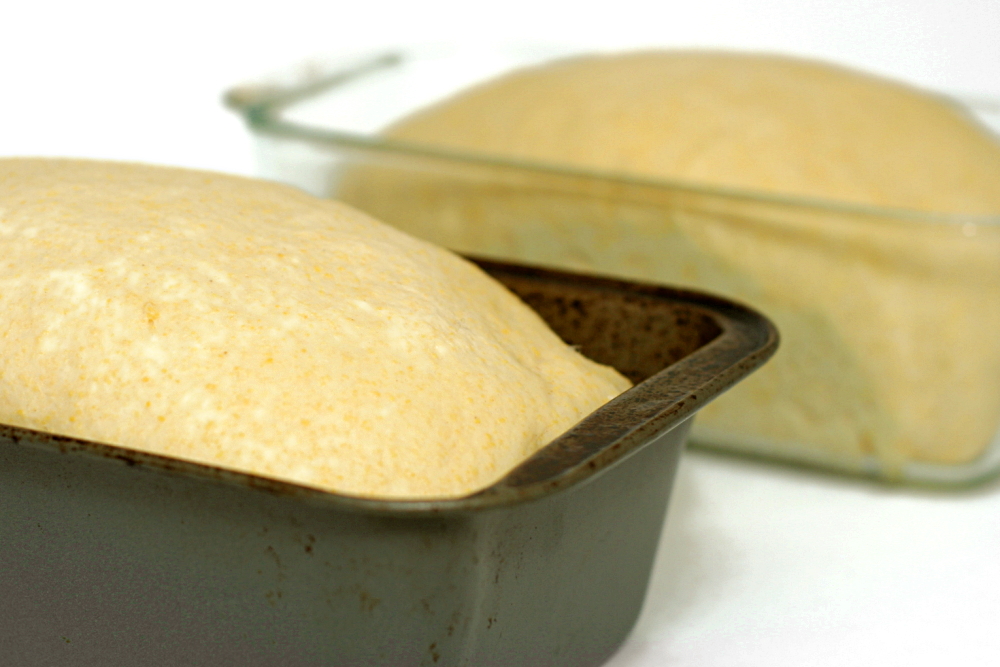
5. Lightly oil two loaf pans (8.5×4.5 inches or 9×5 inches). Punch down the dough and turn it out onto a lightly floured board. Slice it into halves and shape each half to fit the loaf pans. Place the dough in the prepared pans, cover with a damp cloth, and let rise until doubled, 30-45 minutes. Preheat the oven to 350F.

6. When the dough has risen about an inch above the top of the loaf pans, bake for about 40 minutes, or until golden and hollow-sounding when tapped on the bottom. An instant-read thermometer inserted into the center of the loaf should read 195-200F. Cool on a wire rack for 15 minutes, then use a knife to loosen the edge of the bread from the pans. Invert the loaves onto a cooling rack and cool completely before slicing.

copy-of-img_3606