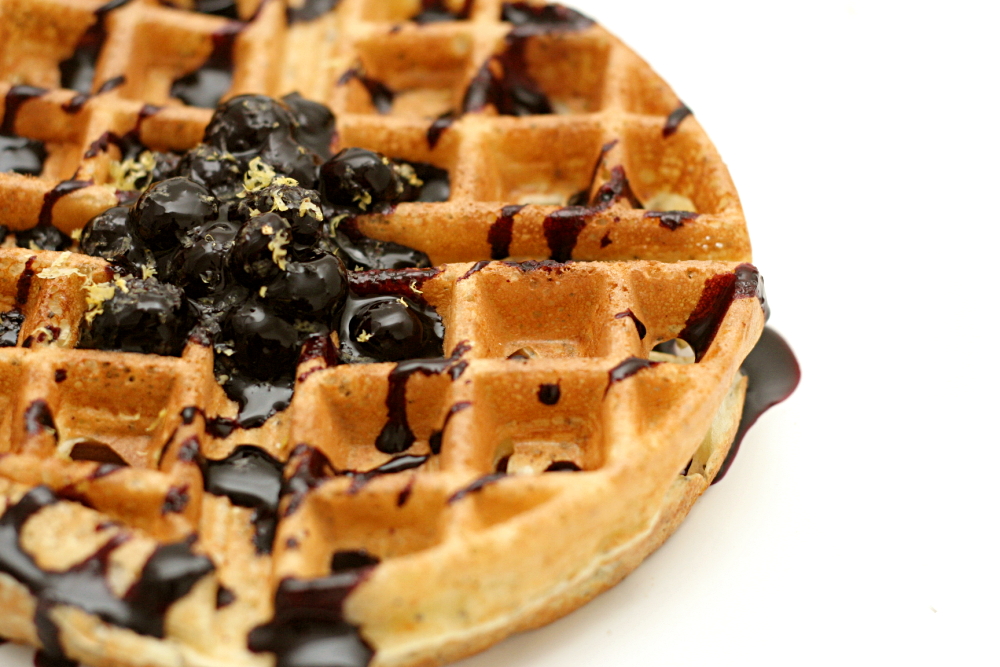
lemon poppy seed waffles

copy-of-img_2372

Over the last week, I’ve invested a considerable amount of time, plus some money, into my blog to make it look…well, pretty much the same. Plus, I’m guessing most of you read my blog through Google Reader or something similar and never actually see the design. Be that as it may, there are a couple design features on it that I’ve mostly gotten used to but have always bugged me a little. Now I can fix them! Eventually. When I learn how.
copy-of-img_2352

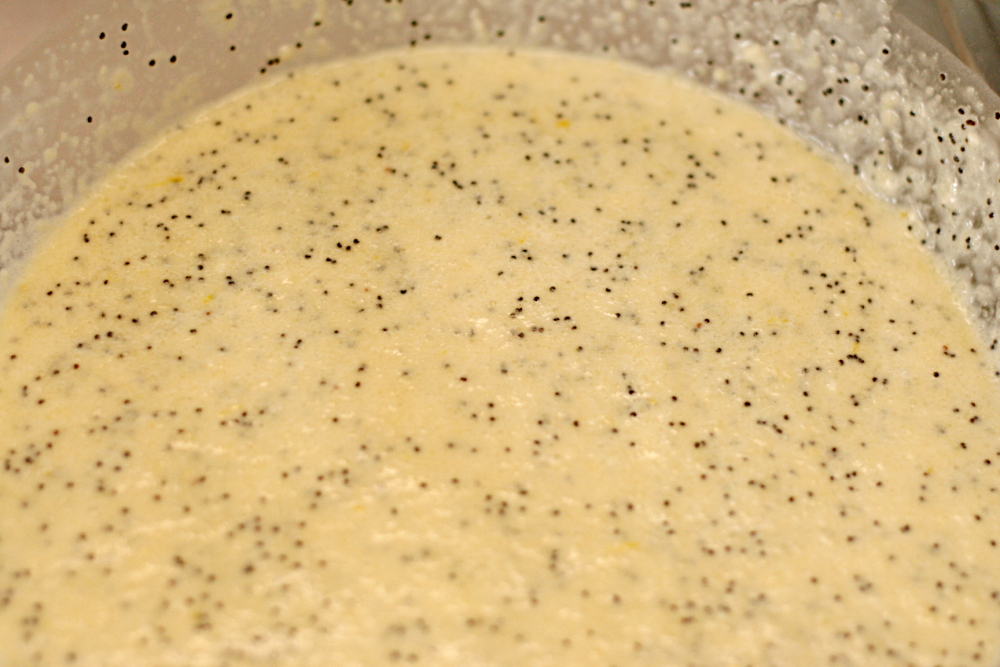
Thank god for things I do know how to do, like cook. I first tried a recipe for lemon poppy seed waffles that I found through epicurious, but my socks weren’t knocked off. It was a little dense and not crispy on the outside the way I like. I considered beating the egg whites separately and folding them back into the batter, but ultimately decided that if I’ve already found a waffle recipe that I like, why not stick with it? Especially if it’s less work.
copy-of-img_2349

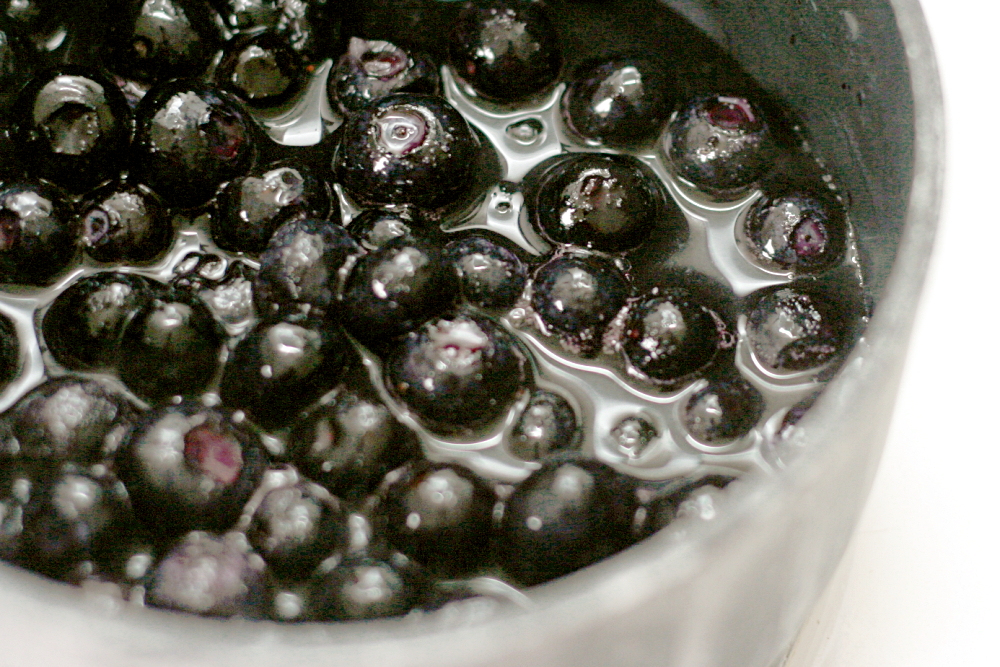
I took my favorite overnight waffle recipe and added lemon zest and poppy seeds to it. To maximize the flavor of the lemon, I rubbed the zest with the sugar before adding the remaining ingredients. (Thanks for the tip, Dorie!) The lemon sugar is mixed with water, yeast, milk, melted butter, and flour, then left to rest on the countertop overnight. The eggs and a bit of baking soda are stirred in in the morning right before the waffles are cooked.
copy-of-img_2361

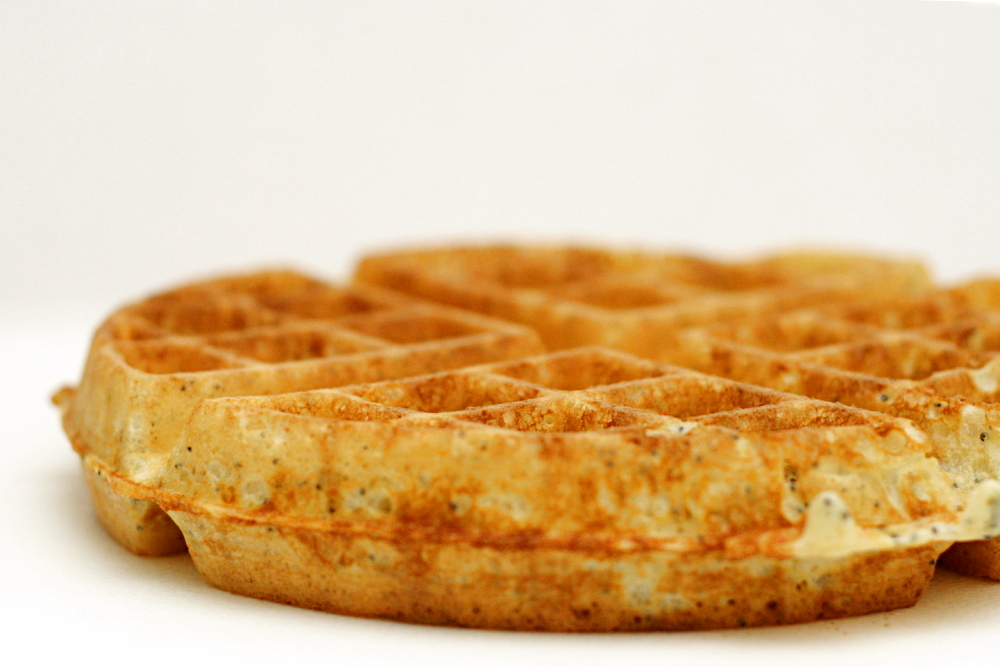
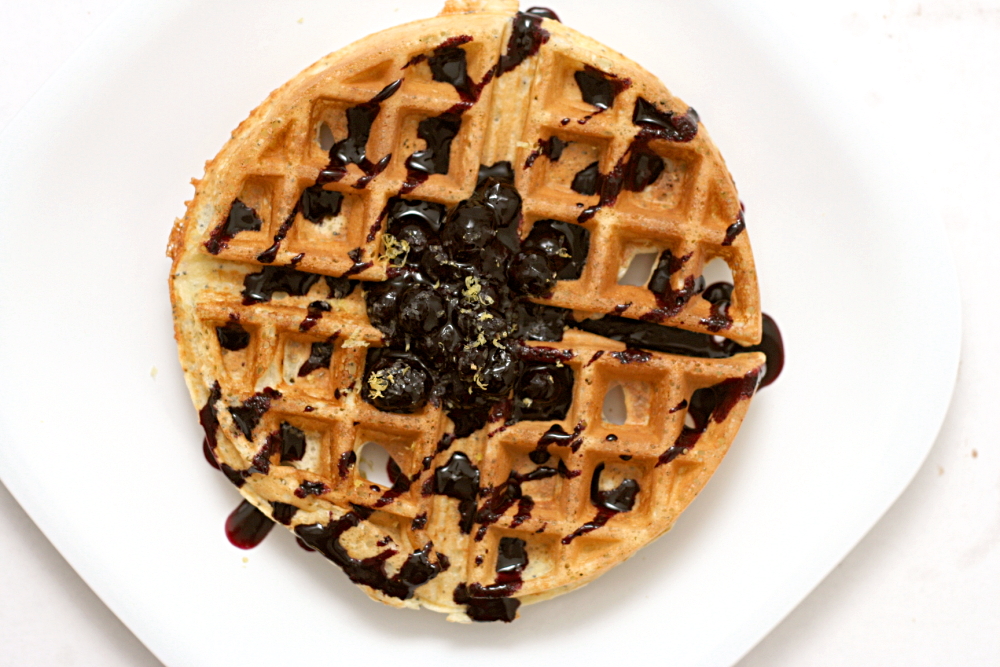
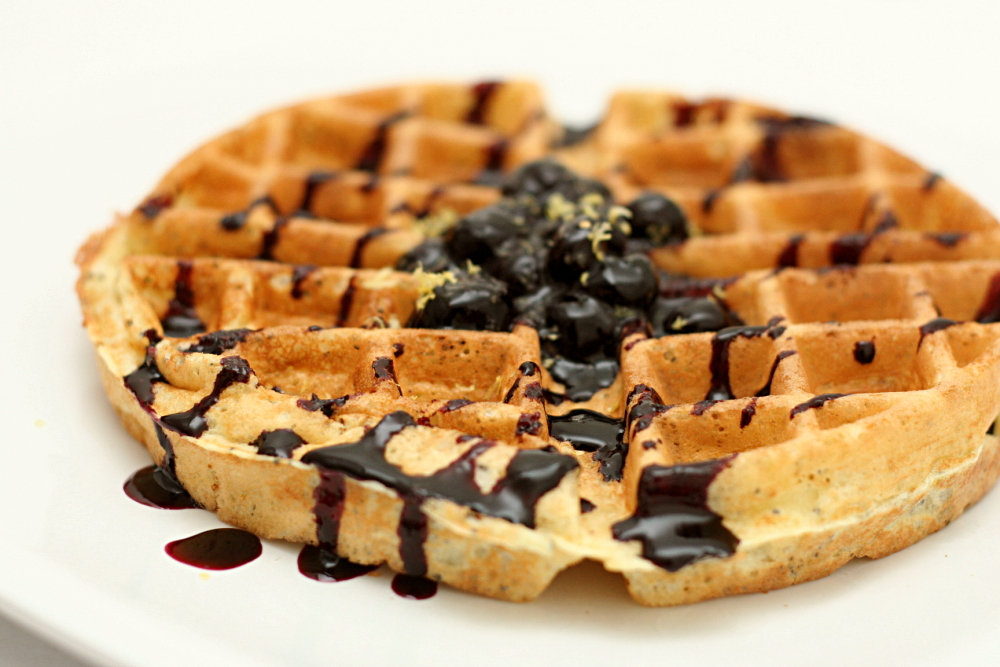
I love the texture of these waffles. They’re so light in the middle, and so crisp on the outside. I also love the crunch of poppy seeds. And the flavor, of course, is dominated by lemon, then topped with lemon’s great compliment, blueberries. Pretty nice for just a few minutes of effort in the morning.
copy-of-img_2377

One year ago: Whole Wheat Pasta with Greens, Beans, Tomatoes, and Garlic Chips

Lemon Poppy Seed Waffles (adapted from Waring Pro and from Bon Apetit September 2000 through epicurious)

The waffles have a pretty strong sourdough flavor, and although I generally like it, it’s a little much in these lemon waffles. I’m going to try reducing the yeast to 1 teaspoon next time. I’ll be sure to update when I do.

zest of one lemon
1 tablespoon granulated sugar
½ cup water
2¼ teaspoons (one packet) instant dry yeast
2 cups whole milk
4 tablespoons unsalted butter, melted and cooled
3 tablespoons poppy seeds
1 teaspoon salt
2 cups all-purpose flour
2 large eggs, lightly beaten
2 teaspoons vanilla extract
¼ teaspoon baking soda

1. The night before, or at least 8 hours before baking, rub the sugar and zest together until fragrant. Add the water, yeast, milk, melted butter, poppy seeds, and salt. Beat in the flour until smooth (this may be done using a hand mixer on low speed). Wrap the bowl tightly with plastic wrap and let stand overnight (or for 8 hours) on the countertop. Do not refrigerate.

2. When ready to bake, preheat your waffle maker on your preferred setting. While the waffle maker is heating, stir the eggs, vanilla extract, and baking soda into the batter. Measure out enough batter for your waffle maker and pour into the preheated waffle maker. Use a heat-proof spatula to spread the batter evenly over the grids. Close lid and bake the waffle in the waffle maker until it indicates the waffle is done.

3. Remove waffle and repeat until the desired number of waffles has been made. Cover remaining batter and place in the refrigerator for up to 3 days. Waffles may be kept warm in an oven at low-heat (200°F). Place waffles on a cookie sheet on a rack in the warm oven.

Blueberry Sauce

It’s very important to mix the cornstarch with cold water before adding it to the hot liquid. Otherwise, it will form clumps.

8 ounces blueberries, fresh or frozen
¼ cup sugar
¼ cup water
1½ teaspoons cornstarch
1½ teaspoons lemon juice

Heat the blueberries, sugar, and 2 tablespoons of the water in a medium saucepan over medium-high heat until simmering. Reduce the heat to medium and simmer until the most of the blueberries have popped, 3-4 minutes. Meanwhile, mix the remaining 2 tablespoons water with the cornstarch. Add to the blueberry mixture and simmering, stirring constantly, until thickened, about 1 minute. Stir in the lemon juice.
copy-of-img_2374

pecan sour cream biscuits

copy-of-img_2095

So what exactly is the difference between a biscuit and a scone? It seems to me that scones are just sweet biscuits. I’ve been going through a scone phase the last few months, making batches and freezing them unbaked. It makes for a great weekend breakfast, because there’s basically no work to do. Plus I love scones with coffee and I only drink coffee on the weekends. I know that technically, these aren’t scones. The name says biscuits, but I thought they’d fit right in with the theme.

copy-of-img_2080

They’re made just like any other biscuit (or scone) – mix the dry ingredients, cut (or rub) in the butter, stir in some liquid. In this case, the liquid includes sour cream, which seemed promising because I really like the tenderness of scones made with cream, and sour cream has that same richness.

copy-of-img_2082

The biscuits were just as good as I had hoped. Not only were they light and tender, but I love the flavor of the nuts. I only put jam on my biscuit for the sake of the photograph, but then I decided that it was a great compliment. I’m so glad that I have a few more of these in the freezer, stocked up for a lazy weekend morning.

copy-of-img_2091

One year ago: Chocolate Cream Pie

Pecan Sour Cream Biscuits (from Dorie Greenspan’s Baking: From My Home to Yours)

2 cups (9.6 ounces) all-purpose flour (or 1¾ cups all-purpose flour and ⅓ cup cake flour)
1 tbsp baking powder
½ tsp salt
¼ tsp baking soda
¼ cup (packed) (1.74 ounces) light brown sugar
5 tbsp cold unsalted butter, cut into 10 pieces*
½ cup cold sour cream
¼ cup cold whole milk
⅓ cup finely chopped pecans, preferably toasted

Center a rack in the oven and preheat the oven to 425F. Get out a sharp 2-inch-diameter biscuit cutter, and line a baking sheet with parchment or a silicone mat.

Whisk the flour(s), baking powder, salt and baking soda together in a bowl. Stir in the brown sugar, making certain there are no lumps. Drop in the butter and, using your fingers, toss to coat the pieces of butter with flour. Quickly, working with your fingertips or a pastry blender, cut and rub the butter into the dry ingredients until the mixture is pebbly. You’ll have pea-size pieces, pieces the size of oatmeal flakes and pieces the size of everything in between – and that’s just right.

Stir the sour cream and milk together and pour over the dry ingredients. Grab a fork and gently toss and turn the ingredients together until you’ve got a nice soft dough. Now reach into the bowl with your hands and give the dough a quick, gentle kneading – 3 or 4 turns should be just enough to bring everything together. Toss in the pecans and knead another 2 to 3 times to incorporate them.

Lightly dust a work surface with flour and turn out the dough. Dust the top of the dough very lightly with flour and pat the dough out with your hands or roll it with a pin until it is about ½ inch high. Don’t worry if the dough isn’t completely even – a quick, light touch is more important than accuracy.

Use the biscuit cutter to cut out as many biscuits as you can. Try to the cut the biscuits close to one another so you get the most you can out of this first round. By hand or with a small spatula, transfer the biscuits to the baking sheet. Gather together the scraps, working them as little as possible, pat out to a ½-inch thickness and cut as many additional biscuits as you can; transfer these to the sheet. (The biscuits can be made to this point and frozen on the baking sheet, then wrapped airtight and kept for up to 2 months. Bake without defrosting – just add a couple more minutes to the oven time.)

Bake the biscuits 14 to 18 minutes, or until they are tall, puffed and golden brown. Transfer them to a serving basket.

copy-of-img_2094

deli-style rye bread

copy-of-img_2344

Last week I was at the grocery store with my parents, trying to choose a dessert to bring home to share. My dad wanted strawberry cake, and my mom wanted German chocolate cake. I wasn’t going to get in the middle of this, and honestly, I don’t know why my dad even offers his opinion. Dessert is a decision that my mom will always get to make.

copy-of-img_2314

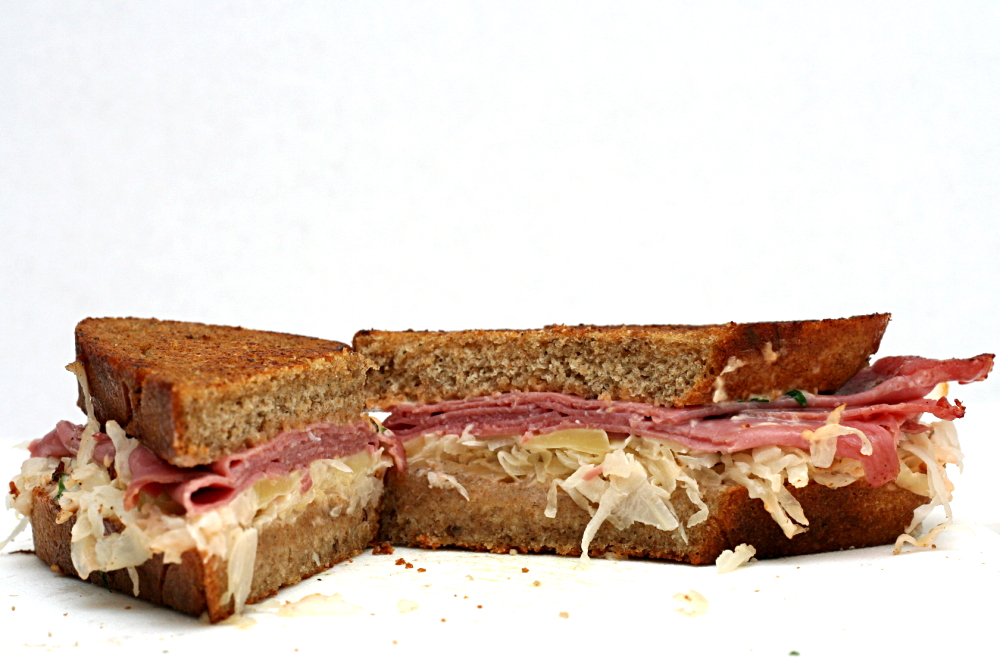
Apparently that apple doesn’t fall far from the tree, because Dave and I were recently choosing a menu item to split to go with our pot of mussels – he wanted a reuben, and I wanted smoked duck salad. Of course we got salad, but only after I promised to make Dave a reuben at home.

copy-of-img_2321a

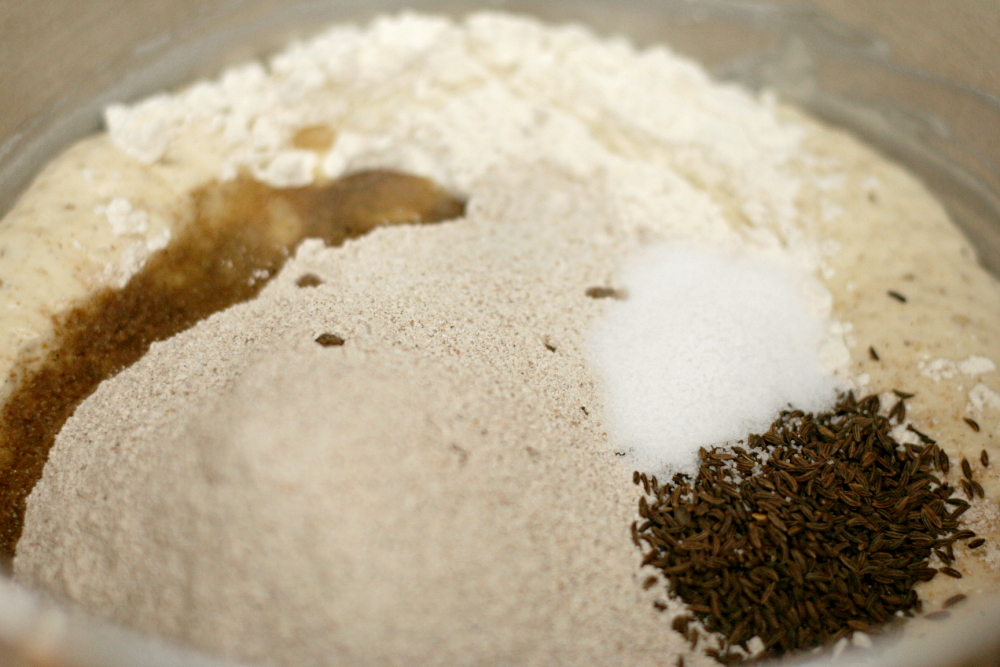
First I had to make rye bread. I was inundated with recipes – Peter Reinhart has several, and King Arthur’s Flour has far too many to choose between. I thought that Cooks Illustrated’s recipe would be a safe bet for my first time making rye bread.

copy-of-img_2324

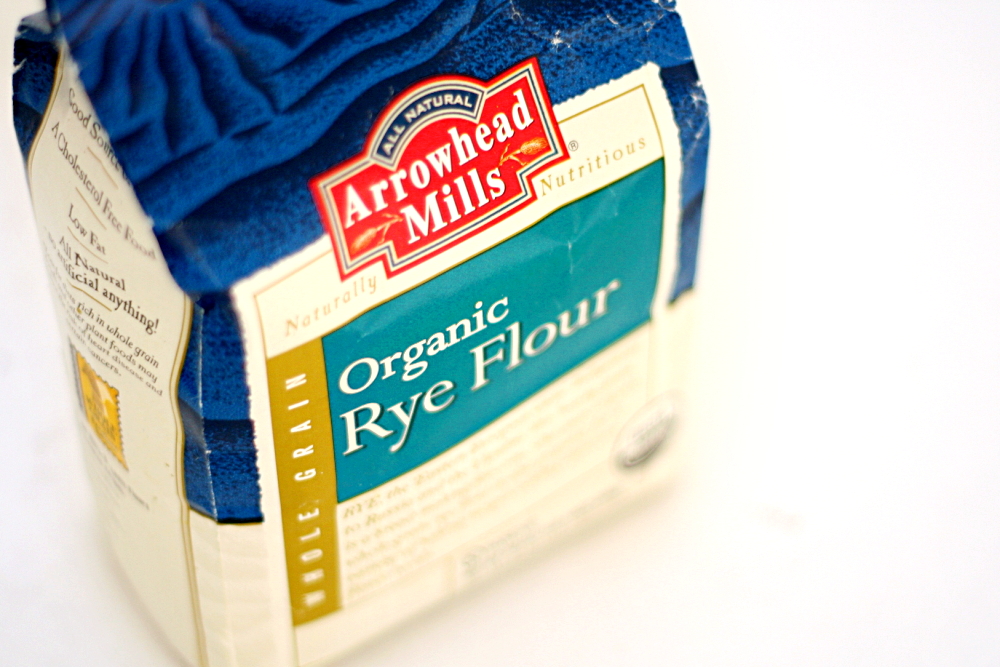
One of the reasons I like CI for my first time attempting something is the specific instructions they offer. Not just rye flour, but medium or light rye flour. If only I had had so many options. After searching my grocery store, the only rye flour I could find was organic and whole grain, and forget the rye flakes that the recipe also recommends.

copy-of-img_2326

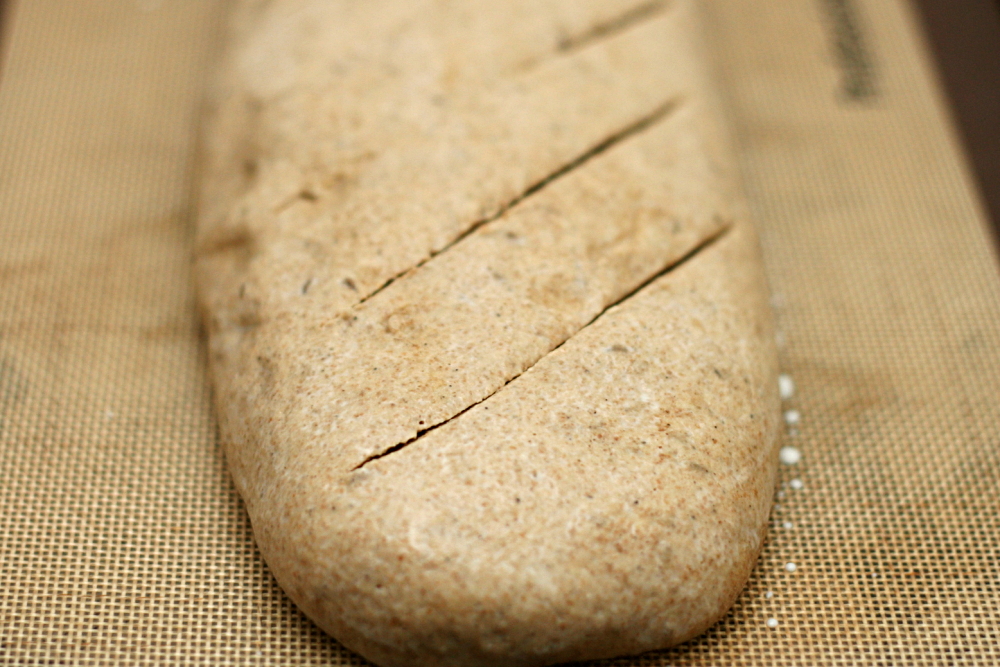
I was concerned that my bread would be a flop due to the whole grain flour, and it didn’t help that the dough’s texture was different from what I’m used to. It seemed heavier and less elastic. The rising times were longer than what the recipe indicates, which I’m attributing to the whole grain flour.

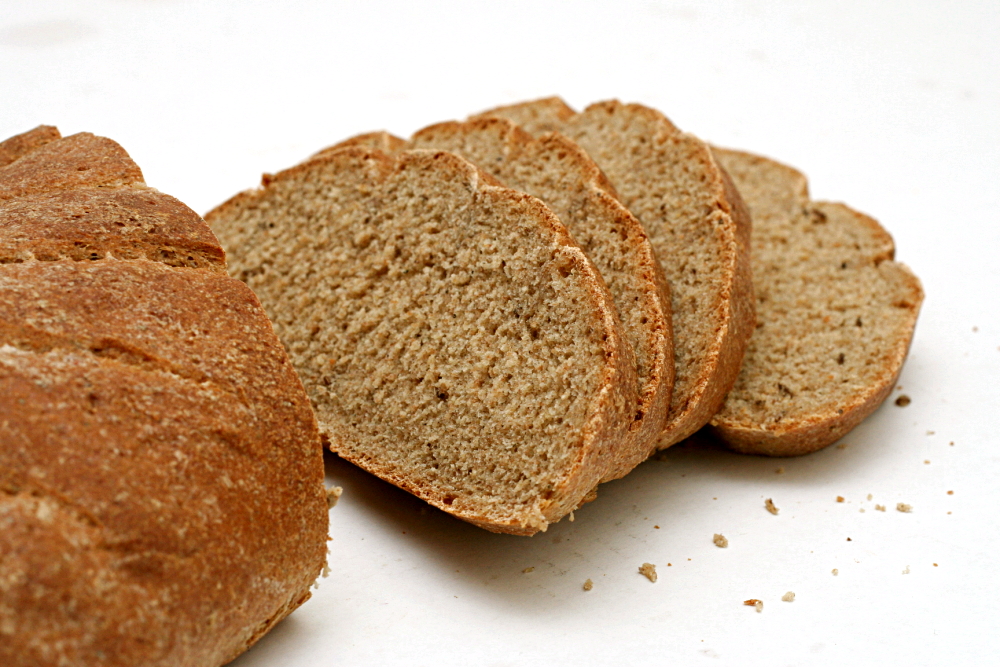
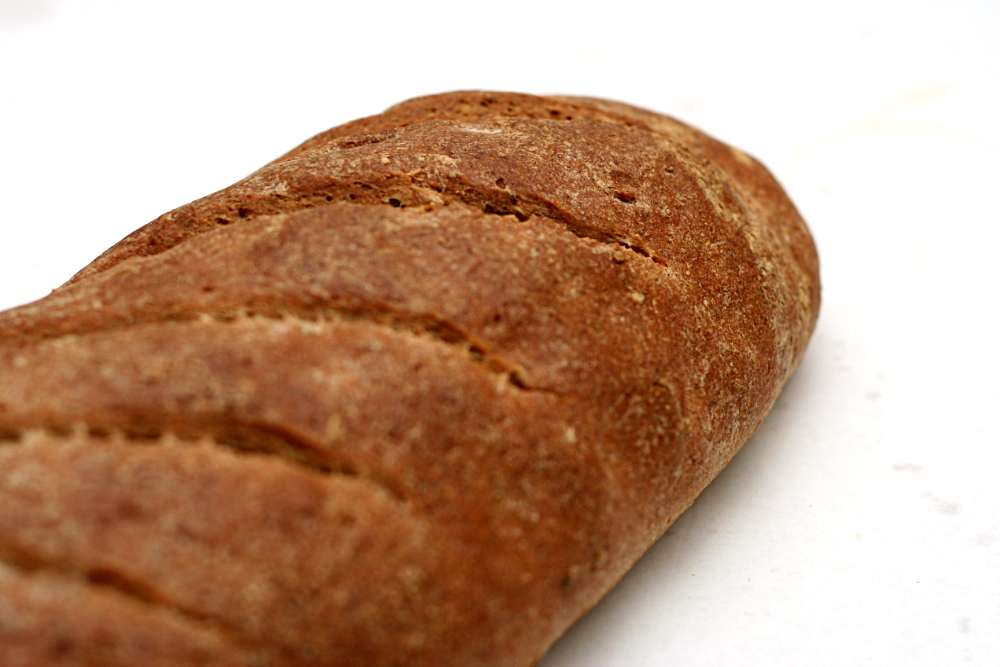
Fortunately, it all worked out, and this made some very good bread – a little bitter from the rye and scented from the caraway seeds, and firm enough to hold up to a sandwich without being unpleasantly dense.  It made for some exceptionally good reubens.

copy-of-img_2347

One year ago: Lemon Poppy Seed Muffins – I have a batch of these in my freezer right now.  I had one yesterday.

Deli-Style Rye Bread (from Cooks Illustrated)

Makes 1 large loaf

This is half of Cooks Illustrated’s original recipe. I have no idea why their original recipe makes such a huge amount of bread. This seems more practical.

Sponge:
⅓ cup rye flakes (optional)
1⅞ cups water, at room temperature
¾ teaspoon instant yeast
1 tablespoon honey
1½ cups (7½ ounces) unbleached all-purpose flour

Dough:
¾ cups (3¾ ounces) unbleached all-purpose flour, plus more for dusting the work surface
1¾ cups (6.125 ounces) medium or light rye flour
1 tablespoon caraway seeds
1 tablespoon vegetable oil
1½ teaspoon salt

Glaze:
1 egg white
1 tablespoon milk

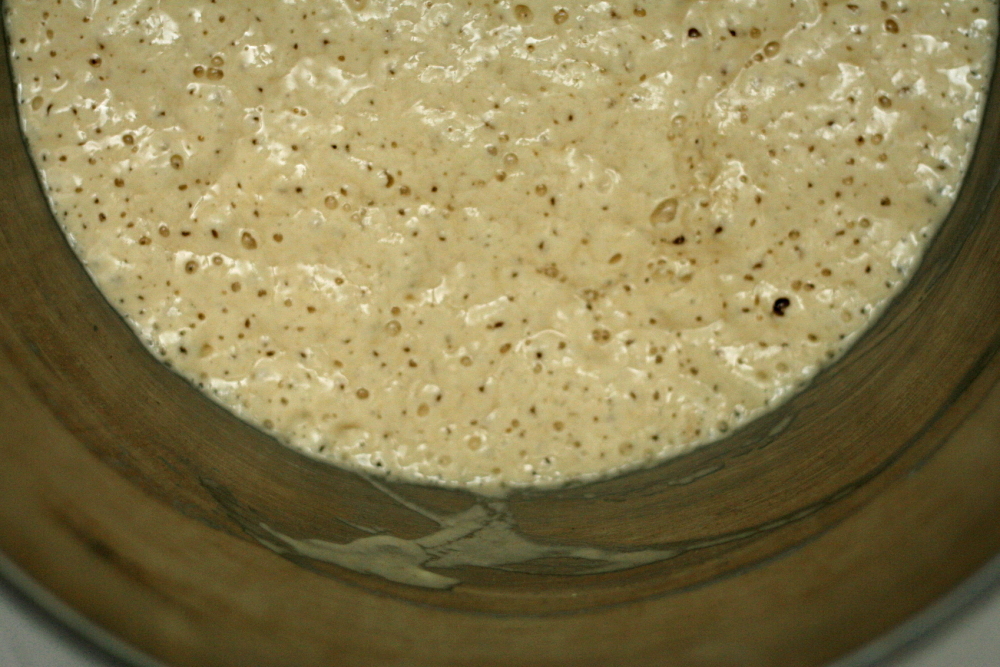
1. For the sponge: Heat the oven to 350 degrees; toast the rye flakes, if using, on a small baking sheet until fragrant and golden brown, 10-12 minutes. Cool to room temperature. Mix the water, yeast, honey, rye flakes, and flour in the mixing bowl of a standing mixer to form a thick batter. Cover with plastic wrap and let sit until bubbles form over the entire surface, at least 2½ hours. (The sponge can stand at cool room temperature overnight.)

2. For the dough: Stir the all-purpose flour, 1 ½ cups of the rye flour, the caraway seeds, oil, and salt into the sponge. Attach the dough hook and knead the dough at low speed, adding the remaining rye flour once the dough becomes cohesive; knead until smooth yet sticky, about 5 minutes. With moistened hands, transfer the dough to a well-floured work surface, knead into a smooth ball, then place it in a very lightly oiled large bowl or straight-sided container. Cover with plastic wrap and let rise at warm room temperature until doubled in size, 1½ to 2 hours.

3. Generously sprinkle the cornmeal on a large baking sheet. Turn the dough onto a lightly floured work surface and press it into a 6 by 9-inch rectangle. With the long side facing you, roll the dough into a 9-inch log, seam-side up. Pinch the seam with your fingertips to seal. Turn the dough seam-side down, and, with your fingertips, seal the ends by tucking them into the loaf. Carefully transfer the shaped loaf to the prepared baking sheet, cover loosely with oiled plastic wrap, and let rise until the dough looks bloated and dimply and starts to spread out, 60-75 minutes. Adjust an oven rack to the lower-middle position and heat the oven to 425 degrees.

4. For the glaze: Whisk the egg white and milk together and brush over the sides and top of the loaf. Right before baking, make 6 or 7 slashes, ½-inch deep, in the top of the dough with a single-edge razor blade or a very sharp knife. Bake for 15 minutes, then lower the oven temperature to 400 degrees and bake until golden brown and an instant-read thermometer inserted in the center of the loaf reads 200 degrees, 15-20 minutes. Transfer to a wire rack and cool to room temperature.

copy-of-img_2332

spinach bread

copy-of-img_2073

Someone asked me recently if I save posts for certain times when I think they’ll be more popular. I said that I didn’t; I just post when I have something ready, although I usually have a bit of a queue to choose from. But then I realized that I had just made green bread, and of course it’s more fun to look at green bread near the middle of March than it is in February!

copy-of-copy-of-img_2039

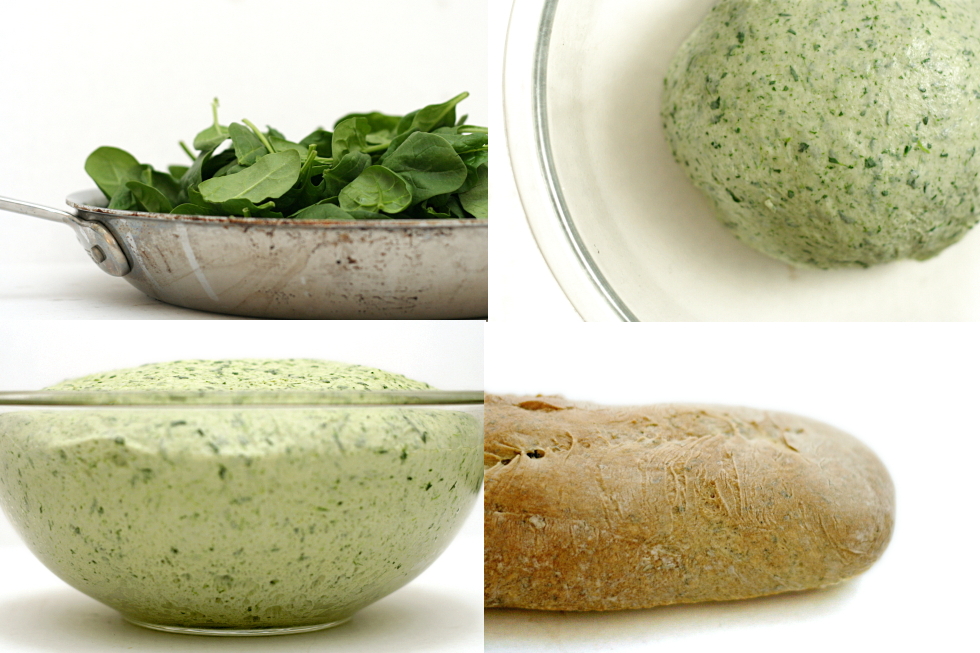
The color comes from cooked spinach, which I recently said that I don’t like, but when I said that, I meant I don’t like it plain. I like it quite a bit when it’s mixed in with dough. Seriously, what doesn’t get better when you mix it with flour?

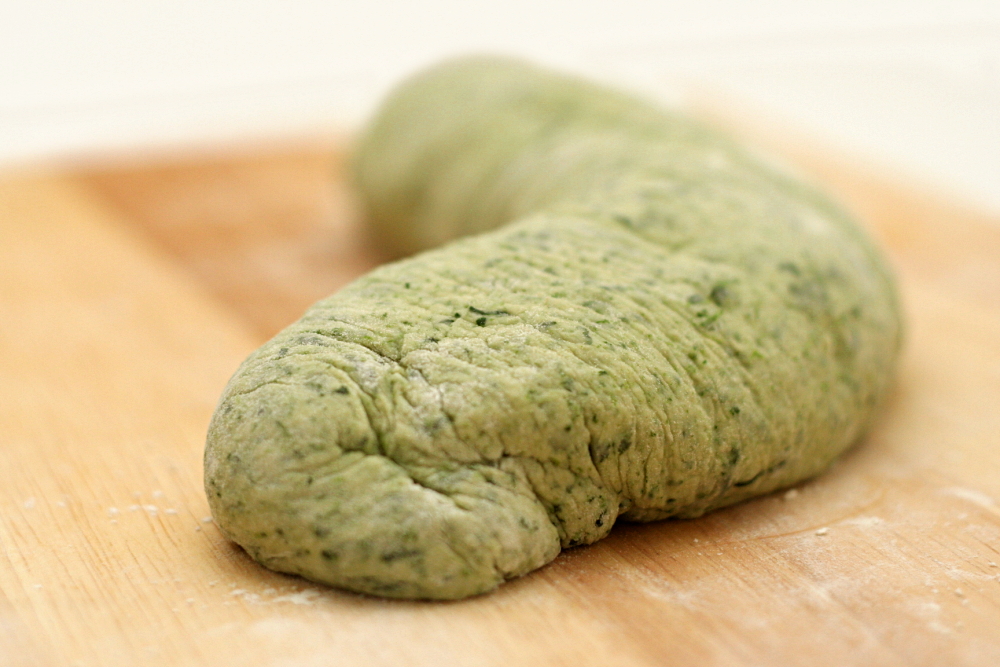
copy-of-img_2055(I didn’t bake it like this; I was just enjoying the caterpillar resemblance.)
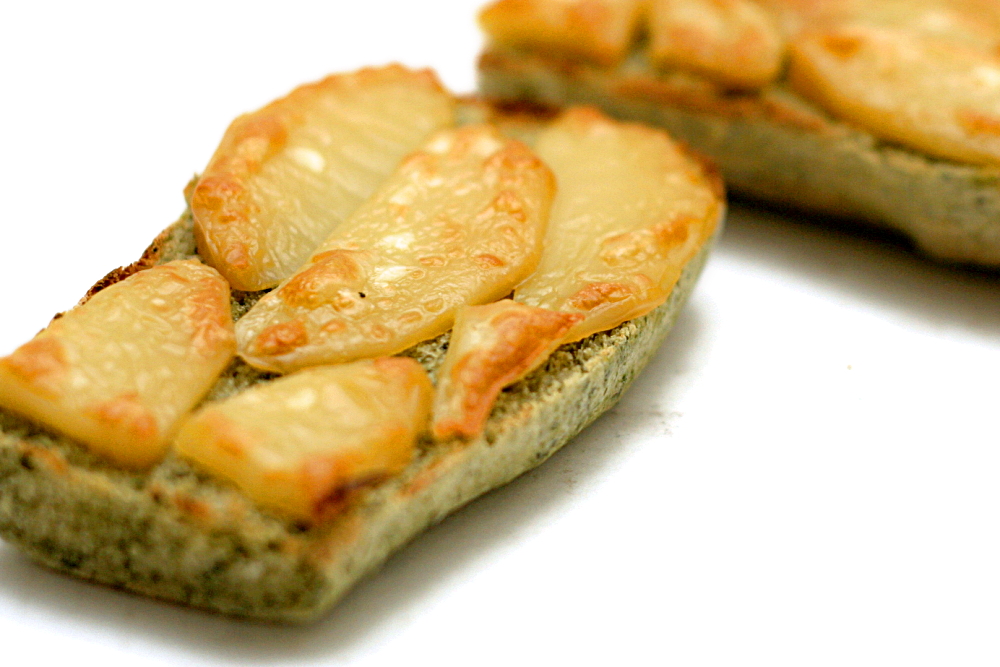
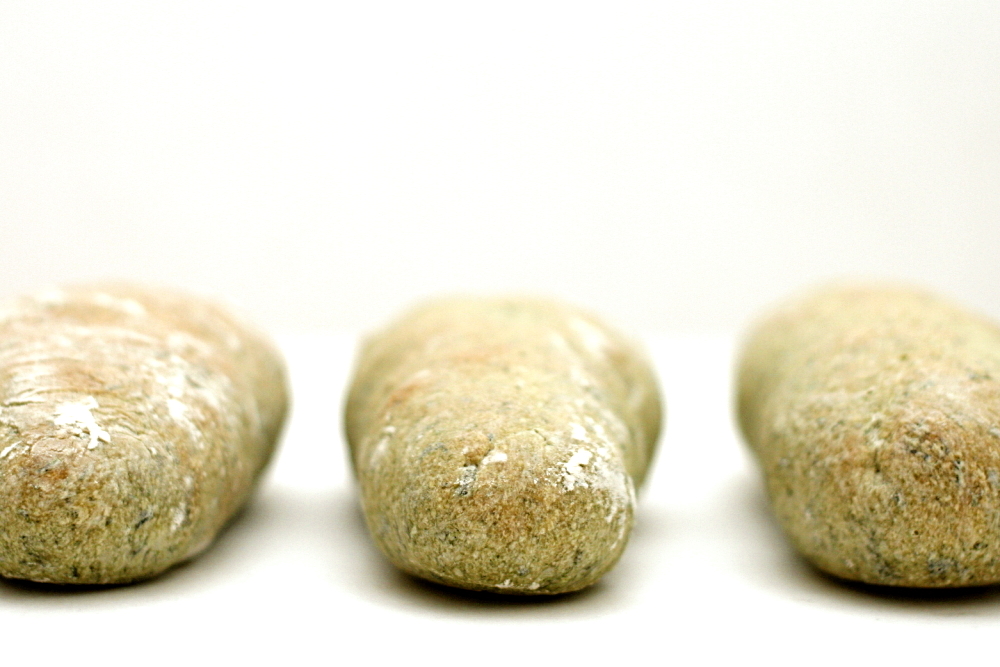
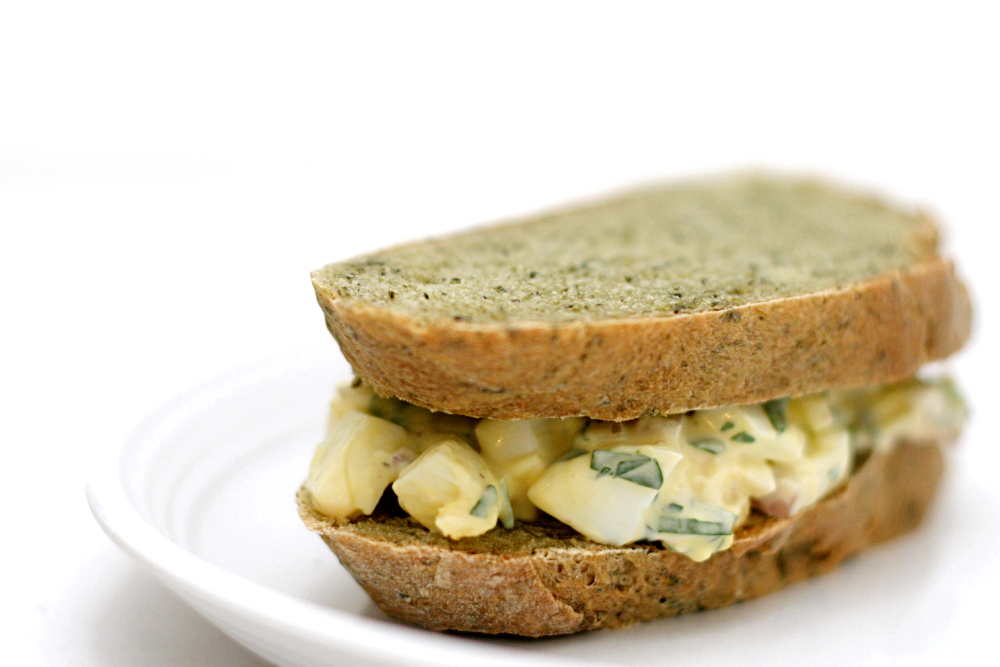
The finely chopped cooked spinach is kneaded into fairly traditional bread dough, which is then treated like any other bread – it rises, is shaped, proofed, baked, and cooled. The result is a spring green, pleasantly spinachy, tender loaf of bread, which can then be made into the best egg salad sandwich ever, or a mean grilled cheese. Which would be perfect served along some green beer for St. Patrick’s Day, don’t you think?

copy-of-img_2056

One year ago: Spaghetti and Meatballs

Spinach Bread (adapted from Ultimate Bread, by Eric Treuille and Ursula Ferrigno)

You could probably use frozen spinach for this instead of cooking your own. The instructions are for a long loaf, but you can make this bread into pretty much any shape you want.

5 ounces spinach
2 teaspoons instant yeast
3½ cups (17.5 ounces) unbleached flour
2 teaspoons salt
1 cup water, room temperature
1 tablespoon vegetable or canola oil

1. Place cleaned spinach leaves and any water that clings to them in a nonreactive soup kettle. (If you’re using pre-washed bagged spinach, add 2 tablespoons water to the pot). Cover and cook over medium-high heat until spinach wilts, 2-4 minutes. Cool spinach slightly and squeeze out the excess liquid. Chop very finely, or puree in a food processor.

2. Mix the flour, salt, and yeast in the bowl of a standing mixer fitted with dough hook. Turn machine to low and slowly add the water, then the spinach and oil. When dough comes together, increase the speed to medium and mix until dough is smooth and satiny, stopping machine two or three times to scrape dough from hook if necessary, about 10 minutes. If after 5 minutes, the dough sticks to the sides of the bowl, add more flour, 1 tablespoon at a time.

3. Lightly oil a large bowl. With floured (or lightly oiled) hands, shape the dough into a ball and transfer it to the bowl, rolling it to coat with the oil. Cover the bowl with plastic wrap or a damp towel. Let rise until doubled in size, about 1 to 1½ hours. Press to deflate, then let rest for 10 minutes.

4. Gently pat the dough into a rough rectangle. Fold the bottom third of dough, letter style, up to the center and press to seal, creasing surface tension on the outer edge. Fold the remaining dough over the top and use the edge of your hand to seal the seam closed and to increase the surface tension all over. Press evenly with the palms of both hands and roll the dough backward and forward until it is 10 inches in length. Line a sheet pan with baking parchment. Place the loaf on the pan and lightly dust with flour. Cover loosely with plastic wrap.

5. Proof at room temperature for about 45 minutes, or until the loaves have grown to about twice their original size.

6. About half an hour into the second rise, place a baking stone* on the bottom rack of the oven and preheat the oven to 450F.

7. Using a very sharp knife or a serrated bread knife, cut 5 diagonal slashes, each about ¼ to ½-inch deep, across the top of the loaf. (Alternatively, cut one long slash that extends for the length of the loaf.)

8. Transfer the dough on the parchment paper to a peel or the back of a sheet pan. Transfer the dough to the baking stone. Close the oven and reduce the temperature to 400 degrees. Bake until golden brown and the temperature is around 200 degrees** at the center, 30-40 minutes.

9. Transfer the loaves to a cooling rack and cool for at least 1 hour before slicing and serving.

*If you don’t have a baking stone, simply bake the loaf on a baking sheet at 400F for 45 minutes.

**If you don’t have an instant-read thermometer, tap the bottom of the hot baked loaf. It should sound hollow when the bread is done baking.

copy-of-img_2060

orange berry muffins

copy-of-img_2209

I ran a little test with these muffins. I read somewhere, at some point, that it’s best to grease just the bottom of muffin cups and not the sides. But not all recipes specify this, so I’ve never known how important it is.

copy-of-img_2187

This muffin recipe, which was made by Tuesdays with Dorie before I joined the group, calls for the dry and wet ingredients to be mixed separately before folding them together. Because this is standard muffin procedure, it seemed like a good candidate to test out my question about oiling the cups.

copy-of-img_2191

For the six muffin cups on the outside of the pan (the two outer rows), I sprayed just the bottom of the cups. For the six muffin cups on the inside of the pan (the two inner rows), I sprayed the entire cup.

copy-of-img_2193left – bottoms only; right – whole cup

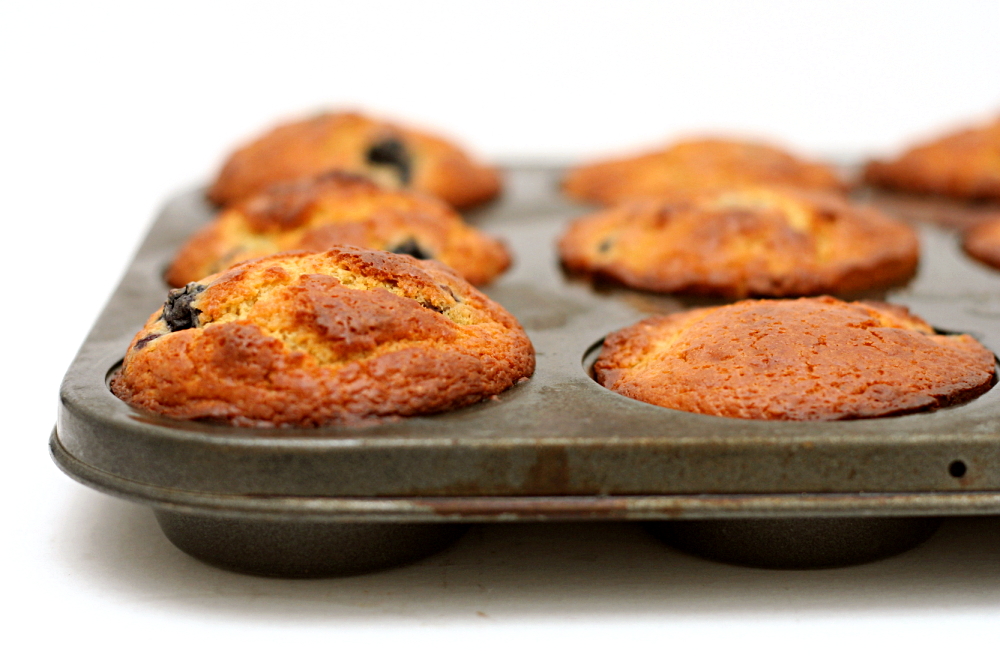
As you can see, the difference is striking. The muffins baked in the bottom-only sprayed cups rose taller and rounder. The muffins baked in the thoroughly sprayed cups have flat tops. My theory is that those muffins rose evenly on all sides, where the muffins baked in cups with unsprayed sides were held down at the sides and could only rise in the middle.

copy-of-img_2197left – whole cup sprayed; right – bottom only

Unfortunately, there’s another significant difference between each set, and that’s in how easily they came out of the pan. No one will be surprised to hear that the muffins in the completely sprayed cups were far easier to remove. The others needed a bit of prying around the edges before I could get them out of the pan, although they all came out cleanly.

For me, the extra few minutes to get the muffins out of the pan are worth it for the beautifully domed tops. (Of course now I’m wondering if there was a difference in texture. If there was, I didn’t notice.) And if the prize after carefully removing each muffin is these tender orange-scented treats studded with juicy blueberries, all the better.

copy-of-img_2198left – whole cup sprayed; right – bottom only
One year ago: Rice Pudding

Orange Berry Muffins (from Dorie Greenspan’s Baking: From my Home to Yours)

The only change I made was doubling the salt. However, you can see that my muffins got a little too dark. I know my baking pan has a dark finish, but I’ve never had problems with muffins before, so you might want to lower the oven temperature a bit, or at least check the muffins earlier than the recommended 22 minutes.

Grated zest and juice of 1 orange
About ¾ cup buttermilk
2 large eggs
3 tablespoons honey
1 stick (8 tablespoons) unsalted butter, melted and cooled
⅓ cup (2.33 ounces) sugar
2 cups (9.6 ounces) all-purpose flour
2½ teaspoons baking powder
¼ teaspoon baking soda
¼ teaspoon salt
1 cup blueberries – fresh, preferably, or frozen (not thawed)
Decorating sugar, for topping (optional)

Center a rack in the oven and preheat the oven to 400 degrees F. Butter or spray the 12 molds in a regular-size muffin pan or fit the molds with paper muffin cups. Alternatively, use a silicone muffin pan, which needs neither greasing nor paper cups. Place the muffin pan on a baking sheet.

Pour the orange juice into a large glass measuring cup or a bowl and pour in enough buttermilk to make 1 cup. Whisk in the eggs, honey and melted butter.

In a large bowl, rub the sugar and orange zest together with your fingertips until the sugar is moist and the fragrance of orange strong. Whisk in the flour, baking powder, baking soda and salt. Pour the liquid ingredients over the dry ingredients and, with the whisk or a rubber spatula, gently but quickly stir to blend. Don’t worry about being thorough – the batter will be lumpy and bubbly, and that’s just the way it should be. Stir in the blueberries. Divide the batter evenly among the muffin cups.

Bake for 22 to 25 minutes. If you want to top the muffins with decorating sugar, sprinkle on the sugar after the muffins have baked for 10 minutes. When fully baked, the tops of the muffins will be golden and springy to the touch and a thin knife inserted into the center of the muffins will come out clean. Transfer the pan to a rack and cool for 5 minutes before carefully removing each muffin from its mold.

copy-of-img_2212

savory corn and pepper muffins

copy-of-img_1285
Obviously I like baking desserts along with the Tuesdays with Dorie group every week, but you know what else I like? Every once in a while, it’s fun to choose my own dessert. Revolutionary, I know. I always get excited when I see a savory recipe chosen for TWD, because that leaves one extra dessert recipe that I get to pick out for myself.

copy-of-img_1249

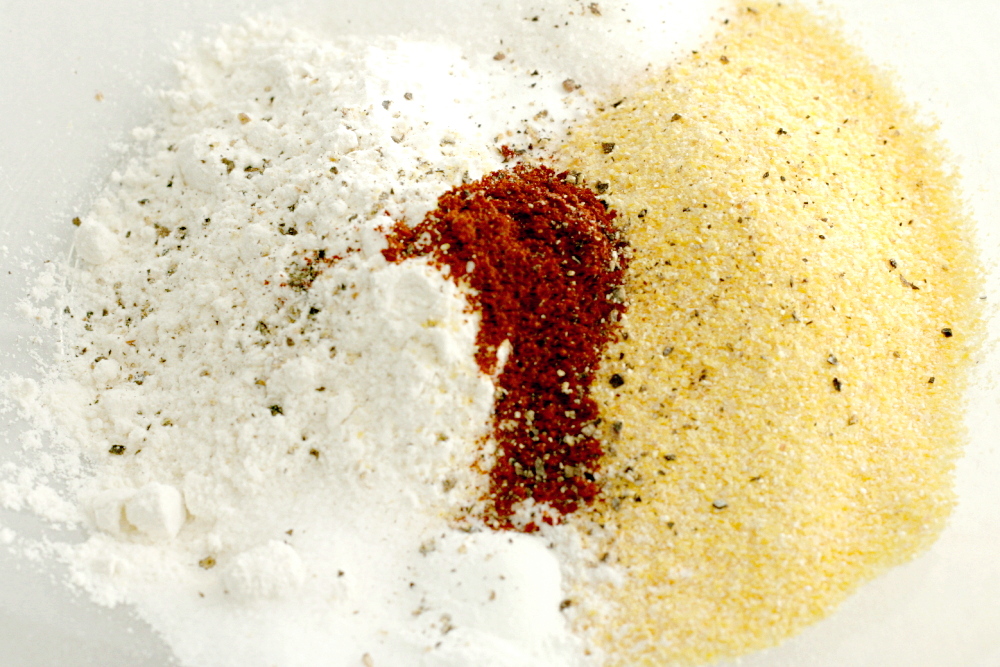
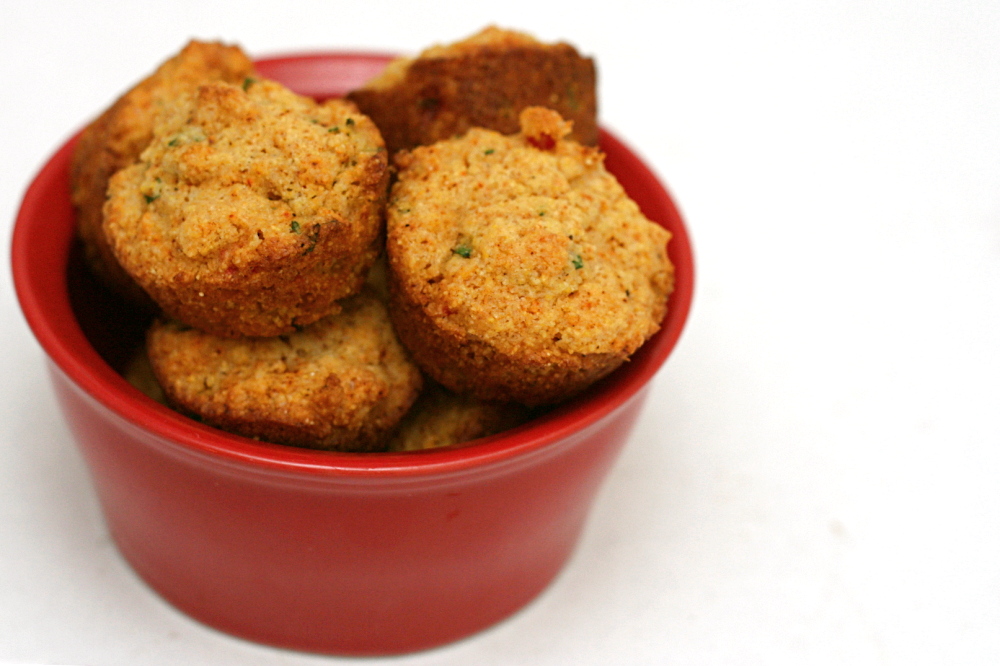
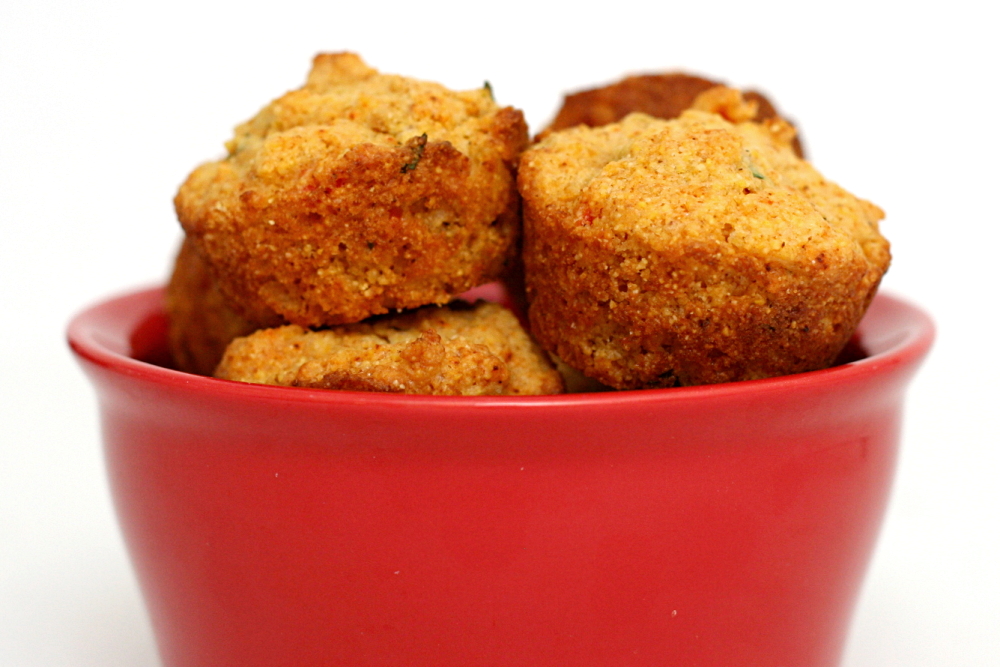
These corn muffins have three types of pepper in them – red pepper, jalapeno, and black pepper. Other than that, it’s a fairly typical cornbread recipe where the liquid and dry ingredients are mixed separately before being folded together. I made the muffins mini, because my mini muffin pan is new and fun.

copy-of-img_1253

I thought the muffins were really good. There were a couple members of the group who didn’t like how sweet they were. I understand there’s a battle between sweet and not-sweet cornbread lovers, but I’m a solid member of the sweet crowd, so I thought the flavor of these was great.

Rebecca will post the recipe.

One year ago: Banana Cream Pie

copy-of-img_1281

cranberry orange muffins

copy-of-img_9788

Didn’t I just make muffins? And wasn’t I talking about how I was still on pumpkin? While it’s true that I haven’t moved past pumpkin, I’m definitely excited about cranberries too. Especially cranberry and orange together.

copy-of-img_9771

Seven or eight years ago, I went through a health nut phase where I pretty much eschewed white flour. (You can imagine that that lasted for, like, a week.) I at least substituted half whole wheat flour in most recipes, especially quick breads. I’ve apparently reached a complete turnaround. This recipe calls for 100% whole wheat flour, and I came very close to substituting half of that with white flour.

copy-of-img_9772

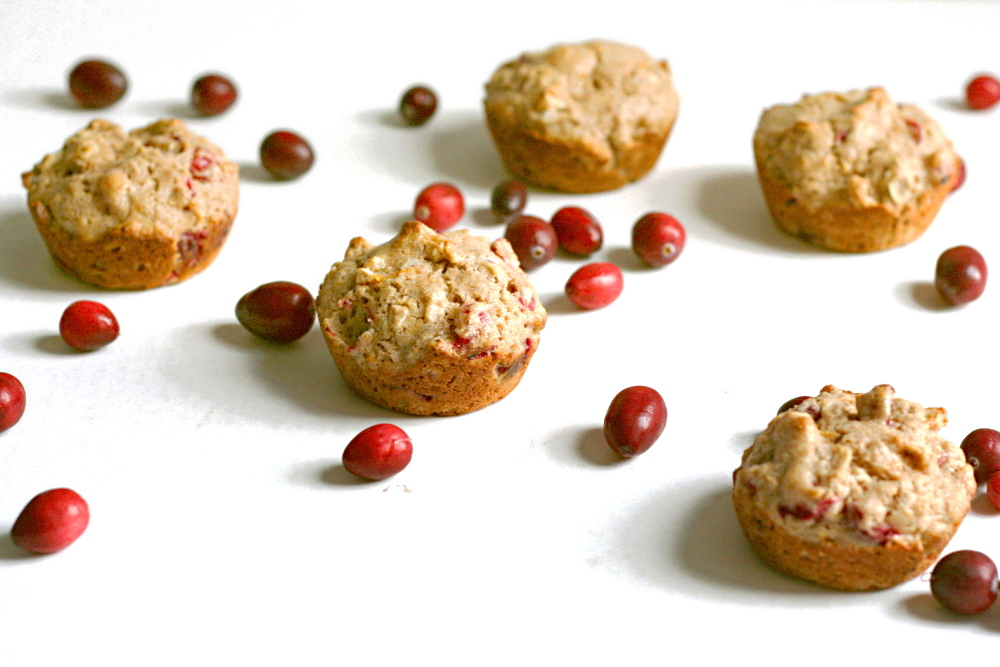
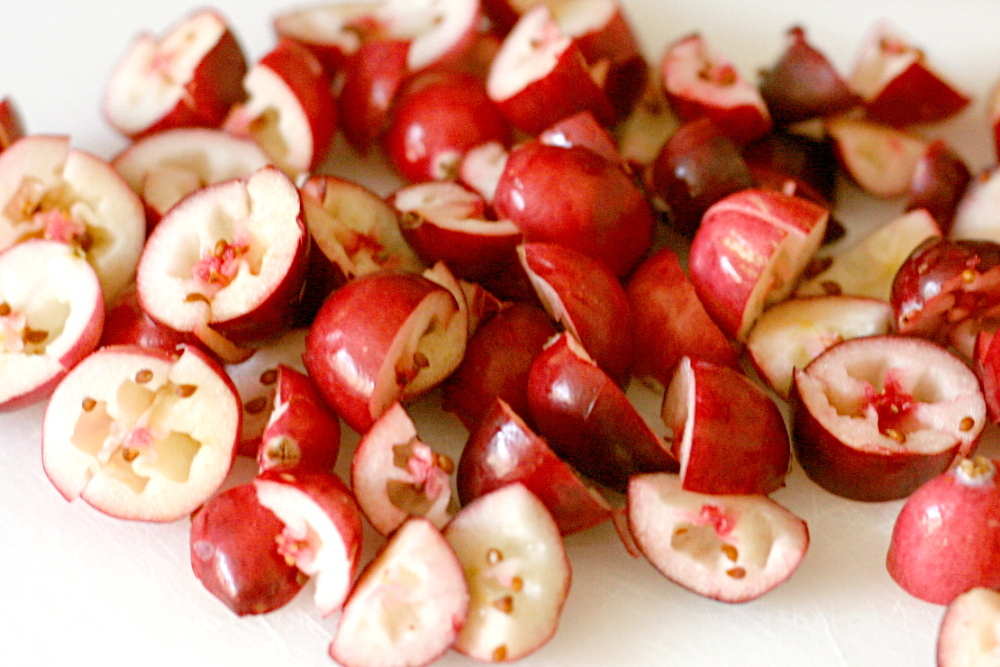
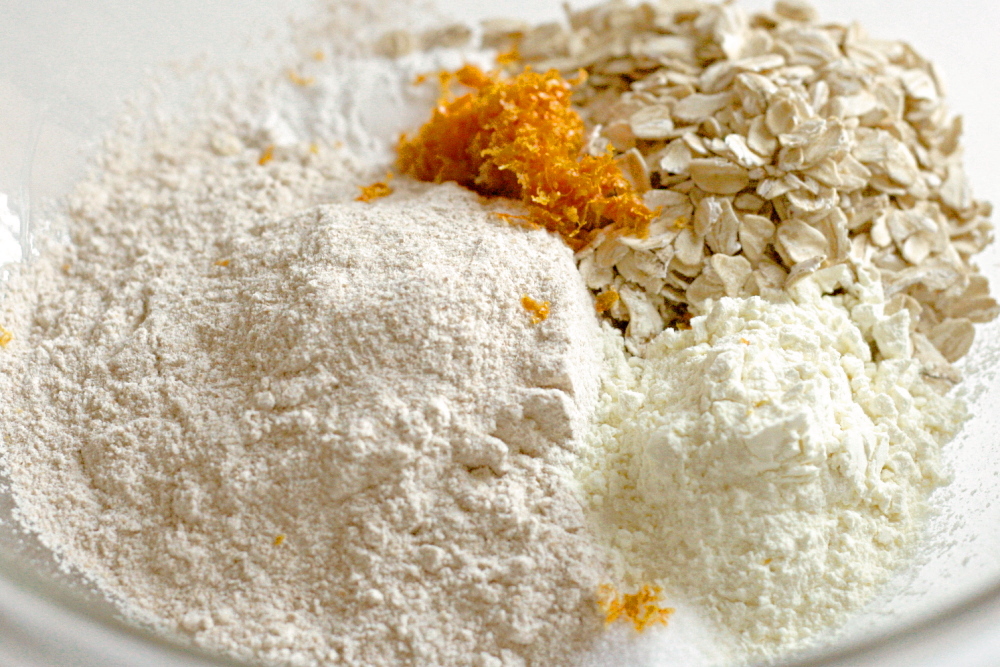
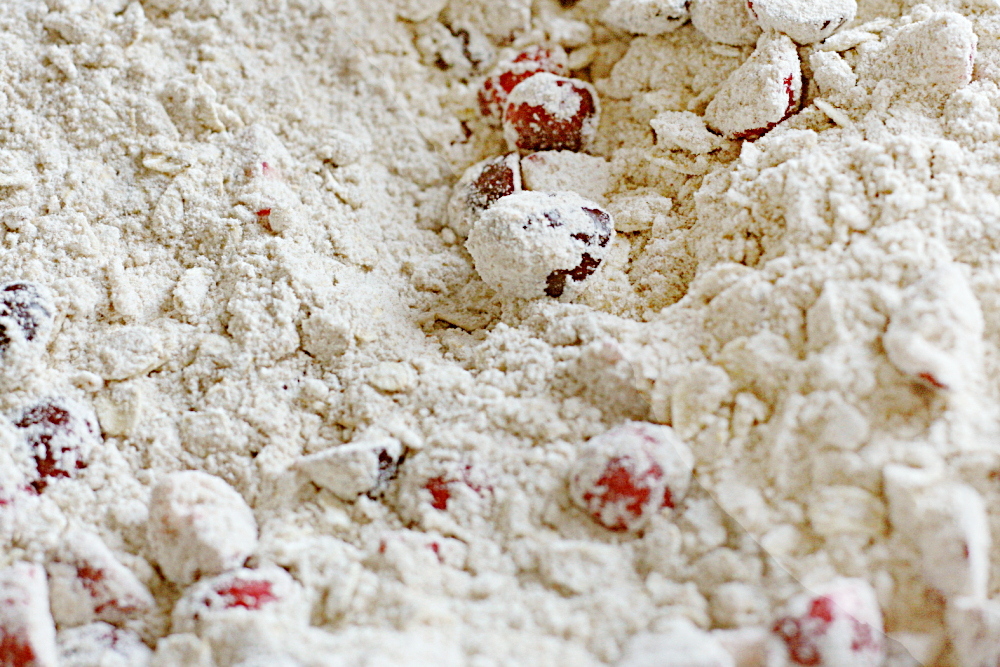
But I stuck to the recipe, and I am so glad I did. These muffins rocked, even though I didn’t have quite the right amount of egg (long story), I used traditional instead of quick-cooking oats, and I skipped the glaze. I’m not a huge fan of glaze on muffins – they don’t take to freezing as well, plus it seems too cupcake-like. I also changed the order that the ingredients were added, just like I did with the pumpkin muffins. I added the sugar with the wet ingredients and the zest with the dry ingredients.

copy-of-img_9778

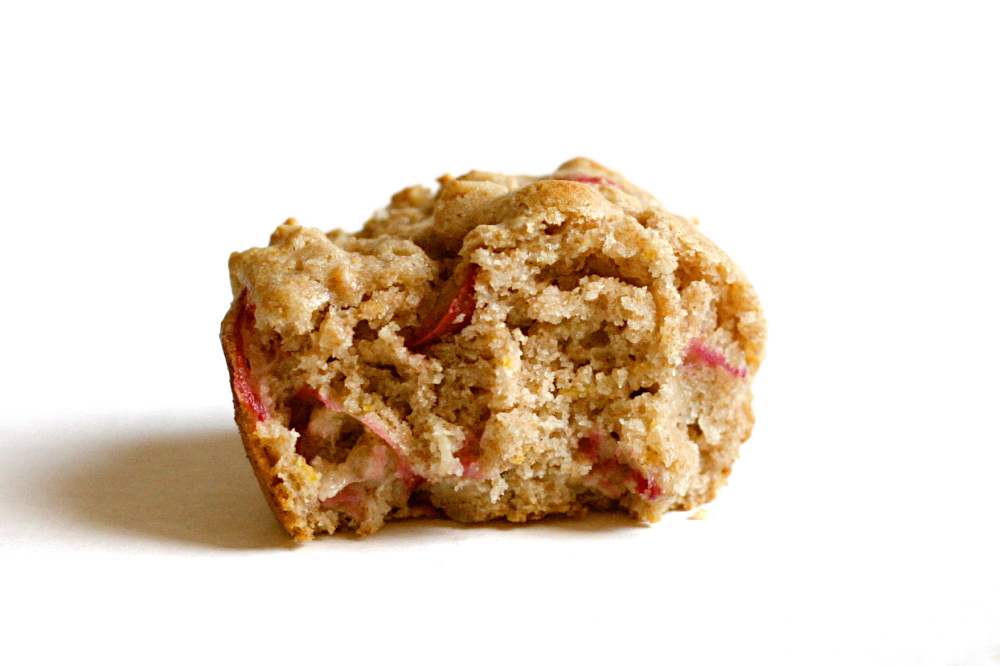
The muffins were nice and light, not at all heavy from the whole wheat flour. The orange flavor was pronounced, which I liked, and the bits of cranberry were perfectly tart and even juicy. All that using 100% whole wheat flour. 2001-me would have been so proud.

copy-of-img_9780

Cranberry Orange Muffins (adapted from King Arthur Flour)

I used traditional oats and didn’t notice any problems, but I could see how quick-cooking oats would incorporate into the dough better. I skipped the nuts because I didn’t have any. I used butter instead of oil. I also skipped the glaze.

Makes 12 muffins

1½ cups whole wheat flour
¾ cup quick-cooking rolled oats
¼ cup buttermilk powder or nonfat dry milk
2 teaspoons baking powder
1 tablespoon orange zest (finely grated orange peel)
½ teaspoon salt
1 cup fresh or frozen cranberries, chopped
½ cup chopped pecans or walnuts (optional)
2 large eggs
⅔ cup (4.67 ounces) sugar
¾ cup milk
⅓ cup melted butter or vegetable oil

Glaze
2 tablespoons orange juice
3 tablespoons sugar

1. Adjust oven rack to middle position and heat oven to 350 degrees. Spray standard muffin tin with nonstick vegetable cooking spray.

2. Whisk flour, oats, milk powder, baking powder, and orange zest in a large mixing bowl. In a separate mixing bowl, whisk egg until broken up. Add sugar and whisk until combined. Whisk in butter (or oil) and milk.

3. Add cranberries and nuts, if using, to dry ingredients and stir to combine. Add milk mixture and fold with rubber spatula until batter comes together. Do not overmix.

4. Divide batter among 12 muffin cups. Bake until toothpick inserted into center of muffin comes out clean, 18-20 minutes. Cool in pan 5 minutes, then transfer them to a rack.

5. If using glaze: In a small saucepan or the microwave, stir together the glaze ingredients. Bring just to a boil, to dissolve the sugar. Dip the tops of the warm muffins into the glaze.

copy-of-img_9783

pumpkin ginger muffins

copy-of-img_9794

I am not done with pumpkin. Everyone has moved onto cranberries and is all blasé about pumpkin now. “Pumpkin is so November.” Well, I for one am not done.

copy-of-img_9708

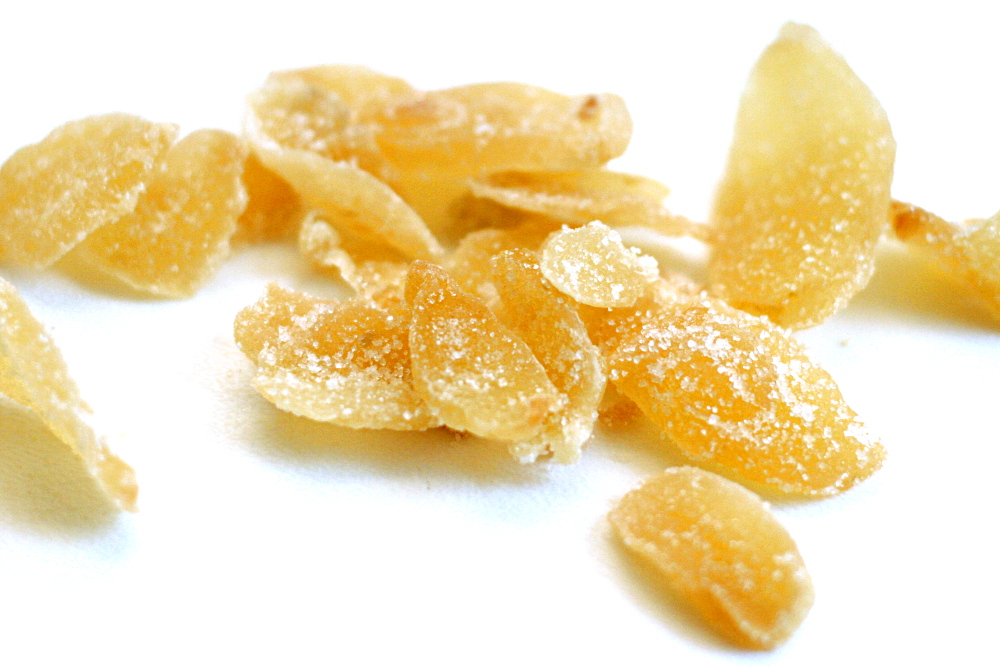
I’ve been looking for a good pumpkin muffin recipe for a while. What has been holding me back is the add-ins – dried cranberries, raisins, and nuts are all fine, but they aren’t the perfect match for pumpkin that I was looking for. I finally figured it out when my friend mentioned that she had a great recipe for pumpkin muffins that included a lot of ginger. Of course – crystallized ginger has just the texture and flavor that I wanted.

copy-of-img_9720

My friend’s recipe uses powdered ginger, which I eliminated in favor of adding the crystallized ginger. It also didn’t include salt, which I thought was weird, so I added some. I also changed the order that the ingredients were mixed, adding the sugar with the liquid ingredients instead of the dry. Also, the original recipe called for half of the flour to be added at the end, after everything else had been mixed. I didn’t understand the point of that, so I just added all of the flour to the dry ingredients.

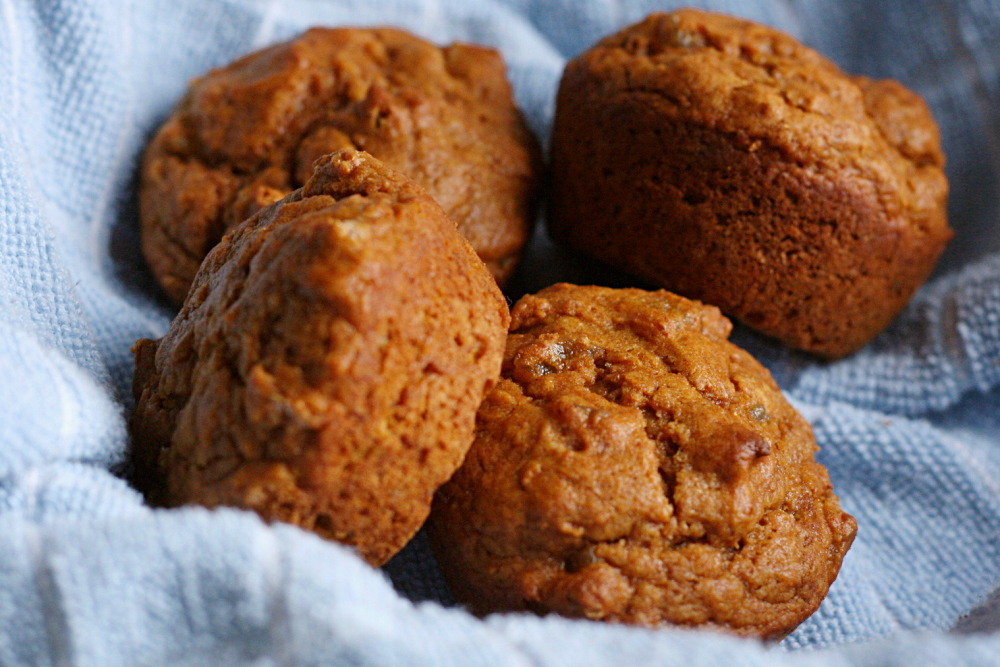
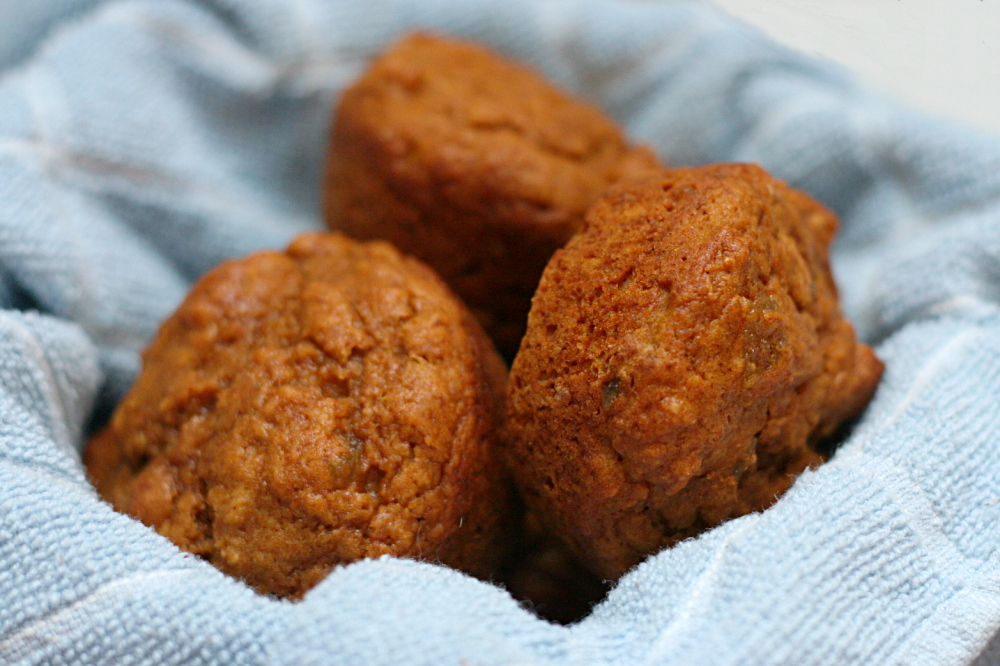
These are the pumpkin muffins I’ve been looking for – pumpkiny and moist and tender with spicy ginger bits. The only thing I would change is adding the powdered ginger back in – without it, the muffins are too sweet, and the crystallized ginger doesn’t provide as much spiciness as I thought it would. And with the addition of molasses, these resemble gingerbread, so they could actually be perfect for everyone who’s ready to move onto December-specific treats.

Ginger Pumpkin Muffins

Makes 8 muffins

1 cup (5 ounces) unbleached flour
1 teaspoon baking powder
¼ teaspoon baking soda
¼ teaspoon salt
1 teaspoon ground cinnamon
1 teaspoon ground ginger
½ cup (2.5 ounces) minced crystallized ginger (optional; or add your preferred mix-in)
1 egg
¼ cup (1.75 ounces) packed light brown sugar
½ cup canned pumpkin
¼ cup molasses
3 tablespoons butter, melted
2 tablespoons milk

1. Adjust oven rack to middle position and heat oven to 350F. Spray standard muffin tin with nonstick vegetable cooking spray.

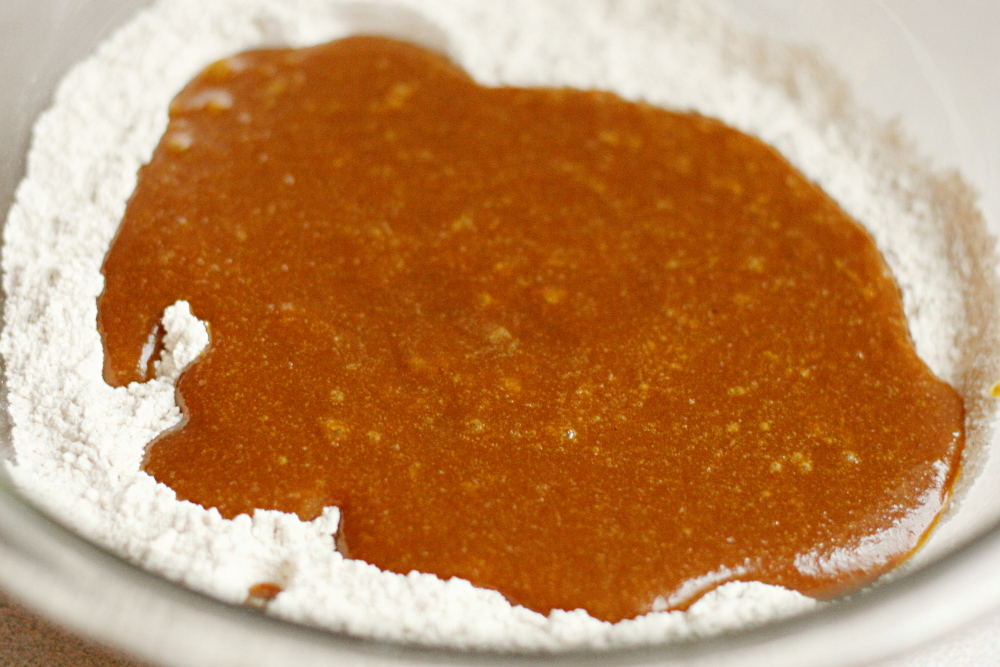
2. Whisk flour, baking powder, baking soda, salt, ginger, and cinnamon in a large mixing bowl.In a separate mixing bowl, whisk egg until broken up.Add sugar and whisk until combined. Whisk in pumpkin, molasses, butter, and milk.

3. Add crystallized ginger to dry ingredients and stir to combine. Add pumpkin mixture and fold with rubber spatula until batter comes together and ginger is evenly distributed. Do not overmix.

4. Divide batter among 8 muffin cups.Bake until toothpick inserted into center of muffin comes out clean, 20-25 minutes.Cool in pan 5 minutes, then remove from pan and serve.

copy-of-img_9870

country-style sourdough bread

copy-of-img_4391

One baking threshold I have not crossed is sourdough. Peter Reinhart gives detailed instructions for developing a starter in The Bread Baker’s Apprentice, but I’m intimidated by what seems like a detailed feeding schedule. Also, I’m put off by the idea of throwing away half the developing mixture several days in a row. Unfortunately, I’m getting the idea that there’s no getting around either of these issues. I scanned through the method in The King Arthur Flour’s Bakers Companion, and it was very similar to Reinhart’s.

copy-of-img_4138

Instead of following the seemingly complex no-yeast method for making sourdough starter, I tried a shortcut method that is essentially a dilute bread mixture, including commercial yeast. This is easy – just mix up the ingredients (I skipped the vitamin C) and leave it overnight. The longer you leave it, the more sourdoughy your bread will be.

copy-of-copy-of-img_4319

The problem is that I never got a strong sourdough flavor from the bread I made with this mixture. I tried the recipe that goes with the starter, and it made some really tasty bread, but I had to use my imagination to taste any sourdough flavor. I tried it shortly after making the starter, and a few weeks later, and there was very little difference.

copy-of-img_4192

Trying to determine if the problem was the starter or the bread recipe, I also used my starter with Reinhart’s basic sourdough bread recipe. Same result – very little sourdough flavor, although otherwise a very nice loaf of bread. I’m visiting my mom next week and she usually keeps some sourdough starter in the fridge, which I’m almost sure is made with commercial yeast, so I might try to make a loaf of bread with that and see how sour it tastes. If it still has only very weak (if any) sourdough flavor, I’m going to have to admit that I need to do a real sourdough starter, without using commercial yeast.

copy-of-img_4330

Has anyone tried this? Is it easier than I’m making it out to be? I’m worried less about making the starter than I am about taking care of it afterwards. It sounds complicated and rigid, and I’m not sure I’m ready for the commitment. On the other hand, I want super tasty homemade sourdough bread!

copy-of-img_4357

One year ago: Tomato Soup and Grilled Cheese. Possibly my favorite meal ever.  Except for sushi.

Proto-Dough (from Alton Brown for Bon Appétit)

Makes about 1 quart

1⅔ cups bread flour
1 teaspoon instant or rapid-rise yeast
1 teaspoon sugar
½ 500-mg vitamin C pill (not chewable), crushed
2 cups warm filtered or spring water (105°F to 115°F)

Sift first 4 ingredients into medium bowl. Place 2 cups warm water in large clean sealable container. Add dry ingredients; whisk vigorously to combine. Cover container with lid slightly ajar; let stand in warm draft-free area 24 hours.

Alton Brown’s tips for using proto-dough:
Afer 24 hours, you can use the proto-dough in a recipe. Or you can develop with flavor by adding a cup each of warm water and bread flour, letting it stand, uncovered, at room temperature until foamy (about 2 hours) and stashing it, covered, in the fridge for at least 3 weeks. An alcohol-rich liquid will rise to the surface every few days; just whisk it back in. “Feed” the proto-dough every time you take some to use in a recipe. For every cup taken add a cup each of water and bread flour, let foam, and return to the fridge. Proto-dough can last for years, as long as you keep taking and feeding. To use proto-dough in a regulr yeast recipe, replace the dry yeast and every cup of liquid (including dissolving liquid) with ½ cup of proto-dough, 5 ounces liquid, and ½ teaspoon instant yeast.

Country-Style Sourdough Bread (from Alton Brown for Bon Appétit)

AB note: The longer you wait to use the proto-dough, the tangier the bread will be.

Makes 2 loaves

1 cup warm filtered or spring water (105°F to 115°F)
¾ cup Proto-Dough
¼ cup buttermilk
¾ teaspoon instant or rapid-rise yeast
3⅓ cups (or more) bread flour, divided
2 teaspoons salt
Nonstick vegetable oil spray
Cornmeal

Mix first 4 ingredients in bowl of heavy-duty mixer. Add 2 cups flour; stir to blend. Cover bowl with kitchen towel. Let rise in warm draft-free area until doubled in volume, about 1½ hours.

Using dough hook, mix in 1⅓ cups flour and salt at lowest setting. Increase speed slightly; knead dough 5 minutes, adding more flour by tablespoonfuls if dough sticks to sides of bowl. Let dough rest 15 minutes. Knead on low 5 minutes. Scrape dough from hook into bowl. Remove bowl from stand. Coat rubber spatula with nonstick spray. Slide spatula under and around dough, coating dough lightly. Cover bowl with kitchen towel. Let dough rise until doubled in volume, about 1 hour.

Turn dough out onto floured surface and fold over on itself several times to flatten. Divide in half. Shape each half into 4×8-inch rectangle. Make 1 shallow lengthwise slash down each.

Sprinkle large rimmed baking sheet with cornmeal. Space loaves on sheet 3 inches apart. Dust tops with flour. Cover with plastic; let rise in warm draft-free area until doubled in volume, about 1 hour.

Place 13x9x2-inch metal baking pan on bottom of oven. Position rack at lowest level of oven; preheat to 500F. Place bread in oven. Quickly pour ½ cup water into metal pan; close oven door. Bake 5 minutes. Add ½ cup water to pan. Quickly close door; reduce oven temperature to 425F. Bake loaves until puffed and golden, about 20 minutes. Transfer to rack; cool 15 minutes. Serve warm or at room temperature.

copy-of-img_6739

european-style hearth bread

copy-of-img_9375

I’ve gotten to the point where I refuse to buy bread. If there was a nice bakery in the area, I think I’d be okay with buying bread there, but, even though I generally love my grocery store, I know that I can make better bread than they sell. Plus, it gives me a chance to bake something that isn’t horribly unhealthy.

copy-of-img_9354

I decided I needed to deviate from the two bread books I have, which end up being the only sources I use for bread recipes. I’d heard that King Arthur Flour had a nice variety of bread recipes, so it seemed time to give one a try. I was looking for something rustic to go along with the chanterelle and Speck salad, and I wanted to avoid recipes that were already on my list to try from other sources (like ciabatta; I’ve been itching to try Peter Reinhart’s since I got his book several years ago). I chose European-Style Hearth Bread because it sounded like a good, basic rustic bread.

copy-of-img_9361

Except I’m not sure I really made European-Style Hearth Bread, since I didn’t use the European-style bread flour that the recipe calls for. I’m finding that the King Arthur website is all about the product placement in its recipes; I guess that’s the price you pay for such an extensive list of recipes available for free. But hey, at least I did use King Arthur regular bread flour!

copy-of-img_9369

The bread is just a little easier than most of Peter Reinhart’s recipes, because while both recommend making a pre-ferment the day before the bread is baked, this one doesn’t require kneading, while most of Reinhart’s do. The rest of the recipe is fairly straightforward, although the rising times are a little longer than most.

copy-of-img_9374

In fact, I think the rising times may be off a bit. The recipe calls for essentially the same amount of yeast as most other bread recipes, but somehow calls for much longer rising times. That doesn’t make sense to me, and indeed, my loaves reached the required “three-quarters of the way to doubled” in far less time than the recipe indicated.

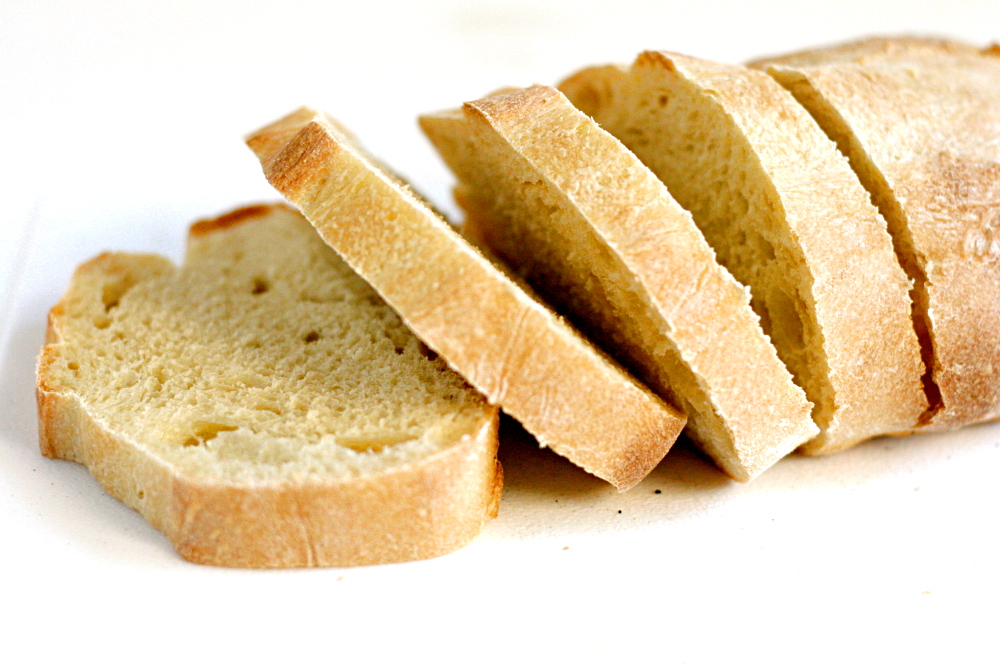
In the end though, this made some very good bread – chewy and flavorful and very attractive. I’m finding that I have just as little self-control around freshly baked bread as I do around cookies.

copy-of-img_9386

European-Style Hearth Bread (from King Arthur Flour)

Makes 2 small loaves

Bridget note: I found that the second rise took only about an hour instead of the 2 hours recommended in the recipe. I baked my loaves on a pizza stone. I did not cool the bread in the oven; I don’t usually like a super crisp crust.

Poolish
⅓ cup (2⅝ ounces) cool water (about 65F)
½ cup (2⅛ ounces) European-Style Artisan Bread Flour
1/16 teaspoon (a pinch) instant yeast

Dough
All of the poolish (above)
¾ cup (6 ounces) cool water, about 65F
2½ cups (10 ¾ ounces) European-Style Artisan Bread Flour
1 teaspoon instant yeast
1¼ teaspoons salt

The poolish: In a medium-sized bowl, combine all of the poolish ingredients, mixing just till a cohesive dough forms. Allow the poolish to rest, covered, for 12 to 16 hours at room temperature. When the poolish is ready to use, it will be filled with large holes and bubbles.

The dough: Add the water to the poolish, and mix till smooth. Add the flour, mix till just combined, cover the bowl, and allow the mixture to rest for 20 minutes. This rest period (autolyse, in French) allows the flour to absorb the liquid and the gluten to start its development, making kneading easier and more effective. Add the yeast and salt, and knead the dough till it’s fairly smooth but not necessarily elastic, about 5 to 7 minutes by hand, 5 minutes by electric mixer, or 5 to 7 minutes in a bread machine. (The gluten will continue to develop as the dough rises, so you don’t want to develop it fully during the kneading process.)

Place the dough in a lightly greased bowl, cover the bowl, and allow the dough to rise, at room temperature, for 1 ½ hours. To help develop the gluten, distribute the yeast’s food, and expel any excess carbon dioxide, turn the dough every 30 minutes during the rising time: gently fold all four sides into the middle, and turn the dough over.

Transfer the dough to a lightly greased work surface, divide it in half, shape each half into a rough log, cover them, and let them rest for 15 to 20 minutes. Again, this gives the gluten a chance to relax. Shape the logs into batards (shorter and fatter than traditional French baguettes) or Italian-style loaves – tapered ovals about 12″ long. Place them on a lightly greased or parchment-covered baking sheet, cover them with an acrylic dough cover, or gently with lightly greased plastic wrap, and allow them to rise, at room temperature, for about 2 hours; they should rise about three-quarters of the way to doubled. If they rise too much they’ll lose their shape in the oven, so be sure they don’t over-rise.

Using a sharp knife or razor, and holding it parallel to the dough*, make four slashes in each loaf. These should be more nearly vertical (running down the loaf) than horizontal (running crosswise), each stretching about one-third the length of the loaf. Spray the loaves with warm water.

Preheat your oven to 425F, making sure you give it plenty of time to heat; this bread needs to go into a HOT oven. Bake the bread for 30 to 35 minutes, or until it’s a deep, golden brown. Note: European-style loaves are generally baked longer than American loaves; if you’re uncomfortable with a very dark crust, reduce the baking time a bit. Turn off the oven, crack the door open about 4 to 6 inches, and allow the bread to cool in the oven; this will help it retain its crunchy crust.

*The blade shouldn’t descend into the dough at a 90° angle; rather it should slice under the surface at about 10° to 20°. This will allow the loaf to rise in a more attractive fashion as its baking.