grilled pita

pita 4

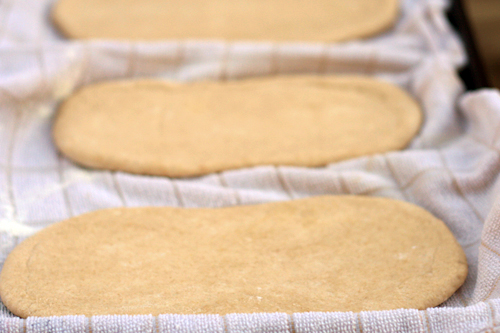
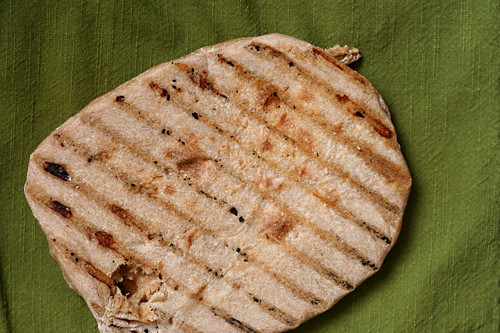
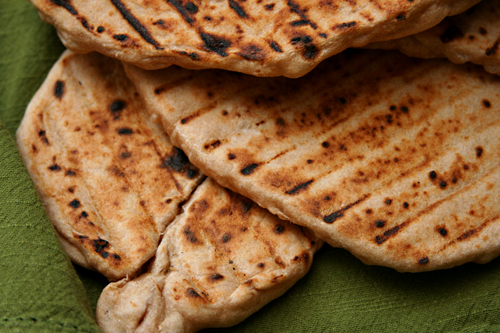
It’s news to no one that homemade pita is a hundred times better than storebought pita. But it might be news to some that grilled homemade pita is a hundred times better than baked homemade pita. True story.

pita 7

Pita dough and pizza dough are so similar that I keep batches in the freezer (actually lately I’ve been using Tartine’s country bread dough) and use them interchangeably. Both are rounds of dough that are stretched out thin, and when cooked, are expected to be spotty browned but still tender. So if grilled pizza is so popular lately, why not grilled pita?

pita 6

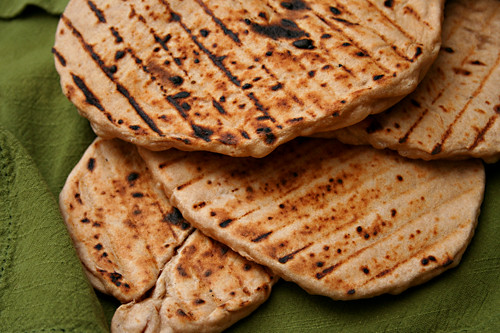
Grilling pita is particularly convenient for me because all of my favorite pita fillings are grilled. So once the chicken comes off the grill and is resting, I plop a round of dough on the hot coals, wait a minute until it bubbles and browns, then flip it. Your pita breads likely won’t be perfectly round, because transferring sticky stretchy dough to hot hot coals isn’t a trivial process. But what they might lack in symmetry, they make up for in grill lines – not to mention crisp edges, soft middles, and that touch of smoke that only the grill can provide.

pita 1

One year ago: Baked French Toast
Two years ago: Pasta with No-Cook Tomato Sauce and Fresh Mozzarella
Three years ago: Blackberry Swirl Ice Cream

Printer Friendly Recipe
Grilled Pocketless Pitas

12 pitas

2½ pounds pizza dough, fully risen
nonstick spray or olive oil

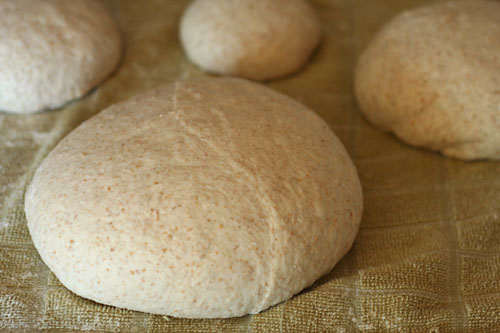
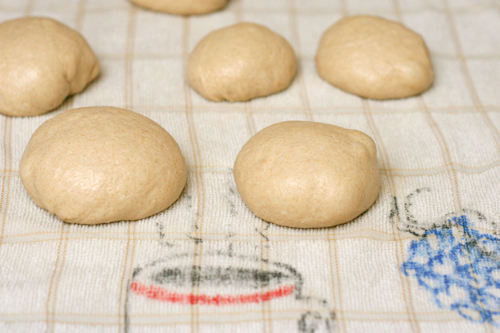
1. Working on a damp towel, cut the dough into 12 pieces. Shape each into a ball by gently pulling the edges toward one side and pinching the seam to seal it. Roll the ball of dough on the towel to smooth and even the shape. Let the dough rest for 15-30 minutes. Meanwhile, heat the grill to medium-high heat.

2. Pick up one ball of dough by an edge; stretch and pull it into a 5- to 6-inch round. If it becomes too elastic to shape, set it aside, loosely covered, for 5 minutes before trying again. Spray the tops of the shaped rounds with nonstick spray or brush with olive oil.

3. Carefully lay the pita rounds, oiled side down, directly on the grill. When the pita bubbles and the bottom is spottily browned, after 1-2 minutes, use tongs to flip the pita. Continue cooking until the second side begins to brown, about 1 minutes. Serve immediately or wrap in a kitchen towel for up to 30 minutes.
pita 3

golden brioche loaves

brioche 6

Saturday I had a cooking extravaganza. I chose five fun recipes and spaced out the eating and the cooking over the course of the evening. I spent hours in the kitchen, and I had a great time.

brioche 3

I spent most of Sunday in the kitchen as well, but it wasn’t planned, so it wasn’t as fun. Plus, I made bread dough for three types of bread, but one (completely delicious) grilled pita was the only bread I ate all day. It’s a good reminder that the best part of cooking is eating.

brioche 4

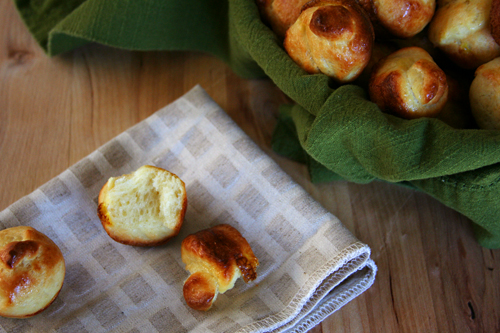
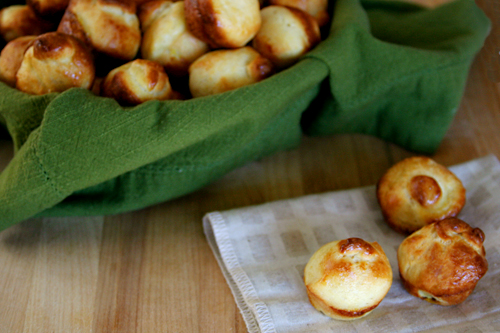
Of course it’s worth it in the end. I was thankful for the Sunday’s batch of bagels at work Monday morning, and I was grateful for the brioche on Tuesday. My coworkers were particularly grateful for the brioche. Who can say no to bread that’s this flakey, and most importantly, buttery?

brioche 9

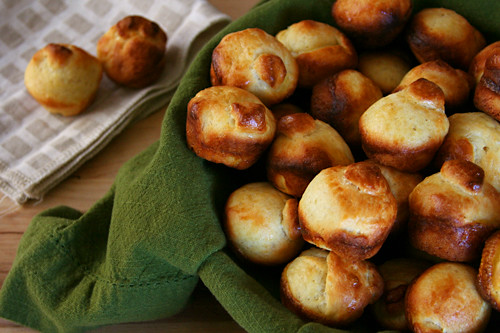
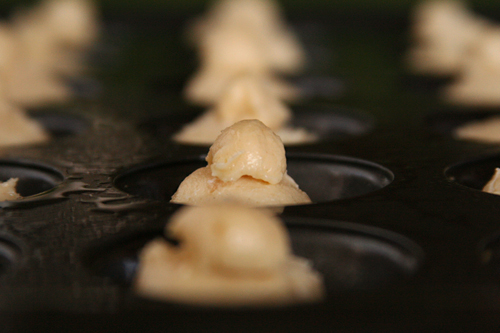
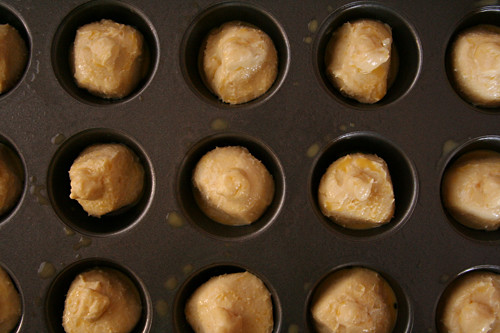
Margie chose brioche for Tuesdays with Dorie, and she has the recipe posted. Despite Dorie’s recommendation that the full recipe (enough for two loaves) of dough be made at once, I was able to make only half the recipe with no problems. For tiny brioches baked in a mini muffin pan, I divided the half recipe into 36 portions and baked them at 450 degrees for 12 minutes.

One year ago: Crunchy and Custardy Peach Tart
Two years ago: Applesauce Spice Bars
Three years ago: Chocolate-Banded Ice Cream Torte

brioche 7

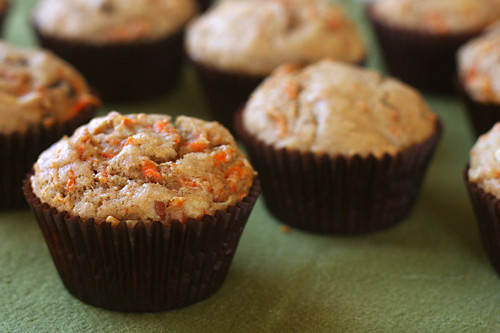
carrot spice muffins

carrot spice muffins 4

I am against vegetables in cake, but I am pro vegetables in muffins. I am against raisins in cake, but I am pro raisins in muffins. The same goes with nuts. Basically, carrot cake is an abomination, or at best just a vehicle for cream cheese frosting, but carrot muffins are awesome.

carrot spice muffins 1

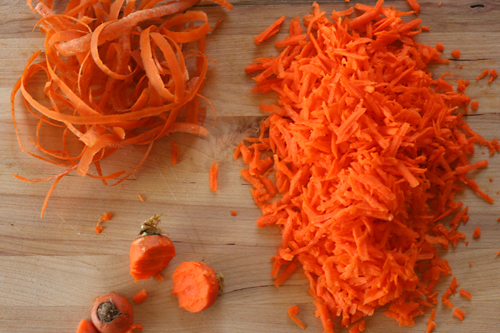
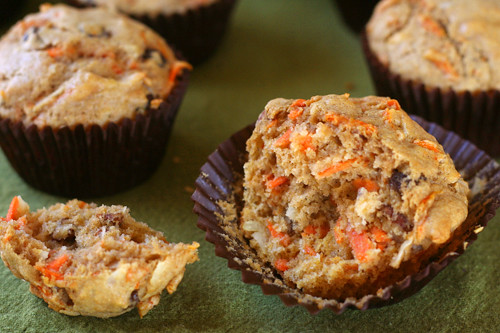
Awesome to eat, that is; they’re a bit of a pain to make, what with the carrot shredding and nut toasting and spice measuring. But they’re worth it in the end, hearty and moist and studded with sweet raisins and bitter pecans. I have to confess to wondering if they would be even better topped with cream cheese frosting though.

carrot spice muffins 2

Nancy chose these for Tuesdays with Dorie, and she has the recipe posted. I reduced the oil to ½ cup, replaced 1 cup of all-purpose flour with whole wheat pastry flour, doubled the salt, and increased the carrot slightly.

One year ago: Chocolate Ganache Ice Cream
Two years ago: Banana Bundt Cake
Three years ago: Blueberry Sour Cream Ice Cream

carrot spice muffins 5

peanut butter and jelly muffins

pb jelly muffins 5

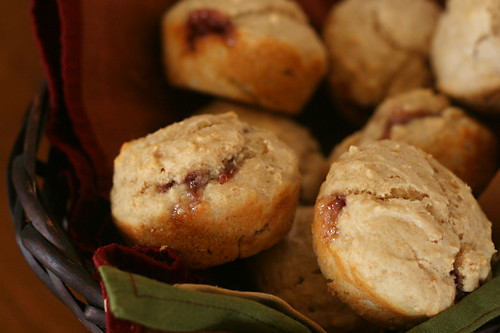
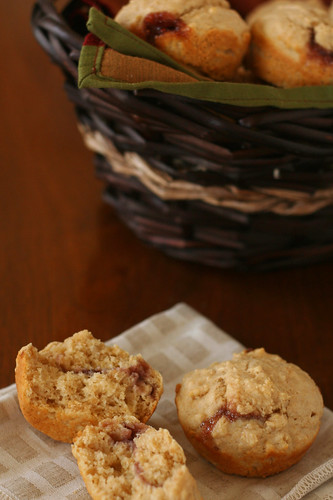
I used to make a recipe similar to this – but without the peanut butter – and I loved it. Something about a dollop of jam baked inside of a muffin tastes so much better than a spoonful of jam spread over it once it’s baked. My old recipe also had a warm overtone of nutmeg I enjoyed.

pb jelly muffins 1

The only thing that wasn’t perfect about it was that it seemed too cakey, too dessert-like. These days, I like a heartier muffin. I also like to squeeze protein in wherever I can, and besides, everyone knows that peanut butter is a perfect partner for jelly.

pb jelly muffins 2

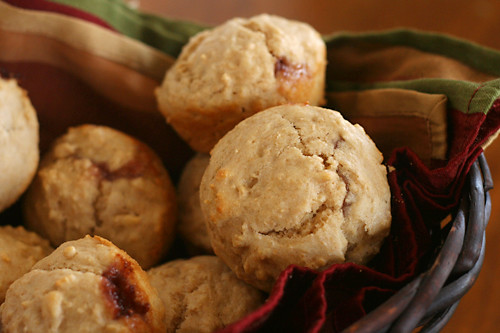
These peanut butter muffins are mixed a little differently than a standard muffin, in that the peanut butter is cut into the dry ingredients before the remaining liquids are added. Maybe this contributed to how light and soft the muffins were once baked, or maybe it was just the fat content of the peanut butter. Either way, with a good proportion of whole wheat flour and a layer of fruity jam in the middle, these are even better than my old favorite.

pb jelly muffins 6

One year ago: Lemon Curd Tart
Two years ago: Puff Pastry Dough
Three years ago: Pain a l’Ancienne

Printer Friendly Recipe
Peanut Butter Jelly Muffins (adapted from Real Simple and Jeanne Lemlin’s Vegetarian Classics)

I used half whole wheat pastry flour.

Update 5/5/2014 : I made these again and think they needed more sugar, so I’ve doubled it from the original ¼ cup.

1 cup whole milk
1 egg, beaten
3 tablespoons unsalted butter, melted
1 teaspoon vanilla
2 cups (9.6 ounces) all-purpose flour
½ cup (3.5 ounces) sugar
2 teaspoons baking powder
½ teaspoon salt
Pinch nutmeg
⅓ cup (3 ounces) peanut butter (crunchy or smooth)
About ¼ cup jam

1. Adjust a rack to the middle position and heat the oven to 375 degrees. Spray the bottoms of a 12-cup muffin pan with nonstick spray or line with paper liners. In a large measuring cup, whisk together the milk, egg, butter, and vanilla.

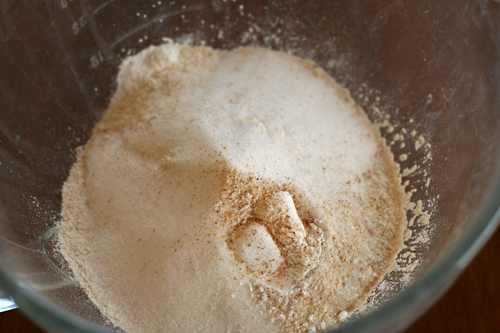
2. In the bowl of a stand mixer (or in a large mixing bowl with a hand mixer), combine the flour, sugar, baking powder, salt, and nutmeg. Add the peanut butter; mix until evenly combined. Turn the mixer off, add all of the milk mixture at once, and mix on low speed just until combined (small lumps are fine).

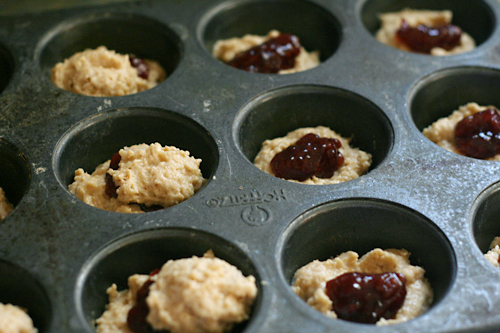
3. Place one heaping tablespoon of batter into each muffin cup. Spoon about a teaspoon of jam over the batter in the cups. Divide the remaining batter evenly between the cups.

4. Bake until a toothpick inserted into a muffin comes out clean, 15-20 minutes. Set the pan on a rack to cool slightly, about 5 minutes, then use a thin-bladed knife to remove the muffins from the pan.

pb jelly muffins 7

peaches and cream scones

peaches cream scones 4

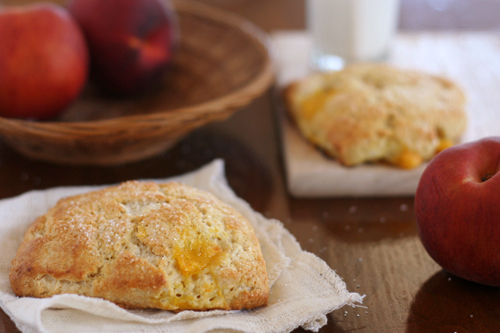
Scones are just an excuse to eat dessert for breakfast. It’s a better disguised excuse then chocolate muffins, I will grant you, but in the end, equally bad for you. I think I might sound like I’m complaining. I’m not complaining.

peaches cream scones 1

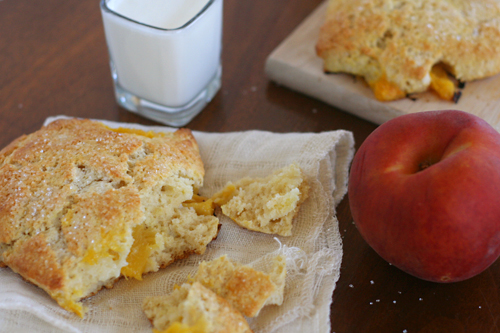
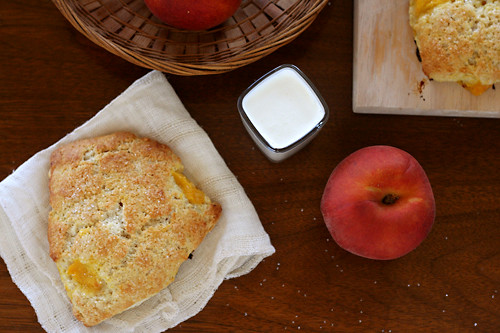
Cream scones are one of my favorite weekend morning accompaniments to coffee. The cream makes them so tender, and when they’re only lightly sweetened, like these, they’re perfect either topped with jam or baked with fresh fruit. A sweet biscuit, peaches, and cream – you can’t tell me that doesn’t sound like one heck of a dessert.

peaches cream scones 6

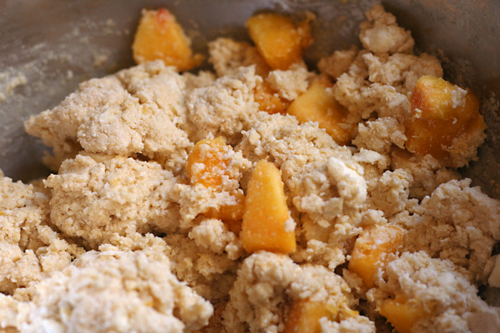
Lynne chose the cream scones for Tuesdays with Dorie, and she has the recipe posted. I left out the currants and added one peach, peeled, chopped, and frozen, to the dough after the liquids were partially mixed in.

One year ago: Brrrownies
Two years ago: Brioche Plum Tart
Three years ago: Chocolate Pudding (comparison of 2 recipes)

peaches cream scones 3

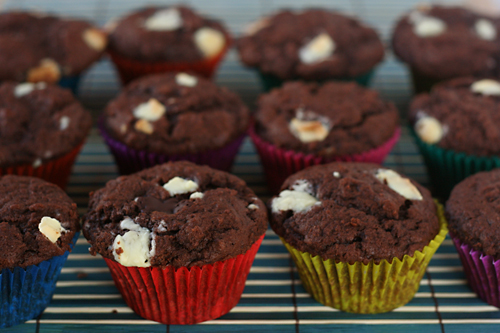
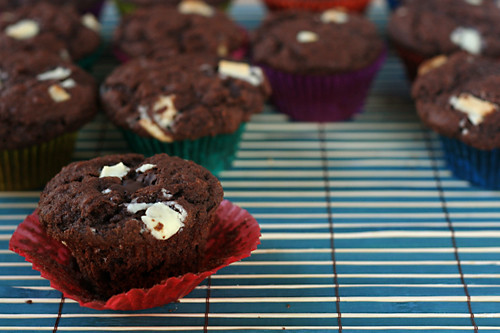
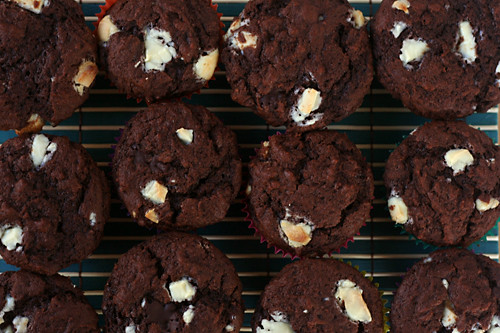
chocolate chocolate chunk muffins

chocolate chunk muffins 5
How is a muffin different from a cupcake? Let me count the ways.

1) Frosting: A cupcake without frosting is just wrong. Muffins, while sometimes glazed, are never served with a tall swirl of sugary icing. But cupcakes with a coating of soft glaze are beautiful as well.

2) Add-ins: Many muffins have some textural contrast, whether it’s chunks of fruit or bran or poppy seeds. Most cupcakes are smooth-textured; fruit is pureed, chocolate is melted. But what about pumpkin muffins? Or carrot cake?

chocolate chunk muffins 3

3) Mixing method and texture: The classic cake mixing method starts with sugar beaten into softened butter, which is smoothed with egg, then thickened with flour and leaveners. It results in an even-textured, fluffy cake. Muffins, by contrast, are usually made by whisking together the dry ingredients, separately whisking together the wet ingredients, and then folding the two together. The resultant texture is coarse with large air pockets. But not all cakes are mixed with the cake method, and not all muffins are mixed with the muffin method.

4) Course: Cupcakes are dessert. Muffins are breakfast.

So while, by this set of guidelines, these chocolate chocolate chunk muffins do seem to be muffins, they could certainly pass for dessert. Or, if you can’t get enough of their sweet, tender, moist crumb and rich bites of solid chocolate, enjoy them for both breakfast and dessert. I know I did.

chocolate chunk muffins 7

One year ago: Tarte Noire
Two years ago: Tribute to Katherine Hepburn Brownies
Three years ago: Blueberry Pie

Printer Friendly Recipe
Chocolate-Chocolate Chunk Muffins (from Dorie Greenspan’s Baking: From My Home to Yours, for Tuesdays with Dorie)

Makes 12 muffins

Two ounces of chocolate chunks mixed into the dough is a restrained amount that reflects the breakfast intentions of these muffins. For more richness, feel free to increase that up to as much as 6 ounces. I mixed in some white chocolate as well.

6 tablespoons (¾ stick) unsalted butter
4 ounces bittersweet chocolate, coarsely chopped
2 cups (9.6 ounces) all-purpose flour
⅔ cup (4.67 ounces) sugar
⅓ cup unsweetened cocoa powder, sifted
1 tablespoon baking powder
½ teaspoon baking soda
½ teaspoon salt
1¼ cups buttermilk
1 large egg
2 teaspoon pure vanilla extract

Center a rack in the oven and preheat the oven to 375 degrees F. Butter or spray the 12 molds in a regular-size muffin pan or fit the molds with paper muffin cups. Alternatively, use a silicone muffin pan, which needs neither greasing nor paper cups. Place the muffin pan on a baking sheet.

Melt the butter and half the chopped chocolate together in a bowl over a saucepan of simmering water; or do this in a microwave. Remove from the heat.

In a large bowl, whisk together the flour, sugar, cocoa, baking powder, baking soda and salt. In a large glass measuring cup or another bowl, whisk the buttermilk, egg and vanilla extract together until well combined. Pour the liquid ingredients and the melted butter and chocolate over the dry ingredients and, with the whisk or a rubber spatula, gently but quickly stir to blend. Don’t worry about being thorough — a few lumps are better than overmixing the batter. Stir in the remaining chopped chocolate. Divide the batter evenly among the muffin molds.

Bake for 20 minutes, or until a thin knife inserted into the center of the muffins comes out clean. Transfer the pan to a rack and cool 5 minutes before carefully removing each muffin from its mold.

chocolate chunk muffins 6

whole wheat almond bread

almond bread 5

I’m not always as practical as I should be. Once I get an idea in my  head, I stubbornly cling to it regardless of whether it makes good sense. For example, yesterday I gathered up my laptop, its mouse, a glass of water, and a bowl of farro and lentils and carried it about twenty feet. The mouse kept falling, the water was sloshing over the rim of the glass, and the bowl was sliding around, precariously balanced on top of the laptop. Why didn’t I just make two trips, which probably would have taken less time in the end?  It is a mystery.

almond bread 2

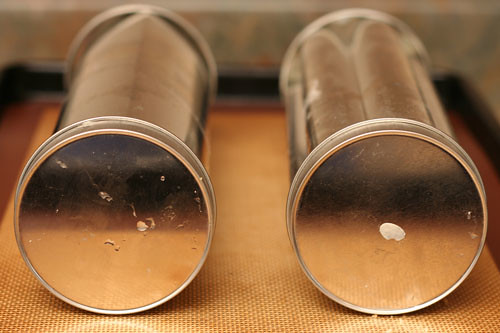
Why didn’t I bake at least one of the loaves of almond bread in a regular bread pan that I’m familiar with? Why did I insist on baking both loaves in closed pans even though I have no experience baking in covered pans and didn’t know how it would affect the baking time or how I would test for doneness?

almond bread 4

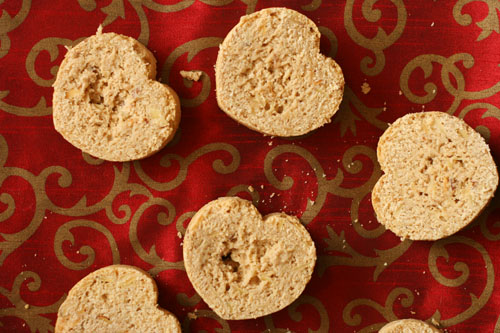
My mom found these pans during a mass cleaning of my grandmother’s kitchen, and although they were in their original packaging, there were no baking instructions with them. And the toothpick test doesn’t work when the center of your bread is five inches from the edge of the pan. The outside few inches of each loaf were perfectly baked, slightly sweet, and intensely nutty. The middle portions were doughy, slightly sweet, and intensely nutty. And that was the case for both loaves, because I just had to take a chance with the whole batch instead of taking the safe route with at least one of them. Typical.

almond bread 3

One year ago: Jamaican Jerk Chicken
Two years ago: Aligot (French Mashed Potatoes)
Three years ago: Poached Eggs with Arugula and Polenta Fingers

Printer Friendly Recipe
Whole Wheat Almond Bread (adapted from Joy the Baker)

Makes 2 small loaves

This is the baking time for a regular, uncovered bread pan. In a covered pan like I used, increase the baking time to 50-60 minutes and use a wooden skewer inserted into the center of the loaf to test for doneness.

2 cups whole wheat flour
2 cups (9.6 ounces) all-purpose flour
¼ cup (1.75 ounces) sugar
1 teaspoon salt
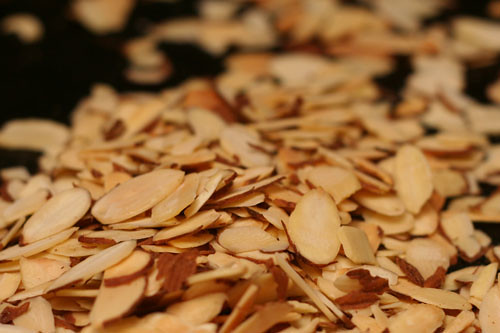
1 cup sliced, toasted almonds, divided
4 teaspoons baking powder
¼ teaspoon baking soda
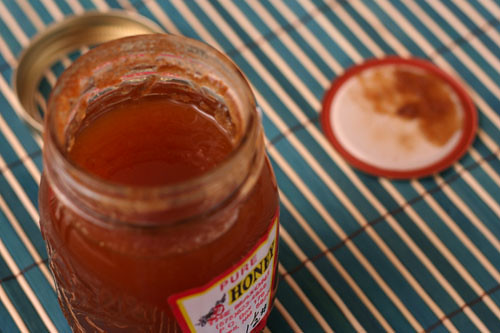
¼ cup honey
2 large eggs
1½ cups almond milk
¼ teaspoon almond extract
4 tablespoons unsalted butter, melted

1. Preheat oven to 350 degrees F. Spray two 8.5 by 4.5-inch bread pans with non-stick cooking spray.

2. In a large bowl, whisk together the flours, sugar, salt, baking powder, baking soda, and almonds. In a medium bowl, whisk together honey, eggs, milk and melted butter. Add the wet ingredients to the dry ingredients. Fold until the batter is evenly mixed; small lumps of flour are okay.

3. Divide the batter between the prepared pans. Bake for 35-40 minutes, or until a toothpick inserted into the center of a loaf comes out dry. Set the pans on a wire rack and cool 10 minutes. Run a thin knife around the edge of the pans; invert onto the wire rack. Serve warm or at room temperature.

almond bread 6

tartine country bread

Sometimes I’ll be reading a recipe, and it’ll say “we simplified this horribly long complicated process with very little effect on the outcome!” and I always think, “nooo! I want to know the horribly long complicated process!” That’s why I made traditional lasagne Bolognese and barbecued a pork shoulder on the grill. And that is why I have now made bread without any commercial yeast – just the wild stuff.

That means that this bread takes at least a week from start to finish, probably a few days longer. Is it worth it? Oh, who knows. I’ve made some pretty fantastic bread using Peter Reinhart’s recipes too. But this isn’t about one loaf of bread. It’s about having a mixture of old fermented flour and wild fungus in your refrigerator, available to add just a little extra oomph to any bread you make.

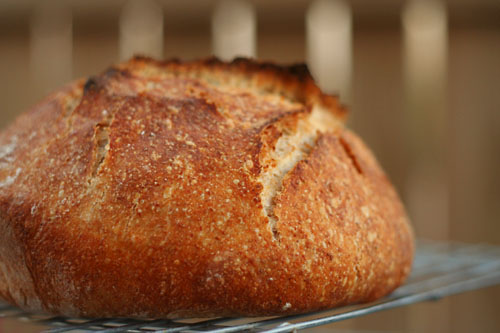
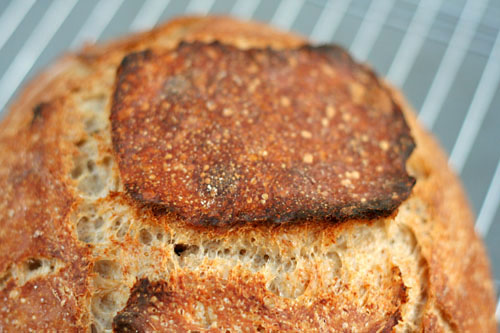
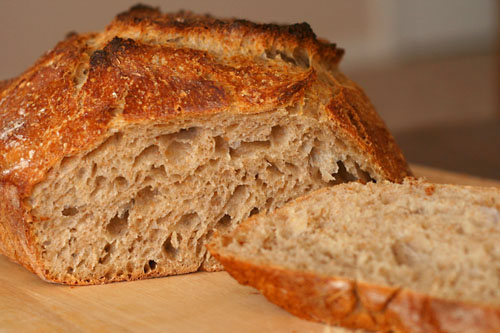
I’ve jotted down the outline of Tartine’s Country Bread recipe below, but the beauty of this method goes far beyond this one loaf of bread, extraordinary though it may be. Because this isn’t about making sourdough bread. Tartine’s country bread isn’t sour, but it has a layer of complexity to it, a sweet savory-ness that makes it really special, not to mention the beautiful burnt red crust.

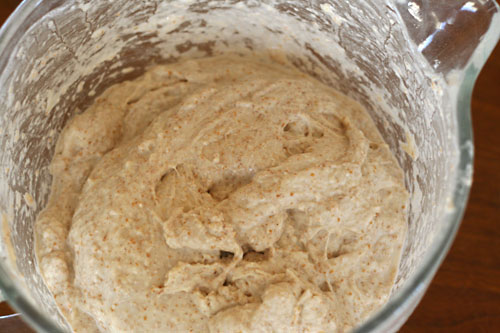
Chad Robertson has pages and pages of information in his book (and Martha Stewart has a tutorial on her site); my version here is merely the cliff notes. But the key here isn’t the nitpicky mixing, turning, rising, shaping directions. The key is that magical stinky starter you created. And with the starter mixture in your fridge, you have the power to add some of that complexity to every bread recipe you make. When I mix up a whole wheat pre-dough that uses yeast, I mix in some of this starter instead of instant yeast, which has resulted in some exceptional bagels recently. I’ve also started using the country bread dough for pizza, which makes for a bubbly crust with the bottom so crisp it’s almost crackly. This is why I like to know the whole horribly long complicated process – not only is the outcome often truly special, but it gives me the confidence to take the method and adapt it for my own needs.

One year ago: Turkey Burgers
Two years ago: Potato Galette
Three years ago: Orange Vanilla Opera Cake

Printer Friendly Recipe
Tartine’s Basic Country Bread (rewritten from Tartine Bread)

Makes 2 large loaves

The only ingredients in this bread are flour, water and some salt at the end. However, they’re mixed at so many different stages in the process that I’ve chosen not to include an ingredient list. Instead, the ingredients are bolded in the directions.

For pizza, I like to add a squeeze of honey (or a spoonful of sugar) to the dough to help it brown in the oven. The bread doesn’t get the same beautiful burnished color as the loaf because it isn’t covered while it bakes.

Make the starter:

I’ve provided precise measurements here, but it isn’t necessary to follow them exactly as long as your starter always has the consistency of a thick batter.

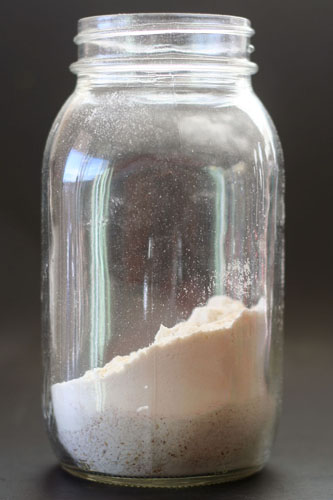
1. Mix ½ cup room temperature filtered water with ½ cup white bread flour and ½ cup whole wheat flour. Cover the bowl with a kitchen towel and set aside in a cool, shaded spot for two days.

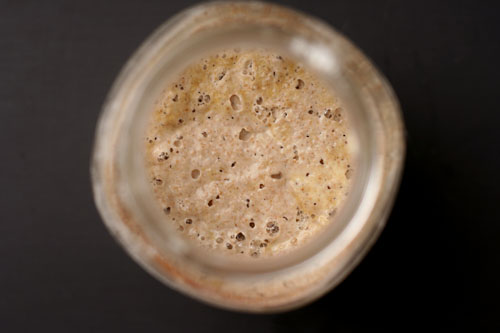
2. Check the culture to see if any bubbles have formed around the sides and on the surface. If not, let it sit for another day. The culture is ready when it smells like stinky cheese and tastes very acidic. It’s okay if a dark crust has formed on top.

3. Discard three-quarters of the culture. To the remaining culture, add ¾ cup water, 6 tablespoons white bread flour and 6 tablespoons whole wheat flour. Stir vigorously until there are no lumps. Repeat this step once a day until…

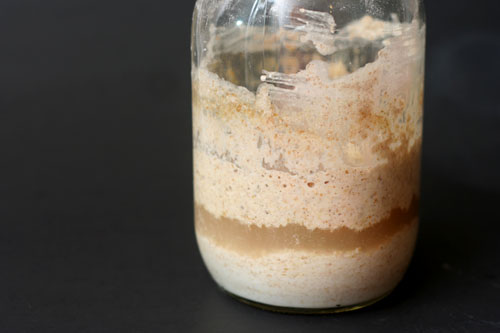
4. Your starter is finished when it behaves in a predictable pattern after each feeding, from stinky and sharply acidic before feeding and sweet and milky just after feeding. The volume should increase for several hours after feeding, then begin to collapse.

To store and keep your starter: Lightly covered, the starter can be kept indefinitely in the refrigerator. (My mom keeps hers in a covered pitcher; I keep mine in a canning jar with a paper towel screwed on instead of the lid. A bowl with a cover would work fine.) To keep it active and healthy, feed it every week or two by following the directions below to make leaven for bread (step 1 of the bread part of the recipe).

Make the bread:

1. To make the leaven: Discard all but 1 tablespoon of the starter. Feed the remaining starter with 200 grams of warm water, 100 grams of whole wheat flour, and 100 grams of bread flour. Let the mixture rise overnight at room temperature. When it’s ready, the leaven should have risen slightly, float in room temperature water (test a small piece; you can still use this piece in the final dough), and smell like overripe fruit.

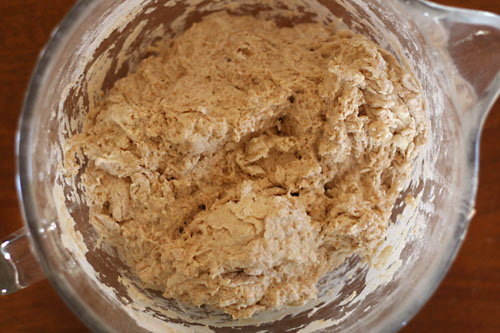
2. In a large (huge, actually) bowl, mix 700 grams of water and 200 grams of the leaven. (The remainder of the leaven is the starter that you’ll store and feed regularly.) Add 800 grams of bread flour and 200 grams of whole wheat flour; stir until the flour is evenly moistened. The dough won’t be smooth. Let it rest for 25 to 40 minutes while the gluten starts forming, the flour starts hydrating, and the flavor starts developing.

3. Add 20 grams of salt and 50 grams of water to the dough, and squeeze the dough to mix them in. This dough isn’t kneaded; instead, fold it a few times by using a dough scraper to scoop up one side of the dough and drape it over the rest of the dough.


before turning

4. Allow the dough to ferment for 3 to 4 hours and give it another few turns every 30 minutes. This takes the place of kneading. Be more gentle with the turning toward the end of the rising time. The dough is ready when it’s slightly increased in volume and is full of air bubbles (which will be visible on the sides if you’ve used a clear container).


after one turn


after two turns


ready to shape

5. Turn the dough out onto floured surface or a damp kitchen towel. Divide it into two portions. To shape each one into a round, cup your hands over the top of the dough and rotate the dough around on the counter. Cover the rounds with a damp towel and set them aside to rest for 20 to 30 minutes.

6. To increase the surface tension of the dough, ensuring that the bread rises up and not out in the oven, perform a series of folds. Working with one ball of dough at a time, stretch it out and fold it over several times, eventually ending up with a neat square. Cup your hands around the dough and rotate it on the counter to smooth the surface again.


one large loaf and several smaller portions instead of two equal portions

7. Transfer each round to a floured towel-lined bowl or basket with the seam facing up. (Actually, I prefer to use an oiled bowl, covered with a damp towel. If you want to freeze the dough, transfer it to a ziptop bag sprayed with nonstick spray and store in the freezer. Let it defrost overnight in the refrigerator before continuing with the recipe.) Let rise for 2-4 hours at room temperature or, for maximum flavor, overnight in refrigerator.

8. Half an hour before you’re ready to bake the bread, remove the dough from the refrigerator. Place a Dutch oven and its lid on the middle rack in the oven and heat the oven to 500 degrees. When the oven is hot, turn the dough out of its bowl onto a floured work surface or a damp kitchen towel so that the seam is down. Use a very sharp or serrated knife to cut four intersecting ½-inch deep slashes in the dough, forming a square of cuts. Carefully place the dough into the heated Dutch oven; cover the pot with its lid and transfer it to the oven. Immediately reduce the oven temperature to 450 degrees. Bake 20 minutes, then remove the lid and bake 20-25 minutes longer, until the bread is deep golden brown and an instant read thermometer inserted into the center of the loaf reads about 205 degrees. Remove the bread from the pan and cool on a wire rack for an hour before serving.
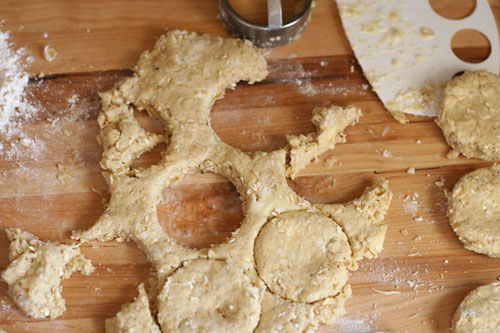
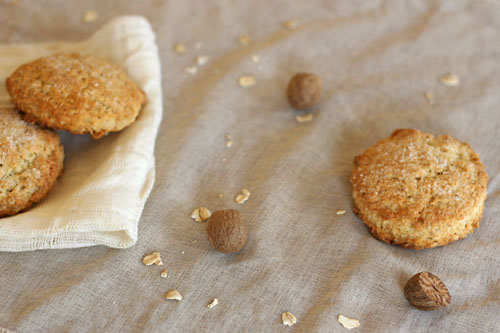
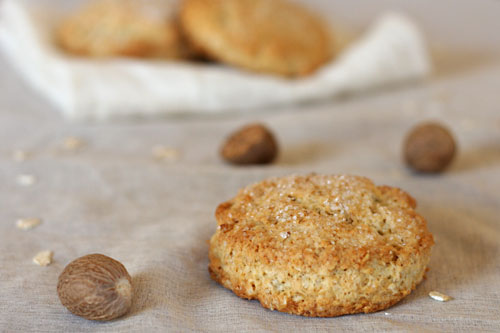
oatmeal nutmeg scones

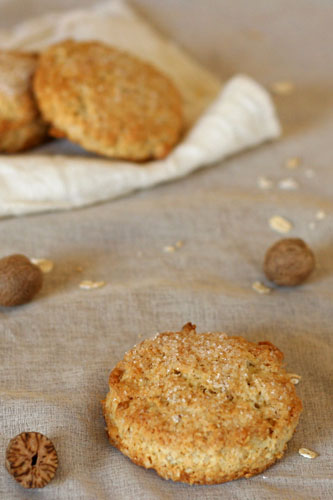
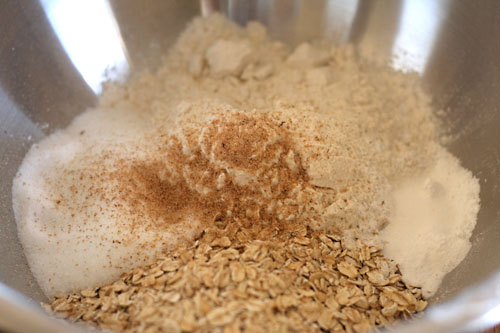
For most of my life, I didn’t think much of nutmeg. It was just one member of the pumpkin pie consortium, of which only cinnamon could stand on its own, as far as I knew. The rest were generically fall-flavored. It wasn’t until I met Dave, professed nutmeg lover, that I started considering nutmeg as its own entity.

Now I think of nutmeg as warm, cozy, complex. (Or maybe the association I have between nutmeg and Dave has caused me to describe my husband instead of the seasoning?) Its spice adds richness to any dish, sweet or savory, and has become one of my favorite flavors.

Oatmeal reminds me of Dave too, as it was his staple breakfast – no sugar, no salt – when he lived alone. (It was bland, mushy, gross, but these aren’t words I associate with my husband.) I may not need complex, cozy scents to make me warm out here the desert, but I certainly won’t turn down a nutmeg oatmeal scone. You can bet Dave wouldn’t either.

Patricia chose these for Tuesdays for Dorie, and she will have the recipe posted. I didn’t make any changes.

One year ago: Strawberry Chocolate Ice Cream Pie
Two years ago: Chipster-Topped Brownies
Three years ago: Pecan Honey Sticky Buns

maple cornmeal biscuits

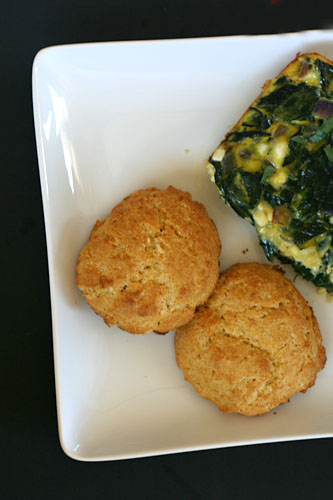
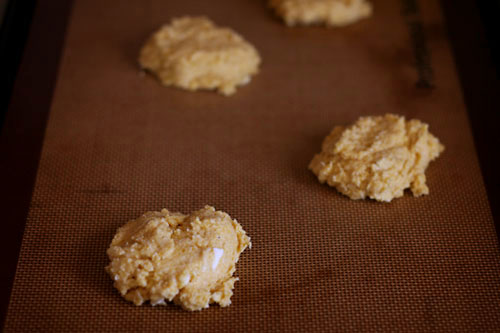
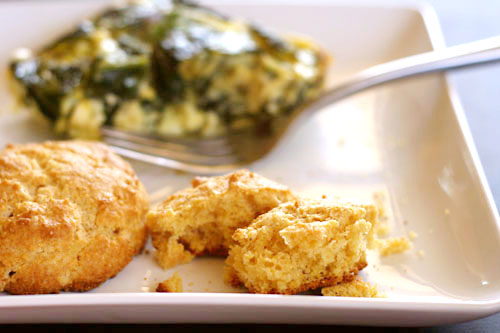
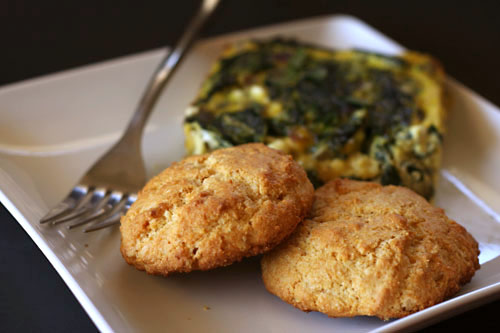
These are not Italian in any way. Dave and I booked a trip to Italy last week and thought we’d have an Italy day on Saturday, where we’d have espresso, eat Italian food, drink Italian wine, and plan out our adventure. Little of that happened. We ate maple cornmeal biscuits because I needed to make them for Tuesdays with Dorie.  At least we had them alongside frittata with swiss chard. We never got to the espresso, and it wasn’t until Sunday that we sat down to map out our vacation plans. The grilled lamb and asparagus we had for dinner could have been any cuisine, although the Barbera that accompanied dinner was wonderful.

I’m always jumping ahead to the wine. Let’s talk more about breakfast. Even though maple cornmeal biscuits are not Italian and we had them on (what was supposed to be) Italy day, they were very delicious – sweet and gritty. I suspect we’ll have many more Italy planning days between now and when we leave in September, and I just might start them all out with maple cornmeal biscuits, Italian or not.

Lindsay has the full recipe posted. I made no changes.

One year ago: Cherry-Cherry Bread Pudding
Two years ago: Fresh Mango Bread
Three years ago: Traditional Madeleines