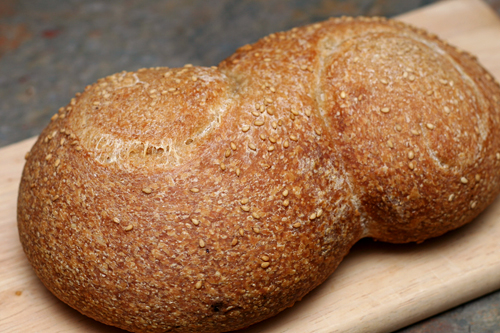
semolina bread

Supposedly, my freezer is organized to have a shelf for meat, one for bread, one for prepared foods, and one for ingredients (mostly green chile and egg whites). In reality, bread tends to find its way onto each of the other shelves and eventually takes over. During my last freezer overhaul, I gave baked bread its own shelf and bread dough got moved to the ingredient shelf, which has plenty of open space now because we are, sadly, almost out of last year’s crop of green chile.

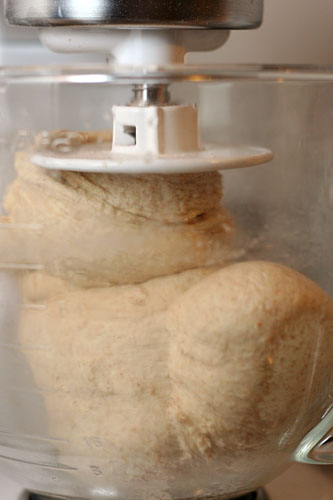
Besides our weekday snack supply of muffins (for Dave) and whole wheat bagels (for me), there’s usually homemade hamburger buns, hot dog buns, and sandwich thins, several bags of pizza dough, odds and ends of loaves whose genesis I don’t remember, and both baked and unbaked versions of whatever rustic bread I’m playing with at the time. The lovely s-curve of this semolina bread recipe caught my eye as soon as I got Peter Reinhart’s Bread Baker’s Apprentice, years ago. I know I could have used that shape for any free-form loaf, but I saved it until I made the recipe it accompanies.

The three loaves of this semolina bread, one baked immediately and two frozen after shaping, didn’t last long in the freezer. I found every opportunity to bake up another loaf of this chewy golden bread. I’d start a new batch if there was any room in the freezer for what we don’t eat in one night.

One year ago: Brown Sugar Cookies
Two years ago: Brandied Berry Crepes
Three years ago: Breakfast Strata with Mushrooms, Sausage and Monterey Jack

Printer Friendly Recipe
Semolina Bread (adapted from Pane Siciliano from Peter Reinhart’s Bread Baker’s Apprentice)

1 recipe pate fermentée (recipe follows)
1¾ cups (8 ounces) bread flour
1¾ cups (8 ounces) semolina flour
1¼ teaspoon salt
1¼ teaspoon instant yeast
2 tablespoons olive oil
1 tablespoon honey
1¼ cups water, room temperature
sesame seeds

1. Remove the pate fermentée from the refrigerator 1 hour before mixing the final dough.

2. Stand mixer: Mix the pate fermentée, flours, salt, yeast, oil, honey, and water in the bowl of a stand mixer fitted with the dough hook. Mix on medium-low speed until the dough is elastic and supple, about 8 minutes. You may need to add a little more flour or water to get the correct consistency – smooth and tacky, but not sticky. Transfer the dough to an oiled bowl and cover with plastic wrap or a damp dishtowel.

By hand: Cut the pate fermentée into 8-12 pieces. Mix the flours, salt, and yeast in a large bowl. Make a well in the middle of the dry ingredients and add the pate fermentée, olive oil, honey, and water. Stir the mixture until the dough comes together. Transfer it to a floured board or countertop and knead, incorporating as little flour as possible, for about 10 minutes, until the dough is elastic and supple. You may need to add a little more flour or water to get the correct consistency – smooth and tacky, but not sticky. Transfer the dough to an oiled bowl and cover with plastic wrap or a damp dishtowel.

3. Ferment at room temperature for about 2 hours, until the dough doubles in size.

4. Divide the dough into three equal portions. Very gently pull the edges of each portion around to one side and pinch them together to form a ball. Roll the dough between the palm of your hand and a lightly floured board or a damp kitchen towel (my preferred method). With the seam side up, push the sides of your thumbs into the dough, pulling the dough into an oblong. Pinch the seam together; repeat the process once more on the same dough ball to form a rope. Roll the rope, pushing it out into a longer rope, until it’s about 24 inches long. If it resists you at any point, let it rest for a few minutes before trying again. Then, working with each end simultaneously, coil the dough toward the center, forming an S-shape. Arrange the shaped loaves on parchment paper and sprinkle them with sesame seeds. Cover loosely with plastic wrap and refrigerate overnight.

5. The next day, remove the dough from the refrigerator. Let it warm up and, if necessary, finish rising, which will take a couple hours. The dough is ready to bake when it has doubled in size and remains dimpled when poked.

6. While the dough is rising, place a baking stone on the bottom rack of the oven and a heavy metal baking pan on the top rack. Heat the oven to 500 degrees.

7. Transfer the risen loaves with the parchment paper to the hot baking stone. Pour 1 cup hot water into the metal pan on the top rack and close the door. After 30 seconds, open the door and spritz the sides of the oven with water. Repeat twice more at 30 second intervals. After the final spray, lower the oven temperature to 450 degrees and bake for 25 to 30 minutes longer, until the crust is golden brown and the internal temperature is between 200 and 205 degrees.

8. Transfer the bread to a wire rack; cool 45 minutes before serving.

Pate fermentée

1⅛ cups (5 ounces) unbleached all-purpose flour
1⅛ cups (5 ounces) unbleached bread flour
¾ teaspoon salt
½ teaspoon instant yeast
¾ cup to ¾ cup plus 2 tablespoons (6 to 7 ounces) water

1. Stir together the flours, salt, and yeast in a 4-quart bowl (or in the bowl of a standing mixer). Add ¾ cup of the water, stirring until everything comes together and makes a coarse ball (or mix on low speed for 1 minute with the paddle attachment). Adjust the flour or water, according to need, so that the dough is neither too sticky nor too stiff. (It is better to err on the sticky side, as you can adjust easier during kneading. It is harder to add water once the dough firms up.)

2. Sprinkle some flour on the counter and transfer the dough to the counter. Knead for 4 to 6 minutes (or mix on medium speed with the dough hook for 4 minutes), or until the dough is soft and pliable, tacky but not sticky. The internal temperature should be 77 to 81 degrees.

3. Lightly oil a bowl and transfer the dough to the bowl, rolling it around to coat it with oil. Cover the bowl with plastic wrap and ferment at room temperature for 1 hour, or until it swells to about 1½ times its original size.

4. Remove the dough from the bowl, knead it slightly to degas, and return it to the bowl, covering the bowl with plastic wrap. Place the bowl in the refrigerator overnight. You can keep this in the refrigerator for up to 3 days, or freeze it in an airtight plastic bag for up to 3 months.

I’m donating my Bourbon Pound Cake to Bloggers Bake for Hope.  This and over fifty other treats are available to be shipped directly to you. You can bid on your favorites starting May 4th; all proceeds go to Massachusetts Komen for the Cure.
 

lemon ricotta strawberry muffins

Sometimes it bothers me that I can’t buy any locally produced food. I get to thinking that if food can’t be grown here, maybe we shouldn’t live here. Clearly it’s an unenvironmental place to live if everything from greens to beef to beans has to be shipped here.

Then I remember that I’m here for an environmental reason. I work for a radioactive waste disposal site. And it’s here because there aren’t a lot of people here. Do you want radioactive waste stored anywhere near your city? Probably not. (Although the truth is that most of the locals here appreciate the repository’s presence, as it brings good jobs to the area and has had no environmental effect.) And there aren’t a lot of people here because stuff doesn’t grow here.

The upshot of this is that I have no qualms about buying California strawberries or Florida peaches. If I tried to follow a 100-mile diet in southern NM, we’d have to survive on pecans. Even the state’s prized green chiles are grown almost 200 miles away. I draw the line at Chilean berries, but anything from the US or Mexico is fair game.

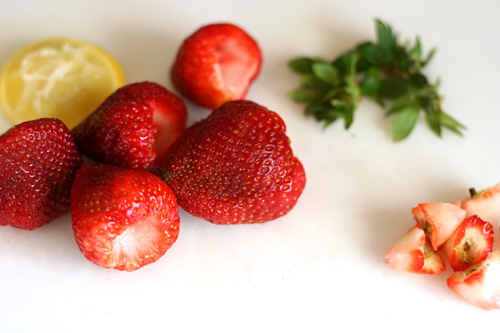
If you try to eat local and you live farther north, you probably don’t have strawberries yet. When you do, here’s a great way to use them. These light, tender muffins are fragrant with lemon and studded with sweet berries. We enjoyed them while sitting outside in our sunbaked parched desert.

One year ago: Cauliflower Cheese Pie with Grated Potato Crust
Two years ago: Pan-Roasted Asparagus
Three years ago: Hazelnut Dried Cherry Biscotti

Printer Friendly Recipe
Lemon Ricotta Strawberry Muffins (adapted from Mollie Katzen via Apple a Day)

Makes 12 muffins

I substituted ½ cup whole wheat pastry flour for an equal amount of the all-purpose flour.

2 cups (9.6 ounces) all-purpose flour
1½ teaspoon baking powder
½ teaspoon salt
⅛ teaspoon baking soda
½ cup (3.5 ounces) granulated sugar
1 tablespoon lemon zest
1 cup ricotta cheese
2 large eggs
1 cup buttermilk
1 tablespoon vanilla extract
1 tablespoon lemon juice
4 tablespoons unsalted butter, melted and cooled
1½ cups strawberries, chopped

1. Heat the oven to 350ºF. Spray the bottoms only of a 12-cup muffin pan with nonstick spray or line with paper liners. In a large bowl, combine the flour, baking powder, salt, and baking soda.

2. In a medium bowl, rub the lemon zest into the sugar. Whisk in the eggs, ricotta, buttermilk, vanilla, lemon juice, and butter. Pour the ricotta mixture into the flour mixture and fold until the flour is evenly dispersed but not completely mixed in. Add the strawberries and fold until the flour is moistened (some lumps are okay) and the strawberries are evenly distributed.

3. Divide the batter evenly between the muffin cups. Bake until a toothpick inserted into a muffin comes out clean, 18-22 minutes. Set the pan on a rack to cool slightly, about 5 minutes, then use a thin-bladed knife to remove the muffins from the pan.

protein waffles

I eat almost flawlessly healthfully on weekdays, and then undo all of that hard work on the weekends. Weekdays are full of vegetables, fruit, lean protein, whole grains, water. Weekends are all about butter, white flour, sugar, beef, wine (and/or beer and/or margaritas). While I have no intention of eating perfectly all the time – mostly because cooking with fat is FUN – perhaps a better balance is in order.

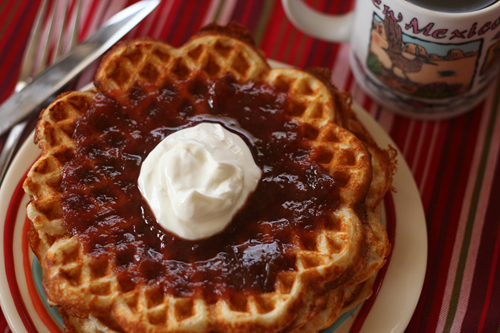
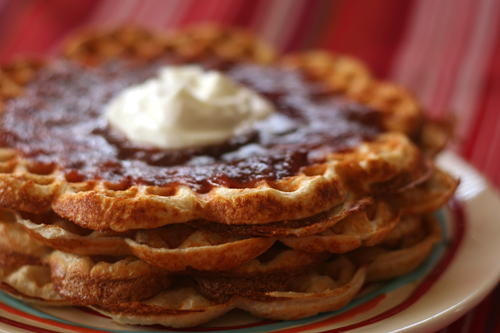
Not to jump to the punch line, but if the only compromise I have to make is eating these healthy waffles instead of cinnamon rolls or biscuit sandwiches for breakfast, I’ll take it. There was absolutely nothing weird about these waffles. Made from just eggs, oats, cottage cheese and protein powder, the flavor and texture were exactly what you would expect from any carb-filled, butter-rich variety, and yet they are perfectly healthy.

Not even one unhealthy ingredient. I have to keep saying it, over and over, because I can hardly believe it. Topped with homemade (not by me) jam and Greek yogurt, this is a perfect breakfast in every way. Now someone needs to come up with a no-compromise version of cinnamon rolls. And beer.

Three years ago: Chocolate Cream Pie

Printer Friendly Recipes
Protein Waffles (from Cara’s Cravings)

Substitutions I’ve made that worked: 2 whole eggs plus a dribble of milk for the 4 egg whites; regular oats for the instant oats Cara recommends; ½ tablespoon honey for the sweetener; vanilla ice cream protein powder, which is all that my grocery store sells and is so sweet that I don’t need any additional sugar at all

Substitution I made that didn’t work: Greek yogurt for the cottage cheese

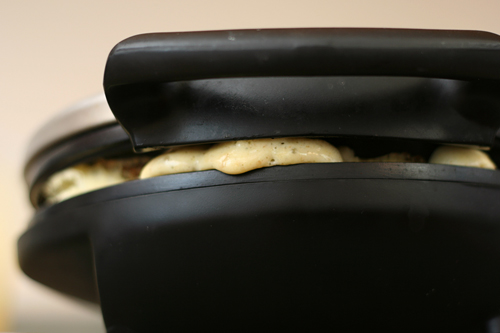
I don’t recommend cooking this batter in a Belgian waffle iron.

4 egg whites
½ cup (4 ounces) low-fat cottage cheese
½ cup (40 grams) oats
1 scoop (25 grams) vanilla protein powder
2 packets of Truvia, or other sweetener to taste
½ teaspoon baking powder

Combine all ingredients in a blender and process until smooth.

Cook in waffle iron according to manufacturer’s directions, to desired crispiness. Spray with nonstick spray between each waffle.


caesar salad

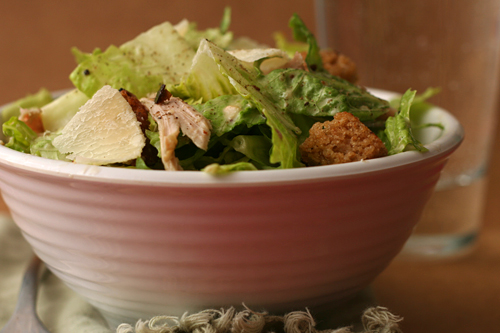
I didn’t always get Caesar salad. It seemed like it was just salad that was all lettuce and no goodies. Where’s the tomatoes, hard-boiled eggs, carrots, or cured meats?

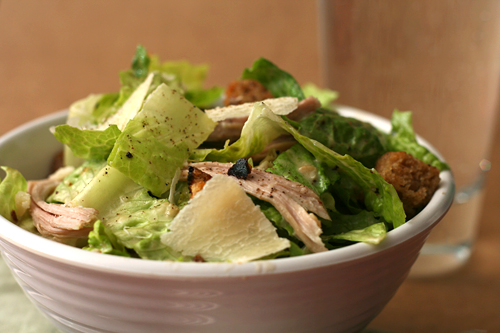
I understand now that that’s the point of it – that even without a range of colors, a salad can have a range of textures and flavors. Crisp lettuce, crunchy croutons, creamy dressing; salty parmesan, lightly bitter romaine, and most importantly, stinky garlic and wonderful savory anchovies.

Not everyone thinks anchovies are wonderful, I know. Some people – people who are otherwise not picky at all despite their reticence toward brownies – think they’re actually quite disgusting. Those people were not implicitly told about the anchovies in this recipe, and even when the amount was accidentally doubled one time, those people (or the one of those people I regularly cook for) still raved about the salad. Do not fear the anchovy.

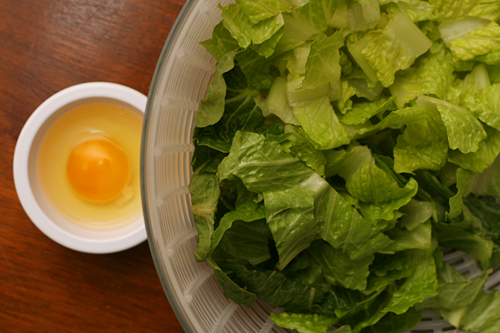
But if you want to fear the raw egg (which I do not, as we all know from my cookie dough habit), you may, because I tested this out with mayonnaise instead of the yolks, and it was nearly as good as the original. With the addition of some leftover shredded chicken, this salad becomes a simple (if surprisingly unhealthy) meal.

One year ago: Cherry Tomato Salad
Two years ago: Lemon Poppy Seed Waffles
Three years ago: Sushi Rolls

Printer Friendly Recipe
Caesar Salad (from Cooks Illustrated)

Serves 4

I confess that I did not care for this method of toasting the croutons. I was not able to achieve evenly browned croutons on the stovetop, probably because I wasn’t willing to use the full amount of oil. I’ll reproduce the original recipe below, but in the future, I’ll toast the lightly oiled croutons the oven and then toss them with the oil/garlic mixture.

If you don’t want to work with raw egg, substitute 1-2 tablespoons of mayonnaise for the yolks.  This will result in a slightly thicker dressing, but not a bad one.

Croutons:
5 tablespoons extra virgin olive oil
1 medium garlic clove, pressed through a garlic press (or pureed on the tines of a fork)
5 cups (¾-inch) ciabatta bread cubes
¼ cup water
¼ teaspoon table salt
2 tablespoons finely grated Parmesan

Salad:
1 large garlic clove, pressed through a garlic press (or pureed on the tines of a fork)
2-3 tablespoons juice from 1 to 2 lemons
½ teaspoon Worcestershire sauce
6 anchovy fillets, mashed to a paste with a fork (1 tablespoon)
2 large egg yolks
5 tablespoons canola oil
5 teaspoons extra virgin olive oil
1½ ounces (¾ cup) finely grated Parmesan
Ground black pepper
2-3 romaine hearts, cut crosswise into ¾-inch-thick slices, rinsed, and dried very well (8-9 lightly pressed cups)

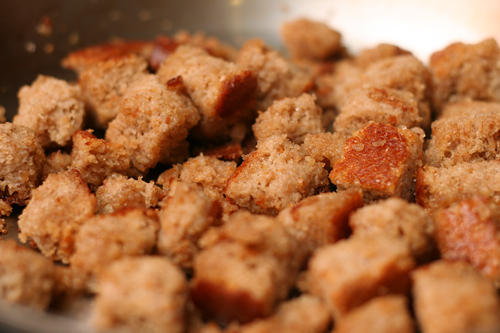
1. For the croutons: Combine 1 tablespoon oil and garlic paste in small bowl; set aside. Place bread cubes in large bowl. Sprinkle with water and salt. Toss, squeezing gently so bread absorbs water. Place remaining 4 tablespoons oil and soaked bread cubes in 12-inch nonstick skillet. Cook over medium-high heat, stirring frequently, until browned and crisp, 7 to 10 minutes.

2. Remove skillet from heat, push croutons to sides of skillet to clear center; add garlic/oil mixture to clearing and cook with residual heat of pan, 10 seconds. Sprinkle with Parmesan; toss until garlic and Parmesan are evenly distributed. Transfer croutons to bowl; set aside.

3. For the salad: Whisk garlic paste and 2 tablespoons lemon juice together in large bowl. Let stand 10 minutes.

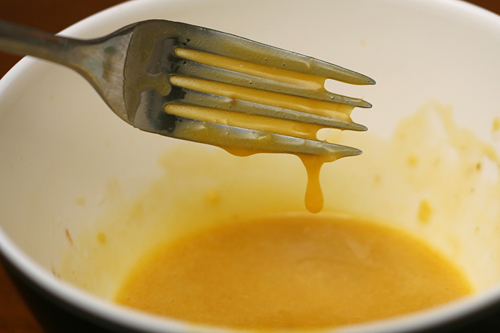
4. Whisk Worcestershire sauce, anchovies, and egg yolks into garlic/lemon juice mixture. While whisking constantly, drizzle canola oil and extra virgin olive oil into bowl in slow, steady stream until fully emulsified. Add ½ cup Parmesan and pepper to taste; whisk until incorporated.

5. Add romaine to dressing and toss to coat. Add croutons and mix gently until evenly distributed. Taste and season with up to additional 1 tablespoon lemon juice. Serve immediately, passing remaining ¼ cup Parmesan separately.
citrus sunshine currant muffins

There’s something about spring, and I don’t know what it is. I didn’t even think we’d get it here in the desert. Is it a smell? Is it the mourning doves? I do love their call. Maybe it’s the angle of the light, as our northern hemisphere leans more and more toward the sun.

Whatever it is, spring is in the air. Spring in southern New Mexico means eighty degree days and crossing your fingers it isn’t too windy out to enjoy the sun. Early spring where you are might mean you’re seeing some patches of ground through the snow. Either way, these bright citrusy muffins are the perfect complement to that spring feeling.

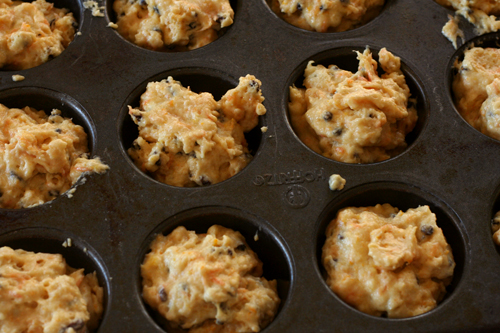
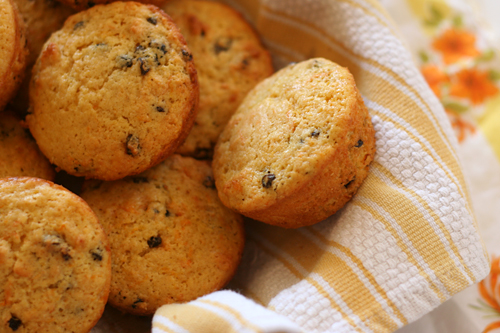
Lauryn chose these muffins for Tuesdays with Dorie and has the recipe posted. I increased the salt to ½ teaspoon and substituted the quarter cup of orange juice that I was short with a mixture of lemon juice and water.

One year ago: Soft Chocolate and Berry Tart
Two years ago: French Yogurt Cake


corniest corn muffins

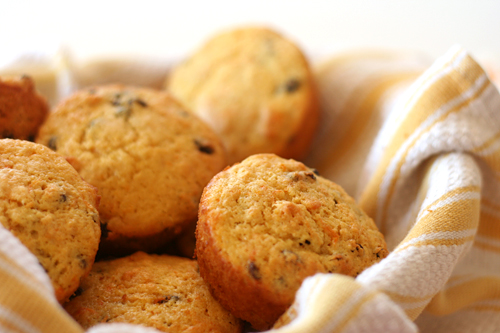
I hemmed and hawed over these more than muffins probably deserve. The issue is that while I like corn on its own, I struggle to enjoy the crisp kernels in soups, breads, or stews. On the other hand, it’s nice to have some textural contrast in muffins – and what better to provide that in a corn muffin than corn?

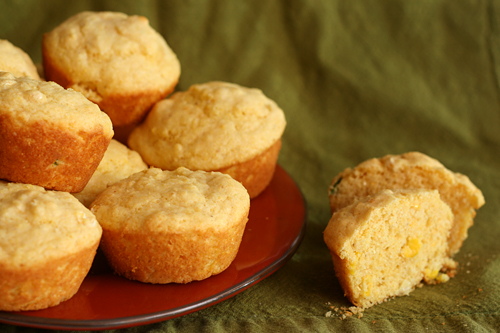
In the end, in the spirit of Not Being Picky, I left the corn in (without pureeing it like I’d also considered). And I’ll be darned if one of these, served alongside a small bowl of chili topped with large amounts of Greek yogurt and avocado, wasn’t one of the most satisfying meals I’ve eaten in days.

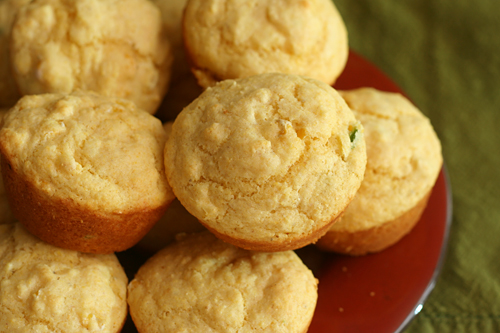
These muffins were chosen for Tuesdays with Dorie by Jill, and she will post the recipe. I reduced the sugar to ¼ cup (per Deb’s recommendation), added half a minced jalapeno, and did not increase the salt(!). The cornmeal I used (Arrowhead) was finely ground, which I believe is what leant my muffins such a tender, almost flaky texture.

One year ago: Thumbprints for Us Big Guys
Two years ago: Lemon Cup Custard (my pick)


shrimp canapes a la suede

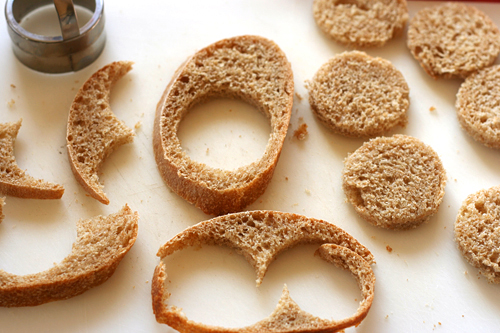
I don’t live the kind of lifestyle that includes a lot of canapés. Maybe that’s because canapés went out of style fifty years ago. Or maybe I need to start labeling any “toasts topped with stuff” as canapés, because I’ve eaten plenty of those. More precisely, canapés are “toasts fussily topped with stuff”. And since when do I not appreciate fussy?

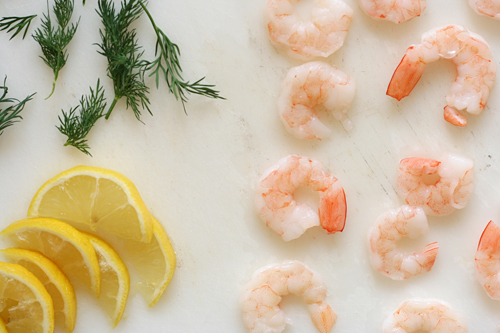
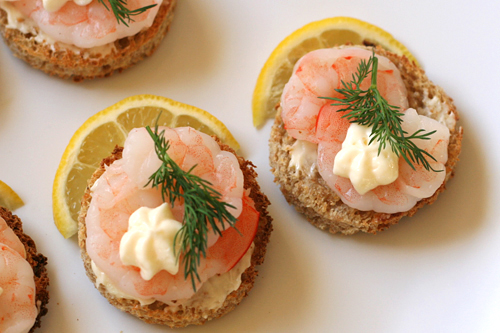
These particular canapés include the unbeatable combination of bread, salted butter, shrimp, dill, mayonnaise and lemon. While there’s no cooking (assuming you buy pre-cooked shrimp), the assembly may take a while, because remember, fussiness is an essential aspect of making canapés.

Since I apparently don’t go to enough events where canapés are served, I will make them for a virtual event – a bridal shower for my fellow desert blogger (although her Sonoran desert trumps my Chihuahuan desert), Kelsey, who’s getting married next week. Kelsey is one of the most kind and beautiful women I know, and I wish every happiness upon her. I would love to shower her with well wishes in real life, but this virtual bridal shower will have to do.  The advantage of a virtual party, of course, is that I got to eat all the canapés myself. The disadvantage is that I didn’t get to eat everyone else’s contributions.

One year ago: Roll-out Sugar comparison
Two years ago: Roasted Kale
Three years ago: Green Chile Chicken Enchiladas

Printer Friendly Format
Shrimp Canapés à la Suede (tweaked from Amanda Hesser’s The Essential New York Times Cookbook)

The slivers of lemon tucked under each canapé are very cute, but not entirely practical. The brightness of lemon was important part of this flavor combination, however, so it might make more sense to forget the wedges and simply squeeze some lemon over the shrimp before adding the mayonnaise and dill.

Makes 12 appetizers

12 (2-inch) rounds of bread, sliced ¼-inch thick
Salted butter, softened
12 medium shrimp, cooked and sliced lengthwise (to make two symmetrical spirals)
Mayonnaise
12 small dill sprigs
Freshly ground black pepper
12 small lemon wedges

Toast the bread until lightly browned; let cool. Butter the toast rounds and top each with two shrimp halves. Garnish the canapés with mayonnaise stars pressed from a pastry bag (or just dollop a scant ½ teaspoon on each). Top with the dill springs and season with pepper. Serve with lemon wedges.

sandwich thins

Ah, carbs. They’re the best, aren’t they? They don’t even need to be combined with carb’s best friend, butter, to be a treat. A hunk of airy-crumbed, chewy-crusted bread with a glass of dry red wine is a pleasure all on its own. A few slivers of cheese balance and enhance the flavors of each, but it isn’t necessary. All I need is the carbs.

Remember when the base of the food pyramid was carbs? Those were the good ol’ days. I’ve reversed my own personal food pyramid to be mostly fruits and vegetables, a goodly amount of protein, and a smattering of carbs (on weekdays; all bets are off on Saturday). A giant Kaiser roll, sadly, is more than a smattering.

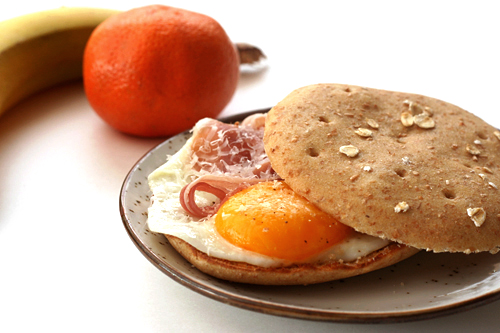
Sandwich thins, however, are the perfect compromise between wanting carbs and not wanting to overdo it. But just because there’s less bread per sandwich doesn’t mean the bread can be less good. You still want it to be soft and tender, but also sturdy, and if it could be all that and still be whole grain, that would be no bad thing.

I hear you can buy these in the store or some such thing, but I’m not acquainted with the bread aisle at the grocery store, and anyway, what’s the fun in that? Buying things that we could spend hours of our busy schedules making from scratch is not what this blog is about.

One year ago: Mediterranean Pepper Salad
Two years ago: Lemon Cream Cheese Bars
Three years ago: Salmon Cakes, Flaky Biscuits, Hashed Brussels Sprouts

Printer Friendly Recipe
Sandwich Thins (adapted from food.com via Confections of a Foodie Bride)

Makes 16

I meant to follow the directions when I made this, but I didn’t actually read them before starting. So I mixed it like a regular bread dough, and it worked just fine.

I doubt wheat bran and vital wheat gluten are crucial to this recipe. If you don’t have vital wheat gluten, just use more white flour (or better yet, substitute bread flour, if you have it, for the all-purpose flour). If you don’t have wheat bran, substitute more whole wheat flour. Bread is forgiving.

1 egg
1¼ cups warm water
2 tablespoons olive oil
2 cups (10 ounces) whole wheat flour
1 cup (4.8 ounces) all-purpose flour
½ cup wheat bran
2 tablespoons vital wheat gluten
2 teaspoons instant yeast
¼ cup (1.75 ounces) sugar
1 teaspoons salt
2 tablespoons rolled oats

1. Stand mixer: In a large measuring cup, lightly beat the egg; whisk in the water and oil. In the bowl of a stand mixer fitted with the dough hook, mix the flours, bran, gluten, yeast, sugar, and salt. With the mixer on low speed, gradually add the liquid ingredients. Continue mixing on medium-low until the dough is elastic and supple, about 8 minutes. You may need to add a little more flour or water to get the correct consistency – soft but not sticky.

By hand: In a large measuring cup, lightly beat the egg; whisk in the water and oil. Mix the flours, bran, gluten, yeast, sugar, and salt in a large bowl. Make a well in the middle of the dry ingredients and pour in the liquid ingredients. Stir the mixture until the dough comes together. Transfer the dough to a floured board or countertop and knead, incorporating as little flour as possible, for about 10 minutes, until the dough is elastic and supple. You may need to add a little more flour or water to get the correct consistency – soft but not sticky.

2. Transfer the dough to an oiled bowl and cover with plastic wrap or a damp dishtowel. Set the dough aside to rise until it has doubled in volume, about 1½ hours.

3. Line 2 baking sheets with parchment paper or silicone mats. Divide the dough into 16 equal portions. Roll each portion into a ball; then flatten it between your palms. Place it on the baking sheet and press down, working the dough into a thin 5-inch round. Brush the tops with water; sprinkle with rolled oats. Cover with damp kitchen towels and let rise until slightly risen, about 45 minutes.

4. Preheat the oven to 350 degrees. Use the blunt end of a wooden skewer to poke 9 holes in each roll. Bake 12-15 minutes, until puffed and dry on top. Cool completely before slicing.

toasted almond scones

My parents are visiting this weekend (Hi Mom!), so of course I want to figure out the perfect menu that will taste amazing, fit everyone’s food preferences, reflect how I like to cook, and magically prepare itself while we’re out doing touristy things. Wish me luck!

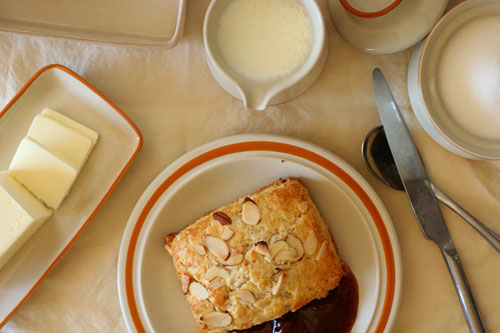
My dinner plans are coming together, but I’ve been stumped at breakfast. Until I remembered that I have almond scones the freezer. Perfect! My mom loves scones and has been eating a lot of almonds lately. I’m sure my dad would rather have bacon (or sausage or ham or really any form of meat) and eggs, but when is it ever about the dad when your parents visit?

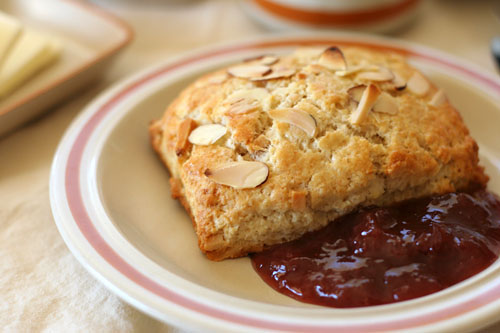
I believe my mom started really enjoying scones while she was visiting New Zealand several years ago. Unlike my retired world-traveling parents, I have never been to New Zealand, but I’m guessing the scones there are less sweet than we usually make them here in the US. If that’s the case, my mom will especially love these lightly sweetened biscuits. For eating plain, I might add a bit more sugar next time, but with a generous smear of jam, these were perfect.

Mike chose this recipe for Tuesdays with Dorie, and he has the recipe posted (as a link to the pdf; don’t miss it!). I doubled the salt.

One year ago: Honey Wheat Cookies
Two years ago: Caramel Crunch Bars

great grains muffins

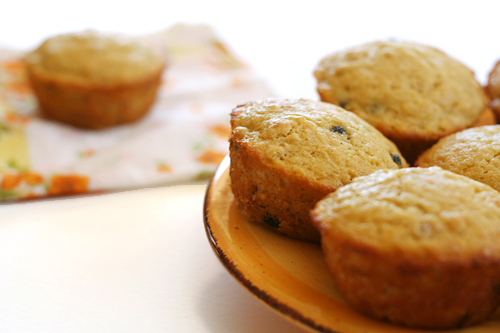
These muffins tasted wonderfully buttery, which was not what I was expecting based on the recipe’s title. There is some whole wheat flour, oatmeal, and cornmeal in there, and based on the nutritious aspects of those whole grains, I considered reducing the butter to make a muffin that was actually on the healthful side.

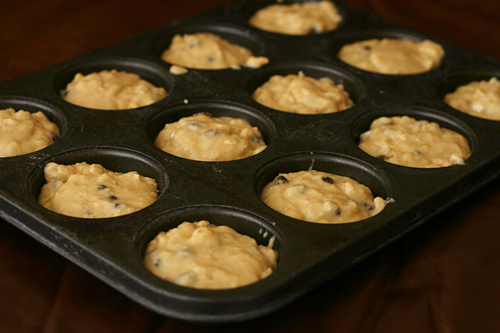
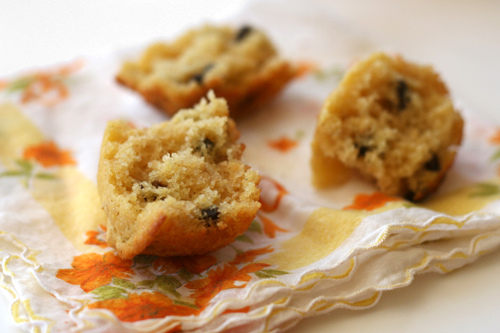
I’m glad I didn’t. Healthy is good too, but sometimes, you just want a muffin that’s light, fluffy, slightly crisp at the edges, studded with tart dried currants, and best of all – buttery.

Christine chose these for Tuesdays with Dorie, and she has the recipe posted. I doubled the salt and added currants instead of prunes.

One year ago: The Infamous Lobster Cake
Two years ago: World Peace Cookies