Allright, so. NaBloPoMo. National Blog Posting Month, or in my case, Clean Out the Crazy-Full Pending Folder Month. I remember it being pretty tough last year, and it’s looking like it’s going to be even more challenging this year, because we finally (!!!) got a move date, and it’s the first week of December. That means November will include not just travel for Thanksgiving, but flying across the country to look for houses, and packing packing packing!
Keeping with NaBloPoMo tradition, I’m starting with the oldest recipe in my Pending folder – from six months ago, yeesh. Please don’t take the delay as a sign of its quality! Truthfully, I’m just lazy and it’s a time-consuming entry.
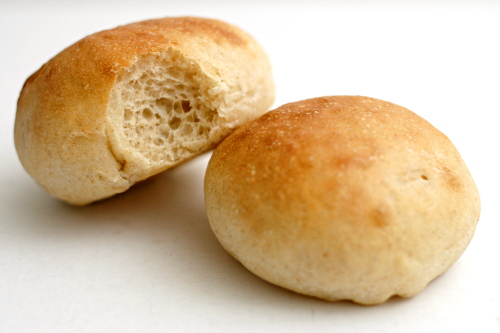
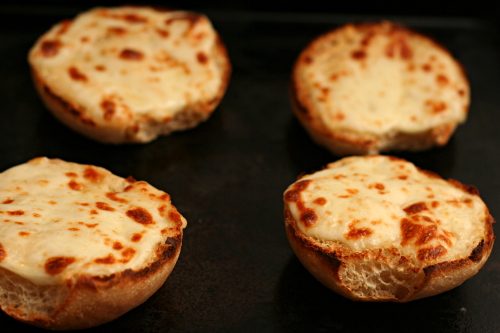
I’ve been battling with finding or developing the perfect sandwich roll recipe for years, and I finally nailed it. My grocery store makes great sandwich rolls – fluffy and with a soft crust so your filling doesn’t squoosh out the other end when you try to bite into your sandwich. The problems with these rolls are twofold: First, they’re completely white bread, and I always like at least a little whole wheat flour in my bread. Second, they’re a bit too big for grilled cheese with tomato soup. And I suppose there’s a third problem: Our grocery store isn’t moving to New Mexico with us. So sad.
My initial attempts to make sandwich rolls tended to be either too dense, with a crust too tough, or misshapen. I had difficulty getting round rolls without deflating the risen dough. Or the dough didn’t have enough structure so the rolls turned into pancakes as they expanded instead of balls.
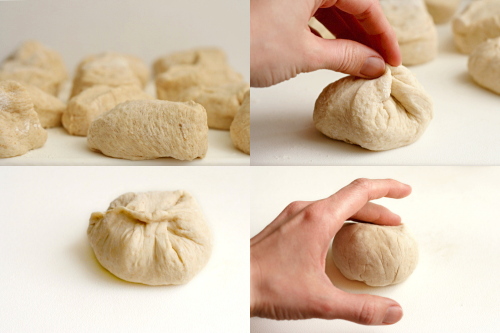
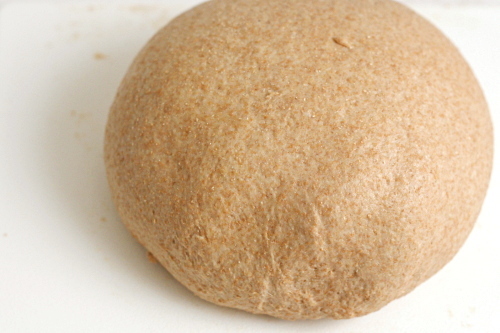
I believe I’ve solved all of those problems with this recipe. A slow overnight cold rise improves flavor, and then two turns of the rising dough gives it plenty of strength, so that when it rises, it rises up and not out. To shape the rolls into even circles, I pulled the edges around and pinched them together to increase the surface tension of the doughballs. This is a bit risky, because you have to be gentle and just tug at the very edges of the dough without deflating the dough. Then just roll it around a bit to even out the edges.
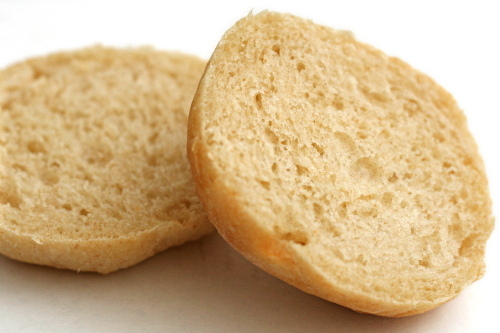
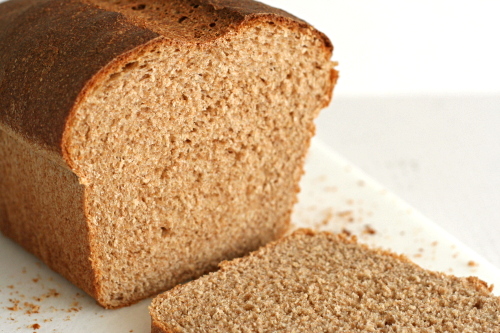
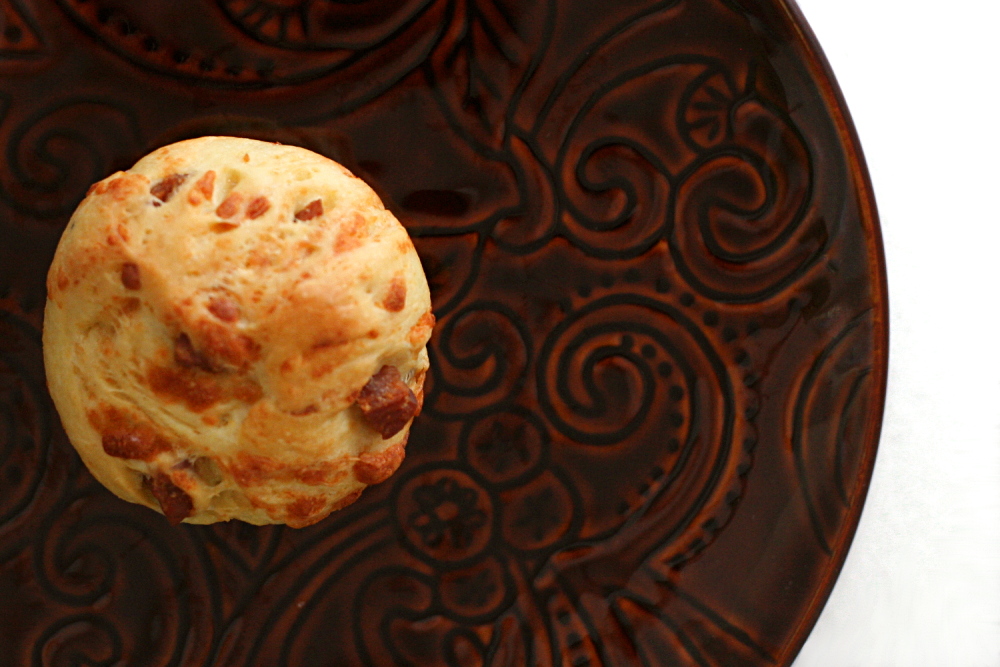
Perfect! Light and fluffy, tall, with a soft crust, and completely adaptable with regards to size and degree of whole wheatiness. And I figured it out just in time – before moving far, far away from my trusty favorite grocery store and their wonderful sandwich rolls.
One year ago: Mushroom Phyllo Triangles and Crawfish Phyllo Triangles
Printer Friendly Recipe
Sandwich Rolls
Makes 12
Feel free to substitute whole wheat flour for some of the unbleached flour. If you use 1 cup whole wheat and 3 cups white flour, you’ll hardly notice a difference in flavor, texture, or rising time. At 2 cups whole wheat flour and 2 cups white flour, the difference will be more significant but the rolls will still be excellent. If you want to use even more whole wheat flour, I would adapt 100% whole wheat sandwich bread into rolls.
If it works better for your schedule, go ahead and skip the overnight chill.
4 cups (19.2 ounces) unbleached all-purpose flour, plus
2 teaspoons instant yeast
2 tablespoons granulated sugar
1 teaspoon salt
1½ cups water
2 tablespoons olive oil
2 tablespoons milk for brushing the rolls
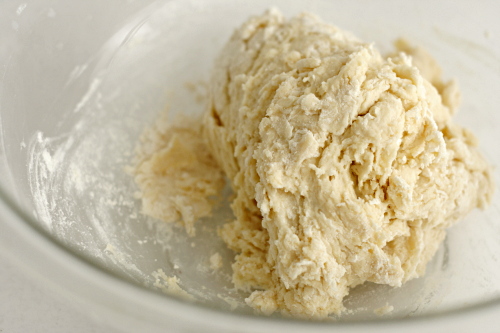
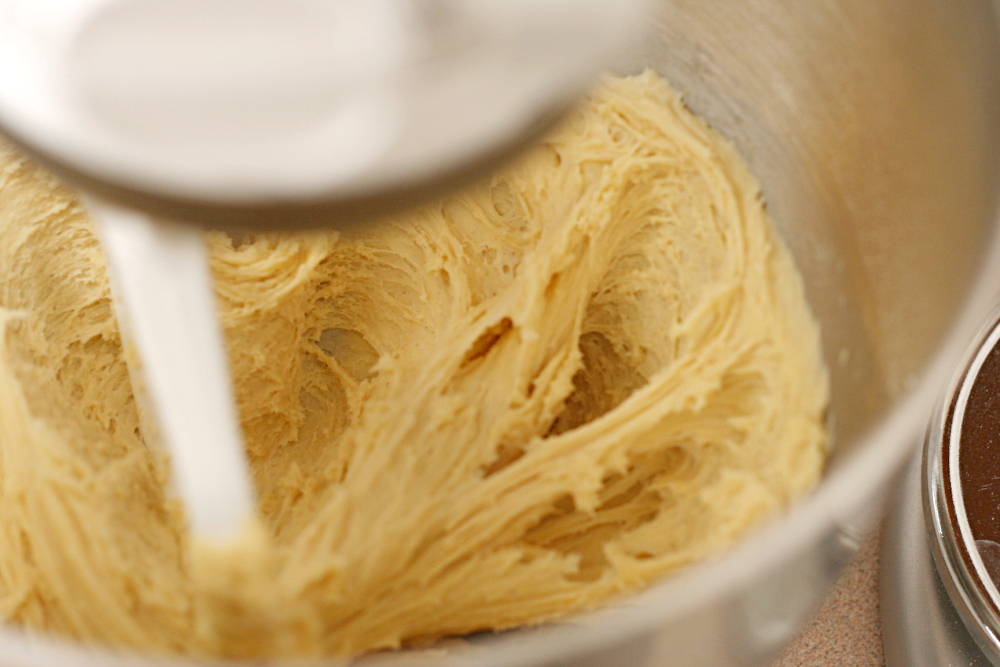
1. Stand mixer: Mix the flour, yeast, sugar, and salt in the bowl of a stand mixer fitted with the dough hook. With the mixer on low speed, gradually add the water and oil. Continue mixing on medium-low until the dough is elastic and supple, about 8 minutes. You may need to add a little more flour or water to get the correct consistency – soft but not really sticky. Transfer the dough to an oiled bowl and cover with plastic wrap. Refrigerate overnight.
By hand: Mix the flour, yeast, sugar, and salt in a large bowl. Make a well in the middle of the dry ingredients and pour in the water and oil. Stir the mixture until the dough comes together. Transfer it to a floured board or countertop and knead, incorporating as little flour as possible, for about 10 minutes, until the dough is elastic and supple. You may need to add a little more flour or water to get the correct consistency – soft but not really sticky. Transfer the dough to an oiled bowl and cover with plastic wrap. Refrigerate overnight.
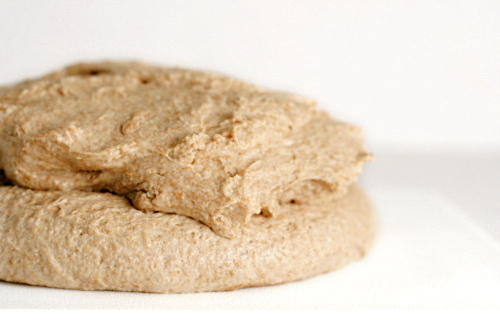
2. Remove the dough from the refrigerator and let it warm and rise at room temperature until it’s double the original volume, 2-4 hours (depending on the temperature of the ingredients you started with and the room temperature).
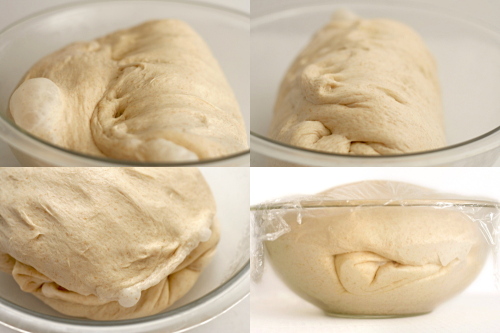
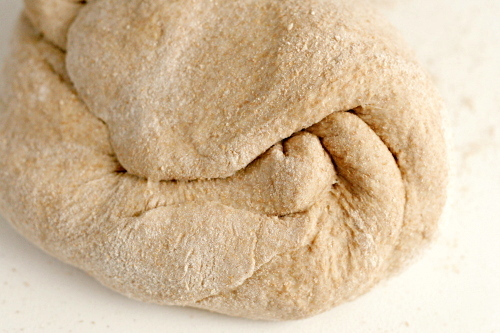
3. Give the dough one turn, by folding it into thirds like a sheet of paper going into an envelope, than in half the other direction (as shown in the photos above). Allow the dough to rise again, which should take about an hour. Give it another turn, then let it rise again, which will probably take less than an hour.
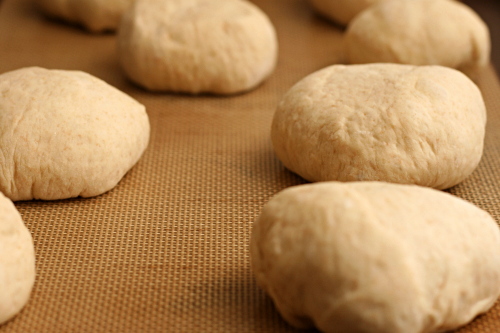
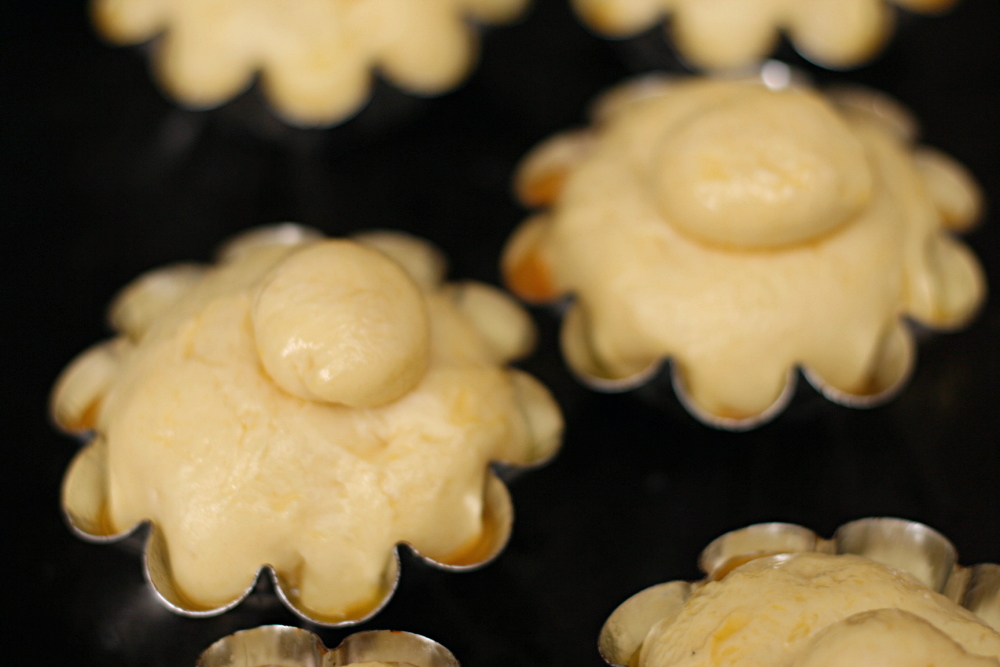
4. Once the dough has doubled in size for the third time, cut it into 12 pieces. Very gently pull the edges of each dough ball around to one side and pinch them together, as shown in the photos above. Roll the dough between the palm of your hand and a board, lightly floured if necessary. Place the formed rolls, pinched side down, on 2 baking pans lined with parchment paper or silicone baking mats.
5. Adjust an oven rack to the middle position and preheat the oven to 400ºC. Let the rolls rise until puffy and about one and a half times their original size, 30-45 minutes. Brush them with milk and bake for 12 minutes, until golden brown and an instant thermometer inserted into the center of one measures 185-200ºC. (I suggest baking just one pan of rolls at a time. An extra 15 minutes of rising won’t ruin your rolls.) Let cool until room temperature before serving, about 45 minutes.
