baked eggs with spinach and mushrooms

copy-of-img_8611

There’s nothing not to like about this recipe. It’s eggs-on-stuff, and I love eggs-on-stuff, especially when the stuff is onions, mushrooms, and spinach. And then it’s sprinkled with parmesan. What a perfect flavor combination.

copy-of-img_8608

You know the only thing this recipe is lacking? Carbs. Ah, starch. Carbs in any form would be good, but I’m thinking especially of either adding cubed parboiled potatoes with the onions, or serving the whole thing on top of toast. Or hash browns.

And that gives me an excuse to make this again…soon.

copy-of-img_8610

Baked Eggs with Spinach and Mushrooms (from Gourmet June 2004 via Smitten Kitchen)

Serves 4

10 ounces baby spinach leaves
¼ cup finely chopped onion
1 garlic clove, finely chopped
2 tablespoons unsalted butter
5 ounces mushrooms, thinly sliced (2 cups)
⅓ cup heavy cream
¼ teaspoon salt
¼ teaspoon black pepper
⅛ teaspoon freshly grated nutmeg
4 large eggs
2 tablespoons finely grated parmesan

Put oven rack in upper third of oven and preheat oven to 450F.

Bring ½ inch water to a boil in a 10- to 12-inch ovenproof heavy skillet (not cast-iron), then add half of spinach and cook, turning with tongs, until wilted, about 30 seconds. Add remaining spinach and wilt in same manner, then cook, covered, over moderately high heat until spinach is tender, about 2 minutes. Drain in a colander and cool under cold running water. Gently squeeze handfuls of spinach to remove as much liquid as possible, then coarsely chop.

Wipe skillet dry, then cook onion and garlic in butter over moderately low heat, stirring, until softened, 2 to 3 minutes. Add mushrooms and increase heat to moderate, then cook, stirring, until mushrooms are softened and have exuded liquid, about 3 minutes. Stir in cream, salt, pepper, nutmeg, and chopped spinach and bring to a simmer. Remove skillet from heat and make 4 large indentations in spinach mixture. Break an egg into each indentation and bake, uncovered, until egg whites are set but yolks are still runny, 7 to 10 minutes. Lightly season eggs with salt and pepper, then sprinkle with cheese.

kugelhopf

copy-of-img_8885

This is the second Tuesdays with Dorie recipe in a row that I didn’t even know what it was before I made it. I had to wikipedia it to find out if I was supposed to serve it as dessert or what. I ended up serving it with some healthy omelets for breakfast.

This was not the most popular recipe we’ve made in the group. It seems like a lot of people had problems with the consistency of the dough and its rising times, and I’m wondering if some of those problems can be attributed to unfamiliarity working with yeast. A few people were surprised by how much time the recipe required, but almost all of that is spent waiting for the dough to rise. I didn’t think this was any more effort than any other yeast bread recipe.

copy-of-img_8833

I didn’t have any problems putting the recipe together. I can’t say I followed the directions exactly – I kept forgetting about it after I put it in the refrigerator, even though I was supposed to punch it down every once in a while. But I find that yeast breads are pretty forgiving.

copy-of-img_8879

I liked the texture of the bread quite a bit. It was very tender and light. The raisins were a nice addition. I wonder if it would be tasty to soak the raisins in rum instead of hot water to plump them? Or is a rum soak inappropriate for something that’s generally served for breakfast? (And do I care if it is? Probably not.)

copy-of-img_8883

The only problem I had with the kugelhopf is that it tasted totally flat. I was actually wondering if I had forgotten to add the salt, but now I see that quite a few people thought the bread was bland. Looking at the recipe, I can why – ¼ teaspoon of salt is a not a lot for a loaf this size. I would expect to use about three times that amount. I really need to be more careful with the salt amounts in Dorie’s recipes – I find that she tends to use less than I prefer. It’s just hard not to trust the professional in these matters.

Overall though, I enjoyed the little kugelhopf rolls, and I’m a better baker for knowing what the heck kugelhopf is. You can find the recipe on Yolanda’s blog.

copy-of-img_8890

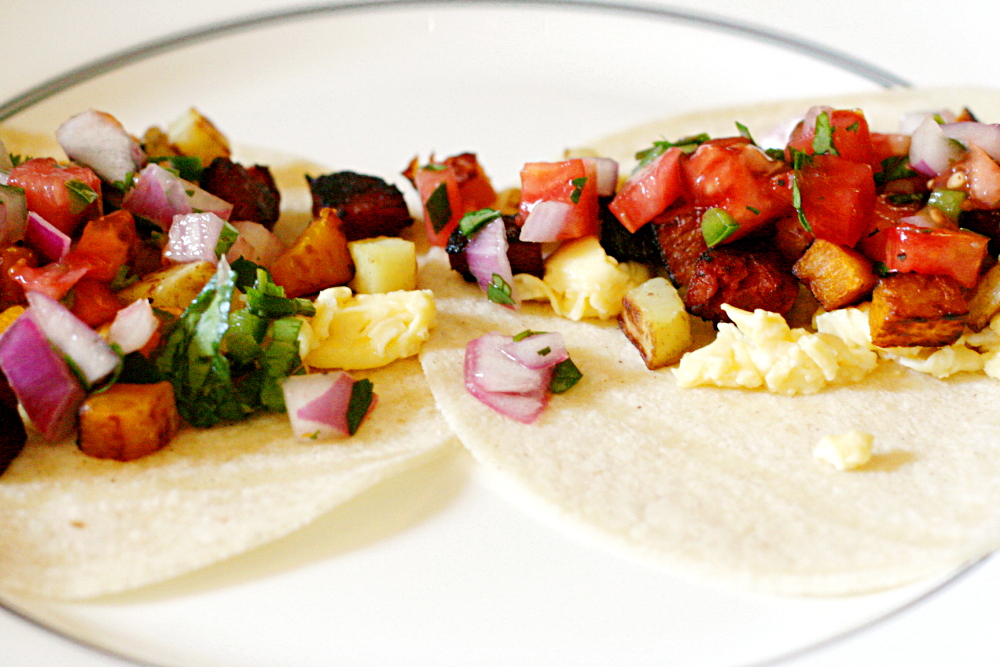
gallitos (costa rican breakfast tacos)

copy-of-img_8282

Dave lived in New Jersey for half a year while I was finishing up graduate school three hours away in upstate New York. We took turns visiting each other on the weekends, but the weekends in NJ were undoubtedly more fun, because we always took the train into Manhattan. I love Manhattan.

copy-of-img_8258

Just about every meal I’ve eaten in Manhattan has been exceptional, but one of my favorites was at Calle Ocho. We went for brunch and ordered the gallitos. I love tacos any time of the day. Dave and I don’t live as close to Manhattan anymore, so I can’t just go order gallitos whenever I want. But it took me two years to realize that there was nothing stopping me from making them myself.

copy-of-img_8267

I don’t remember the meal exactly, but the menu description helps – “Platter of Traditional Costa Rican Tacos, Scrambled Eggs, Chorizo, Calle Ocho Fries.” I could have sworn there was squash too, and pico de gallo just makes sense.

copy-of-img_8274

I will admit that this recipe is a bit of a project, and not much of it can be prepared in advance. I think it would be great for guests arriving late morning for brunch. Everyone can build their own tacos, which would be fun, and I imagine it’s not something many people have had before. Of course you should serve it with mimosas, as is fitting for any brunch, and which also accompanied my gallitos at Calle Ocho.  You can never go wrong serving champagne with breakfast.

copy-of-img_8260

The only problem I’ve had with the recipe is figuring out what to do with the tortillas. I feel like corn tortillas is more appropriate than flour, and they’re also a little lighter. However, they tend to crack instead of bend, even after being warmed and wrapped in foil. I’m not willing to fry them individually for breakfast. Unless someone has a better recommendation, I’m thinking I’ll start using flour tortillas instead. I did recently see a brand of corn tortillas that looked more flexible, so I’ll try those as well.

The gallitos are pretty great. There’s so many flavors working together – the sweet squash, salty potatoes, spicy chorizo, and fresh pico de gallo are wonderful. For me, this is definitely worth the effort involved.

copy-of-img_8284

Gallitos

Serves 4 to 6

To save time, you can cook the potatoes and squash together.

2½ tablespoons canola or vegetable oil
12 ounces (about 2 medium) Yukon Gold potatoes, diced into ¼-inch cubes
salt
16 small flour or corn tortillas
16 ounces (1 medium) butternut squash, peeled and diced into ¼-inch cubes
½ teaspoon sugar
12 ounces chorizo, diced into ½-inch cubes
4 eggs
2 tablespoons milk
Pico de gallo (recipe follows)

1. Heat oven to 200F. Wrap tortillas in foil and place in warm oven.

2. Heat 1 tablespoon oil in large nonstick skillet over medium heat. Add potatoes and ¾ teaspoon salt and stir until the potatoes are coated with oil. Cover the pan and cook, stirring occasionally, until potatoes are browned and tender, about 20 minutes. (If potatoes aren’t beginning to brown after 12 minutes, remove lid.) Pour potatoes into heatproof serving bowl and place in warm oven.

3. Meanwhile, in small nonstick skillet, cook chorizo over medium heat until evenly browned. Place chorizo in heatproof serving bowl and place in warm oven. Wipe pan with paper towels.

4. In now empty large nonstick pan (no need to clean or wipe), heat 1 tablespoon oil over medium heat. Add squash, ½ teaspoon salt, and sugar and sauté, uncovered, until browned and tender, about 20 minutes.

5. Meanwhile, heat remaining ½ tablespoon oil in small nonstick pan over medium heat. Crack eggs into a medium bowl. Add ¼ teaspoon salt, pinch black pepper, and milk. Whisk until evenly combined. Pour the egg mixture into the pan and reduce the heat to medium-low. Gently lift and stir the eggs until they form large, mostly dry curds. Pour eggs into serving bowl.

6. Serve tortillas, potatoes, squash, chorizo, eggs and pico de gallo separately, allowing each person to build their tacos as they please.

Pico de gallo: (adapted from the Pioneer Woman)
4 roma tomatoes, diced fine
1 small red onion, diced fine
1-2 jalapenos, minced
½ cup cilantro, chopped fine
juice of half a lime
salt to taste

Mix all ingredients.

copy-of-img_8287

pumpkin pancakes

Dave loves fall. Besides feeling cozy and the pretty leaves, he gets excited about two things – candy corn, which he can and will eat until he’s sick, and pumpkin pancakes. Not that there’s anything keeping us from eating pumpkin pancakes year-round, except for my stubbornness. If we eat pumpkin pancakes in June, what will we have to look forward to in October? I guess I enforce seasonal eating even when it involves canned ingredients.

I’ve played around with my pumpkin pancake recipe for years. The first recipe I tried made pancakes that were a little too thin, too sweet, and not pumpkiny enough. I spent a few years trying to perfect that recipe, and then eventually gave up and started adding pumpkin and spices to a regular pancake recipe. But that wasn’t as easy as it should have been either, because I only recently found a pancake recipe that I’m completely happy with.

Because pumpkin puree has a viscosity pretty similar to pancake batter, I haven’t had any problems adding it to pancake recipes without changing the flour to liquid ratio. I also like to replace the white sugar with brown sugar, and of course I add some spices, but overall, it’s a pretty straightforward transition from plain to pumpkin pancakes.

I do have one caveat about this recipe. I’ve been using powdered buttermilk for the last few months, which is much more convenient than buying liquid buttermilk and then struggling to use it all up before it goes bad. But I think it’s thinner than liquid buttermilk. If you’re using liquid buttermilk instead of reconstituted powdered buttermilk, you may need to add a little more liquid.

This is, finally, a tried and true pumpkin pancake recipe, and one more great reason to look forward to fall.

Pumpkin Pancakes (adapted from Cathy Lowe’s Simple Homemade Pancakes, found through My Apples and Oranges)

Serves 2-3

1 cup (5 ounces) flour
1 tablespoon brown sugar
1 teaspoon baking powder
½ teaspoon baking soda
½ teaspoon salt
½ teaspoon cinnamon
¼ teaspoon allspice
¼ nutmeg
1 egg
2 tablespoons butter, melted and cooled
½ cup pumpkin
1 cup buttermilk
vegetable oil for the pan

1. In a large mixing bowl, stir together the flour, sugar, baking powder, baking soda, salt and spices. In a separate mixing bowl, whisk the egg until thoroughly combined, then add the butter, pumpkin, and buttermilk. Pour the liquid ingredients into the dry ingredients and whisk gently until batter is mostly mixed but still contains small lumps. Let batter rest while pan heats, at least 5 minutes.

2. Heat non-stick skillet or griddle over medium heat. Add a few drops of oil and spread it over the bottom of the pan. Using a ¼ cup measure, pour pancake batter onto hot griddle. When pancake is golden brown, flip to cook other side. Keep warm in oven heated to 275 degrees.

pumpkin muffins

I’ve been on the lookout for a pumpkin quick bread recipe for a couple of years. I like quick breads to have some textural contrast with add-ins, but I couldn’t think of anything that seemed to fit with the flavors of the pumpkin. Of course Dorie could, as Kelly’s choice for this week’s TWD recipe made evident.

Dorie adds raisins and walnuts (or pecans) to her pumpkin muffins. Like I almost always do, I replaced the raisins with something else; in this case, dried cranberries. I wasn’t sure if the flavors would get along – they’re both common fall ingredients, but I don’t often see them together. I topped the muffins with pumpkin seeds instead of sunflower seeds. I’m not sure why Dorie calls for sunflower seeds; pumpkin seeds seem so perfect for these muffins.

The muffins were good. The walnuts and dried cranberries were fine as additions. However, shortly after I made them, one of my friends told me about a pumpkin muffin recipe she makes that has a lot of ginger in it, and then it occurred to me that the perfect add-in for pumpkin muffins is crystallized ginger. Now I’m looking forward to trying this combination.

Dorie’s recipe is posted on Kelly’s blog.

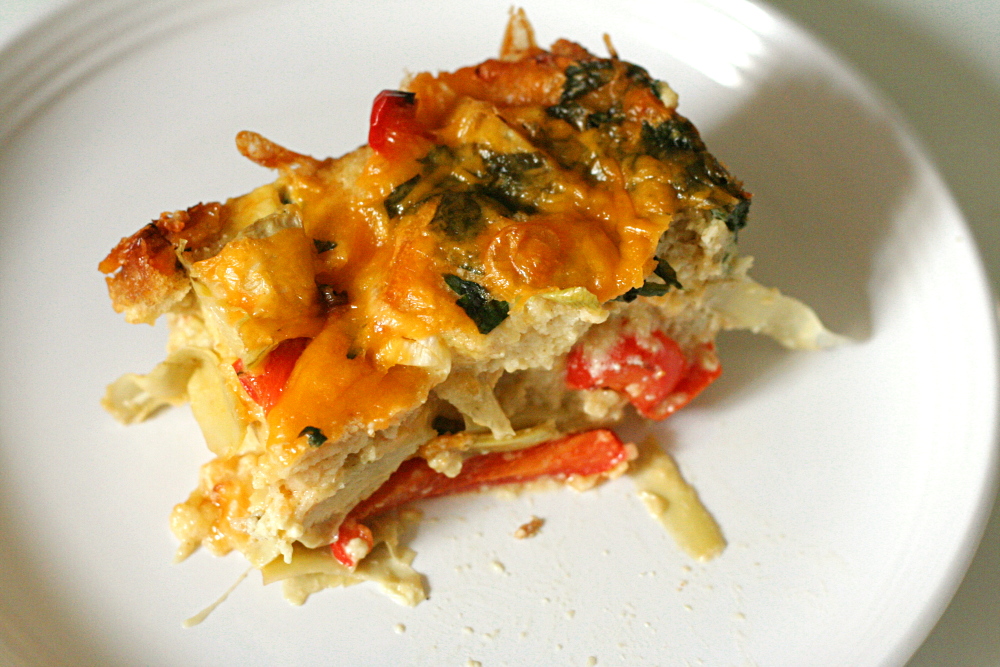
spinach, artichoke, and red pepper strata

This recipe has a lot of ingredients in it, and I wasn’t sure how well they would all go together. Cheddar and parmesan and spinach and red peppers and marinated artichokes don’t seem like natural compliments. But I wanted to make a strata, and I had some spinach and scallions and cheddar to use up.

Typing up the recipe now, it really doesn’t seem like a lot of work, but it certainly seemed so at the time. Stratas are supposed to be convenient because you can make them the night before and just pop them in the oven in the morning. However, I’m rarely in the mood to make breakfast the night before. On the weekends, I’ve usually just made an ambitious dinner and probably dessert, and the last thing I want to do after enjoying that is go back into the kitchen and make breakfast.

I made a third of the recipe in a loaf pan, since it was just for me and Dave. I used fresh spinach, sautéed for a few seconds in the same pan the red peppers had just been removed from. I had the spinach leftover from something else, and I’m not generally a huge fan of frozen spinach anyway – too stemmy. I used Country Crust bread, which is my favorite recipe anytime white sandwich-type bread is called for.

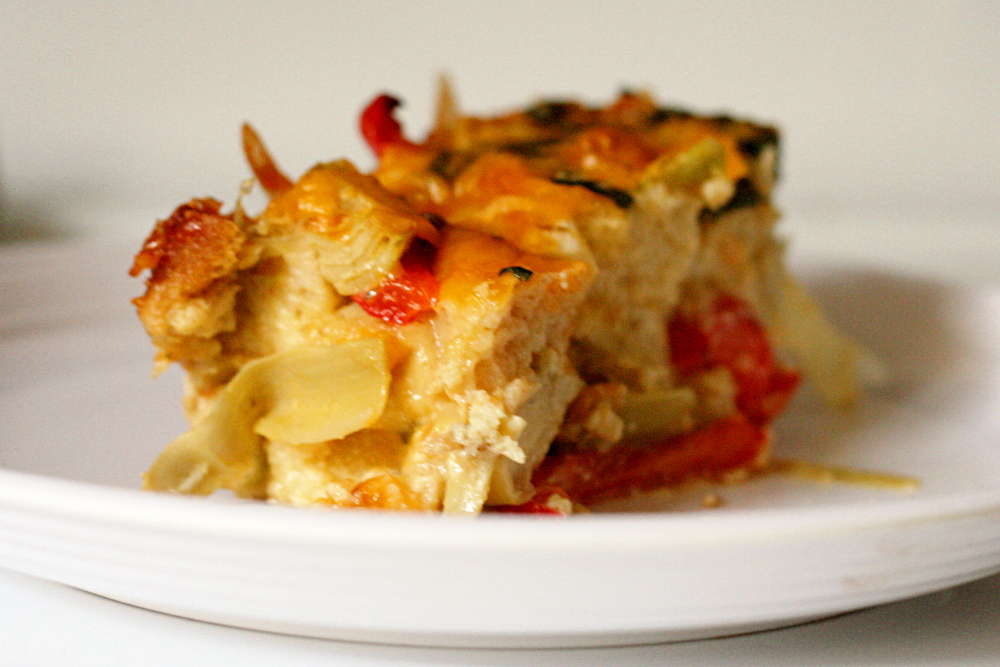
The strata exceeded my expectations. All of the flavors meshed quite well. I had also been concerned that it wouldn’t be rich enough, since my other favorite strata recipe uses half and half instead of milk, but the texture of this one was great. It’s a fairly healthy, and very tasty, take on a breakfast strata.

Spinach, Artichoke, and Red Pepper Strata (from Vegetarian Classics, by Jeanne Lemlin)

JL notes: Choose a firm homemade-style bread such as sourdough, a Tuscan-style chewy bread, or a day-old loaf of Italian or French bread. Avoid very soft packaged bread. Make sure the strata is cooked enough when you remove it from the oven. Test it like a cake. A knife inserted in the center should come out clean.

1 tablespoon olive oil
1 large red bell pepper, cut into thin strips 2 inches long
1 (10-ounce) package frozen chopped spinach, thawed
9 large eggs
3½ cups milk
½ cup (1 ounce) grated Parmesan cheese
¼ teaspoon nutmeg
1 teaspoon salt
generous seasoning freshly ground black pepper
2½ tablespoon butter, softened
9 slices firm white bread
2 (6-ounce) jars marinated artichoke hearts, well drained
2 scallions, very thinly sliced
3 cups (12 ounces) grated extra-sharp cheddar cheese

1. Heat the oil in a medium-size skillet over medium heat and sauté the red pepper until tender, about 7 minutes. Set aside.

2. Place the thawed spinach in a strainer and press out all of its liquid with the back of a large spoon. Set aside.

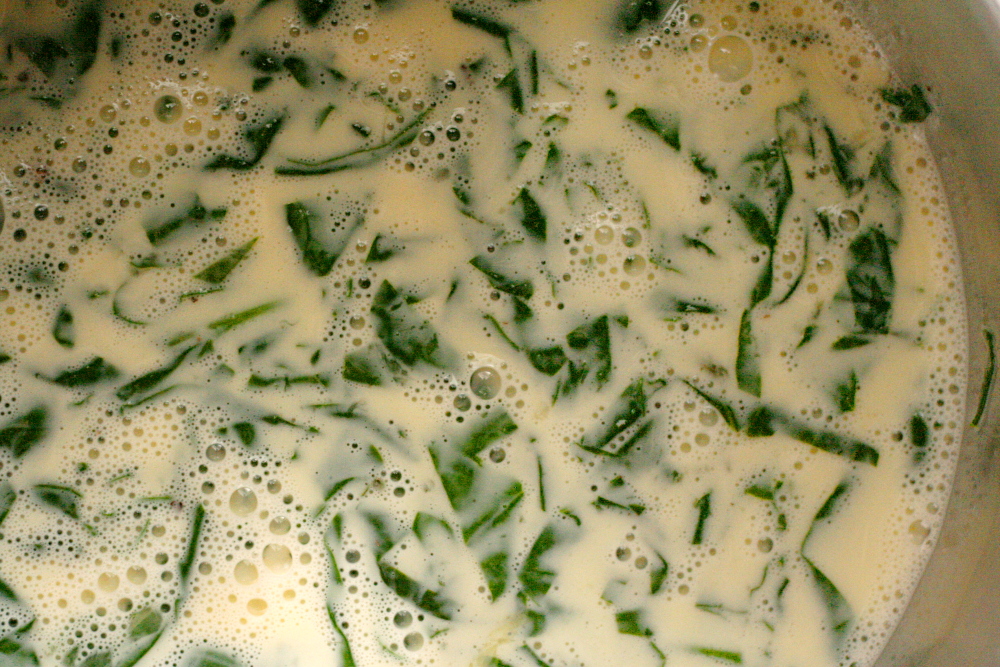
3. Thoroughly beat the eggs in a large bowl. Beat in the spinach, milk, Parmesan cheese, nutmeg, salt and pepper.

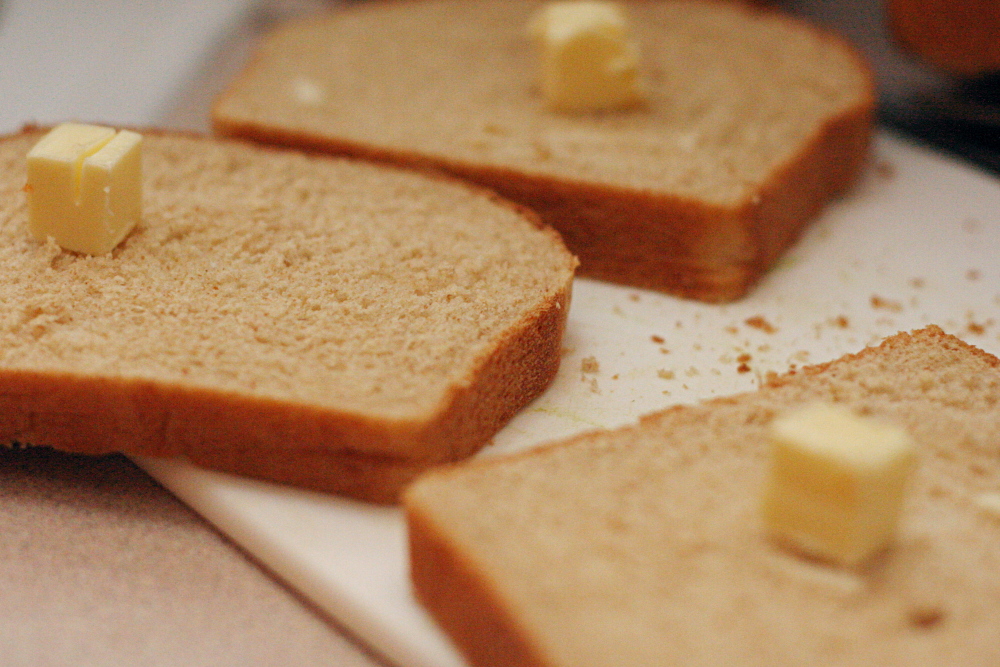
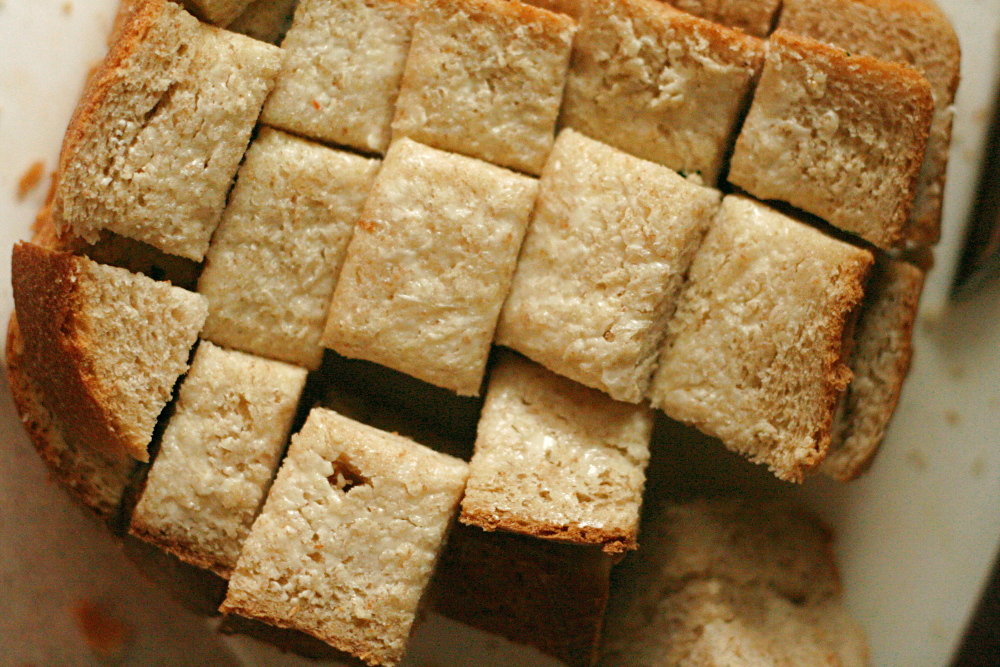
4. Using ½ tablespoon butter, grease a 13x9x2-inch baking dish. With the remaining 2 tablespoons butter, coat 1 side of each slice of bread. Cut the bread into 1-inch cubes. You should have about 9 cups of cubed bread.

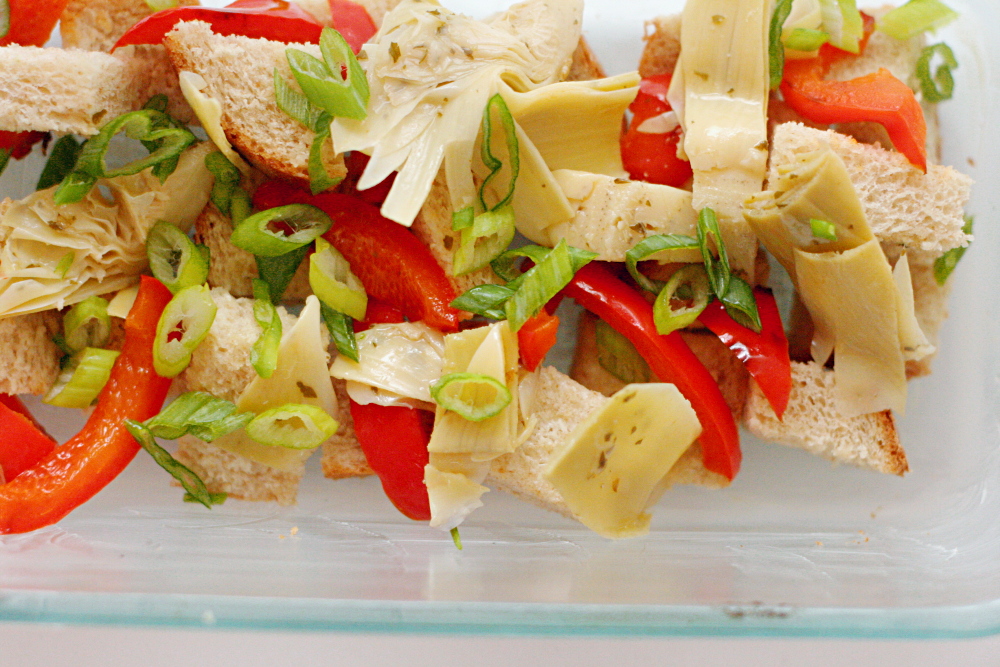
5. Place half the bread cubes in the baking dish. Sprinkle on half of the red peppers strips, 1 jar of artichokes, and half of the scallions. Ladle on half of the spinach mixture, then sprinkle on half of the cheddar cheese. Repeat this layering and end with the cheddar cheese.  Cover the dish with place wrap or foil and refrigerate overnight.

6. Remove the dish from the refrigerator at least 30 minutes before baking. Preheat the oven to 350 degrees. Bake the strata, uncovered, for 1 hour, or until golden brown on top and firm in the center. Let the strata sit 15 minutes before cutting it into squares.

dimply plum cake (twd)

Deb from Smitten Kitchen recently recommended the cake that Michelle chose for TWD this week, and since I’m a Smitten Kitchen junkie, I’d been wanting to make it since then. I didn’t even realize it was Dorie Greenspan’s recipe at first, so I was excited when I saw that it was the assigned recipe. Plus, I just happened to have all of the ingredients the day it was chosen for TWD, including a bunch of plums. That never happens.

I baked the recipe in a muffin pan because muffins are more convenient to store in the freezer and grab before going to work. And I overfilled the muffin cups because I have an annoying lazy tendency. I put what seemed like an appropriate amount of batter in each cup, but I could tell after I pushed the first plum into the batter that the cups were overfilled. How hard would it have been, really, to re-portion the dough into extra muffin cups, especially considering that I only used 10 sections of the 12-cup muffin pan, and I had extra plums. And then I would have avoided making a mess of some of the muffins/cupcakes.

Not that I minded those broken bits. They gave me a great excuse to snack on cake while I finished making breakfast. I thought the cake was really good. I used lemon zest and cinnamon, but I think orange zest would be a lot better. I’m still fighting fall, but this was a good compromise between late summer and fall flavors.

Michelle has posted the recipe.

banana and peanut butter stuffed french toast

Up until very recently, whenever someone mentioned Elvis’ favorite sandwich, I thought to myself “well, no wonder he died young!” Once I actually took a moment to consider it though, the sandwich really isn’t so bad. The basic Elvis sandwich is just bananas and peanut butter, fried like a classic grilled cheese. I’d say that the grilled cheese sandwich is far worse for you. Oh, except sometimes Elvis liked to add bacon, which, okay, is a little over the top.

I realized a few months ago that I like bananas a lot more if they’re served with a bit of peanut butter (or Nutella). That reminded me of Elvis’s favorite sandwich, but I wasn’t interested in pan-frying it. Instead, I thought it would be great as French toast.

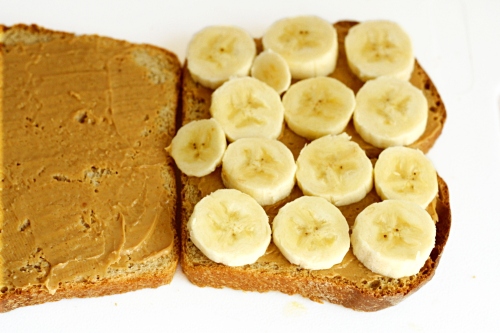
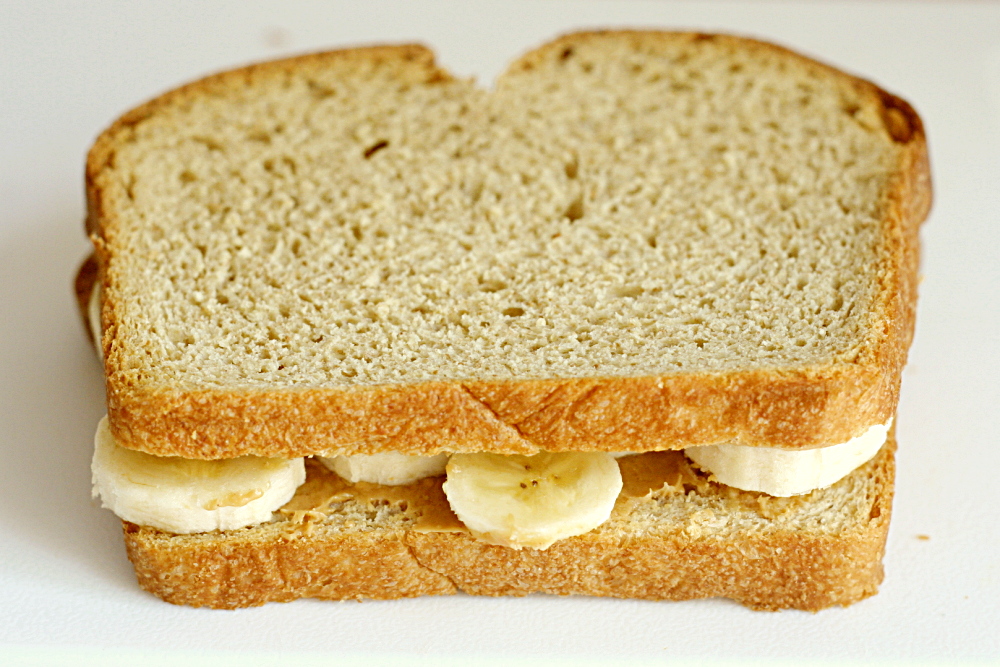
I had never made stuffed French toast, but there are plenty of recipes for different versions of it, so I was confident that it would work. First I made the basic sandwich by smearing one side of each bread slice with a thin layer of peanut butter. I wanted peanut butter on both slices so it would glue the bananas to the bread, keeping the sandwich together. I recommend a very thin layer because peanut butter can be overpowering, as well as sticky in your mouth. I used my favorite French toast recipe for the batter, but made it a little thinner because it would only be absorbed through the non-peanut butter side of the bread slices.

It worked out pretty well. I should have let the sandwich soak in the batter a little longer, and I should have cooked them on higher heat, but the flavors were really good. And there’s really nothing unhealthy about it except for a bit of butter to fry the sandwiches. I’m guessing the drug dependency was a bigger influence on Elvis’ early demise than banana sandwiches.

Elvis French Toast (adapted from Cooks Illustrated’s French Toast recipe)

4 slices sandwiches bread (I used Country Crust Bread)
2 tablespoons peanut butter (approximately)
1-2 bananas, sliced ¼-inch thick
1 large egg
1 cup milk
2 teaspoons vanilla extract
2 tablespoons granulated sugar
¼ teaspoon table salt
1 tablespoon butter

1. Spread a thin layer of peanut butter on one side of each slice of bread. Place slices of banana in a single layeron peanut butter-covered sides of two bread slices. Top with the remaining bread, peanut butter side down.

2. Heat medium nonstick skillet over medium heat for 5 minutes. Meanwhile, beat egg lightly in shallow pan or pie plate; whisk in milk, vanilla, sugar, and salt and salt, continuing to whisk until smooth. Soak sandwiches without oversaturating, about 1 minute per side. Pick up bread and allow excess batter to drip off; repeat with remaining sandwiches.
3. Swirl 1 tablespoon butter in hot skillet. Transfer prepared sandwiches to skillet; cook until golden brown, about 2 minutes on first side and 1 minute 15 seconds on the second. Serve immediately, dusting with powdered sugar.

lemon pancakes with blueberry syrup

I haven’t made plain pancakes in a very long time. I guess, to me, it’s like eating bread – sure it’s good plain, but it’s so much better with Stuff. For pancakes, that Stuff mostly involves fruit. You could make lemon pancakes and put the blueberries right in them, but why not do something different with those blueberries and make a syrup out of them?

This is another Emeril breakfast recipe, and this one, I made more complicated instead of simplifying it. Emeril’s blueberry syrup is just a combination of blueberries and corn syrup, which I think sounds too one-dimensionally sweet. I have a recipe for blueberry syrup that I’ve been making for a long time that I’m really happy with, so I made that one instead, even though it involves a few more ingredients.

You can see that my pancakes came out a little thin. I’ve been experimenting with Saco powdered buttermilk, since I don’t generally keep liquid buttermilk around. The recipe uses the same ratio of flour to milk that most pancake recipes do, so I don’t think the pancakes are thin because there’s too much liquid. I think the powdered buttermilk reconstituted with water as per the instructions on the container create a thinner liquid than regular buttermilk.

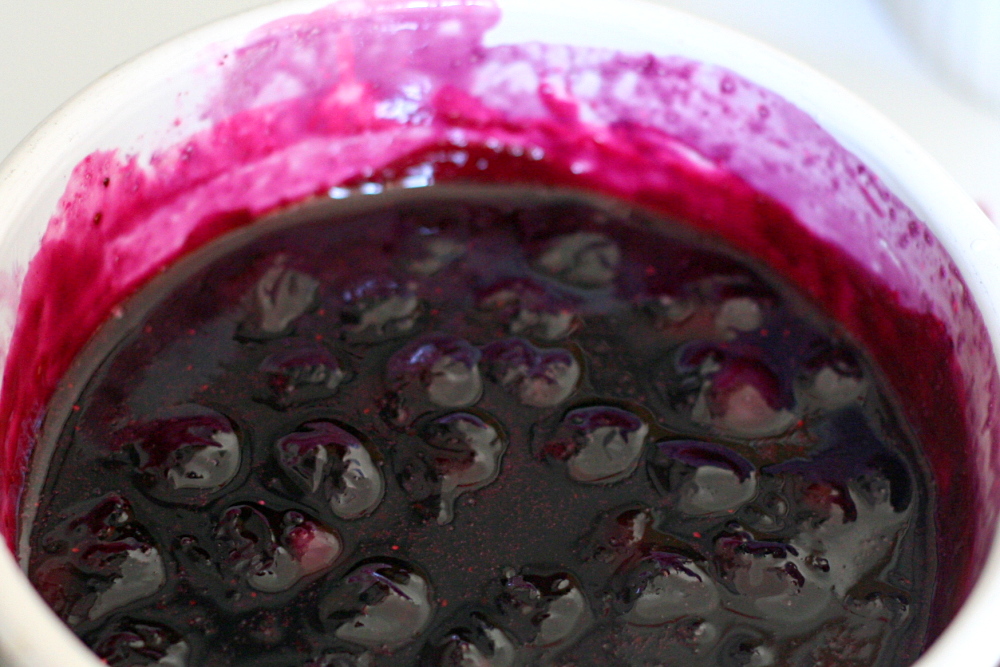
But I don’t mind thin pancakes, and you really can’t go wrong with a lemon-blueberry combination. The syrup is great – the sweetness is balanced by a spritz of lemon juice and pinch of salt, so the flavor of the blueberries can shine.

Lemon Pancakes with Blueberry Syrup (adapted from Emeril Live)

Serves 3-4

Pancakes:
1 cup all-purpose flour
2 tablespoons sugar
1 teaspoon baking powder
½ teaspoon baking soda
¼ salt
1 cup buttermilk
1 large egg
2 tablespoons butter, melted
2 tablespoons fresh lemon zest, finely chopped
½ stick (4 tablespoons) butter, cut into 10 equal slices

Blueberry Syrup:
1 cup sugar
½ cup water
pinch salt
1 tablespoon cornstarch
2 tablespoons water
1 cup blueberries
½ teaspoon lemon juice
1 tablespoon butter

For the pancakes:
In a small mixing bowl, sift the flour, sugar, baking powder, baking soda and salt. In a medium mixing bowl, whisk the buttermilk, egg, and butter until fully incorporated. Add the sifted ingredients to the milk mixture and whisk until it is slightly smooth, but still has some lumps. Fold in the lemon zest and allow the batter to sit for a couple of minutes. Lightly grease a griddle over medium heat. Cooking in batches, pour ¼ cup of the batter onto the hot griddle for each pancake. Cook for about 2 to 3 minutes or until the batter bubbles and is golden brown, flip over and continue to cook until golden brown. Repeat the above process with the remaining batter. Stack the pancakes on each serving plate. Place a pat of butter between each layer. Drizzle the pancakes with the syrup and garnish with the confectioners’ sugar.

For the syrup:
Bring ½ cup water, sugar, and salt to a boil in a small saucepan. In a small bowl, mix 2 tablespoons water and cornstarch until cornstarch dissolves. Add cornstarch mixture to sugar mixture and stir to blend. Stir in blueberries and boil over medium heat until berries start to pop and syrup turns blue, 5-6 minutes. Remove from heat and add lemon juice and butter.

sausage and red pepper hash

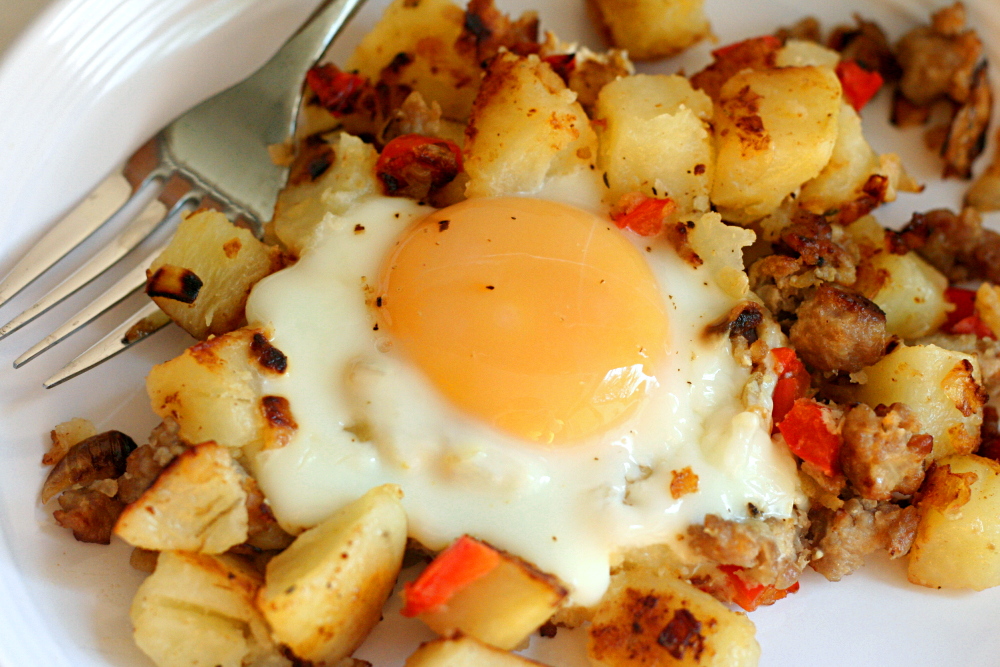
Hey, look at that, more eggs on stuff. I made this because I wanted hash, but something different from corned beef hash. I just love the idea of egg yolk dripping into browned crispy potatoes and salty breakfast meat and flavorful sautéed vegetables. Sausage and peppers sounded like a great base to go with potatoes and eggs.

Looking now at the recipe I think I was using, I apparently simplified it quite a bit. That’s the thing about making an Emeril recipe in the morning – chances are it’s going to get simplified. First I replaced chicken and apple sausage with standard breakfast sausage, and then I eliminated all of the spices and herbs that Emeril calls for, assuming that there would be enough seasoning in the sausage.

What I ended up doing was following my standard hash method of browning the meat, then cooking the vegetables in the rendered fat, then adding parboiled potatoes and cooking until they brown. Then I break eggs over the mixture and cover the pan, cooking until the whites are set and, if all goes well, the yolks are warm and viscous but not solid.

You really can’t go wrong with these ingredients combined in that method. The onions are a little caramelized, the peppers are soft, the potatoes are crispy, the sausage is peppery – everything is at its best, and then it’s taken one step further with a perfectly cooked egg on top.

Sausage and Red Pepper Hash (substantially adapted from Emeril and from Cooks Illustrated)

The potatoes can be parboiled the night before and refrigerated.

2 pounds russet potatoes, peeled and cut into ½ -inch dice
Salt
1 medium onion, diced
1 red pepper, diced
1 pound breakfast sausage
4 large eggs
Ground black pepper

1. Bring the potatoes, 5 cups water, and ½ teaspoon salt to a boil in a medium saucepan over medium-high heat. Once the water boils, cook for 4 minutes, drain, and set aside.

2. Place the sausage in a 12-inch nonstick skillet over medium-high heat and cook until the fat is partially rendered, about 2 minutes. Add the onion and pepper and cook, stirring occasionally, until the onion has softened and browned, about the edges, abut 8 minutes. Mix in the potatoes and lightly pack the mixture into the pan with a spatula. Reduce the heat to medium. Cook, undisturbed, for 4 minutes, then, with a spatula, invert the hash, a portion at a time, and fold the browned bits back into the hash. Lightly pack the hash into the pan. Repeat the process every minute or two, until the potatoes are thoroughly cooked, about 8 minutes longer.

3. Make 4 indentations (each measuring about 2 inches across) equally spaced on the surface of the hash. Crack 1 egg into each indentation and season the egg with salt and pepper to taste. Reduce the heat to medium-low, cover the pan, and cook until the eggs are just set, about 6 minutes. Cut the hash into 4 wedges, making sure each has an egg, and serve immediately.