brioche raisin snails

Copy of IMG_6438

I’m very comfortable cutting recipes in half. Some people say that they don’t like to deal with the math, but I come from a family of three engineers and a math teacher, so I can handle math. Plus, I’m cooking for just two people now, and I lived alone for six years before that, so my options are either to make half-recipes, throw a lot of food away, or eat the same thing for weeks. Given those choices, I take fractions all the way.

Copy of IMG_6424

Even if a recipe specifically recommends making the full recipe because smaller amounts are harder to work with – eh. Whatever. I usually cut it in half anyway. Cakes, caramel, bread dough, whatever. You’d be surprised what you can get away with, although you might, as in this case, have to split the occasional egg in half.

Copy of IMG_6425

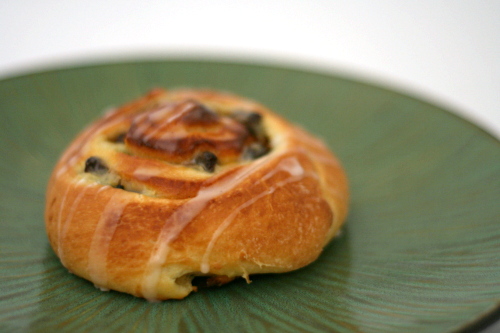
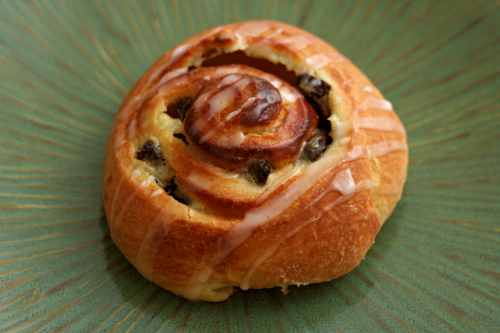
Dorie’s brioche raisin snails are a rich yeast dough with pastry cream and flambéed raisins rolled into it. It probably sounds like quite a bit of work, and frankly, it is, but it’s a nice change from cinnamon rolls if you find yourself making those often.

Copy of IMG_6426

If you follow the recipe exactly, you’ll end up with twice as much brioche as you need for the snails, so you can always make some of Dorie’s fantastic sticky buns too. Or, just cut the brioche recipe in half like I did. Does anyone really need two different kinds of buttery tender breakfast breads tempting them at once?

Copy of IMG_6429

One year ago: Pumpkin Ginger Muffins

Printer Friendly Recipe
Brioche Raisin Snails
(from Dorie Greenspan’s Baking: From My Home to Yours)

Makes about 12 snails

You’ll only need half of the brioche dough, and while Dorie recommends making the full recipe and saving half for later (the dough takes well to freezing), I found that I could successfully make half the recipe if I used a faster mixing speed than the recipe recommends. If you find that there isn’t enough dough for the dough hook to work effectively, knead with the paddle attachment, switching to the dough hook for just the last few minutes of kneading. The full recipe is presented below.

You can shape the rolls into a log and then wrap the log well and freeze it. When you’re ready to bake, let the log defrost in the refrigerator overnight, then cut the rolls and let them rise at room temperature.

Brioche:
2 packets (4½ teaspoons) instant yeast
⅓ cup warm water
⅓ cup warm milk
3¾ cups (27.6 ounces) all-purpose flour
2 teaspoons salt
3 large eggs, at room temperature
¼ cup sugar
24 tablespoons (3 sticks) unsalted butter, at room temperature but still slightly firm

Pastry cream:
1 cup whole milk
3 large egg yolks
¼ cup (1.75 ounces) sugar
2½ tablespoons cornstarch, sifted
¾ teaspoon pure vanilla extract
1½ tablespoons unsalted butter, at room temperature, cut into bits

Assembly:
1 cup moist, plump raisins
3 tablespoons dark rum
1½ teaspoons sugar
Scant ¼ teaspoon ground cinnamon

Glaze:
¾ cup confectioners’ sugar
about 1 teaspoon water
drop of pure vanilla extract

For the brioche: Put the yeast, water, and milk in the bowl of a stand mixer and, using a wooden spoon, stir until the yeast is dissolved. Add the flour and salt, and fit the mixer with the dough hook, if you have one. Toss a kitchen towel over the mixer, covering the bowl as completely as you can – this will help keep you, the counter and your kitchen floor from being showered in flour. Turn the mixer on and off in a few short pulses, just to dampen the flour (yes, you can peek to see how you’re doing), then remove the towel, increase the mixer speed to medium-low and mix for a minute or two, just until the flour is moistened. At this point you’ll have a fairly dry, shaggy mass.

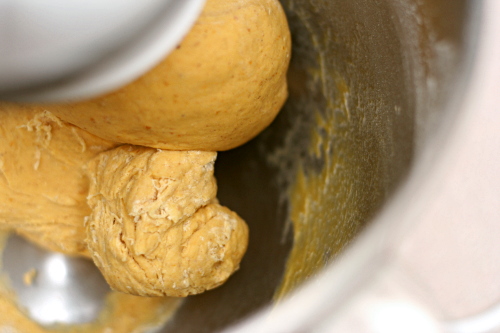
Scrape the sides and bottom of the bowl with a rubber spatula, set the mixer to low and add the eggs, followed by the sugar. Increase the mixer speed to medium and beat for about 3 minutes, until the dough forms a ball. Reduce the speed to low and add the butter in 2-tablespoon-size chunks, beating until each piece is almost incorporated before adding the next. You’ll have a dough that is very soft, almost like a batter. Increase the speed to medium-high and continue to beat until the dough pulls away from the sides of the bowl, about 10 minutes.

Transfer the dough to a clean bowl (or wash out the mixer bowl and use it), cover with plastic wrap and leave at room temperature until nearly doubled in size, 40 to 60 minutes, depending upon the warmth of your room.

Deflate the dough b lifting it up around the edges and letting it fall with a slap into the bowl. Cover the bowl with plastic wrap and put it in the refrigerator. Slap the dough down in the bowl every 30 minutes until it stops rising, about 2 hours, then leave the covered dough in the refrigerator to chill overnight.

Divide the dough in half, reserving half for another use.

For the pastry cream: Bring the milk to a boil in a small saucepan.

Meanwhile, in a medium heavy-bottomed saucepan, whisk the yolks together with the sugar and cornstarch until thick and well blended. Still whisking, drizzle in about 2 tablespoons of the hot milk – this will temper, or warm, the yolks so they won’t curdle. Whisking all the while, slowly pour in the remainder of the milk. Put the pan over medium heat and, whisking vigorously, constantly and thoroughly (making sure to get into the edges of the pot), bring the mixture to a boil. Keep at a boil, still whisking, for 1 to 2 minutes, then remove the pan from the heat.

Whisk in the vanilla extract. Let sit for 5 minutes, then whisk in the bits of butter, stirring until they are fully incorporated and the pastry cream is smooth and silky. Scrape the cream into a bowl. You can press a piece of plastic wrap against the surface of the cream to create an airtight seal and refrigerate the pastry cream until cold or, if you want to cool is quickly, put the bowl into a larger bowl filled with ice cubes and cold water, and stir the pastry cream occasionally until it is thoroughly chilled, about 20 minutes.

To assemble: Line one large or two smaller baking sheets with parchment or silicone mats.

Put the raisins in a small saucepan, cover them with hot water and let them steep for about 4 minutes, until they are plumped. Drain the raisins, return them to the saucepan and, stirring constantly, warm them over low heat. When the raisins are very hot, pull the pan from the heat and pour over the rum. Standing back, ignite the liquor. Stir until the flames go out, then cover and set aside. (The raisins and liquor can be kept in a covered jar for up to 1 day.)

Mix the sugar and cinnamon together.

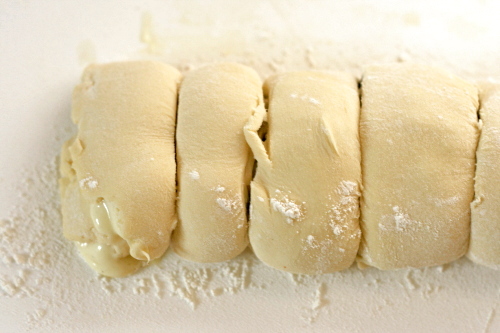
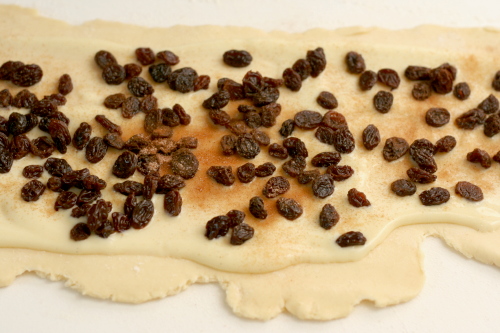
On a flour dusted surface, roll the dough into a rectangle about 12 inches wide and 16 inches long, with a short end toward you. Spread the pastry cream across the dough, leaving 1-inch strip bare on the side farthest from you. Scatter the raisins over the pastry cream and sprinkle the raisins and cream with the cinnamon sugar. Starting wit the side nearest you, roll the dough into a cylinder, keeping the roll as tight as you can. (At this point, you can wrap the dough airtight and freeze it up to 2 months; see Storing for further instructions. Or, if you do not want to make the full recipe, use as much of the dough as you’d like and freeze the remainder.)

With a bread knife or unflavored floss, trim just a tiny bit from the ends if they’re ragged or not well filled, then cut the log into rounds a scant 1 inch thick. Put the snails on the lined baking sheet(s), leaving some puff space between them.

Lightly cover the snails with wax paper and set the baking sheet(s) in a warm place until the snails have doubles in volume – they’ll be puffy and soft – about 1 hour and 30 minutes.

When the snails have almost fully risen, preheat the oven: depending on the number of baking sheets you have, either center a rack in the oven or position the racks to divide the oven into thirds and preheat the oven to 375ºF.

Remove the wax paper, and bake the snails for about 25 minutes (rotate the sheets, if you’re using two, from top to bottom and front to back after 15 minutes), or until they are puffed and richly browned. Using a metal spatula, transfer the snails to a cooling rack.
Copy of IMG_6434

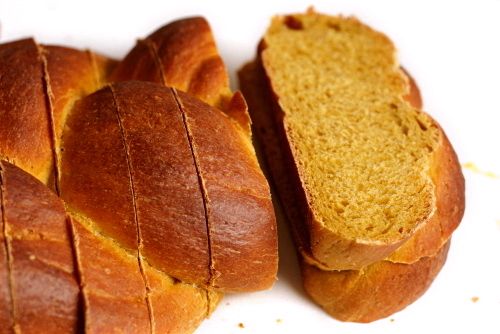
pumpkin yeast bread

Copy of IMG_0748

Let’s see, so far this year, I’ve made pumpkin pie, muffins, tea cake, oatmeal, pancakes, cheesecake, cupcakes, risotto, soup, ravioli, scones, chili, and biscotti. Wow, when you put it that way, it’s a little embarrassing. Clearly I can’t leave any categories out, and so – pumpkin yeast bread.

Copy of IMG_0651

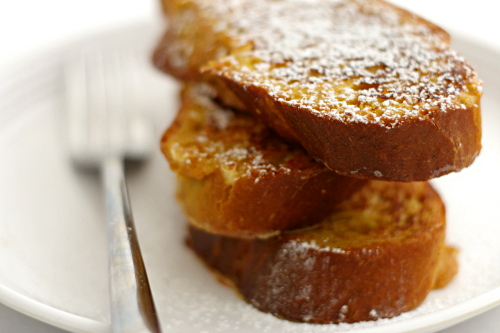
Truth be told, my mind jumped immediately to French toast when I saw this recipe. Tender pumpkin-tinged bread, sliced thick and dipped in fall-spiced custard, fried in butter until golden, topped with a dusting of powdered sugar. Oh yeah.

Copy of IMG_0661

That’s exactly what I got, and it was even better than I’d hoped. Perfect French toast, and I’m also thinking this bread will be fantastic just toasted and topped with butter. Ooh, or with pumpkin butter! Or made into bread pudding! Or heck, just eaten plain, still warm from the oven. I love pumpkin.

Copy of IMG_1312

One year ago: European-Style Hearth Bread

Printer Friendly Recipe
Pumpkin Yeast Bread (from King Arthur Flour via Sugarcrafter)

Makes 2 small loaves

It seems like I had to add quite a bit of flour to this to give it the right consistency. It shouldn’t really be sticky, so don’t be afraid to add more flour if necessary.

4½ cups bread flour
1 tablespoon instant yeast
1 teaspoon cinnamon
1 teaspoon ground ginger
¼ teaspoon ground cloves (optional)
⅓ cup sugar
1½ teaspoons salt
2 eggs
1¾ cups pumpkin
4 tablespoons (½ stick) butter, melted and cooled

1. Stand mixer: Mix the flour, yeast, spices, sugar, and salt in the bowl of a stand mixer fitted with the dough hook. In a large measuring cup, lightly beat the eggs and whisk in the pumpkin and butter. With the mixer on low speed, gradually add the liquid ingredients. Continue mixing on medium-low until the dough is elastic and supple, about 8 minutes. You may need to add a little more flour or water to get the correct consistency – soft but not sticky.

By hand: Mix the flour, yeast, sugar, and salt in a large bowl. In a large measuring cup, lightly beat the eggs and whisk in the pumpkin and butter. Make a well in the middle of the dry ingredients and pour in the liquid ingredients. Stir the mixture until the dough comes together. Transfer it to a floured board or countertop and knead, incorporating as little flour as possible, for about 10 minutes, until the dough is elastic and supple. You may need to add a little more flour or water to get the correct consistency – soft but not sticky.

2. Transfer the dough to an oiled bowl and cover with plastic wrap or a damp dishtowel. Set the dough aside to rise until it has doubled in volume, about 1½ hours.

3. Turn the dough out onto a lightly floured board. Using a serrated knife, cut the dough in half, then cut each half into three equally sized pieces. Roll each piece into a 10-inch rope.

4. Working with three ropes at a time, place them on a lightly greased or parchment-lined baking sheet. Braid them together, pinching the ends together and tucking them under the loaf. Repeat with the remaining logs. Set the braids aside, covered with lightly greased plastic wrap or a damp dish towel, to rise for 1 hour; they should look puffy, though not necessarily doubled in bulk.

5. Adjust a rack to the middle position and heat the oven to 375°F. Bake the loaves for 20 to 25 minutes, until lightly browned and an instant read thermometer inserted into the center reads 185-195°F. Remove the braids from oven and allow them to cool on a wire rack. Serve them warm or at room temperature.
Copy of IMG_0765

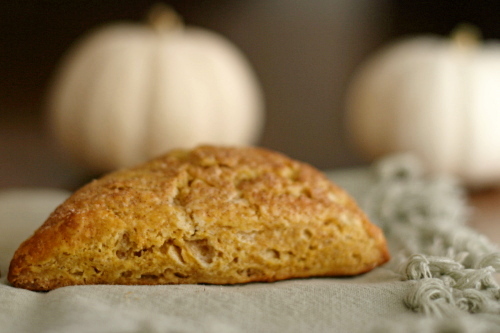
pumpkin scones

Copy of IMG_0444

Oh, did you want to see something besides scones? I’m sorry, it turns out that the ol’ crumblycookie has become all scones, all the time.

Copy of IMG_0295

No, just kidding. This is the last scone recipe. I just wanted to get through them in one fell swoop, which is what’s kind of fun about NaBloPoMo.

Copy of IMG_0305

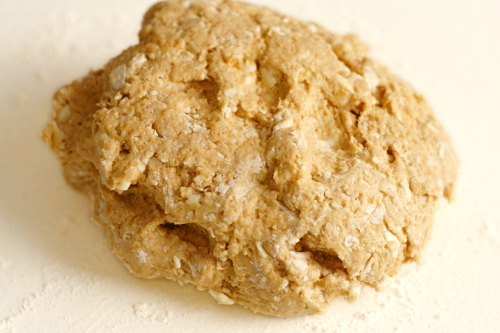
Like most of us, I love pumpkin. The thing is though, that you can’t just add pumpkin into whatever your favorite baking recipe is, because it changes the texture quite a bit. It adds a moist, cakey…I want to say gummy texture, but that sounds negative, and it isn’t necessarily a bad thing. But it also isn’t what you want in scones.

Copy of IMG_0307

So even though I have two great basic scone recipes, I didn’t even consider just adding pumpkin into one of them and seeing what happens. (Although now I’m curious.) So I had to start my search for recipes from scratch, and I settled on this Joy of Baking recipe because the picture shows tall scones with flaky layers.

Copy of IMG_0312

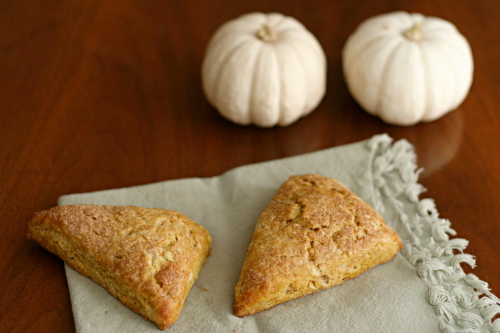
And I nailed it! I can’t imagine a better pumpkin scone. This has everything I want in a scone – the texture walks the line between tender and flaky, it’s sweet but not too much, and the pumpkin and spices are noticeable but not overwhelming. Yet another perfect scone recipe.

One year ago: Gratin Dauphinois

Copy of IMG_0452

Printer Friendly Recipe
Pumpkin Scones
(adapted just a bit from Joy of Baking)

Makes 8 scones

I left out the nuts and raisins, just because I wanted a smooth texture this time. And instead of using the egg wash and turbinado sugar for sprinkling, I brushed the scones with milk and sprinkled them with a mixture of about 1 tablespoon granulated sugar and ½ teaspoon cinnamon. It gave the scones a really nice thin crisp layer after baking.

I’ve also tweaked the order in which the ingredients are added to the dough, because I’m full of myself and I think I know better than the professionals. Or something.

2 cups (260 grams) all purpose flour
½ teaspoons ground ginger
½ teaspoons ground cinnamon
1 teaspoon baking powder
¼ teaspoon baking soda
¼ teaspoon salt
½ cup (113 grams) cold unsalted butter, cut into pieces
⅓ cup (50 grams) raisins
¼ cup (30 grams) toasted and chopped pecans (optional)
⅓ – ½ cup buttermilk
⅓ cup (72 grams) light or dark brown sugar
½ cup fresh or canned pumpkin puree (not pumpkin pie mix)
1 teaspoon pure vanilla extract

Egg Wash:
1 large egg
1 tablespoon milk or cream
Turbinado sugar for sprinkling the tops of the scones (optional)

1. Preheat oven to 400ºF (200ºC) and place rack in middle of oven. Line a baking sheet with parchment paper.

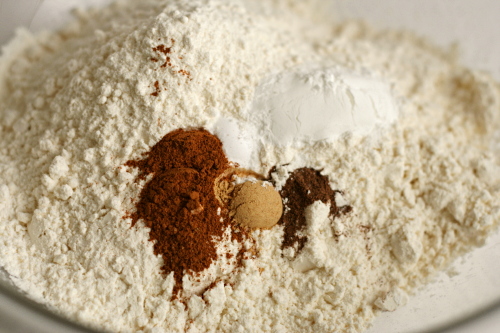
2. In a large bowl, whisk together the flour, spices, baking powder, baking soda and salt. Cut the butter into small pieces and blend into the flour mixture with a pastry blender or two knives. The mixture should look like coarse crumbs. Stir in the raisins and pecans, if using. In a separate bowl, mix together the buttermilk, sugar, pumpkin puree and vanilla, and then add the buttermilk mixture to the flour mixture. Mix just until the dough comes together. Do not overmix the dough.

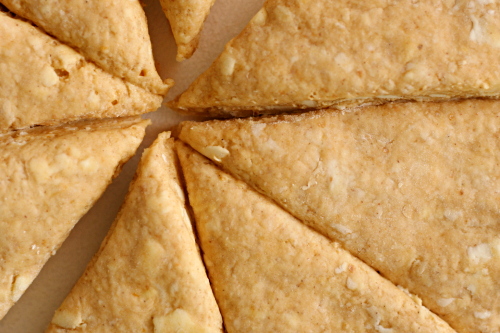
3. Transfer to a lightly floured surface and knead dough gently four or five times and then pat the dough into a circle that is about 7 inches (18 cm) round and about 1½ inches (3.75 cm) thick. Cut this circle in half, then cut each half into 4 pie-shaped wedges (triangles). Place the scones on the baking sheet. Brush the tops of the scones with the egg wash and sprinkle a little Turbinado sugar on top, if desired.
4. Place the baking sheet inside another baking sheet to prevent the bottoms of the scones from over browning. Bake for about 20 minutes or until golden brown and a toothpick inserted in the middle comes out clean. Transfer to a wire rack to cool.

Copy of IMG_0447

buttermilk scones

Copy of IMG_0247

Having a great, seemingly perfect recipe for something isn’t enough to stop me from trying new recipes. There’s always something to learn, you know? Even though one of the first biscotti recipes I ever made is still the best, I’ve made many many more recipes and I’ve learned some little biscotti tricks along the way. But I still haven’t found a better biscotti recipe.

Copy of IMG_8357

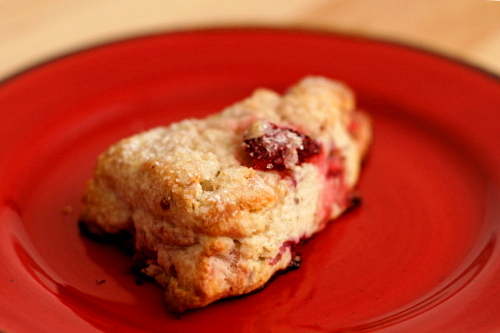
The cranberry scones were one of the first scone recipes I ever made, and certainly the first to knock my socks off. Of course, cranberries aren’t in season year-round anyway, but I successfully adapted the recipe for rhubarb, and I’m sure I could have used most other fruits.

Copy of IMG_8374

But instead, I kept trying new recipes, including this one. And this time…well, I won’t say this recipe is better, but it is definitely as good. Aargh, don’t tell me I need to do a scone comparison!

Copy of IMG_8383

I suppose it’s okay to have two perfect scone recipes, right? And one probably isn’t better than the other anyway. One thing I’ve found from recipe comparisons is that once you have great dependable recipes, it all comes down to personal preference.

Copy of IMG_8385

Well, my personal preference is for whatever gets me a delicious treat on a Saturday morning. This certainly qualifies. And so does this.

Copy of IMG_9868

One year ago: Brown Sugar Apple Cheesecake

Printer Friendly Recipe
Buttermilk Scones (adapted just slightly from Tartine, by Elisabeth Pruett and Chad Robertson)

The measurements are weird because this is half of the recipe in Tartine’s cookbook. But geez, who needs 5 cups of flour worth of scones? I’ve also made them slightly smaller – 8 scones for this half-recipe instead of 6, because 6 would have been huge. (Each scone would have 3 tablespoons of butter in it!)

Zante currants are just standard dried currants.

I skip the melted butter and just use milk on top of the unbaked scones.

6 tablespoons zante currants (1.75 ounces) or 3 ounces fresh berries
2¼ cups + 2 tablespoons (12 ounces) all-purpose flour
1½ teaspoon baking powder
¼ + 1/8 teaspoon baking soda
¼ cup (1.75 ounces) granulated sugar
½ teaspoon + 1/8 teaspoon salt
9 tablespoons butter, very cold
¾ cup buttermilk
½ teaspoon lemon zest
3 tablespoons unsalted butter, melted
large crystal sugar or granulated sugar for sprinkling

1. Preheat the oven to 400 degrees. Line a baking sheet with parchment paper or a silicone baking mat.

2. To make the dough, first combine the currants with warm water to cover in a small bowl and set aside for about 10 minutes until the currants are plumped. Drain well. If you’re using berries instead of currants, put them in the freezer.

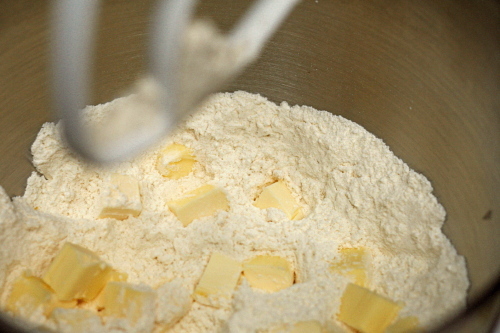
3. While the currants are plumping (or the berries are freezing), whisk the flour, baking powder, and baking soda in a large mixing bowl if making by hand, or into the large bowl of a stand mixer fitted with the paddle attachment. Add the sugar and salt and stir to mix with a rubber spatula. Cut the butter into ½-inch cubes and scatter the cubes over the dry ingredients. If you are using a mixer, pulse on and off so that you don’t break down the butter too much. You want to end up with a coarse mixture with pea-sized lumps of butter visible.

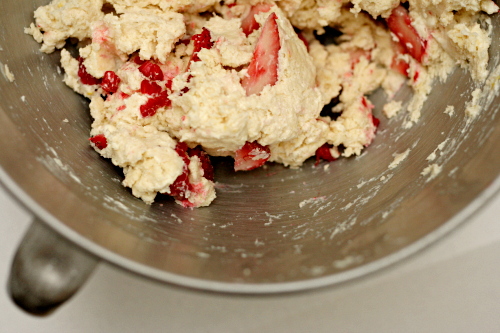
4. Add the buttermilk all at once along with the lemon zest and currants. (If you’re using berries, don’t add them yet.) Mix gently with a rubber spatula by hand or on low speed if using the mixer. Add the berries and continue to mix just until you have a dough that holds together. Be careful not to mash the berries into the dough, or you will color it with their juice. If the mixture seems dry, add a little more buttermilk. You still want to see some of the butter pieces at this point, which will add to the flakiness of the scones once they are baked.

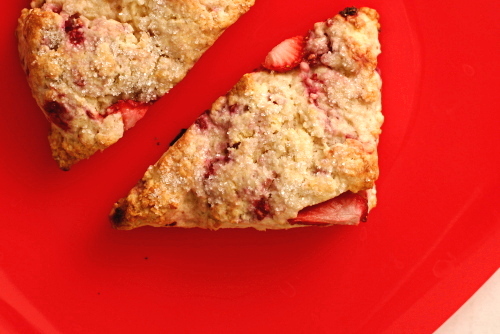
5. Dust your work surface with flour, and turn the dough out onto it. Using your hands, pat the dough into a rectangle about 9 inches long, 5 inches wide, and 1½ inches thick. Brush the top with the melted butter and sprinkle with the sugar. Using a chef’s knife, cut the dough into 8 triangles. Transfer the triangles to the prepared baking sheet.

6. Bake the scones until the tops are lightly browned, 25 to 30 minutes. Remove from the oven and serve immediately.

Copy of IMG_9863

cranberry orange scones

Copy of IMG_1625

This recipe changed the whole shape of my last year. Before making these great scones, I’d spend a large part of both weekend mornings cooking, usually something sweet one day and something savory the other. It made for a nice breakfast category here, but it wasn’t the best way to relax on the weekend.

Copy of IMG_1123

Not anymore. I still often cook something one morning, but on the other, it’s all about scones. I make the dough early in the week and freeze it, then on a lazy weekend morning, I just have to bake them, make coffee (or, more often, wait for Dave to), and sit down to flip through a cookbook. It’s become one of my favorite times of the week.

Copy of IMG_1126

These pictures? They’re from when I made the scones last winter, but it was way past cranberry season, so I’ve been holding onto this blog entry for months and months.

Copy of IMG_1137

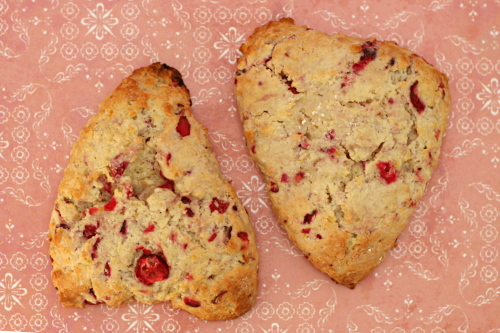
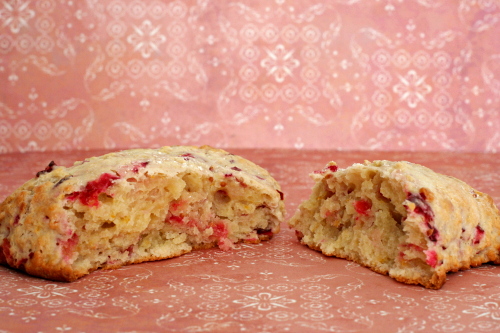
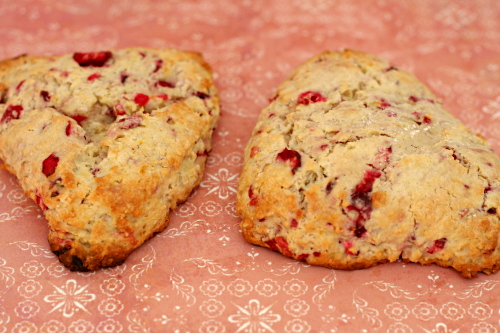
It’s time. Cranberries are showing up in stores, and there is no better way to enjoy them. These are so tender, have just the right sweetness, and make for a stress-free weekend breakfast, even with guests. Even after a year of making scones, these are still one of my favorites.

Copy of IMG_1631

One year ago: Warm Chickpea and Butternut Squash Salad

Printer Friendly Recipe
Cranberry Orange Scones (adapted from Gourmet via Smitten Kitchen)

The recipe originally calls for (Meyer) lemon zest, but orange – or tangerine, which I’ve also used – is such a great partner for cranberry that I couldn’t resist using it instead. I also like increasing the cranberries a bit (already reflected in the recipe).

I’ve baked this recipe at high altitude (at least 5000 feet) with good results. They weren’t quite as pretty, but the taste and texture weren’t affected.

I always flash-freeze scones, then bake them straight from the freezer, adding a couple extra minutes to the baking time.

Makes 8 scones

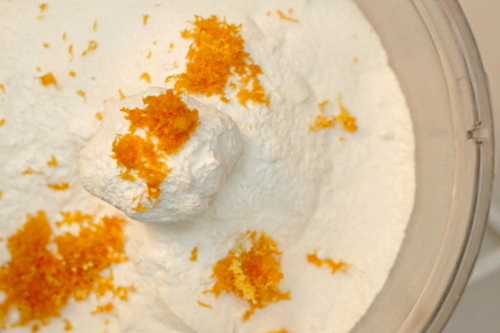
1½ tablespoons freshly grated orange zest
2½ cups (12 ounces) all-purpose flour
½ cup (3.5 ounces) sugar plus 3 tablespoons
1 tablespoon baking powder
½ teaspoon salt
¾ stick (6 tablespoons) cold unsalted butter, cut into bits
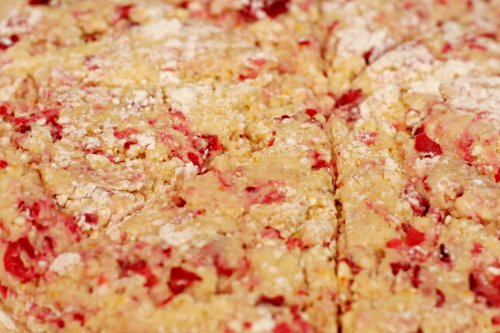
1½ cups fresh cranberries, chopped coarse (I usually do this in the food processor)
1 large egg
1 large egg yolk
1 cup heavy cream

1. Adjust an oven rack to the middle position and heat the oven to 400°F. Line a large baking sheet with parchment paper or a silicone baking mat.

2. In a small bowl, toss together fresh cranberries and 3 tablespoons sugar. In another small bowl, lightly beat the egg and yolk, then stir in cream.

3. In a food processor, pulse the flour, ½ cup sugar, baking powder, salt, and zest until combined. Add the butter and process until the mixture resembles coarse meal. Transfer to a large bowl. (You can also just smoosh the butter into the dry ingredients with your fingers instead of using a food processor.) Stir the cranberries into the flour mixture. Then gently fold the egg mixture into the flour until just combined.

4. On a well-floured surface with floured hands, pat the dough into a 1-inch-thick round (about 8 inches in diameter). With a 2-inch round cutter or the rim of a glass dipped in flour, cut out as many rounds as possible, rerolling the scraps as necessary. (Or cut the circle into wedges, which is my standard method.) Arrange the scones about 1 inch apart on the prepared baking sheet and bake 15 to 20 minutes, or until pale golden. Cool about 10 minutes, then serve.

Copy of IMG_1626

sweet potato hash

Copy of IMG_0431

While I can be, shall we say, particular about preparation, I think keeping an open mind is so important when it comes to both ingredients and certain dishes.

Copy of IMG_0397

For example, stuffing. There’s nothing unpleasant about bread, seasonings, aromatics, and broth baked until the flavors are blended and the top is crispy. When people say they don’t like stuffing, I really think they just didn’t like the stuffing they had when they were young. They just need to try a different recipe (add bacon!) to enjoy it more.

Copy of IMG_0399

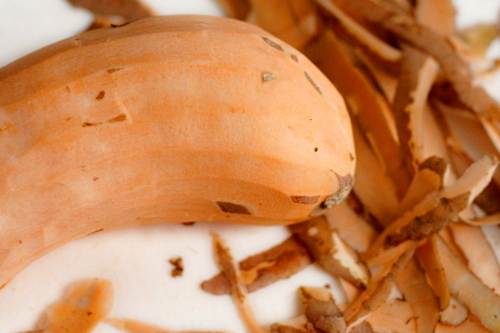
As far as ingredients that often inspire pickiness, sweet potatoes have a bad name. For a lot of people, one of the only ways they’ve seen sweet potatoes prepared is in that sugary, marshmallow-topped weirdness at Thanksgiving. Hey! Let’s take something already sweet, cook it in sugar, top it with more sugar, and serve it with dinner! Blech.

Copy of IMG_0413

Because I don’t like those sweet potatoes and wasn’t exposed to them prepared other ways, I always assumed I didn’t like sweet potatoes at all. But now I know better! I like them quite a bit in more savory preparations.

Copy of IMG_0416

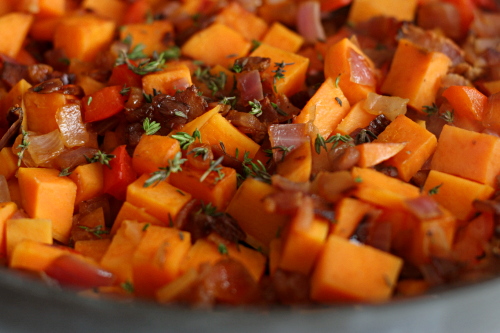
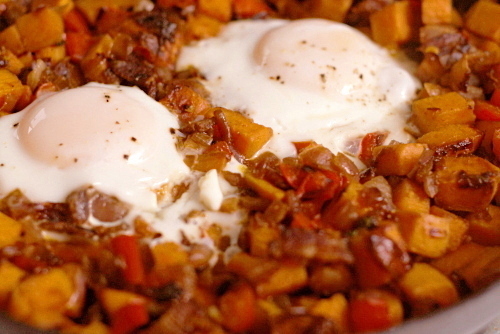
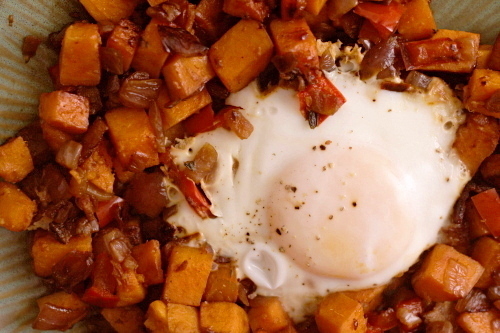
Take this dish. Salty bacon, flavorful slightly caramelized vegetables, and browned sweet potatoes. What is there not to like, especially when the whole thing is topped with an egg? It goes to prove that I could miss out on some great meals if I don’t remember that just because I don’t like an ingredient prepared one way doesn’t mean I won’t like it in other dishes.

Copy of IMG_0422

One year ago: Peter Reinhart’s Pizza Dough

Printer Friendly Recipe
Sweet-Potato Hash with Bacon (adapted from epicurious/Gourmet)

Serves 4

These are the same ingredients in the same proportions as the original recipe, but I’ve tweaked the preparation a bit because a number of reviewers complained that the original was too greasy. Adding eggs on top is also my addition, but Dave and I tried it with and without the eggs, and while it was good without, it was even better with.

½ pound sliced bacon, cut into ¼-inch strips
2 medium onions, chopped
1 large red bell pepper, cut into thin strips
salt and pepper
2 pound sweet potatoes, peeled and cut into ½-inch cubes
1 teaspoon chopped fresh thyme
4 eggs (optional)

1. Cook the bacon in a 12-inch nonstick skillet over medium heat until it renders some fat and begins to brown. Drain off all of the fat except for a thin coating on the pan, then add the onions, red pepper, ½ teaspoon salt, and ½ teaspoon pepper. Cook uncovered, stirring occasionally, until the vegetables are softened, 7-8 minutes.

2. Stir in the potatoes and ½ teaspoon salt. Cover the pan and cook, stirring occasionally, until the potatoes are tender and starting to brown, 10 to 14 minutes. Stir in the thyme and season to taste.

3. If you’re adding the eggs, create four indentions in the hash and break an egg into each. Season the eggs and cover the pan. Lower the heat to medium-low and cook without removing the lid for at least 6 minutes, when you can start testing for doneness. I like my eggs without any runniness at all in the white but with gooey yolks, and it takes around 8 minutes.

Copy of IMG_0432

sweet potato biscuits

Copy of IMG_0056

I love that not just one, but two of this month’s Tuesdays with Dorie recipes are non-desserts. I haven’t baked a TWD dessert in weeks! I’ve gone almost a month with choosing all of my own desserts!

Copy of IMG_0028

I don’t mean to complain; obviously I like being part of the group, or, well, I wouldn’t be. It’s just that I’m only baking for me and Dave, so if a dessert recipe makes 12 servings, that’s all we get for the week. That’s why I have a calculator in the kitchen and many many small oddly shaped pans. Fractions are my friend if I want to bake more than once per week.

Copy of IMG_0030

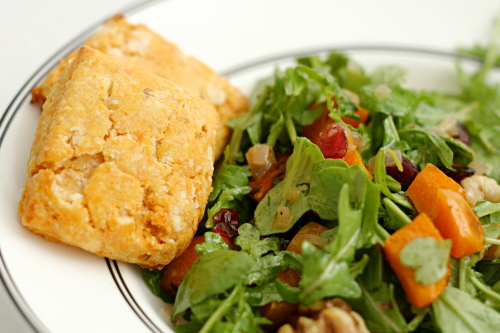
Getting to serve a TWD recipe with dinner is a rare treat. These sweet potato biscuits were a nice complement to the roasted butternut squash salad I made a few weeks ago.

Copy of IMG_0035

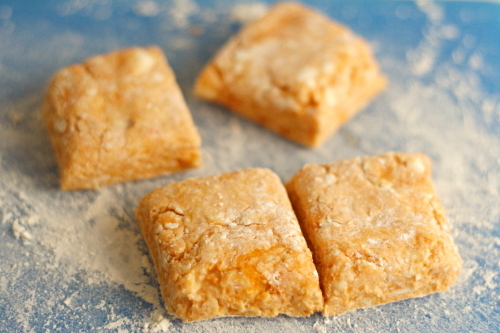
These biscuits are made the standard biscuit way – cut cold butter into flour+flavoring+leavening, then moisten the mixture, in this case with mashed sweet potatoes. It quickly became apparent that my sweet potatoes (bought fresh, then cooked and mashed) weren’t going to be able to turn the dry ingredients into biscuit dough, so I added some buttermilk, which helped.

Copy of IMG_0036

Except that something seems to have gone wrong, because my biscuits didn’t rise hardly at all. I liked the flavor quite a bit, but the texture was oh-so-dense. Still, this is the first sweet potato biscuit I’ve tried, and I quite like the idea. I’ll need to play with some more recipes.

Copy of IMG_0068

Erin chose this recipe for TWD, and she has it posted.

One year ago: Pumpkin Muffins

Copy of IMG_0058

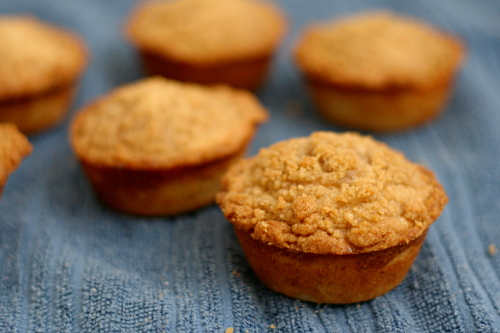
allspice crumb muffins

Copy of IMG_0191

Dave wants just one thing to make his workday more enjoyable, just one simple thing, and that’s biscotti. Although what he really wants is almond biscotti, and not any almond biscotti, it has to be this recipe.

Copy of IMG_0169

Sadly for Dave, biscotti aren’t one of my favorite things to bake, and I certainly have no interest in making the same recipe over and over again. No no, I have much more fun making muffins, so usually he brings muffins to work instead of biscotti. Poor, poor Dave.

Copy of IMG_0174

Muffins are just so easy. Mix up some dry ingredients, mix up some wet ingredients, stir them together. Lately I’ve been adding the sugar and salt with the wet ingredients instead of the dry. They both dissolve easily, and if it’s brown sugar, I don’t have to worry about it clumping.

Copy of IMG_0179

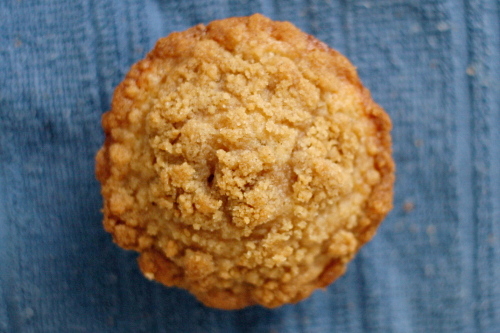
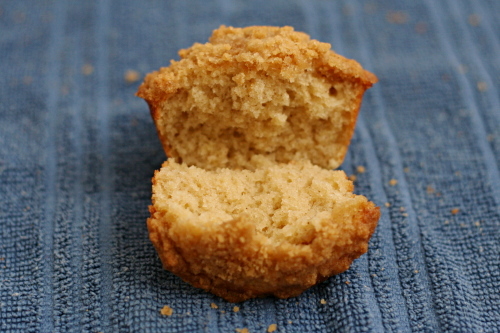
I wish I had taken the time to grind my own allspice – I have whole berries, plus a spice-dedicated coffee grinder, but I got lazy and stuck to the powder and my allspice flavor didn’t seem very distinct. But that’s okay, because these still make an excellent muffin – light, tender, tasty. I would certainly rather eat one of these with my morning tea instead of biscotti, biscotti, and more biscotti.

Copy of IMG_0200

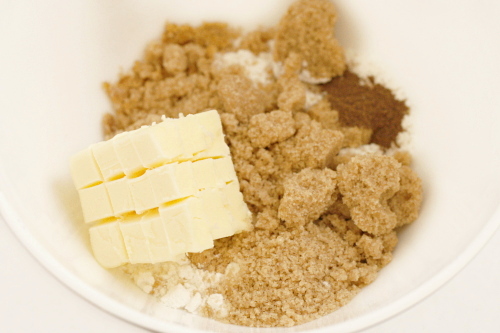
Kayte chose these muffins for Tuesdays with Dorie and she has posted the recipe. Next time, I’ll reduce the butter in the crumb topping by a tablespoon or two. Not only did I have more topping than I needed, but it didn’t seem quite solid enough and flowed off the muffin a bit.

One year ago: I swear this is a coincidence, but one year ago was the Lenox Almond Biscotti.  Which are good, but do not pass Dave’s Biscotti Approval Test.

Copy of IMG_0188

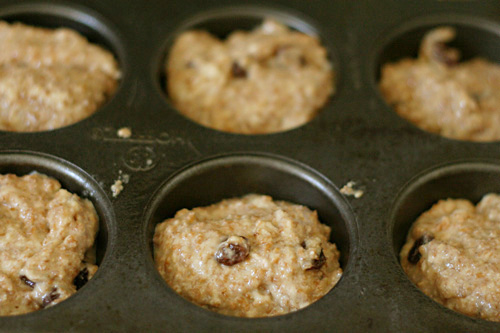
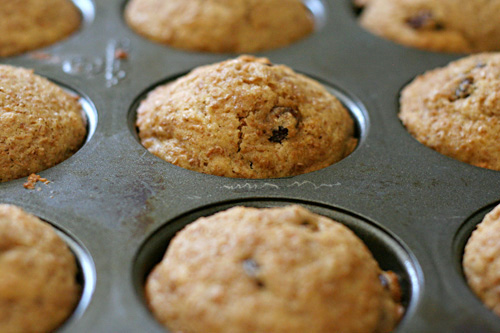
bran muffins

Copy of IMG_7107

Everything I eat is evaluated based on its ratio of nutrition to flavor. That sounds tedious but it isn’t. It’s really just answering one simple question that I think most of us ask before we dig in: Is it worth it?

Copy of IMG_7017

For example, macaroni and cheese: very indulgent, but also very delicious. Definitely worth it, at least once in a while.

Copy of IMG_7022

Raw carrots? Very healthy, but, eh, not my favorite thing to eat. I tend to ignore them unless there’s nothing else. But add some hummus, and you’ve increased the flavor significantly without decreasing the nutrition drastically, and hey, I’ll eat that.

Copy of IMG_7100

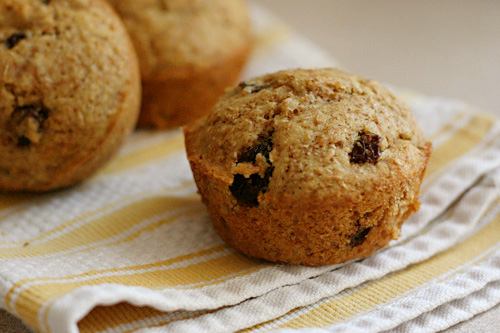
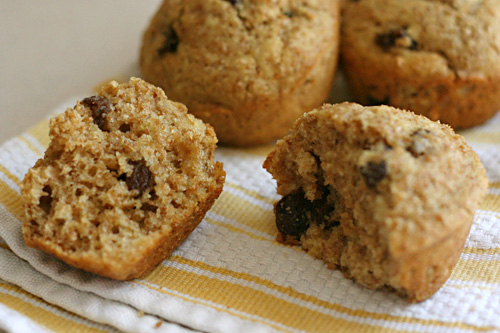
Sometimes I forget that something can be both ridiculously good for you and ridiculously good. And something like these muffins comes along, perfect in every way, both taste and health, and I’m oh-so-pleasantly reminded. Nutrition to flavor ratio? Off the charts.

Copy of IMG_7104

One year ago: Pain Ordinaire

Printer Friendly Recipe
Moist Bran Muffins
(from the King Arthur Flour’s Whole Grain Baking)

Makes about 18

Note that this is a two-day process, as the dough needs to set overnight before baking. Fortunately, at that point it can actually wait in the refrigerator for several days.

I’ve used both raisins and dried cranberries in these, and both are good. Of course most any dried fruit would work. I’ve also used clementine juice instead of orange juice, and that worked just fine.

¾ cup boiling water
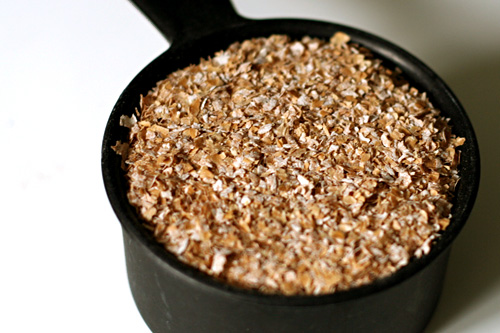
1¼ cups unprocessed wheat bran, divided
¾ cup dried fruit, chopped if large raisins
¾ cup packed light or dark brown sugar
¼ cup vegetable oil
2½ cups whole wheat flour, traditional or white whole wheat
1 teaspoon baking soda
½ teaspoon baking powder
1 teaspoon salt
1 large egg
¾ cup buttermilk
½ cup orange juice

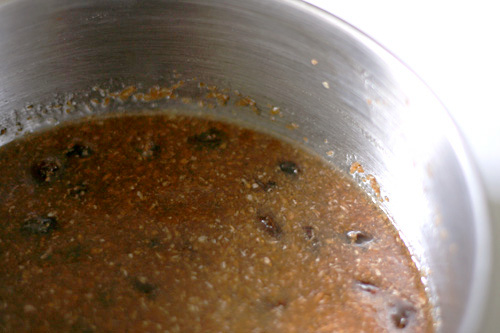
1. Pour boiling water over ¾ cup of the bran cereal in a small mixing bowl. Add the raisins, brown sugar and oil. While the bran mixture cools, blend together the flour, baking soda, baking powder, and salt in a large mixing bowl.

2. Beat the egg with the buttermilk and orange juice in a large measuring cup. Add this mixture to the dry ingredients. Stir in remaining ½ cup bran cereal, and then the bran-raisin mixture. Cover the bowl and refrigerate overnight.

3. The next day, preheat the oven to 375 degrees. Lightly grease a muffin tin. Fill each cup two-thirds full. Bake the muffin until a tester comes out clean, about 23 to 26 minutes.

4. Remove from oven and allow to cool in pan for 5 minutes, then turn out onto a rack to finish cooling, or serve warm.

Copy of IMG_7111

green chile huevos rancheros

Copy of IMG_7337

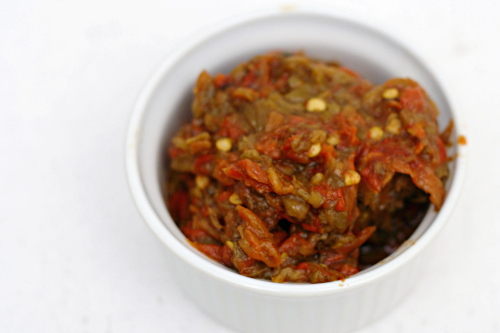
Do you have a food you love from your hometown that you can’t get anymore? For New Mexicans, that food will always be Hatch green chile. It’s ubiquitous in New Mexico, and you won’t just find it in enchiladas and chile rellenos and the like, but in more unexpected places, like eggs and burgers and pizza. New Mexicans are addicted.

Copy of IMG_7321

So what is a displaced New Mexican to do? Decent green chile simply isn’t available everywhere – the 4-ounce cans of chile that most stores do carry are, sadly, largely devoid of flavor. No, the only way to get good Hatch chile outside of the state it’s grown in is to know someone kind enough to send it to you.

Copy of IMG_7327

So every year during chile season (approximately right now), my mom sends me and my brother each a big box of fresh green chiles. She packs the chiles with newspaper to soak up moisture so they don’t rot (learned that the hard way), pokes holes in the boxes, and sends it 2-day mail. And once we have the chiles, they have to be roasted, peeled, and seeded. The whole process isn’t easy or cheap.

This year, Dave and I have decided that to skip the hassle, we’ll move to New Mexico.

Copy of IMG_7324

Well, no, that isn’t why we’re moving. Really, it just worked out with our job situation. But green chiles (and easier access to some squeezy nephew cheeks that are also in New Mexico) is definitely icing on the cake.

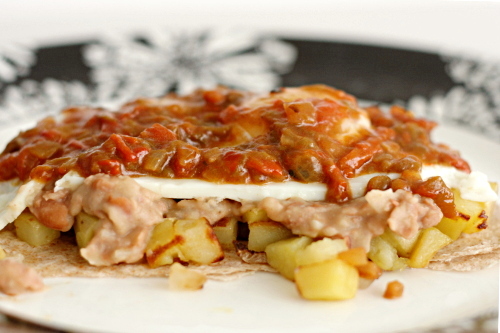
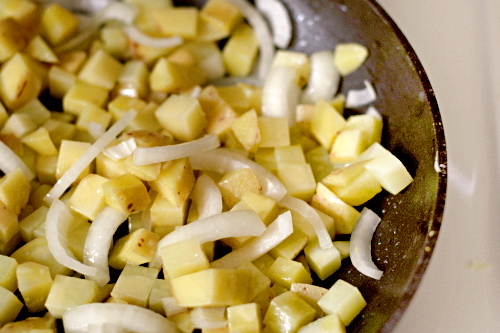
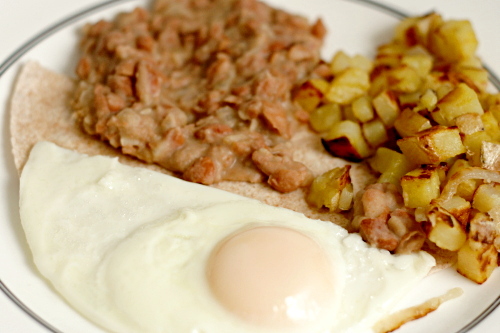
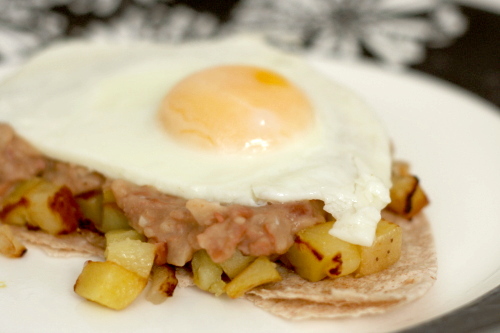
Green chile huevos rancheros is my favorite way to eat green chiles, as well as probably my favorite breakfast. The way I like it, there’s a flour tortilla base, then beans, eggs (over-medium for me) and home fries on the tortilla, all topped by green chile sauce. Definitely a meal worth moving across the country for.

Copy of IMG_7336

One year ago: Dimply Plum Cake

Printer Friendly Recipe
Green Chile Huevos Rancheros

4 servings

If you already have favorite recipes for home fries, pinto beans, and eggs, by all means, use them.

Green chile sauce:
1 tablespoon olive oil
¼ medium onion, chopped
1 garlic clove, minced
½ tablespoon flour
½ cup chicken broth
4 ounces green chile, diced
pinch sugar
1 tablespoon chopped tomatoes (or tomato juice or sauce)
salt

In a medium saucepan, heat the oil over medium heat. Add the onion and cook, stirring occasionally, until it’s just browned around the edges. Add the garlic and stir constantly for about 30 seconds, until fragrant. Mix in the flour, and continue to stir, for about one minute. Slowly add the broth, still stirring, then the chile, tomatoes, sugar and salt. Bring to a simmer, then adjust the heat to low, cover, and let cook for 10-15 minutes, stirring occasionally. (If your sauce is thinner than you like, remove the lid while it simmers.) Taste and adjust the seasonings, if necessary.

Home fries:
1 tablespoon olive oil
¼ medium onion, thinly sliced
16 ounces Yukon gold potato, diced into ¼ inch cubes
½ teaspoon salt (kosher)

Heat the oil in a nonstick pan over medium heat. (You can use a traditional skillet if you heat it well before adding the oil.) Add the potatoes, onions, and salt, and cover the pan. Cook over medium heat until the potatoes are tender and lightly browned, about 10 minutes, stirring occasionally. Remove the cover and cook until the onions and potatoes are cooked through and nicely browned, another 5-10 minutes. Adjust the seasonings if necessary.

Refried beans:
1 (15 ounce) can pinto beans, drained and rinsed
½ cup chicken broth
1 tablespoon olive oil
¼ medium onion, minced
1 garlic clove, minced
1 teaspoon cumin
¼ teaspoon salt

Heat the oil over medium heat in a medium nonstick saucepan or skillet. Add the onions and cook until the edges start to brown. Meanwhile, using a potato masher, mash the beans until they’re mostly broken up. It’s fine if there are still some whole beans. (If you prefer your beans completely smooth, puree them in a food processor.) Stir the chicken broth into the beans. Add the garlic and cumin to the onions in the pan, and cook, stirring constantly, until fragrant, about 30 seconds. Add the bean mixture and salt and bring to a simmer. Lower the heat to low to medium-low to maintain a bare simmer, and cook the beans until they’re your desired consistency, stirring often. It should only take a few minutes. Adjust the seasonings to taste. If they’re ready before everything else, just cover them.

Eggs:
1 teaspoon oil
4 eggs
salt

Heat the oil in a medium nonstick skillet over medium-low heat. Crack each egg into a small dish. Carefully transfer the eggs to the skillet, then sprinkle them with salt. Add 2 tablespoons water and raise the heat to medium-high. Once the water simmers, cover the pan and lower the heat back to medium-low. Cook for about 3-6 minutes for over-medium eggs. Remove the lid and let the water evaporate.

Assembly:
Place a warmed 6-inch flour tortilla on each of four plates. Top each tortilla with one egg, a quarter of the beans, and a quarter of the potatoes. Divide the sauce evenly between each plate. (Alternatively, layer a tortilla, then beans, potatoes, an egg, and the sauce.)

Copy of IMG_7333