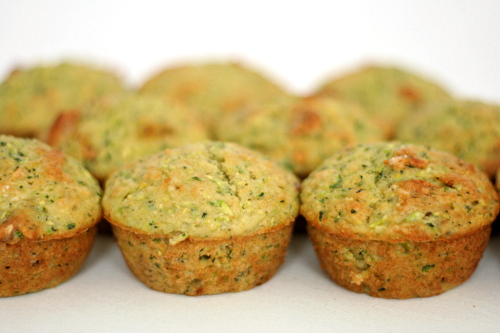
zucchini bread

Copy of IMG_8571

You know what always makes me twitchy with envy? Hearing people talk about how they just have sooo many zucchini or tomatoes or whatever from their garden, and they just don’t know what to do with it all.

Shut. Up.

Also: Give them to me.
Copy of IMG_8549

I live in an apartment. There are no raised beds and no compost bins. There isn’t enough sunlight for container plants. I can’t even keep herbs because the cats eat them.

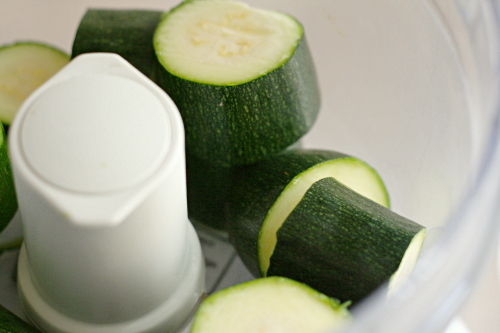
No, I bought these zucchini from the grocery store, although it at least was from the local farm section. But it’s the end of summer, and, damn it, I wanted zucchini bread.
Copy of IMG_8552

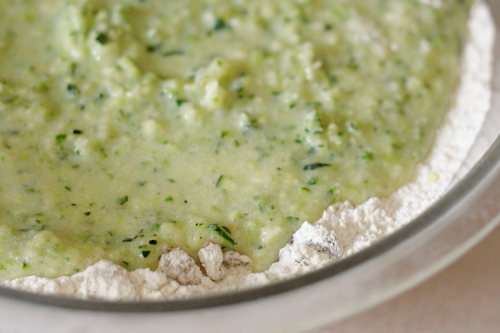
I’m not a big carrot cake fan – vegetables? dessert? they do not belong together – but zucchini bread I can do. It’s a quick bread, a snack; it isn’t masquerading as a fancy cake. Like most quick breads, this one starts with the dry ingredients (flour, salt, leavener, nuts) and the wet ingredients (eggs, butter, sugar, yogurt, a little lemon juice) mixed separately before being folding together.
Copy of IMG_8557

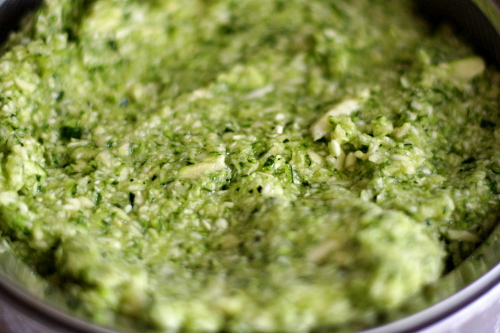
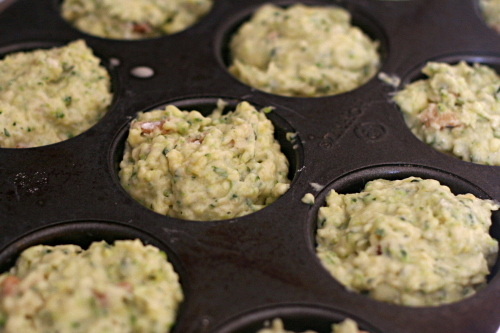
What I like about this recipe is how it treats the zucchini. Zucchini is full of water, and think about it – when did you last add water to a quick bread? You don’t, because it makes baked foods wet and gummy. So you have to remove the water from the zucchini. After the zucchini is shredded, mix it with a couple tablespoons of sugar, and let it sit and drain in a strainer while you prepare the rest of the ingredients. By the time you’re ready to move on with the recipe, the zucchini will have given up something like a half-cup of (bright green) water. What’s even better about this method is that you end up using more zucchini than you could if you had to keep all of the water in the dough.
Copy of IMG_8562

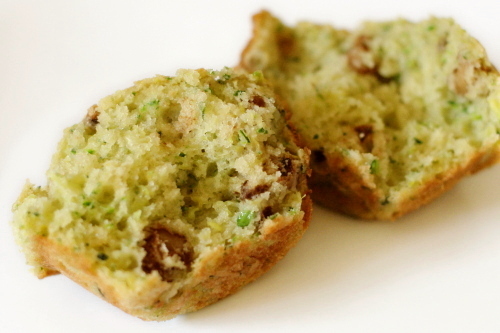
Ooh, I loved these. Loved them. So soft, so tender, so pretty and green. They don’t taste at all vegetal, and they’re just sweet enough. Someday I’ll have a house and a vegetable garden, and I will turn so much zucchini into beautiful bread. Until then, I’ll be grateful that zucchini is available year-round from the grocery store.
Copy of IMG_8568

One year ago: Sausage and Red Pepper Hash

Zucchini Bread (from Cooks Illustrated)

To make muffins instead of a loaf, divide the batter between 12 greased and floured muffin cups. Bake at 375 degrees for 18-25 minutes.

2 cups (10 ounces) all-purpose flour, plus more for dusting
1 pound zucchini, washed and dried, ends and stems removed, cut in half lengthwise and seeded if using large zucchini, each half cut into 1-inch pieces
¾ cups (5¼ ounces) sugar
½ cup pecans or walnuts, chopped coarse
1 teaspoon baking soda
1 teaspoon baking powder
½ teaspoon salt
¼ cup plain yogurt
2 large eggs, beaten lightly
1 tablespoon lemon juice
6 tablespoons (¾ stick) butter, melted and cooled

1. Adjust an oven rack to the middle position and heat the oven to 375 degrees. Grease the bottom and sides of a 9 by 5-inch loaf pan; dust with flour, tapping out the excess.

2. In the bowl of a food processor fitted with the metal blade, process the zucchini and 2 tablespoons of the sugar until the zucchini is coarsely shredded, twelve to fifteen 1-second pulses. Transfer the mixture to a fine-mesh strainer set at least 2 inches over a bowl and allow to drain for 30 minutes. Alternatively, you can shred the halved zucchini (don’t cut into 1-inch pieces) on the large holes of a box grater, toss with the 2 tablespoons of sugar, and drain.

3. Meanwhile, spread the nuts on a baking sheet and toast until fragrant, 5 to 7 minutes. Transfer the nuts to a cooling rack and cool completely. Transfer the nuts to a large bowl; add the flour, baking soda, baking powder, and salt, and whisk until combined. Set aside.

4. Whisk together the remaining ½ cup plus 2 tablespoons of sugar, yogurt, eggs, lemon juice, and melted butter in a 2-cup glass measure until combined. Set aside.

5. After the zucchini has drained, squeeze the zucchini with several layers of paper towels to absorb excess moisture. Stir the zucchini and the yogurt mixture into the flour mixture until just moistened. Scrape the batter into the prepared pan and smooth the surface with a rubber spatula.

6. Bake until the loaf is golden brown and a skewer inserted in the center comes out clean, 55 to 60 minutes, rotating the pan halfway through baking. Cool in the pan for 10 minutes, then transfer to a wire rack and cool for at least one hour before serving. (The bread can be wrapped with plastic wrap and stored at room temperature for up to 3 days.)

Copy of IMG_8579

brioche plum tart

Copy of IMG_7385

My opinion of this recipe might be biased based on the morning I was having.

Copy of IMG_7361

First, it was 4th of July, possibly my favorite holiday and the second day of a three-day weekend. I got up early, after getting plenty of sleep (rare on the weekends; usually I stay up late but can’t get myself to sleep in). I went for the best run of my entire life, and when I came home, not only was Dave already up, but he’d done all kinds of chores that we’d been putting off.

Copy of IMG_7363

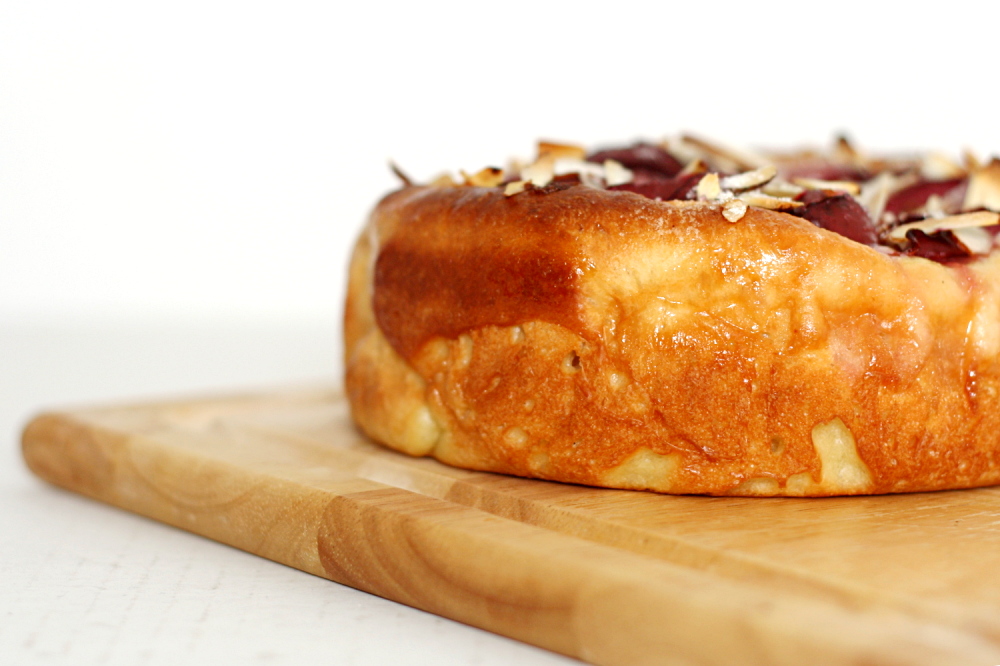
I loved the tart. Are you surprised?

Copy of IMG_7367

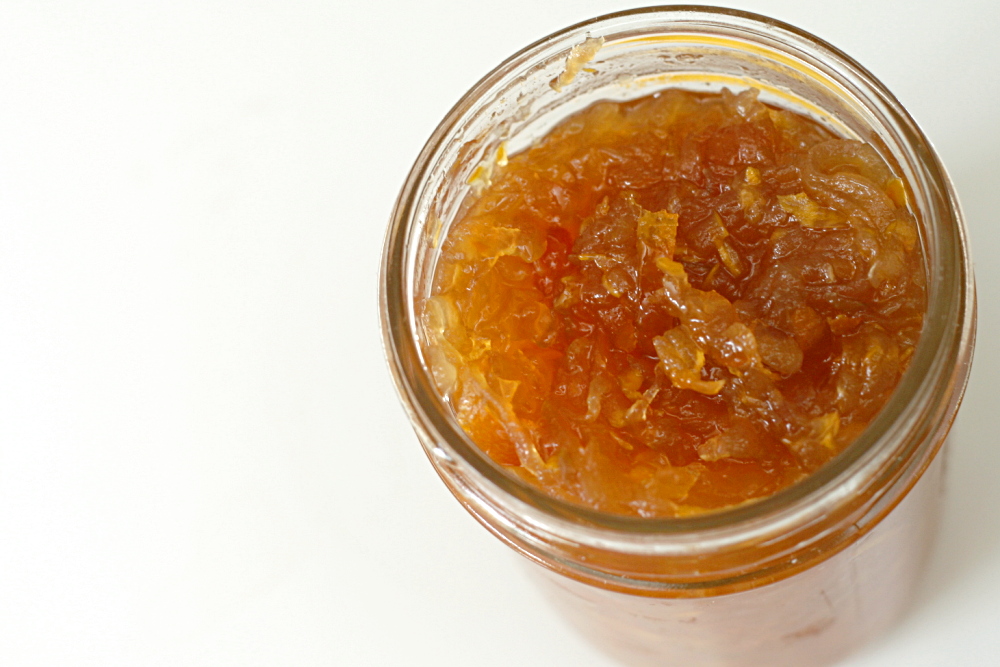
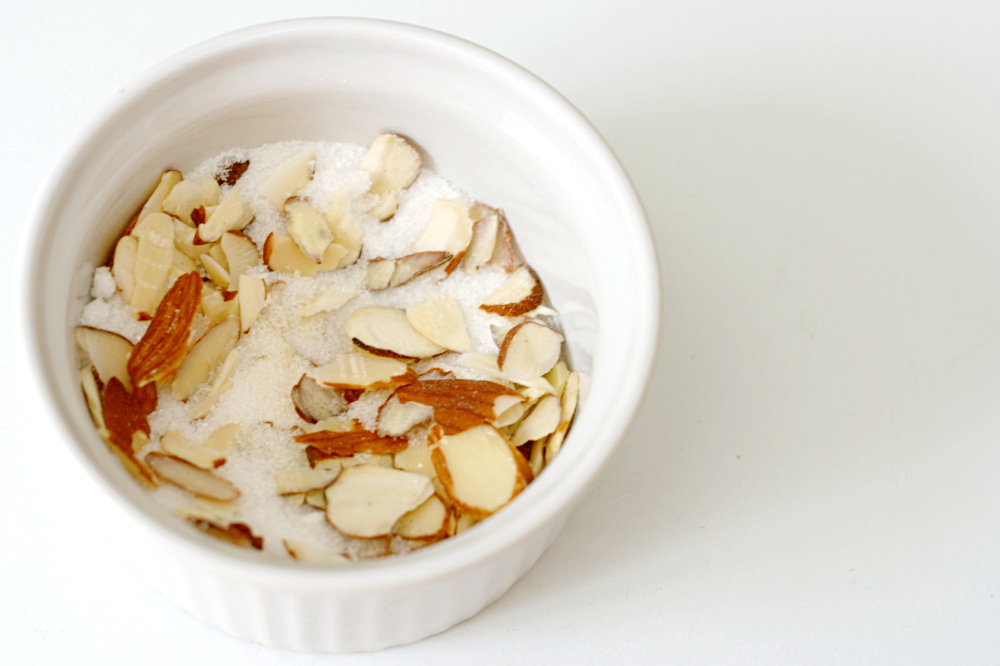
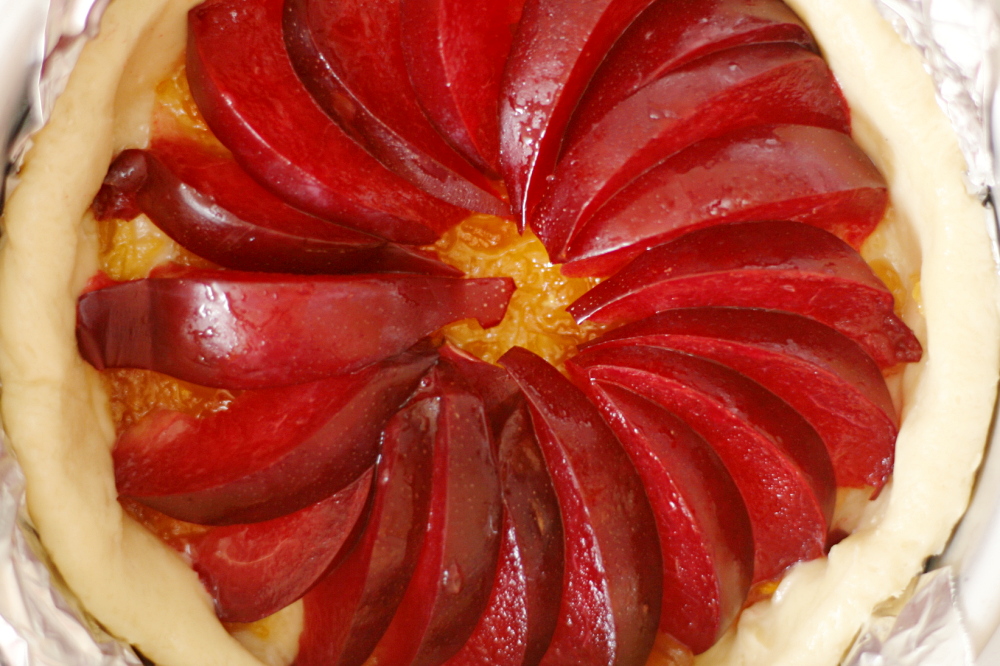
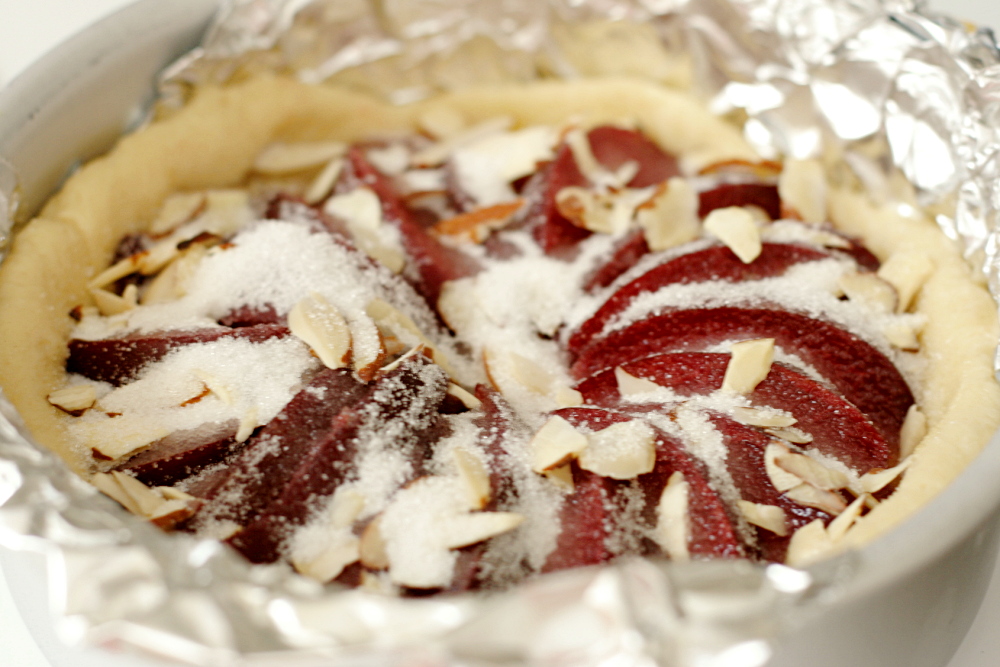
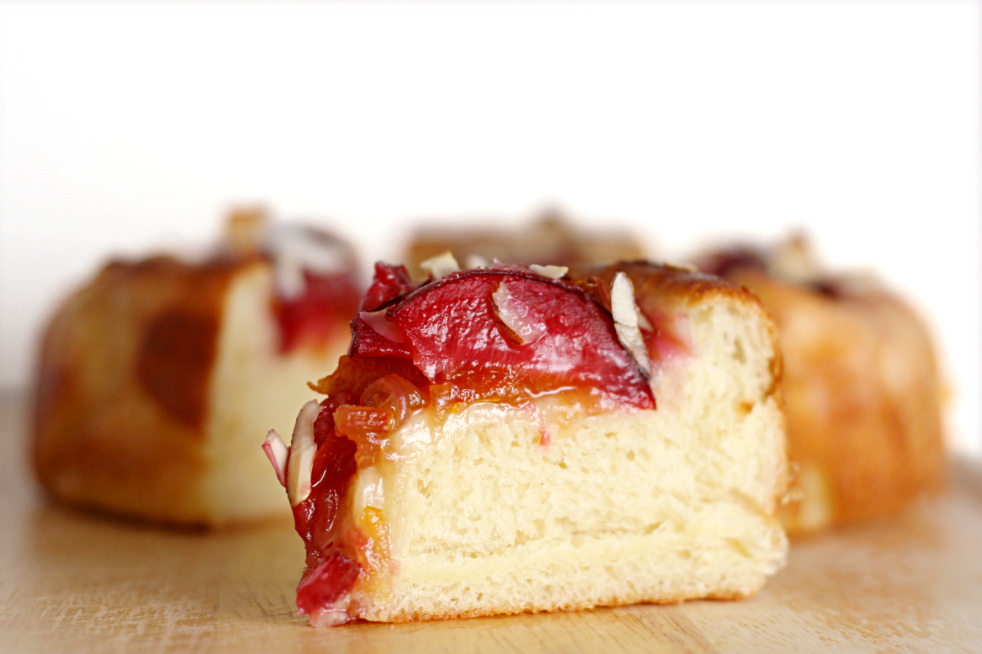
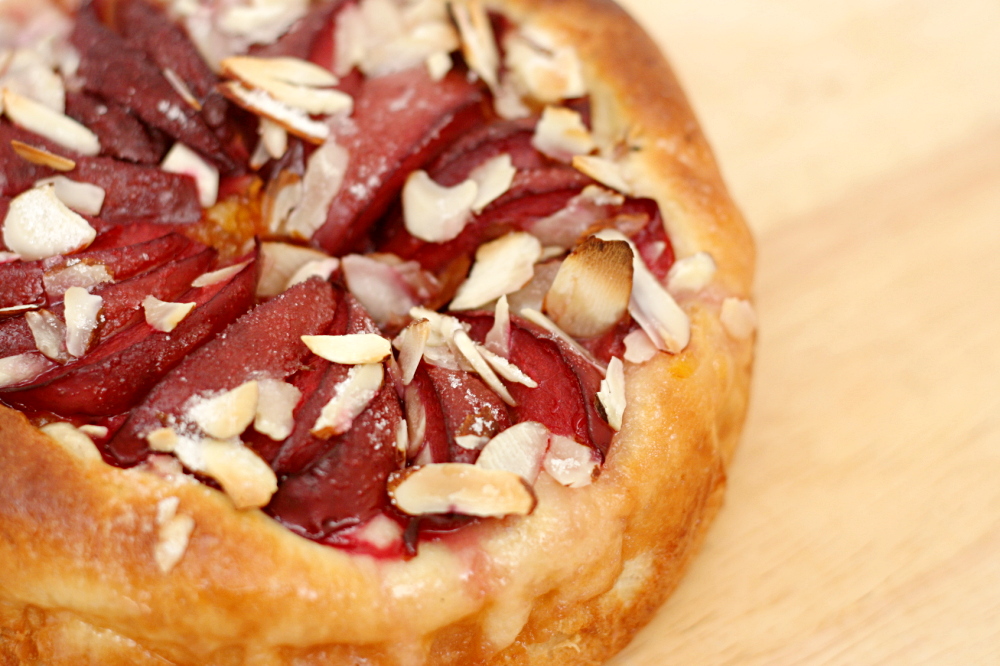
Plus, it wasn’t hard to make. The brioche dough, which is on the less-rich side of brioches, is mixed and kneaded the day before. Once it’s chilled, it’s easy to stretch it out to the dimensions of the pan. There’s a bit of waiting, as it needs to rest after being stretched, which is the perfect opportunity to prepare the fruit, jam (I used a ginger orange marmalade that my friend sent me), nuts, and sugar that will fill it. Then it’s shaped and filled and needs time to rise before it’s baked, then cooled.

Copy of IMG_7373

It’s in the same category as, say, cinnamon rolls or sticky buns, but just a little less work and so much more elegant. The bread is fluffy and tender, the nuts toast in the oven, and the sugar, which seemed like an excessive amount when I first sprinkled it on, reduces to a glaze while the tart bakes. Even the plumcots I used, which tasted bland on their own, were delicious after their flavor concentrated during baking. I can’t wait to find an excuse to show this off to company.

Copy of IMG_7403

Denise chose this for Tuesdays with Dorie and she has posted the recipe.

One year ago: Sautéed Shredded Zucchini

Copy of IMG_7390

dried fruit compote

Copy of IMG_6047

As food blogging becomes more popular and more established, companies will start to take advantage of that to draw attention to their products. At some point, it seems that most food bloggers will have to ask themselves what their policy toward accepting free stuff for review is.

Copy of IMG_6029

Michael from Bella Viva Orchards offered me a box of dried fruit, and I was particularly charmed by the disarming honesty with which it was offered: “Perhaps, if you enjoy our fruit, you may want to use it in one of your recipes in your blog, which could be very helpful to us.” Very diplomatic.

Copy of IMG_6034

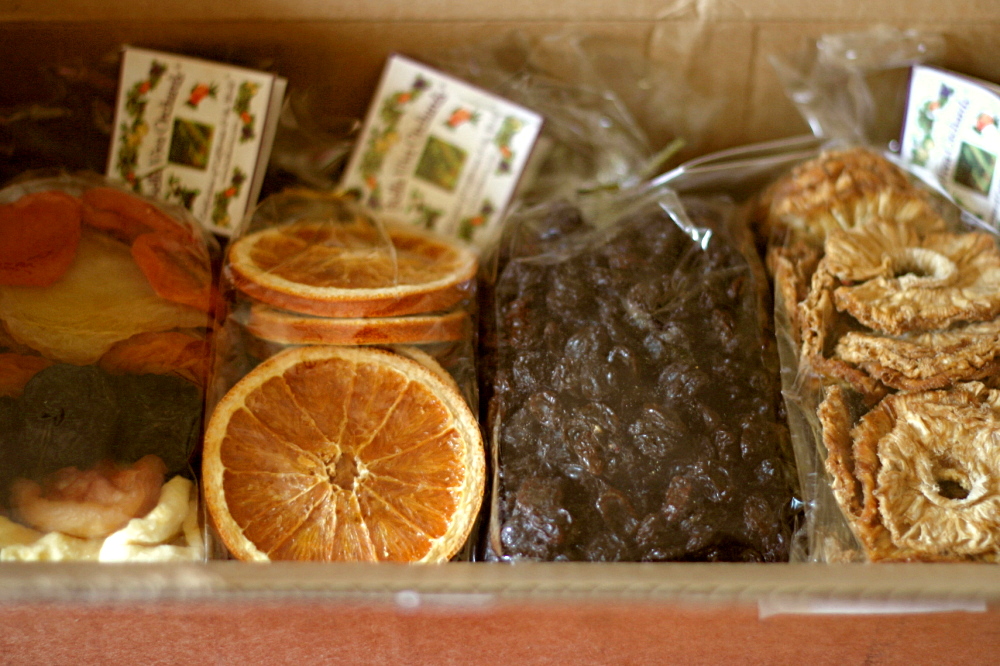
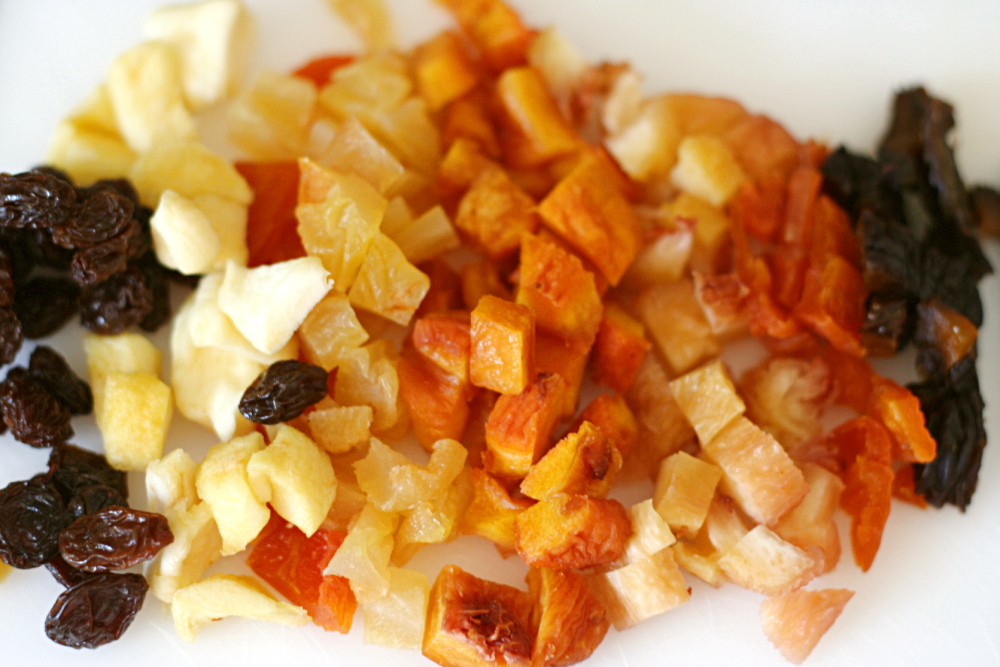
He offered to let me choose the fruit, but I was so overwhelmed by Bella Viva’s huge selection that I let him pick. The fruit arrived soon afterward, packaged beautifully. I received unsweetened pineapple, raisins, mixed fruit, and orange slices. The pineapple, I just snacked on, and it was delicious. I’ve never understood why most dried pineapple is candied – isn’t pineapple sweet enough on its own? I also snacked my way through most of the bag of raisins. I didn’t think I liked raisins, but they became a perfect late afternoon snack for me.

Copy of IMG_6022

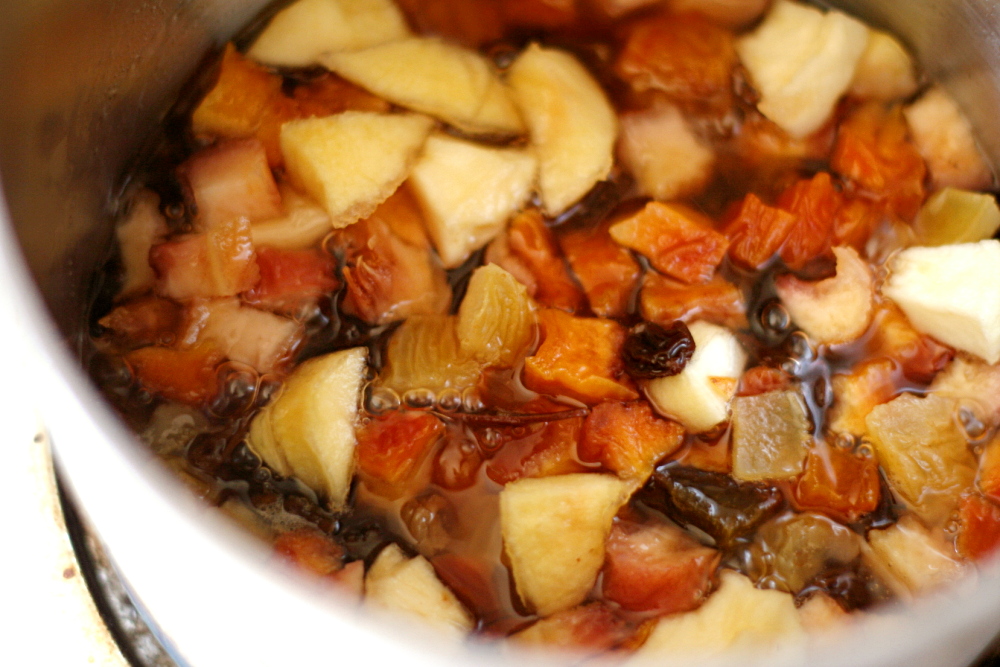
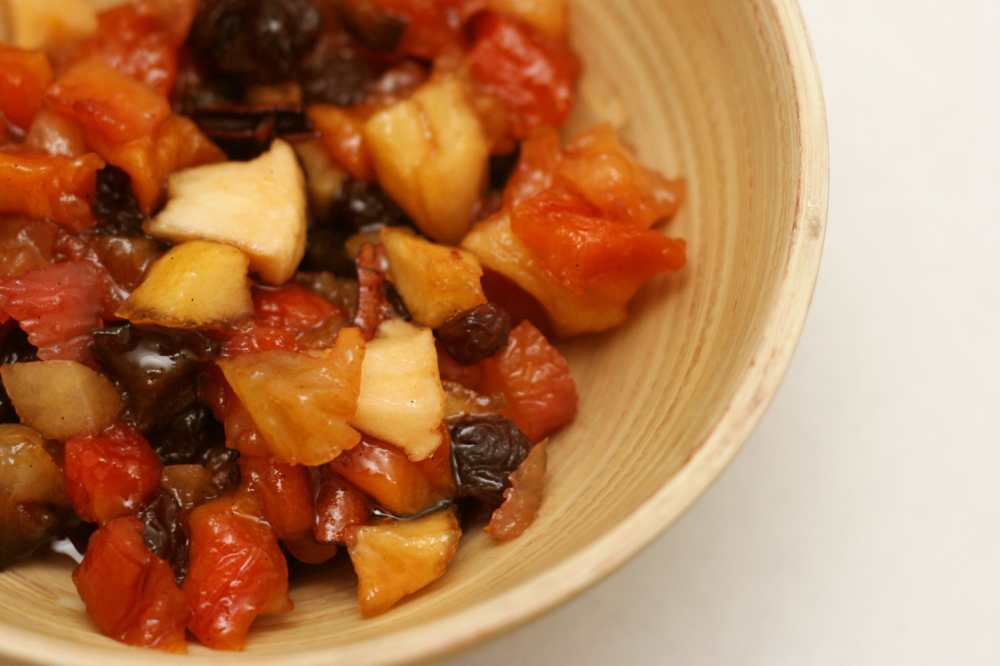
I thought a compote would be nice for the mixed fruit. This recipe starts with white wine, which is mixed with warm spices and simmered until it’s slightly reduced. Then the fruit is added, along with water, and the mixture is simmered until it’s syrupy and the fruit is softened. The recipe calls for a mixture of apricots and plums, but I wanted to use as much of a variety as possible. My mixed fruit package contains apples, plums, nectarines, peaches, pears and apricots, and I threw in some of the raisins too.

Copy of IMG_6040

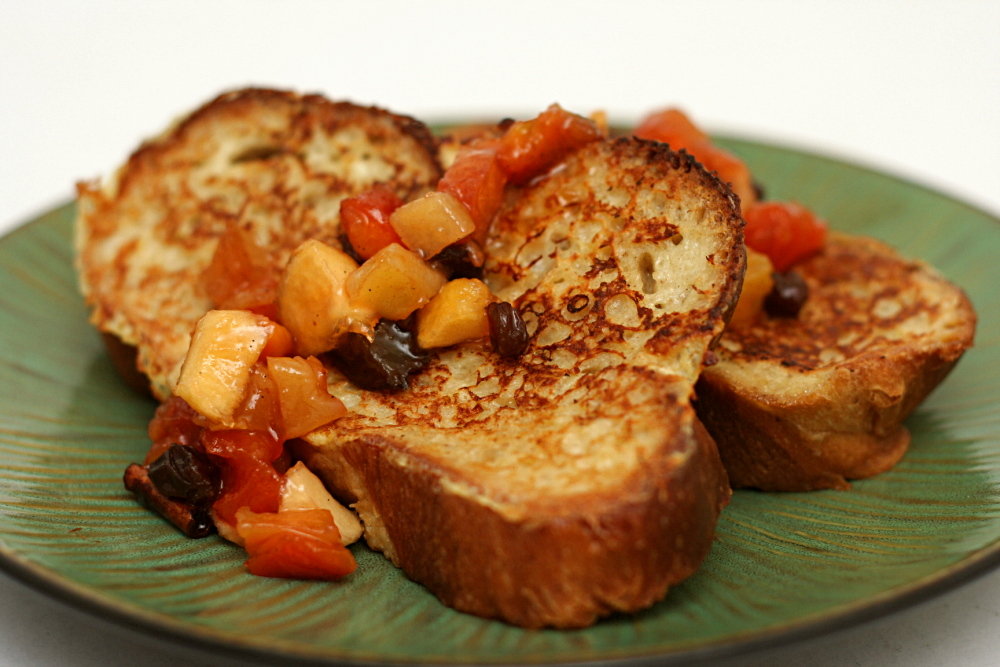
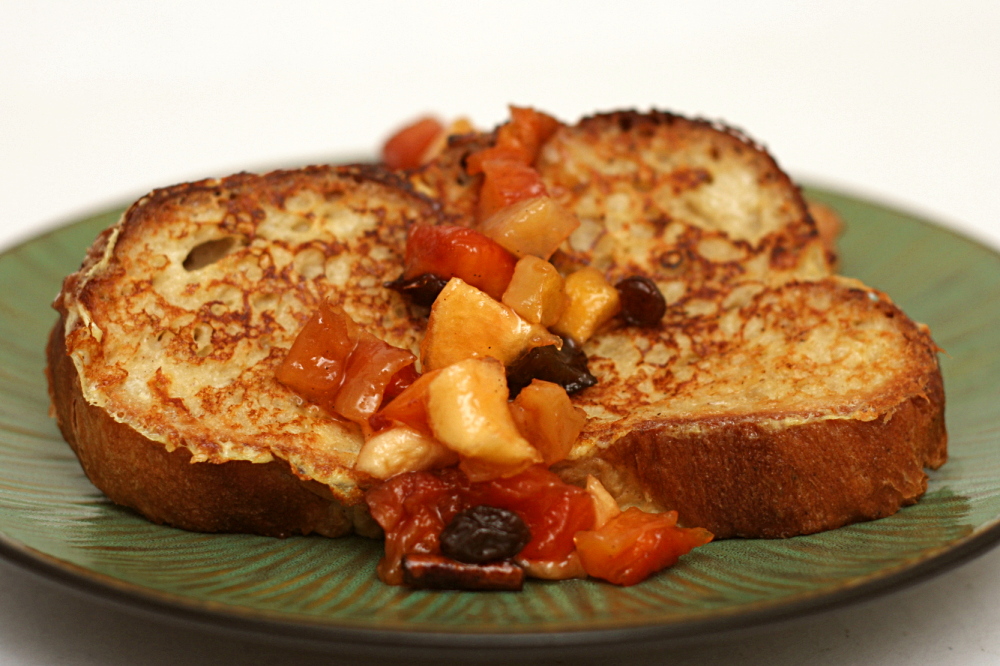
Always looking for an excuse to have wine for breakfast (even wine that’s been cooked for 35 minutes, I suppose), I served the compote with French toast. It was great! Sweet and spiced, but still with a nice tartness from the fruit. It isn’t the most seasonal recipe right now, but come winter, this will be a handy topping to have around.

I don’t know that I’ll continue to accept products for review, but I definitely enjoyed it this time. My experience with Bella Viva Orchards was very positive, from the customer service to the quality of the fruit. I even have my very own coupon code! If you order something from Bella Viva’s website, enter “cookie” as the coupon code to save 10%.

Copy of IMG_6044

One year ago: Chicken with 40 Cloves of Garlic – best chicken ever

Dried Fruit Compote in Spiced Syrup (adapted slightly from Food and Wine)

Makes 10 servings

1½ cups dry white wine
¾ cup (5.25 ounces) sugar
1 cinnamon stick
8 whole cloves
1¼ pounds (20 ounces) mixed dried fruit, coarsely chopped (3 cups)
2 cups cold water
1½ tablespoons pure vanilla extract

In a large saucepan, combine the white wine, sugar, cinnamon stick and cloves and bring to a boil over high heat. Simmer over low heat for 10 minutes. Add the dried fruits, water and vanilla extract and bring to a boil. Simmer over low heat until the fruit is plump and the liquid is slightly syrupy, about 25 minutes. Discard the cinnamon stick and cloves. (The fruit compote can be refrigerated for up to 1 week.)

Copy of IMG_6046

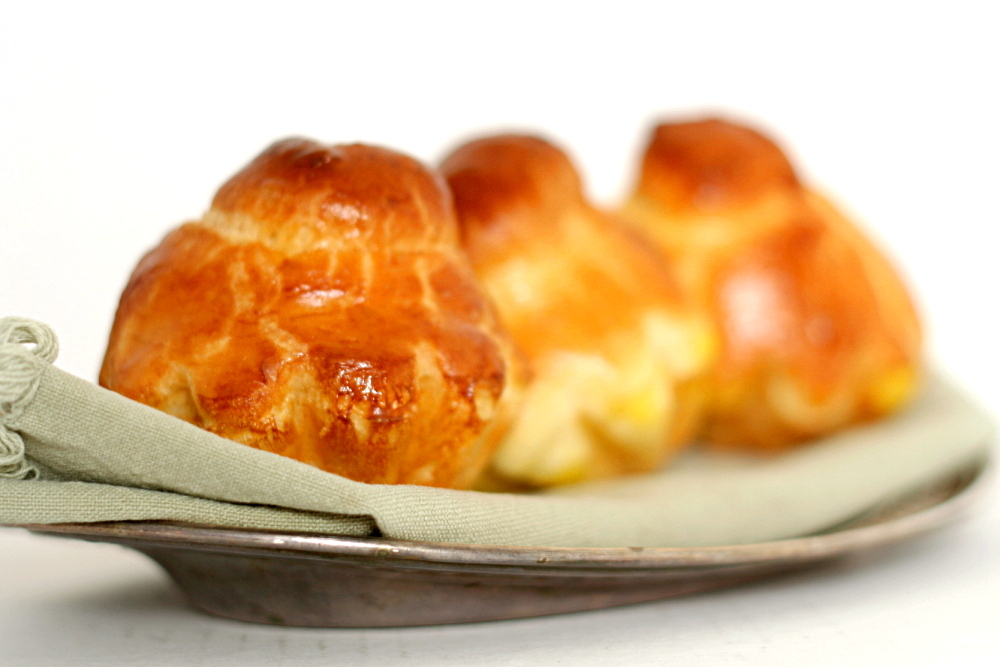
brioche

Copy of IMG_6324

You know how you hear people talk about getting ready for bathing suit season? Um, yeah, I’m no good at that sort of thing. A month before I went on a vacation to the beach, I decided I should undertake a croissant project. A week before the trip, I made brioche. On the drive to the beach, we ate casatiello (a less rich brioche full of sausage and cheese bits). Maybe it’s maturity, or maybe it’s laziness, but I just don’t find myself as worked up about looking perfect as I used to. I’m healthy and that’ll do for now.

Copy of IMG_6275

I certainly could have made the brioche less rich, if I was worried about that. Peter Reinhart gives three brioche recipes – his rich man’s brioche has the most butter, and poor man’s has the least, with middle-class brioche in between. I was having trouble choosing and eventually went with “upper middle-class brioche”, by averaging the rich man’s (buttery and delicious) and the middle class (easier to work with) recipes.

Copy of IMG_6317

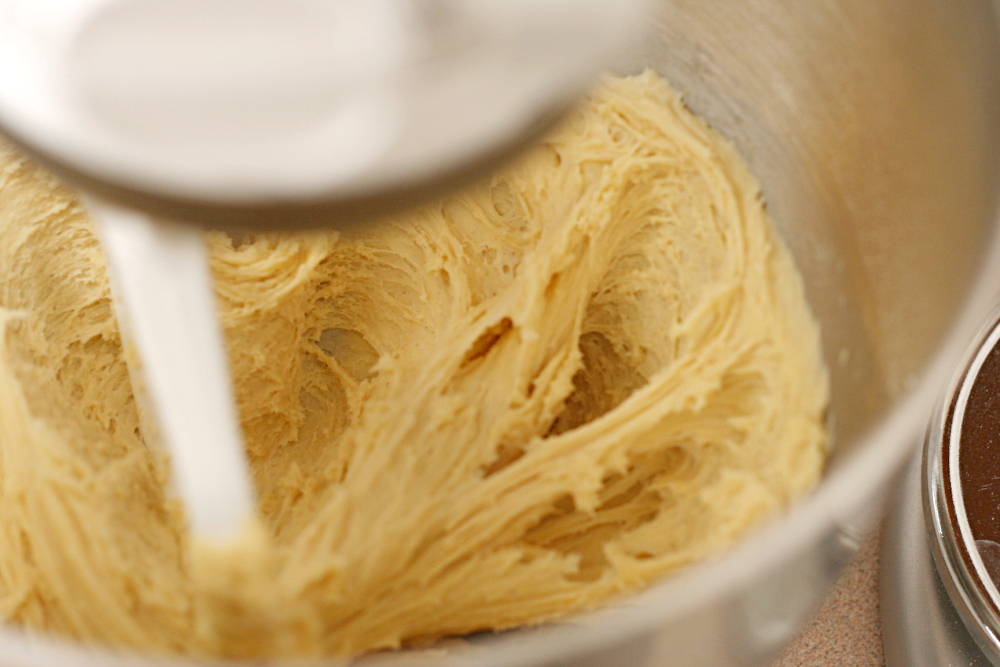
Brioche, with all of its extra butter and eggs, isn’t made too differently than any other type of bread. It starts with a sponge, because Reinhart loves his long fermentations. Then a lot of eggs are added – five eggs for the amount of flour that usually makes one loaf of sandwich bread. After the dry ingredients are mixed in and the dough starts to form, softened butter is slowly worked in. I used, I kid you not, almost one stick of butter per cup of flour.

Copy of IMG_6319

The rising process is different from the traditional bread method though, as the dough is immediately refrigerated, and needs to remain cold while it’s being shaped. It’s proofed at room temperature, then baked and slightly cooled. (For all my talk about not caring how I look in a bikini, I did go for a run while the rolls rose.)

Copy of IMG_6321

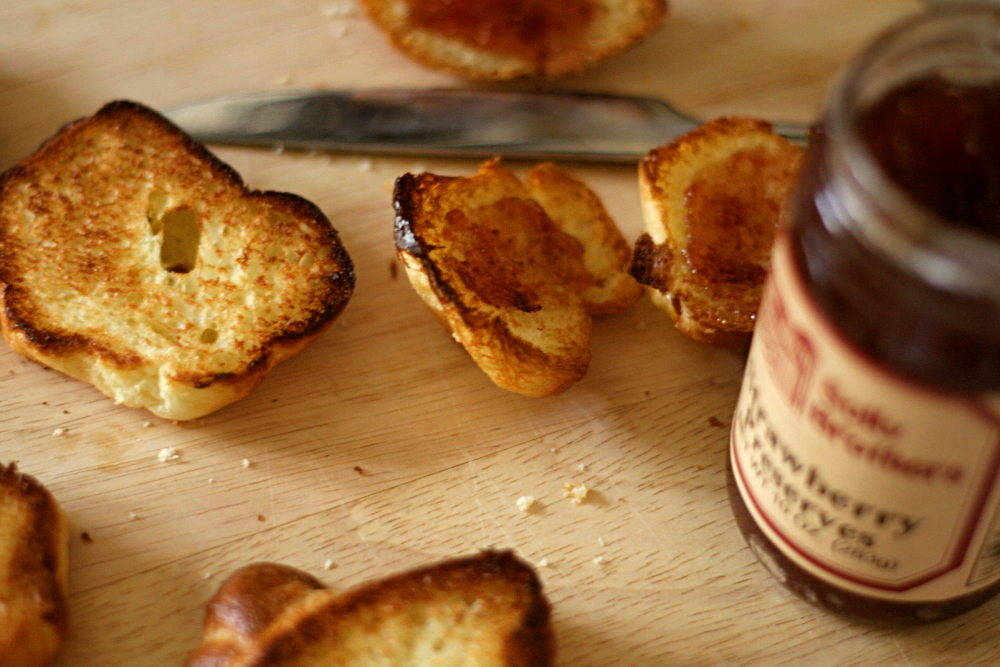
Oddly, I’m not sure I’d ever eaten brioche plain before. If I had, it wasn’t memorable. But this? Is memorable. I couldn’t get over how light they felt. All that butter is all-too-easily hidden. We ate the tender, delicious rolls plain for breakfast, and when we came home from strawberry picking in the afternoon, we toasted slices and smeared them with farmer’s market strawberry jam. I would definitely rather eat brioche than be a size smaller.

Copy of IMG_6353

One year ago: Blueberry Pie

Upper Middle-Class Brioche (very slightly adapted from Peter Reinhart’s Bread Baker’s Apprentice)

Makes 12-16 petite brioches à tête, 2-4 large  brioches à tête, or two 1-pound loaves

Sponge:
½ cup (2.25 ounces) unbleached bread flour
2 teaspoons instant yeast
½ cup (4 ounces) whole milk, lukewarm

Dough:
5 large eggs, slightly beaten
3 cups (13.75 ounces) unbleached bread flour
2 tablespoons (1 ounce) granulated sugar
1¼ teaspoons salt
24 tablespoons (3 sticks) unsalted butter, at room temperature
1 egg, whisked until frothy, for egg wash

1. To make the sponge, stir together the flour and yeast in a large mixing bowl (or in the bowl of an electric mixer). Stir in the milk until all of the flour is hydrated. Cover with plastic wrap and ferment for 30 minutes, or until the sponge rises and then falls when you tap the bowl.

2. To make the dough, add the eggs to the sponge and whisk (or beat on medium speed with the paddle attachment) until smooth. In a separate bowl, stir together the flour, sugar, and salt. Add this mixture to the sponge and eggs and stir (or continue to mix with the paddle attachment on low speed for about 2 minutes) until all the ingredients are hydrated and evenly distributed. Let this mixture rest for about 5 minutes so that the gluten can begin to develop. Then, while mixing with a large spoon (or on medium speed with the paddle), gradually work in the butter, about one-quarter at a time, waiting until each addition of butter assimilates before adding more. This will take a few minutes. Continue mixing for about 6 more minutes, or until the dough is very well mixed. You will have to scrape down the bowl from time to time as the dough will cling to it. The dough will be very smooth.

3. Line a sheet pan with baking parchment and mist lightly with spray oil. Transfer the dough to the sheet pan, spreading it to form a large, thick rectangle measuring about 6 inches by 8 inches. Mist the top of the dough with spray oil and cover the pan with plastic wrap or place it in a large food-grade plastic bag.

4. Immediately put the dough into the refrigerator and chill overnight, or for at least 4 hours.

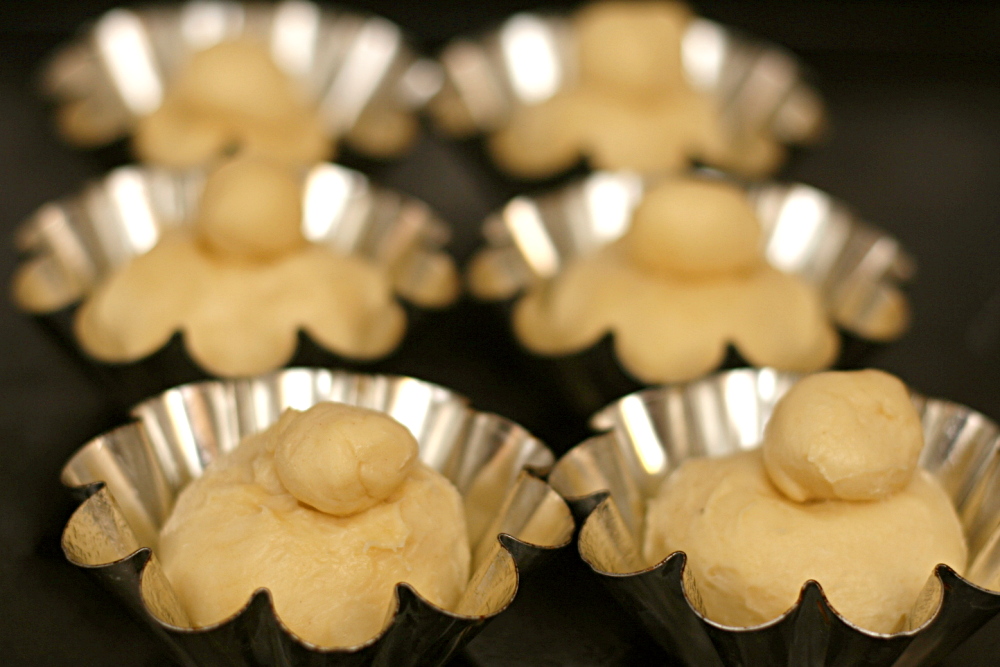
5. Remove the dough from the refrigerator and shape it while it is very cold. If it warms up or softens, return it to the refrigerator. If you are making brioches à tête, lightly oil or use spray oil to grease the fluted molds. Divide the dough into 12 to 16 portions for petites brioches à tête and 2 to 4 portions for larger shapes. (The size of each portion should correspond to the size of the molds; petites brioches à tête are typically 1.5 to 2 ounces each, while larger versions can range from 1 to 2 pounds. Whatever size you are making, the molds should only be half full with dough to allow for expansion during proofing.) Shape the petites brioches à tête into small balls and the larger ones into round loafs. Dust your hands with flour, and, using the edge of your hand, divide a ball of dough into a large and small ball by rolling down, but not quite all the way through, the dough. Place the large ball into the oiled brioche mold and use the tips of your fingers to indent the top and to round and center the smaller ball. Place the molds on a sheet pan after final shaping. If you are making loaves, grease two 8.5 by 4.5-inch loaf pans. Divide the dough into 3 pieces and shape the dough into loaves.

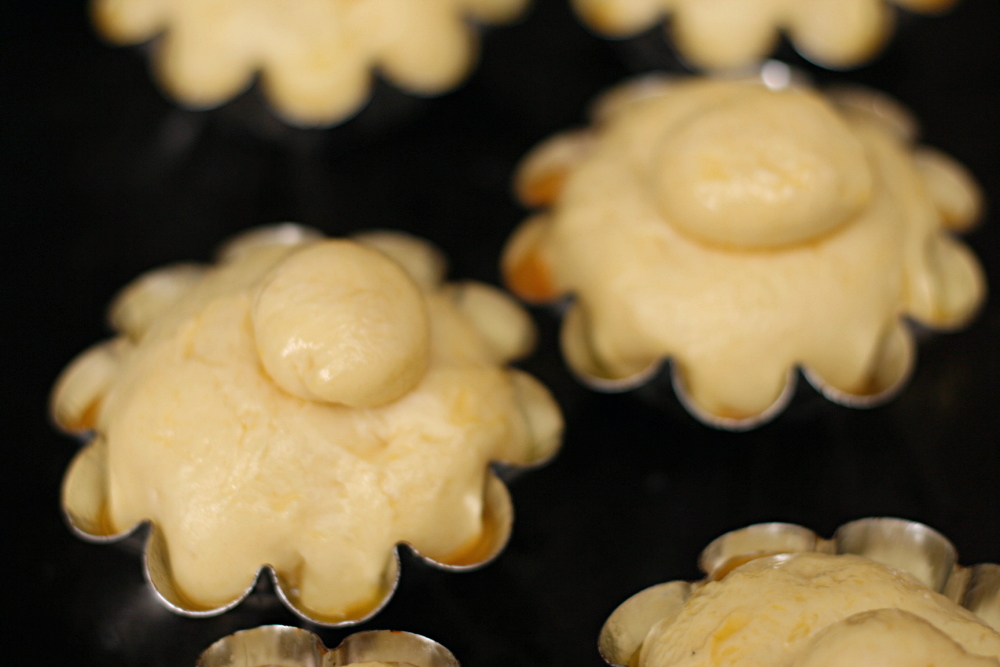
6. Mist the top of the dough with spray oil and loosely cover with plastic wrap, or slip the pan(s) into a food-grade plastic bag. Proof the dough until it nearly fills the molds or loaf pans, 1.5 to 2 hours for petites brioches à tête and longer for larger shapes. Gently brush the tops with egg wash. Cover the dough with plastic wrap that has been lightly misted with spray oil. Continue proofing for another 15 to 30 minutes, or until the dough fills the molds or pans.

7. Preheat the oven to 400F with the oven rack on the middle shelf for petites brioches à tête, or 350F for larger shapes.

8. Bake for about 15 to 20 minutes for petites brioches à tête and 35 to 50 minutes for larger shapes. The internal temperature should register above 180F for the small ones and about 190F for the larger shapes. The bread should sound hollow when thumped on the bottom and be golden brown.

9. Remove the brioches or loaves from the pans as soon as they come out of the oven and cool on a rack for at least 20 minutes for small brioches and 1 hour for larger shapes before serving.

Copy of IMG_6325

sourdough bagels

Copy of IMG_6204

After my initial trials with sourdough last year, in which I mixed up an easy starter and made a couple loaves of not-at-all sourdoughy bread, I gave up for a while. I ignored the starter I’d made until it eventually dried up and I had to throw it away. When I visited my parents last winter, I tried making bread with my mom’s sourdough starter, which is much older than mine was, to see if it would taste sour. It did, at least a little, so my mom sent me home with some of her starter.

Copy of IMG_6138

Which I, again, basically ignored, for six months, until I had a friend visit who is experienced in the ways of sourdough. She gave me some tips on how to bring my old neglected starter back to life, and, more importantly, helped me realize that sourdough starter can be used in all sorts of breads, not just rustic loaves that I want to taste sour.

Copy of IMG_6145

This was important because I don’t make rustic breads all that often, certainly not enough to keep my sourdough starter healthy. But there are some breads that I do make every week or so – pizza and bagels. The transition to sourdough was especially easy for bagels.

Copy of IMG_6151

I’ve been making bagels for years, usually using a slight adaptation of Peter Reinhart’s recipe. His recipe utilizes a sponge, a mixture of flour, yeast, and water that has to sit for a few hours before the recipe can be completed. I simply replaced that sponge with sourdough starter, so I saved myself a step and could more quickly move on to mixing and kneading the dough.

Copy of IMG_6176

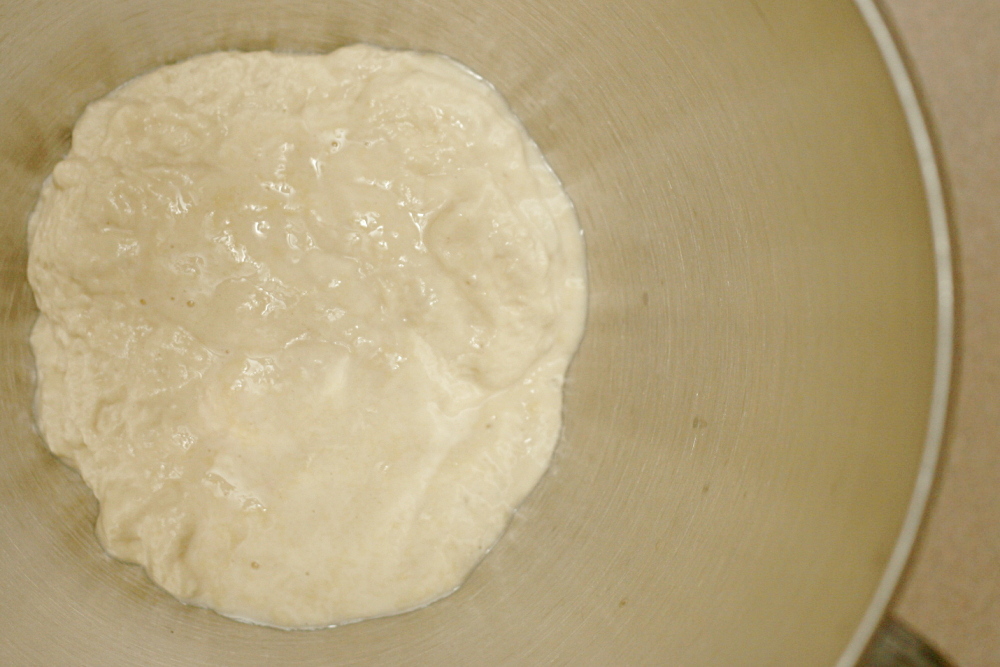
The only problem with this method is that I don’t always keep enough starter around to make even half of Reinhart’s recipe. I was only able to make six small bagels. So I tried again, this time using half the amount of starter and mixing it with more flour and water. Once that was frothy, I continued with the recipe.

Copy of IMG_6179

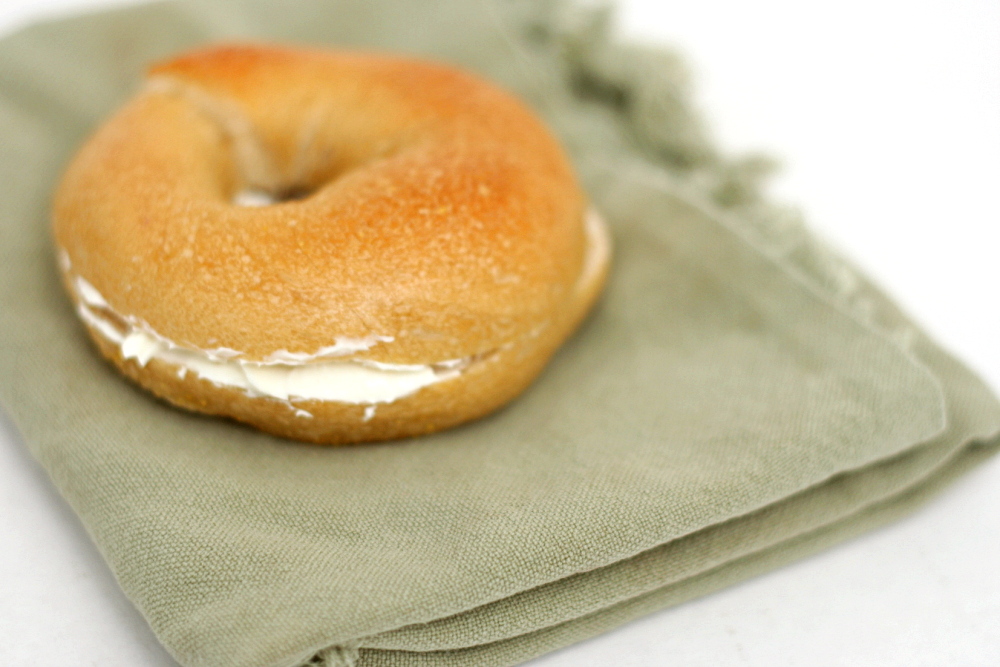
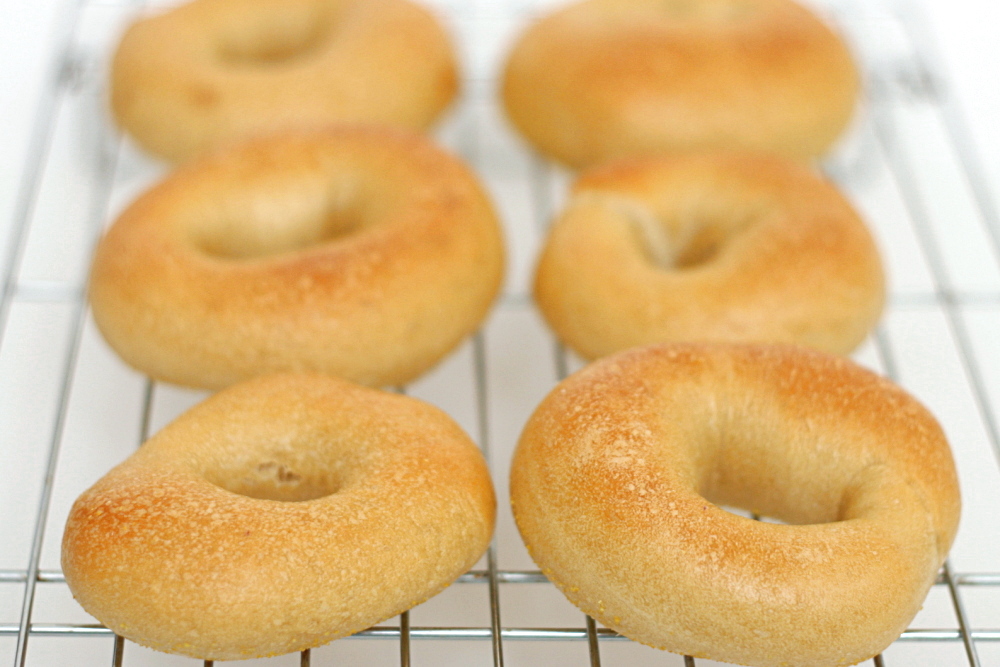
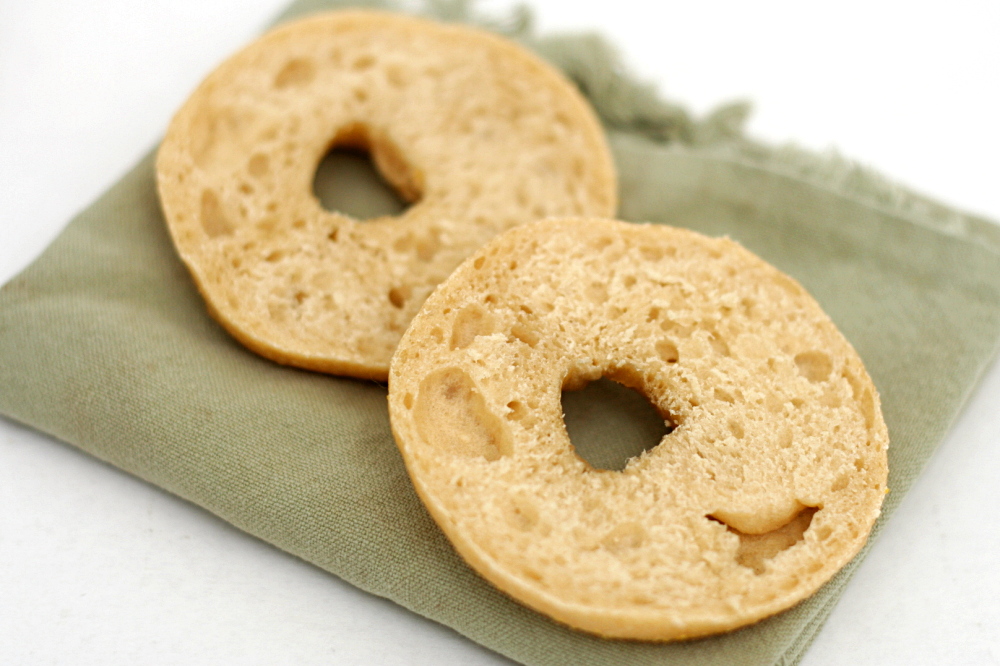
Both batches of bagels were very good. Neither had a strong sourdough flavor, although it was slightly more intense in the first batch, where the starter completely replaced the sponge. In the future, I’ll make whichever recipe I have the right amount of starter for. Because the version that completely replaces the sponge with starter is quicker, plus sourdough starter is so easy to make, I’ll probably just make some extra starter the day before I want to make bagels. Altogether, it’s a great way to use my starter often enough to keep it active.

Copy of IMG_6202

One year ago: Mixed Berry Cobbler

Sourdough Bagels (adapted from Peter Reinhart’s Bread Baker’s Apprentice)

12 small bagels or 8 large bagels

My sourdough starter is half flour and half water, by weight.

16 ounces sourdough starter
¼ teaspoon instant yeast
1¾ cup (8 ounces) bread flour (approximately)
1½ teaspoons salt
1 tablespoon barley malt syrup
1 tablespoon cornmeal

1. Place the sourdough starter in the bowl of a standing mixer and leave it at room temperature until it loses its chill and becomes frothy, 1-2 hours, depending on how active your starter is.

2. Add the additional yeast to the starter and stir. Then add most of the remaining flour and all of the salt and malt. Mix on low speed with the dough hook until the ingredients form a ball, slowly working in the remaining flour to stiffen the dough.

3. Knead at low speed for 6 minutes. The dough should be firm and stiff, but still pliable and smooth. There should be no raw flour – all the ingredients should be hydrated. If the dough seems too dry and rips, add a few drops of water and continue kneading. If the dough seems tacky or sticky, add more flour to achieve the stiffness required. The kneaded dough should feel satiny and pliable but not be tacky.

4. Immediately divide the dough into 8-12 equal pieces. Form the pieces into smooth balls.

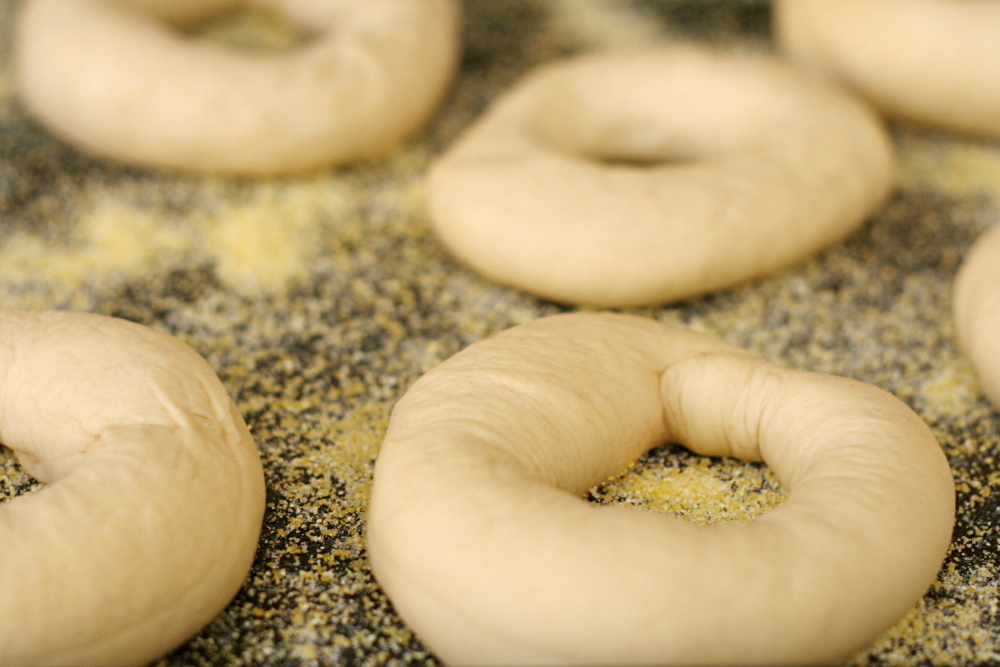
5. Cover the balls with plastic wrap and allow them to rest for 20 minutes. Dust a baking sheet with the cornmeal.

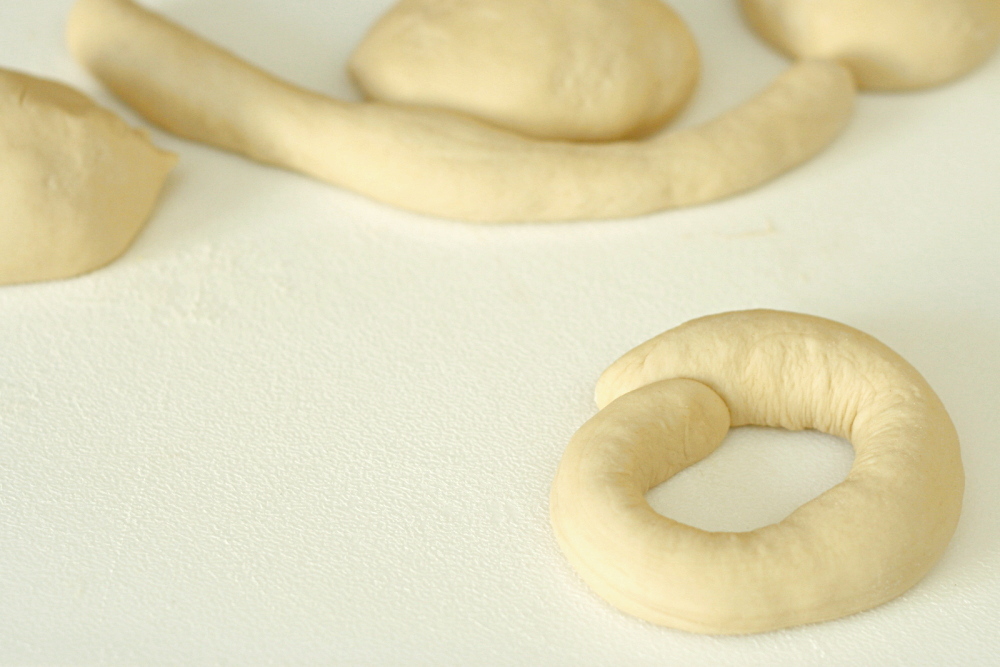
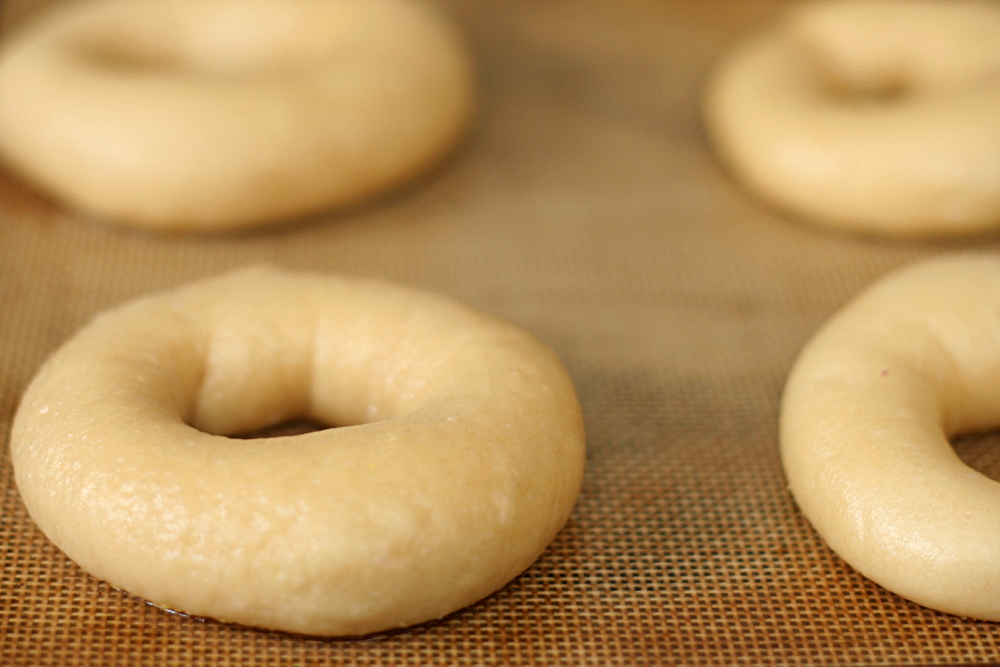
6. Form each dough ball into a rope 9 inches long by rolling it under your outstretched palms. Do not taper the ends of the rope. Overlap the ends of the rope about 1 inch and pinch the entire overlapped area firmly together. If the ends of the rope do not want to stick together, you can dampen them slightly. Place the loop of dough around the base of your fingers and, with the overlap under your palm, roll the rope several times, applying firm pressure to seal the seam. The bagel should be roughly the same thickness all the way around.

7. Place each of the shaped pieces about an inch apart on the prepared pan. Cover loosely with plastic wrap. Let the pan sit at room temperature for about 20 minutes.

8. Check to see if the bagels are ready to be retarded in the refrigerator by using the ‘float test.” Fill a small bowl with cool or room-temperature water. The bagels are ready to be retarded when they float within 10 seconds of being dropped into the water. Take one bagel and test it. If it floats immediately return the tester bagel to the pan, pat it dry, cover the pan, and place it in the refrigerator overnight (it can stay in the refrigerator for up to 2 days). If the bagel does not float, return it to the pan and continue to proof the dough at room temperature, checking back every 10 to 20 minutes or so until a tester floats. The time needed to accomplish the float will vary, depending on the ambient temperature and the stiffness of the dough.

9. The following day (or when you are ready to bake the bagels), adjust the rack to the middle position and preheat the oven to 450 degrees. Bring a large pot of water to a boil (the wider the pot the better). Have a slotted spoon or skimmer nearby. Line a baking sheet with parchment paper.

10. Remove the bagels from the refrigerator and gently drop them into the water, boiling only as many as comfortably fit (they should float within 10 seconds). Stir and submerge bagels with Chinese skimmer or slotted spoon until very slightly puffed, 30 to 35 seconds. Remove rings from water; transfer to wire rack, bottom side down, to drain.

11. Transfer boiled rings, rough side down, to parchment paper-lined baking sheet. Bake until deep golden brown and crisp, about 12 minutes.

12. Remove the pans from the oven and let the bagels cool on a rack for 10-15 minutes before serving.

Copy of IMG_6182

artos (greek celebration bread)

copy-of-img_5976

I’ve always wanted to make this bread just because the shape of one of the variations is so cool. It’s a round loaf with strips of dough crossed over the top, the ends split and curled around.

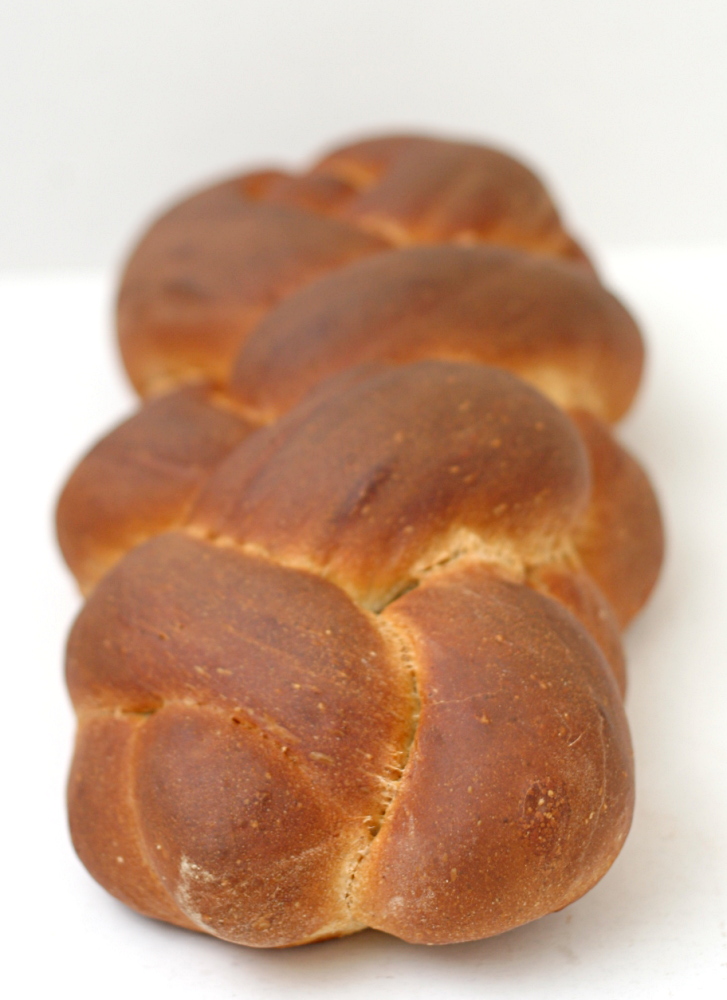
I ended up not using that shape though. The bread is flavored with all sorts of things – almond extract, lemon zest, fall spices, olive oil, honey – so I thought it would make a particularly good French toast, and a round loaf didn’t seem practical for that. Instead, I tried a 4-strand braid, which looks pretty much like a 3-strand braid after baking. That’s okay, it was easy to do.

When Dave tried the bread, he said “This smells like Christmas. Did you put Christmas in this? The bread did, indeed, make for some pretty amazing French toast. Except I think it needs more salt. I’m a broken record.

For the recipe for this bread, check Michelle’s blog.  She also shows the shape I described above.  However, I skipped the dried fruit, nuts, and glaze, plus I used sourdough starter instead of the poolish.

rhubarb scones

copy-of-img_5500

Scones get a seriously bad rap. People think they’re bland, dense, and/or crumbly. People think you can only enjoy them if you have a mug of coffee or tea with them. Branny told me that her husband thinks they taste like chalk. And these people aren’t completely wrong – some scones are pretty terrible. As for the whether they need to be accompanied by a hot drink, I happen to think that everything even a little sweet is better with coffee or tea.  But that doesn’t mean that I can’t enjoy a cookie without coffee.

copy-of-img_5281

Like a lot of foods, you might have to make scones yourself to get good ones. I can’t personally attest to the scones at coffee shops, but if they’re on par with every other baked treat I’ve ordered from a national coffee shop chain, they’ll be stale and bland. Don’t judge scones based on this example.

copy-of-img_5288

Scones are similar to biscuits, although many scone recipes have eggs included, which is rare in biscuits. In both, the dry ingredients are mixed first, and cold butter is cut in, then cold liquid is gently stirred in. Compared to the last scone recipe I made, this one has less butter, but richer dairy (cream as opposed to yogurt + milk).

copy-of-img_5517

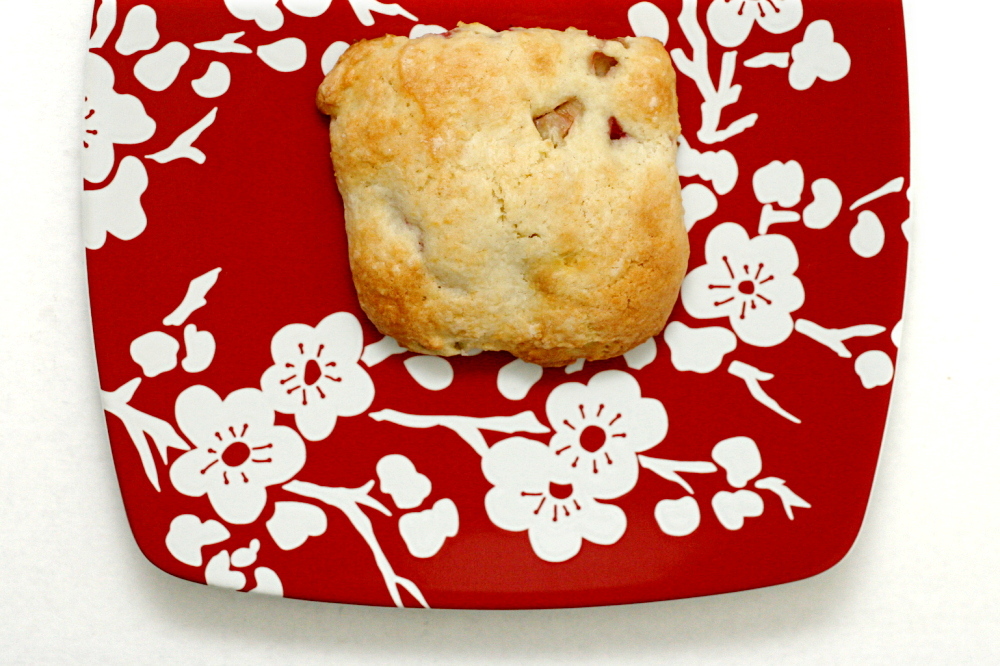
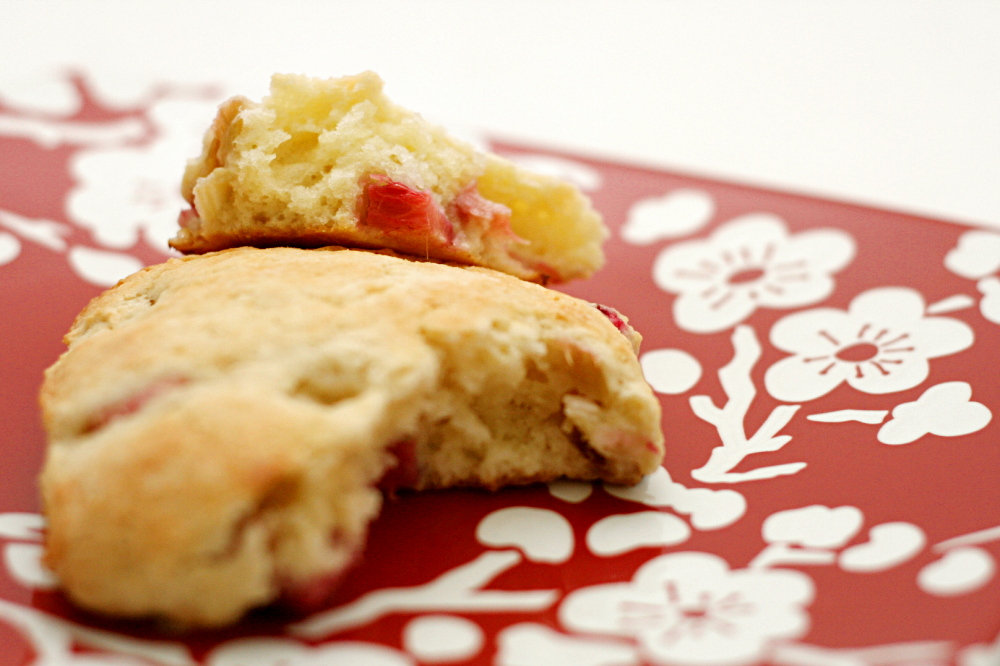
The cream changes the texture from flaky to melt-in-your-mouth tender. They’re sweet, but only slightly so, and studded by juicy, tart bits of rhubarb. There’s nothing bland, dense, crumbly, or chalky about these scones, and while I enjoyed mine with my Saturday cup of coffee, a hot drink is not required to appreciate these. If you think you don’t like scones, try these.

copy-of-img_5496

One year ago: Kaiser Rolls – I have to admit that I’ve made these twice and have decided that they’re just not worth the effort.  I like using this much easier dough instead.

Printer Friendly Recipe
Rhubarb Cream Scones
(adapted from Gourmet via Smitten Kitchen)

I only used 1½ cups (2 stalks) of rhubarb, but it wasn’t nearly enough. I would even err on the high side of 2 cups.

Update 5/8/2012 – While many people have had good results with this recipe, a few commenters have complained that their dough was too wet. This might have to do with imprecise volume measurements of flour, variability in rhubarb juiciness, or perhaps the size of the eggs used. Regardless, start with ½ cup of cream, then add more until the dough comes together but holds its shape. It might be sticky, but you should be able to pat it out with floured hands.

2½ cups (12 ounces) all-purpose flour
½ cup sugar (3.5 ounces) plus 3 tablespoons
1 tablespoon baking powder
½ teaspoon salt
¾ stick (6 tablespoons) cold unsalted butter, cut into bits
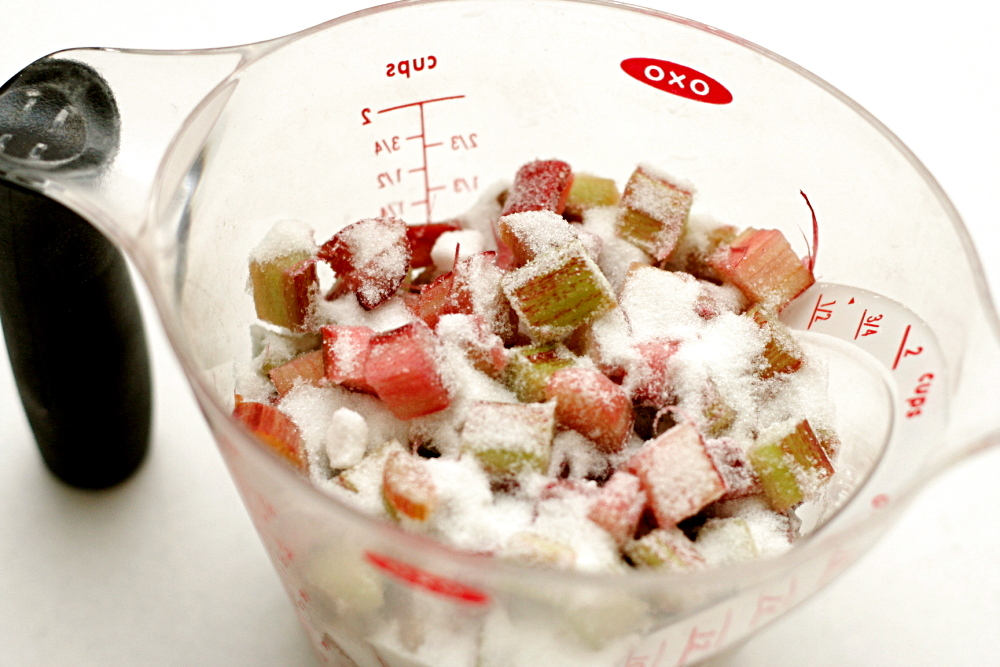
2 cups diced rhubarb (¼-inch cubes), about 3 stalks
1 large egg
1 large egg yolk
1 cup heavy cream (see update)

1. Preheat oven to 400F and line a large baking sheet with parchment paper. Adjust a baking rack to the middle position. In a small bowl, mix the rhubarb with 3 tablespoons sugar.

2. In a food processor, pulse the flour, ½ cup sugar, baking powder, and salt a few times, just to mix. Distribute the butter evenly over the dry ingredients and pulse until the mixture resembles coarse meal. Transfer to a large bowl.

3. Stir the rhubarb into the flour mixture. Lightly beat the egg, yolk, and cream together in a bowl (use the same one you used for the rhubarb), then add this mixture to the flour mixture. Stir until just combined.

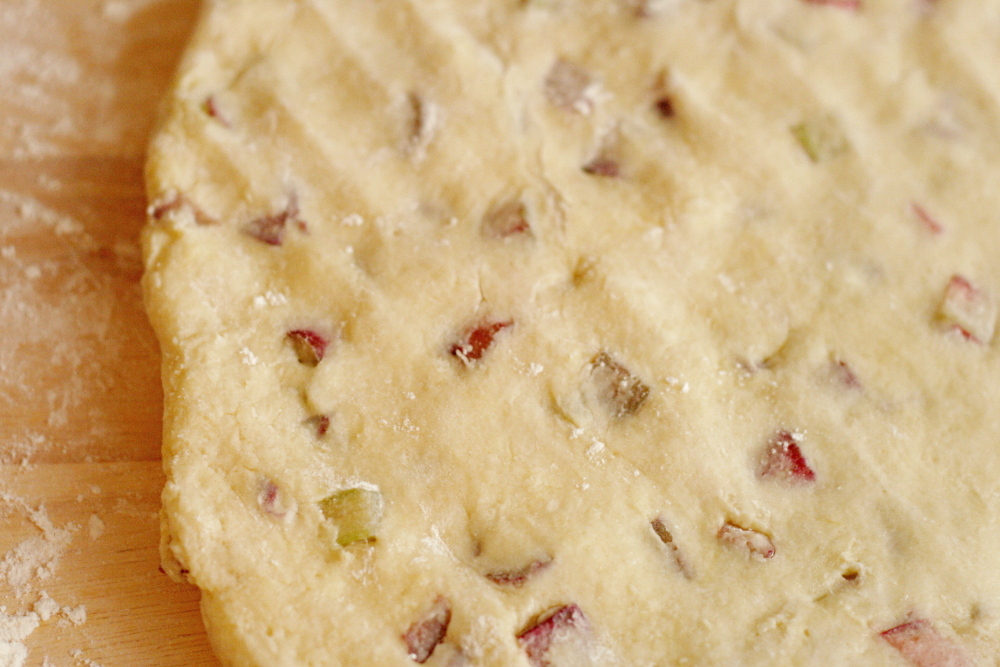
4. On a well-floured surface with floured hands, pat the dough into a 1-inch-thick round (about 8 inches in diameter). Using a 2-inch round cutter or rim of a glass dipped in flour, cut out as many rounds as possible, rerolling scraps as necessary. Arrange rounds about 1 inch apart on baking sheet and bake for 15 to 20 minutes, or until pale golden.  Transfer the scones to a cooling rack and let them cool slightly before serving.

copy-of-img_5495

cappuccino muffins

copy-of-img_5897

I apologize for being a Debbie downer, but I just wasn’t feeling this month’s Tuesdays with Dorie choices. Apples and cinnamon scream fall and winter to me, peaches won’t be ripe for another month, and two more celebration cakes? Really?

But it’s okay. I’m sure I’ll find something to enjoy about each one. I’ve made three already, and so far, so good.

copy-of-img_5877

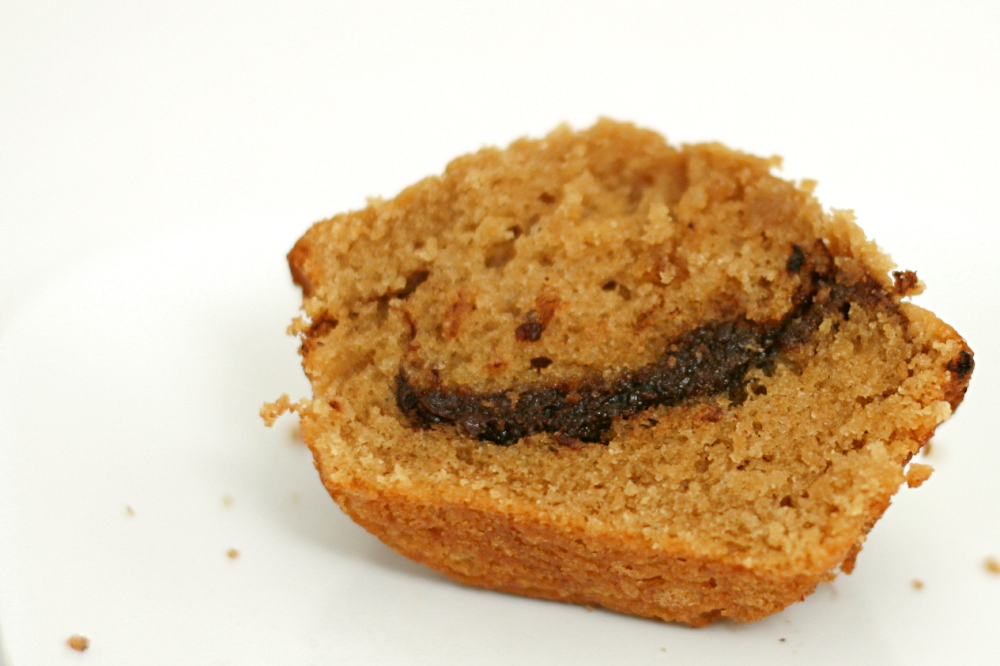
The cinnamon cake really does look great, with its tender base, layer of cinnamon, and swirls of chocolate frosting. But I thought if I could cheat by skipping the frosting and reducing the chocolate in the filling, and get something closer to a muffin than a cake, then I could give them to Dave as a morning snack, freeing me up for another dessert recipe I was eager to make last week.

copy-of-img_5874

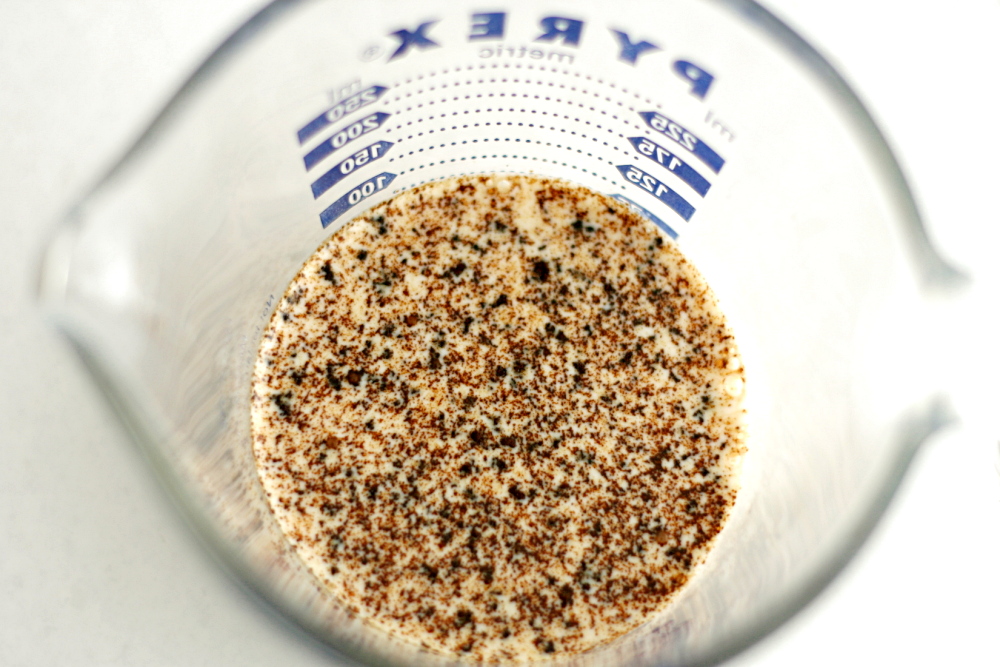
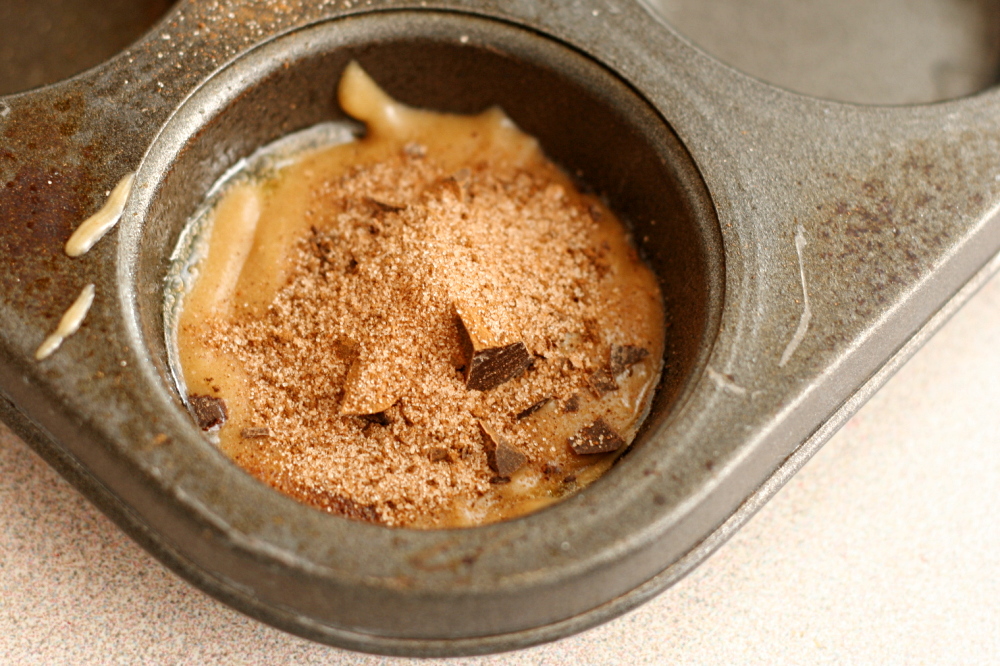
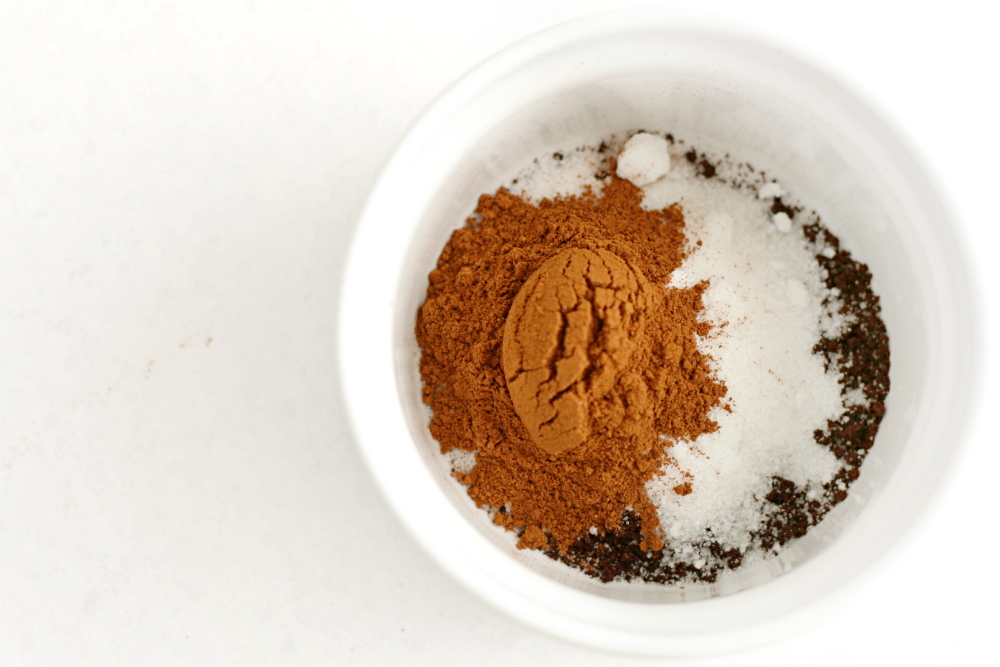
It wasn’t too far of a stretch, since the cake batter was mixed like a muffin – the dry and wet ingredients are mixed separately before being combined. Half of the batter is spread into a pan, a mixture of espresso powder, sugar, and cinnamon is sprinkled over the batter, then some chopped chocolate, and then the remaining batter. Dorie gives a cappuccino version of the recipe as well, where more espresso powder is mixed into the batter, and I made that variation in an effort to make this feel even less like a winter treat.

copy-of-img_5880

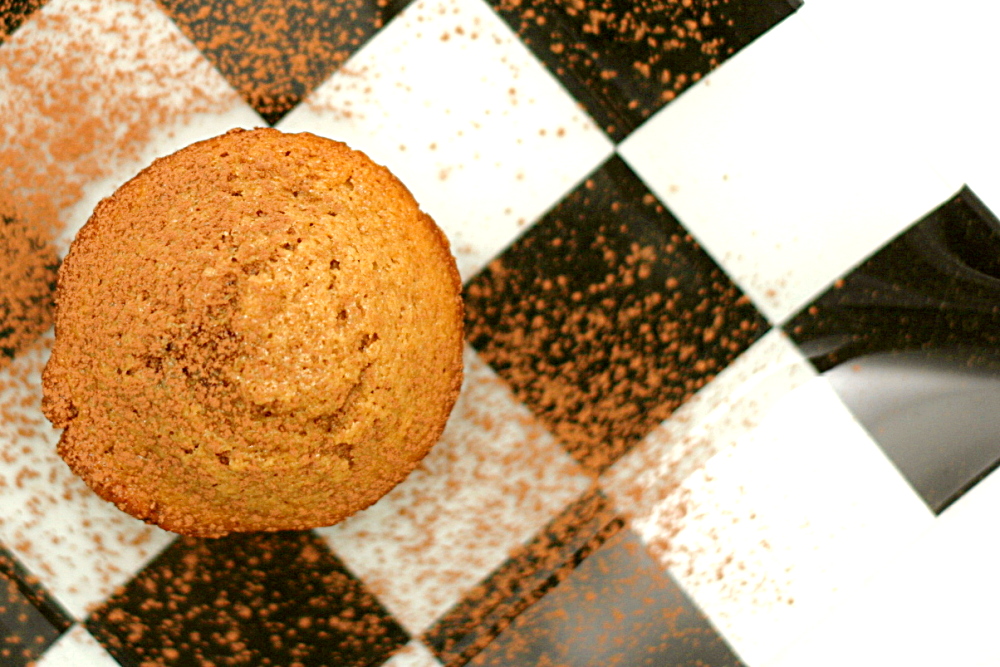
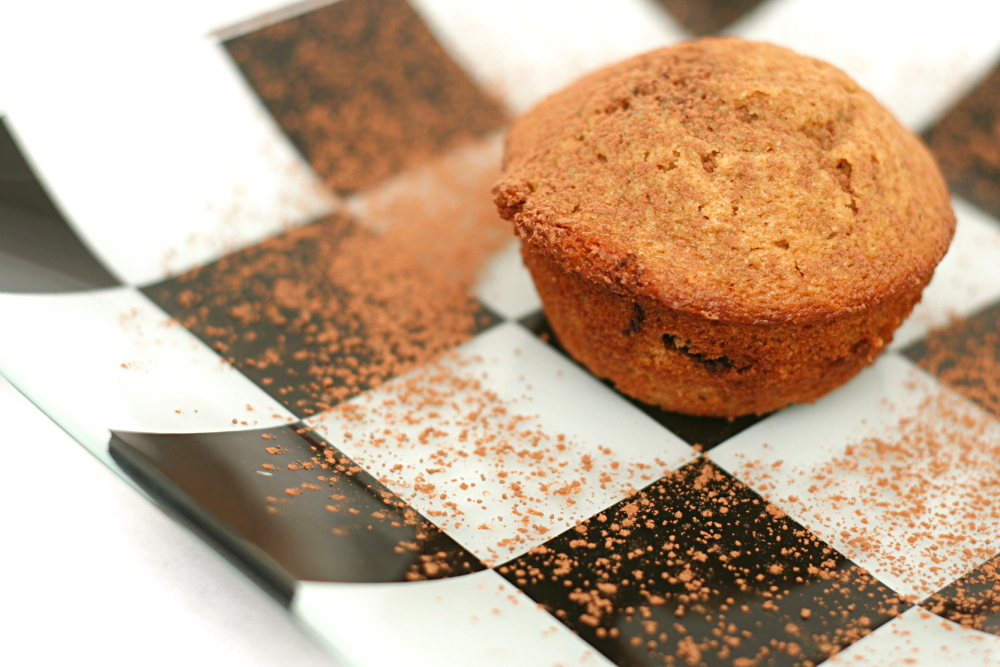
I was very happy with the result. The muffins were light and tender, with an interesting mix of flavors from the espresso, cinnamon, and chocolate. They’re certainly no replacement for our weekend cappuccino habit, but it’s not a bad substitute for a workday.

copy-of-img_5887

Tracey chose this recipe for Tuesdays with Dorie and has the recipe posted. I halved the chocolate in the filling, only used about 2/3 of the cinnamon sugar mixture, made the version with extra espresso, skipped the frosting, and baked the cake in muffin tins (use 12 for a full recipe) instead of a cake pan.

One year ago: Crockpot Pulled Pork

copy-of-img_5895

croissants 1 (tartine)

copy-of-img_4769

Someone must have told me “if at first you don’t succeed, try, try again” at a particularly impressionable age. Either that, or I’ve struggled through learning enough new subjects that I recognize the value of practice. Or maybe I’m just obsessive.

copy-of-img_4717

This was my first time making croissants, and it wasn’t perfect, which immediately sparked my desire to try a bunch of other croissant recipes. (Not side-by-side, mind you. My head spins just thinking about it.) The thing is that I can’t figure out exactly where I went wrong. I’m hoping that by gaining experience with different recipes, I’ll become more familiar with the process and pick up some nice tips along the way.

copy-of-img_4746

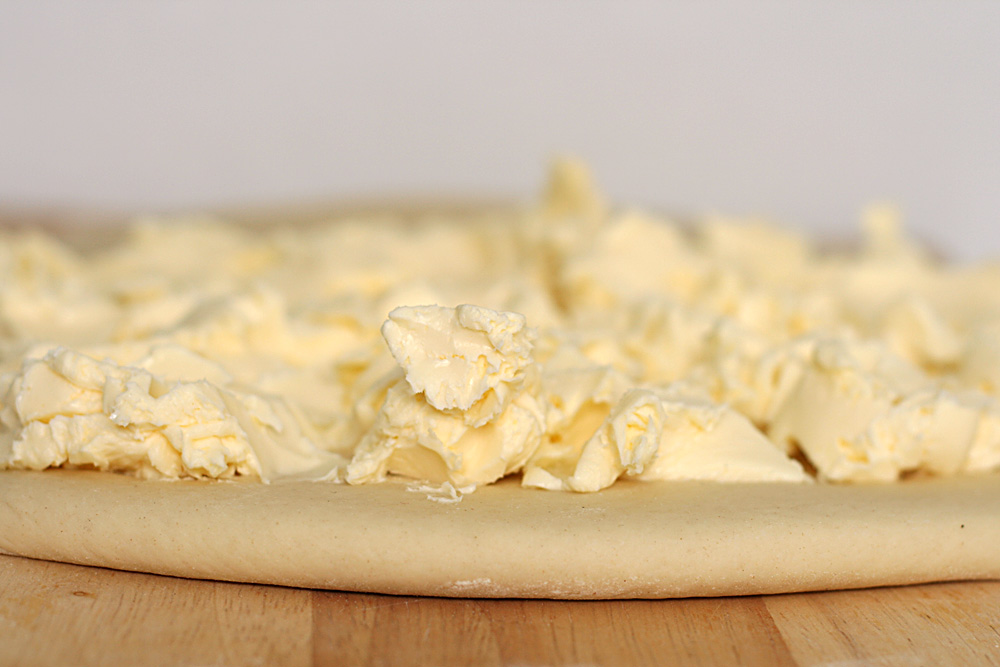
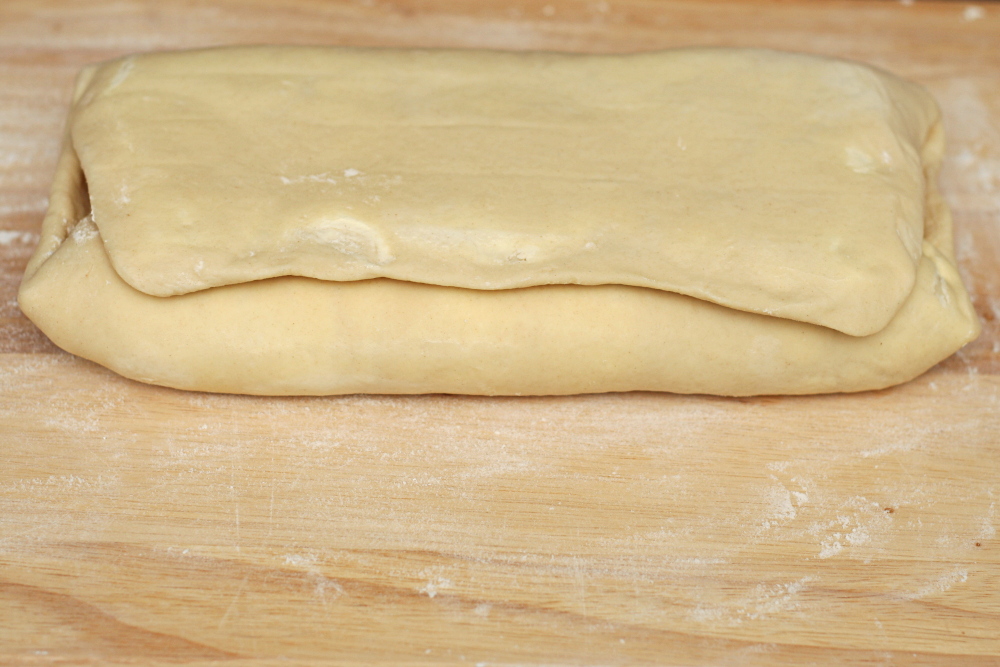
Of the recipes I’ve considered trying, this one is the most complex. First, a pre-ferment is made, two days before you want to bake the croissants. That gets turned into croissant dough the next day, and from there, most recipes are the same. Knead a little, then roll it out with a bunch of butter and fold it like a letter. Chill, then repeat the folding twice. Chill overnight. Roll out, cut, shape, rise, bake.

copy-of-img_4752

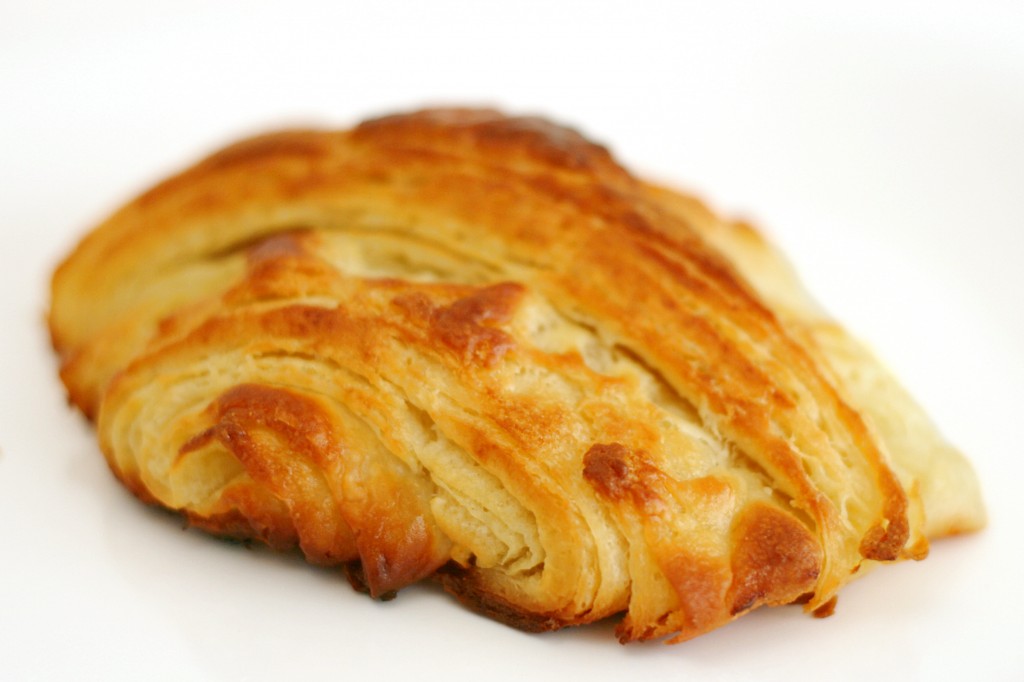
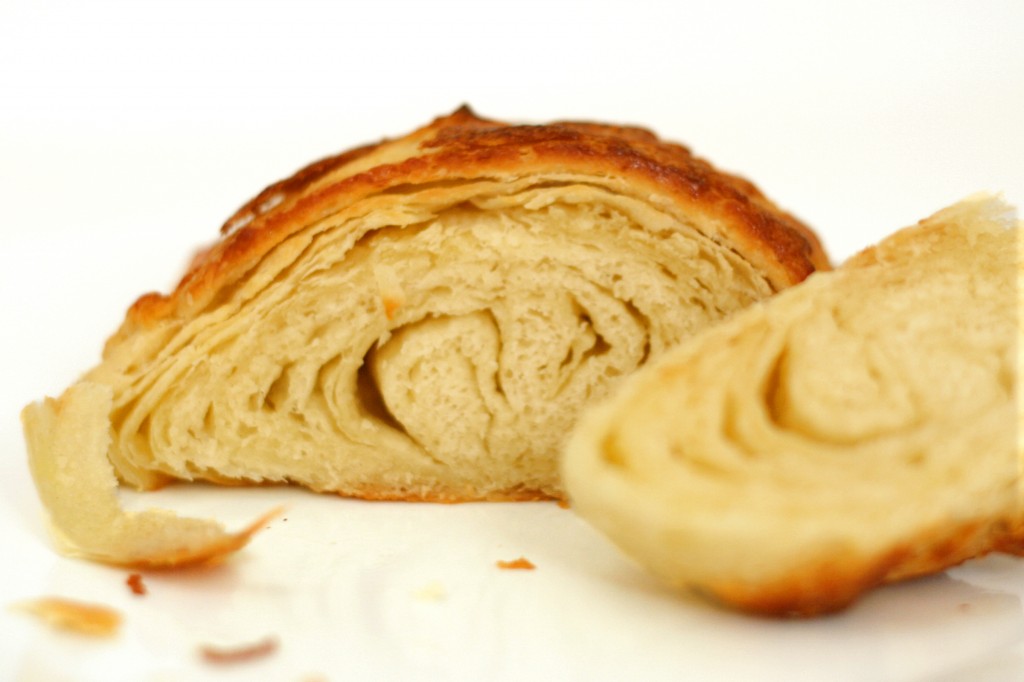
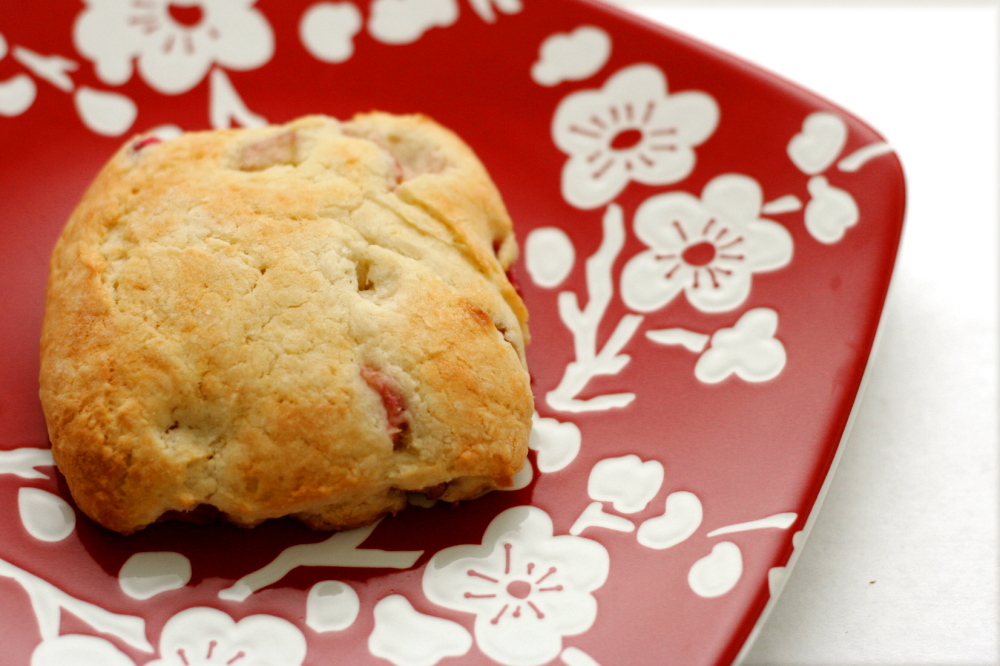
The author of the recipe, Elisabeth Prueitt, gives a lot of detail, turning my 60-word summary of the recipe into 5 pages of instructions, tips, and advice. She does not mention that the dough will be so elastic that it will fight you every time you have to roll it out, which makes me think I did something wrong. (Overkneading is my guess.) She also does not say anything about a huge pool of butter left behind in the baking pan after the croissants are removed from the oven. And I’m guessing the yeasty flavor of the croissants isn’t right either. And clearly they’re not supposed to look like this:
copy-of-img_4772

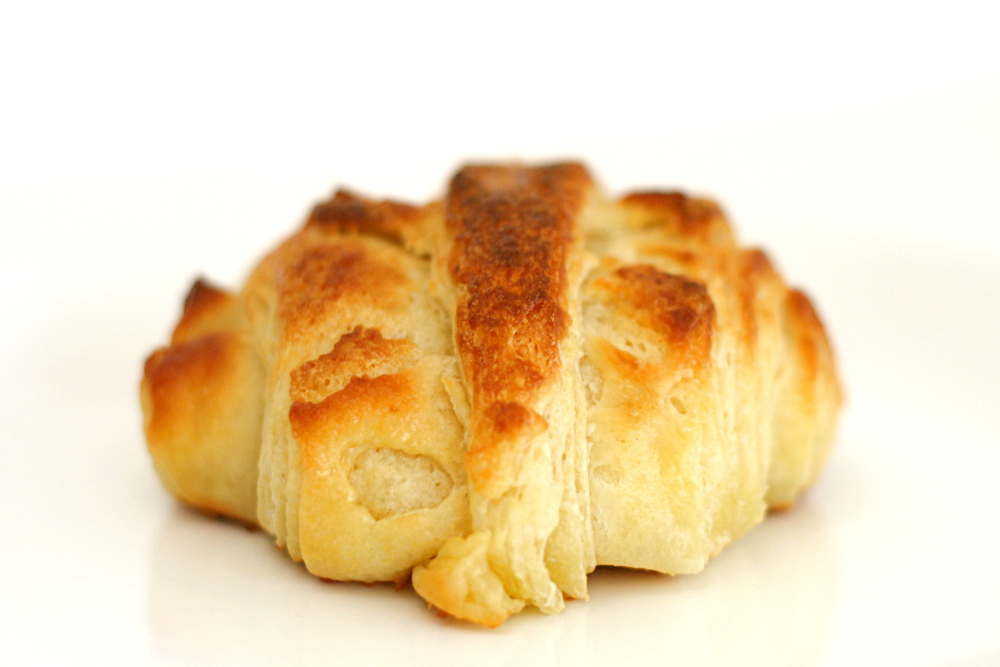
The croissants were still way better than edible – flaky, light, buttery delicious – but clearly my technique needs some refining. After I made this recipe, I was chomping at the bit to try another, and in fact, I have a handful of recipes I want to try. (Although one of them was the recipe that the Daring Bakers made a few years ago – which I just realized is this one. So never mind that one.) Expect to see reviews of one croissant recipe after another as I attempt to master this pastry.
copy-of-img_4764

One year ago: Snickery Squares

Croissants (from Tartine by Elisabeth M. Prueitt and Chad Robertson)
Preferment:
¾ cup non-fat milk (6 ounces/150 ml)
1 tablespoon active dry yeast (15ml)
1⅓ cup all-purpose flour (6¼ ounces/175g)

Dough:
1 tablespoon + 1 teaspoon active dry yeast (20ml)
1¾ cup whole milk (14 ounces/425 ml)
6 cups all-purpose flour (28 ounces/800g)
⅓ cup sugar (2½ ounces/70g)
1 tablespoon + 1 teaspoon salt (20 ml)
1 tablespoons unsalted butter (15ml)

Roll-in butter:
2¾ cup unsalted butter (22 ounces/625 g)

Egg wash:
4 large egg yolks (2 ounces/60 ml)
¼ cup heavy cream
pinch salt

To Make the Preferment:

In a small saucepan, warm the milk to take the chill off (between 80° to 90 °F). Pour the milk into a mixing bowl, sprinkle the yeast over the milk, stir to dissolve the yeast with a wooden spoon, and then add the flour, mixing with a wooden spoon until a smooth batter forms. Cover the bowl with cheesecloth and let the mixture rise until almost double in volume, 2 to 3 hours at moderate temperature or overnight in the refrigerator.

To Make the Dough:

First measure out all your ingredients and keep them near at hand. Transfer the preferment and then the yeast to the large bowl of a stand mixer fitted with the dough hook. Mix on low speed until the yeast is incorporated into the preferment batter, which will take a minute or two. Stop the mixer as needed and use a spatula to clean the bottom and sides of the bowl, folding the loosened portion into the mixture to incorporate all the elements fully. When the mixture has come together into an even, well-mixed mass, increase the speed to medium, and mix for a couple of minutes. Slowly add half of the milk and continue to mix until the milk is fully incorporated.

Reduce the speed to low, add the flour, sugar, salt, melted butter, and the rest of the milk, and mix until the mass comes together in a loose dough, about 3 minutes. Turn off the mixer and let the dough rest for 15 to 20 minutes. This resting period helps to shorten the final mixing phase, which comes next.

Engage the mixer again on low speed and mix until the dough is smooth and elastic, a maximum of 4 minutes. If the dough is very firm, add a little milk, 1 tablespoon at a time. Take care not to overmix the dough, which will result in a tough croissant that also turns stale more quickly. Remember, too, you will be rolling out the dough several times, which will further develop the gluten structure, so though you want a smooth dough, the less mixing you do to achieve that goal, the better. Cover the bowl with cheesecloth and let the dough rise in a cool place until the volume increases by half, about 1½ hours.

Lightly flour a work surface. Transfer the dough to the floured surface and press into a rectangle 2 inches thick. Wrap the rectangle in plastic wrap, or slip it into a plastic bag and seal closed. Place the dough in the refrigerator to chill for 4 to 6 hours.

To Make the Roll-in butter:

About 1 hour before you are ready to start laminating the dough, put the butter that you will be rolling into the dough in the bowl of the mixer fitted with the paddle attachment. Mix on medium speed until malleable but not warm or soft, about 3 minutes. Remove the butter from the bowl, wrap in plastic wrap, and place in the refrigerator to chill but not resolidify.

Laminating the dough:

Lightly dust a cool work surface, and then remove the chilled dough and the butter from the refrigerator. Unwrap the dough and place it on the floured surface. Roll out the dough into a rectangle 28 by 12 inches. With the long side of the rectangle facing you, and starting from the left side, spread and spot the butter over two-thirds of the length of the rectangle. Fold the uncovered third over the butter and then fold the left-hand third over the center, as if folding a business letter. The resulting rectangle is known as a plaque. With your fingers, push down along the seams on the top and the bottom to seal in the plaque.

Second turn:

Give the plaque a quarter turn so the seams are to your right and left, rather than at the top and bottom. Again, roll out the dough into a rectangle 28 by 12 inches, and fold again in the same manner. Wrap in plastic wrap or slip into a plastic bag and place in the refrigerator for 1½ to 2 hours to relax the gluten in the dough before you make the third fold, or “turn”.

Third turn:

Clean the work surface, dust again with flour, and remove the dough from the refrigerator. Unwrap, place on the floured surface, and again roll out into a rectangle 28 by 12 inches. Fold into thirds in the same manner. You should have a plaque of dough measuring about 9 by 12 inches, about the size of a quarter sheet pan, and 1½ to 2 inches thick. Wrap in plastic wrap or slip into the plastic bag, place on a quarter sheet pan, and immediately place in the freezer to chill for at least 1 hour. If you intend to make the croissants the next morning, leave the dough in the freezer until the evening and then transfer it to the refrigerator before retiring. The next morning, the dough will be ready to roll out and form into croissants, proof, and bake. Or, you can leave the dough in the freezer for up to 1 week; just remember to transfer it to the refrigerator to thaw overnight before using.

Making the croissant:

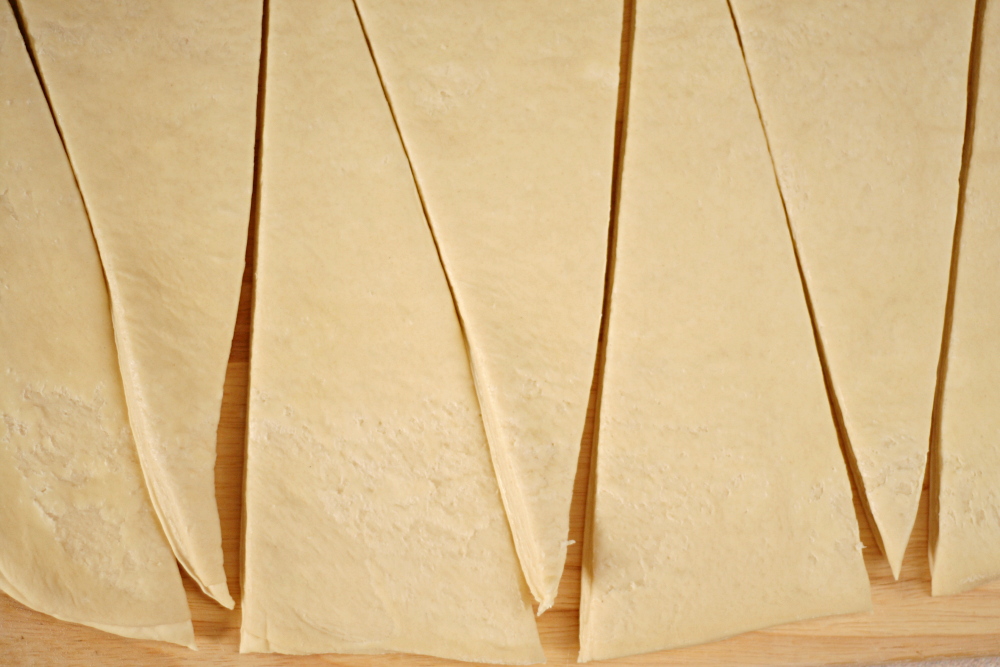
When you are ready to roll out the dough, dust the work surface again. Roll out the dough into a rectangle 32 by 12 inches and 3/8 inches thick. Using a pizza wheel or chef’s knife, cut the dough into long triangles that measure 10 to 12 inches on each side and about 4 inches along the base.

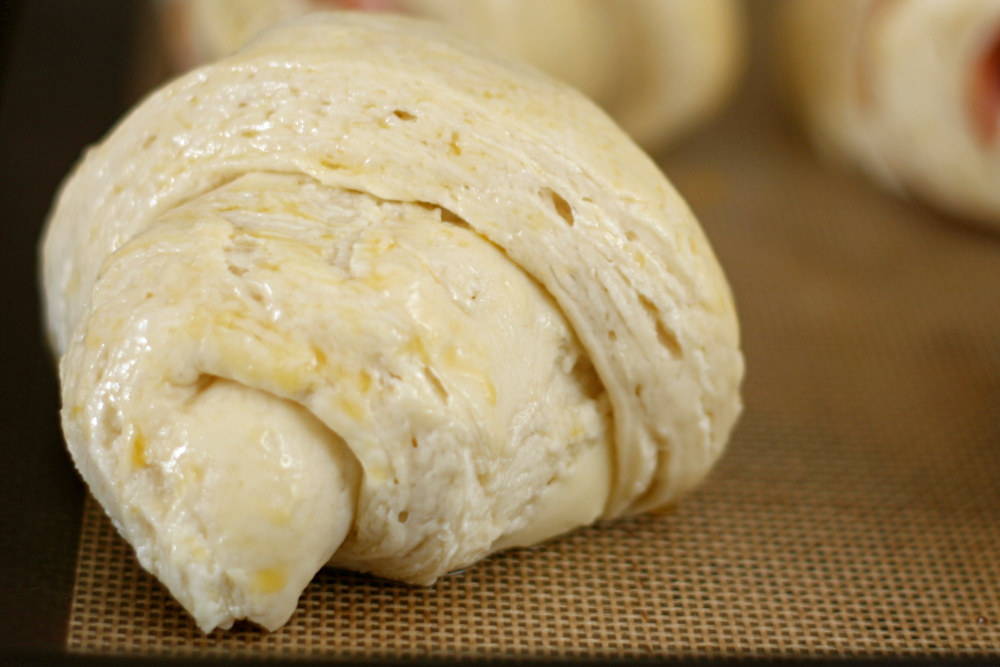
Line a half sheet pan (about 13 by 18 inches) with parchment paper. To shape each croissant, position a triangle with the base facing you. Positioning your palms on the two outer points of the base, carefully rolling the base toward the point. To finish, grab the point with one hand, stretching it slightly, and continue to roll, tucking the point underneath the rolled dough so that the croissant will stand tall when you place it on the sheet pan. If you have properly shaped the croissant, it will have 6 or 7 ridges.
As you form the croissants, place them, well-spaced, on the prepared half-sheet pan. When all the croissants are on the pan, set the pan in a draft-free area with relatively high humidity, and let the pastries rise for 2 to 3 hours. The ideal temperature is 75 °F. A bit cooler or warmer is all right, as long as the temperature is not warm enough to melt the layers of butter in the dough, which would yield greasy pastries. Cooler is preferable and will increase the rising time and with it the flavor development. For example, the home oven (turned off) with a pan of steaming water placed in the bottom is a good place for proofing leavened baked items. To make sure that no skin forms on the pastries during this final rising, refresh the pan of water halfway through the rising.

During this final rising, the croissants should at least double in size and look noticeably puffy. If when you press a croissant lightly with a fingertip, the indentation fills in slowly, the croissants are almost ready to bake. At this point, the croissants should still be slightly “firm” and holding their shape and neither spongy nor starting to slouch. If you have put the croissants into the oven to proof, remove them now and set the oven to 425 °F to preheat for 20 to 30 minutes.

About 10 minutes before you are ready to bake the croissants, make the egg wash. In a small bowl, whisk together the egg yolks, cream, and salt until you have a pale yellow mixture. Using a pastry brush, lightly and carefully brush the yolk mixture on the pastries, being careful not to allow the egg wash to drip onto the pan. Let the wash dry slightly, about 10 minutes, before baking.

Place the croissants into the oven, immediately turn down the oven temperature to 400 °F, and leave the door shut for the first 10 minutes. Then working quickly, open the oven door, rotate the pan 180 degrees, and close the door. This rotation will help the pastries to bake evenly. Bake for 6 to 10 minutes longer, rotating the pan again during this time if the croissants do not appear to be baking evenly. The croissants should be done in 15 to 20 minutes total. They are ready when they are a deep golden brown on the top and bottom, crisp on the outside and light when they are picked up, indicating that the interior is cooked through.

Remove the croissants from the oven and place them on a wire rack to cool. As they cool, their moist interiors will set up. They are best if eaten while they are still slightly warm. If they have just cooled to room temperature, they are fine as well, or you can rewarm them in a 375°F oven for 6 to 8 minutes to recrisp them before serving. You can also store leftover croissants in an airtight container at room temperature for 1 day, and then afterward in the refrigerator for up to 3 days. If you have stored them, recrisp them in the oven before serving.

copy-of-img_4779

fresh mango bread

copy-of-img_4960

I recently told someone that neither Dave or I like mangoes. Exactly one week later, Dave brought home four mangoes from work. Um…dude, we don’t like mangoes, remember?

But it turns out that I do like mangoes! I just don’t like the unripe ones I was buying from the grocery store. These were soft and sweet and a little spicy. And now I know how to tell when mangoes are ripe!

copy-of-img_4937

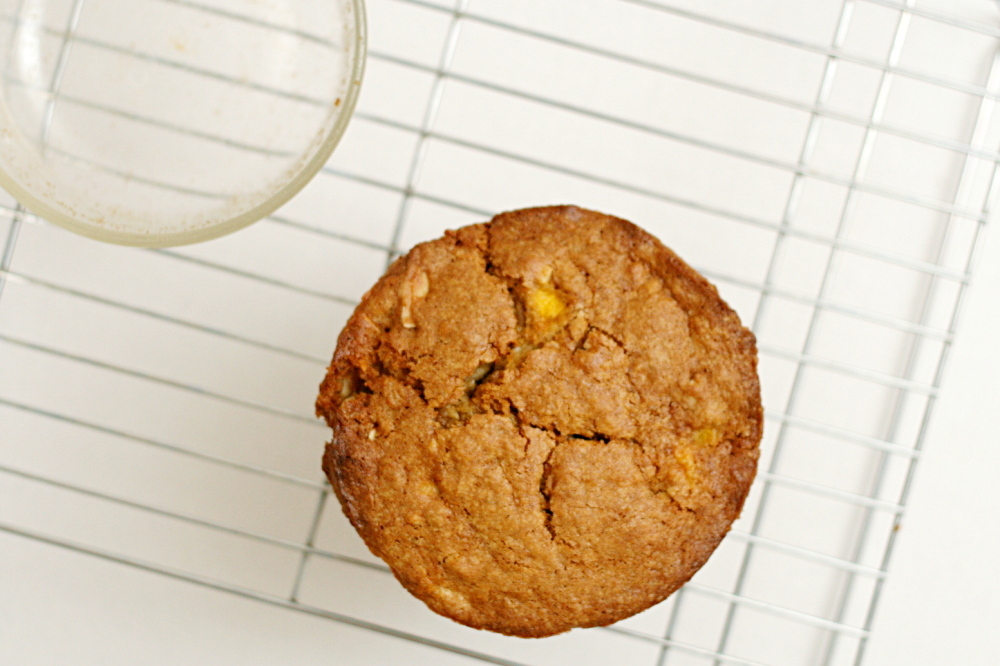
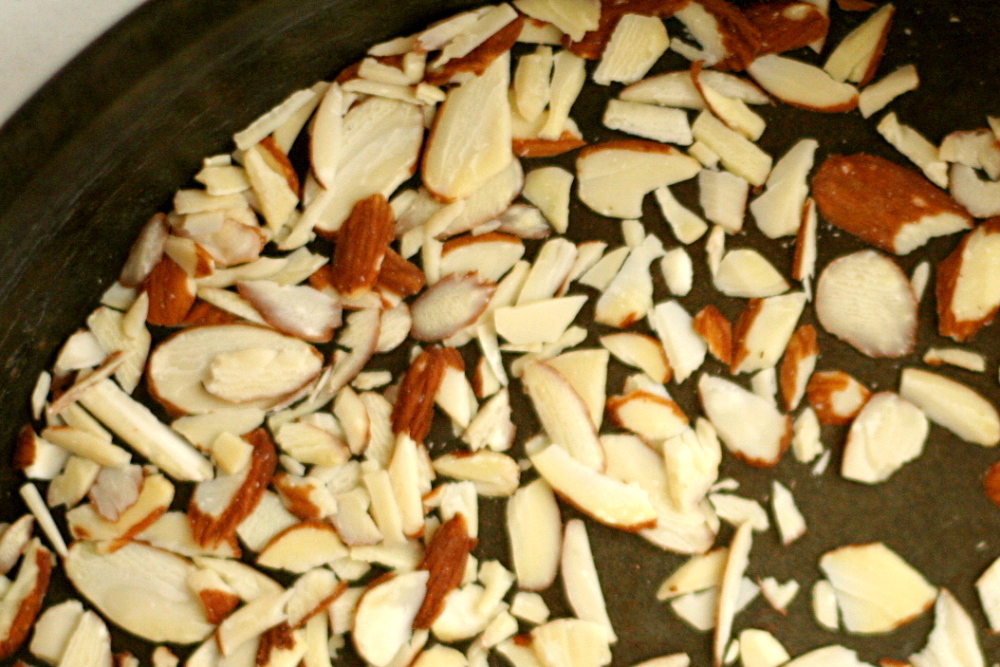
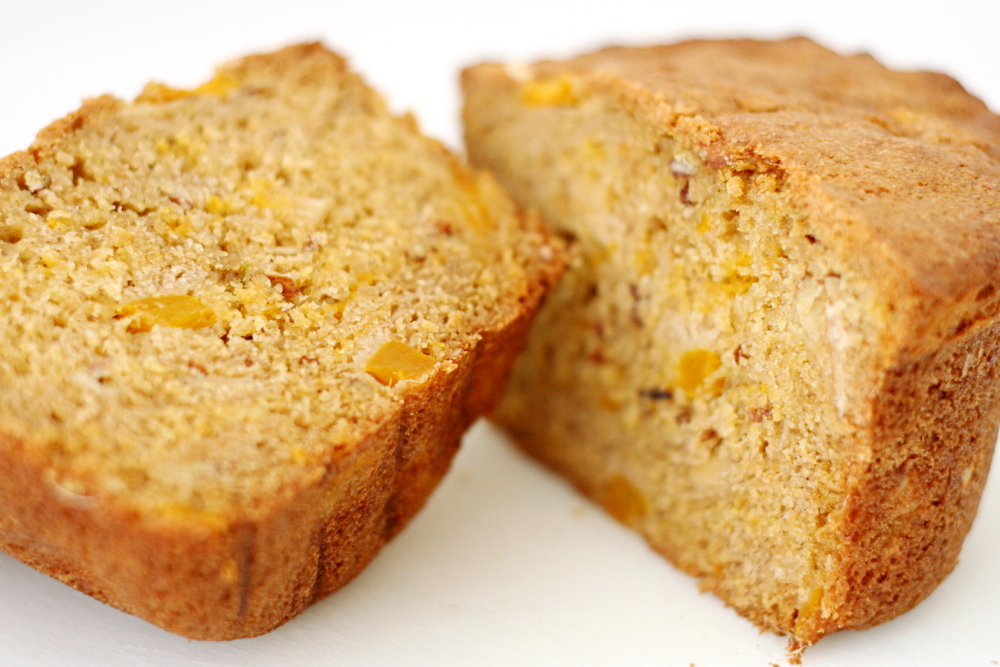
I used the last of those four mangoes in this bread, which is made like a classic quick bread, where the dry and the wet ingredients are mixed separately, then gently combined. I didn’t have raisins, so I skipped those, and I added lightly toasted sliced almonds instead. I didn’t have a lime or ginger either, so I left those out too.

copy-of-img_4942

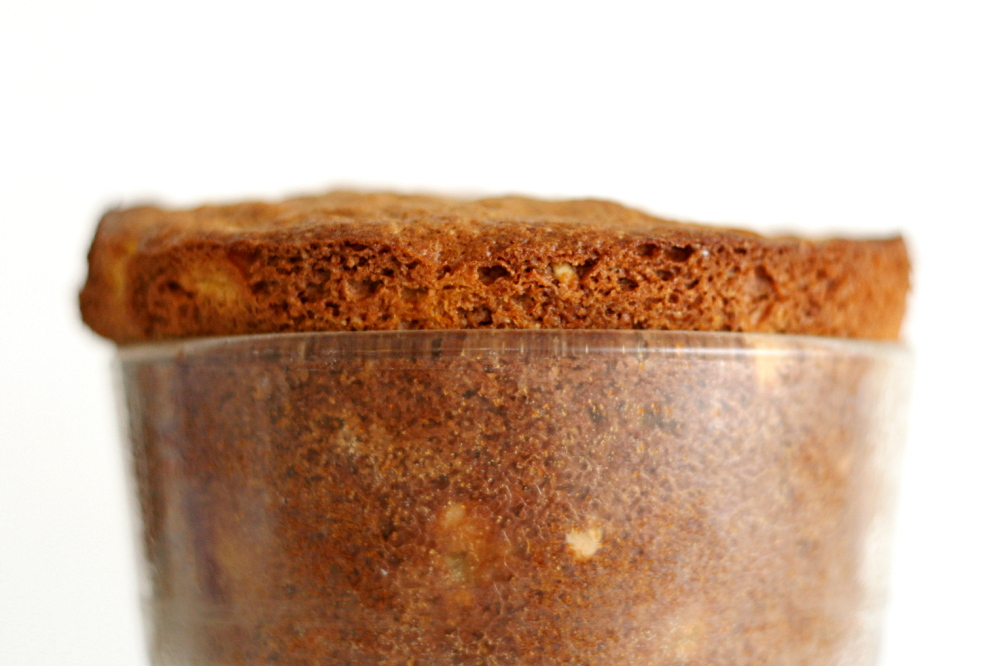
So it turns out that I like mangoes…and I definitely like quick breads, and the bread part of this was particularly good, subtly spiced and perfectly tender without being too delicate. But I found that I don’t really like mangoes in a quick bread. Mangoes, to me, represent something refreshing and cool. Even once the bread was at room temperature, it didn’t seem like the right venue for mangoes. I didn’t hate it, but in the future, I’ll keep my mangoes and my quick breads separate.

copy-of-img_4962

If you feel differently, check out the recipe on Kelly’s site. She chose this recipe for TWD.

One year ago: Hash Browns with Sautéed Vegetables and Poached Eggs

copy-of-img_4948