applesauce snack cake

Copy of IMG_0023

You must make this cake.

I try not to say that. I know everyone has their own preferences. Not everyone likes to bake. There is no shortage of apple cake recipes. But –

You must make this cake.

Copy of IMG_0002

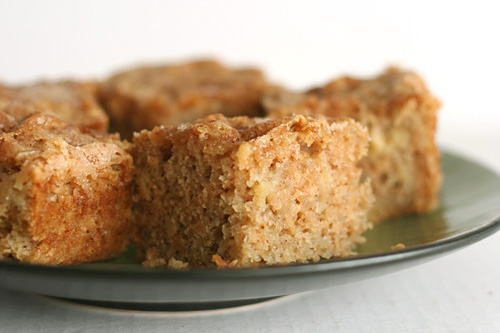
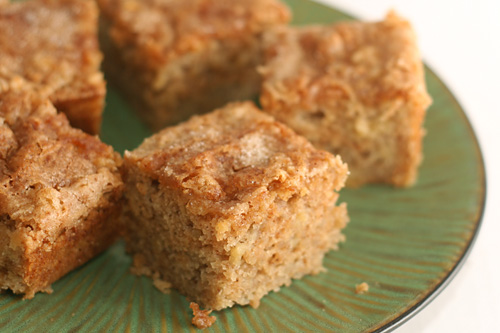
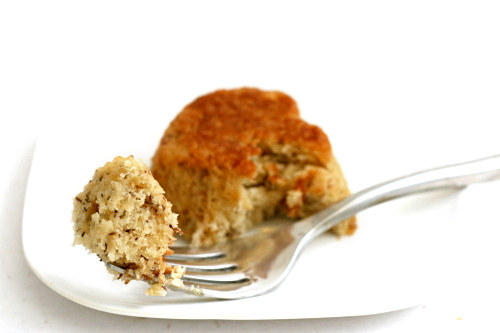
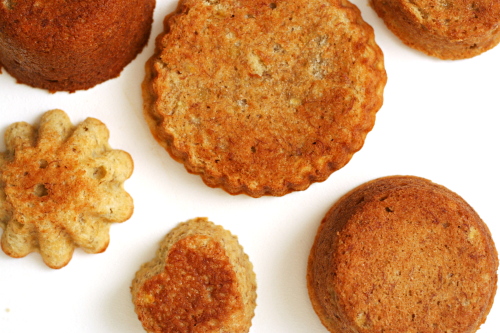
It’s the essence of fall, all in one small unassuming square of cake. It will make your house smell warm and cozy while you bake. The flavor is spot-on apple, and yet there are no chunks of fruit to break up the smooth cake. The texture is soft and moist, with just the thinnest crisp sugar coating on top.

Copy of IMG_0015

Of course, this perfection comes at a price.

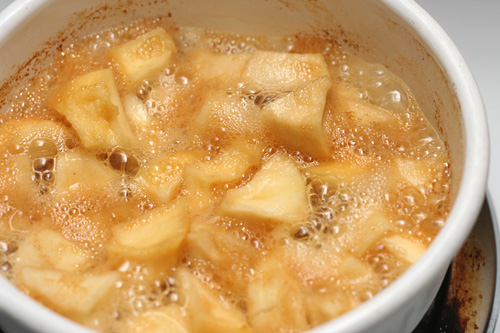
The fantastic smell of fall permeating your kitchen comes from reducing apple cider, which takes some time. Getting the chunk-free texture I appreciate so much requires a quick whiz in the food processor, dirtying several large dishwasher-hogging dishes.

Copy of IMG_0007

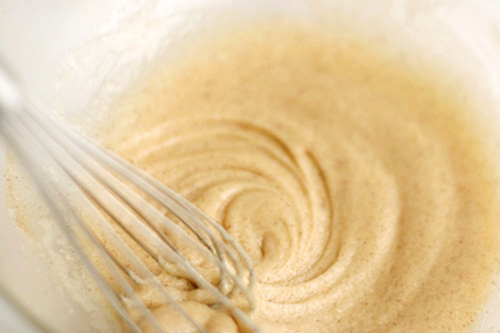
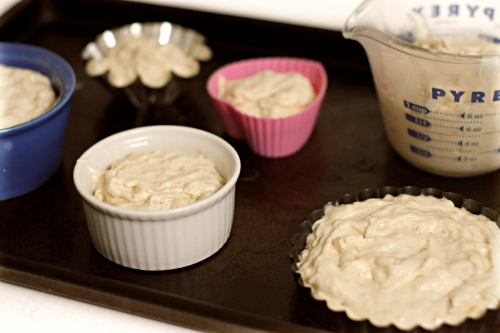
But, oh, it’s worth it. It’s worth it. Really, while the cider is reducing and hydrating the dried apples, you can prepare the baking pan, measure the rest of the ingredients, and clean up after yourself as you go. Then don’t bother waiting for the hot rehydrated apples to come to room temperature like the recipe hopes you will – mix them with cold-from-the-fridge applesauce and puree them together in the food processor. From that point, the recipe is a simple quick bread, mixing the wet ingredients, then stirring in the dry ingredients and baking.

Copy of IMG_0016

From getting out ingredients to putting the cake in the oven really took maybe 45 minutes. From cutting the cake to eating the cake – darn blog requiring pictures! – took maybe 10 minutes, and it was the longest 10 minutes of my day.

You must make this cake. Seriously.

Copy of IMG_0020

Printer Friendly Recipe
Applesauce Snack Cake
(from Cooks Illustrated)

Makes one 8-inch square cake

I never do Cooks Illustrated’s trick of lining the pan with parchment or foil; it just seems really wasteful to me, and this cake came out of the pan with no problem.

Start the cider and apples simmering before you do anything else. It seems to take longer than 15 minutes for me, so you may want to bump the heat up to just higher than medium (or use a wide pot). And like I said above, I see no reason to wait for the cider mixture to cool and the applesauce (assuming that it’s cold) to warm to room temperature, when you can just combine them and move on with the recipe.

¾ cup (2 ounces), dried apples, cut into ½-inch pieces
1 cup apple cider
1½ cups (7½ ounces) unbleached all-purpose flour
1 teaspoon baking soda
⅔ cup (4¾ ounces) sugar
½ teaspoon ground cinnamon
¼ teaspoon fresh ground nutmeg
⅛ teaspoon ground cloves
1 cup unsweetened applesauce, room temperature
1 large egg, room temperature, lightly beaten
½ teaspoon table salt
8 tablespoons (1 stick) unsalted butter, melted and cooled slightly
1 teaspoon vanilla extract

1. Adjust oven rack to middle position; hear oven to 325 degrees. Cut 16-inch length parchment paper or aluminum foil and fold lengthwise to 7-inch width. Spray 8-inch square baking dish with nonstick spray and fit parchment into dish, pushing it into corners and up sides; allow excess to overhang edges of dish.

2. Bring dried apples and cider to simmer in small saucepan over medium heat; cook until liquid evaporates and mixture appears dry, about 15 minutes. Cool to room temperature.

3. Meanwhile, whisk flour and baking soda in medium bowl to combine; set aside. In second medium bowl, whisk sugar, cinnamon, nutmeg, and cloves. Measure 2 tablespoons sugar-spice mixture into small bowl and set aside for topping.

4. In food processor, process cooled dried-apple mixture and applesauce until smooth, 20 to 30 seconds, scraping sides of bowl as needed; set aside. Whisk egg and salt in large bowl to combine. Add sugar-spice mixture and whisk continuously until well combined and light colored, about 20 seconds. Add butter in three additions, whisking after each. Add applesauce mixture and vanilla and whisk to combine. Add flour mixture to wet ingredients; using rubber spatula, fold gently until just combined and even moistened.

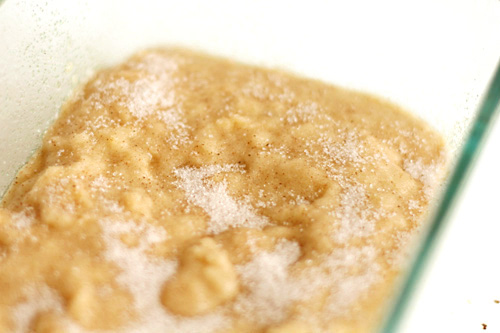
5. Turn batter into prepared pan, smoothing top with rubber spatula. Sprinkle reserved 2 tablespoons sugar-spice mixture evenly over batter. Bake until wooden skewer inserted in center of cake comes out clean, 35 to 40 minutes. Cool on wire rack to room temperature, about 2 hours. Run knife along cake edges without parchment to release. Remove cake pan by lifting parchment overhand and transfer to cutting board. Cut cake and serve.
Copy of IMG_0021

pumpkin cupcake comparison

Copy of IMG_9772

You know what’s totally unfair, considering that I’m in general more interested in food than Dave? He has a more sensitive palate than me. What the hell?

I made these cupcakes when he wasn’t around, and I had to do three separate “tastings” (eating all three in one sitting, unfrosted) over a couple of days before I could really narrow down my opinion. Dave came home, ate one of each, and described them almost exactly as I would have. Gah!
My primary goal for the pumpkin cupcakes was for them to be pumpkin cupcakes, not pumpkin muffins with frosting. I originally thought I’d make this recipe from Smitten Kitchen, but then I found two other recipes, one from the newest issue of Bon Appetit which everyone is raving about, and one from Martha Stewart, and of course I’m incapable of making a decision, so: comparison time!

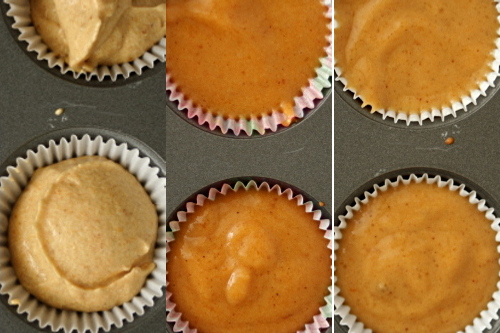
batter combo
left to right: david leite, martha stewart, bon appetit

Method:
Bon Appetit: This recipe got demerit points from the start for calling for self-rising flour and pumpkin pie spice, both of which I had to look up conversions for. (And I was surprised to find that there apparently is no straight substitution for self-rising flour.) Plus it called for the brown sugar to be mixed with the dry ingredients – clumps!  The mixing method is a simple wet ingredients-dry ingredients-combine process, which…sounds like a muffin. It was the only recipe that used oil instead of butter, and it included sour cream.

Martha Stewart: This was also mixed similar to muffins are, with the pumpkin added after the wet and dry ingredients are combined.

David Leite (via Smitten Kitchen): This recipe was the most promising from the beginning, because it’s actually mixed using the cake method, where butter and sugar are creamed, the eggs are mixed in, then the dry ingredients and liquid (buttermilk in this case) are alternately added.

Copy of IMG_9566
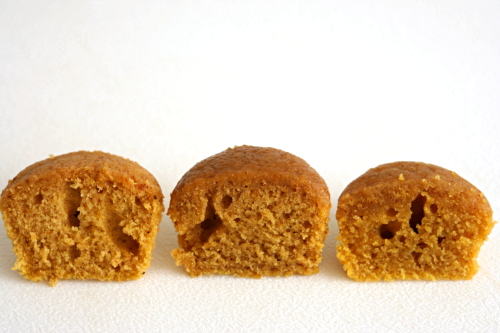
left to right: david leite, martha stewart, bon appetit

Results:
Bon Appetit: They were very dense; I could always identify these cupcakes just by the weight of them. The tangy flavor of the sour cream was definitely noticeable, which I thought masked the flavor of the pumpkin. This was both Dave and my least favorite.
Martha Stewart: These were good – light and moist, with a nice pumpkin flavor. The tops were sticky, but that doesn’t matter after they’re frosted. I was impressed with these until I tried the David Leite cupcakes, and then these seemed too muffiny.
David Leite: Perfect. So light, with just the right amount of resiliency. (It’s hard to describe this trait of cakes, but I like when they’re a little springy.) The pumpkin flavor was nicely balanced. They were just really good cupcakes, pumpkin flavored.

Copy of IMG_9573
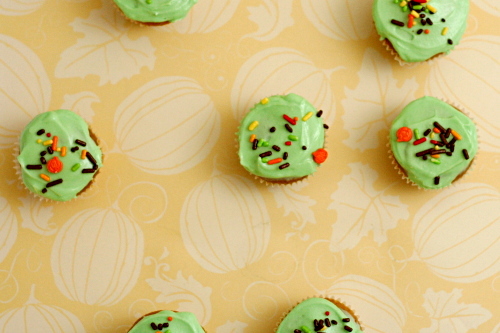
left to right: david leite, martha stewart, bon appetit

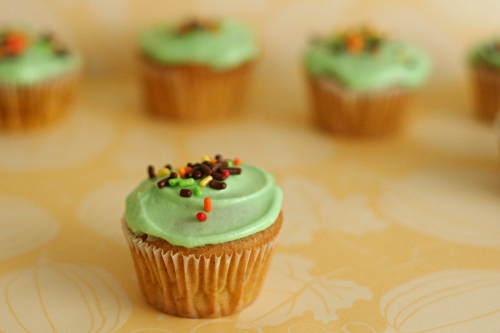
For once, a comparison post where the results are clear! Even my dumb palate can tell the difference between these three cakes. David Leite’s recipe is certainly the way to go, unless you’re in a big hurry or hate to bake or something, in which case nobody is going to complain about Martha Stewart’s recipe.

Copy of IMG_9771

Printer Friendly Recipe
Pumpkin Cupcakes
(adapted from David Leite via Smitten Kitchen)

18 cupcakes

1 stick unsalted butter, room temperature, plus more for greasing pans
1 cup firmly packed dark-brown sugar
⅓ cup granulated sugar
2 cups cake flour
2 teaspoons baking powder
1 teaspoon baking soda
1 teaspoon ground cinnamon
1 teaspoon ground ginger
½ teaspoon ground nutmeg
⅛ teaspoon ground cloves
½ teaspoon salt
¼ teaspoon freshly ground black pepper
2 large eggs
½ cup buttermilk mixed with 1 teaspoon vanilla
1¼ cups canned solid-pack pumpkin

1. Preheat the oven to 350° (175°C). Line a cupcake pan with 18 liners.

2. In a stand mixer, beat the butter and sugars on medium speed until fluffy, about 5 minutes. Meanwhile, sift the flour, baking powder, baking soda, cinnamon, ginger, nutmeg, cloves, salt, and pepper into a medium bowl.

3. Add the eggs 1 at a time to the mixer, scraping down the sides after each addition. Alternate adding the flour and milk mixtures, beginning and ending with the flour. Beat in the pumpkin until smooth. Divide the batter equally between the cups. (They’ll be about ¾ full.) Rap the filled pans once on the counter to release any air bubbles. Bake the cakes until a toothpick inserted into the center comes out clean, about 20 to 25 minutes. Cool the cupcakes on racks completely.

Printer Friendly Recipe
Pumpkin Cupcakes
(from Martha Stewart)

Makes 18

2 cups all-purpose flour
1 teaspoon baking soda
1 teaspoon baking powder
1 teaspoon coarse salt
1 teaspoon ground cinnamon
1 teaspoon ground ginger
¼ teaspoon freshly grated nutmeg
¼ teaspoon ground allspice
1 cup packed light-brown sugar
1 cup granulated sugar
1 cup (2 sticks) unsalted butter, melted and cooled
4 large eggs, lightly beaten
1 can (15 ounces) pumpkin puree

1. Preheat oven to 350 degrees. Line cupcake pans with paper liners; set aside. In a medium bowl, whisk together flour, baking soda, baking powder, salt, cinnamon, ginger, nutmeg, and allspice; set aside.

2. In a large bowl, whisk together, brown sugar, granulated sugar, butter, and eggs. Add dry ingredients, and whisk until smooth. Whisk in pumpkin puree.

3. Divide batter evenly among liners, filling each about halfway. Bake until tops spring back when touched, and a cake tester inserted in the center comes out clean, 20 to 25 minutes, rotating pans once if needed. Transfer to a wire rack; let cool completely.

Printer Friendly Recipe
Mini Pumpkin Cupcakes
(adapted from Bon Appétit October 2009)

24 mini-cupcakes

The original recipe called for self-rising flour and pumpkin pie spice, but in the absence of both of those, I had to make substitutions.

½ cup cake flour
½ cup all-purpose flour
¼ teaspoon salt
1½ teaspoon baking powder
⅔ cup (packed) golden brown sugar
½ teaspoon cinnamon
¼ teaspoon ground ginger
⅛ teaspoon allspice
⅛ teaspoon nutmeg
2 teaspoons pumpkin pie spice
1 large egg
½ cup canned pure pumpkin
⅓ cup vegetable oil
⅓ cup sour cream
1½ teaspoons vanilla extract

Preheat oven to 350°F. Line 24 mini muffin cups with 1¾ x 1-inch paper liners. Mix flour, golden brown sugar, and pumpkin pie spice in large bowl. Whisk egg, canned pure pumpkin, vegetable oil, sour cream, and vanilla extract in medium bowl. Add mixture to dry ingredients; stir to fully combine. Spoon batter into paper liners (batter will almost fill liners). Bake cupcakes until tester inserted into center comes out clean, about 16 minutes. Remove cupcakes from pan and let cool completely on rack.

Copy of IMG_9773

amaretto cheesecake

Copy of IMG_5299

My brother became known as the family cheesecake maker early on. I think we were still teenagers when he started getting cheesecake cookbooks. In one of those, there was a recipe for amaretto peach cheesecake that became a family favorite.

Copy of IMG_5223

I’m guessing it’s a Kraft recipe that’s widely available on the internet, but, frankly, I think I can do better than Kraft these days. Okay, fine, I think Dorie Greenspan can do better than Kraft, and I can add a bunch of amaretto to her Tall and Creamy Cheesecake recipe.

Copy of IMG_5216

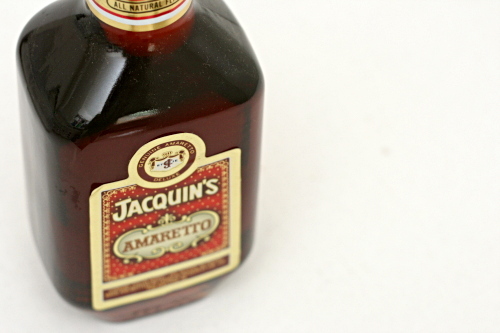
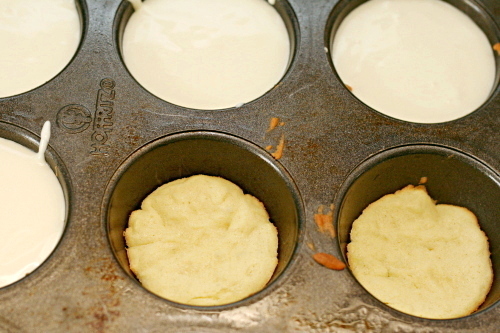
The ratio of the main ingredients – the cream cheese, eggs, and sugar – is the same as Dorie’s recipe. I used heavy cream this time instead of sour cream because I didn’t want anything to fight with the almond flavor of the amaretto. I dumped in as much amaretto as I thought the batter could take, then added a teaspoon of almond extract to bump up the flavor even more. I used a sugar cookie crust instead of a graham cracker crust, again, so as not to fight with the almond flavor. Something sweet and subtle was more in line with my goals.

Copy of IMG_5219

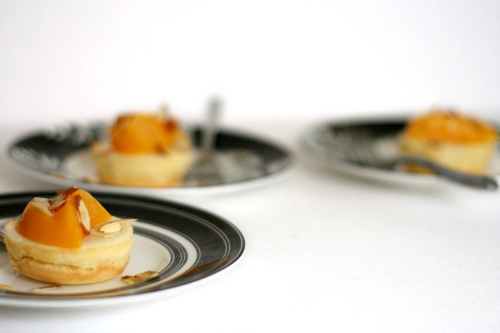
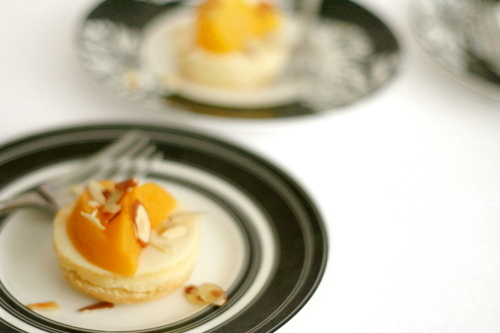
The peach part of the picture was an afterthought in my case. I considered somehow adding it directly to the cream cheese mixture, but, I couldn’t figure out how to make this work. In the end, I think I’m happier with keeping the almond and peach parts separate anyway. I had wanted to make a peach coulis to top the cheesecake, but I ran out of time. Instead, I thinly sliced some peaches (canned, as this was several months before peach season) and sprinkled the tops with toasted almonds.

Copy of IMG_5226

And – yum. I was worried that the amaretto flavor would be too subtle, but I thought it was perfectly balanced. The texture was smooth and creamy, just what you want from cheesecake. It wasn’t quite as light as some cheesecakes, since I didn’t use much heavy cream, but it wasn’t overly dense either. The peaches and almond are such a great combination. I still think a light peach coulis would be perfect, but there’s certainly nothing bad about almond-scented cheesecake, sliced peaches, and toasted almonds. Who’s the family cheesecake maker now? 😉

Copy of IMG_5243

One year ago: Fruit Bruschetta

Amaretto Cheesecake

To make a full cheesecake instead of miniatures, use a 9-inch springform pan; bake the crust for 10 minutes and cook the cheesecake in a water bath for 90 minutes, keeping the same temperatures noted below.

Crust:
3 tablespoons butter
⅓ cup (2.33 ounces) sugar
pinch salt
1 egg
¾ cup (3.6 ounces) unbleached all-purpose flour

Cheesecake:
4 (8-ounce) boxes cream cheese, room temperature
1⅓ cup (10.5 ounces) granulated sugar
½ teaspoon salt
4 eggs, room temperature
½ cup heavy cream
¼ cup amaretto
2 teaspoons lemon juice
1 teaspoon almond extract

1. Adjust an oven rack to the middle position and preheat the oven to 350 degrees. Spray a muffin pan with nonstick spray. (You could also line the muffin tin with cupcakes liners.)

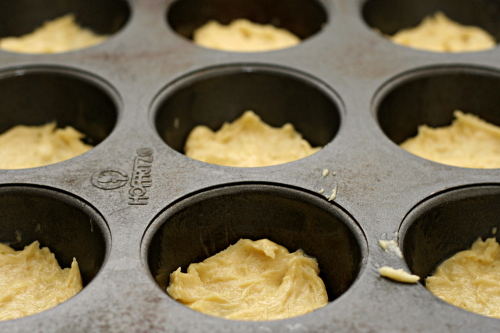
2. For the crust: Beat the butter on medium speed until smooth. Add the sugar and salt and continue beating until the mixture is light and fluffy. Add the egg, mixing until thoroughly integrated. Gradually add the flour, mixing just until combined. Divide the batter evenly between 24 muffin cups and spread over just the bottom of each tin. Bake 7-10 minutes, until the crusts are firm and just slightly browned around the edges. Cool on a wire rack. Reduce the oven temperature to 325 degrees.

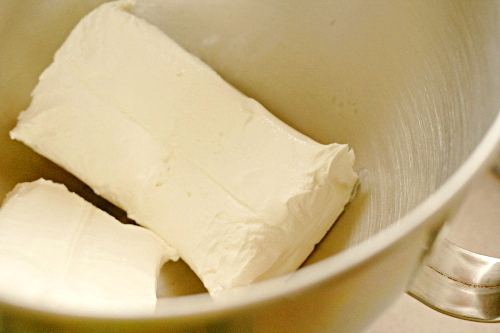
3. Meanwhile, beat the cream cheese in the bowl of a standing mixer fitted with the paddle attachment until soft and smooth. (Of course, you can also use a hand mixer for this.) Add the sugar and salt and continue beating until smooth and light. Add the eggs, one at a time, beating for about 1 minute between each addition. Add the cream, amaretto, lemon juice, and almond extract and beat until combined.

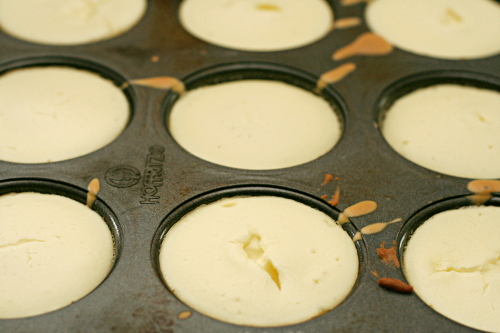
4. Pour the batter into the crust-lined muffin cups. It won’t rise significantly, so feel free to fill the cups. Bake in the preheated oven for 25-30 minutes, until an instant-read thermometer inserted into the center of a cheesecake measures 150 degrees.

5. Let the cheesecakes cool on a wire rack until they’re at room temperature. Use a thin-bladed knife or offset spatula to remove the cheesecakes from the pan. (If you can’t seem to get them to budge without breaking them, try putting the pan in the freezer for 15 minutes first.) Refrigerate for several hours, until cool. Top with something peachy and lightly toasted sliced almonds, if desired.

Copy of IMG_5303

applesauce spice bars

Copy of IMG_8183

My sister’s kids are very early risers. There are times when they get up so early that their parents have to creep into their room and tell them “It’s still night! Go back to sleep!”

I feel that way in August with food bloggers: It’s still summer! Put away the pumpkin!

Copy of IMG_8172

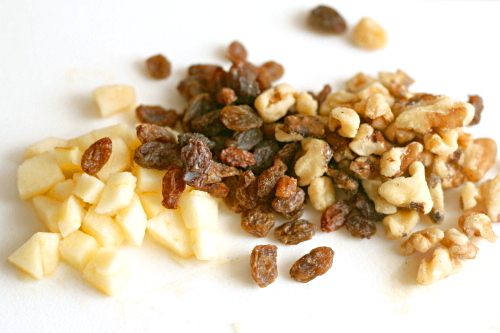
In revolt against making a dessert in August that Dorie recommends serving with mulled cider, I tried my darndest to screw it up. Most of my problems came down to dividing ½ cup by 8, because I made one-eighth of the recipe (again, in revolt). Guess what? It isn’t two tablespoons. It’s one tablespoon. So I added twice as many nuts and raisins, plus twice as much applesauce, which I then tried to scoop out before I mixed it in all the way. I’m a genius. Oh, I also heated the butter and sugar too much before adding the eggs, so the first bit of egg that I added to the mixture cooked immediately, and I had to pick out bits of cooked egg.

Copy of IMG_8178

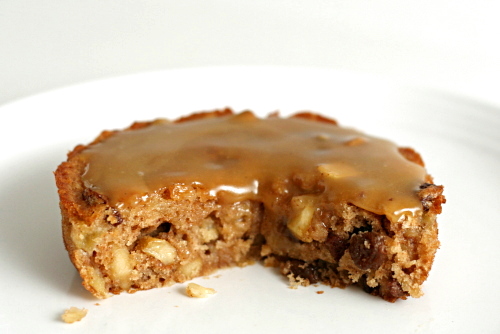
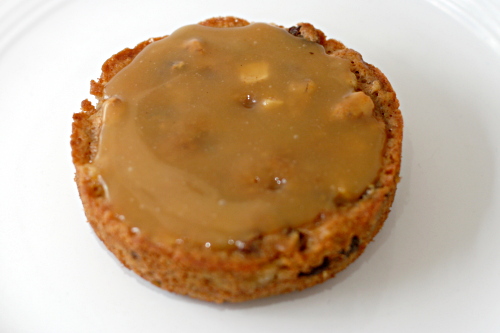
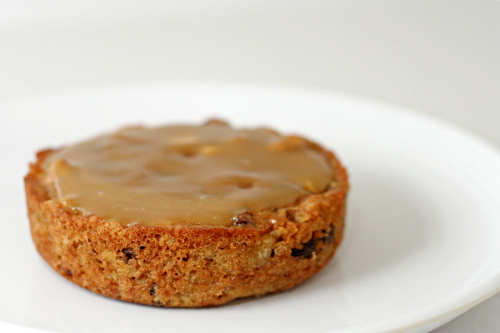
Despite my reluctance to make what’s clearly a fall treat in the middle of August and then my efforts to make it all wrong, the applesauce bars were pretty good. Really soft and tender, not too sweet, with a bit of tartness from (twice the amount of) the raisins. Dave said they made him want turkey and crackling leaves and hikes through crisp fall air. Maybe in a couple months.

Copy of IMG_8180

Karen chose this for Tuesdays with Dorie, and she has the recipe posted.

One year ago: Country Egg Scramble

Copy of IMG_8179

lemon meringue cake

Copy of IMG_7956

“I’m gonna go torch my birthday cake. Do you want to watch?”

It was late and I was crabby, so I thought I would get more of a reaction. But apparently I’d already shown Dave a picture of the cake I was planning to make for my birthday, so he knew exactly what I was talking about.

Copy of IMG_7926

Yes, I made my own birthday cake. Bakers are often disappointed on their birthday when no one offers to make them a cake. I might feel this way if I had plenty of opportunities to bake cakes for other people, but most of my baking is limited to what Dave and I can eat within a few days. For cakes, that means making a few cupcakes at a time. Having an opportunity to say (emphatically) screw that and just make a damn layer cake is rare. My birthday is one, and I take advantage of it.

Copy of IMG_7931

Of course, you have to take that with a grain of salt, because someone does make me a birthday cake every year, although how close that happens to my birthday is a crapshoot. I usually see my family once during the summer, and if it’s within about a month of my actual birthday, we’ll celebrate then, and whoever’s house we’re at will make a cake. (Last year, it was my brother, and when he asked me what kind of cake I wanted, he was sure to specify “a basic cake, not a four-hour project.”) When I visited my family a few weeks ago, my mom satisfied my chocolate craving with a chocolate cake with raspberry filling. That left me free to try something more adventurous.

Copy of IMG_7939

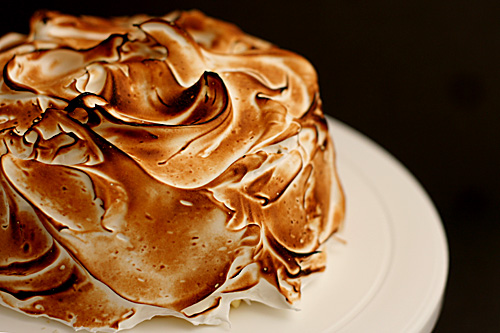
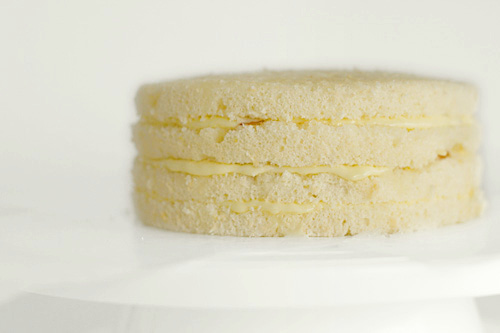
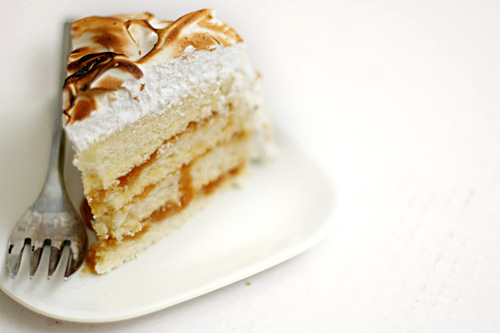
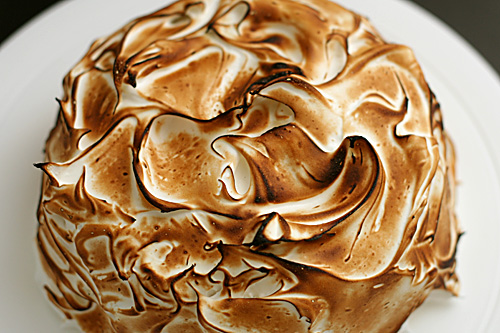
Tartine’s lemon meringue cake is a lemon chiffon cake brushed with lemon syrup and layered with caramel and lemon cream, then topped with meringue and torched. (“Four-hour project” is optimistic.) After making lemon cream last year, I was pretty sure I wouldn’t be making it again – it’s lemon-flavored butter. But it’s my birthday, and I say again, screw that. Mark made this cake recently and assured me I wouldn’t have any problems.

Copy of IMG_7944

And I didn’t have any big problems. The cake sank quite a bit after baking, so I probably underbaked it. Then I overcooked the caramel a little, so it hardened too much. And I underbeat the lemon cream because I was too lazy to wash my blender and I left the immersion blender I got for my birthday at my parents’ house. (Gah!) Nothing ruined the cake though, and anyway, do you see those perfectly browned peaks?! I’m such a rockstar. (It’s my birthday and I’ll brag if I want to.)

Copy of IMG_7948

Hot damn, that’s a delicious cake. Yes, the cake part is too dense – I’m a chronic underbaker. But the lemon cream remained stable, and the caramel softened up nicely.

Copy of IMG_7953

The caramel, at first blush, stands out as a decidingly non-lemon component of this lemon cake. But the flavor was somehow remarkably complimentary. And I’d forgotten how much I love the feeling of meringue bubbles popping in my mouth. In the end, the cake is neither overbearingly citrusy nor overbearing sweet. (Um, at least I thought so – Dave couldn’t eat his without tea.) It was a wonderful at-least-four-hour already-got-my-chocolate-fix birthday cake project.

Copy of IMG_7982

One year ago: Fried Egg and Sausage Ciabatta Breakfast Pizzas

Lemon Meringue Cake (from Tartine, by Elisabeth Pruett and Chad Robertson)

Makes a 10-inch round cake

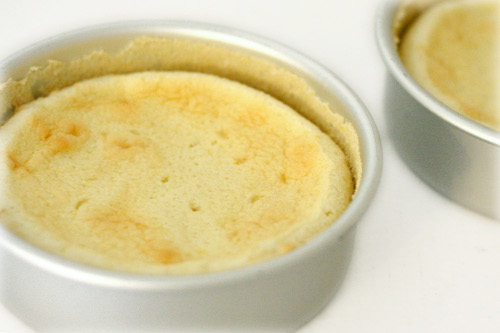
I made ⅓ of this recipe and divided the batter between two 6-inch pans. I cut each layer in half to create 4 even layers. Mark has the recipe amounts for an 8-inch cake.

Chiffon Cake:
2¼ cups (11.25 ounces) all-purpose flour
2 teaspoons baking powder
1½ cups (10.5 ounces) sugar
¾ teaspoon salt
½ cup vegetable oil
6 large egg yolks, at room temperature
½ cup water
¼ cup lemon juice
1½ teaspoon grated lemon zest
10 large egg whites, at room temperature
¼ teaspoon cream of tartar

Preheat the oven to 325F. Line the bottom of a 10-inch cake or springform pan with 3-inch sides with parchment paper cut to fit exactly; don’t grease the pan.

Sift together the flour and baking powder into a large mixing bowl. Add 1¼ cups (8.75 ounces) of the sugar and the salt and whisk to combine. In a small bowl, whisk together the oil, egg yolks, water, lemon juice, and lemon zest. Make a well in the flour, add the yolk mixture, and then whisk thoroughly and quickly for about 1 minutes until very smooth.

In another large mixing bowl, beat the egg whites until frothy, then add the cream of tartar and beat on medium-high speed until it holds soft peaks. Add the remaining ¼ cup (1.75 ounces) sugar slowly while beating on medium-high speed until the whites hold firm, shiny peaks. Add a third of the egg whites and fold into the yolk mixture to lighten, then fold in the rest of the whites until just combined.

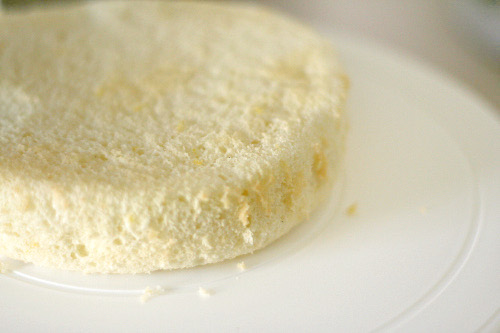
Pour the batter into the pan, smoothing the top if necessary. Bake until a toothpick inserted in the center comes out clean, about 45-55 minutes. Let cool in the pan on a wire rack. Once completely cool, run a thin knife around the sides of the pan to loosen the cake an then release and lift off the pan sides. Invert the cake and peel off the parchment.

Caramel:
⅔ cup heavy cream
¼ vanilla bean
1¼ cup (8.5 ounces) sugar
¼ cup water
¼ teaspoon salt
2 tablespoons light corn syrup
¾ teaspoon lemon juice
4 tablespoons unsalted butter

Pour the cream into a small, heavy saucepan. Split the vanilla bean in half lengthwise and use the tip of a sharp knife to scrape the seeds from the pod halves into the milk. Place over medium-high heat and bring to just under a boil, stirring occasionally. Reduce the heat to low to keep the cream warm.

In a medium, heavy saucepan, combine the sugar, water, salt, and corn syrup. Bring to a boil over medium heat, stirring to dissolve the sugar. Then cook, without stirring, until the mixture is amber colored, 5 to 8 minutes. Remove from the heat.

The mixture will continue to cook off the heat and become darker, so make sure to have your cream close by. Carefully and slowly add the cream to the sugar syrup. The mixture will boil vigorously at first. Let the mixture simmer down, and then whisk until smooth. Add the lemon juice. Let cool for about 10 minutes.

Cut the butter into 1-inch chunks and add to the caramel one at a time, whisking constantly after each addition. Then whisk the caramel periodically as it continues to cool.

Lemon Cream:
½ cup + 2 tablespoons lemon juice
3 large eggs
1 egg yolk
¾ cup (6 ounces) sugar
pinch salt
16 tablespoons (8 ounces) unsalted butter

In a heatproof bowl set over a saucepan of simmering water, combine the lemon juice, eggs, yolk, sugar, and salt (make sure the bottom of the bowl doesn’t touch the water). Whisk them together constantly until very thick, or 80°C (180°F) on an instant-read thermometer. Remove from the heat and let it cool down until warm to touch (60°C or 140°F on a thermometer). Place the lemon cream in a blender and with the motor running, add the butter in small pieces. Allow to cool completely. (You may refrigerate it, but allow to come to cool room temperature before using.)

Lemon Syrup:
⅓ cup water
⅓ cup (2.5 ouncs) sugar
⅓ cup lemon juice

In a nonreactive saucepan, combine the sugar and water and bring to a boil over medium heat. Transfer to a cool bowl, let cool for a bit, then chill for half an hour. Stir in the lemon juice.

Assembly:
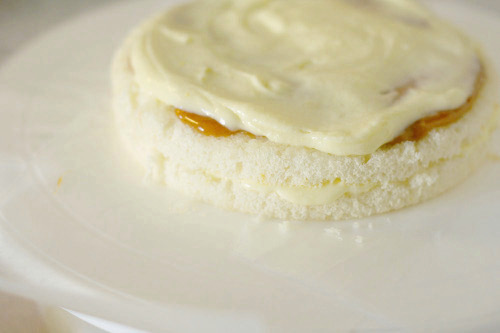
Split the chiffon cake horizontally into four equal layers. Place one layer on your serving plate (which I lined with wax paper around to cake) and moisten evenly with ¼ of the lemon syrup. Spread ⅓ of the caramel over the cake, then ⅓ of the lemon cream. Repeat with 2 more layers, using up the remaining caramel and lemon cream. Top with the fourth cake layer and moisten with the remaining lemon syrup. Cover the cake completely with plastic wrap and refrigerate for at least four hours or overnight.

Swiss Meringue:
7 egg whites
1¾ cup (12.25 ounces) sugar
pinch of salt

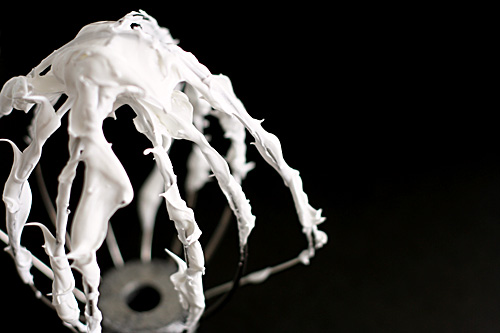
In a heatproof bowl over a pan of simmering water, combine the egg whites, sugar, and salt and whisk until the whites are hot to the touch, about 120F, about 5 minutes. Beat on high speed until the mixture is very thick and holds stiff, glossy peaks.

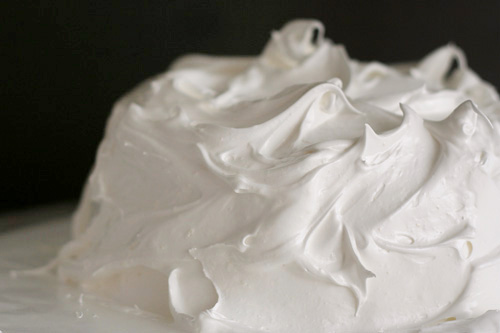
Unmold the cake and spread the meringue all over. Use a spatula or a spoon to create dramatic swirls. Using a propane torch if available, scorch the meringue, blackening the tips and swirls.

Copy of IMG_7957

banana bundt cake

Copy of IMG_7768

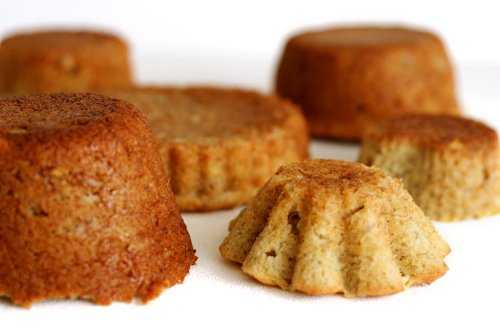
My sister recently gave me a few fun pans that she’d found in an antique store. Sadly, I couldn’t fit them in my suitcase so I left them at my parents’ house. If I’d known that, less than a week later, I’d be searching my kitchen looking for a pan to bake half a bundt cake recipe in, you can bet I would have made room for those pans!

Copy of IMG_7759

Instead, unable to choose between my overused assortment of small-sized pans, I decided that variety would be fun. Plus, if you’re looking for a reason to hover over your oven in the middle of the summer, testing and retesting differently sized cakes for doneness, well then, this is perfect.

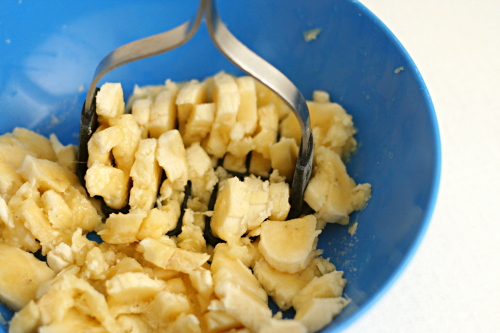
The cake is mixed using the creaming method – butter is aerated with sugar, then the eggs and bananas are added, and then the dry ingredients and sour cream are alternatively mixed in. Plain yogurt can be substituted for the sour cream.

Copy of IMG_7764

The cake was very good, in a richest-banana-bread-ever kind of way. There were a couple complaints from other Tuesday with Dorie members that it was too moist, and I agree that low-fat plain yogurt may be a better choice than sour cream, for my tastes. Instead, or maybe even in addition, you might even be able to reduce the butter by 25%. None of this is strictly necessary though, as the cake really was delicious as is.

Copy of IMG_7795

Mary chose this recipe for the group and has it posted .

One year ago: Tuscan-Style Couscous Salad

Copy of IMG_7770

clafoutis

Copy of IMG_7738

Cooking, to me, isn’t a competition. It’s about sharing and exchanging ideas. Cooking for someone is like offering them a bit of a gift, and competition adds intimidation where there should be none. Plus, whether someone is more or less experienced than me when it comes to cooking, I’m sure I have something to learn from them. So I’ve never participated in a cooking contest.

Copy of IMG_7713

Um, until now. This one isn’t just about cooking, it’s also blogging, and it seemed too fun to pass up. The event is associated with the movie Julie and Julia, based on a book of the same name. I read this book years ago, and after the book, I went back and read Julie’s entire blog. In it, Julie Powell cooks her way through Julia Child’s thoroughly intimidating Mastering the Art of French Cooking in one year. Not only is the book fun and easy to read, the whole concept of cooking entirely through a book appeals to me.

Copy of IMG_7721

To enter, I had to cook and blog about a Julia Child recipe. I’ve owned MtAoFC for years. I’ve just never bothered to use it, at all. I figured the time would come when I was excited to pick it up, and I was right. After scanning through the book, I chose to make clafoutis.

Copy of IMG_7724

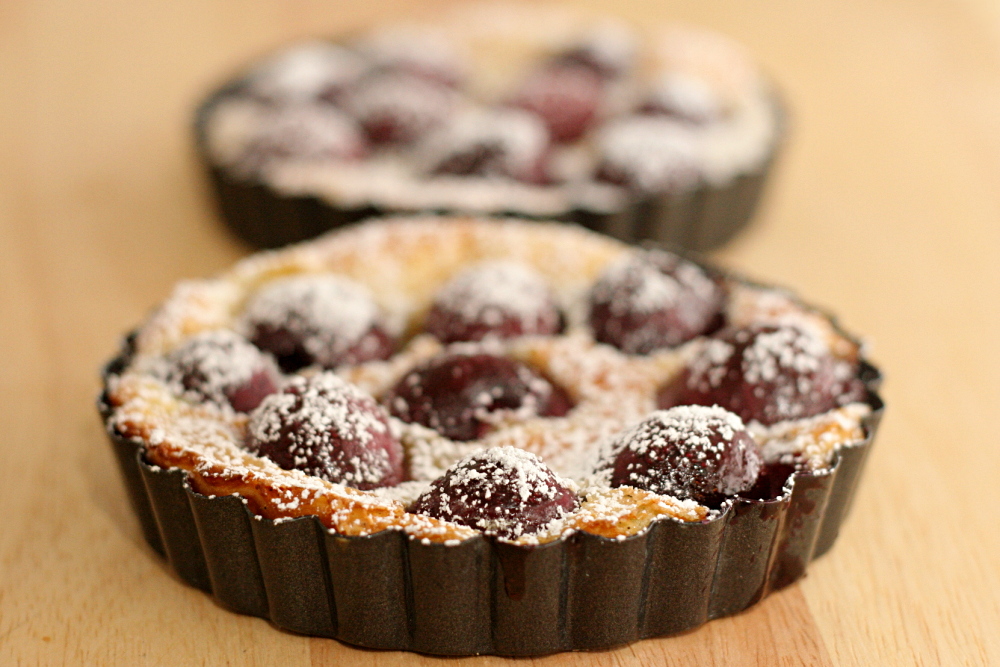
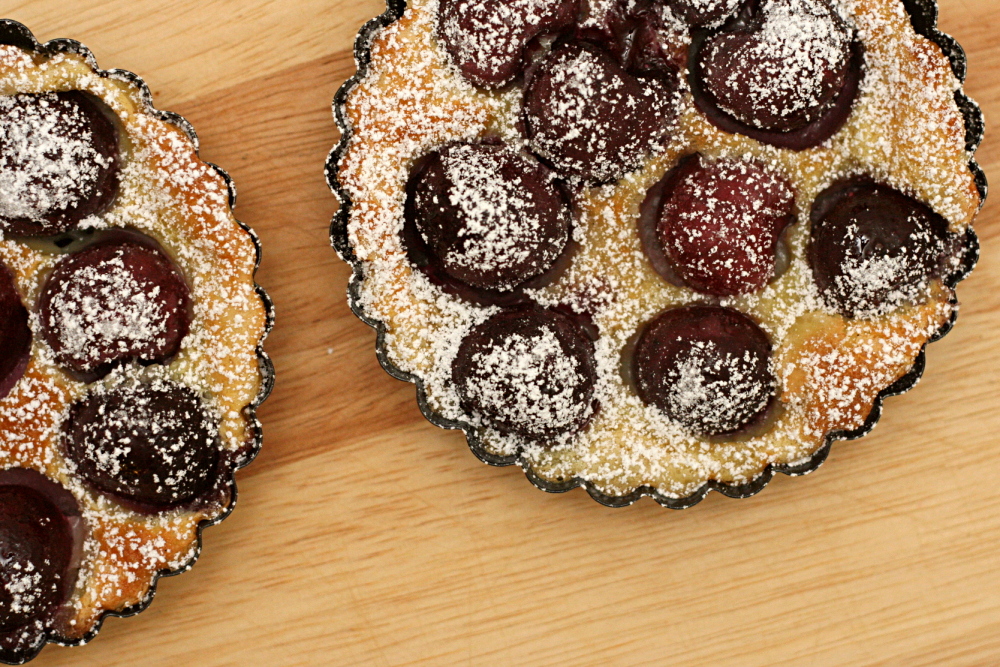
Clafoutis, it turns out, is really easy. The batter, which is similar to crepe batter or thin pancake batter, is mixed in the blender. Then it’s poured into a baking pan with cherries, topped with more sugar, and baked. To make it even easier, the cherries are traditionally left unpitted (although Julia does call for pitted cherries). Cherry pits release a bit of almond flavor as they’re heated, which is lost if the cherries are pitted before baking.

Copy of IMG_7729

That being said, next time, I’ll pit the cherries, because the seeds were a little distracting. Other than that detail, this was a treat. You can’t go wrong with cherries in July, and these were just slightly tart and complimented the sweet batter. The batter cooks up moist and soft. What’s more, there’s no butter or oil in this dessert. So it’s fancy, easy, and relatively light – definitely a winner.

The contest winners are chosen through voting.  It’s an easy process with no sign-in required.  If you’d like to vote, click here.  I’m last on the list.  Thanks!

Copy of IMG_7734

One year ago: Comparison of 4 white cake recipes

Clafouti (slightly reworded from Mastering the Art of French Cooking, by Julia Child, Louisette Bertholle, and Simone Beck)

MtAoFC note: Use fresh, black, sweet cherries in season. Otherwise, use drained, canned, pitted Bing cherries, or frozen sweet cherries, thawed and drained.

My note: The only bit of funny business is that Julia calls for a Pyrex pan, then says to “set it over moderate heat.” Pyrex is not fit for stove use. I put the pan in the oven for a few minutes to let the batter set before continuing. I think you could also preheat the pan as the oven heats, and then the batter would set immediately after it’s poured in. (The batter isn’t especially cold, so it won’t shock the hot pan and cause it to shatter.)

For 6 to 8 people

3 cups pitted black cherries
1¼ cups milk
⅔ cup sugar, separated
3 eggs
1 tablespoon vanilla extract
⅛ teaspoon salt
½ cup flour (scooped and leveled)
powdered sugar

1. Preheat oven to 350F. Butter (or spray with nonstick spray) a 9-inch Pyrex pie pan.

2. Place the milk, ⅓ cup sugar, eggs, vanilla, salt, and flour in your blender jar in the order in which they are listed. Cover and blend at top speed for 1 minute.

3. Pour a ¼-inch layer of batter in the baking dish or pie plate. Set over moderate heat for a minute or two until a film of batter has set in the bottom of the dish. Remove from heat. Spread the cherries over the batter and sprinkle on the remaining ⅓ cup sugar. Pour on the rest of the batter and smooth the surface with the back of a spoon.

4. Place in middle position of preheated oven and bake for about an hour. The clafouti is done when it has puffed and browned, and a needle or knife plunged into its center comes out clean. Sprinkle top of clafouti with powdered sugar just before bringing it to the table. (The clafouti need not be served hot, but should still be warm. It will sink down slightly as it cools.)

Copy of IMG_7746

white cake comparison 2

Copy of IMG_7198

Last year, I compared three white cake recipes, including Dorie’s Perfect Party Cake. I was torn between Dorie’s recipe, which I thought tasted great, and Cooks Illustrated’s, which had the perfect texture. I had an idea for what I would try the next time I made white cake, but at the time, I was white caked out, and, indeed, I haven’t made it since. Since the Perfect Party Cake was chosen by Carol for Tuesdays with Dorie this month, it was a great opportunity to try out my adaptation and compare it to my two previous favorites.

Copy of IMG_7065

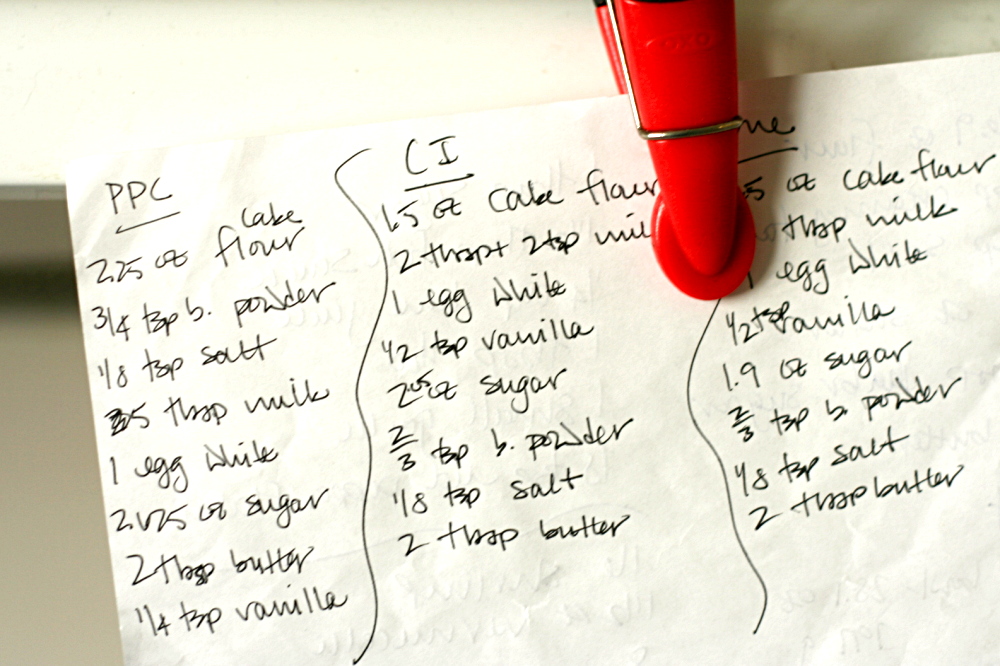
Cooks Illustrated’s white cake recipe and Dorie’s Perfect Party Cake have different mixing methods and different ratios of ingredients, but the end results are actually quite similar. I had really enjoyed the moistness and springiness of CI’s recipe, but found it a bit too sweet. Dorie’s recipe tasted great – it’s less sweet, so a bit of tanginess is detectable. Her recipe does have less sugar, plus more milk than CI’s, presumably to make up for the moisture that sugar provides. My idea was to reduce the sugar of CI’s recipe slightly and increase the milk, keeping the other ingredients and the mixing method the same.

Copy of IMG_7034

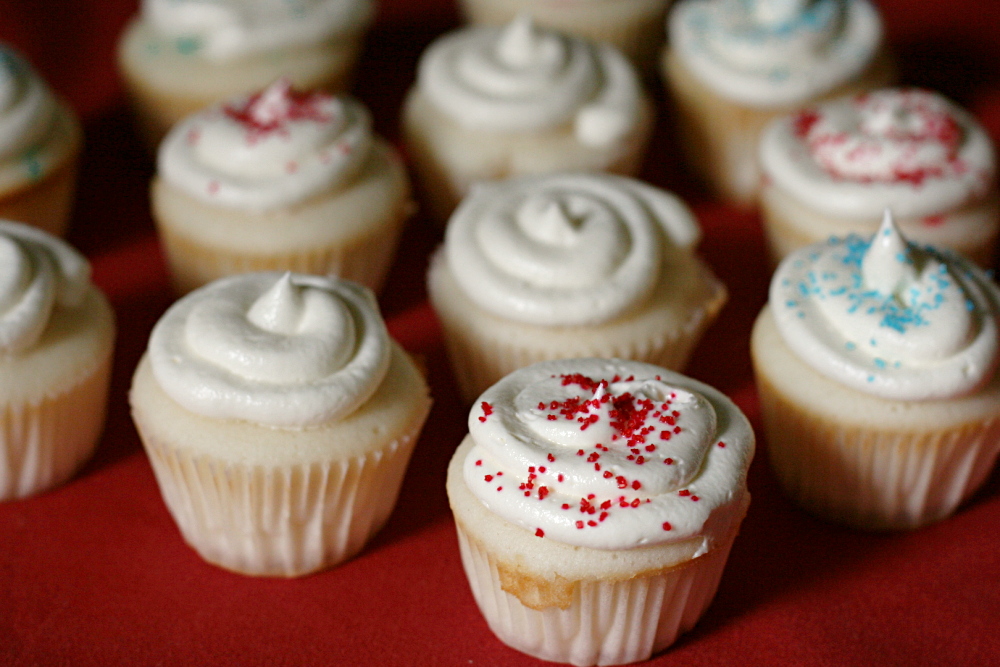
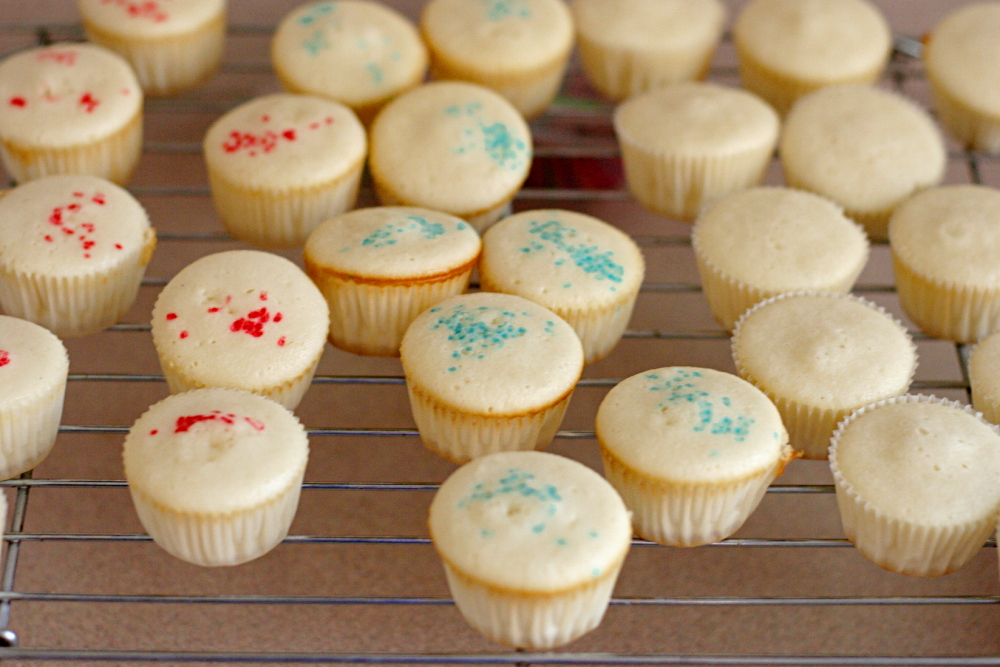
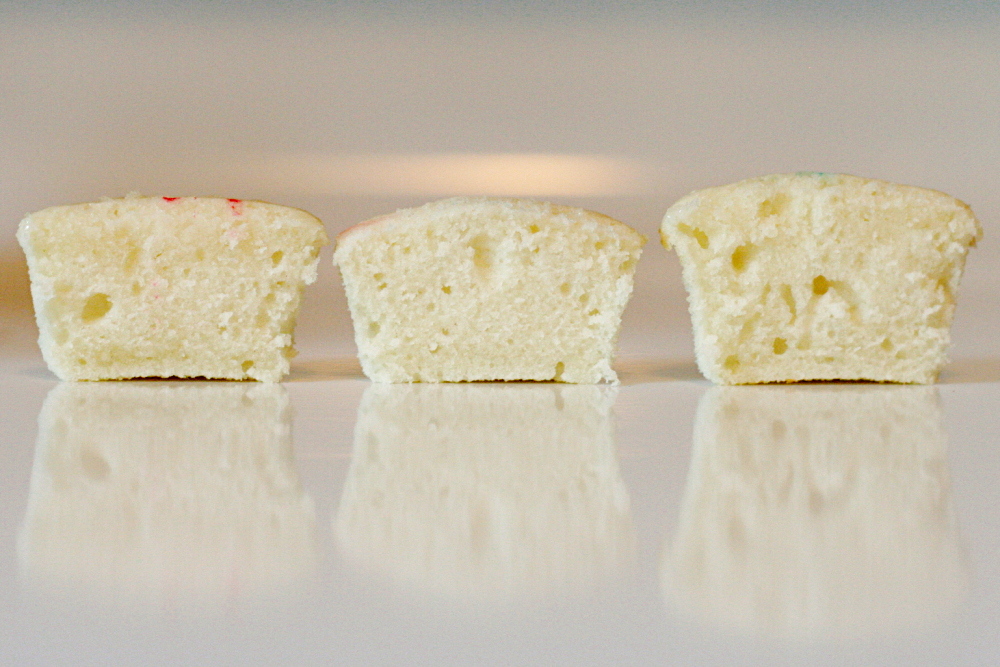
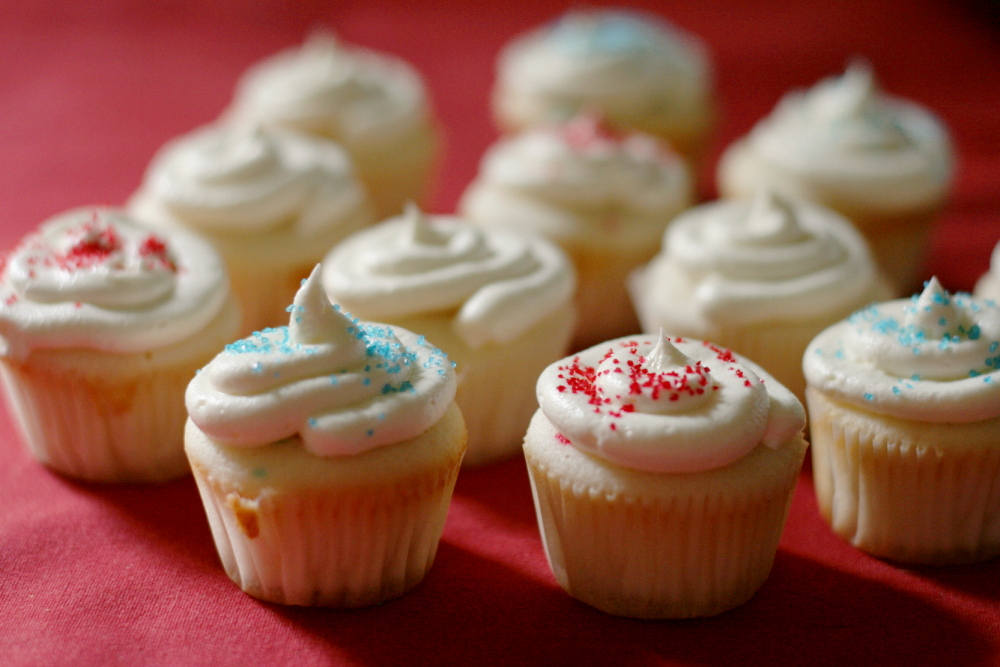
This time, I made three recipes – Dorie’s and CI’s as written, plus my adjustment of CI’s. I made mini-cupcakes of each and baked them all at 350F for 12 minutes. I did make small portions of each recipe, but I’m a pretty precise measurer, so I’m confident that this won’t have a significant impact. I flavored each cake with only vanilla, leaving out lemon and almond flavors. The sprinkling of sugar on top of each cupcake is to keep the recipes straight – white is Dorie’s, blue is CI’s, and red is my adaptation.

Copy of IMG_7096left – my recipe; middle – Dorie’s; right – CI’s
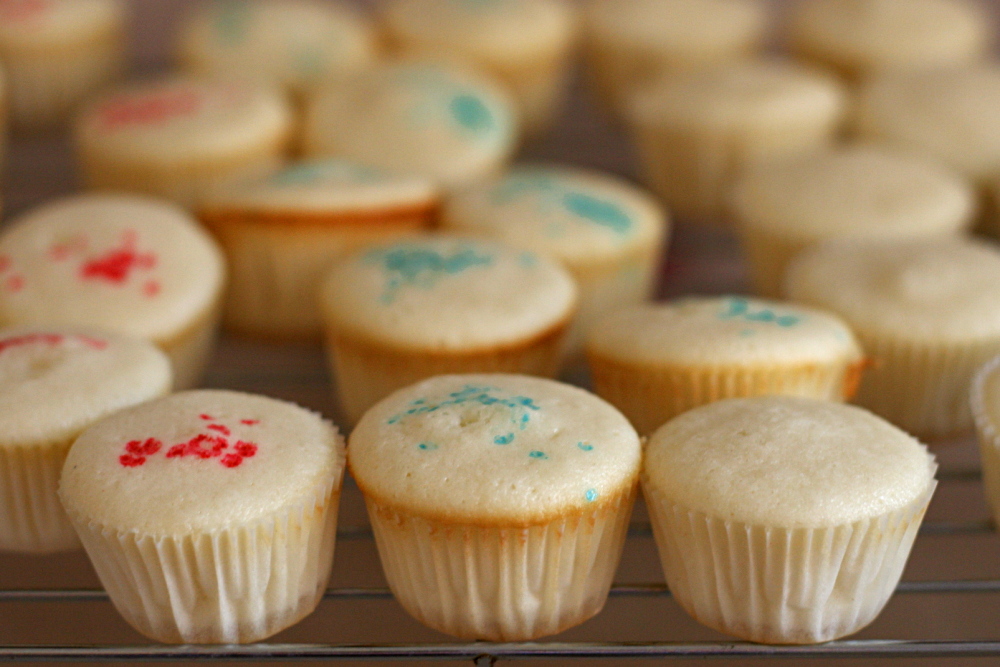
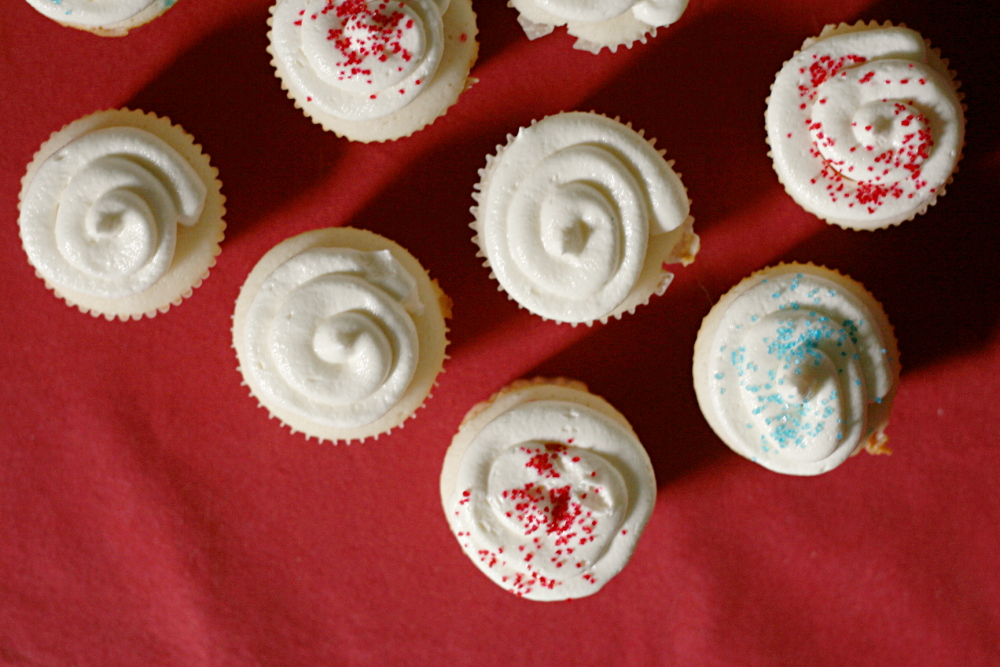
I still like the texture of CI’s better than Dorie’s. Dorie’s was just a bit dry, and CI’s has a fun sponginess to it. And I still like the flavor of Dorie’s better than CI’s – again, that slight tanginess gives some contrast to the sweetness. And, just personally, I thought my adaptation was pretty much perfect. It had the flavor I like, and it had the moist, springy texture that I like.

Copy of IMG_7067

However, let me perfectly honest. First, all three recipes are really really good. And, frankly, really really similar. I’m really splitting hairs here. And second, Dave’s (my only other tester) preferences were exactly the opposite of mine. He liked Dorie’s recipe the best because the other two were too moist. He’s cute and all, but I’m still going to make my favorite, the adaptation of Cooks Illustrated’s recipe, in the future.

Copy of IMG_7195

One year ago: Croque-Madame – I really need to come up with an excuse to make this again.  4th of July, maybe?

Classic White Layer Cake (from Cooks Illustrated)

Serves 12

CI note: If you have forgotten to bring the milk and egg white mixture to room temperature, set the bottom of the glass measure containing it in a sink of hot water and stir until the mixture feels cool rather than cold, around 65 degrees. Cake layers can be wrapped and stored for one day.

Nonstick cooking spray
2¼ cups cake flour (9 ounces), plus more for dusting the pans
1 cup whole milk, at room temperature
6 large egg whites (¾ cup), at room temperature
2 teaspoons almond extract
1 teaspoon vanilla extract
1¾ cups granulated sugar (12¼ ounces)
4 teaspoons baking powder
1 teaspoon table salt
12 tablespoons unsalted butter (1½ sticks), softened but still cool

1. For the Cake: Set oven rack in middle position. (If oven is too small to cook both layers on a single rack, set racks in upper-middle and lower-middle positions.) Heat oven to 350 degrees. Spray two 9-inch round cake pans with nonstick cooking spray; line the bottoms with parchment or waxed paper rounds. Spray the paper rounds, dust the pans with flour, and invert pans and rap sharply to remove excess flour.

2. Pour milk, egg whites, and extracts into 2-cup glass measure, and mix with fork until blended.

3. Mix cake flour, sugar, baking powder, and salt in bowl of electric mixer at slow speed. Add butter; continue beating at slow speed until mixture resembles moist crumbs, with no powdery streaks remaining.

4. Add all but ½ cup of milk mixture to crumbs and beat at medium speed (or high speed if using handheld mixer) for 1½ minutes. Add remaining ½ cup of milk mixture and beat 30 seconds more. Stop mixer and scrape sides of bowl. Return mixer to medium (or high) speed and beat 20 seconds longer.

5. Divide batter evenly between two prepared cake pans; using rubber spatula, spread batter to pan walls and smooth tops. Arrange pans at least 3 inches from the oven walls and 3 inches apart. (If oven is small, place pans on separate racks in staggered fashion to allow for air circulation.) Bake until thin skewer or toothpick inserted in the center comes out clean, 23 to 25 minutes.

6. Let cakes rest in pans for 3 minutes. Loosen from sides of pans with a knife, if necessary, and invert onto wire racks. Reinvert onto additional wire racks. Let cool completely, about 1½ hours.

Perfect Party Cake (from Dorie Greenspan’s Baking: From my Home to Yours)

For the Cake
2¼ cups (9 ounces) cake flour
1 tablespoon baking powder
½ teaspoon salt
1¼ cups whole milk or buttermilk (I prefer buttermilk with the lemon)
4 large egg whites
1½ cups (10½ ounces) sugar
2 teaspoons grated lemon zest
1 stick (8 tablespoons or 4 ounces) unsalted butter, at room temperature
½ teaspoon pure lemon extract

For the Buttercream
1 cup sugar
4 large egg whites
3 sticks (12 ounces) unsalted butter, at room temperature
¼ cup fresh lemon juice (from 2 large lemons)
1 teaspoon pure vanilla extract

For Finishing
2/3 cup seedless raspberry preserves stirred vigorously or warmed gently until spreadable
About 1½ cups sweetened shredded coconut

Getting Ready:
Center a rack in the oven and preheat the oven to 350 degrees F. Butter two 9 x 2 inch round cake pans and line the bottom of each pan with a round of buttered parchment or wax paper. Put the pans on a baking sheet.

To Make the Cake:
Sift together the flour, baking powder and salt.

Whisk together the milk and egg whites in a medium bowl.

Put the sugar and lemon zest in a mixer bowl or another large bowl and rub them together with your fingers until the sugar is moist and fragrant. Add the butter and working with the paddle or whisk attachment, or with a hand mixer, beat at medium speed for a full 3 minutes, until the butter and sugar are very light. Beat in the extract, then add one third of the flour mixture, still beating on medium speed. Beat in half of the milk-egg mixture, then beat in half of the remaining dry ingredients until incorporated. Add the rest of the milk and eggs beating until the batter is homogeneous, then add the last of the dry ingredients. Finally, give the batter a good 2- minute beating to ensure that it is thoroughly mixed and well aerated.

Divide the batter between the two pans and smooth the tops with a rubber spatula. Bake for 30-35 minutes, or until the cakes are well risen and springy to the touch – a thin knife inserted into the centers should come out clean. Transfer the cakes to cooling racks and cool for about 5 minutes, then run a knife around the sides of the cakes, unfold them and peel off the paper liners. Invert and cool to room temperature, right side up (the cooled cake layers can be wrapped airtight and stored at room temperature overnight or frozen for up to two months).

To Make the Buttercream:
Put the sugar and egg whites in a mixer bowl or another large heatproof bowl, fit the bowl over a plan of simmering water and whisk constantly, keeping the mixture over the heat, until it feels hot to the touch, about 3 minutes. The sugar should be dissolved, and the mixture will look like shiny marshmallow cream. Remove the bowl from the heat. Working with the whisk attachment or with a hand mixer, beat the meringue on medium speed until it is cool, about 5 minutes.

Switch to the paddle attachment if you have one, and add the butter a stick at a time, beating until smooth. Once all the butter is in, beat in the buttercream on medium-high speed until it is thick and very smooth, 6-10 minutes. During this time the buttercream may curdle or separate – just keep beating and it will come together again. On medium speed, gradually beat in the lemon juice, waiting until each addition is absorbed before adding more, and then the vanilla. You should have a shiny smooth, velvety, pristine white buttercream. Press a piece of plastic against the surface of the buttercream and set aside briefly.

To Assemble the Cake
Using a sharp serrated knife and a gentle sawing motion, slice each layer horizontally in half. Put one layer cut side up on a cardboard cake round or a cake plate protected by strips of wax or parchment paper. Spread it with one third of the preserves. Cover the jam evenly with about one quarter of the buttercream. Top with another layer, spread with preserves and buttercream and then do the same with a third layer (you’ll have used all the jam and have buttercream leftover). Place the last layer cut side down on top of the cake and use the remaining buttercream to frost the sides and top. Press the coconut into the frosting, patting it gently all over the sides and top.

Serving
The cake is ready to serve as soon as it is assembled, but I think it’s best to let it sit and set for a couple of hours in a cool room – not the refrigerator. Whether you wait or slice and enjoy it immediately, the cake should be served at room temperature; it loses all its subtlety when it’s cold. Depending on your audience you can serve the cake with just about anything from milk to sweet or bubbly wine.

Storing
The cake is best the day it is made, but you can refrigerate it, well covered, for up to two days. Bring it to room temperature before serving. If you want to freeze the cake, slide it into the freezer to set, then wrap it really well – it will keep for up to 2 months in the freezer; defrost it, still wrapped overnight in the refrigerator.

White Cake (my adaptation from Cooks Illustrated’s Classic White Cake)

Serves 12

Nonstick cooking spray
2¼ cups cake flour (9 ounces), plus more for dusting the pans
1 cup + 2 tablespoons whole milk, at room temperature
6 large egg whites (¾ cup), at room temperature
2 teaspoons almond extract
1 teaspoon vanilla extract
1½ cups + 2 tablespoons granulated sugar (11.35 ounces)
4 teaspoons baking powder
1 teaspoon table salt
12 tablespoons unsalted butter (1½ sticks), softened but still cool

1. For the Cake: Set oven rack in middle position. (If oven is too small to cook both layers on a single rack, set racks in upper-middle and lower-middle positions.) Heat oven to 350 degrees. Spray two 9-inch round cake pans with nonstick cooking spray; line the bottoms with parchment or waxed paper rounds. Spray the paper rounds, dust the pans with flour, and invert pans and rap sharply to remove excess flour.

2. Pour milk, egg whites, and extracts into 2-cup glass measure, and mix with fork until blended.

3. Mix cake flour, sugar, baking powder, and salt in bowl of electric mixer at slow speed. Add butter; continue beating at slow speed until mixture resembles moist crumbs, with no powdery streaks remaining.

4. Add all but ½ cup of milk mixture to crumbs and beat at medium speed (or high speed if using handheld mixer) for 1½ minutes. Add remaining ½ cup of milk mixture and beat 30 seconds more. Stop mixer and scrape sides of bowl. Return mixer to medium (or high) speed and beat 20 seconds longer.

5. Divide batter evenly between two prepared cake pans; using rubber spatula, spread batter to pan walls and smooth tops. Arrange pans at least 3 inches from the oven walls and 3 inches apart. (If oven is small, place pans on separate racks in staggered fashion to allow for air circulation.) Bake until thin skewer or toothpick inserted in the center comes out clean, 23 to 25 minutes.

6. Let cakes rest in pans for 3 minutes. Loosen from sides of pans with a knife, if necessary, and invert onto wire racks. Reinvert onto additional wire racks. Let cool completely, about 1½ hours.

Copy of IMG_7190

coconut roasted pineapple dacquoise

copy-of-img_6478

I hear people say that they’re a member of Tuesdays with Dorie because it gets them baking recipes they wouldn’t normally choose for themselves. Usually, I think they’re referring to things that don’t necessarily sound good but then are surprisingly tasty, like the peanut butter chocolate chip oatmeal cookies were for me.

copy-of-img_6465

I would never have gotten around to making this dacquoise not because it doesn’t look good (the picture in the book is beautiful), but because it’s a pain in the butt. I believe this is the most complex recipe we have made, or will make, for Tuesdays with Dorie.

copy-of-img_6450

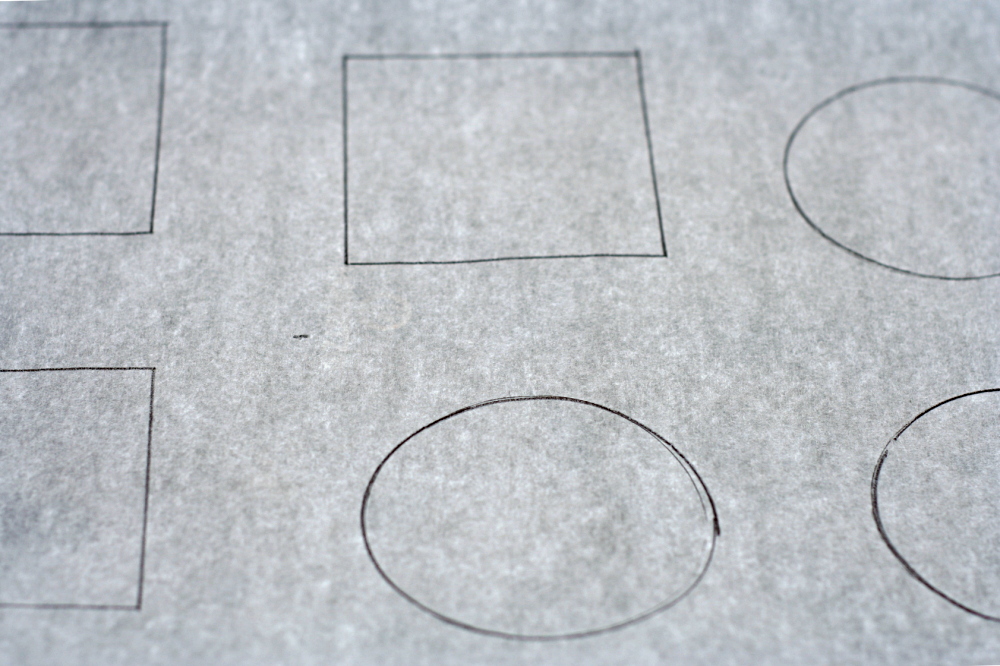
Before the meringue shells can even be made, a few preparation steps are in order – outlining the area on which to spread the meringue and grinding ingredients in the food processor. Only then can the egg whites be whipped and the ground ingredients folded in. Then the meringue needs to bake for three hours.

copy-of-img_6474

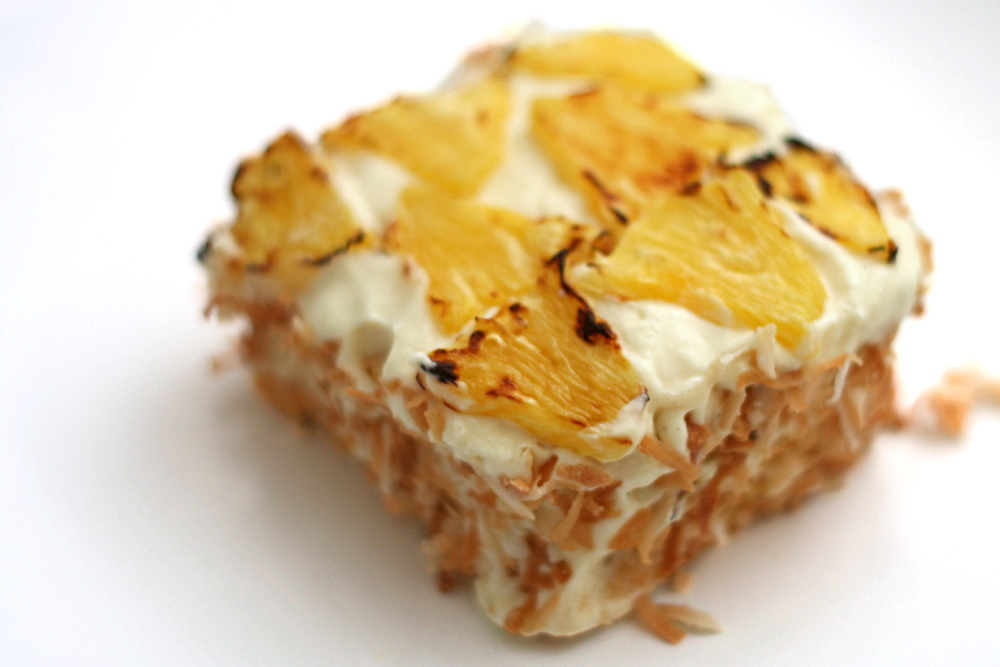
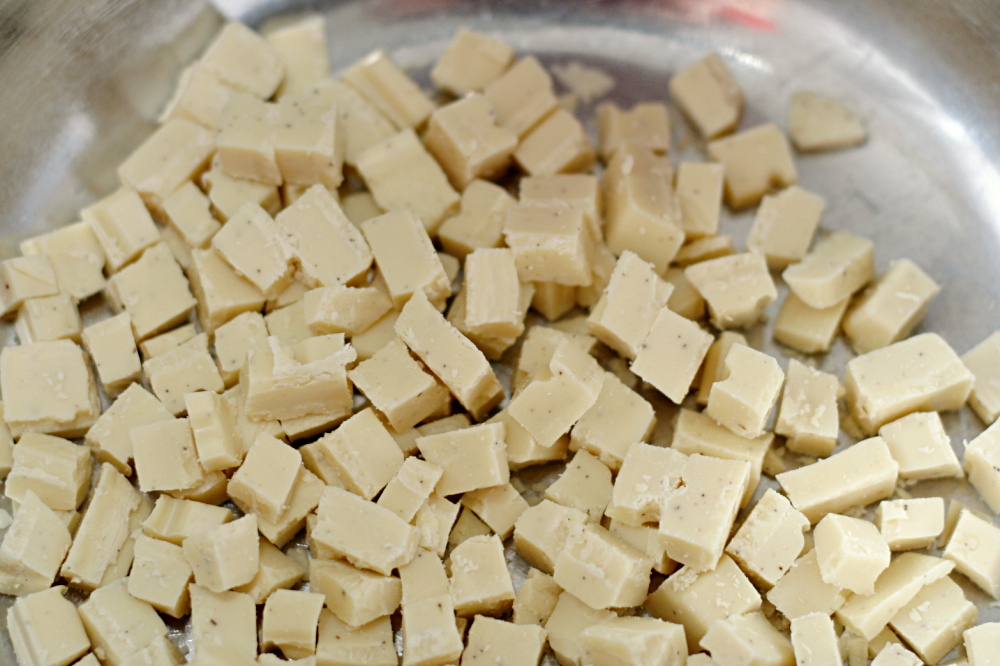
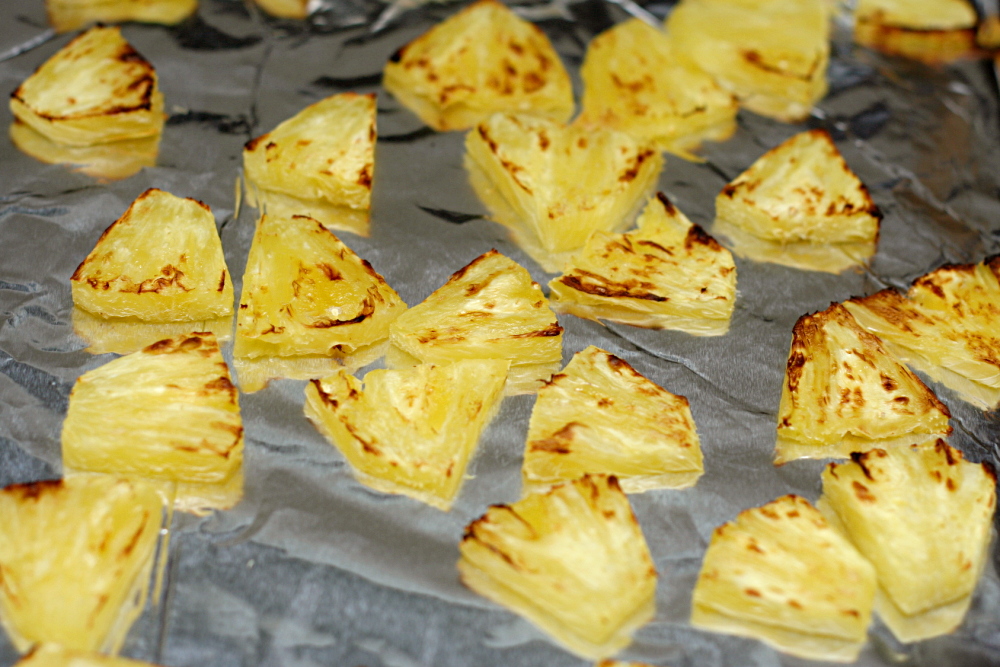
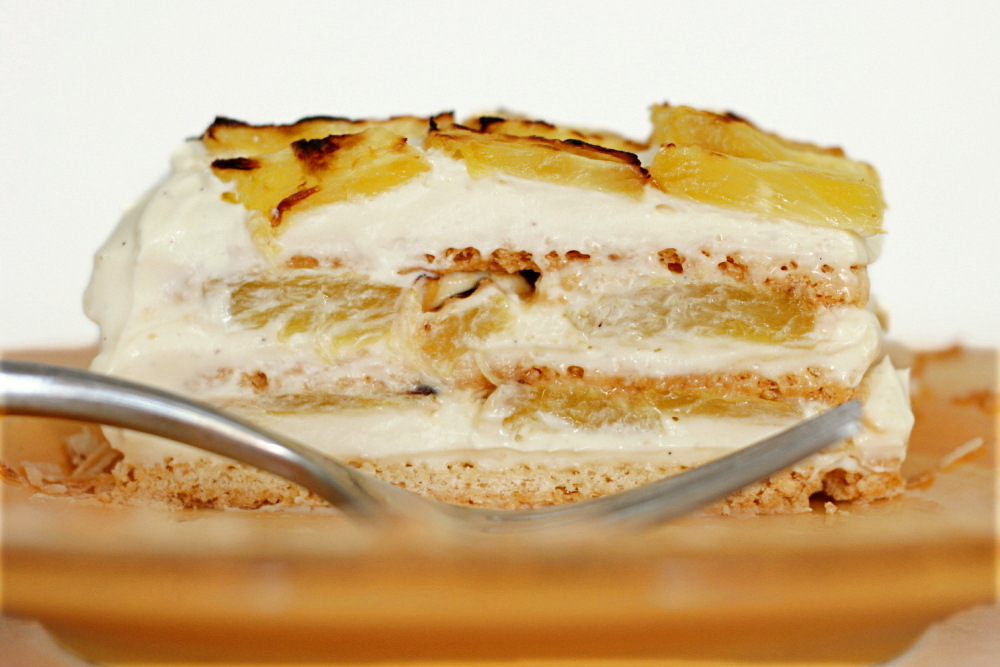
Meanwhile, white chocolate is melted with hot cream, then chilled. And a pineapple has to be cut and roasted, and coconut has to be toasted. Only then can all of the components be combined into a multi-layer dessert – which can’t be eaten until it’s been chilled for several hours.

copy-of-img_6461

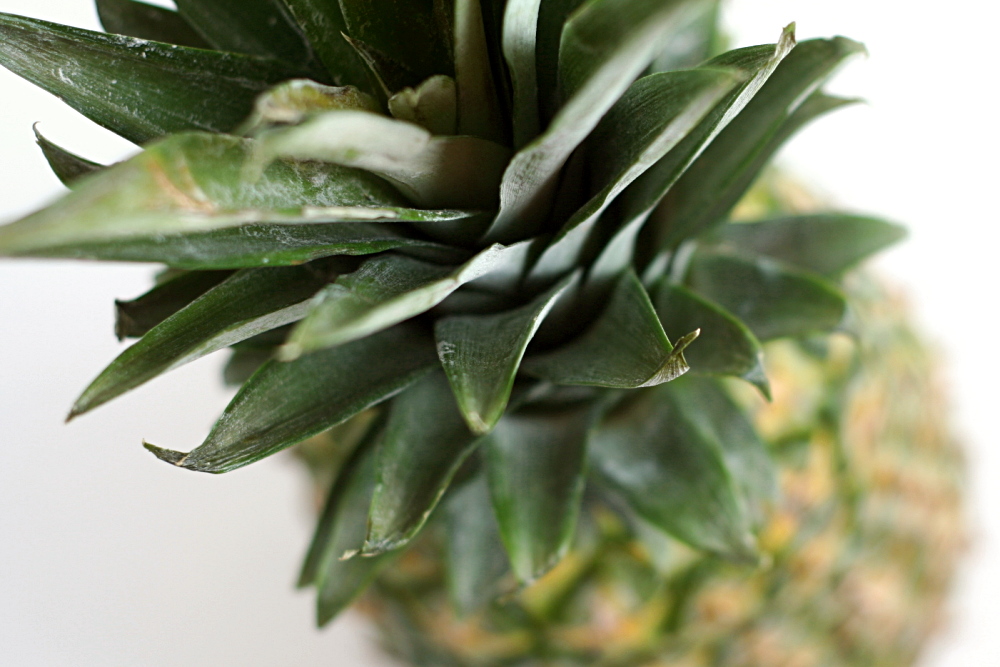
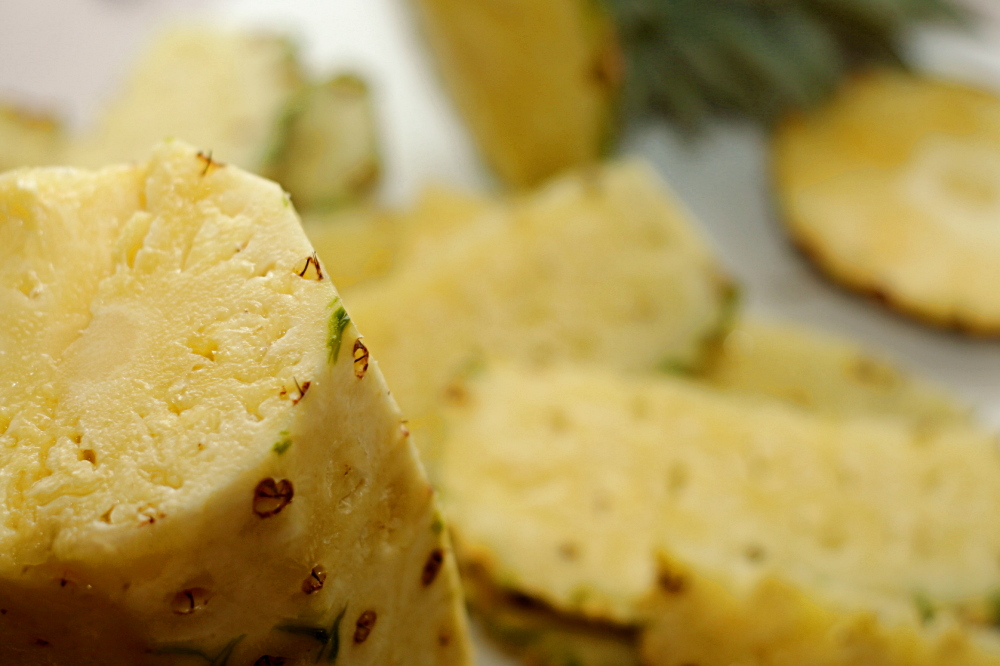
It was a lot of work. But it was fun, because it was the first time I’d baked meringue shells, the first time I’d bought and cut a whole pineapple, and the first time I’ve whipped white chocolate ganache without any swearing.

copy-of-img_6509

I enjoyed the components together. I made enough of everything for two small cakes and layered each one on the day we were going to eat them. The first one didn’t get a chance to set as long as Dorie recommends, and it was good, but a little too sweet for me and Dave. The second one, chilled longer, seemed to mellow as it set, and it was very good. I learned a lot, I had fun, and I got to eat a new, tasty dessert – all in all, it was a good week, despite my initial reservations (i.e., whining).

Andrea chose this recipe, and she has it posted.

One year ago: Pigs in a Blanket – we just had this for dinner last week!

copy-of-img_6520

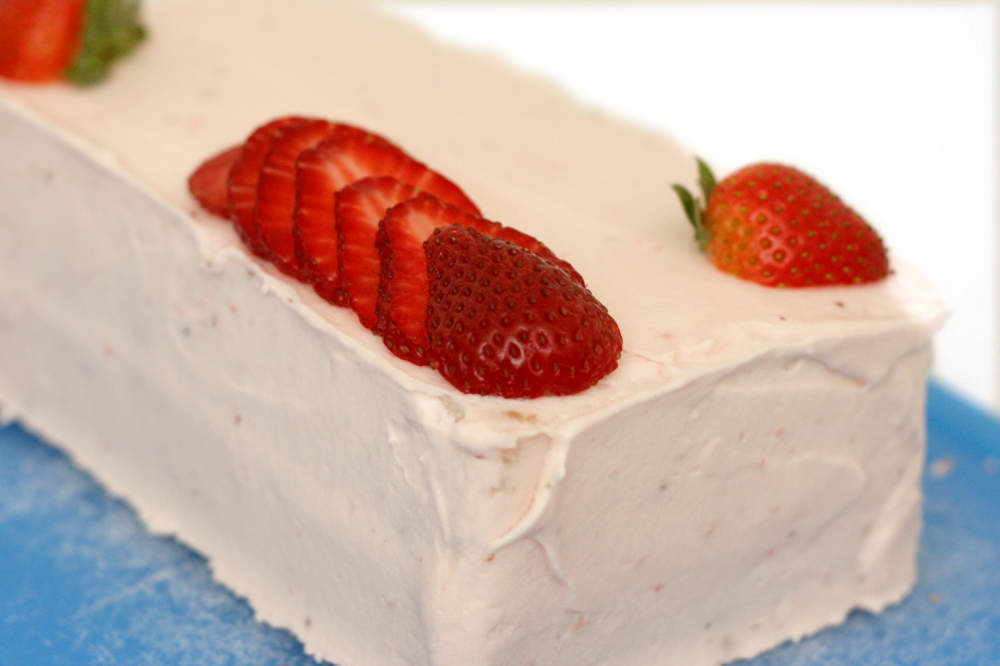
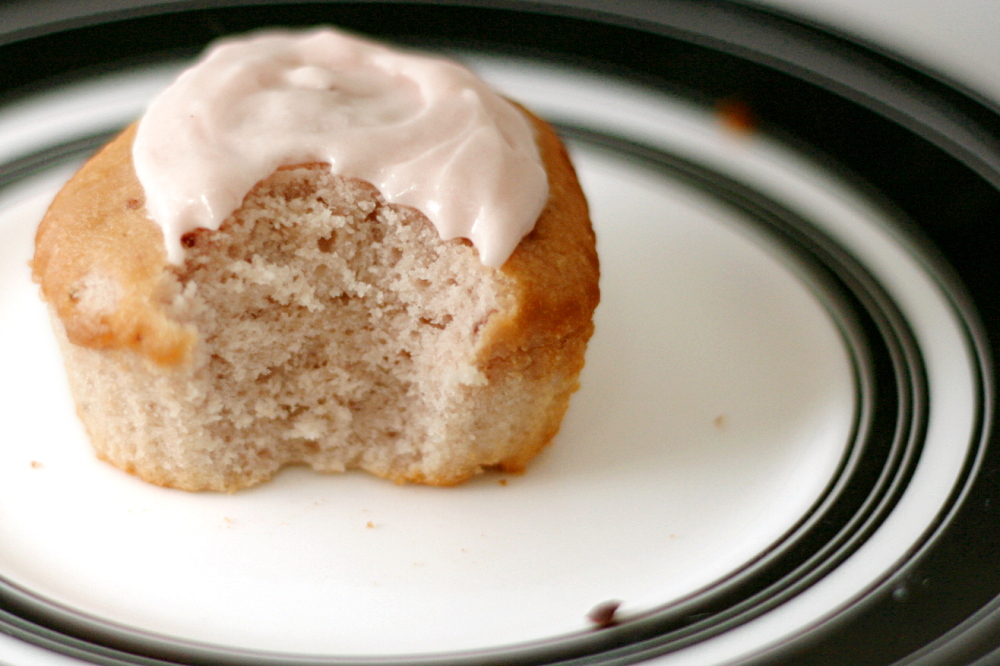
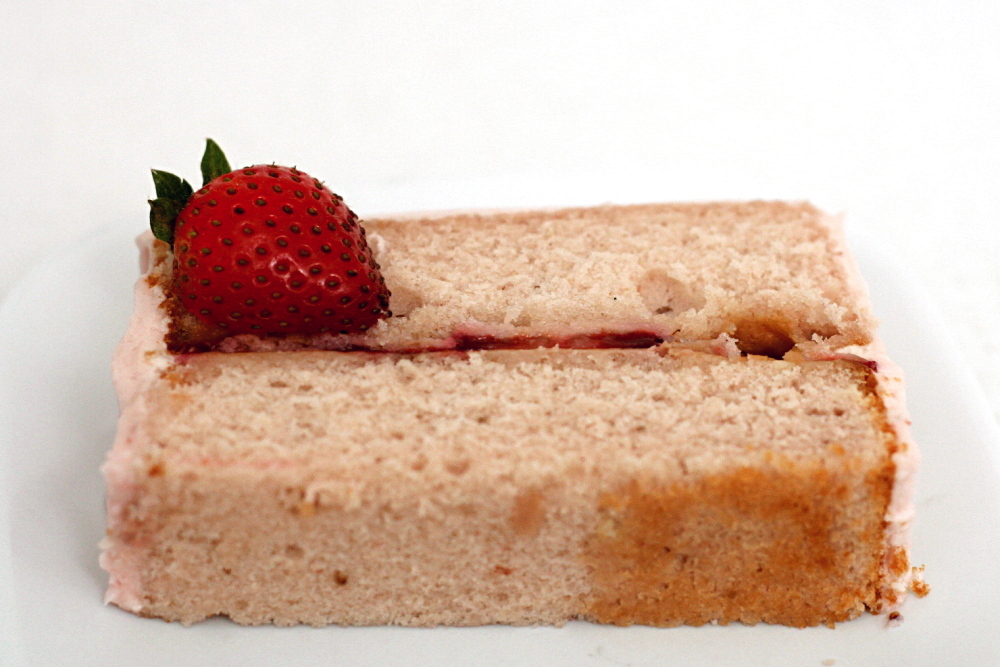
strawberry cake

copy-of-img_5603

I do not like oddball mixing methods. In fact, unless they’re explained, my habit is to ignore them completely. I know that muffins are sometimes mixed like cakes and that there are different types of cookies, but in general, I’m familiar with the normal mixing methods, and if something strays too far from what I recognize, it annoys me and I adapt the recipe to what seems more sensible.

copy-of-img_5021

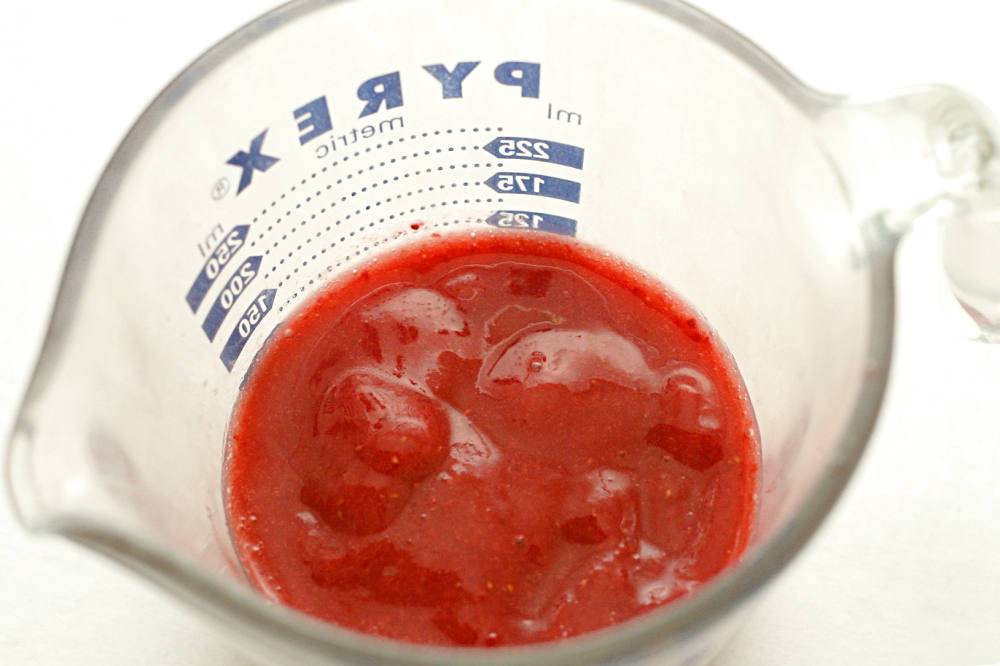
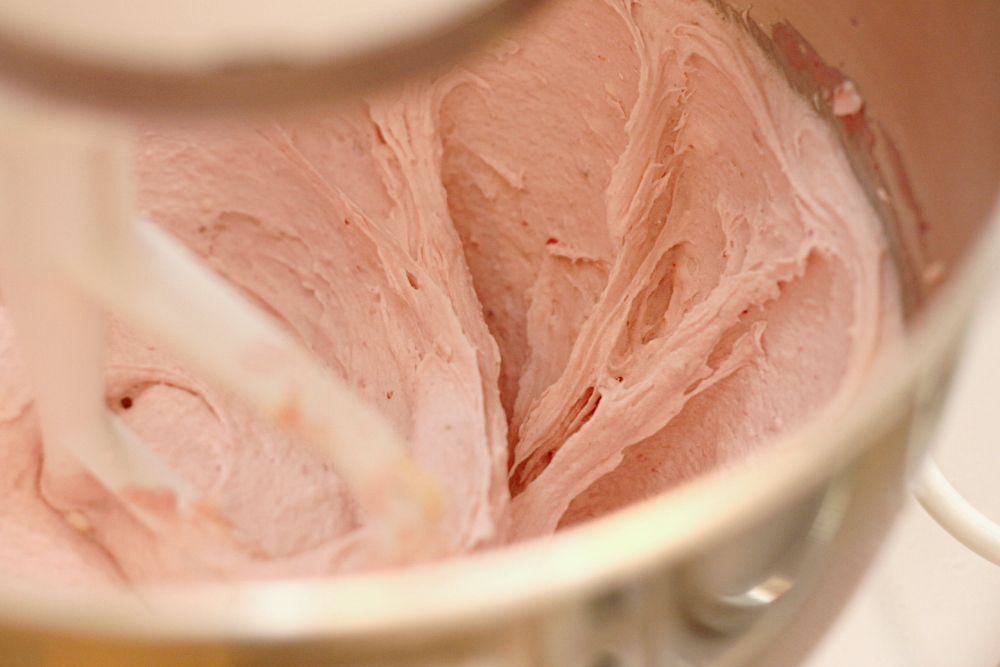
The first strawberry cake I made has a weird mixing method. You mix the dry ingredients in the mixer bowl, then add strawberry puree and softened butter and beat the mixture until it’s fluffy. Only then do you add milk and the egg whites in a few additions, mixing just until they’re mixed in.

copy-of-img_5026

The egg whites are added at the end? Bizarro.

*Disclaimer: I accidentally added the milk with the strawberry puree. I don’t think this would have a significant effect on the outcome, but I can’t be sure.

copy-of-img_5033

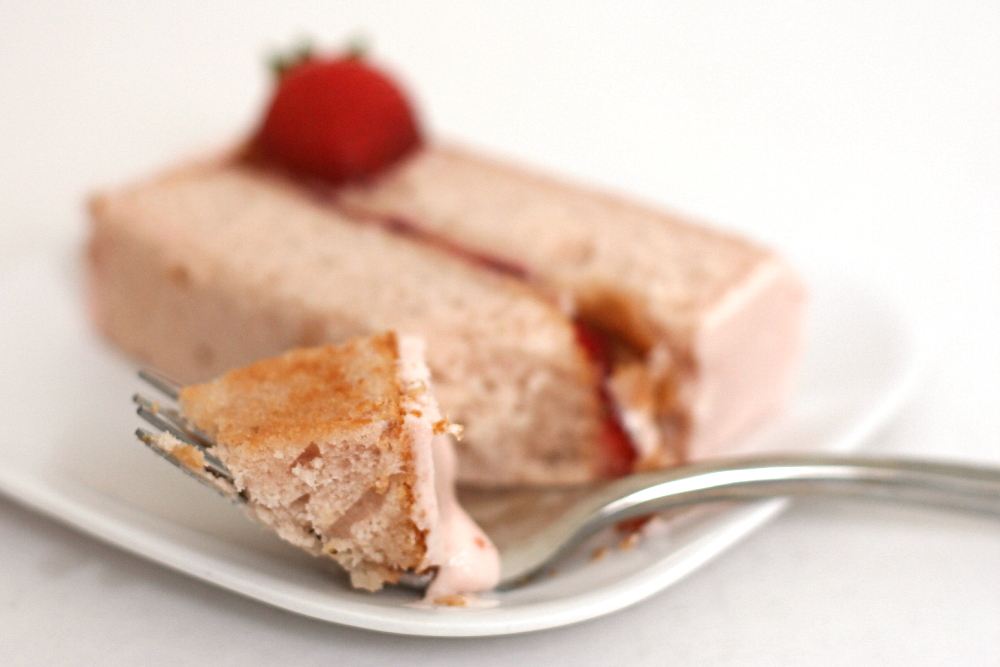
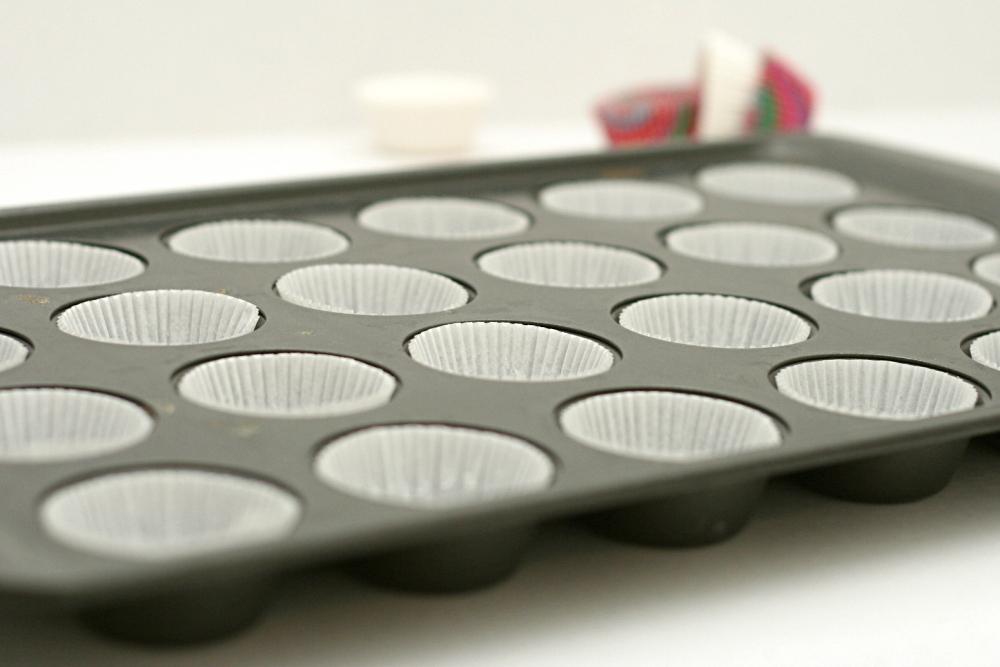
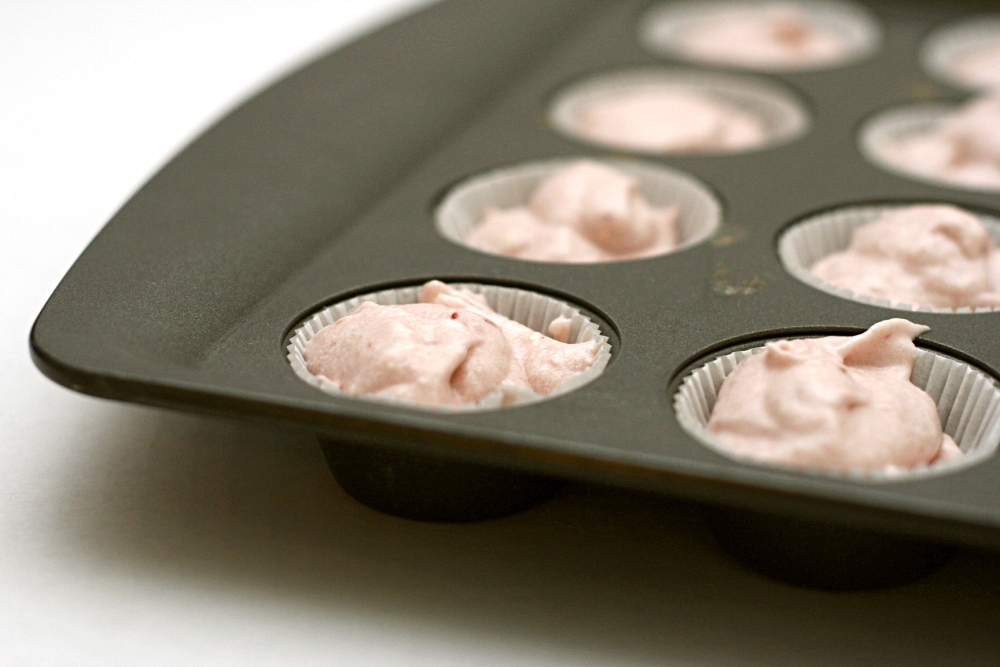
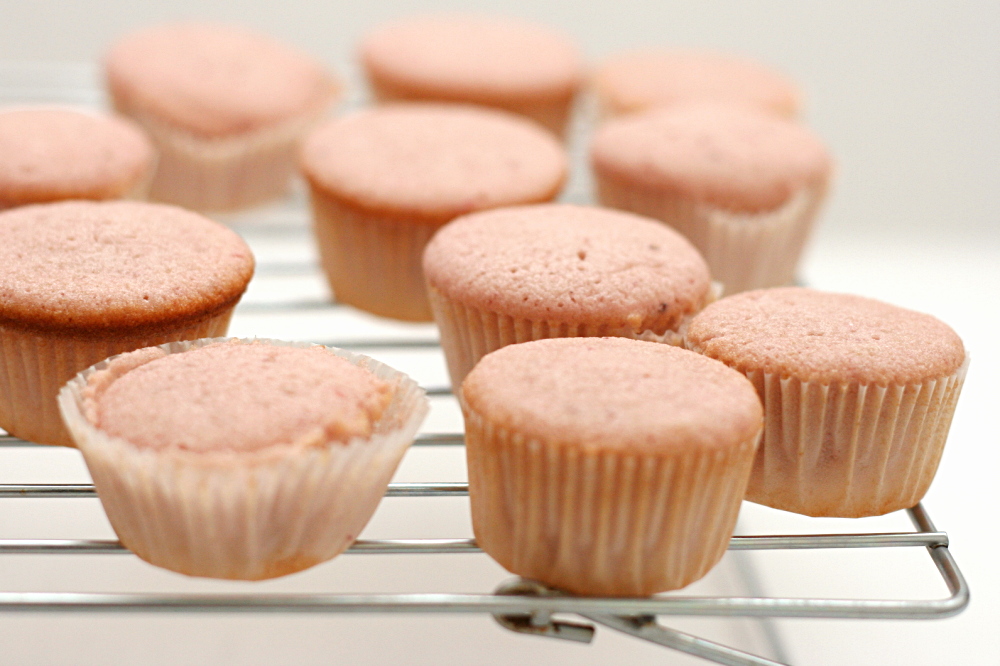
The cake was good, but, to me, not perfect. My mini cupcakes were a little sticky, or maybe gummy is a better word. What’s stranger is that all of the cupcake wrappers detached themselves from the cupcake within a few hours of baking. The flavor was great though, and every time I opened the lid to the container, I got a nice whiff of strawberries.

copy-of-img_5042

The other recipe I tried, from Good Things Catered, is similar to Cooks Illustrated’s white cake recipe, which I have previously enjoyed, with strawberry puree substituted for a portion of the milk. This recipe also has an unusual method – dry ingredients, then butter, most of the eggs + liquid, and then the rest of the eggs and liquid, followed by about a minute of beating the batter.

copy-of-img_5565

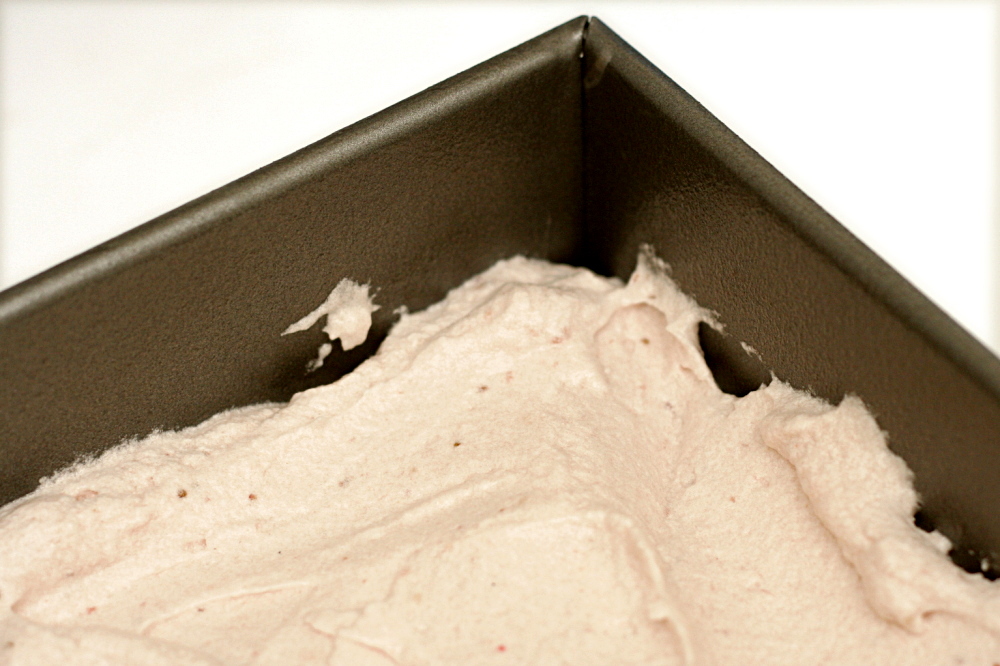
This cake, I have to admit, seemed a little dry. On the other hand, I did refrigerate it almost immediately after cooling, and then it was in and out of the freezer as I tried to neatly frost it, so perhaps I was a little too rough with it.

copy-of-img_5043

Both cakes were good. The strawberry flavor is definitely noticeable, which is nice. If I had to choose between the two, I’d choose the first one, from the Sky High cookbook, because it seemed more tender. However, what I really want to do is try the ingredients of the first one with a different mixing method. I have a feeling you can’t combine those ingredients and end up with anything that isn’t good, but I love to experiment.

copy-of-img_5568

One year ago: Baba Ghanoush and Fafafel

Pink Lady Cake (from Sky High via Smitten Kitchen)

Keep in mind that Sky High designs recipes for big cakes. If you’re not feeding a crowd, don’t be afraid to cut the recipe in half, which will yield the same amount of cake as most other cake recipes. Divide the batter between two 8- or 9-inch round pans and bake for 23-25 minutes.

All of the cupcake pictures are of this cake.

4½ cups cake flour
3 cups sugar
5¼ teaspoons baking powder
¾ teaspoon salt
3 sticks (12 ounces) unsalted butter, at room temperature
1½ cups pureed frozen strawberries (from about 12 ounces of strawberries)
8 egg whites
⅔ cup milk
1 to 2 drops red food dye, optional (to make the pink color more intense)

1. Preheat the oven to 350F. Butter three 9-inch round or 8-inch square cake pans. Line with parchment or waxed paper and butter the paper.

2. Put the flour, sugar, baking powder, and salt in a large mixer bowl. With the electric mixer on low speed, blend for 30 seconds. Add the butter and strawberry puree and mix to blend the ingredients. Raise the speed to medium and beat until light and fluffy, 2 to 3 minutes; the batter will resemble strawberry ice cream at this point.

3. In another large bowl, whisk together the egg whites, milk and red food dye, if using, to blend. Add the whites to the batter in two or three additions, scraping down the sides of the bowl well and mixing only to incorporate after each addition. Divide the batter among the three prepared pans.

4. Bake the cakes for 30 to 34 minutes, or until a cake tester or wooden toothpick inserted into the center comes out clean. Allow the layers to cool in the pans for 10 to 15 minutes. Invert and turn out onto wire racks and peel off the paper liners. Let stand until completely cooled before assembling the cake, at least an hour.

copy-of-img_5054

Strawberry Cake (adapted from Good Things Catered and Cooks Illustrated’s Classic White Layer Cake)

All of the layer cake pictures are from this cake.

Serves 12

Nonstick cooking spray
2¼ cups cake flour (9 ounces), plus more for dusting the pans
¼ cup whole milk, at room temperature
¾ cup strawberry puree (from about 6 ounces strawberries)
6 large egg whites (¾ cup), at room temperature
1 tablespoon vanilla extract
1¾ cups granulated sugar (12¼ ounces)
4 teaspoons baking powder
1 teaspoon table salt
12 tablespoons unsalted butter (1½ sticks), softened but still cool

1. Set oven rack in middle position. (If oven is too small to cook both layers on a single rack, set racks in upper-middle and lower-middle positions.) Heat oven to 350 degrees. Spray two 9-inch round cake pans with nonstick cooking spray; line the bottoms with parchment or waxed paper rounds. Spray the paper rounds, dust the pans with flour, and invert pans and rap sharply to remove excess flour.

2. Pour milk, strawberry puree, egg whites, and extract into 2-cup glass measure, and mix with fork until blended.

3. Mix cake flour, sugar, baking powder, and salt in bowl of electric mixer at slow speed. Add butter; continue beating at slow speed until mixture resembles moist crumbs, with no powdery streaks remaining.

4. Add all but ½ cup of strawberry mixture to crumbs and beat at medium speed (or high speed if using handheld mixer) for 1½ minutes. Add remaining ½ cup of strawberry mixture and beat 30 seconds more. Stop mixer and scrape sides of bowl. Return mixer to medium (or high) speed and beat 20 seconds longer.

5. Divide batter evenly between two prepared cake pans; using rubber spatula, spread batter to pan walls and smooth tops. Arrange pans at least 3 inches from the oven walls and 3 inches apart. (If oven is small, place pans on separate racks in staggered fashion to allow for air circulation.) Bake until thin skewer or toothpick inserted in the center comes out clean, 23 to 25 minutes.

6. Let cakes rest in pans for 3 minutes. Loosen from sides of pans with a knife, if necessary, and invert onto wire racks. Reinvert onto additional wire racks. Let cool completely, about 1½ hours.

copy-of-img_5597