These days, most things I bake turn out well. So whenever I visit my parents in Albuquerque, I’m always disgruntled by the problems I have with recipes. I don’t have enough experience adapting to the high altitude. On my most recent trip, I was frustrated when my snickerdoodles ended up flat and crispy and stuck to the pan. When I made scones the next morning, I remembered to decrease the baking powder, and they came out delicious and tender, but not quite as pretty as when I made them at my nearly sea-level apartment in Pennyslvania.
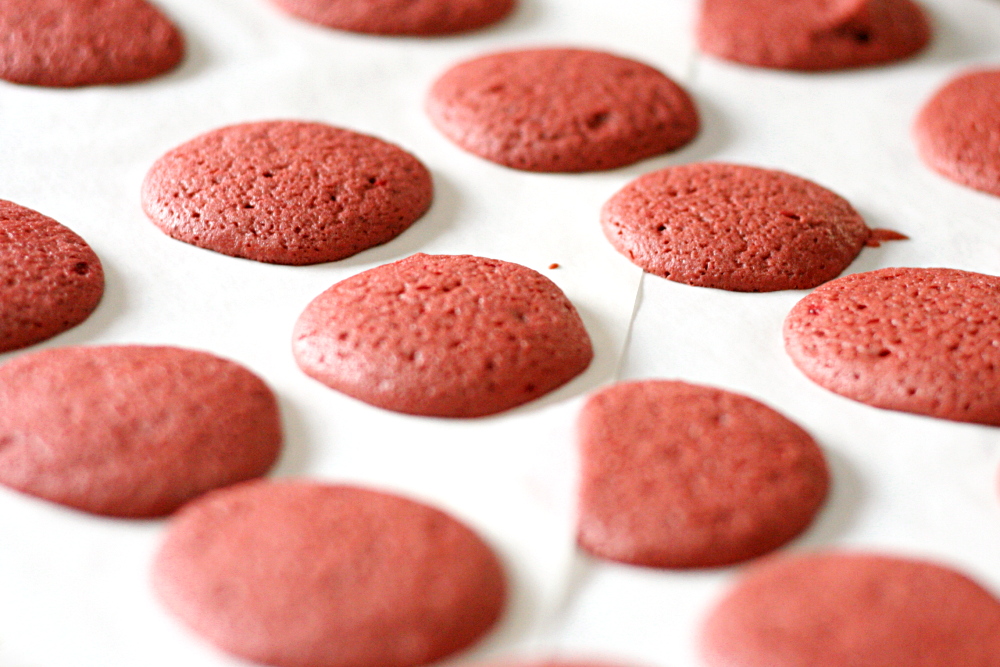
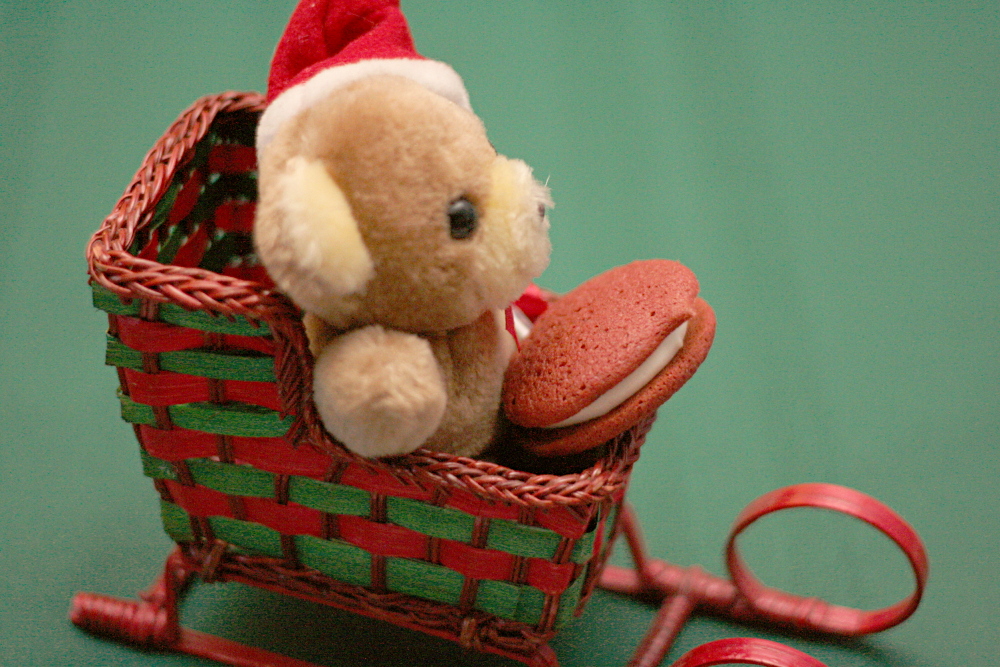
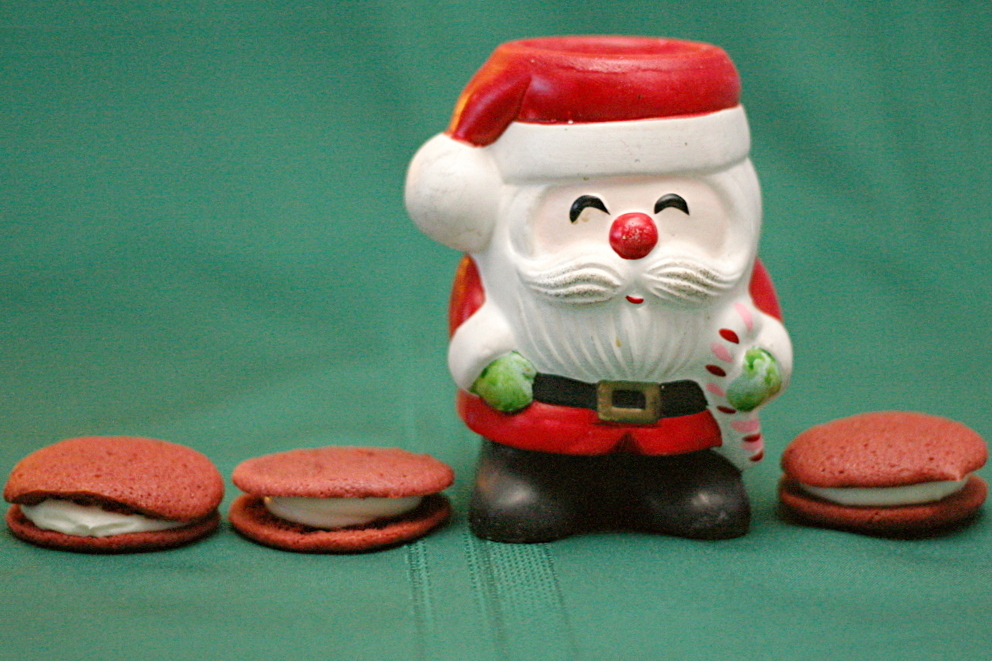
My mom and I saw these red velvet whoopie pies in a magazine and could not resist them. Of course we forgot to adapt the recipe for the altitude at first. Apparently (according to my mom, who has more experience with these things), reducing the butter (sacrilege!) helps, but the butter and sugar were creaming before we thought of it, so we added some extra flour and hoped for the best.
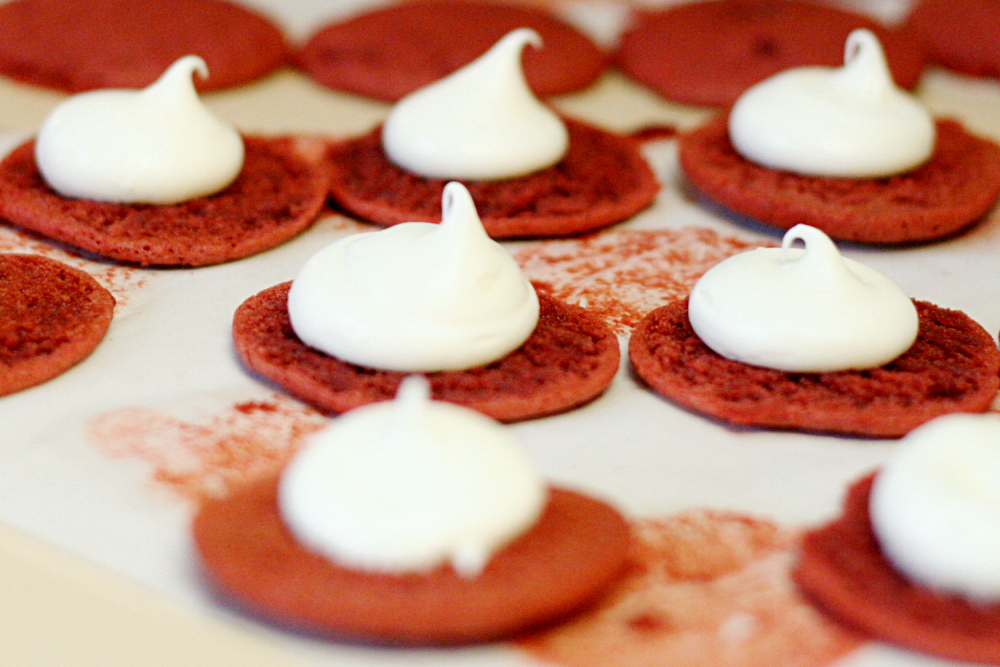
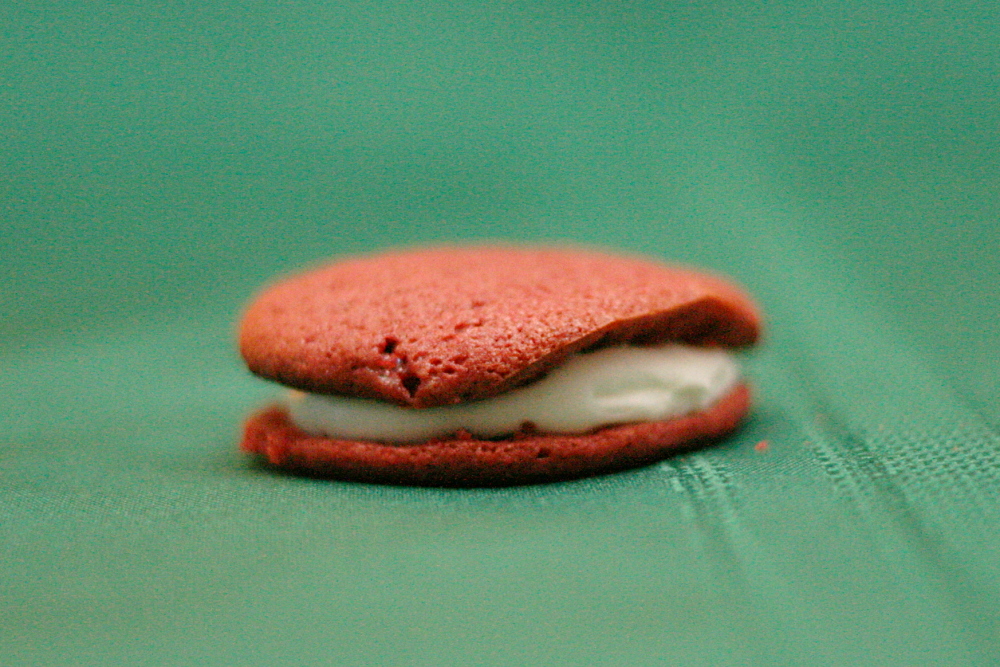
They spread too much and stuck to the parchment a little, so they’re not quite as pretty and tall as many mini whoopie pies. Don’t let that turn you away from this recipe, because they were amazing even so! The cake was tender and moist with just a touch of chocolate flavor. And I’m confident that, made at lower altitudes, the little cakes will be just as delicious, but prettier as well. And they’re sandwiching a dollop of cream cheese frosting – <drool>.
One year ago: Slice-a-Fancy Cookies – My mom just made these while I was visiting. The ingredients are so simple, but the cookies taste good.
Red Velvet Whoopie Pies (cake recipe from Better Homes and Gardens December 2008, with a little more detail; cream cheese frosting from my mom’s carrot cake recipe)
We opted for a traditional cream cheese frosting instead of the one suggested with the recipe, which used marshmallow creme.
Makes 30 sandwiches
Cake:
2 cups (9.5-10 ounces) unbleached flour*
2 tablespoons cocoa powder (not Dutch processed)
½ teaspoon baking powder
¼ teaspoon salt
8 tablespoons (1 stick) butter, softened
1 cup (7 ounces) packed light brown sugar
1 egg, preferably room temperature
1 teaspoon vanilla extract
½ cup buttermilk, preferably room temperature
1 ounce (2 tablespoons) red food coloring
Filling:
4 ounces cream cheese, softened
4 tablespoons (½ stick) butter, softened
2 cups (8 ounces) powdered sugar
½ teaspoon vanilla
1. Adjust oven rack to middle position; preheat oven to 375F. Line baking sheets with parchment paper. In medium bowl, whisk together flour, cocoa, baking soda and salt.
2. In large mixing bowl, beat butter on medium-high speed for 30 seconds, until smooth. Add brown sugar and beat until light and fluffy, about 2 minutes. With mixer at medium speed, add egg and beat until thoroughly combined, then beat in vanilla. Add about one-third of flour mixture followed by half of buttermilk mixture, mixing until incorporated after each addition (about 15 seconds). Repeat using half of remaining flour mixture and all of remaining buttermilk mixture. Scrape down sides of bowl and add remaining flour mixture; mix at medium-low speed until batter is thoroughly combined, about 15 seconds. Remove bowl from mixer and fold batter once or twice with rubber spatula to incorporate any remaining flour.
3. Spoon (or pipe) batter in 1-inch diameter rounds about ½-inch high on prepared baking sheets, allowing 1 inch between each round.
4. Bake 7 to 9 minutes, or until tops are set. Cool cookies on cookie sheets.
5. To make filling: Add cream cheese and butter to mixer bowl and beat until smooth. Gradually add powdered sugar, alternating with vanilla. Beat until smooth.
6. To fill, dollop (or pipe) cream cheese filling on flat sides of half the cookies. Top with remaining cookies, flat sides down.
To store: Refrigerate in airtight container up to 4 days. Let stand at room temperature 15 minutes before serving.
*Cooks Illustrated uses 5 ounces for 1 cup of flour, and for the last couple of years, that’s what I’ve used when making recipes that only provide volume measurements. (I never measure flour by volume for baking – I think it’s a hassle.) However, I’m coming to realize that 5 ounces for 1 cup of regular flour is pretty high. I heard somewhere that Dorie Greenspan uses 4.8 ounces. Until I figure out what I want to use for recipes that call for flour by volume, I’ll have to be wishy-washy.
