hidden berry cream cheese torte

berry cream cheese torte 7

I don’t think of myself as much of a shopper. The majority of the clothes I’ve bought over the last year have been thrifted, I rarely buy books or CDs since we moved to a town without a big bookstore, I have no interest in cars beyond dependability and gas mileage, and the only decorations in my office at the place I’ve worked for a year and a half are a bird-shaped mirror that makes me smile every time I see it and three posters on local geology that a coworker was trying to get rid of.

berry cream cheese torte 2

But ingredients are becoming a weakness. I blame living in a small isolated town; because there are so many foods I can’t buy here, when I do have access to a fun new ingredient, I snatch it up. This is why I have a container of truffle salt I’ve only used once and several types of ground and whole mustard seeds which I never got around to using in homemade mustard recipes. It’s probably a good thing Dave rushed me out of the Middle Eastern market we went to for lunch in Albuquerque, so I only had time to buy a container of za’atar and a jar of boysenberry preserves.

berry cream cheese torte 1

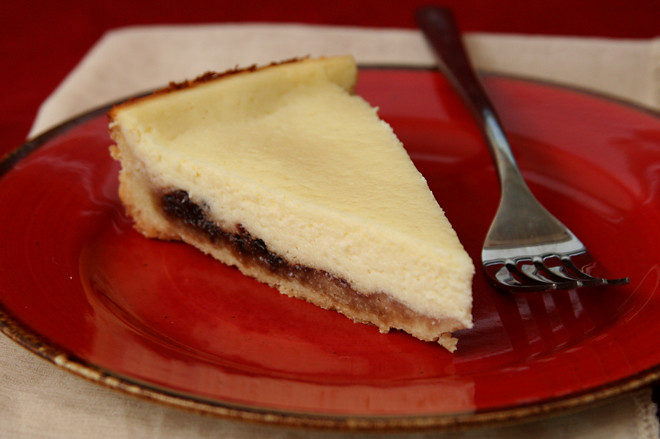
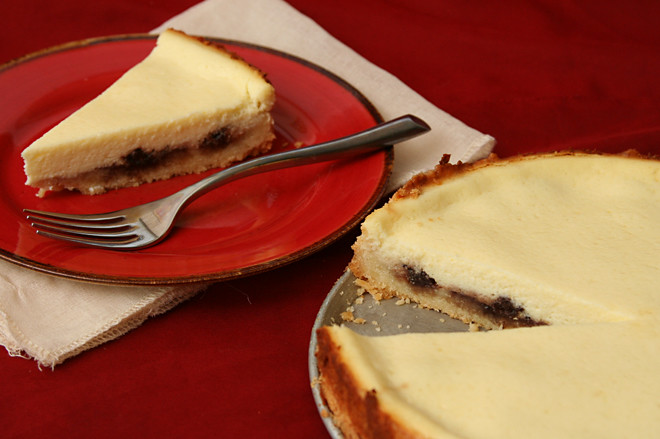
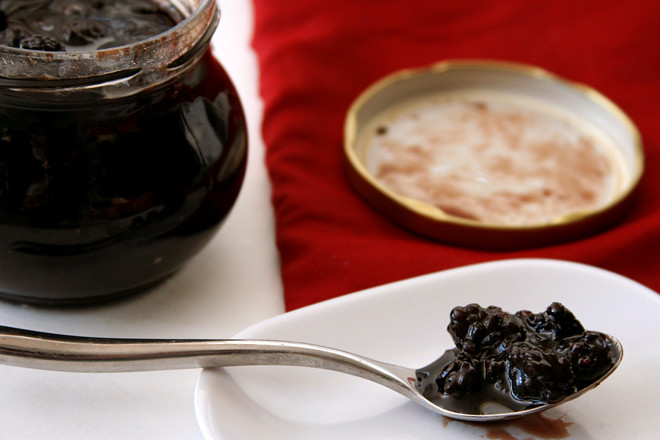
I haven’t used the za’atar yet, but the jam was perfect in this light, creamy cheesecake. I added a little more than the recipe called for, and I wished I had used even more. This is one impulse buy I don’t regret one bit.

berry cream cheese torte 4

One year ago: Cardamom Crumb Cake
Two years ago: Cafe Volcano Cookies
Three years ago: Buttery Jam Cookies

Printer Friendly Recipe
Hidden Berry Cream Cheese Torte (from Dorie Greenspan’s Baking: From my Home to Yours)

8 servings

I used 8 ounces of cream cheese, since that’s the normal size of the packages. I also left out the spices.

Crust:
1¾ cups all-purpose flour
½ cup (3.5 ounces) sugar
¼ teaspoon salt
1½ sticks (12 tablespoons) unsalted butter, cut into small pieces and chilled
2 large egg yolks
1 teaspoon pure vanilla extract

Filling:
⅓ cup thick berry or cherry jam
9 ounces cream cheese, at room temperature
8 ounces (1 cup) cottage cheese, at room temperature
¾ cup sugar
¼ teaspoon salt
Pinch of ground cinnamon
Pinch of freshly grated nutmeg
2 large eggs, preferably at room temperature
Confectioners’ sugar, for dusting (optional)

Getting ready: Butter a 9-inch springform pan, dust the inside with flour, and tap out the excess. Place on a baking sheet lined with parchment or a silicone mat.

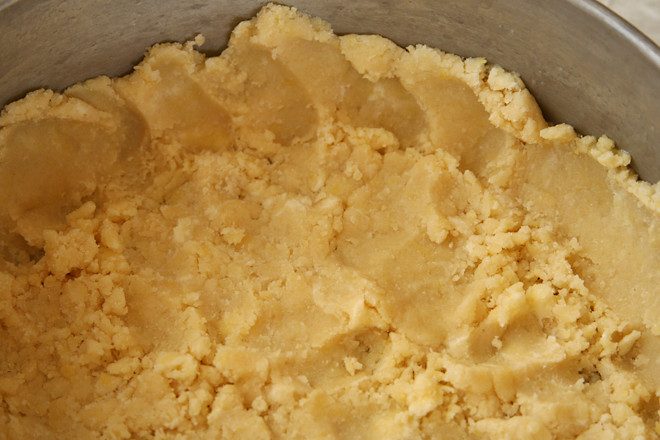
To make the crust: Put the flour, sugar and salt in a food processor and pulse just to blend. Toss in the pieces of butter and pulse until the mixture resembles coarse meal. Stir the egg yolks and vanilla together with a fork, and, still pulsing the machine, add them and continue to pulse until the dough comes together in clumps and curds—restrain yourself, and don’t allow the dough to form a ball.

Turn the dough out onto a work surface. If you want to roll the dough, gather it into a ball, wrap it in plastic wrap and refrigerate it for about 20 minutes before rolling. (I like to roll this, and all sweet crusts, between sheets of plastic wrap.) Or simply press the dough into the pan. The dough should come about 1½ inches up the sides of the springform. Refrigerate for at least 30 minutes.

Center a rack in the oven and preheat the oven to 375 degrees. Fit a piece of buttered aluminum foil against the crust, covering it completely. Fill the crust lightly with rice, dried beans or pie weights and slide the pan into the oven. Bake the crust for 20 minutes, then carefully remove the foil and weights and bake for another 5 minutes or so—you don’t want the crust to get too brown. Transfer to a rack to cool while you make the filling. Lower the oven temperature to 350 degrees.

To make the filling: Stir the jam and spread it over the bottom of the crust—it’s okay to do this while the crust is still warm.

Put the cream cheese and cottage cheese into the food processor and process, scraping down the sides of the bowl a few times, for 2 minutes, until you’ve got a smooth, satiny mix. Add the sugar, salt and spices and process for another 30 seconds. With the machine running, add the eggs and process, scraping the bowl as needed for a final minute. Pour the filling over the jam.

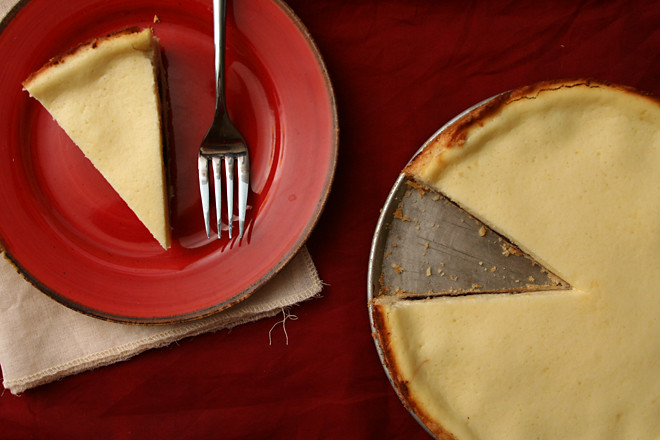
Bake the cake for 60 to 70 minutes, or until the filling is uniformly puffed and no longer jiggly. Gently transfer the springform pan to a cooling rack and allow the torte to cool to room temperature, during which time the filling will collapse into a thin, elegant layer.

Run a blunt knife between the crust and the sides of the pan, then open and remove the sides of the springform. If the sides of the crust extend above the filling and you don’t like this look, very gently saw off the excess crust using a serrated knife. Chill the torte slightly or thoroughly before serving and dust with confectioner’s sugar.
berry cream cheese torte 5

squash kale pizza

squash kale pizza 6

This recipe knocked me out of a months-long pizza rut. At about two homemade pizza dinners a month, that’s a lot of green chile-turkey pepperoni-mushroom pizza. Not that anyone around here was complaining.

squash kale pizza 1

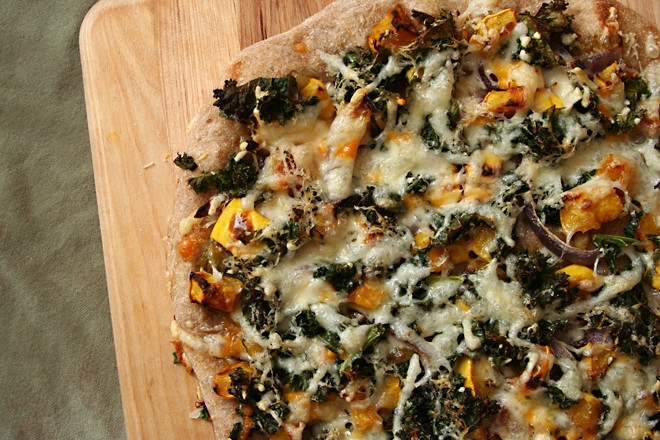
It’s the complimentary earthy flavor that squash and kale both have, combined with the contrasting sweetness of the squash and slight bitterness of the kale that make this pizza work so well. Onions with savory centers and caramelized tips bridge the gap, then the whole thing is topped with plenty of cheese, which is what really matters. I don’t know if it’s going to rival green chile-turkey pepperoni-mushroom for our next rut, but it was definitely a nice diversion.

squash kale pizza 3

One year ago: Beef in Barolo
Two years ago: Steak au Poivre
Three years ago: Red Velvet Whoopie Pies

Printer Friendly Recipe
Kale and Butternut Squash Pizza (from Bev Cooks via Cate’s World Kitchen)

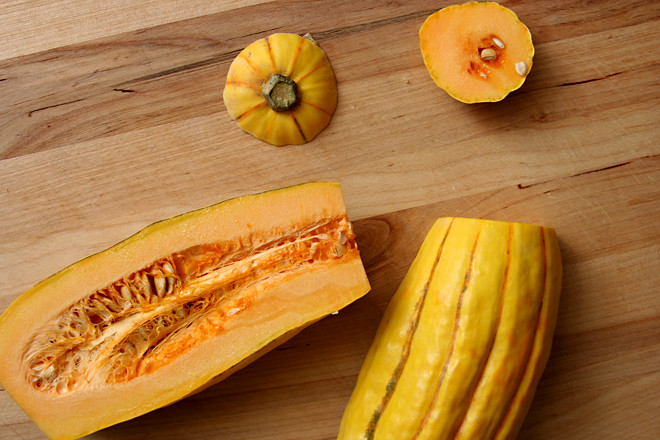
I used acorn squash the first time I made this and delicata squash the second time. So technically, I haven’t made butternut squash and kale pizza yet!

Dough for two 10-inch pizza crusts (half of this recipe)
1½ tablespoons olive oil, divided
salt and freshly ground pepper
1 medium butternut squash, peeled, seeded and cut into bite-sized cubes
2 small red onions, cut into wedges
3 cups kale (from about 1 bunch), cut in thin ribbons
2 garlic cloves, sliced
2 cups (8 ounces) shredded mozzarella cheese

1. Place a pizza stone on the bottom rack of the oven and preheat the oven to 400 degrees. Divide the dough in two and shape each portion into a ball. Set the balls of dough aside for 10 to 30 minutes, loosely covered, to allow the gluten to relax.

2. Transfer the squash and onions to a large baking sheet; season with a generous pinch of salt and pepper and coat with 1 tablespoon of oil. Bake, stirring once halfway through, until softened and browned, about 30 minutes.

3. Heat the remaining ½ tablespoon of oil with the garlic in a large skillet; add the kale and a pinch of salt; cook, stirring constantly, until wilted, about 2 minutes. Remove from the heat.

4. Work with one ball of dough at a time on a lightly floured surface or a damp cloth. Flatten the dough, then pick it up and gently stretch it out, trying to keep it as circular as possible. Curl your fingers and let the dough hang on your knuckles, moving and rotating the dough so it stretches evenly. If it tears, piece it together. If the dough stretches too much, put it down and gently tug on the thick spots. Transfer the round of dough to a large square of parchment paper; slide onto a pizza peel.

5. Top the dough with half of each of the roasted vegetables, kale, and cheese. Slide the pizza with the parchment onto the hot baking stone. Bake for 8-10 minutes, until the crust is browned around the edges. Transfer the pizza to a cooling rack without the parchment. Let the pizza rest for 5 minutes before serving. Repeat with the remaining ingredients.

squash kale pizza 4

cheddar puffs with green onions

cheddar puffs 5

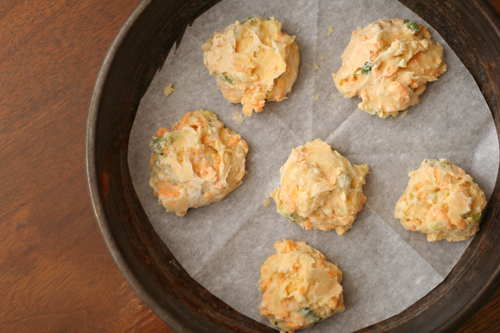
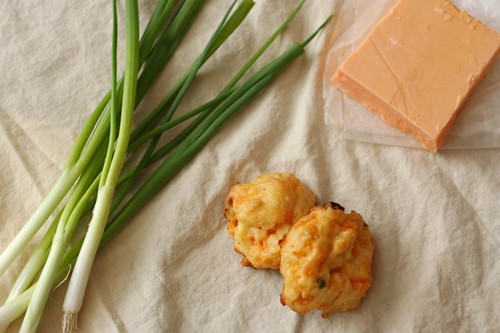
Are you afraid of yeast? Or at least resistant to adding complicated rising schedules to your already-stressful Thanksgiving to-do list? Try these puffs instead of yeast bread. They take about 10 minutes to put together, and you can shape the dough and freeze it until the big day. Then you just pop them in the oven while the turkey rests.

cheddar puffs 2

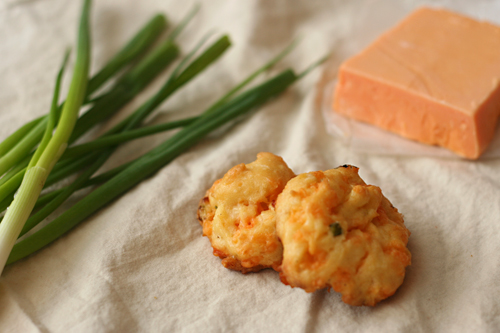
I admit that they don’t make the best gravy mop, but they have such great flavor on their own that you don’t really want to bury it anyway – even with this gravy. They resemble cream puffs, except instead of a sweet creamy filling, they’re full of onions bits and shredded cheese. They taste perfect with the turkey, and they fit perfectly into the turkey roasting schedule.

cheddar puffs 3

Two years ago: Croissants (Martha Stewart)
Three years ago: Asian Peanut Dip

Printer Friendly Recipe
Cheddar Puffs with Green Onions (adapted from Bon Appétit via epicurious)

Makes 24 puffs

½ cup water
2 tablespoon butter, cut into 4 pieces
¼ teaspoon salt
½ cup + 1 tablespoon (2.7 ounces) all-purpose flour
2 large eggs
3 ounces grated extra-sharp cheddar cheese
¼ cup minced green onions

1. Heat the oven to 375 degrees. Line 2 baking sheets with parchment paper.

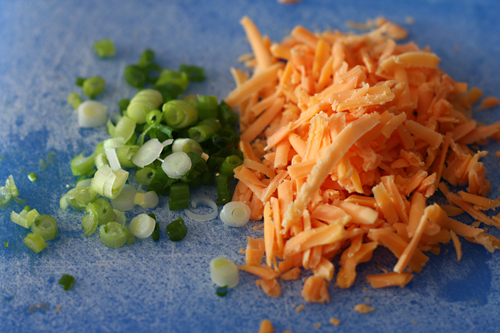
2. Bring the water, butter, and salt to a boil in a heavy medium saucepan. Remove from the heat; mix in the flour. Stir over medium heat until the mixture becomes slightly shiny and pulls away from sides of the pan, about 3 minutes; transfer to a stand mixer fitted with the paddle attachment. Add the eggs one at a time, mixing well after each addition to form a sticky dough. Mix in the cheese and green onions.

3. Divide the dough into 24 equal portions; drop onto the baking sheet one inch apart. (Can be made ahead. Wrap in plastic, then foil. Refrigerate up to 2 days or freeze up to 2 weeks.)

3. Bake the cheese puffs until golden, about 30 minutes if at room temperature and 35 minutes if chilled or frozen. Serve immediately.

cheddar puffs 4

butternut squash risotto

butternut squash risotto 7

The first time I made this risotto, all the smoke from the chicken I was roasting set off the fire alarm in my apartment building. Everyone had to go stand outside in the cold (this is back when I lived somewhere where it actually got cold), but I didn’t want to leave the stove because I needed to stir my risotto! So Dave was the one who had to go confess to everyone that the alarm was my fault. He loved that.

butternut squash risotto 2

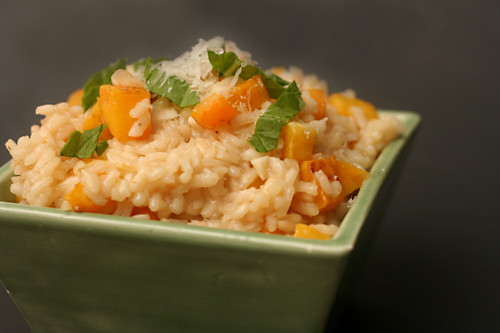
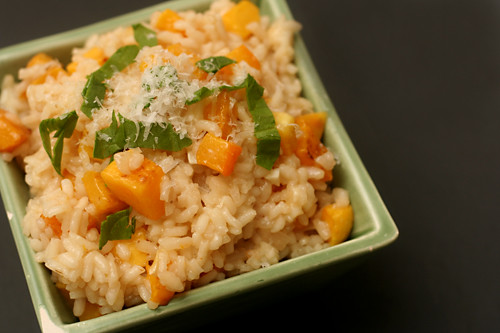
And I loved this risotto. It isn’t nearly as rich as the pumpkin risotto I made a couple years ago; that one has twice the cooking fat and a generous dollop of mascarpone. All that cheese mutes the flavor of the squash, and squash is what I want to highlight in a squash risotto.

butternut squash risotto 3

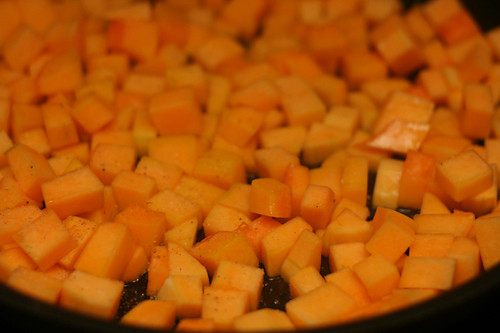
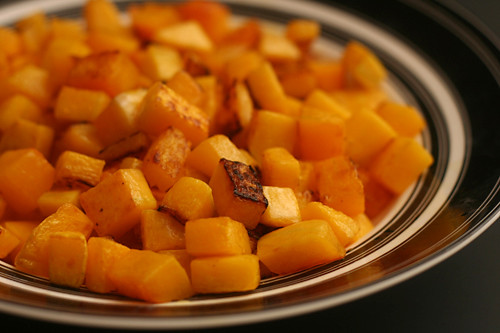
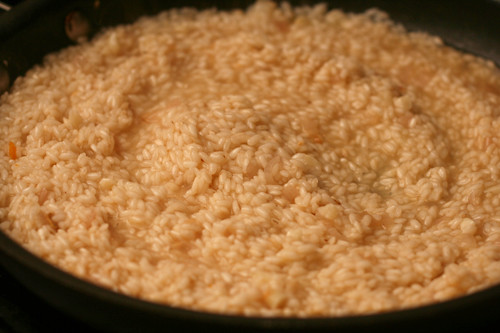
This recipe has a trick (it’s a Cooks Illustrated recipe; of course it has a trick) to eeking out all of the possible flavor from squash, and that’s to sauté to fibers and seeds, then use them as a base for the liquid used to cook the rice. It’s almost like making a squash broth, which is the perfect way to incorporate squash flavor into the entire risotto, not just in the chunks of squash distributed throughout the rice.

butternut squash risotto 4

The risotto was much better than that alarm-raising chicken. It involves some annoying steps with straining the broth and of course the tedious peeling and chopping of squash, but it isn’t anything as bad as explaining to your neighbors why they have to stand out in the cold on a Sunday night.

butternut squash risotto 6

One year ago: Pomegranate-Glazed Salmon
Two years ago: Brown Rice with Black Beans
Three years ago: Sushi Bowls

Printer Friendly Recipe
Butternut Squash Risotto (from Cooks Illustrated)

Serves 4 as a main course and 6 as a first course

2 tablespoons olive oil
1 medium butternut squash (about 2 pounds), peeled, seeded, and cut into ½-inch dice (about 3½ cups), seeds and fibers reserved
¾ teaspoon salt
¾ teaspoon pepper
4 cups low-sodium chicken broth
1 cup water
4 tablespoons unsalted butter
2 small onions, chopped very fine (about 1½ cups)
2 cloves garlic, minced
2 cups Arborio rice
1½ cups dry white wine
¾ cup (1½ ounces) finely grated Parmesan cheese
¼ teaspoon grated nutmeg
2 tablespoons minced fresh sage leaves

1. Heat the oil in a 12-inch skillet over medium-high heat until shimmering but not smoking. Add about 3½ cups of the squash in an even layer and cook without stirring until the squash is golden brown, 4-5 minutes; stir in ¼ teaspoon salt and ¼ teaspoon pepper. Continue to cook, stirring occasionally, until the squash is tender and browned, about five minutes longer. Transfer the squash to a small bowl and set aside.

2. Return the skillet to medium heat; add the reserved squash fibers and seeds and any leftover diced squash. Cook, stirring frequently to break up the fibers, until lightly browned, about 4 minutes. Transfer to a large saucepan and add the chicken broth and water; cover the saucepan and bring the mixture to a simmer over high heat, then reduce the heat to medium-low to maintain a bare simmer.

3. Melt 3 tablespoons of butter in the now-empty skillet over medium heat; when the foaming subsides, add the onions, garlic, remaining ½ teaspoon salt, and remaining ½ teaspoon pepper. Cook, stirring occasionally, until the onions are softened, 4 to 5 minutes. Add the rice to the skillet and cook, stirring frequently, until the grains are translucent around the edges, about 3 minutes. Add the wine and cook, stirring frequently, until fully absorbed, 4 to 5 minutes.

4. Meanwhile, strain the hot broth through a fine-mesh strainer set over a medium bowl, pressing on the solids to extract as much liquid as possible. Return the strained broth to the saucepan and discard the solids in the strainer; cover the saucepan and set over low heat to keep the broth hot.

5. When the wine is fully absorbed, add 3 cups of the hot broth and half of the reserved squash to the rice. Simmer, stirring every 3 to 4 minutes, until the liquid is absorbed and the bottom of the pan is almost dry, about 12 minutes.

6. Stir in about ½ cup of hot broth and cook, stirring constantly, until absorbed, about 2 minutes; repeat with additional broth 2 or 3 more times, until the rice is al dente. Off the heat, stir in the remaining tablespoon of butter, the Parmesan, sage, and nutmeg. Gently fold in the remaining cooked squash. If desired, add an additional ¼ cup of broth to loosen the texture of the risotto. Serve immediately.

butternut squash risotto 5

turkey ricotta meatloaf

turkey ricotta meatloaf 6

Of all the food we ate in Italy, probably the most interesting dishes were made by friends in their home, not ordered in a restaurant. One night, after a first course of spaghetti with tomato sauce, they served thin slices of pork loin (or possibly veal) with a sauce made from canned tuna (which I later found is a traditional Piedmontese dish called vitella tonnato). The next night, we ate trofie al pesto, which Wikipedia claims is the “most symbolic of Genoese meals”, fitting, considering that we were indeed in Genoa.

turkey ricotta meatloaf 1

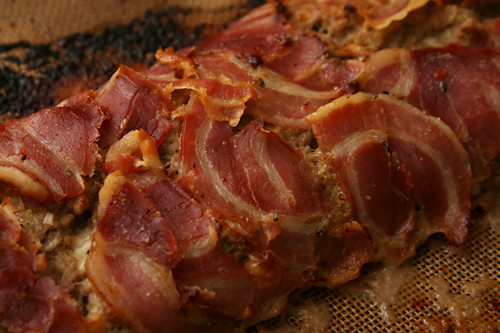
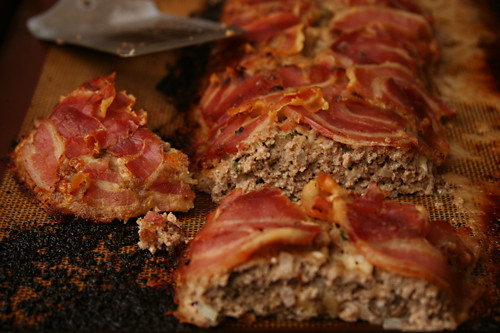
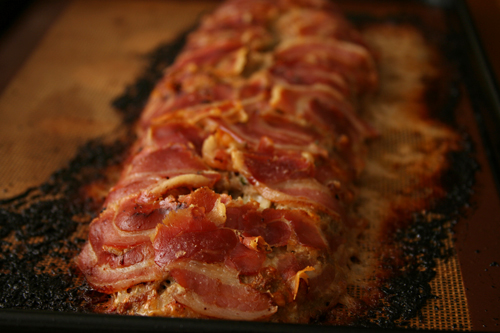
But it was the main course that night that really impressed me. It was a sort of loaf, which I know doesn’t sound appetizing, but it was wrapped in pancetta, which does sound appetizing. It was light colored and didn’t have the coarse texture of most American meatloaves. I asked about the recipe several days later, but our friend didn’t know what his wife had put into it other than turkey and ricotta.

turkey ricotta meatloaf 3

Searches for turkey ricotta meatloaf didn’t turn up anything that looked similar. The closest I found was a beef meatloaf with ricotta, so I started there, changing the ground beef to ground turkey, skipping the chunks of mozzarella (but keeping some shredded, to increase tenderness), and eliminating the tomato sauce to more closely replicate the one I’d had in Italy.
turkey ricotta meatloaf 4

This meatloaf was not very similar to my friend’s meatloaf. But it was very good regardless, and other than cooking it in a smaller pan to concentrate instead of burn the juices, I wouldn’t do anything differently. Except maybe eat it with friends in Genoa while overlooking the Mediterranean, but that goes without saying.

turkey ricotta meatloaf 8

One year ago: Red Kidney Bean Curry (We had this for dinner twice last week.)
Two years ago: Roasted Butternut Squash Salad with Cider Vinaigrette
Three years ago: Mulled Cider

Printer Friendly Format
Turkey Ricotta Meatloaf (adapted from Lidia Bastianich’s Cooking from the Heart of Italy)

Serves 8

½ cup milk
1 cup stale bread cubes, crusts removed (from 2 slices sandwich bread)
2 pounds ground turkey
2 large eggs
10 ounces ricotta
4 ounces (1 cup) mozzarella, shredded
2 shallots, grated
1 ounce (½ cup) grated parmesan cheese
¼ cup minced parsley
pinch nutmeg
½ teaspoon salt
¼ teaspoon black pepper
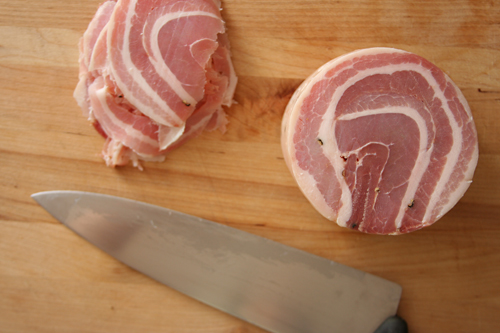
8 ounces pancetta, thinly sliced

1. Adjust an oven rack to the middle position; heat the oven to 375 degrees.

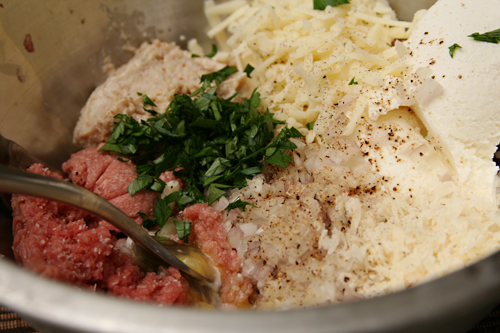
2. In a large bowl, mix the milk and bread; set aside for 10 minutes, stirring occasionally. When the bread is saturated with milk, use a fork to mash the mixture until it’s smooth. Add the turkey, eggs, ricotta, mozzarella, shallots, parmesan, parsley, nutmeg, salt and pepper to the bowl with the bread. Use your hands to mix the ingredients until evenly combined.

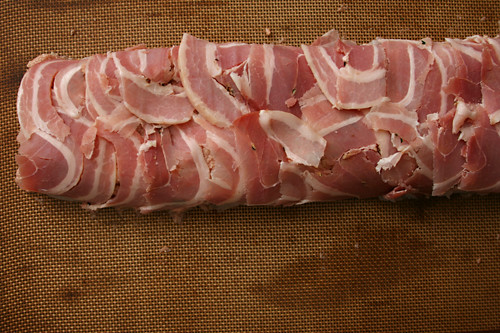
3. In a 9 by 13-inch pan, shape the meat mixture into a cylindrical loaf shape about 12 inches long. Drape the pancetta slices over the loaf, tucking the slices under the bottom. Cover the pan with aluminum foil.

4. Bake, covered, for 30 minutes. Remove the foil; bake for an additional 45 minutes, until an instant-read thermometer reads at least 170 degrees when inserted into the middle of the loaf. Let the meatloaf rest 10 minutes before slicing and serving with the accompanying juices in the pan.

turkey ricotta meatloaf 7

pesto

pesto 4

Pesto is super simple, right? Just dump some ingredients into the food processor, and thirty seconds later, you have pesto. And while that’s true, with a few extra simple steps, you can ensure that your pesto will live up to its maximum potential every single time.

pesto 1

Traditionally, pesto was made in a mortar and pestle, which smashes the ingredients into each other instead of cutting them like the food processor does. It sounds horribly tedious. You don’t want to do that.

pesto 2

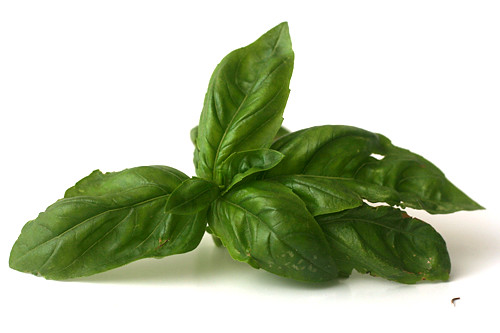
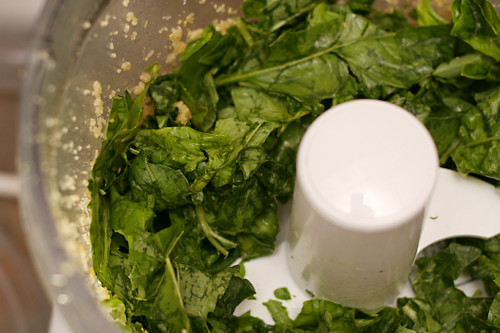
However, it is important to do more than slice basil with the food processor blade. Consider that when you want to smell an herb, what do you do? You rub it between your fingers, not tear it in half, because bruising the leaves is what produces flavor. So to maximize the flavor of your basil, you need to bruise the leaves before cutting them.
pesto 3

You can do this with almost no extra effort using a trick I picked up from Jamie Oliver – just put the basil in the food processor, but with the plastic dough blade instead of the knife blade. It takes only a few seconds longer and produces just one more small utensil to clean, but it makes a big difference in flavor. Before I started using this trick, sometimes my pesto would taste grassy, but now it always tastes basil-y.

pesto 8

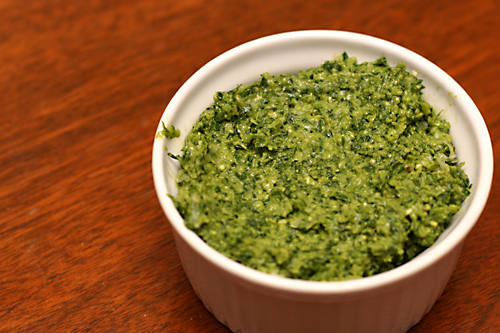
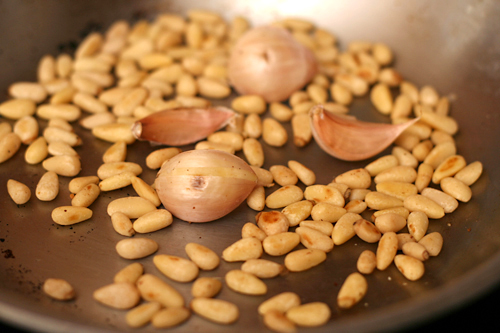
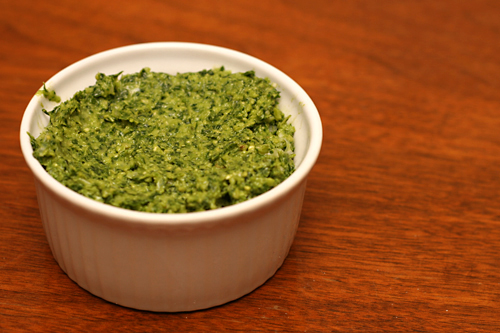
You probably also know that toasting nuts brings out their flavor, and it isn’t hard to do on the stovetop. I also like to toast the garlic, because I am not a fan of the tongue-stinging sharpness of raw garlic. Toasting the unpeeled cloves in a dry skillet tames garlic’s bite with very little effort. And that’s it – you’ve maximized the potential of every ingredient in pesto, ensuring dependably outstanding pesto, and it only took an extra minute or two.

pesto 7

One year ago: Yogurt-Marinated Lamb Kebabs
Two years ago: Tortellini Soup with Carrots, Peas, and Leeks
Three years ago: Summer Rolls

Printer Friendly Recipe
Pesto

2 ounces pine nuts
2 cloves garlic, unpeeled
Salt
1 large bunch (6 ounces) basil leaves, washed and dried
1-3 tablespoons extra virgin olive oil
½ ounce (¼ cup) freshly grated parmesan

1. Heat a small empty not-nonstick skillet over medium heat for several minutes. Add the pine nuts and cook, stirring constantly, for about a minute, until they’re golden brown and fragrant. Pour the nuts into a food processor bowl fitted with the knife attachment. Add the garlic to the skillet and toast, without stirring, for about 1 minute. When the first side is dark brown, turn the garlic cloves onto another flat side and continue toasting for another minute. Peel the garlic and transfer it to the food processor with the pine nuts.

2. Add ¼ teaspoon salt to the garlic and pine nuts. Process until the nuts and garlic are finely ground, 10-15 seconds. Replace the knife attachment with the plastic dough blade. Add the basil to the food processor and pulse until the basil is bruised and fragrant, about ten 1-second pulses. Remove the dough blade from the bowl and return the knife attachment. Process until basil is finely chopped, a few seconds.

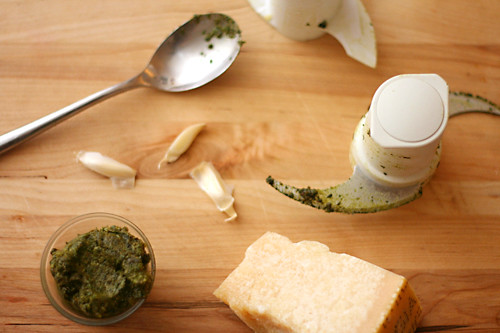
3. With the machine running, slowly pour the oil into the feed tube. Scrape the sides of the bowl; process until evenly mixed. Stir in the parmesan. Serve, refrigerate for a few days, or freeze for months.

pesto 5

slow cooker spinach mushroom lasagna

crockpot lasagna 12

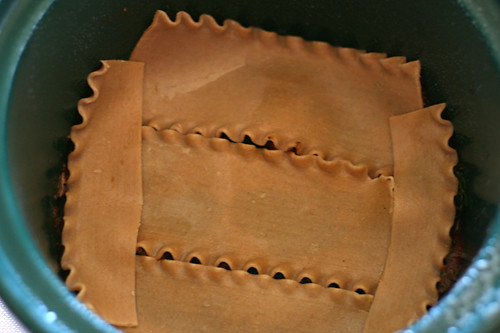
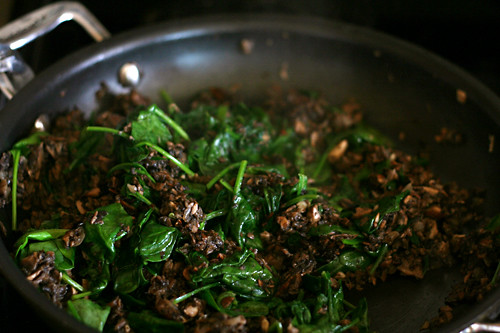
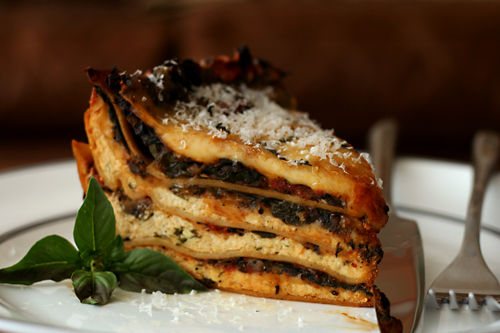
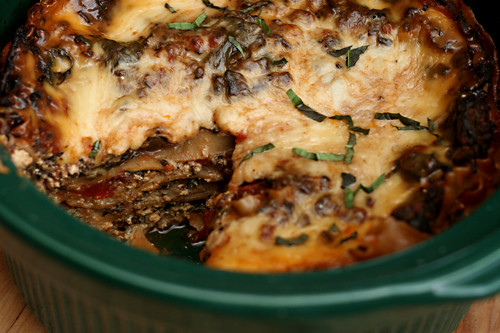
Lasagna cooked in the slow cooker is not that different from lasagna cooked in the oven. It has the same ingredients, the same layers, the same browned cheesy top – and the same amount of effort required to make it. Really the only thing that’s different is the amount of time it takes to cook.

crockpot lasagna 4

This was good news in a way. I was surprised that the lasagna wasn’t watery and that the top looked almost exactly the same as a baked lasagna. The problem, of course, was that it wasn’t any easier to put together.

crockpot lasagna 2

Another problem is apparently that béchamel sauces curdle in the slow cooker. This recipe was originally based on a cream sauce instead of tomato sauce. Since béchamel didn’t work, the recipe called for a jar of Alfredo sauce.

crockpot lasagna 8

I’m not usually one for dumping jars of prepared foods into my recipes, but after a scan of the jar label revealed no unrecognizable ingredients, I had just about acquiesced to buying it – until I looked at the fat content. Jarred Alfredo sauce (like homemade Alfredo sauce) is almost pure cream, and I just couldn’t stomach the idea of adding all that fat to what I intended to be a weeknight meal.

crockpot lasagna 7

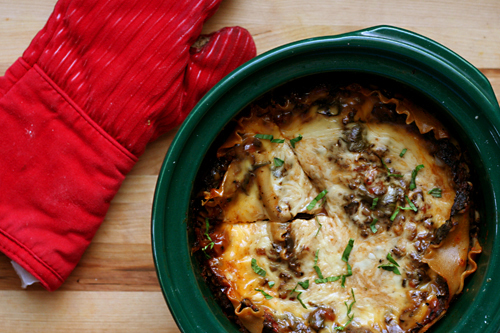
Replacing the cream sauce with tomatoes made this recipe very similar to my favorite vegetarian lasagna, but that’s okay, because they’re flavors I like. In fact, the lasagna had a lot of qualities I love, with its meaty flavor without any meat, plenty of cheese, and plenty of vegetables to even out the cheese.  While it wasn’t any better than oven-baked lasagna, it wasn’t any worse, and it can’t hurt to have the option for a longer cooking time.

crockpot lasagna 14

One year ago: Basic Pancakes
Two years ago: Brioche
Three years ago: Salad with Herbed Baked Goat Cheese

Printer Friendly Recipe
Slow Cooker Spinach Mushroom Lasagna (adapted from Cook’s Illustrated’s Slow Cooker Revolution)

Serves 6 to 8

I have a 4-quart slow cooker, but I don’t see any reason this wouldn’t work in a 5- or even 6-quart cooker.  The lasagna just won’t be as tall.

I did not line the slow cooker with foil, because it seems so wasteful. Individual slices of lasagna were still surprisingly easy to serve intact, although the first one was messy.

I used half this amount of cheese. I’m sure the full amount is great, but I was trying to lighten it up a bit.

nonstick spray
8 curly-edged lasagna noodles (7 ounces), broken in half
1 tablespoon olive oil
1 onion, chopped fine
1½ pounds white mushrooms, trimmed and sliced thin
2 garlic cloves, minced
16 ounces fresh baby spinach
1 (28-ounce) can crushed tomatoes
1 (15-ounce) container ricotta cheese
1¼ cups (2½ ounces) grated Parmesan cheese
½ cup minced fresh basil
1 large egg
4 cups (1 pound) shredded mozzarella cheese

1. Line the slow cooker with an aluminum foil collar: Layer and fold sheets of heavy-duty foil until you have a six-layered rectangle that measures 16 by 4 inches. Press the collar into the back side of the slow cooker insert. Fit two more large sheets of foil into the slow cooker, perpendicular to each other, with the extra hanging over the edges of the cooker for a sling to help remove the lasagna later.

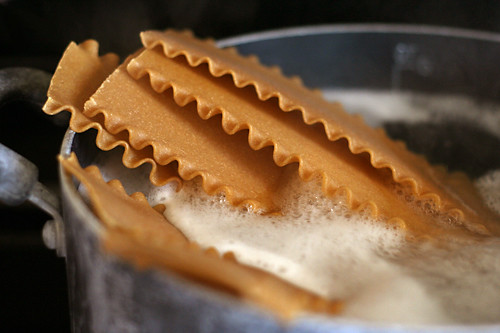
2. Bring 4 quarts water to a boil in a large pot. Add the broken lasagna noodles and 1 tablespoon salt and cook, stirring often, until the noodles are al dente. Drain the noodles, rinse them under cold water until cool, then spread them out in single layer over clean kitchen towels and let dry. (Do not use paper towels; they will stick to the noodles.)

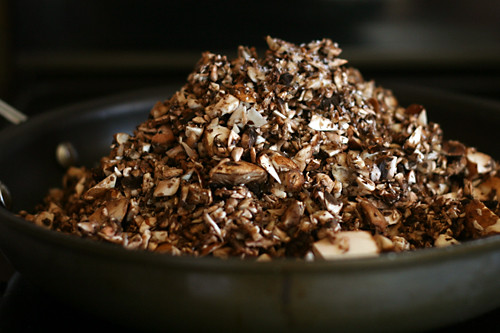
3. Heat the oil in the same pot over medium-high heat until shimmering. Add the mushrooms, garlic, and ¼ teaspoon salt, cover, and cook until the mushrooms are softened, about 5 minutes. Uncover, add the onions, and continue to cook until the mushrooms are dry and browned, 5 to 10 minutes longer. Stir in the spinach, cover, and cook until wilted, about 2 minutes. Stir in the crushed tomatoes and ½ teaspoon salt.

4. In a bowl, mix the ricotta, 1 cup (2 ounces) Parmesan, basil, egg, ½ teaspoon salt, and ½ teaspoon pepper together. Spread ½ cup of the mushroom-spinach sauce into the prepared slow cooker.

5. Arrange 4 lasagna noodle pieces in the slow cooker, overlapping if necessary, then dollop 9 rounded tablespoons of ricotta mixture over noodles. Sprinkle with 1 cup mozzarella, then spoon 1 cup more mushroom-spinach sauce over top. Repeat the layering of lasagna noodles, ricotta mixture, mozzarella and mushroom-spinach sauce twice more. For the final layer, arrange the remaining 4 noodles in the slow cooker, then top with the remaining mushroom-spinach sauce and sprinkle with the remaining mozzarella and remaining Parmesan.

6. Cover and cook until the lasagna is heated through, about 4 hours on low. Let the lasagna cool for 20 minutes. Using the sling, transfer lasagna to serving platter and serve.

crockpot lasagna 13

pizza bianca with goat cheese and greens

kale goat cheese pizza 4

When it comes to grilled pizza, I’m a slow learner. We’ve made crusts so burned that we had to chip flakes of blackened bread off before we could eat it. We’ve also made pizza with doughy undercooked crusts and with unmelted cheese and raw toppings. About the only problem we haven’t had is the dough sticking to the grate, so at least there’s that.

kale goat cheese pizza 1

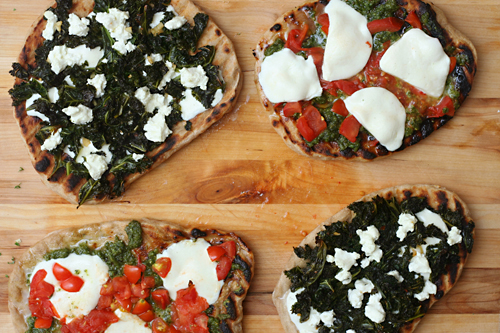
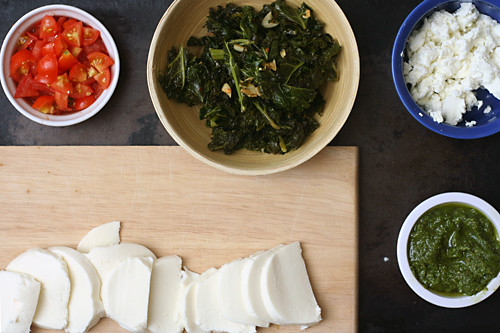
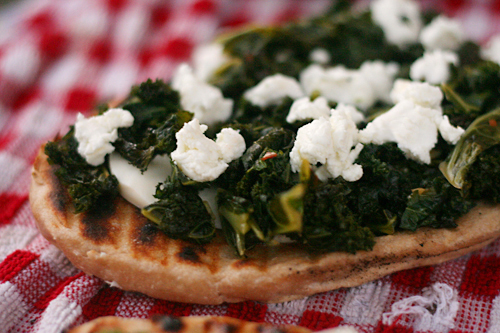
This was my most successful attempt at grilling pizza so far, but even so, it’ll be a while before there’s any kind of grilled pizza tutorial from me. Instead, I will provide my standard foolproof oven method for a very non-standard pizza. My ears perk up whenever anyone mentions goat cheese, which is no surprise since it’s so creamy and tangy. But I like kale almost as much, which is maybe more surprising.

kale goat cheese pizza 2

This is the first time I’ve eaten them together, but it’s a combination that makes good sense, because the tart goat cheese will balance the earthy kale. With crushed red pepper spicing things up and mozzarella holding everything together, this was one different and delicious pizza – with charcoal flavor or not. It was almost as good as the pizza margherita we made to go with it, and that’s really saying something.

kale goat cheese pizza 3

One year ago: Vanilla Bean Cupcakes
Two years ago: Sourdough Bagels
Three years ago: Salmon Clubs with Avocado Butter

Printer Friendly Recipe
Pizza Bianca with Goat Cheese and Greens (adapted from Love and Olive Oil)

1 pound pizza dough (½ of this recipe), fully risen and at room temperature
2 teaspoons olive oil
3 cloves garlic, minced
¼ teaspoon crushed red pepper
1 bunch kale, washed, stems removed
salt
4 ounces (½ cup) part-skim mozzarella, shredded
4 ounces goat cheese, crumbled

1. Place a pizza stone on the bottom rack of the oven and preheat the oven to 500ºF. Divide the dough in two and shape each portion into a ball. Set the balls of dough aside, loosely covered, to allow the gluten to relax.

2. Heat the oil, garlic, and crushed red pepper in a Dutch oven over medium heat until the garlic sizzles. Add the kale, ¼ teaspoon salt, and 2 tablespoons of water; cover and cook, stirring occasionally, until the kale wilts, about 5 minutes. Remove the lid and continue cooking and stirring until the water evaporates, about 1 minute.

3. Work with one ball of dough at a time on a lightly floured surface or a damp cloth. Flatten the dough, then pick it up and gently stretch it out, trying to keep it as circular as possible. Curl your fingers and let the dough hang on your knuckles, moving and rotating the dough so it stretches evenly. If it tears, piece it together. If the dough stretches too much, put it down and gently tug on the thick spots. Transfer the round of dough to a large square of parchment paper; slide onto a pizza peel.

4. Top one round of dough with half of each of the kale mixture and cheeses. Slide the pizza with the parchment onto the hot baking stone. Bake for 8-10 minutes, until the crust is browned around the edges. Transfer the pizza to a cooling rack without the parchment. Let the pizza rest for 5 minutes before serving. Repeat with the remaining ingredients.

kale goat cheese pizza 5

baked eggs in mushrooms with zucchini ragout

zucchini ragout 5

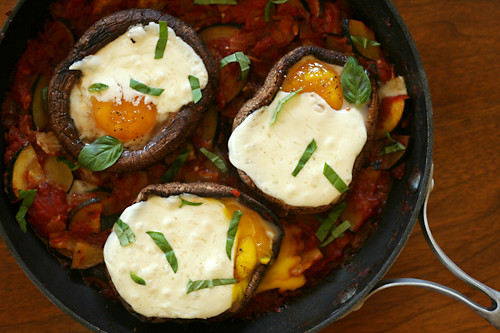
When Cara asked me to guest post and offered the suggestion of focusing on a vacation that I’m excited about, I jumped at the chance to chatter to a new audience about my upcoming trip to Italy. Italy! Venice! The Cinque Terre! Tuscany! Rome! And then there’s the stuff that I’m really excited about – wine and espresso and cheese and pesto and bread and seafood. Also wine. Check out Cara’s blog to read about the Baked Eggs in Mushrooms with Zucchini Ragout I made, which involves no wine or espresso or pesto or bread or seafood. At least there’s cheese.

chicken gyros

chicken gyros 14

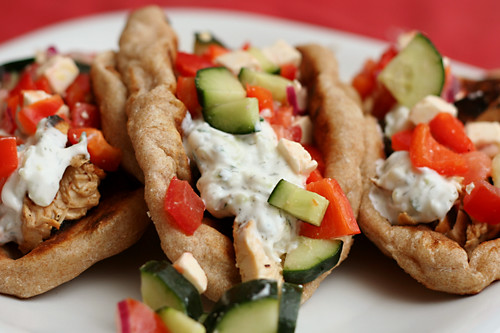
Elly’s chicken gyros are so very popular for good reason – it’s a simple recipe with exceptional results. I, of course, can’t keep anything simple. After I made Elly’s recipe a few times, I noticed how similar it is to chicken fajitas – marinated chicken wrapped in flat bread with vegetables. My favorite chicken fajita recipe has a few tricks up its sleeve that I love, so I started incorporating those into Elly’s chicken gyro recipe.

chicken gyros 1

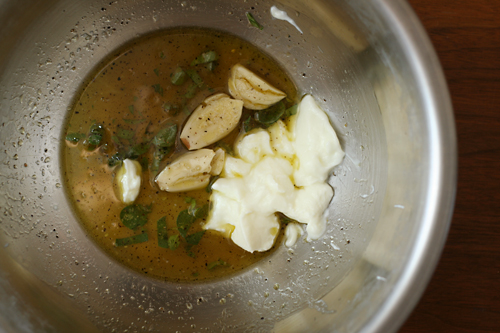
My favorite trick is saving a portion of the marinade (before mixing it with raw meat, of course) to stir into the cooked and shredded chicken, reviving any flavors that might be lost during cooking. Another portion of the marinade is stirred into the vegetables, brightening their flavor while the vinegar tames the onion’s bite. I also insist on taking advantage of everyone’s favorite cooking method – fire. I love grilling the chicken and then toasting the pita over the remaining coals.

chicken gyros 2

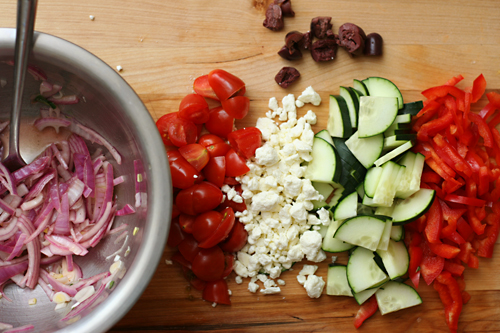
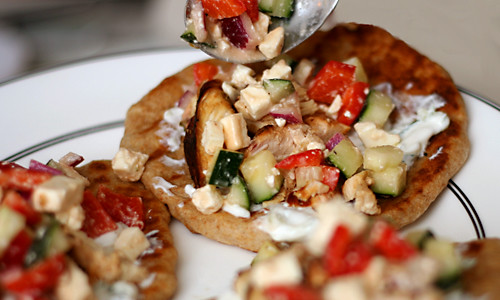
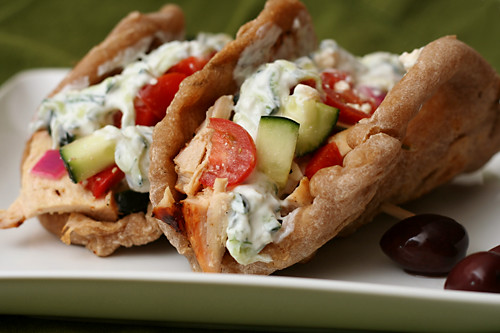
I’m fairly certain that traditionally, gyros aren’t topped with red peppers and feta, and the first few times I made this recipe, I served those on the side as part of Mediterranean Pepper Salad. But each time, more and more of the salad made its way onto the gyro, and eventually I stopped keeping them separate at all. With the vegetables right on top of the marinated grilled chicken and toasted flatbread, topped with tart white sauce, these were even more similar to chicken fajitas, except – dare I say – even better.

chicken gyros 5

One year ago: Croissants (Martha Stewart’s recipe)
Two years ago: Rhubarb Scones
Three years ago: Pita (cook these right on the grill instead of baking!)

Printer Friendly Recipe
Chicken Gyros (adapted from Elly Says Opa and from Cooks Illustrated’s Chicken Fajita recipe)

Greek yogurt is often sold in 7-ounce containers. If you don’t have extra plain yogurt around to use in the marinade, using 2 tablespoons of the Greek yogurt meant for the tzatziki recipe in your marinade won’t hurt your tzatziki at all.

Chicken:
¼ cup juice from 1 to 2 lemons
2 tablespoons olive oil
3 medium garlic cloves, crushed
1 tablespoon red wine vinegar
1 teaspoon sugar
table salt and ground black pepper
2 tablespoons plain yogurt
3 boneless, skinless chicken breasts (about 1½ pounds), trimmed of fat, tenderloins removed, pounded to ½-inch thickness

Tzatziki:
½ cucumber, unpeeled, shredded
½ teaspoon kosher salt
7 ounces Greek yogurt
1 tablespoon freshly squeezed lemon juice
½ tablespoon white wine vinegar
½ tablespoon minced fresh dill (optional)
1 clove garlic, minced
¼ teaspoon freshly ground black pepper

For serving:
½ red onion, quartered lengthwise and sliced thinly
1 large red bell pepper, quartered lengthwise and sliced thinly
½ cucumber, quartered lengthwise and sliced thinly
1 tomato, chopped medium, or 1 cup grape tomatoes, halved
½ cup feta, crumbled
4-6 (6-inch) pocketless pitas

1. In a medium bowl, whisk together the lemon juice, oil, garlic, vinegar, sugar, 1 teaspoon salt, and ¾ teaspoon pepper. Reserve 3 tablespoons of the marinade in a small bowl; set aside. Add the yogurt and another teaspoon salt to the remaining marinade. Place the chicken in the marinade; cover with plastic wrap and refrigerate 15 minutes.

2. Meanwhile, using a large chimney starter, ignite 6 quarts of charcoal briquettes and burn until the coals are fully ignited, about 20 minutes. Empty the coals into the grill, spreading them in a single layer; place an additional 20 unlit coals over the lit coals on one side of grill to create a two-level fire. Position the grill grate over the coals and heat the grate for 5 minutes; scrape clean with a grill brush. (For a gas grill, light all burners and turn to high, cover, and heat the grill until hot, about 15 minutes; scrape the grill grate clean with a grill brush. Leave one burner on high heat while turning the remaining burner(s) down to medium.)

3. For the tzatziki: Place the cucumber in a strainer set over a medium bowl and add the salt. Set aside for at least 15 minutes to drain. Transfer the cucumber to a clean kitchen towel and squeeze dry. Combine the drained cucumber with the yogurt, lemon juice, vinegar, dill, garlic, and pepper.

4. Add 2 tablespoons of the reserved marinade to a bowl; add the sliced onion to the marinade. Set aside to lightly pickle while you prepare the remaining toppings. Mix all of the vegetables and feta into the bowl with the onion.

5. Remove the chicken from the marinade and place it smooth side down on the hotter side of the grill; discard the remaining marinade. Cook the chicken until it’s well browned, 4 to 5 minutes; using tongs, flip the chicken and continue grilling until it’s no longer pink when cut into with a paring knife or an instant-read thermometer inserted into the thickest part registers about 160 degrees, 4 to 5 minutes longer. Transfer to a plate; cover to keep warm.

6. Working in 2 or 3 batches, place the pitas in a single layer on the cooler side of the now-empty grill and cook until warm and lightly browned, about 20 seconds per side (do not grill too long or the pitas will become brittle). As the pitas are done, wrap them in a kitchen towel or a large sheet of foil.

7. Slice the chicken into ¼-inch strips and toss with the remaining tablespoon of reserved marinade in another bowl; arrange the chicken and vegetables on a large platter and serve with the warmed pitas.

chicken gyros 8