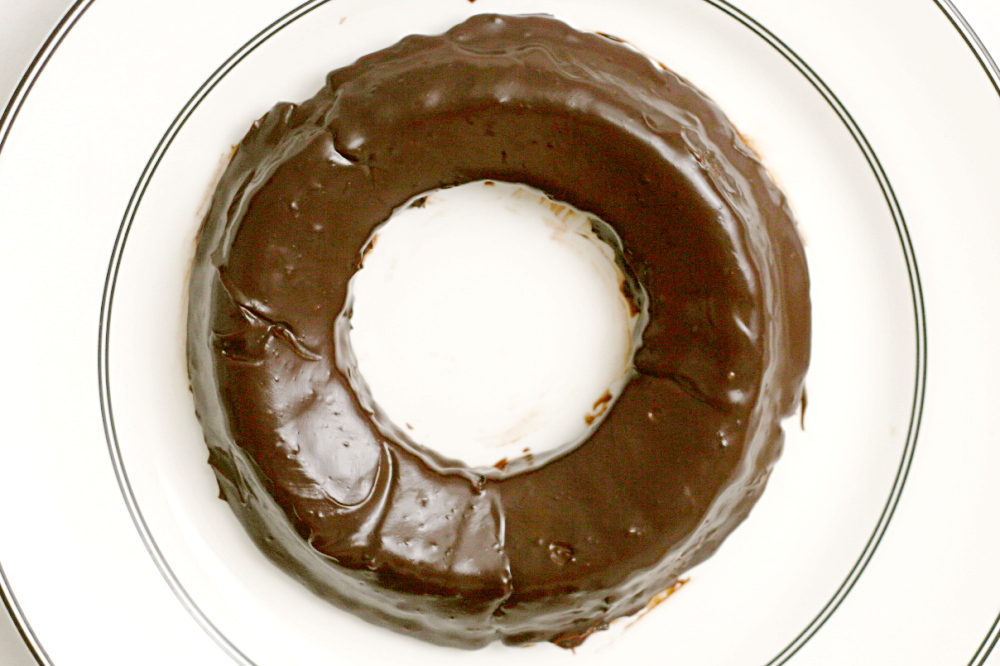
chocolate amaretti torte

copy-of-img_3813

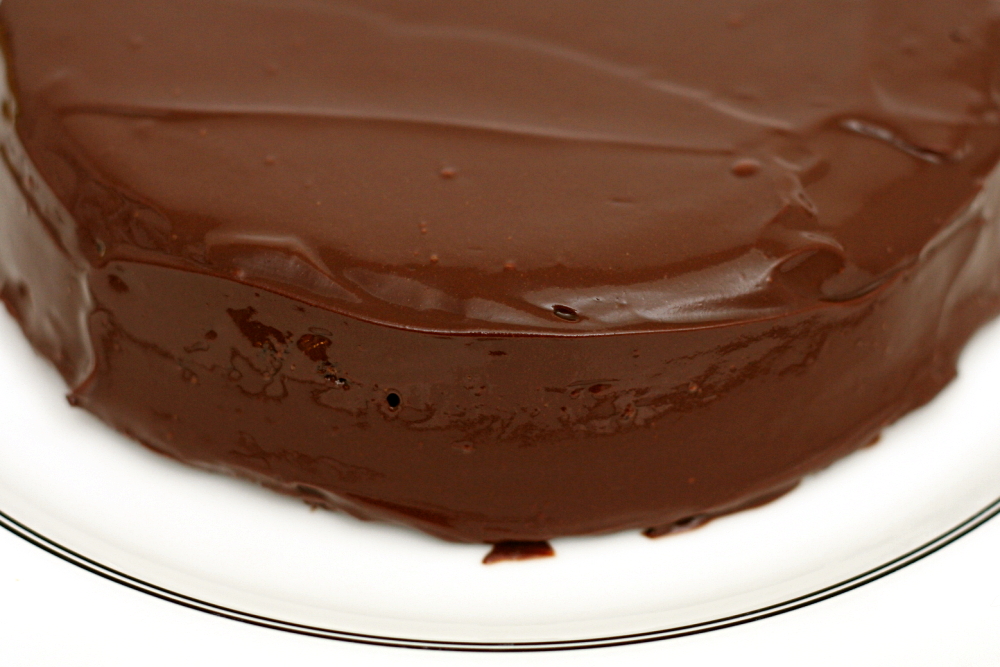
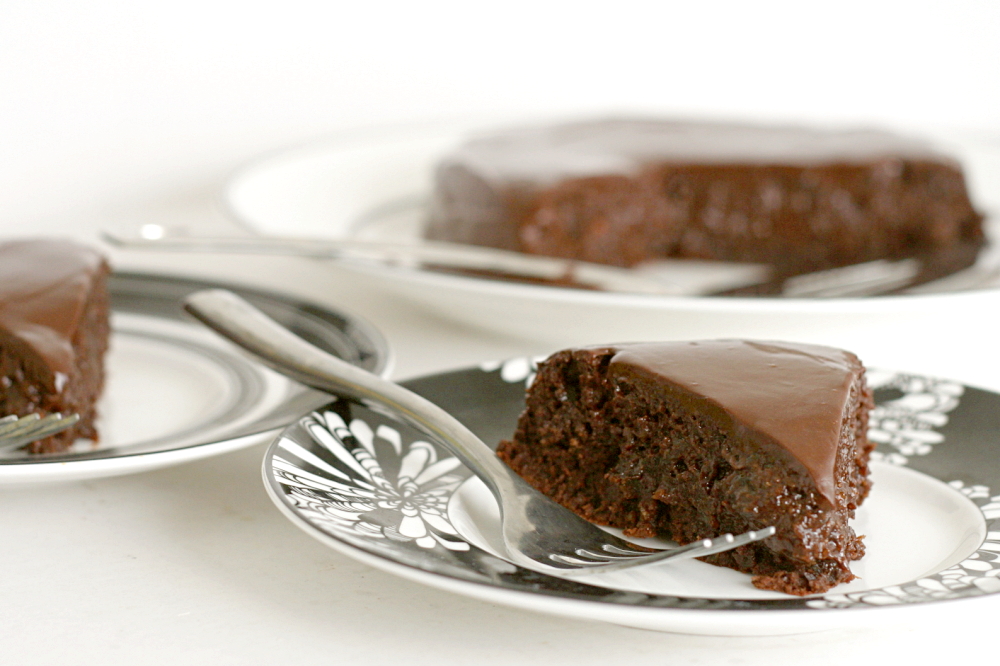
My cake is ring-shaped! Because I’m creative! Because I have a plethora of interesting-shaped pans to choose from! Because, um.

It’s actually because I totally botched this week’s recipe.
copy-of-img_3778

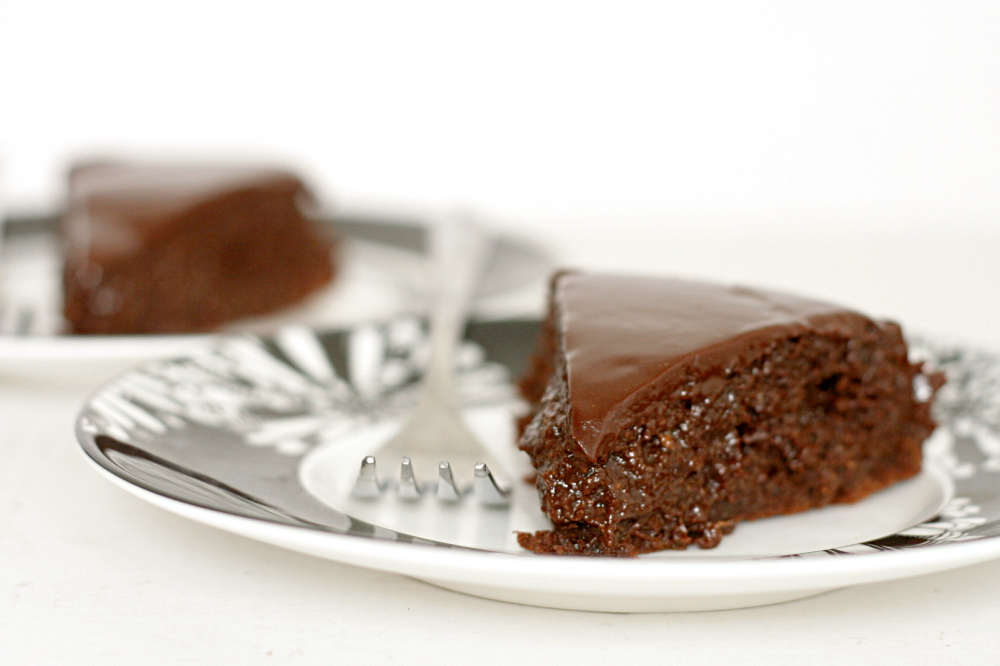
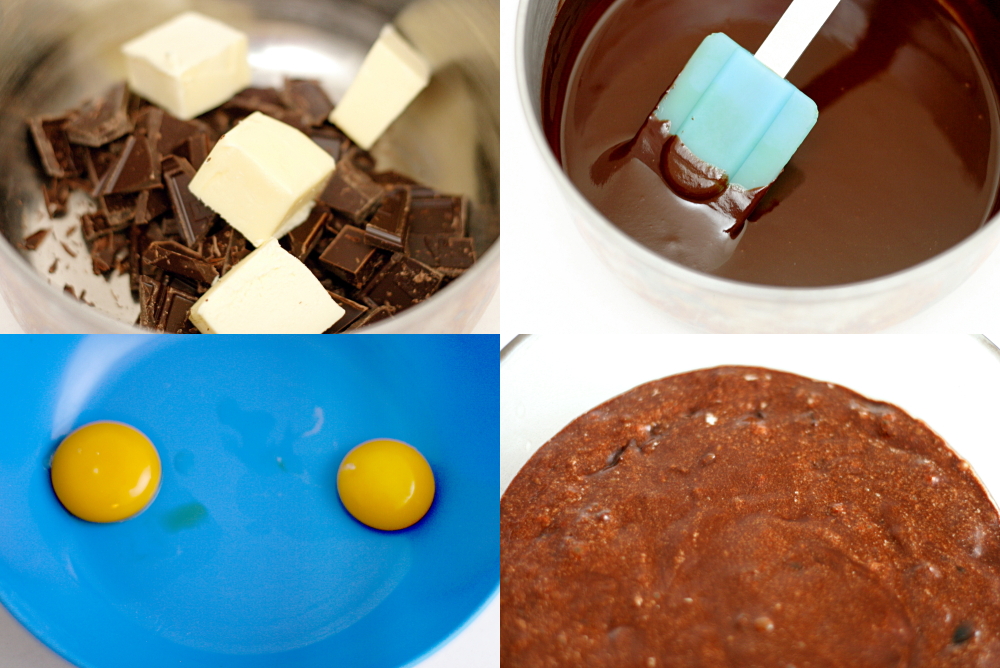
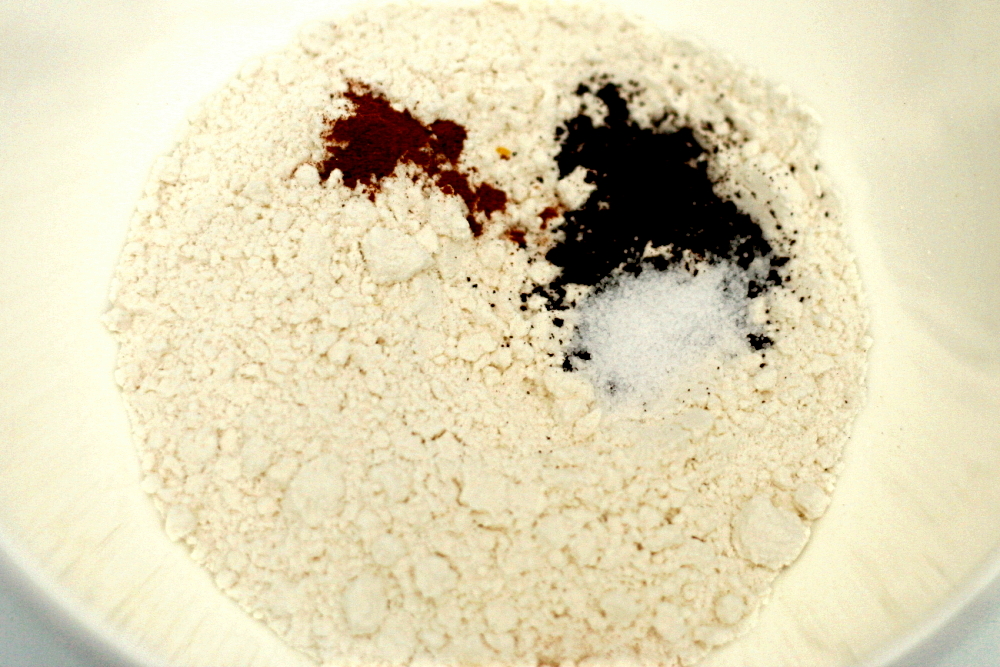
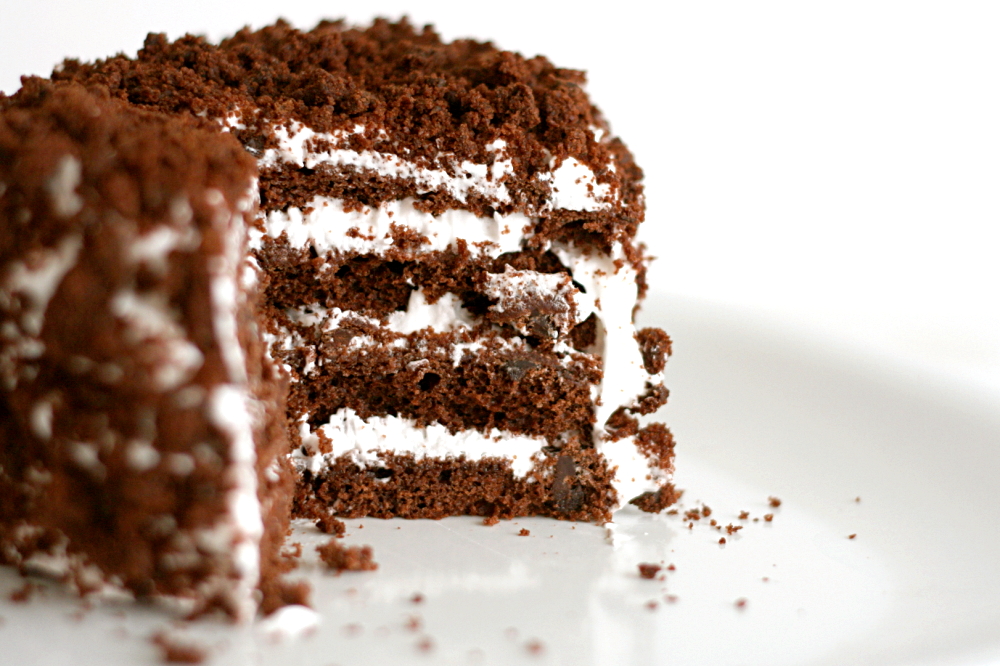
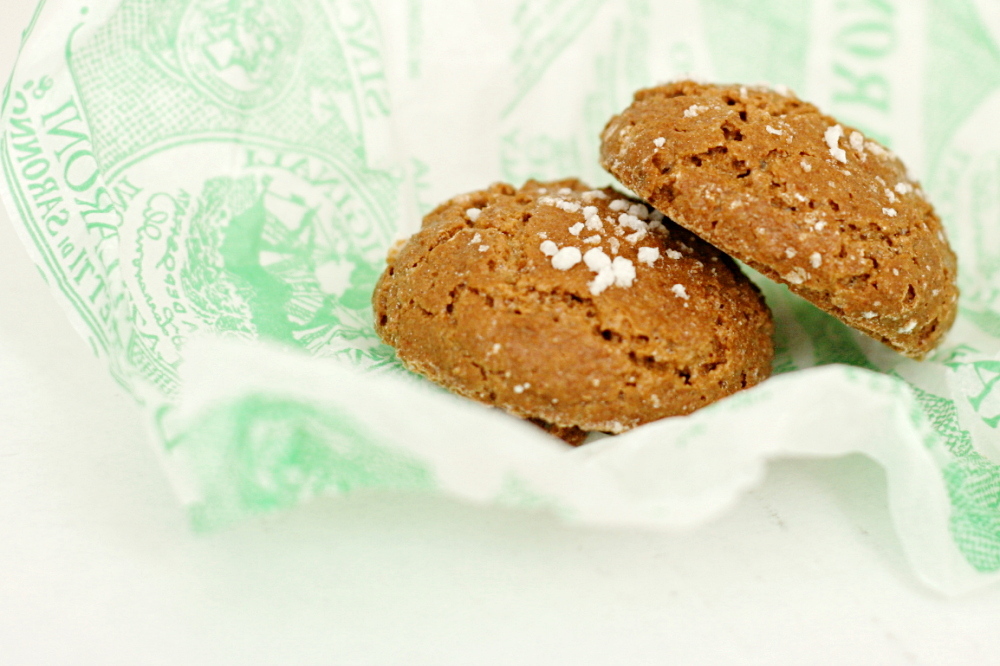
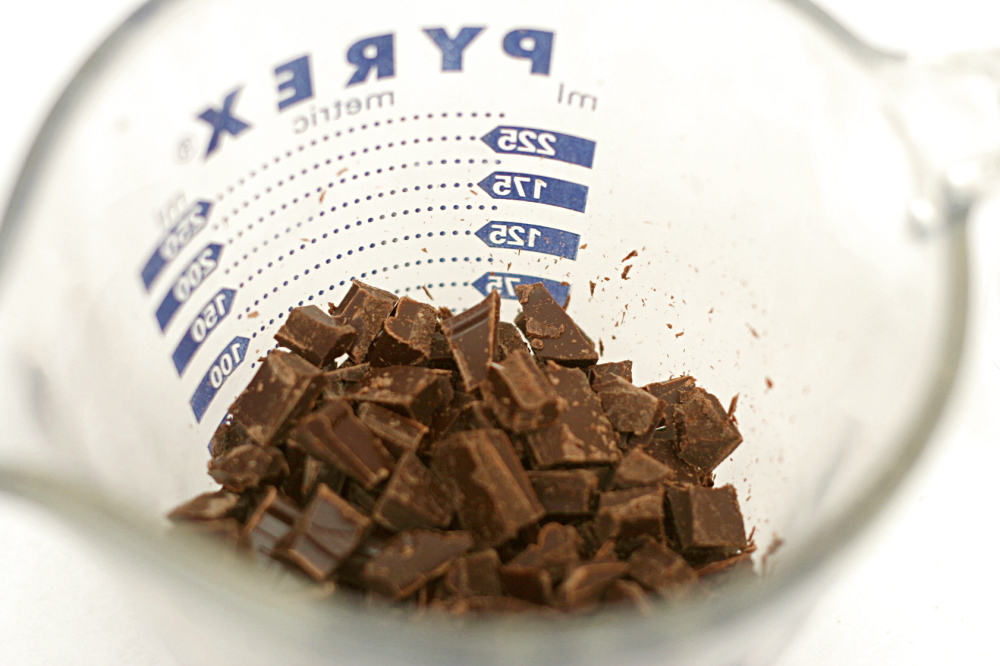
The torte is made by grinding store-bought Italian amaretti cookies with almonds in a food processor. Then butter, sugar, eggs, and chocolate are blended in the food processor and the ground cookies and almonds are mixed in. Then you bake it.
copy-of-img_3789

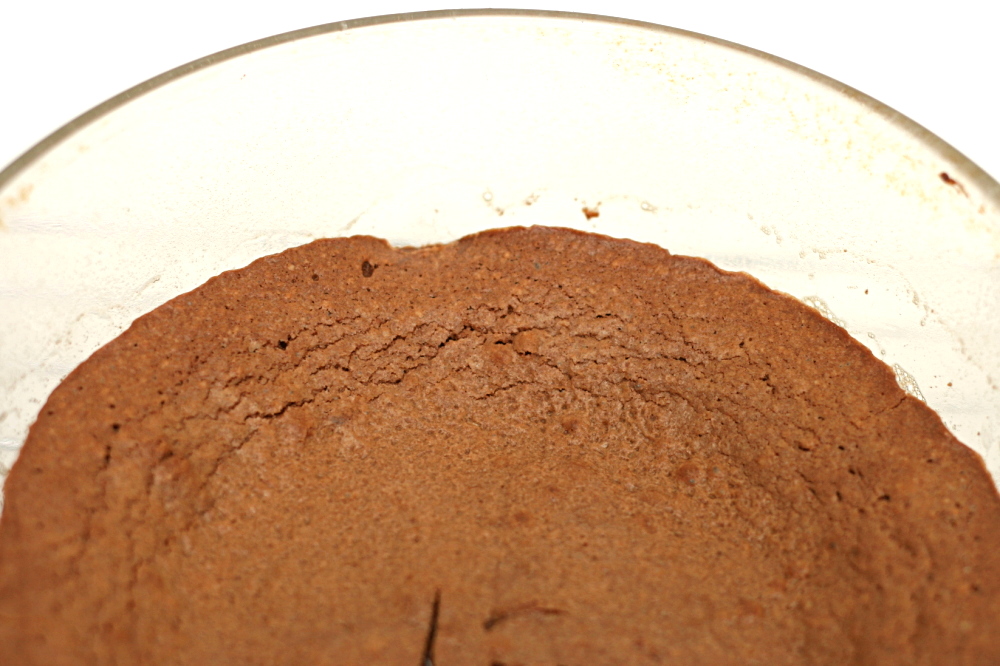
Which is where I messed up. First, I made 2/3 of the recipe in a pan just about 2/3 the size that the original recipe calls for. So I thought it would take less time to bake than the full recipe. Second, I used a Pyrex pan, and the last several times I’ve baked in Pyrex, my dessert has overcooked. So I lowered the oven temperature by 25 degrees.
copy-of-img_3794

I baked my (6-inch round) torte for 25 minutes, which is the lower end of the range for a full (8-inch round) recipe, and the same amount of time that Dorie recommends for 4-inch mini-tortes. I tested it with a knife, which came out cleanish (Dorie says it should be streaky, not quite dry). I took the torte out of the oven and let it set in the pan for 15 minutes or so.
copy-of-img_3795

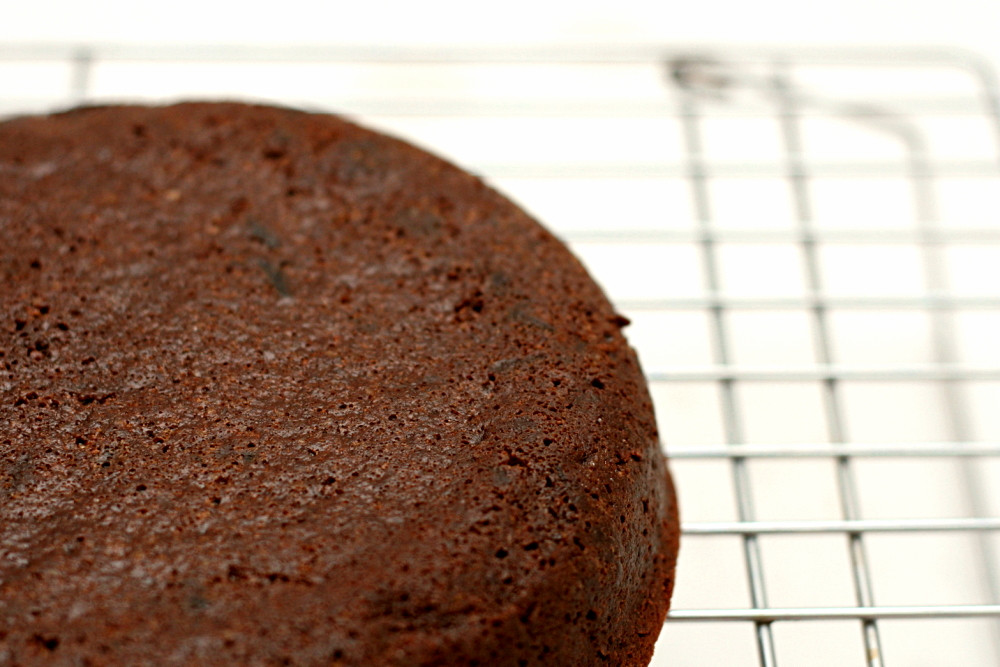
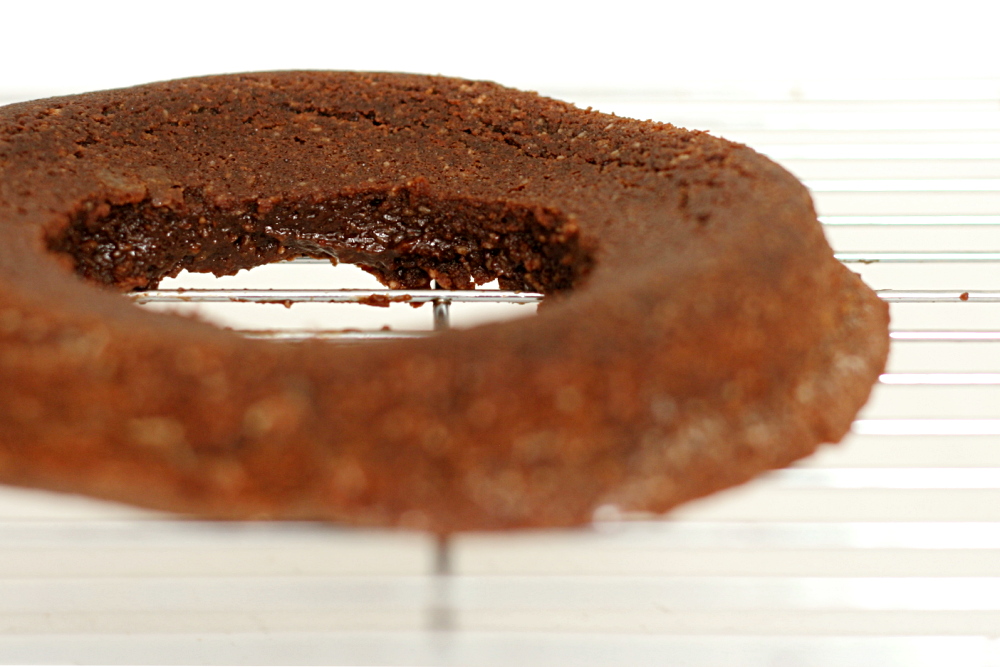
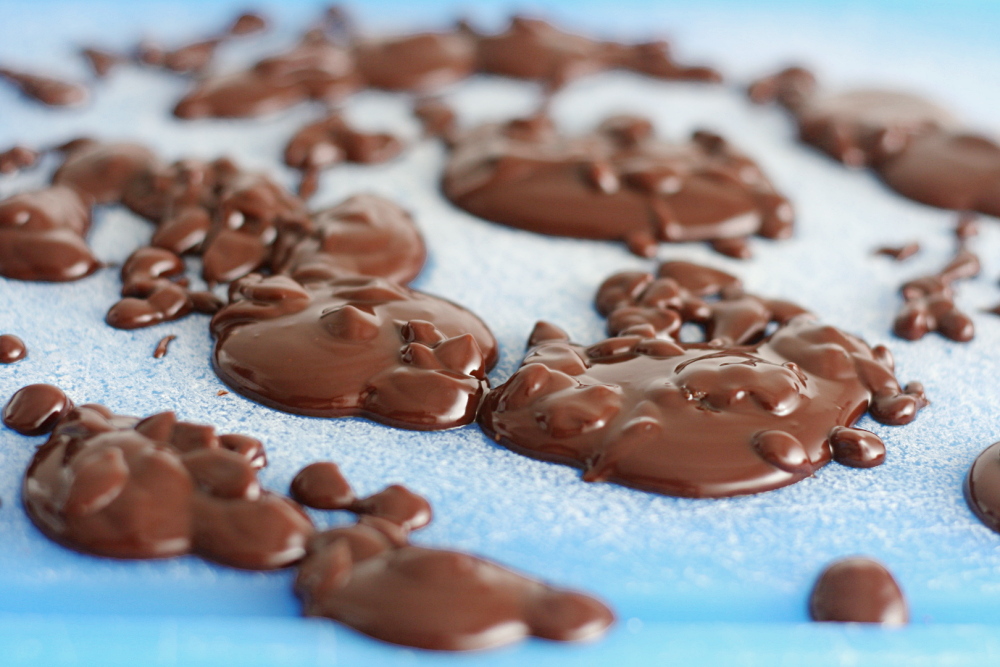
I inverted the cake onto a cooling rack. And then the middle inch or two dripped through the cooling rack onto the counter. Then another inch, and another, until I was left with just a thin ring – a ring that was delicate and broke in several places when I moved it. Yeesh.
copy-of-img_3802

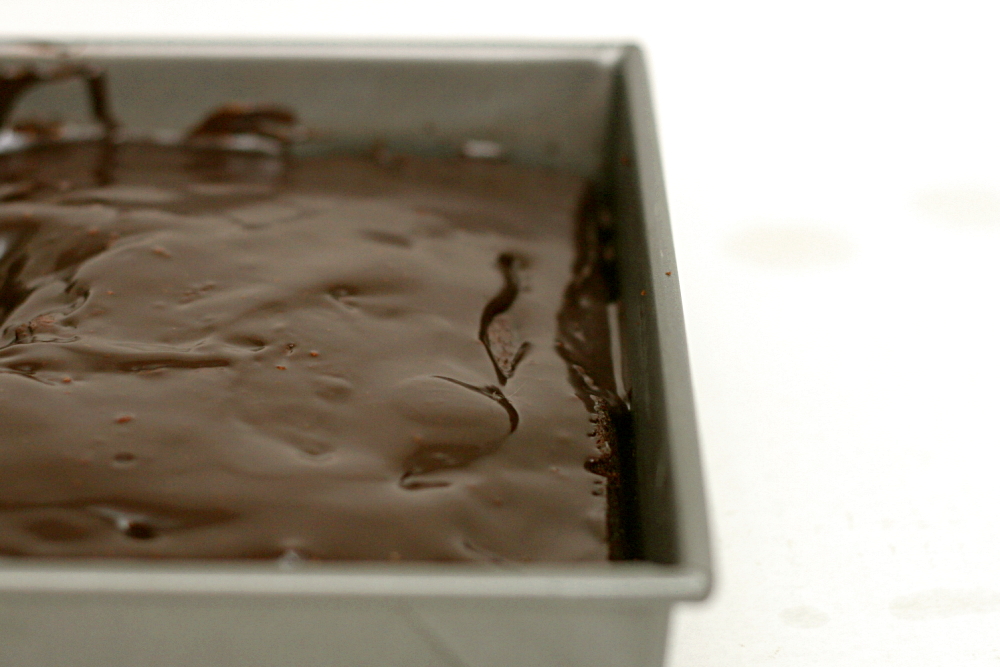
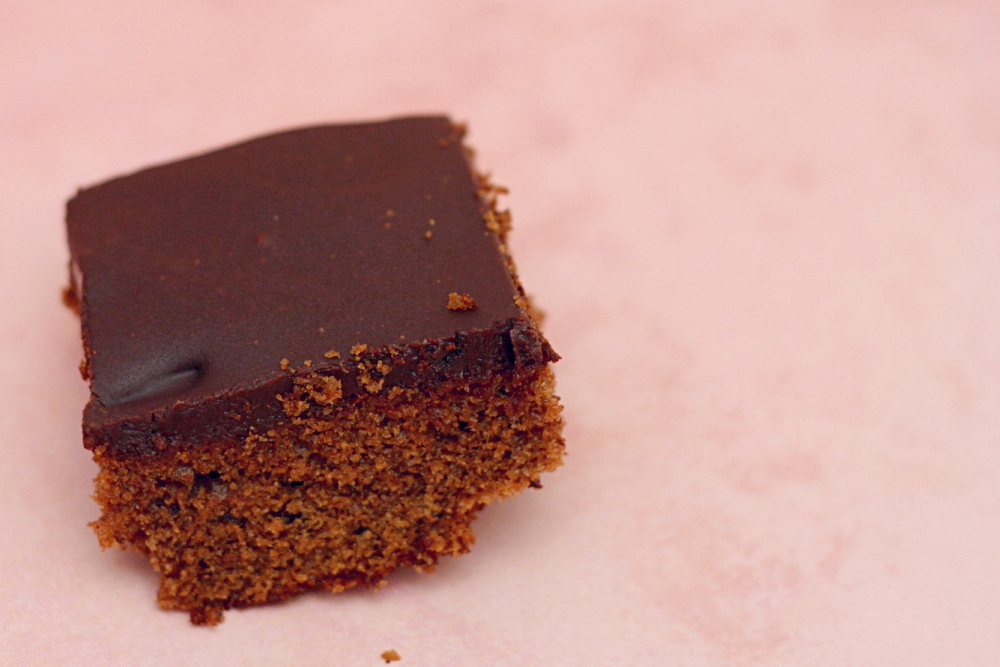
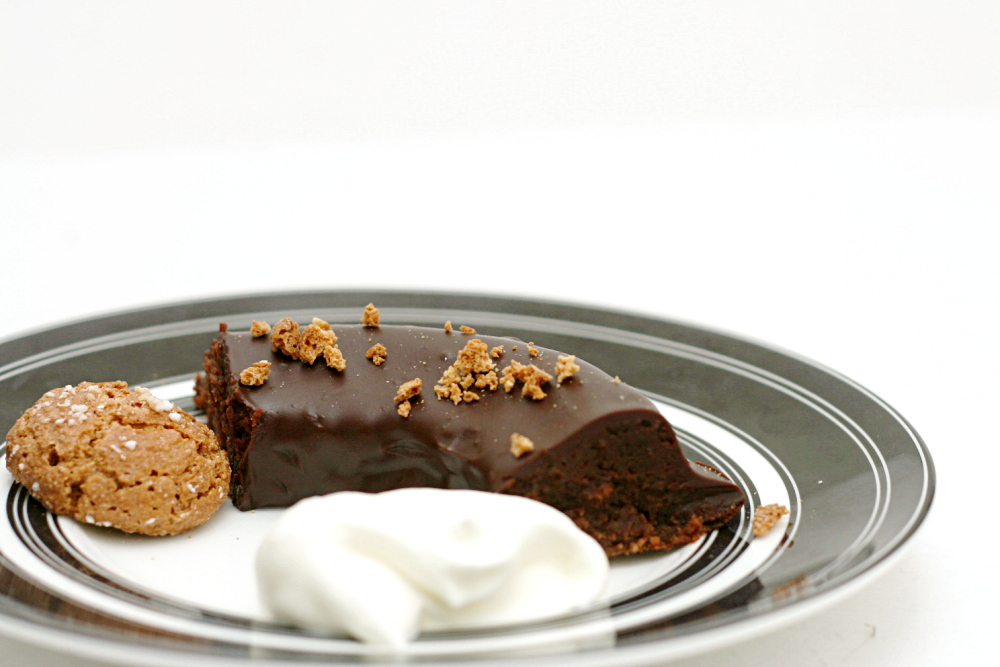
Thank goodness for the ganache coating. And the fact that the torte was so tasty that it could stand up to all the abuse.

Holly chose this recipe for Tuesdays with Dorie and has it posted on her site.

One year ago: Lemon Cream Tart
copy-of-img_3924

cook’s illustrated’s perfect chocolate chip cookies

copy-of-img_3471

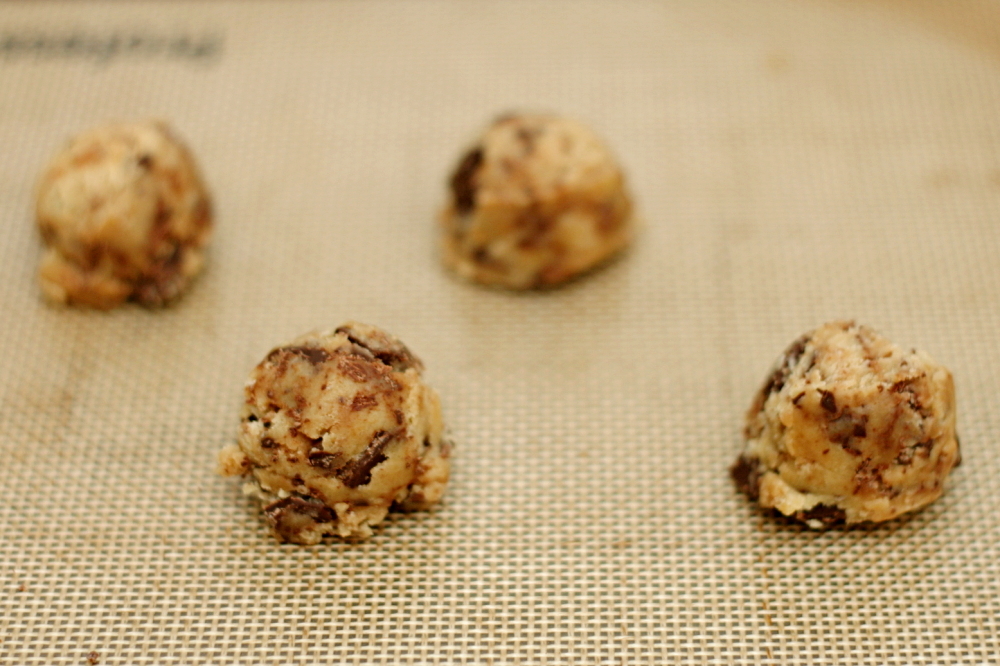
If you’re at all familiar with my blog, you must have known that I would be all over Cooks Illustrated’s new chocolate chip cookie recipe. Not because it might become my new favorite – I knew beforehand that it wouldn’t. The thing is, I’m a major cookie dough eater. To me, the baked cookies are just a bonus dessert; the dough is the reason I make chocolate chip cookies. And I don’t like dough made with melted butter.

copy-of-img_3459

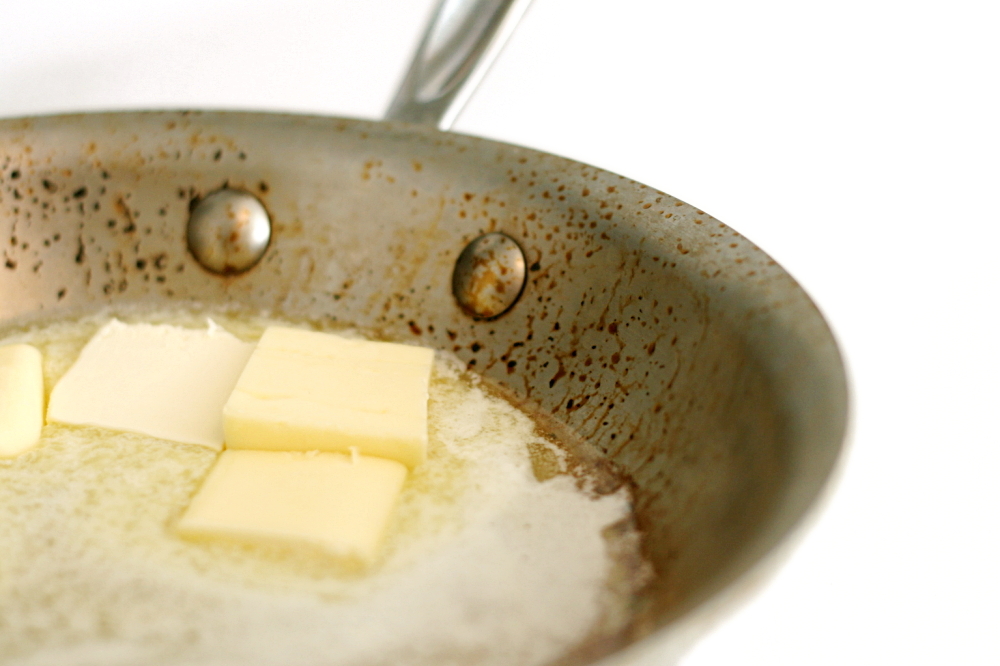
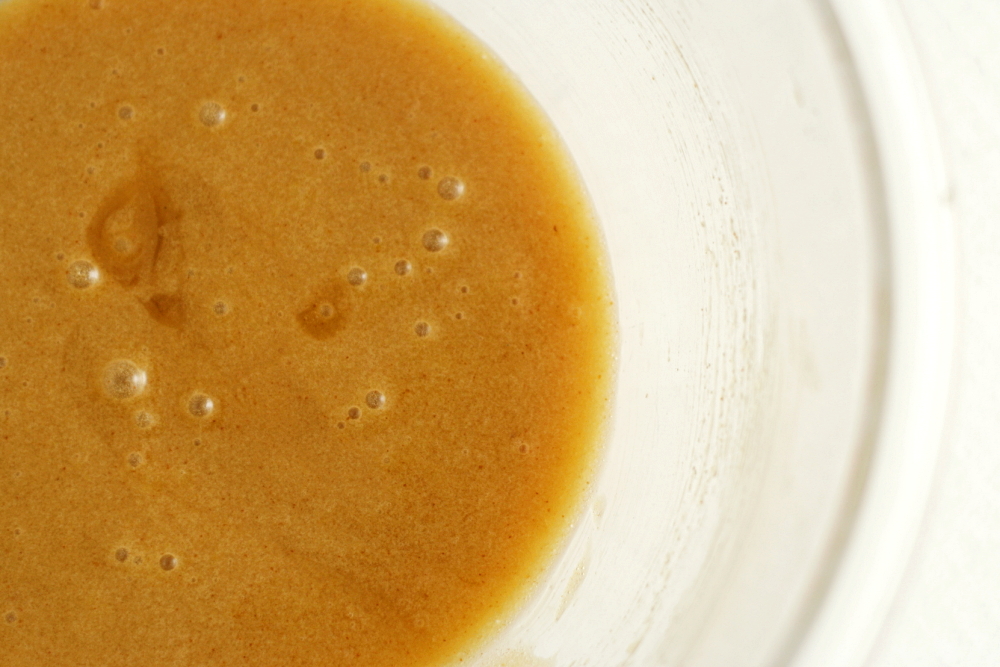
No, the real reason I wanted to try this recipe is because it has some interesting tricks in it, and I thought I might learn something. First, a portion of the butter is browned. Then the sugar is mixed into the melted butter and left to set for 10 minutes, which apparently dissolves the sugars and gives them more opportunity to caramelize in the oven.

copy-of-img_3466

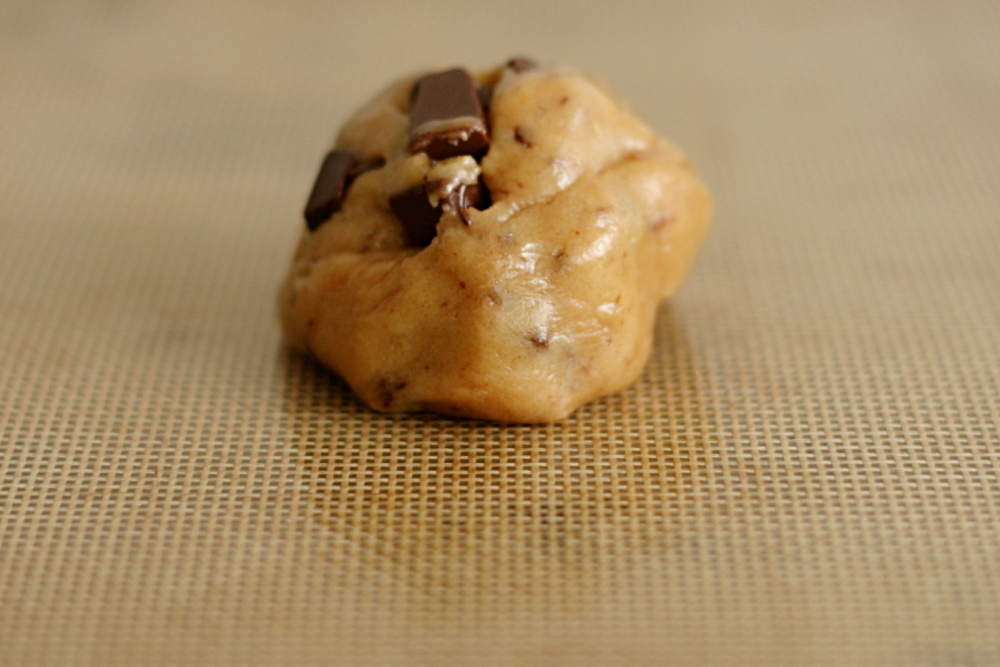
It also makes the recipe very easy – you just melt the butter, whisk in a few more ingredients, let it set, then stir in the remaining ingredients. Divide the dough into 16 portions and bake.

copy-of-img_3468

Here are, for me, the things the recipe has against it. 1) The dough has a greasy texture from the melted butter. 2) It uses portions of eggs. This is a pet peeve of mine, because I hate having containers of egg parts in my freezer or refrigerator. For something I make as often as chocolate chip cookies, I’d rather use whole eggs. 3) It doesn’t use a stand mixer. Dude, stand mixers are fun. That’s why everyone these days has one.

copy-of-img_3477

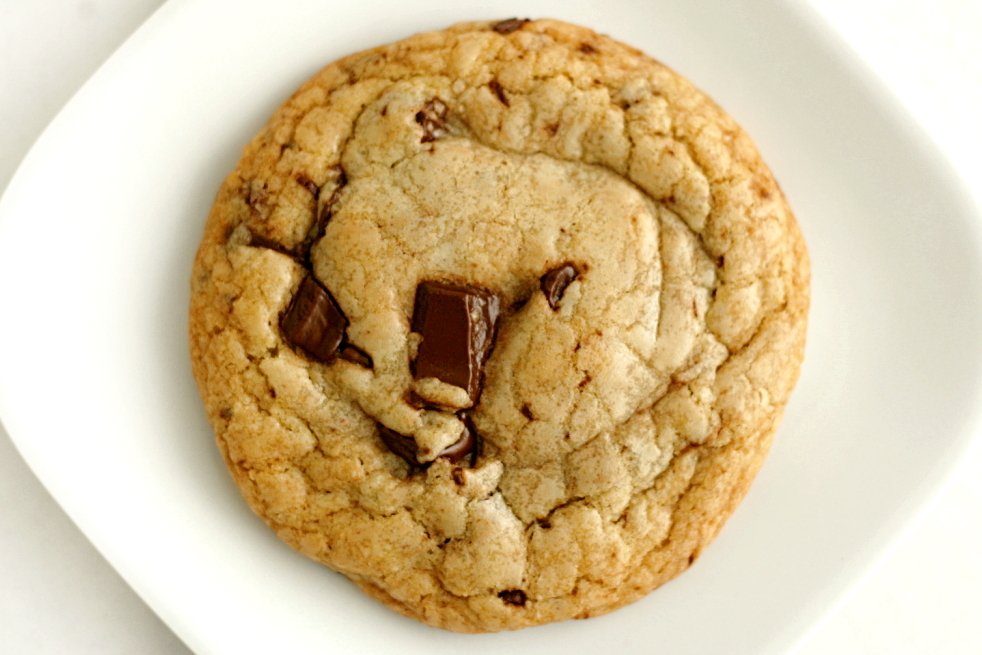
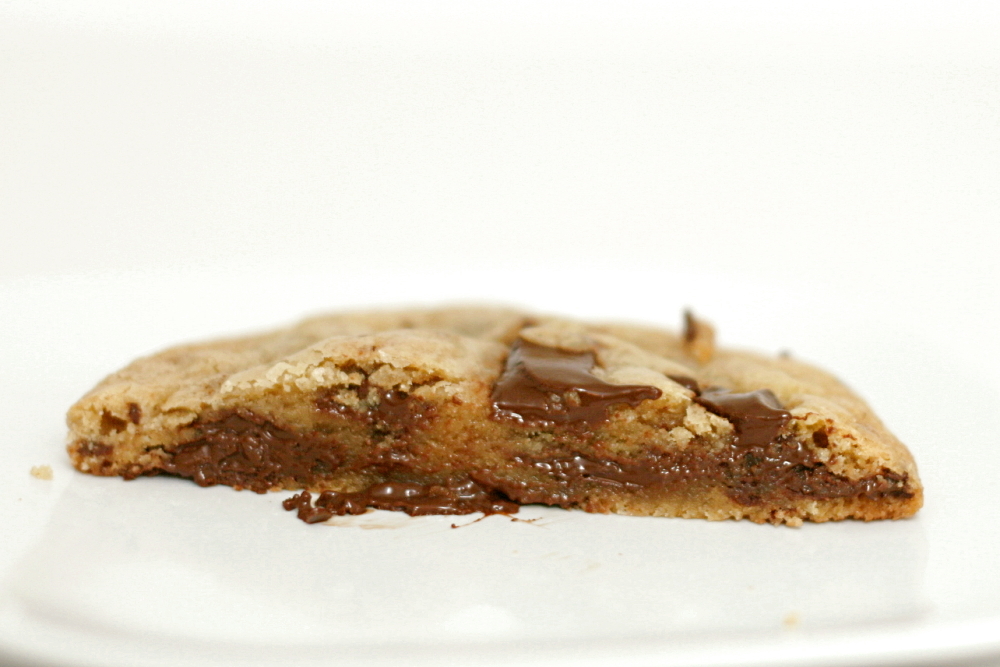
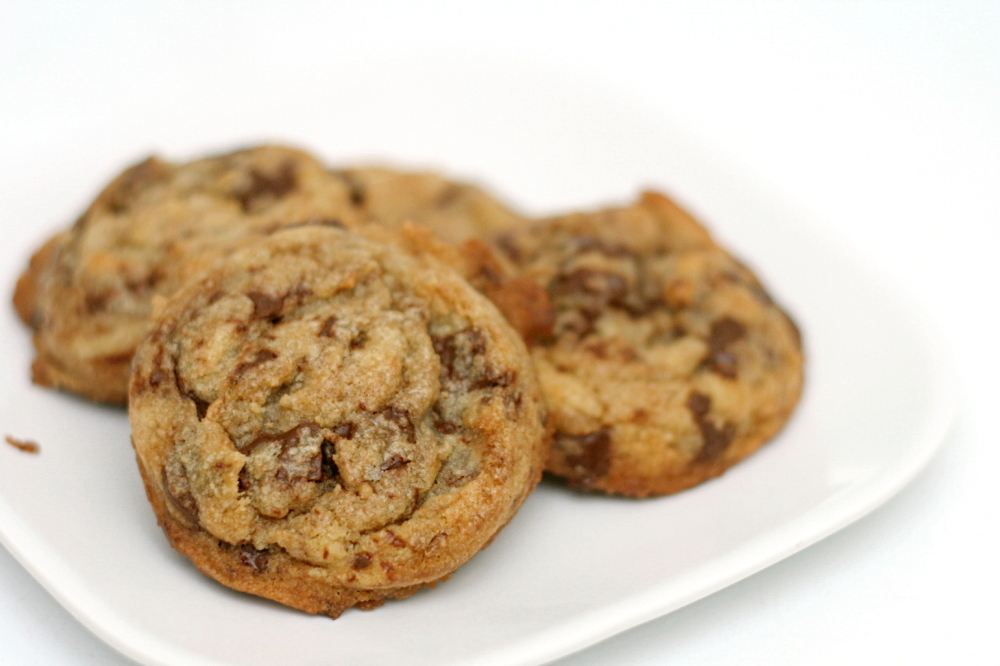
You may have noticed that none of my complaints take issue with the outcome of the baked cookie? That’s because the cookies were really good. This wasn’t a side-by-side comparison, so it’s hard for me to say exactly where they stand in my chocolate chip cookie rating, but they’re certainly in the upper echelon of chocolate chip cookies. So if you’re normal, and all you want out of your chocolate chip cookie recipe is really good cookies without a lot of effort, then definitely check this recipe out. It’s certainly up there with Alton Brown’s popular The Chewy and the NY Times recipe.

copy-of-img_3474

One year ago: Spinach Feta Pine Nut Tart and Dorie’s Perfect Party Cake

Perfect Chocolate Chip Cookies (from Cook’s Illustrated May/June 2009)

Note from Bridget: The recipe makes large cookies in an effort to maximize the difference in texture between the crisp exterior and the tender center. However, I prefer small cookies. I tried baking both sizes, and preferred the texture of the smaller cookies anyway. They still had a great mix of textures. If you do this, you’ll want to reduce the baking time to 7-9 minutes.

1¾ cups (8¾ ounces) unbleached all-purpose flour
½ teaspoon baking soda
14 tablespoons (1¾ sticks) unsalted butter
½ cup (3½ ounces) granulated sugar
¾ cup (5¼ ounces) packed dark brown sugar
1 teaspoon table salt
2 teaspoons vanilla extract
1 large egg
1 large egg yolk
1¼ cups semisweet chocolate chips or chunks
¾ cup chopped pecans or walnuts, toasted (optional)

1. Adjust oven rack to middle position and heat oven to 375 degrees. Line 2 large baking sheets with parchment paper. Whisk flour and baking soda together in medium bowl; set aside.

2. Heat 10 tablespoons butter in 10-inch skillet over medium-high heat until melted, about 2 minutes. Continue cooking, swirling pan constantly until butter is dark golden brown and has nutty aroma, 1 to 3 minutes. Remove skillet from heat and, using heatproof spatula, transfer browned butter to large heatproof bowl. Stir remaining 4 tablespoons butter into hot butter until completely melted.

3. Add both sugars, salt and vanilla to bowl with butter and whisk until fully incorporated. Add egg and yolk and whisk until mixture is smooth with no sugar lumps remaining, about 30 seconds. Let mixture stand for 3 minutes, then whish for 30 seconds. Repeat process of resting and whisking 2 more times until mixture is thick, smooth and shiny. Using rubber spatula or wooden spoon, stir in flour mixture until just combined, about 1 minute. Stir in chocolate chips and nuts (if using), giving dough final stir to ensure no flour pockets remain.

4. Divide dough into 16 portions, each about 3 tablespoons (or use a #24 cookie scoop). Arrange 2 inches apart on prepared baking sheets, 8 dough balls per sheet.

5. Bake cookies 1 tray at a time until cookies are golden brown and still puffy, and edges have begun to set but centers are still soft, 10-14 minutes, rotating baking sheet halfway through baking. Transfer baking sheet to wire rack; cool cookies completely before serving.

copy-of-img_3479

chocolate whiskey cake

copy-of-img_2303

Dave was watching a Cleveland Cavelier’s basketball game while I made this cake. When LeBron James, doing what LeBron James does, executed some crazy maneuver that only he could have pulled off, the announcers praised his creativity. Dave noted that for anyone else, the move would have been called stupid, but then for anyone else, the move wouldn’t have worked.

copy-of-copy-of-img_2260

Putting prunes in chocolate cake is basically the same thing. If it works, you’re creative. If not, you’re…something else.

copy-of-img_2265

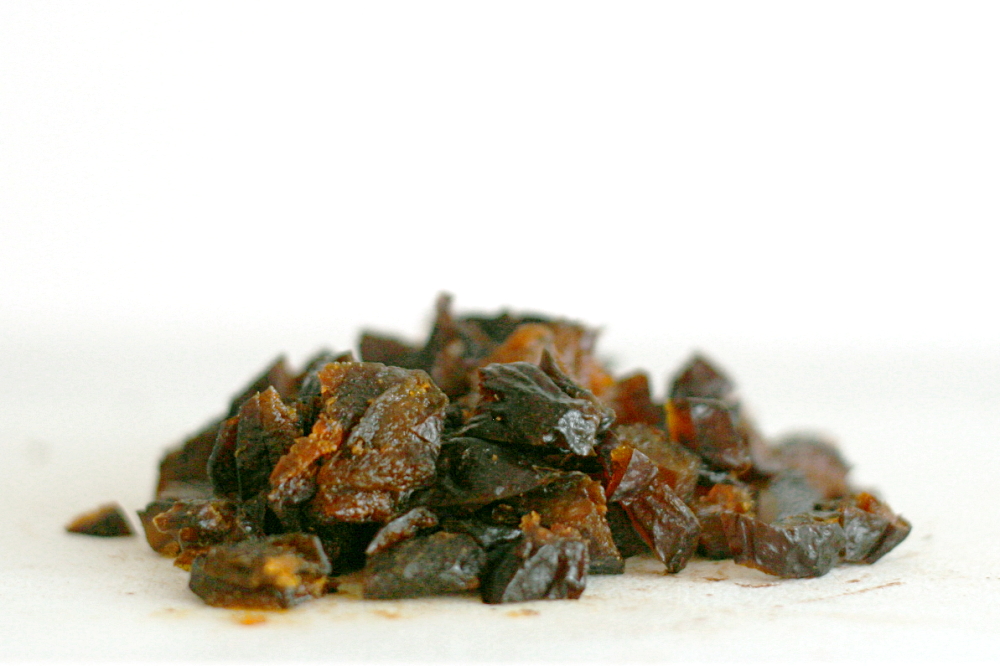
For this cake, prunes are chopped, softened in hot water, and flambéed.  The prunes are mixed with egg yolks, sugar, melted chocolate and butter, flour and ground nuts, and beaten egg whites. The cooled cake is topped with a rich chocolate glaze. Put this way, it sounds a lot simpler than over an hour of baking and at least six dirty bowls proved it to be.

copy-of-img_2290

Baking the cake is where I, and it seems a number of other people, ran into problems. Dorie instructs that the cake is done when the sides are pulling away from the pan, the top is crisp, and a knife inserted into the center is “streaky.” Hm…”streaky” isn’t very definitive. My cake seemed to pass all three of those conditions and even unmolded cleanly, but when I cut into it, I realized it was gooey in the center. A better indicator of doneness would be a final temperature to be reached, to be read with an instant-read thermometer.

copy-of-img_2293

Regardless, I hereby decree Dorie creative, and not crazy, because a gooey center could not detract from just how delicious this cake is. If I hadn’t known, I would not have been able to identify the prunes in the cake, and certainly not the whiskey. However, there was definitely something more to this cake than a regular chocolate cake. I have two-thirds of it left, and it’ll be a miracle if I get through the day without stealing tiny slices here and there. It’ll be a miracle if I get through the next hour, honestly. (I did not make it. It’s half an hour later and I’m eating cake. And I agree with Dorie that it’s better at room temperature, but it isn’t half-bad cold either.)

copy-of-img_2298

Lyb has the recipe posted. I used whiskey instead of Armagnac, prunes instead of raisins, and ground almonds instead of walnuts. I wouldn’t change anything about the ingredients, but if you make this, err on the side of less streaky on a knife inserted into the middle at the end of baking. This cake is so moist that I think it would be a challenge to dry it out.

One year ago: Raspberry Bars

copy-of-img_2309

caramel crunch bars

copy-of-img_2148

I haven’t missed a Tuesday with Dorie since I joined the group last April. There were a few times, when I was traveling or something, where it was close, but for the most part, it’s been easy. I never really understood what the big deal was with people who only made half the recipes. It’s not like I wouldn’t be baking every chance I got anyway.

copy-of-img_2124

Oh, did I mention that I was unemployed for most of the last year, and had an easy part-time job for the remainder? Yeah, that makes a difference. Everything seems so easy when you don’t have to actually work.

copy-of-img_2127

Now that I have a much more demanding job, I’m getting each TWD recipe done just by the skin of my teeth. I’ve gotten in the habit of finishing the recipes Monday night, and I’m lucky if I can get the blog entry done by the end of Tuesday.

copy-of-img_2130

As I’m more rushed to finish each recipe, I find myself diving into the baking before I read it through. I was halfway through making these before I realized that they were basically fancied-up chocolate chip cookies. Woohoo!

copy-of-img_2135

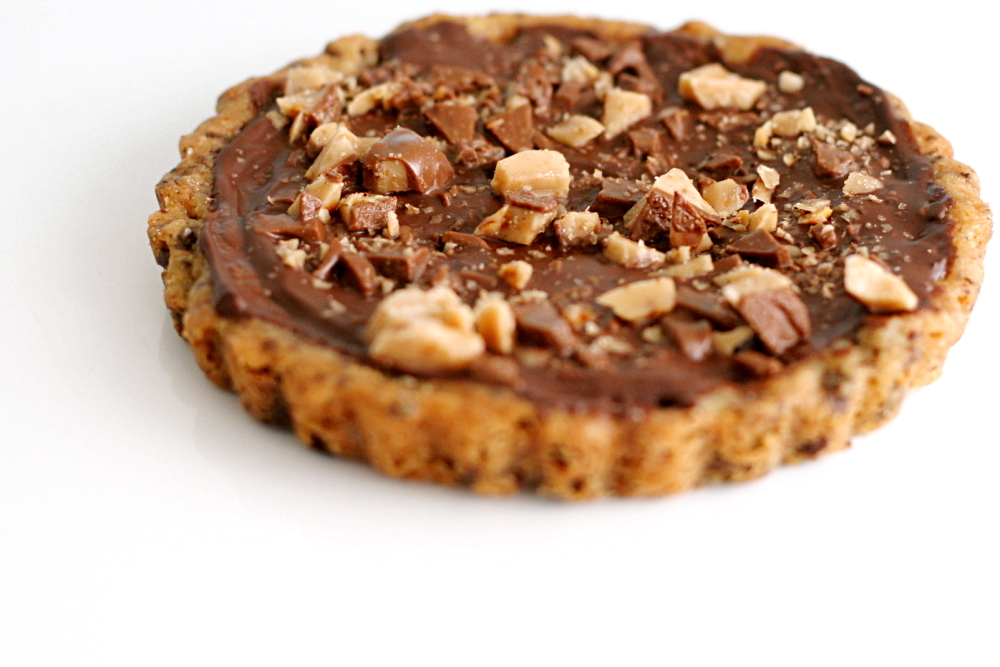
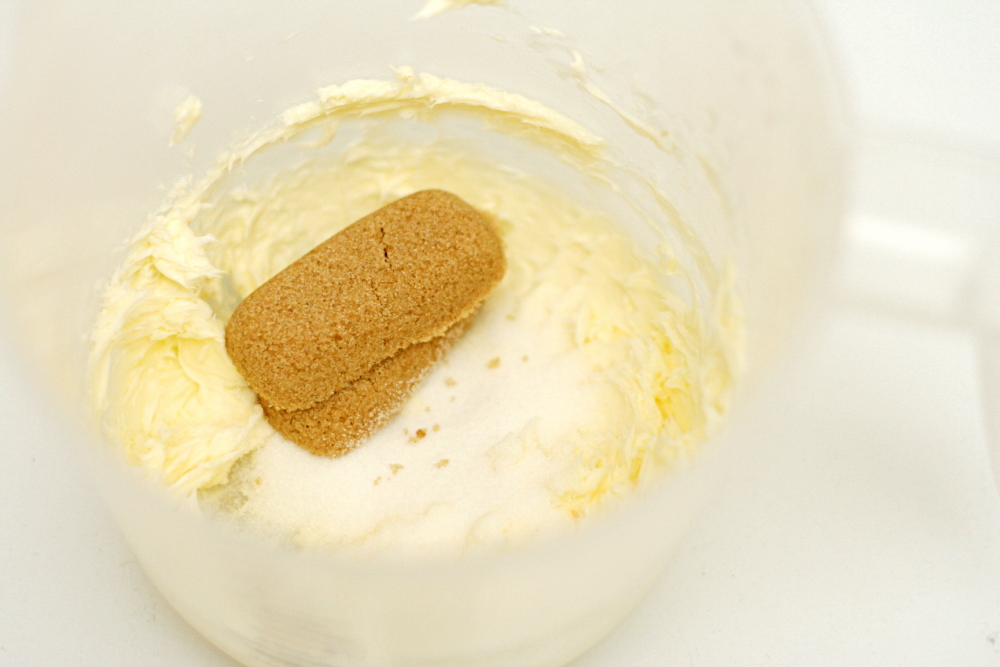
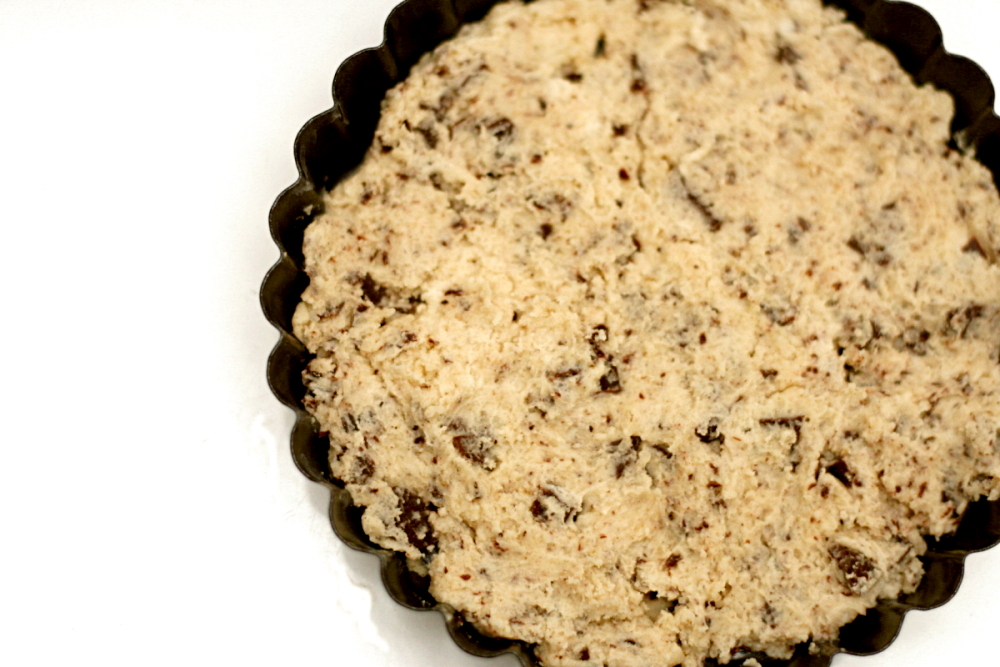
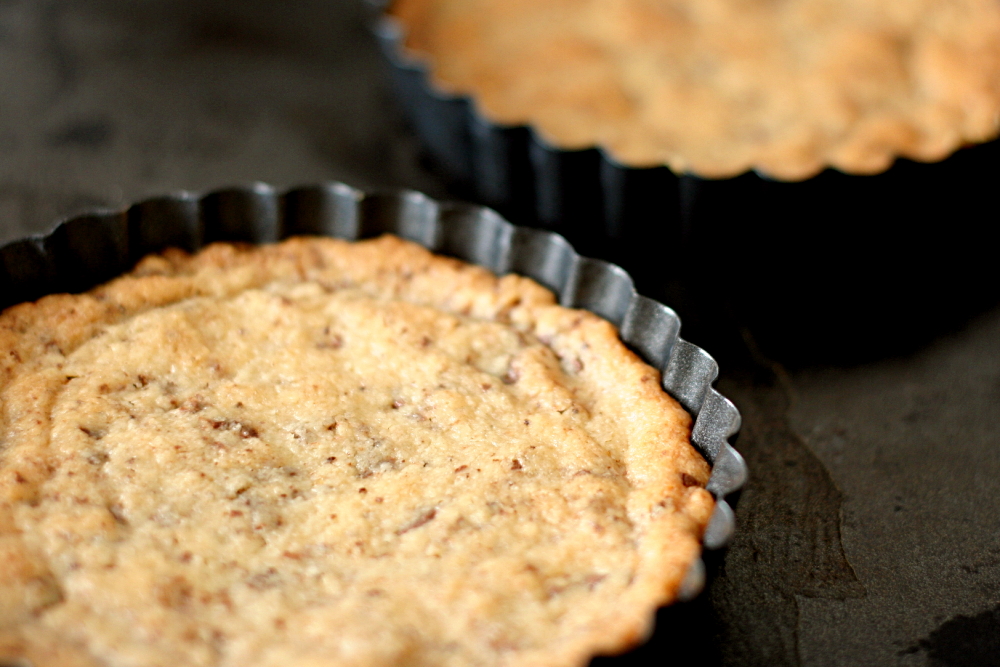
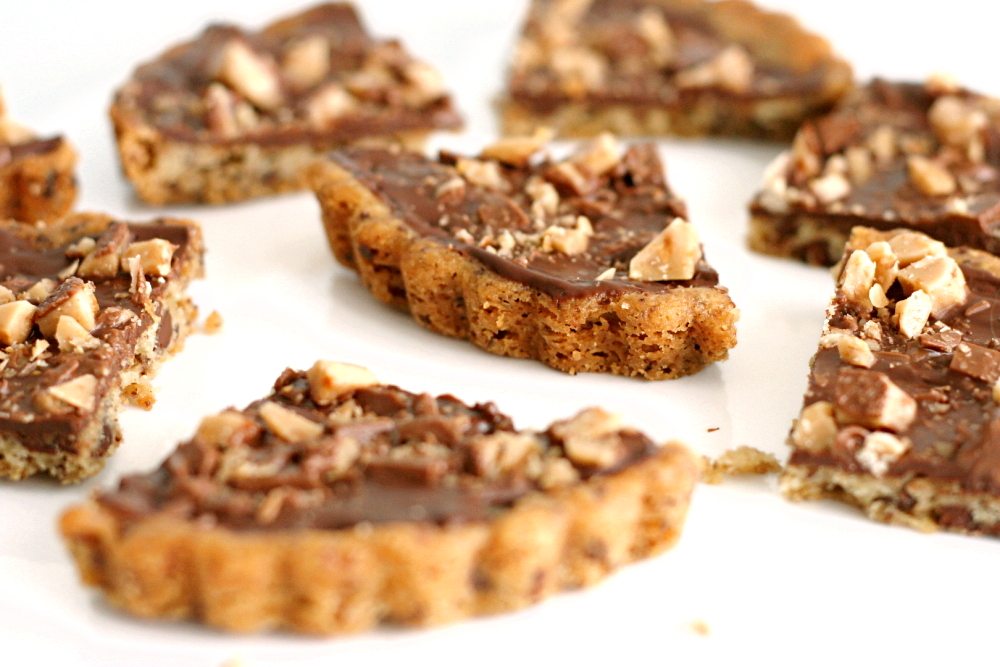
The base is a cinnamon- and espresso-enriched shortbread version of a chocolate chip cookie. Once that’s baked, it’s topped with finely chopped chocolate that quickly melts, then finished off with toffee bits. The cinnamon and espresso were pretty subtle – I couldn’t pick them out, but there was a little spice in the cookie. Overall, I really enjoyed these and wouldn’t change anything next time I make them.

Whitney has the recipe posted.

One year ago: Challah

copy-of-img_2150

devils food white out cake

copy-of-img_2027

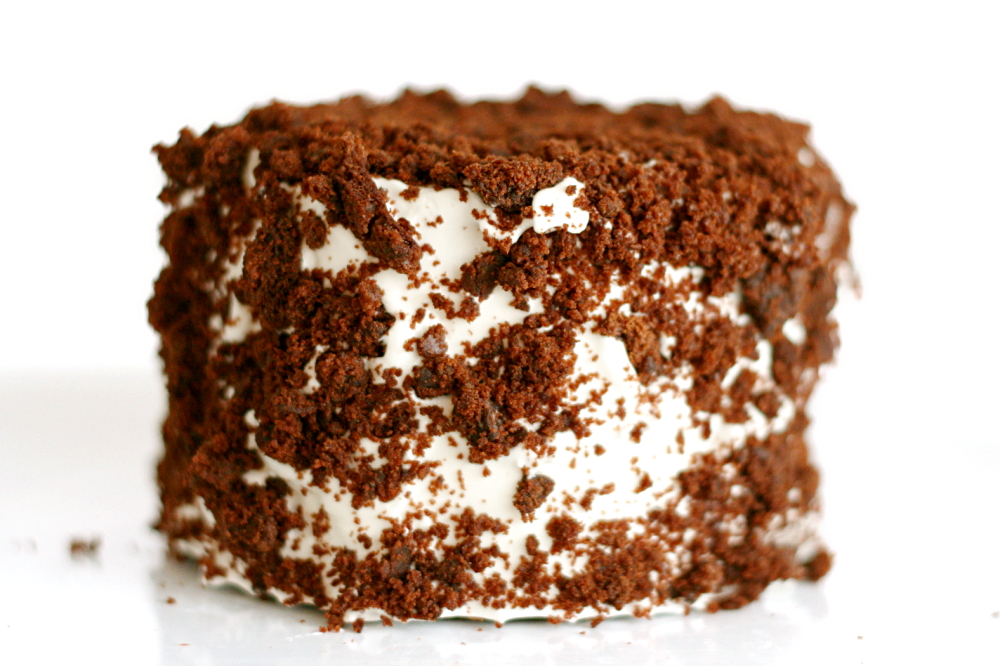
You know what the best thing about this cake was? No worries about getting crumbs in the frosting!

copy-of-img_2016

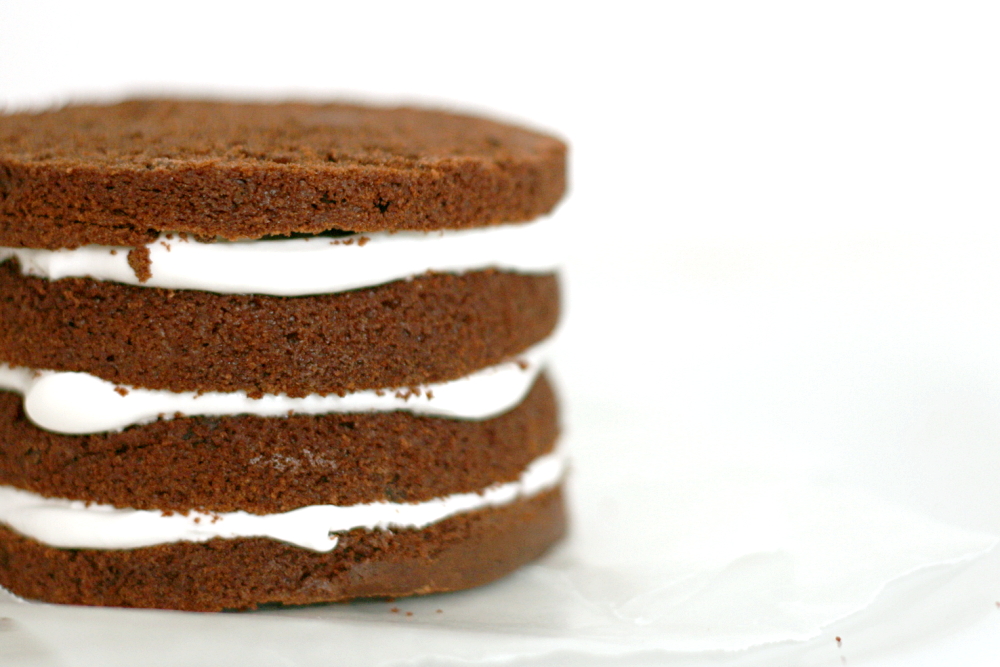
But really the best thing was the rich chocolate cake layered with fluffy vanilla frosting, which pretty much sums up my favorite dessert. I used to get it all the time in college at my favorite dessert café.

copy-of-img_2013

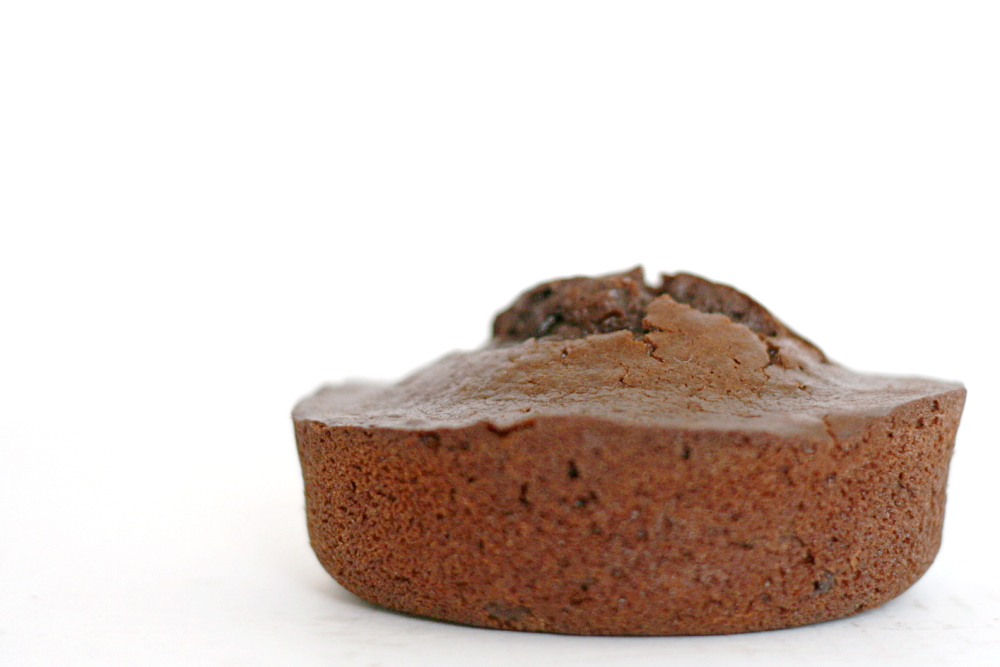
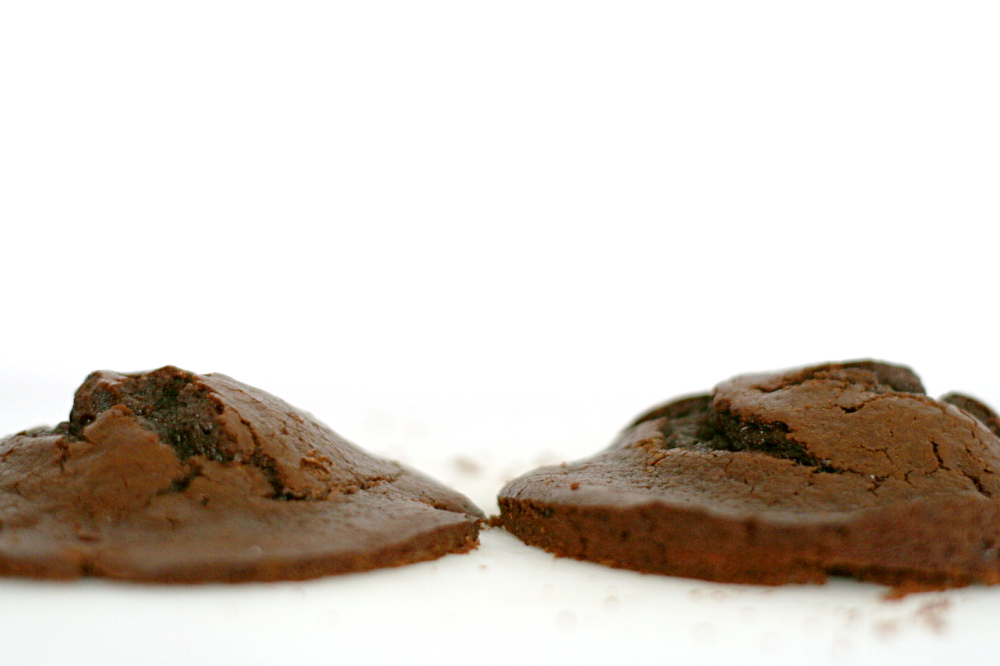
I made one third of the cake recipe in pans large enough to hold one quarter of the recipe, because I heard that there was some problems with the cake not rising. My cakes seemed to rise okay. But clearly I need to wrap a wet towel around the pans or invest in the magic cake strips for these little pyrex pans, because I always end up with the weirdest shaped cakes when I use them.

copy-of-img_2018

I was supposed to cut the cake layers in half and crumble one of the layers, but with such domed tops that I’d have to cut off anyway, it seemed like a shame to crumble a whole layer in addition. Instead, I made my cake four layers instead of three and just used the crumbs from the evened out tops to decorate the outside.

copy-of-img_2019

I don’t have much experience with this marshmallowy type of frosting, but I really liked it with this cake. I love meringue anyway – I love the feel of all the little bubbles popping in my mouth. I added a pinch of salt to the frosting to cut the sweetness a little. Also, bonus – fat free frosting!

Altogether, this was a great cake. Stephanie, who chose this recipe for Tuesdays with Dorie, has the recipe posted.

copy-of-img_2030

red velvet cake comparison

copy-of-img_1985

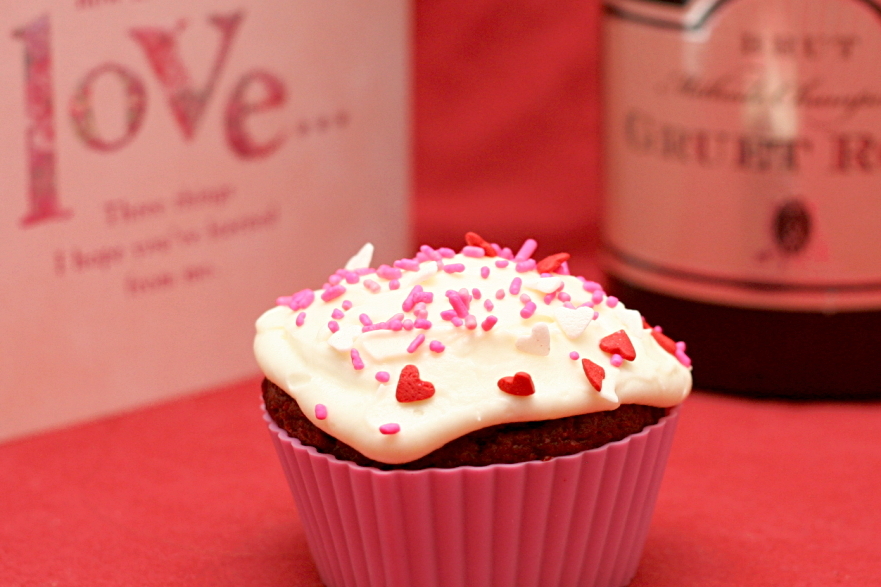
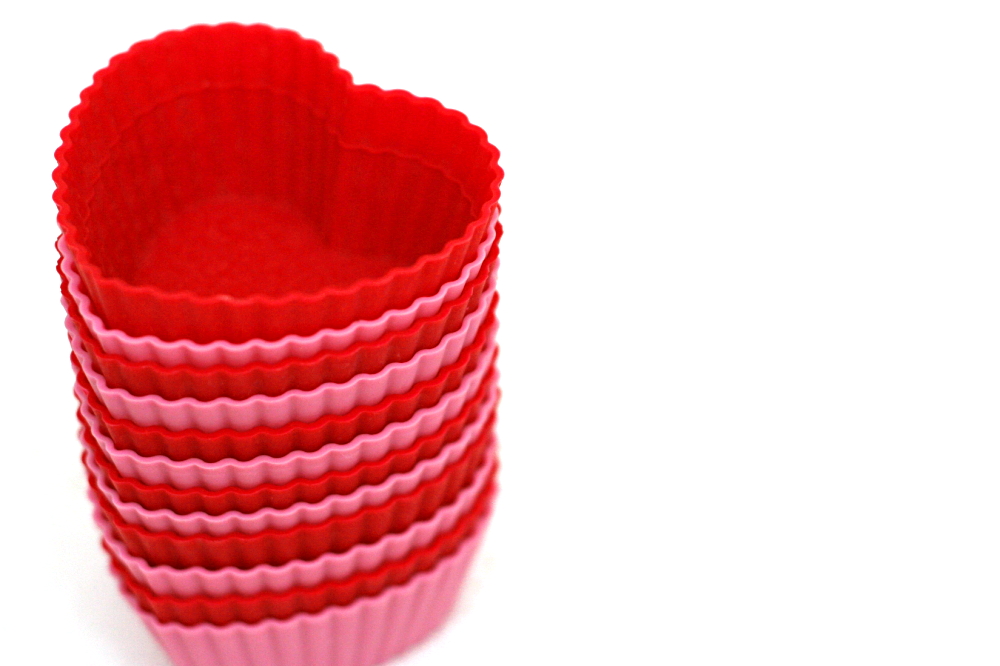
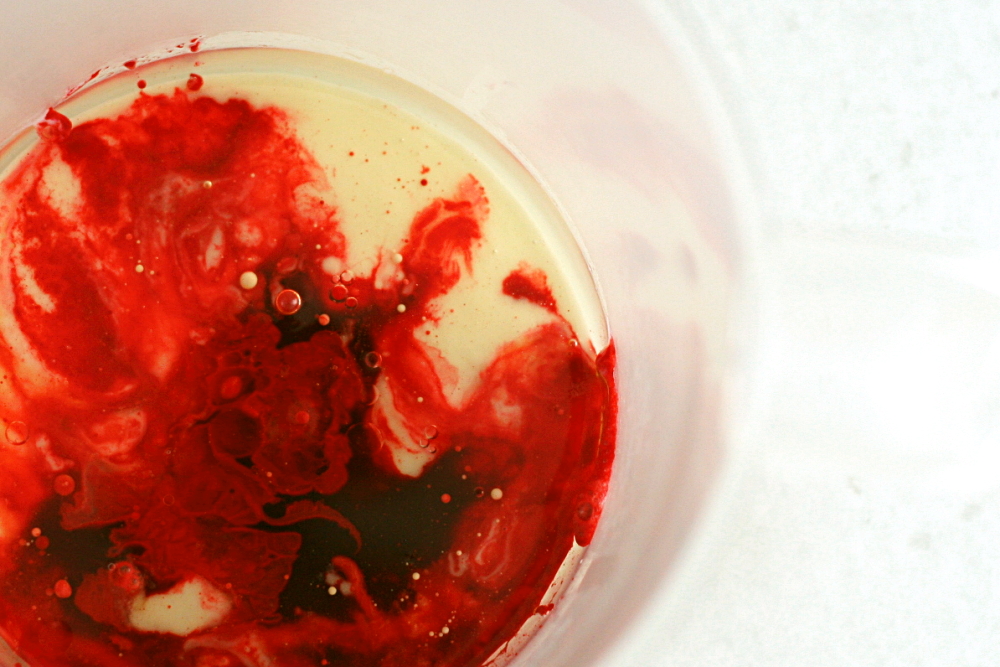
I started thinking about a Valentine’s Day blog post as soon as I pulled these heart-shaped silicone baking cups out of my Christmas stocking. And if you’re making heart-shaped cupcakes, they should be bright red. And if you’re making heart-shaped bright red cupcakes, they should be covered in heart-shaped pink and red sprinkles. My philosophy toward Valentine’s Day is, if you’re going to do it, overdo it.

copy-of-img_1789

What’s weird is that the closest I can remember to eating red velvet cake is these whoopie pies that I made a couple months ago. In fact, I didn’t even know that red velvet cake existed until college, when one of my professors told me a story about someone throwing it up on her carpet and the stain never coming out.

copy-of-img_1791

My lack of red velvet cake experience is even stranger considering that my mom was recently telling me about a great recipe that my grandmother has for it. My sister made that recipe recently and said it was a little dry, but she’s baking at high altitude, which makes cakes prone to problems. I wanted to give the recipe a try myself.

copy-of-img_1808

But Deb has a recipe she recommends as well, and I’ve had very good experiences with almost everything I’ve made from her site. And Kelsey describes herself as a red velvet cake enthusiast, and she recently found a recipe she loves. And Cooks Illustrated (via Cooks Country, their slightly less OCD magazine) has a recipe, and in general their stuff is worth trying.

copy-of-img_1797

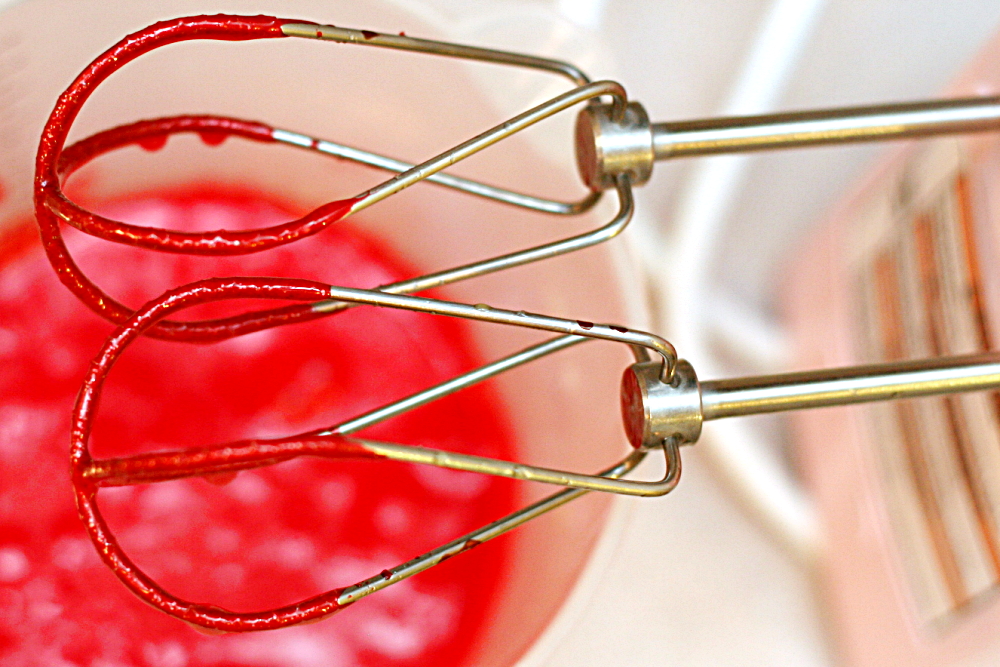
Four recipes, all highly recommended from trusted sources. There was no good way for me to choose just one, so this seemed like a perfect opportunity to spend an entire evening baking something as simple as cupcakes do a recipe comparison.

copy-of-img_1803

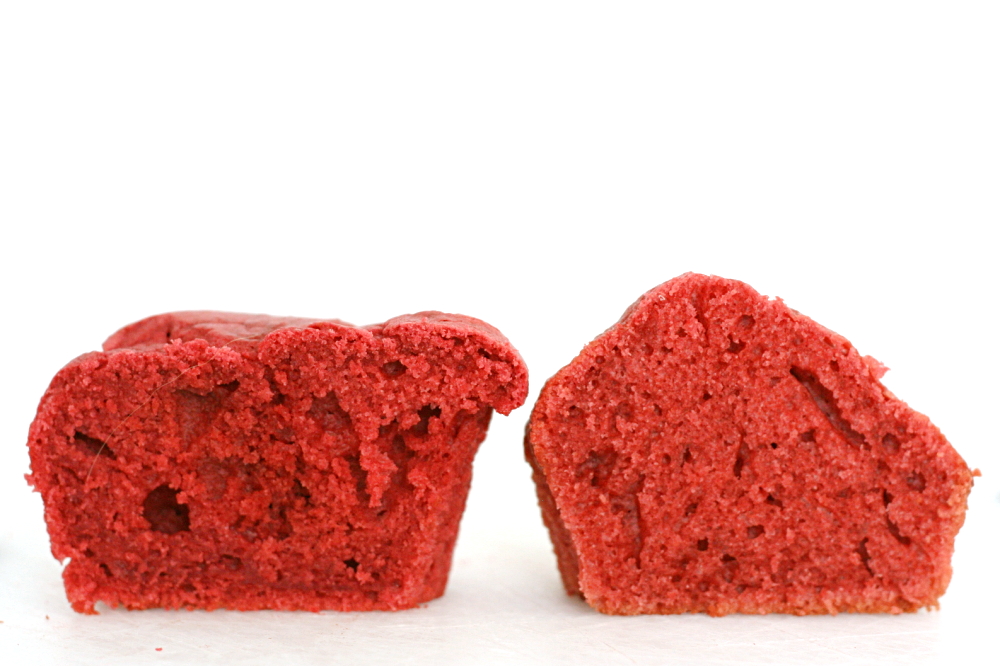
Before I discuss detailed comparisons between each, let me cut to the chase and tell you that every single cake was really good, both in taste and texture. There were differences, but they were subtle. Dave and I had a hard time choosing favorites. That being said, once I ate enough cupcakes, preferences started to emerge.

In the discussion below, I will use the following abbreviations: SK for Smitten Kitchen; G for my grandmother’s recipe; AD for Apple a Day, and CC for Cooks Country.

copy-of-img_1810

Effort: None of the cakes were exceptionally difficult. AD was the simplest – the dry and wet ingredients were mixed separately, then combined in the mixer. SK and G called for the vinegar and baking soda to be mixed together before being added to the already-mixed remaining ingredients, which I’d never seen before. And G and CC call for the cocoa and food coloring to be stirred into a paste initially, which Cooks Country explains is to distribute the cocoa more evenly.

copy-of-img_1907from left to right: SK, AD, G, CC

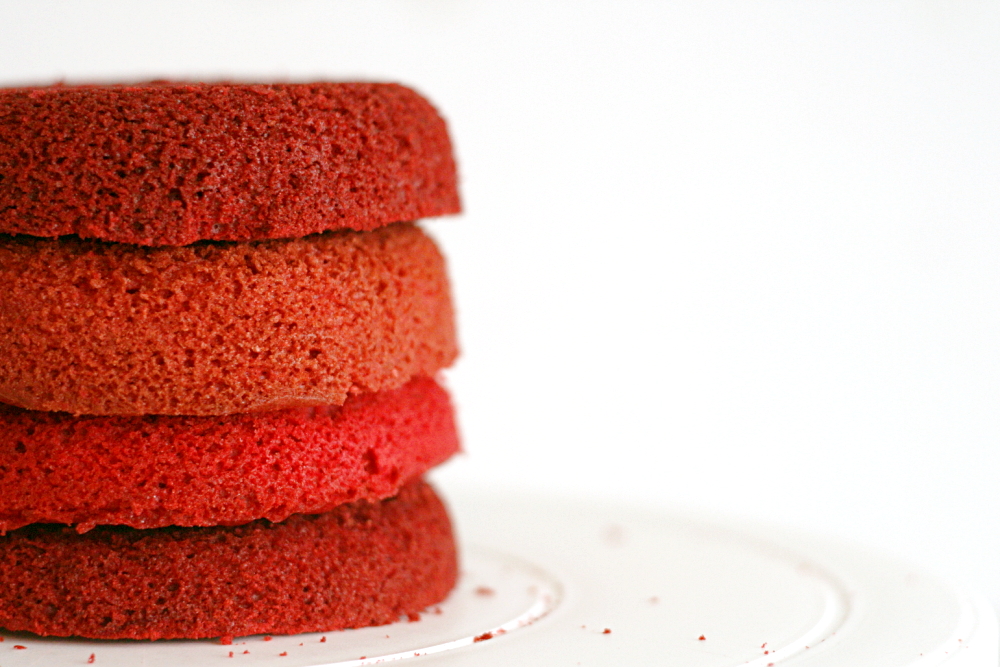
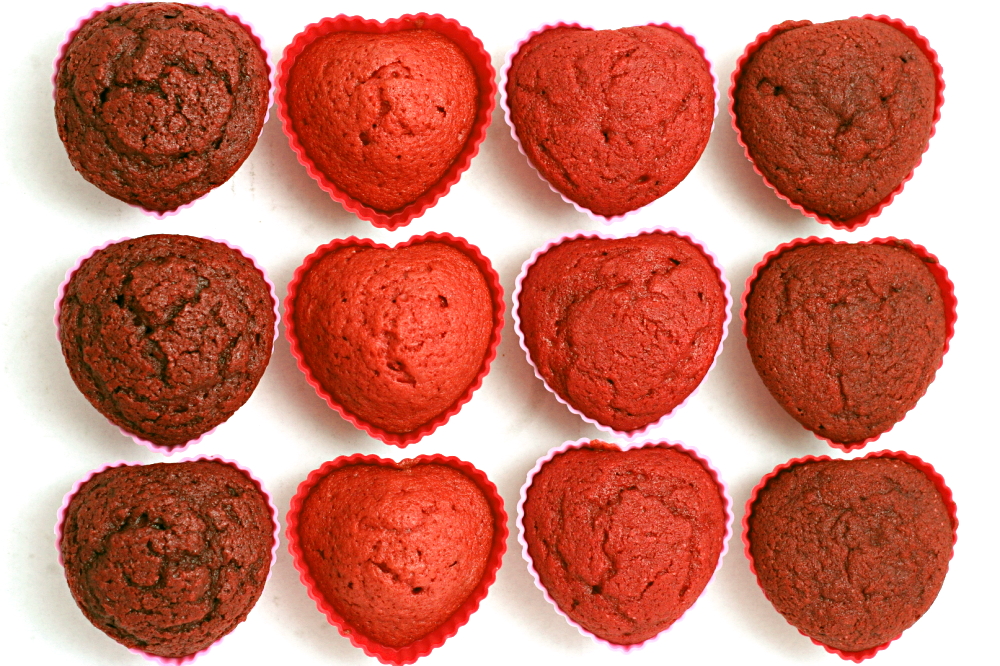
Color: While the shades of red vary, all of the cakes are definitely red. I have no preference. I should note that I used a little less food coloring in G and SK than the recipes called for, because I thought I was going to run out. Even so, I think their color is fine.

copy-of-img_1911from left to right: SK, AD, G, CC

Texture: While I wouldn’t call any of the cakes dry, G did seem less moist than the others. This isn’t surprising considering that it uses the least fat of these recipes and only a third of the fat of one of them (AD). AD and SK, both of which used oil as the fat, were perhaps a little moister than CC and G, which call for butter. None of the cakes were too dense, but SK and CC seemed especially fluffy. I was expecting a different texture in CC compared to the rest, because it was the only recipe that called for all-purpose instead of cake flour, but it wasn’t noticeable.

copy-of-img_1969

Taste: One thing that I think it important to note about Red Velvet cake, that Cooks Country clarifies in their article, is that it not meant to be a chocolate cake. The small amount of cocoa is just there to provide the red color. Unfortunately, CC’s cake was my least favorite. I think it’s because of one very small difference between their recipe and the others – the rest call for a teaspoon of salt, CC has just a pinch in it. The flavor of this cake was definitely muted compared to the others. The rest were all really good. SK calls for over twice as much cocoa as the others, which was enough so that I could actually taste a little chocolatiness. I like chocolate of course, but in this case, it masked that classic Red Velvet tanginess. AD and G tasted somewhat similar, but I think G had a little bit of a metallic taste to it (which I have no explanation for).

So, in the end, I choose AD (found through Kelsey’s Apple a Day and originally from Saveur) as my favorite, for its moistness, its bright, pinky red color, the ease with which it comes together, and especially its sweet but tangy flavor.

copy-of-img_1970
Update 2/15/09: When BMK pointed me in the direction of another oft-recommended Red Velvet cake recipe, I used amazing restraint in waiting a whole 6 hours before I tried it. The Pastry Queen’s recipe uses butter instead of oil as the fat, and it includes sour cream. Other than the sour cream and calling for both all-purpose and cake flour, the ingredient list was similar to the other recipes I tried.

copy-of-img_2003top – Pastry Queen; bottom – Apple a Day

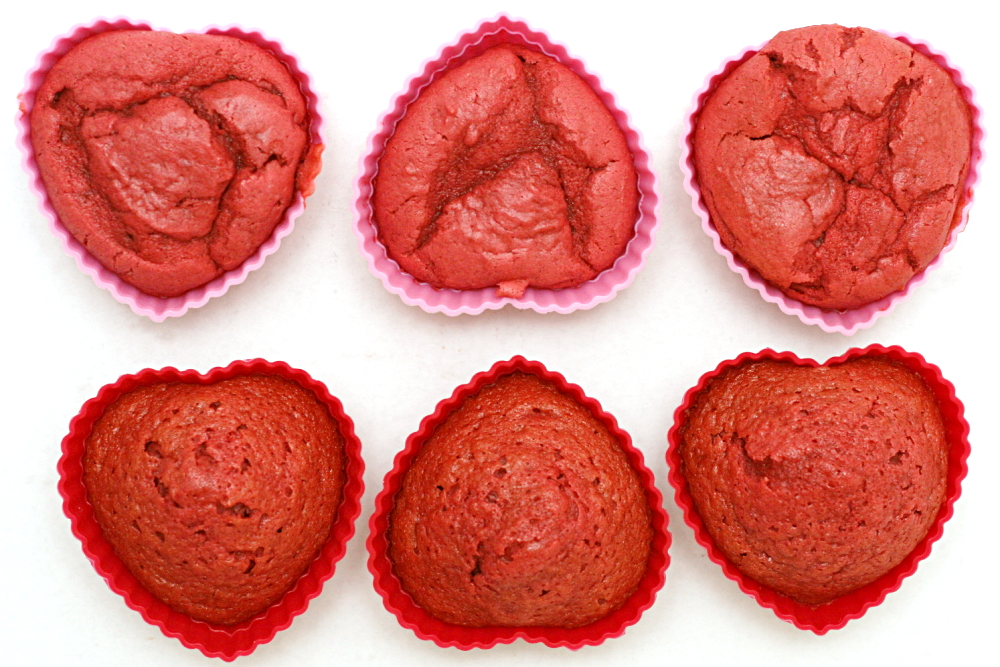
I generally prefer butter over oil in desserts, and I think sour cream makes cakes really tender, so I was pre-disposed toward liking the Pastry Queen’s cake. And it really was great – fluffy, moist, tangy, even-textured (although it doesn’t look like that here – the recipe specifically warns not to overbake the cupcakes, so of course I underbaked them). However, in the end, I still preferred the recipe from Kelsey’s Apple A Day, originally from Saveur, which also has great texture, and I like the flavor a little more. But this is definitely a personal preference – you can’t go wrong with either recipe. Next time I might experiment with using the ingredients from AD, substituting butter for the oil, and using the mixing method from the Pastry Queen’s recipe.

copy-of-img_2005left – Pastry Queen; right – Apple a Day

One year ago: A comparison of four vanilla frostings

Red Velvet Cake with Cream Cheese Frosting (from Saveur via Apple a Day)

Makes 1 8-inch 3-layer cake

After making this recipe a few times, I’m finding that it’s actually too moist from all that oil.  A number of commenters have agreed.  When I make the recipe now, I often reduce to the oil to 1 to 1¼ cups.

For the cake:
2½ cups (10 ounces) cake flour
1½ cups (10.5 ounces) sugar
1 teaspoon baking soda
1 tablespoon cocoa powder
1 teaspoon salt
2 eggs
1½ cups vegetable oil (see note)
1 cup buttermilk
2 tablespoons (1 ounce) red food coloring
1 teaspoon vanilla extract
1 teaspoon white distilled vinegar

For the frosting:
12 ounces cream cheese, softened
12 ounces butter, softened
1½ teaspoons vanilla extract
3 cups confectioners’ sugar
1½ cups chopped pecans (optional)

1. For the cake: Preheat oven to 350°.

2. Sift together flour, sugar, baking soda, cocoa, and salt into a medium bowl.

3. Beat eggs, oil, buttermilk, food coloring, vanilla, and vinegar in a large bowl with an electric mixer until well combined. Add dry ingredients and beat until smooth, about 2 minutes.

4. Divide batter evenly between 3 greased and floured 8″ round cake pans.

5. Bake cakes, rotating halfway through, until a toothpick inserted in the center of each cake comes out clean, 25-30 minutes. Let cakes cool 5 minutes, then invert each onto a plate, then invert again onto a cooling rack. Let cakes cool completely.

6. For the frosting: Beat cream cheese, butter, and vanilla together in a large bowl with an electric mixer until combined. Add sugar and beat until frosting is light and fluffy, 5-7 minutes.

4. Put 1 cake layer on a cake plate, level off with a serrated knife, and spread one-quarter of the frosting on top. Set another layer on top, level, and repeat frosting. Set remaining layer on top, level, and frost top and sides with the remaining frosting. Press pecans into the sides of the cake, if desired. **Tip: after leveling cake, turn it upside down to reduce numbers of crumbs. I also did a crumb coat on the outside, let it set for ten minutes, then finished with remaining frosting.

5. Chill for 2 hours to set frosting.

Red Velvet Cake (from Smitten Kitchen, who adapted it from “The Confetti Cakes Cookbook” by Elisa Strauss via the New York Times 2/14/07)

Bridget note: This is the frosting that I used. It was great. (I’ve never met a homemade cream cheese frosting that I didn’t like.) Also, note that this recipe makes 50% more than the others.

Makes 1 9-inch 3-layer cake

1 tablespoon unsalted butter
3½ cups (14 ounces) cake flour
½ cup unsweetened cocoa (not Dutch process)
1½ teaspoons salt
2 cups canola oil
2¼ cups (15.75 ounces) granulated sugar
3 large eggs
6 tablespoons (3 ounces) red food coloring or 1 teaspoon red gel food coloring dissolved in 6 tablespoons of water
1½ teaspoons vanilla
1¼ cup buttermilk
2 teaspoons baking soda
2½ teaspoons white vinegar.

1. Preheat oven to 350 degrees. Place teaspoon of butter in each of 3 round 9-inch layer cake pans and place pans in oven for a few minutes until butter melts. Remove pans from oven, brush interior bottom and sides of each with butter and line bottoms with parchment.

2. Whisk cake flour, cocoa and salt in a bowl.

3. Place oil and sugar in bowl of an electric mixer and beat at medium speed until well-blended. Beat in eggs one at a time. With machine on low, very slowly add red food coloring. (Take care: it may splash.) Add vanilla. Add flour mixture alternately with buttermilk in two batches. Scrape down bowl and beat just long enough to combine.

4. Place baking soda in a small dish, stir in vinegar and add to batter with machine running. Beat for 10 seconds.

5. Divide batter among pans, place in oven and bake until a cake tester comes out clean, 40 to 45 minutes. Let cool in pans 20 minutes. Then remove from pans, flip layers over and peel off parchment. Cool completely before frosting.

Red Cake (from my grandmother)

Makes 1 9-inch 2-layer cake

My grandmother isn’t known for adding a lot of detail to her recipes. I’ve added some.

Also, the frosting here isn’t the cream cheese frosting you usually see associated with red velvet cakes these days. Instead, it’s based on a cooked flour mixture similar to this.

2 ounces red food coloring
2 tablespoon cocoa
2¼ cups cake flour
1 teaspoon salt
½ cup shortening (I used butter of course), softened
1½ cups sugar
2 eggs
1 teaspoon vanilla
1 cup buttermilk
1 teaspoon vinegar
1 teaspoon baking soda

1. Adjust an oven rack to the middle position and preheat oven to 350C. Butter and flour two 9-inch cake pans. Make a paste out of the food coloring and the cocoa. Mix together the flour and salt.

2. Cream shortening and sugar until fluffy. Add eggs, one a time, then the vanilla. Mix in food coloring paste. Add a third of the flour mixture, then half the buttermilk, a third of the flour, half the buttermilk, and ending with the rest of the flour. Holding a small dish over the mixing bowl, add vinegar to baking soda, pouring it into the mixing bowl as it foams. (The original recipe now says “Beat as you would any cake.” That’s helpful!) Beat at medium speed for 30 seconds.

3. Pour the batter into the prepared pans and bake for 30 minutes, until a toothpick comes out clean. Let cool slightly in pans, then invert the cakes onto a cooling rack. When cool, split each later in two and frost.

Frosting:

3 tablespoons flour
1 cup milk
1 cup sugar
1 teaspoon vanilla
16 tablespoons (2 sticks) butter

Cook flour and milk until thick. Cool. Cream butter and sugar and vanilla until fluffy. Blend the creamed mixture into cooked mixture. Beat. The longer you beat it, the better it gets.

Red Velvet Cake (from Cooks Country Dec 2006/Jan 2007)

Serves 12

CC note: The recipe must be prepared with natural cocoa powder. Dutch-processed cocoa will not yield the proper color or rise.

Cake
2¼ cups all-purpose flour
1½ teaspoons baking soda
Pinch salt
1 cup buttermilk
1 tablespoon white vinegar
1 teaspoon vanilla extract
2 large eggs
2 tablespoons natural cocoa powder
2 tablespoons red food coloring
12 tablespoons (1½ sticks) unsalted butter, softened
1½ cups granulated sugar

Frosting
16 tablespoons unsalted butter, softened
4 cups confectioners’ sugar
16 ounces cream cheese, cut into 8 pieces, softened
1½ teaspoons vanilla extract
Pinch salt

1. For the cake: Adjust oven rack to middle position and heat oven to 350 degrees. Grease and flour two 9-inch cake pans. Whisk flour, baking soda, and salt in medium bowl. Whisk buttermilk, vinegar, vanilla, and eggs in large measuring cup. Mix cocoa with food coloring in small bowl until a smooth paste forms.

2. With electric mixer on medium-high speed, beat butter and sugar together until fluffy, about 2 minutes, scraping down bowl as necessary. Add one-third of flour mixture and beat on medium-low speed until just incorporated, about 30 seconds. Add half of buttermilk mixture and beat on low speed until combined, about 30 seconds. Scrape down bowl as necessary and repeat with half of remaining flour mixture, remaining buttermilk mixture, and finally remaining flour mixture. Scrape down bowl, add cocoa mixture, and beat on medium speed until completely incorporated, about 30 seconds. Using rubber spatula, give batter final stir. Scrape into prepared pans and bake until toothpick inserted in center comes out clean, about 25 minutes. Cool cakes in pans 10 minutes then turn out onto rack to cool completely, at least 30 minutes.

3. For the frosting: With electric mixer, beat butter and sugar on medium-high speed until fluffy, about 2 minutes. Add cream cheese, one piece at a time, and beat until incorporated, about 30 seconds. Beat in vanilla and salt. Refrigerate until ready to use.

4. When cakes are cooled, spread about 2 cups frosting on one cake layer. Top with second cake layer and spread top and sides of cake with remaining frosting. Cover and refrigerate until ready to serve, up to 3 days.

world peace cookies

copy-of-img_1691

This week, I’m one of those reviewers – the ones who tweak the recipe beyond recognition, then say the recipe sucks and no one should bother making it.

Except for the ‘beyond recognition’ and ‘the recipe sucks’ parts, at least. For whatever reason, I took it upon myself to, um, improve upon this recipe. Yes, the World Peace Cookie recipe that has gotten one shining review after another.

copy-of-img_1632

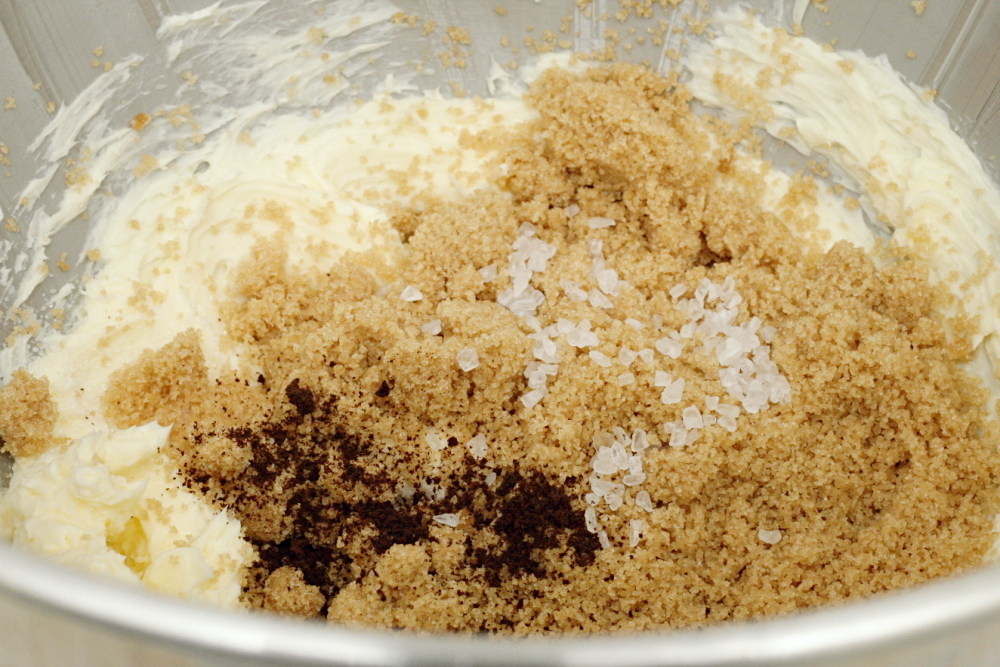
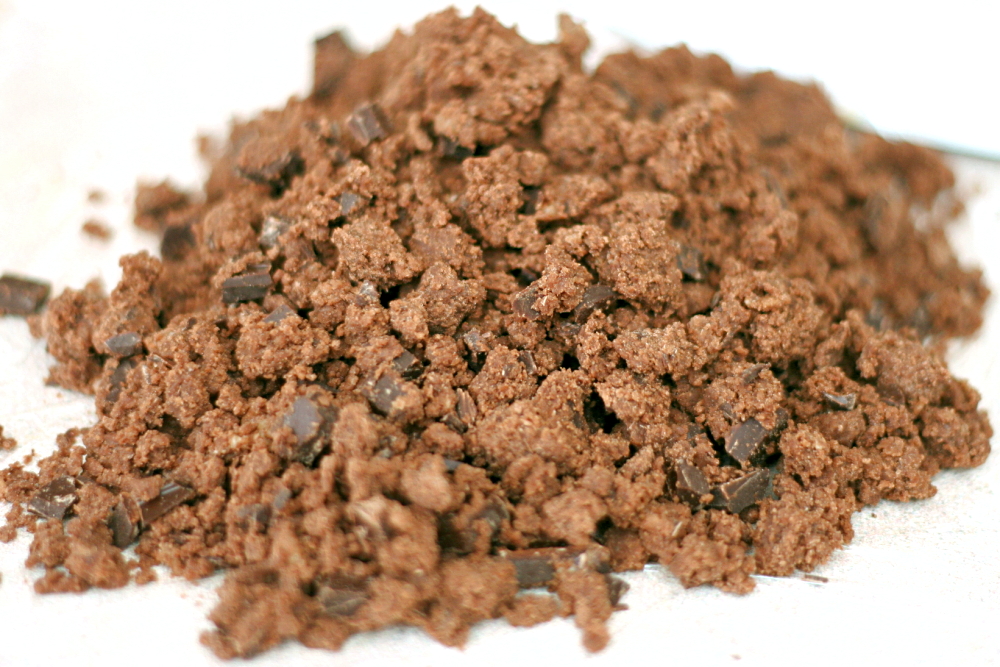
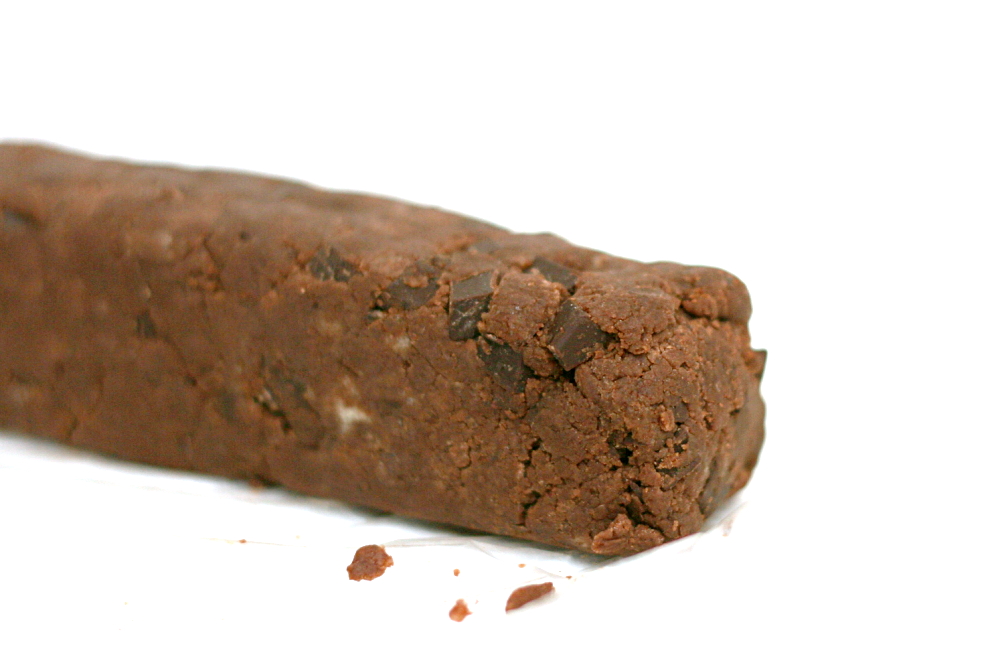
But a few Tuesdays with Dorie members said the dough was so crumbly they could hardly roll it into a log, and that trying to slice cookies off of the log was a mess. So I added an extra tablespoon of butter. And then I figured that what’s a chocolate cookie doing without espresso powder? So I added some. And I forgot to buy fleur de sel, so I used some coarse sea salt that I’ve had forever.

copy-of-img_1643

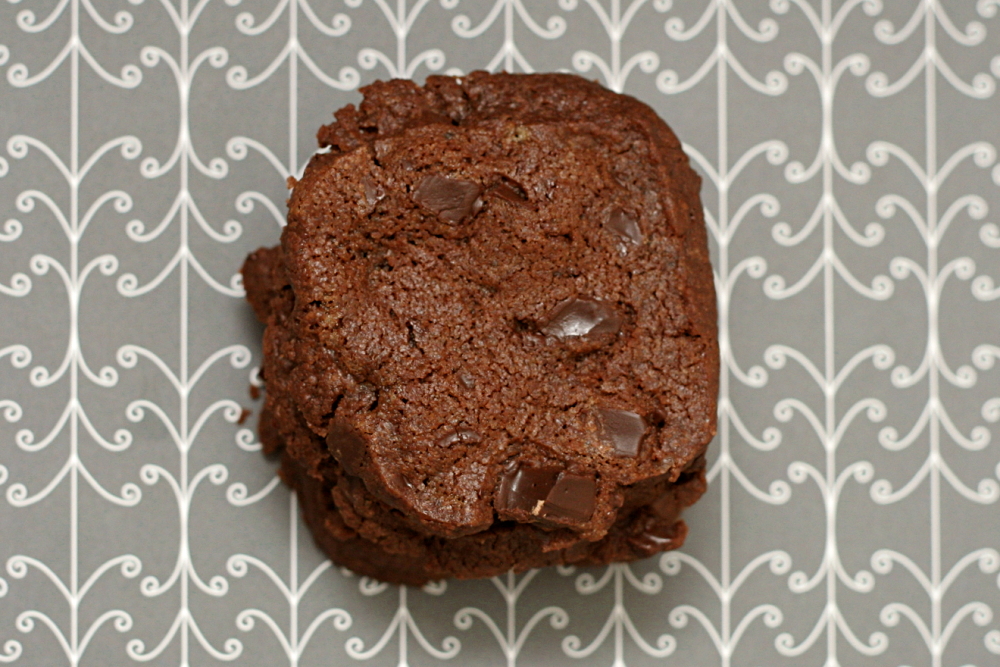
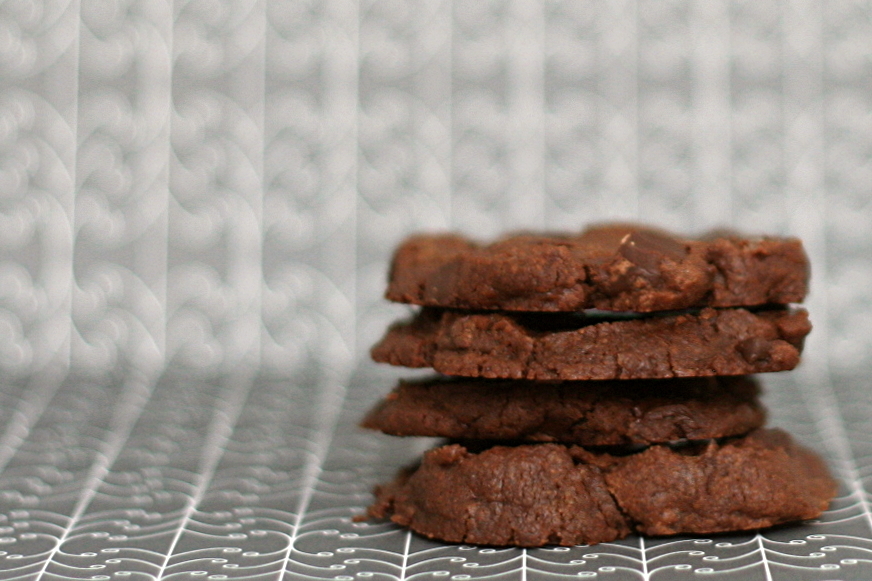
And the result was good. Not mind-blowing, but good. I don’t think the espresso was a good idea – the bitterness didn’t really blend into this cocoa-flavored cookie. The extra butter seemed like it was a good thing, because the dough was still pretty crumbly. On the other hand, there was a bit of a spreading problem during baking. (Maybe a higher temperature would solve that?)

copy-of-img_1669

Actually, I’m not sure shortbread is really my thing. I’m not against it, mind you, but my ideal cookie is chewier. I like them; I just like these chocolate cookies better.

Jessica (along with a lot of other people) has the recipe posted.

One year ago: Chocolate Cupcakes

copy-of-img_1680

fresh ginger and chocolate gingerbread

copy-of-img_1556

Ah, my sad little gingerbread photos. I had some issues with a tiny step in this recipe that I normally would have just ignored. “Butter the pan.” Pshaw, who butters their pans these days? Nonstick spray, baby!

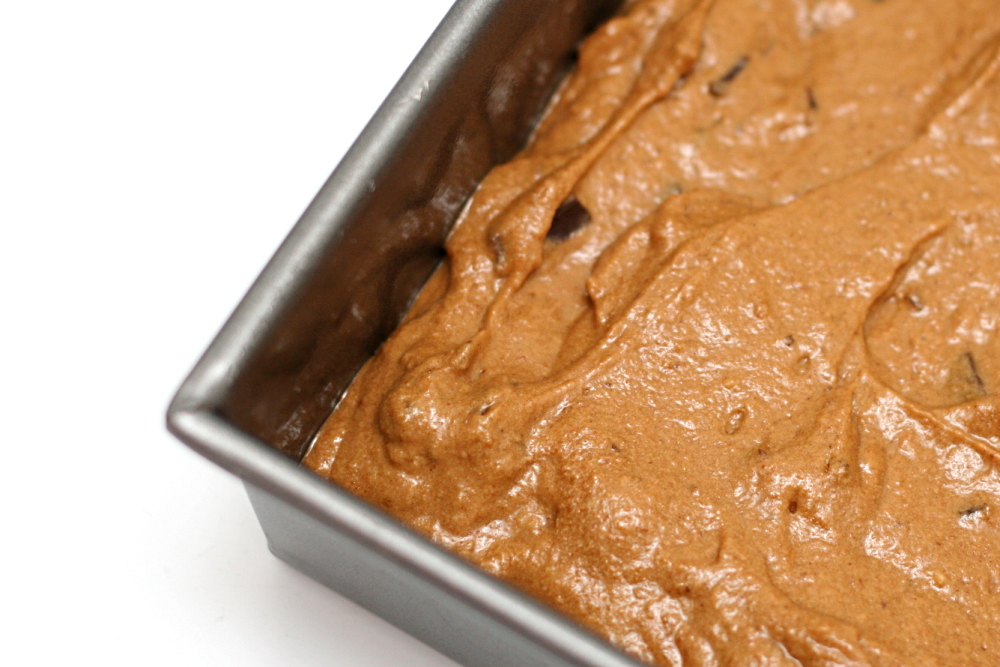
Since I needed 7⅓ tablespoons of butter for the portion of the recipe that I was making, I figured I would just use the other ⅔ tablespoon to butter the pan. (I used an 8-inch square pan for ⅔ of the recipe.) Then when it came time to remove the cake from the pan, I got stubborn when it stuck. The damn cake would be coming out of the pan!

copy-of-img_1542

Um, yeah, that was dumb. It came out, all right, or about half of it did. The other half, the bottom half, was holding on tight to the pan. I quickly shoveled the broken cake pieces back into the pan and they melded together nicely. If I had been able to resist tasting the cake (through a forkful dug out of the middle), no one would have been the wiser.

copy-of-img_1544

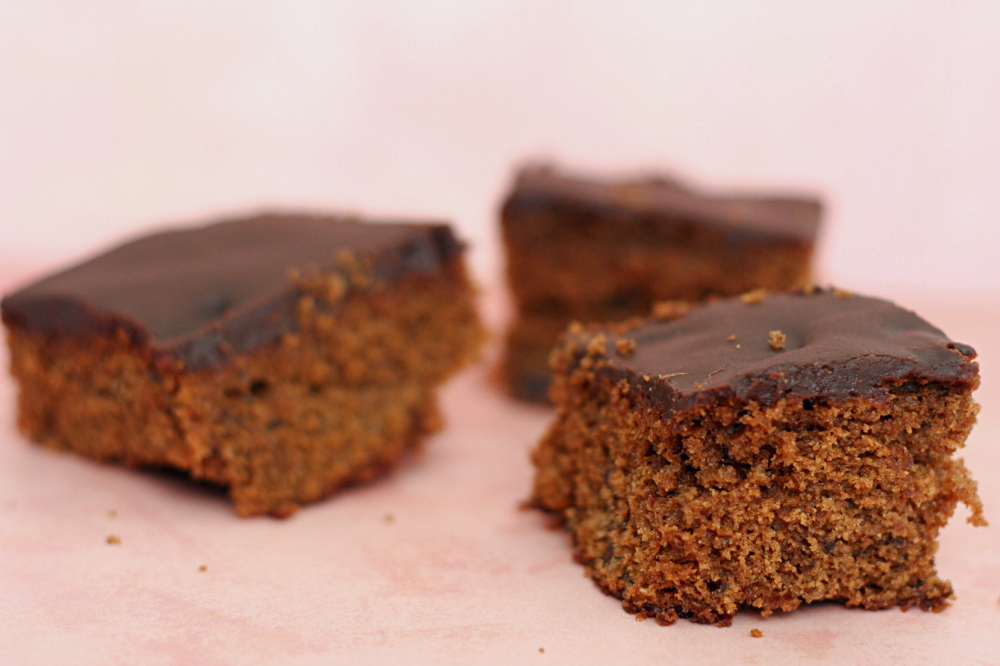
Fortunately, the taste of the cake made up for the troubles. Dave and I both really like gingerbread, and although I had my doubts about combining it with chocolate, in the end I thought it was a good match. I enjoyed the chunks of chocolate in the cake, even though they all sank to the bottom. The bittersweet chocolate glaze was great too. My cake was a little dry, but it’s entirely possible that I overbaked it by a few minutes. Still, next time I’ll use twelve tablespoons of butter instead of eleven (for a full recipe). And I most certainly won’t use butter to grease the pan.

Heather, who chose this recipe for Tuesdays with Dorie, has the recipe posted.

copy-of-img_1553

white chocolate lemon truffles

copy-of-img_0672

A few years ago, I spent a couple of weeks working in Davis, California. I loved Davis. I stayed in a bed and breakfast near the university, right near Davis’ cute little downtown. There were all kinds of great restaurants nearby, including Ciocolat, a dessert café. I made a point to stop by there almost every day. And with minimal guilt, because I spent several hours every day walking around UC-Davis’s beautiful arboretum.

copy-of-img_0564

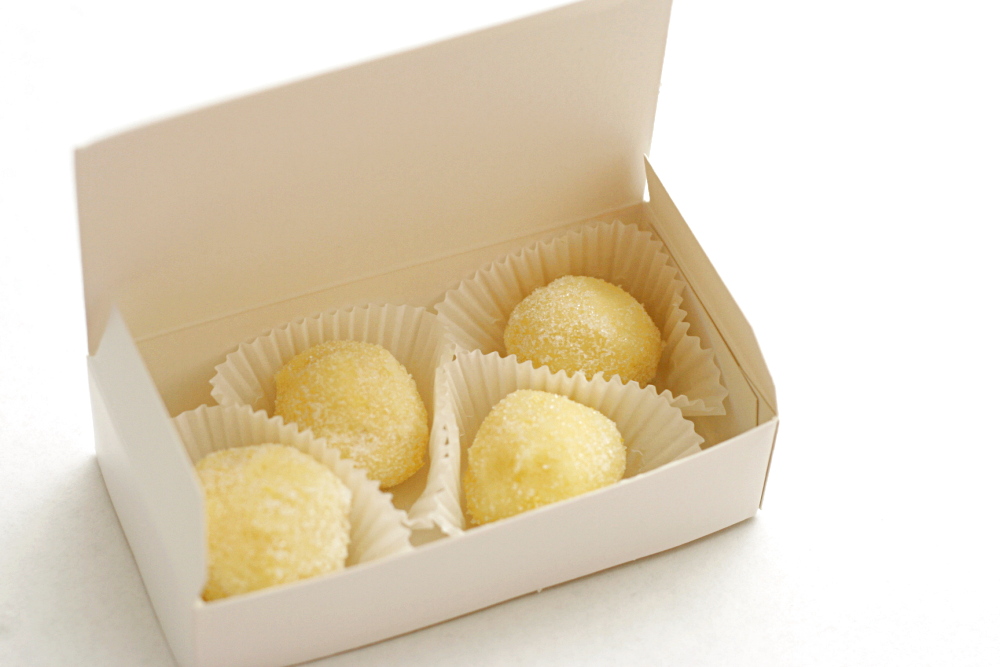
Ciocolat seems to specialize in truffles, which aren’t really my thing. I’d much rather eat chocolate once it’s mixed with eggs and butter and some flour and then baked. But I did love their lemon truffles. Smooth, creamy, not too sweet, and intensely lemony, I’ve been wanting to re-create them since, but I haven’t been able to find a recipe that seemed similar.

copy-of-img_0565

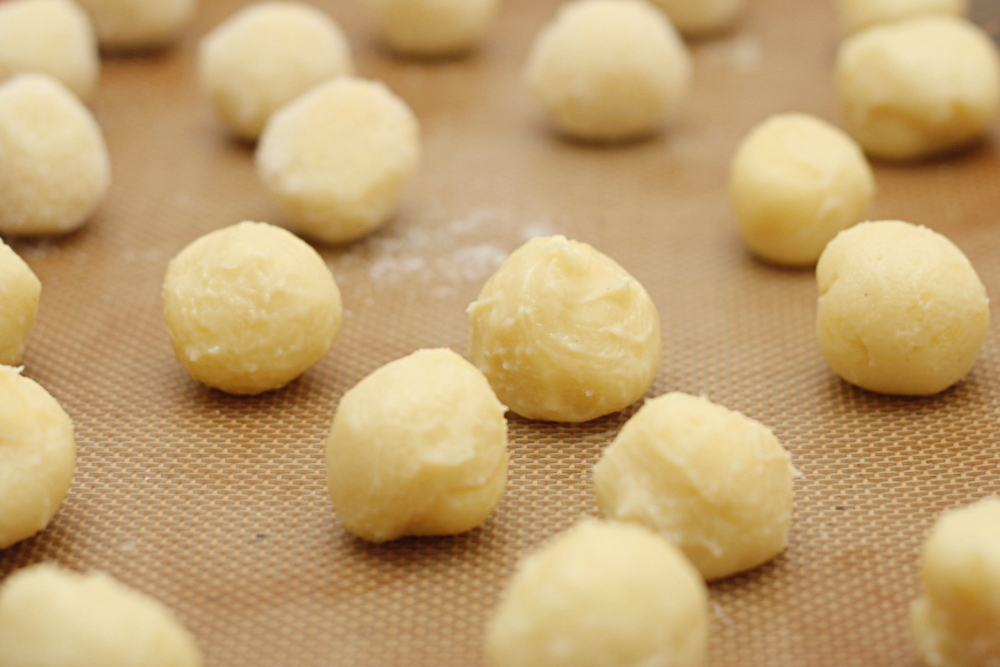
The only recipes I’ve found for lemon truffles include white chocolate, which I don’t remember the Ciocolat’s lemon truffle having. It recently occurred to me to look at their menu online, where I saw that it did include white chocolate. Perhaps a white chocolate lemon truffle recipe was exactly what I needed then.

copy-of-img_0571

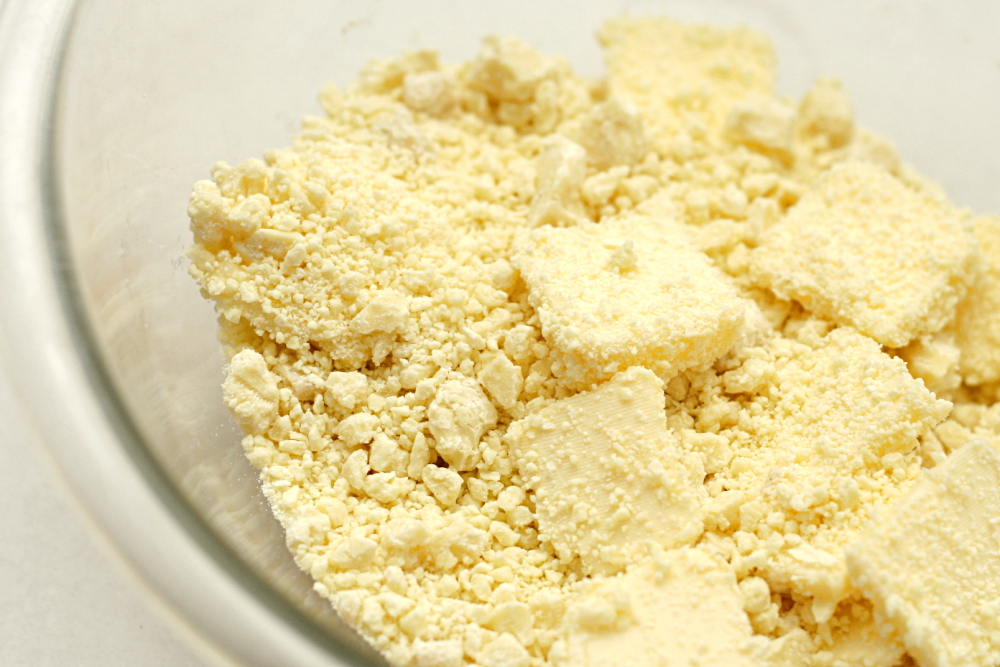
The one I tried wasn’t difficult or too time-consuming. The only challenge is working with the white chocolate. I always seem to have problems with it, even when I follow the basic white chocolate rules of using a good brand (Callebaut in this case) and not overheating it. I took the white chocolate off of the heat when it was about half melted and stirred until the rest melted, and it still showed signs of breaking.

copy-of-img_0586

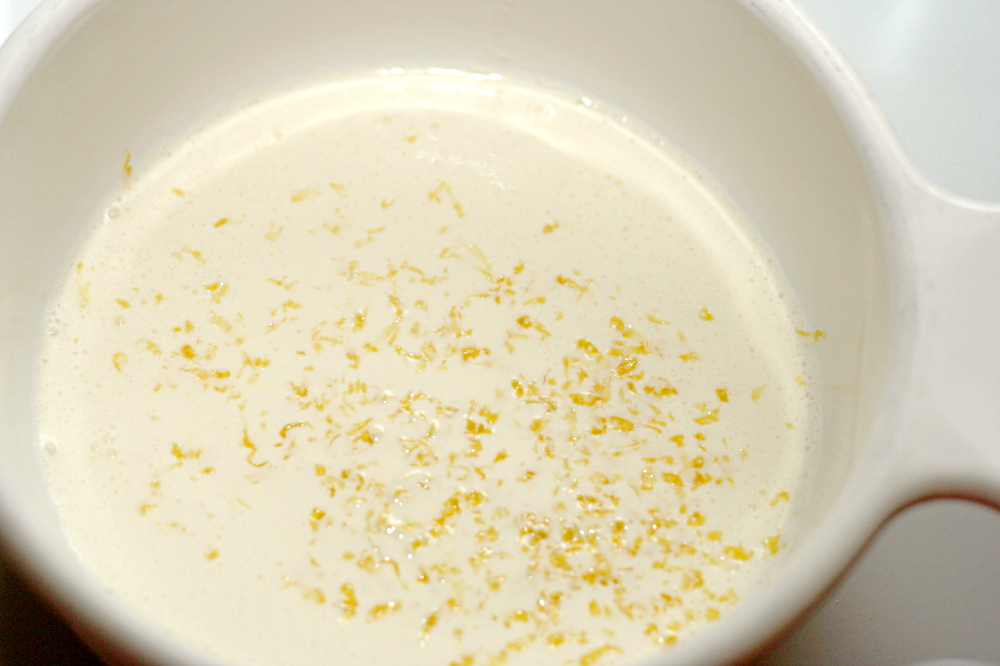
It seemed to work out in the end though. The only problem is that they’re not near as lemony as I’d like. The dominant flavor is definitely white chocolate. I’m not sure how to get more lemon flavor in them. Steep the zest in the cream longer? Use more zest? I considered adding more lemon juice, but I’m worried that would affect the texture too much. Substitute butter for some of the white chocolate? I’m thinking there might be some relevant tricks in Dorie Greenspan’s Lemon Cream Tart recipe, but I don’t have any specific ideas.
copy-of-img_0590

One year ago: Risotto with Peas

White Chocolate Lemon Truffles (adapted from Global Gourmet)

Makes 2-3 dozen

⅓ cup plus 1 tablespoon heavy cream
grated zest of 1 lemon
9 ounces best-quality white chocolate, very finely chopped
pinch salt
4 tablespoons (½ stick) unsalted butter, cut into ¼-inch cubes
2 teaspoons lemon juice
½ cup granulated sugar

1. In a small, heavy, nonaluminum saucepan, combine heavy cream and lemon zest. Heat on medium heat until cream comes to a simmer, stirring occasionally. Remove from heat. Cover tightly and allow to stand 20 minutes at room temperature.

2. Meanwhile, combine white chocolate, salt, and butter in a medium heatproof bowl. When cream has stood 20 minutes, remove cover. Reheat the cream mixture over medium heat, stirring occasionally, until it reaches a simmer again. Strain cream through a fine-meshed strainer into the white chocolate mixture. Press down on the lemon zest left in the strainer to extract all of the liquid from it.

3. Melt the chocolate mixture in a large heatproof bowl set over a saucepan of almost-simmering water, stirring frequently, until just it’s just over half melted. Remove it from the heat and the hot water. Continue stirring until the mixture is completely melted and smooth. (Note: White chocolate, even of excellent quality, can be stubborn about melting. If there are small lumps of white chocolate in your truffle base, transfer the truffle base to a food processor fitted with a steel blade; process at high speed just until smooth.) Stir in lemon juice. Chill at least 4 hours.

4. Using a small cookie scoop or a spoon, form balls of about 1 inch diameter from the cold truffle base. Roll in granulated sugar until well-coated. Continue until all base is used.

5. Store truffles airtight in refrigerator for up to one week; freeze for longer storage. To serve, remove from refrigerator 15 to 20 minutes prior to serving time.

copy-of-img_0661a

buckeyes

copy-of-img_0634

To thank our wedding party, Dave and I gave them gift bags of foods from various places where we’d lived. Among other treats, there was wine from the Finger Lakes region, where we were living at the time and where we got married, salsa from New Mexico, where I grew up, and there was supposed to be buckeyes, representing Ohio, where Dave is from. I made the buckeyes a week or so before the wedding, packaged them into treat boxes, and painstakingly wrapped each box with a ribbon. But I stored them incorrectly, and when Dave and I were getting ready for the rehearsal dinner, where we gave the gifts, we found that they were…unfit to eat. Ugh, that sucked.

copy-of-img_0534a

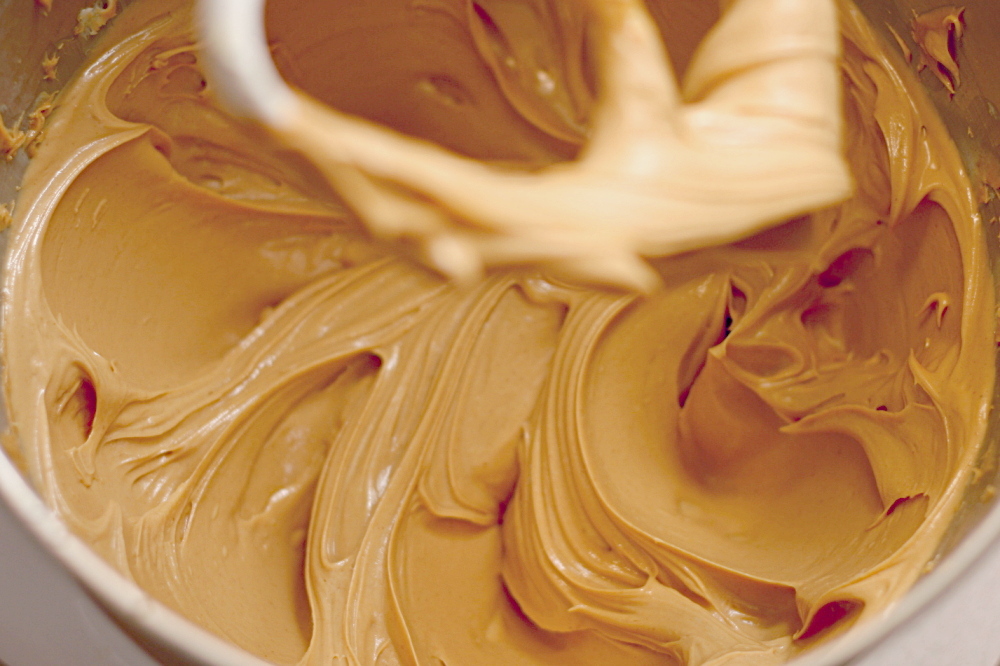
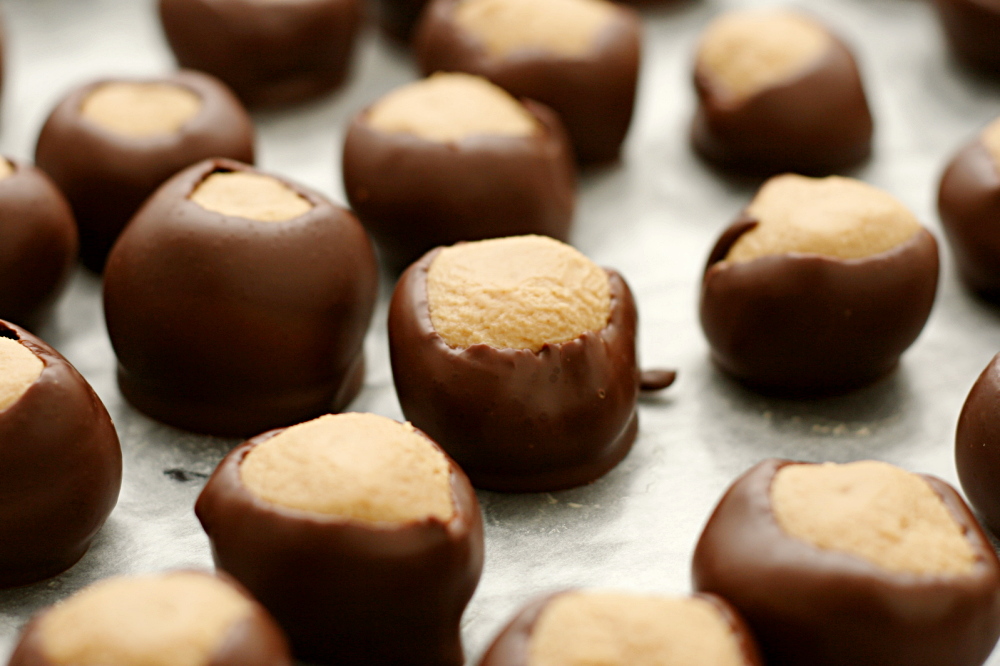
The buckeyes were a pain in the first place, because there was apparently a typo in the recipe I used. Buckeyes are simply peanut butter, butter, powdered sugar, and vanilla, mixed together, rolled into balls, then dipped in chocolate. Unfortunately, the recipe I used calls for twice as much powdered sugar as it should. As a result, I had to scramble and add more peanut butter and butter, and I had twice as many buckeyes as I had intended.

copy-of-img_0535

This time went more smoothly, because I knew how much powdered sugar to add. Actually, it was surprisingly easy and only a little bit tedious. The recipe still makes a good amount of buckeyes, 4 or 5 dozen, depending on how big you roll them.

copy-of-img_0539

These are certainly the most decadent of the candy recipes I made this week. I’ve always been a fan of the peanut butter and chocolate combination, so I find them a little difficult to resist. Hopefully everybody else does too, so I don’t eat them all myself!

copy-of-img_0599

Buckeyes

Makes 4 to 5 dozen

8 tablespoons (1 stick) unsalted butter, softened
1 (16-ounce) jar creamy peanut butter
1 tablespoon vanilla extract
3 cups (12 ounces) powdered sugar
16 ounces seimisweet chocolate, chopped

1. In a standing mixer fitted with paddle attachment, beat butter on medium-low speed until creamy. Add peanut butter and continue mixing until fully blended. Blend in vanilla. With the mixer on low speed, gradually add the powdered sugar. Mix on medium-low speed until fully blended. It should have the texture of very thick cookie dough.

2. Roll the peanut butter mixture into 1-inch balls, and place the balls on a parchment- or wax paper-lined baking sheet. Push a toothpick into each ball. Put the peanut butter balls in the freezer and chill until hard, at least 4 hours.

3. Melt the chocolate in a large heatproof bowl set over a saucepan of almost-simmering water, stirring occasionally, until smooth. Using the toothpick as a handle, dip each peanut butter ball in chocolate, leaving a section of peanut butter uncoated. Place chocolate covered balls on parchment or wax paper and remove the toothpick. Once the peanut butter has softened, you can use a finger to smooth over the hole from the toothpick.  Buckeyes can be stored, loosely covered, at room temperature for at least a week.

copy-of-img_0629