candied orange peel

copy-of-img_0648

I don’t usually do much baking around the holidays. I bake so much anyway, what would I possibly do with more treats? So I’m not sure what possessed me to make five types of candy (in one day!) this year. I’m blaming Jen and all of her flawless confections.

copy-of-img_0544

This candied orange peel is her recipe. I’ve made candied orange peel once before. It didn’t knock my socks off, and I kicked myself for not using Jen’s recipe.

copy-of-img_0552
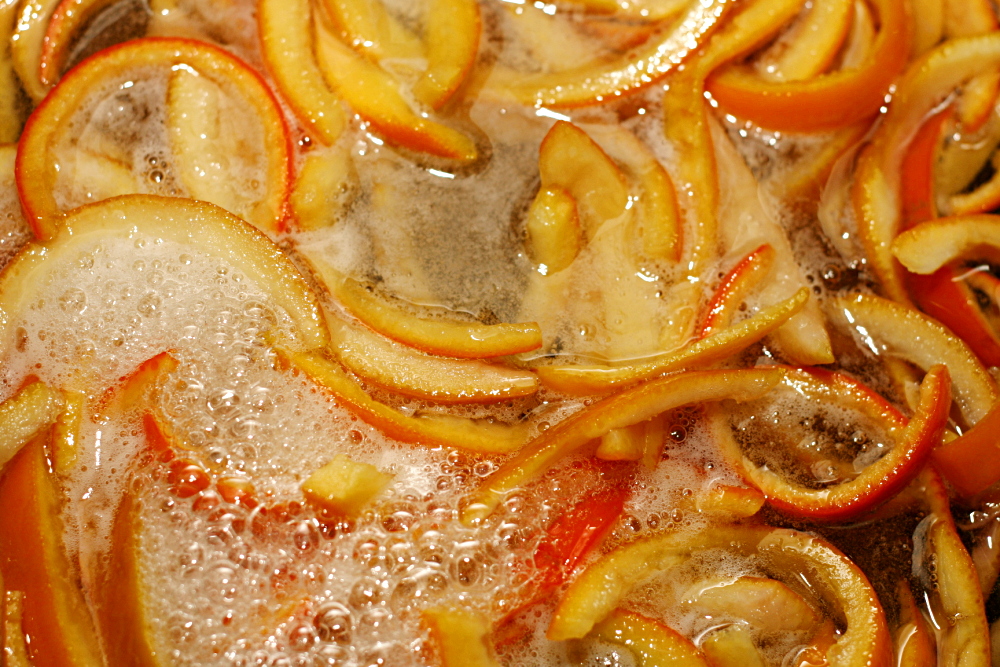
Candied orange peel, like most of the candy recipes I made yesterday, seems easy in theory but ends up involving a significant investment of time. (Or maybe it just seems that way when you wait until the last minute and have to make all of your candy recipes in one day.) Boiling the orange peel three times is no big deal, and simmering them in sugar syrup doesn’t take any effort. But juicing, cleaning, and slicing the oranges took more time and made a bigger mess than I had counted on.
copy-of-img_0553

I dipped about half of my orange peels in chocolate. The others I packaged into gift bags with some granulated sugar to (hopefully) keep them from sticking together.

copy-of-img_0595

I liked the peels far more than I was expecting. In fact, I thought at first that I was making them just for fun. I tried not to let it bother me than no one might actually eat them. But they might be my favorite of the candy recipes I made. I’m especially happy with the chocolate dipped ones. The bittersweet chocolate counters the sweetened peel so nicely. I think I’m going to go grab just one more…

copy-of-img_0600

Candied Orange (Citrus) Peel (slightly reworded from Use Real Butter)

4 oranges, peel of (or any thick skinned orange)
3 cups (21 ounces) sugar
1 cup water

1 cup (7 ounces) sugar for rolling
or
8 ounces chocolate for dipping

1. Cut the oranges in half across their equators and juice them. Cut each half in half again and take a spoon to scrape the pulp out, living a clean pith. You can remove some of the pith if you want, but it isn’t necessary because the candying process with remove (or at least overpower) the bitterness. Cut the peels into ⅛ to ¼ inch strips.

2. Place peels in a large saucepan and cover with cold water. Heat on high until water comes to a boil. Drain. Repeat heating and draining twice more.

3. Combine sugar and water in the saucepan and boil over high heat until temperature reaches 230F. Add the peels and reduce the heat to a simmer, about medium-low. Simmer until peels are translucent (30 minutes or longer).

4. Remove peels from syrup and roll in sugar if desired, and set on rack to dry for several hours. Once the peel is dry, you can dip in dark chocolate – shake off excess, and place on foil, wax paper, or baking sheet to dry. Store in a tupperware, or if not chocolate dipped, store in sugar.

copy-of-img_0623

red velvet whoopie pies

copy-of-img_0149a

These days, most things I bake turn out well. So whenever I visit my parents in Albuquerque, I’m always disgruntled by the problems I have with recipes. I don’t have enough experience adapting to the high altitude. On my most recent trip, I was frustrated when my snickerdoodles ended up flat and crispy and stuck to the pan. When I made scones the next morning, I remembered to decrease the baking powder, and they came out delicious and tender, but not quite as pretty as when I made them at my nearly sea-level apartment in Pennyslvania.

copy-of-img_0081

My mom and I saw these red velvet whoopie pies in a magazine and could not resist them. Of course we forgot to adapt the recipe for the altitude at first. Apparently (according to my mom, who has more experience with these things), reducing the butter (sacrilege!) helps, but the butter and sugar were creaming before we thought of it, so we added some extra flour and hoped for the best.

copy-of-img_0134

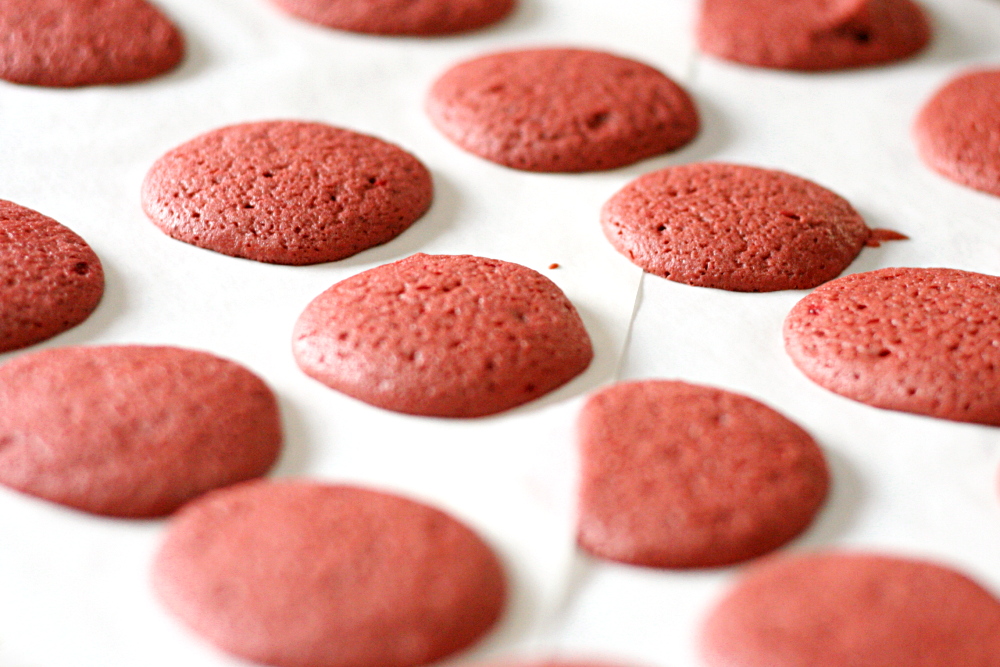
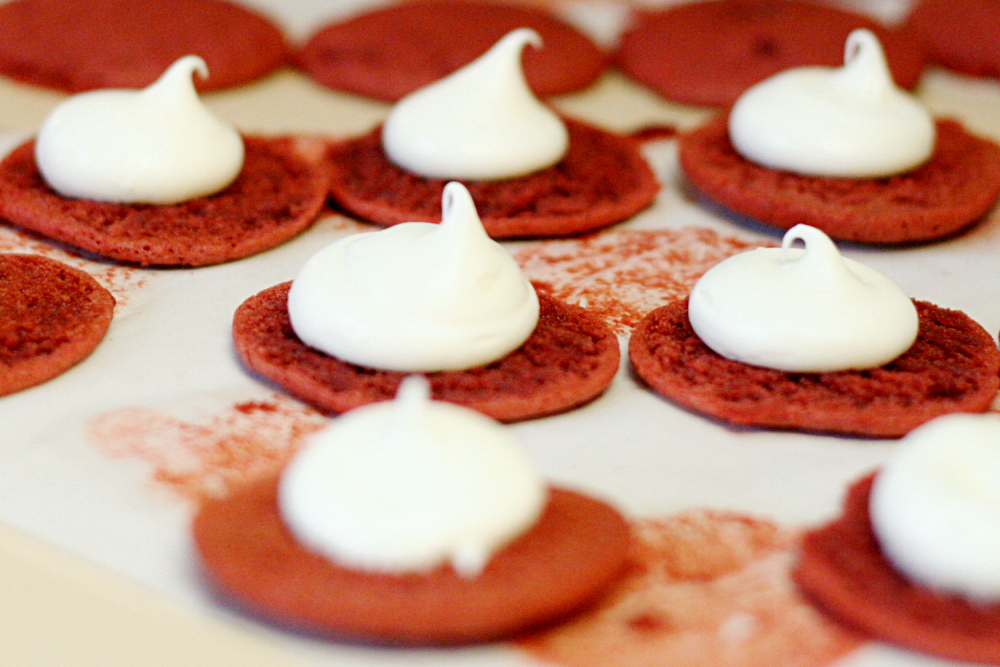
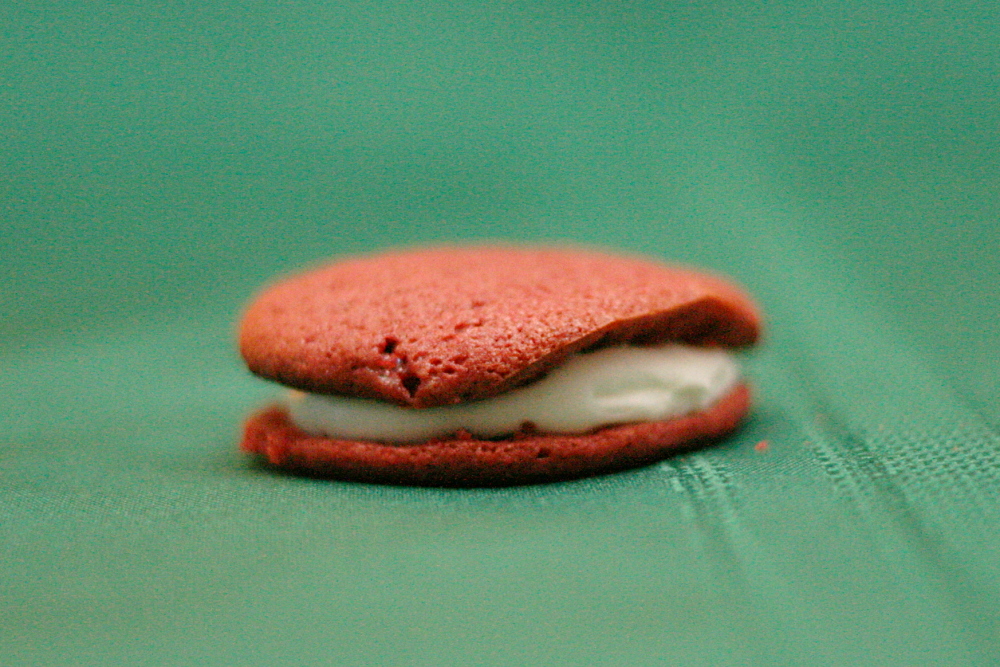
They spread too much and stuck to the parchment a little, so they’re not quite as pretty and tall as many mini whoopie pies. Don’t let that turn you away from this recipe, because they were amazing even so! The cake was tender and moist with just a touch of chocolate flavor. And I’m confident that, made at lower altitudes, the little cakes will be just as delicious, but prettier as well. And they’re sandwiching a dollop of cream cheese frosting – <drool>.

copy-of-img_0145

One year ago: Slice-a-Fancy Cookies –  My mom just made these while I was visiting.  The ingredients are so simple, but the cookies taste good.

Red Velvet Whoopie Pies (cake recipe from Better Homes and Gardens December 2008, with a little more detail; cream cheese frosting from my mom’s carrot cake recipe)

We opted for a traditional cream cheese frosting instead of the one suggested with the recipe, which used marshmallow creme.

Makes 30 sandwiches

Cake:
2 cups (9.5-10 ounces) unbleached flour*
2 tablespoons cocoa powder (not Dutch processed)
½ teaspoon baking powder
¼ teaspoon salt
8 tablespoons (1 stick) butter, softened
1 cup (7 ounces) packed light brown sugar
1 egg, preferably room temperature
1 teaspoon vanilla extract
½ cup buttermilk, preferably room temperature
1 ounce (2 tablespoons) red food coloring

Filling:
4 ounces cream cheese, softened
4 tablespoons (½ stick) butter, softened
2 cups (8 ounces) powdered sugar
½ teaspoon vanilla

1. Adjust oven rack to middle position; preheat oven to 375F. Line baking sheets with parchment paper. In medium bowl, whisk together flour, cocoa, baking soda and salt.

2. In large mixing bowl, beat butter on medium-high speed for 30 seconds, until smooth. Add brown sugar and beat until light and fluffy, about 2 minutes. With mixer at medium speed, add egg and beat until thoroughly combined, then beat in vanilla. Add about one-third of flour mixture followed by half of buttermilk mixture, mixing until incorporated after each addition (about 15 seconds). Repeat using half of remaining flour mixture and all of remaining buttermilk mixture. Scrape down sides of bowl and add remaining flour mixture; mix at medium-low speed until batter is thoroughly combined, about 15 seconds. Remove bowl from mixer and fold batter once or twice with rubber spatula to incorporate any remaining flour.

3. Spoon (or pipe) batter in 1-inch diameter rounds about ½-inch high on prepared baking sheets, allowing 1 inch between each round.

4. Bake 7 to 9 minutes, or until tops are set. Cool cookies on cookie sheets.

5. To make filling: Add cream cheese and butter to mixer bowl and beat until smooth. Gradually add powdered sugar, alternating with vanilla. Beat until smooth.

6. To fill, dollop (or pipe) cream cheese filling on flat sides of half the cookies. Top with remaining cookies, flat sides down.

To store: Refrigerate in airtight container up to 4 days. Let stand at room temperature 15 minutes before serving.

*Cooks Illustrated uses 5 ounces for 1 cup of flour, and for the last couple of years, that’s what I’ve used when making recipes that only provide volume measurements. (I never measure flour by volume for baking – I think it’s a hassle.) However, I’m coming to realize that 5 ounces for 1 cup of regular flour is pretty high. I heard somewhere that Dorie Greenspan uses 4.8 ounces. Until I figure out what I want to use for recipes that call for flour by volume, I’ll have to be wishy-washy.

copy-of-img_0150

chocolate truffles

copy-of-img_1354

You know how at the end of every month, you think to yourself some variation of “December already?! What happened to November?!” I have a trick for making the days of the month crawl by: make a commitment to write a blog entry every day for a month. Instead, you’ll be thinking “only a third of the way done? There’s still 20 more blog entries to write!” and “yes, only four more days!”

copy-of-img_1330

In all honesty though, this was a valuable experience. My primary goal of cleaning out my “To Blog” folder was achieved. But, not because everything got put into the blog. On the contrary, a lot of recipes were moved into the “Probably Not” folder. If I couldn’t find anything to say about a recipe after considering it every day for a month, it’s time to admit that it isn’t worth writing about.

copy-of-img_1334

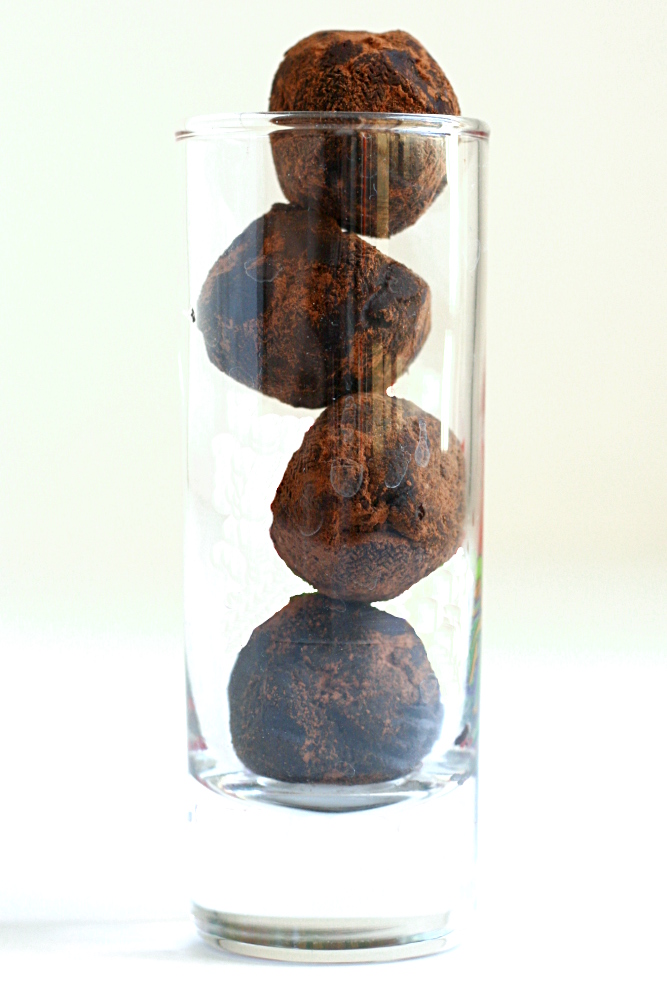
I started the month with a recipe that’s languished on my hard drive for several months before I finally blogged about it, and I’ll end it the same way. I first made Robert Linxe’s truffles in February. They were good, but what really caught my eye about the recipe was his insistence that it be made with Valrhona chocolate. I’m all about using the best ingredients that are available and affordable, but generally I think the choice of ingredients should be left up to the baker. Insisting on a certain expensive hard-to-find brand of chocolate seems unnecessarily snobby.

copy-of-copy-of-img_1328

So I set out to determine how big a factor chocolate quality really is. My plan was to get four chocolates of widely different quality and compare truffles made with each. I was thinking of using Baker’s Chocolate, Ghirardelli, Scharffen Berger, and Valrhona, or possibly using Hershey’s or Nestlé instead of the Sharffenberger. That plan did not work out. I needed to keep the bitterness of each chocolate approximately the same to make sure we were comparing chocolate brand instead of level of sweetness. That limited my options, and I ended up with the following brands – El Rey, Ghirardelli, Nestlé, Scharffen Berger. I was too lazy to make the extra trip to Williams-Sonoma for Valrhona.

copy-of-img_1335

What I found was that the favorite brand was largely a matter of personal preference. I had seven people tasting the truffles, and we discussed the differences between each as we tasted. I also found that it’s much easier to detect small differences in flavor when you’re focused completely on the food. As soon as my family decided we were done tasting and ready to just eat, I stopped paying attention to the subtle flavors of the chocolates.

copy-of-img_1358

Scharffen Berger had a fruity taste and was the favorite of my mom and brother. Ghirardelli was a little metallic at first and was more bitter than Scharffen Berger. The Nestle was similar to Ghirardelli but with a hint of fruit and a little waxiness. It was the favorite of my dad and sister. El Rey was a bit grainy and was more bitter than the others. It was Dave’s favorite, but my brother didn’t like it much. (I didn’t record my favorite or my brother-in-law’s, and this was months ago so I don’t remember. D’oh!)

Really, I think you could use any chocolate that you like. If Valrhona is your favorite, go for it, but you’ll make some delicious truffles with good ol’ Ghirardelli, or even a fancy bar of Nestlé.

copy-of-img_1365

Robert Linxe’s Chocolate Truffles (from Gourmet via Smitten Kitchen)

Makes about 60 truffles (Linxe says not to double the recipe)

I have not found that this makes anywhere near 60 truffles. I tend to make the truffles small, about ¾-inch diameter, and I only get about 30 with this recipe. I noticed some of the reviewers on epicurious had a similar result.

I skipped the 3 ounces of chocolate for the pre-cocoa coating, because I didn’t want to mix the chocolates, and I was only making ¼ of each recipe, and that would have meant I needed melt ¾ ounces of chocolate, and that sounded like a hassle.

11 ounces Valrhona chocolate (56% cacao)
⅔ cup heavy cream
Valrhona cocoa powder for dusting

Finely chop 8 ounces of the chocolate and put in a bowl.

Bring heavy cream to a boil in a small heavy saucepan. Make sure your pan is small, so you’ll lose the least amount of cream to evaporation, and heavy, which will keep the cream from scorching. Linxe boils his cream three times – he believes that makes the ganache last longer. If you do this, compensate for the extra evaporation by starting with a little more cream.

Pour the cream over the chocolate, mashing any big pieces with a wooden spoon.

Then stir with a whisk in concentric circles (don’t beat or you’ll incorporate air), starting in the center and working your way to the edge, until the ganache is smooth.

Let stand at room temperature until thick enough to hold a shape, about 1 hour, then, using a pastry bag with a 3/8-inch opening or tip, pipe into mounds (about ¾ inch high and 1 inch wide) on parchment-lined baking sheets. When piping, finish off each mound with a flick of the wrist to soften and angle the point tip. Freeze until firm, about 15 minutes.

Meanwhile, melt 3 more ounces of the same Valrhona and smear some on a gloved hand. Gently rub each chilled truffle to coat lightly with chocolate. The secret to a delicate coating of chocolate is to roll each truffle in a smear of melted chocolate in your hand. Linxe always uses gloves.

Toss the truffles in unsweetened Valrhona cocoa powder so they look like their namesakes, freshly dug from the earth. A fork is the best tool for tossing truffles in cacao. Shake truffles in a sieve to eliminate excess cacao.

Store truffles in the refrigerator.

hershey’s perfectly chocolate chocolate cake

copy-of-img_9477

It’s my blog’s first birthday. A year ago, I don’t think I knew how much having a food blog would improve my cooking. By reading other blogs, I’m constantly hearing about new methods, ingredients, and ideas. I also find that I’m forced to choose a variety of recipes from a variety of sources to keep my blog balanced. Taking photos of my food has encouraged me to think more about presentation. And being a member of Tuesdays with Dorie and the Daring Bakers has greatly increased my confidence in baking – not only because I’m baking so often, but I’m always making something new. There are far fewer tasks in the kitchen that intimidate me now compared to a year ago.

copy-of-img_9414

And I hear about other popular recipes. People often recommend Hershey’s Perfectly Chocolate Chocolate Cake when someone asks for a great chocolate cake recipe. I already have a favorite chocolate cake, and I had my doubts that the Hershey’s one could live up to it, especially because it uses cocoa as the only source of chocolate, plus it calls for oil instead of butter. Of course the only way to really figure out which is best is to eat them side by side.

copy-of-img_9466left – Hershey’s; right – Cooks Illustrated

Hershey’s Cake is certainly easier to make. The dry ingredients are mixed, some wet ingredients are added, the batter is beaten for a couple of minutes, and then boiling water is stirred in. The result was a very liquidy batter. It was weird. The Cooks Illustrated recipe is a little more complicated, but isn’t by any means difficult.

copy-of-img_9471

The cakes tasted surprisingly similar. Hershey’s is a little sweeter, but CI’s has a subtly stronger chocolate flavor. The textural differences were more noticeable. The Hershey’s cake had a crust on the top (and I pretty much guarantee that I didn’t overbake it), which I didn’t care for. Cooks Illustrated’s cake had a more even texture, and it was lighter and fluffy. You can see in the picture above that the Hershey’s cake is much denser, especially on the bottom. Both cakes were moist, but I think the Hershey’s cake was more so.

The difference between the two cakes wasn’t as dramatic as I was expecting. Both were good, although I’ll stick to the Cooks Illustrated recipe. Both make for a good blog birthday cake!

copy-of-img_9481

I’m adding a “One Year Ago” feature, copied straight from Smitten Kitchen. It seems like a great reminder for old recipes that are too good to be forgotten.

One year ago: Cream Cheese Chocolate Chip Cookies

For Cooks Illustrated’s Old-Fashioned Chocolate Layer Cake, click here.

Hershey’s “Perfectly Chocolate” Chocolate Cake (from Hershey’s Chocolate)

2 cups sugar
1¾ cups all-purpose flour
¾ cup Hershey’s cocoa
1½ teaspoons baking powder
1½ teaspoons baking soda
1 teaspoon salt
2 eggs
1 cup milk
½ cup vegetable oil
2 teaspoons vanilla extract
1 cup boiling water

1. Heat oven to 350F. Grease and flour two 9-inch round baking pans.

2. Stir together sugar, flour, cocoa, baking powder, baking soda and salt in large bowl. Add eggs, milk, oil and vanilla; beat on medium speed of mixer 2 minutes. Stir in boiling water (batter will be thin). Pour batter into prepared pans.

3. Bake 30 to 35 minutes or until wooden pick inserted in center comes out clean. Cool 10 minutes; remove from pans to wire racks. Cool completely.

chocolate chip cookie comparison

copy-of-copy-of-img_7109

Everyone is always talking about what the best chocolate chip cookie recipe is. Last year, it seemed like everyone was making the Best Big Fat Chewy Chocolate Chip Cookie. A few months ago, Cooks Illustrated’s Thick and Chewy Chocolate Chip Cookie was all the rage. These days, people are testing out the New York Times recommendation to chill the dough for 36 hours before baking.

Until recently, I stayed out of this discussion. I knew that my favorite was unpopular among food bloggers – good ol’ Tollhouse, with just a bit more flour. I’ve made it so often that I don’t bother getting out the recipe anymore. When I lived alone, I made it nearly once a week. I would eat two cookies each night with tea, and then give the rest to Dave when I saw him over the weekend. He’d eat the rest of the batch in one day.

copy-of-img_5775

But eventually, curiosity got the best of me. It was the New York Times recipe that did it. I can never seem to resist making things more complicated – a required 36 hour rest was just up my alley, right? And then once I tried one new recipe, it was like a dam opened, and suddenly I wanted to be part of this quest to find the perfect recipe.

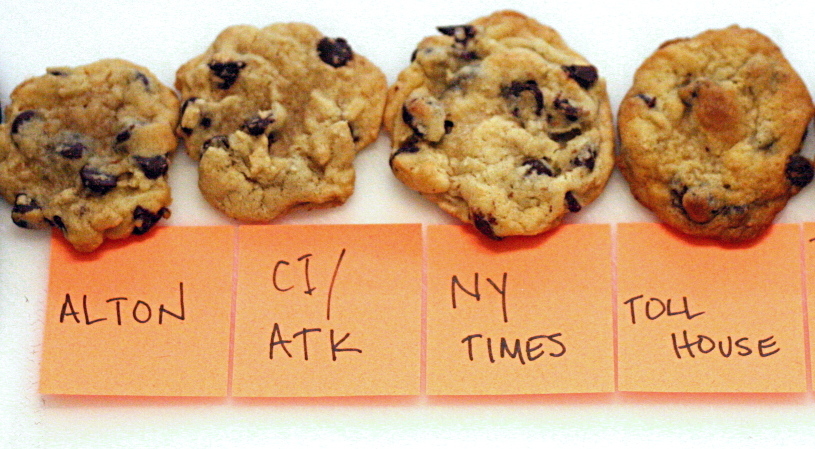
Because, let’s face it, just about all chocolate chip cookies are good (and certainly the ones I was making would be), Dave and I decided we would need to do side-by-side comparisons to discern differences between the recipes. I decided to try four of the most popular recipes – Tollhouse, NY Times, Cooks Illustrated, and Alton Brown’s The Chewy.

copy-of-img_8405

I wanted to publish this entry with conclusive results. I wanted to come to you and say “This recipe is the one you should make. It is the best. The most butterscotchy, the most tender, the best dough, the most fun to bake.” I wanted to let you know unequivocally that the overnight rest was or was not important.

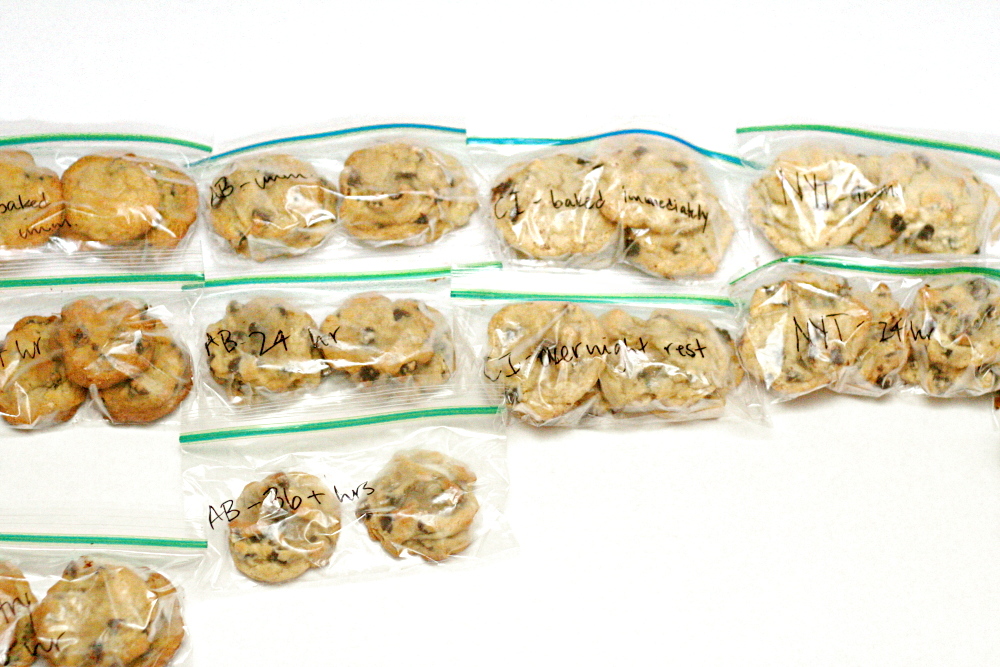
But I just don’t think it’s going to happen. The more cookies I eat, the more indecisive I get. I even made each recipe again, hoping to try again with fresh cookies. (Thank god for BakingGALS.) I had bags and bags of carefully labeled cookies in my freezer. It’s out of control. It’s time to stop the insanity and tell you what I did learn from this.

copy-of-img_7103

Regarding the overnight rest – it certainly doesn’t hurt, and I find it pretty convenient actually. You can bake one cookie sheet of cookies at a time, and you have fresh cookies every night. (You also have dough in the fridge available at all times, and I have no self-control.) Does it make a difference? Maybe. I think it gives cookies a more pronounced butterscotch flavor, and sometimes I think it helps even out the texture. But it’s pretty subtle.

copy-of-img_5082

Of the four recipes, Dave and I had two favorites, and the bake-off between those two was inconclusive.

My favorite was Alton Brown’s The Chewy. I am, sadly, not kidding when I say that I ate ten of these the first time I made them. <blush> Self-control-wise, I’m usually pretty good with cookies once they’re baked. This must have been a bad morning. It had a great butterscotch flavor, and a nice soft texture – tender without being too chewy or crisp. However, Dave had a few complaints about them being greasy, and I see his point, although I’m not bothered by this as much.

copy-of-img_5086

We were also very fond of the New York Times recipe. It was soft, with just a bit of crispness to the edges, which I like. However, they were a little dry and bready, and didn’t have as much flavor as Alton’s. They definitely weren’t greasy though.

I definitely wanted to like Cook Illustrated’s Thick and Chewy recipe. Over and over, I hear people say that it’s their absolute favorite, and usually I love CI. But not this time. These took chewy to the extreme. It was like cookie flavored bubble gum, although the cookie flavor was weak. I made them again, convinced that I must have done something wrong the first time, but I still couldn’t get excited about these cookies.

copy-of-img_8409

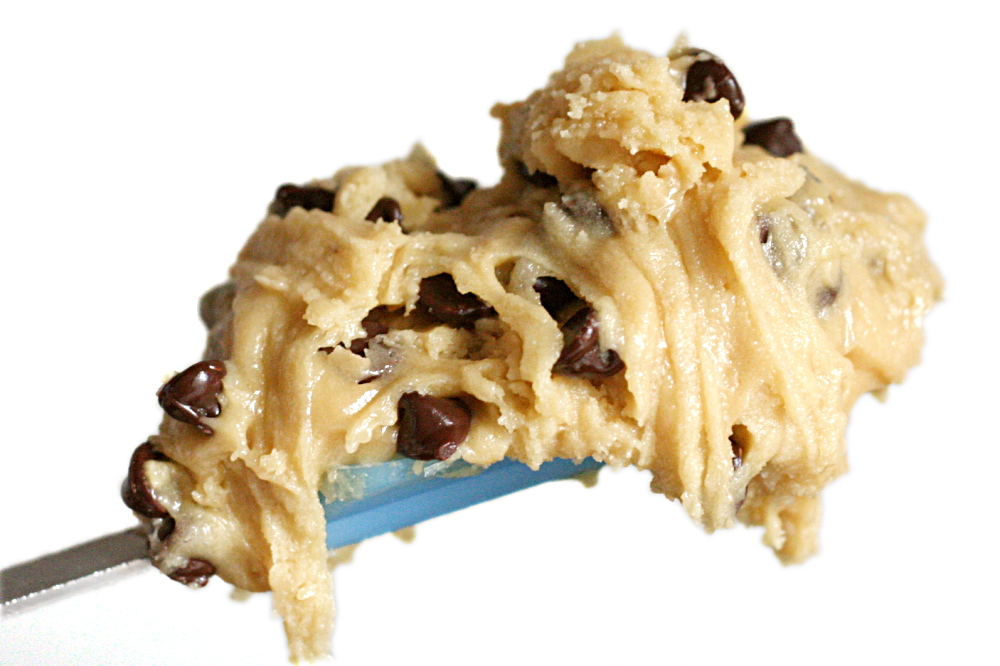
Dave wasn’t a fan of the Tollhouse cookies at all – too greasy, he says. I still like their flavor, which is intensely buttery. I also like the crispy edges and tender middles. But they could definitely benefit from some extra flour (which is how I made them for years, but I followed the recipe exactly this time).

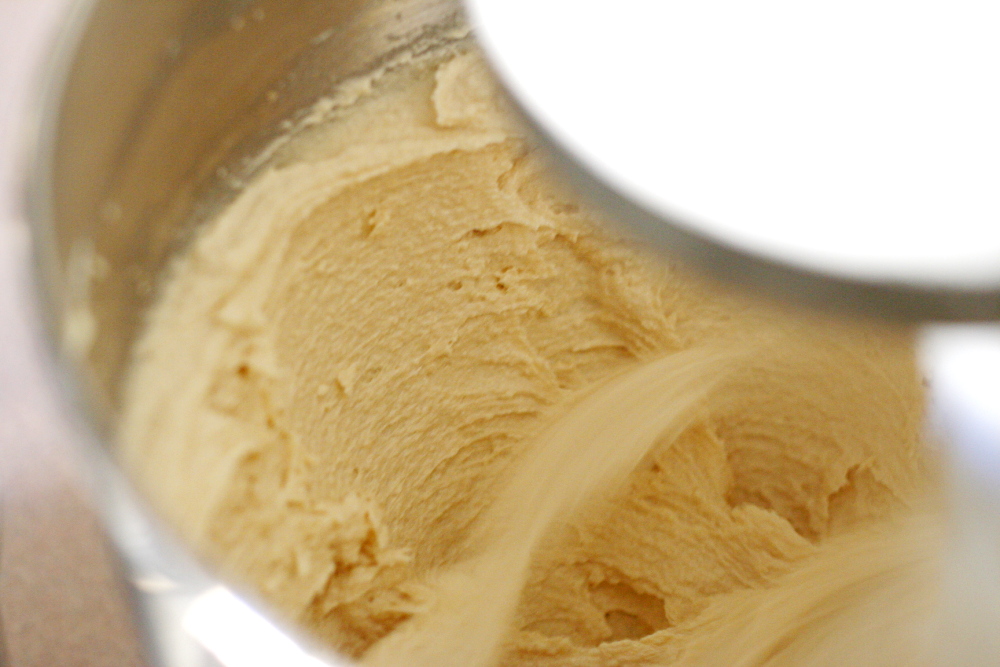
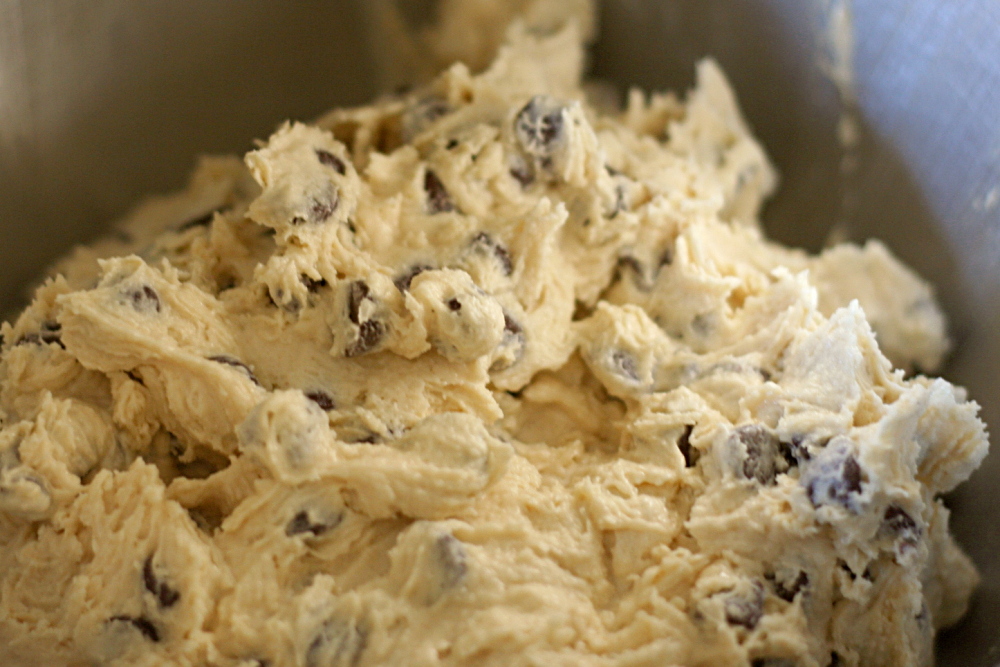
This shouldn’t be, but is, an issue to consider as well – the doughs made from melted butter (Alton’s and CI’s) were not nearly as good as those made from softened butter. That’s sad. Tollhouse’s dough is the best, but NY Time’s is nothing to scoff at. The NY Times recipe is the most fun to make – lots of mixer use with that one.

copy-of-img_8417

I wish I could provide a solid answer to the “which is best” chocolate chip cookie question, but I’m not sure it’s that easy. For one thing, every one has their own preferences – I only had two testers and we couldn’t agree! However, keep in mind that chocolate chip cookies are pretty much always good. Any of these recipes will give you something delicious. But if I have to recommend one, it would be Alton Brown’s The Chewy.

copy-of-copy-of-img_5789

Since this original post, I have also made Cooks Illustrated’s Perfect Chocolate Chip Cookies.

The Chewy (from Alton Brown)

2 sticks unsalted butter
2¼ cups bread flour
1 teaspoon kosher salt
1 teaspoon baking soda
¼ cup sugar
1¼ cups brown sugar
1 egg
1 egg yolk
2 tablespoons milk
1½ teaspoons vanilla extract
2 cups (12 ounces) semisweet chocolate chips

Hardware:
Ice cream scooper (#20 disher, to be exact)
Parchment paper
Baking sheets
Mixer

Heat oven to 375F.

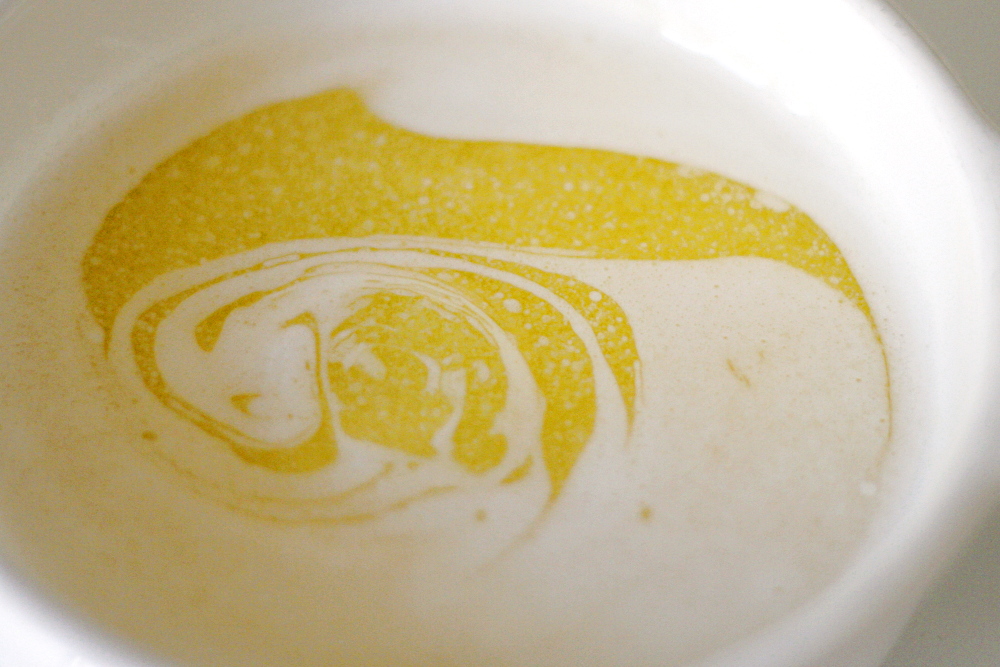
Melt the butter in a heavy-bottom medium saucepan over low heat. Sift together the flour, salt, and baking soda and set aside.

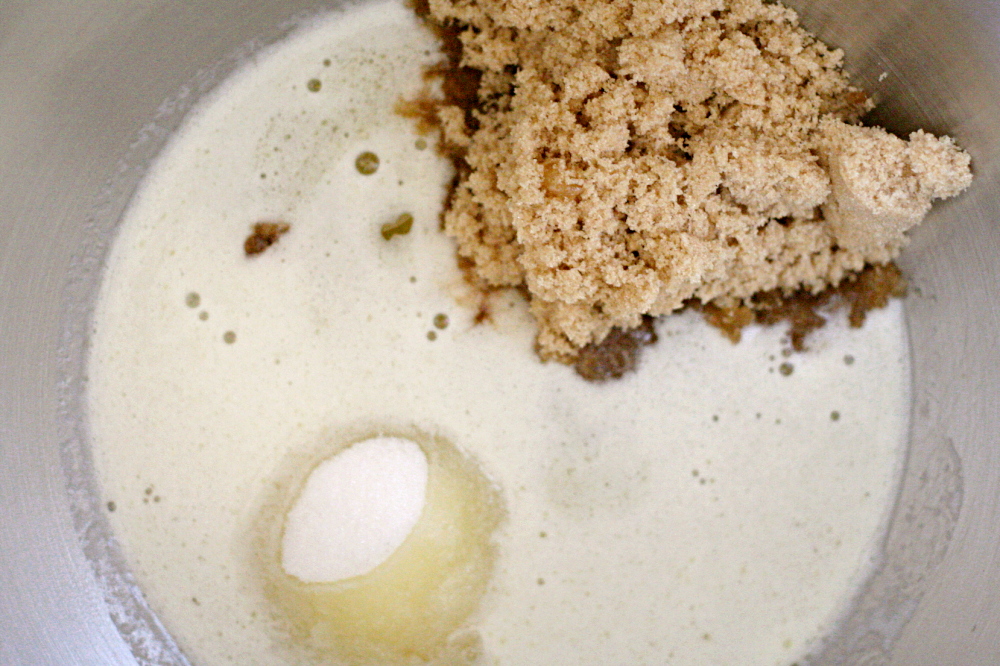
Pour the melted butter in the mixer’s work bowl. Add the sugar and brown sugar. Cream the butter and sugars on medium speed. Add the egg, yolk, 2 tablespoons milk and vanilla extract and mix until well combined. Slowly incorporate the flour mixture until thoroughly combined. Stir in the chocolate chips.

Chill the dough, then scoop onto parchment-lined baking sheets, 6 cookies per sheet. Bake for 14 minutes or until golden brown, checking the cookies after 5 minutes. Rotate the baking sheet for even browning. Cool completely and store in an airtight container.

Chocolate Chip Cookies (from the New York Times)

1½ dozen 5-inch cookies.

2 cups minus 2 tablespoons (8½ ounces) cake flour
1⅔ cups (8½ ounces) bread flour
1¼ teaspoons baking soda
1½ teaspoons baking powder
1½ teaspoons coarse salt
2½ sticks (1¼ cups) unsalted butter
1¼ cups (10 ounces) light brown sugar
1 cup plus 2 tablespoons (8 ounces) granulated sugar
2 large eggs
2 teaspoons natural vanilla extract
1¼ pounds bittersweet chocolate disks or fèves, at least 60 percent cacao content
Sea salt

1. Sift flours, baking soda, baking powder and salt into a bowl. Set aside.

2. Using a mixer fitted with paddle attachment, cream butter and sugars together until very light, about 5 minutes. Add eggs, one at a time, mixing well after each addition. Stir in the vanilla. Reduce speed to low, add dry ingredients and mix until just combined, 5 to 10 seconds. Drop chocolate pieces in and incorporate them without breaking them. Press plastic wrap against dough and refrigerate for 24 to 36 hours. Dough may be used in batches, and can be refrigerated for up to 72 hours.

3. When ready to bake, preheat oven to 350 degrees. Line a baking sheet with parchment paper or a nonstick baking mat. Set aside.

4. Scoop 6 3½-ounce mounds of dough (the size of generous golf balls) onto baking sheet, making sure to turn horizontally any chocolate pieces that are poking up; it will make for a more attractive cookie. Sprinkle lightly with sea salt and bake until golden brown but still soft, 18 to 20 minutes. Transfer sheet to a wire rack for 10 minutes, then slip cookies onto another rack to cool a bit more. Repeat with remaining dough, or reserve dough, refrigerated, for baking remaining batches the next day. Eat warm, with a big napkin.

Thick and Chewy Chocolate Chip Cookies (from Cooks Illustrated)

Makes 1½ dozen 3-inch cookies

CI note: These truly chewy chocolate chip cookies are delicious served warm from the oven or cooled. To ensure a chewy texture, leave the cookies on the cookie sheet to cool. You can substitute white, milk chocolate, or peanut butter chips for the semi- or bittersweet chips called for in the recipe. In addition to chips, you can flavor the dough with one cup of nuts, raisins, or shredded coconut.

2⅛ cups bleached all-purpose flour (about 10½ ounces)
½ teaspoon table salt
½ teaspoon baking soda
12 tablespoons unsalted butter (1½ sticks), melted and cooled slightly
1 cup brown sugar (light or dark), 7 ounces
½ cup granulated sugar (3½ ounces)
1 large egg
1 large egg yolk
2 teaspoons vanilla extract
1-2 cups chocolate chips or chunks (semi or bittersweet)

1. Heat oven to 325F. Adjust oven racks to upper- and lower-middle positions. Mix flour, salt, and baking soda together in medium bowl; set aside.

2. Either by hand or with electric mixer, mix butter and sugars until thoroughly blended. Mix in egg, yolk, and vanilla. Add dry ingredients; mix until just combined. Stir in chips.

3. Form scant ¼ cup dough into ball. Holding dough ball using fingertips of both hands, pull into two equal halves. Rotate halves ninety degrees and, with jagged surfaces exposed, join halves together at their base, again forming a single cookie, being careful not to smooth dough’s uneven surface. Place formed dough onto one of two parchment paper-lined 20-by-14-inch lipless cookie sheets, about nine dough balls per sheet. Smaller cookie sheets can be used, but fewer cookies can be baked at one time and baking time may need to be adjusted. (Dough can be refrigerated up to 2 days or frozen up to 1 month – shaped or not.)

4. Bake, reversing cookie sheets’ positions halfway through baking, until cookies are light golden brown and outer edges start to harden yet centers are still soft and puffy, 15 to 18 minutes (start checking at 13 minutes). (Frozen dough requires an extra 1 to 2 minutes baking time.) Cool cookies on cookie sheets. Serve or store in airtight container.

Original Nestle Toll House Chocolate Chip Cookies (slightly adapted)

Makes 60 cookies

2¼ cups all-purpose flour
1 teaspoon baking soda
1 teaspoon salt
1 cup (2 sticks) butter, softened
¾ cup granulated sugar
¾ cup packed brown sugar
1 teaspoon vanilla extract
2 large eggs
2 cups (12-ounces) chocolate chips

Preheat oven to 375° F.

Combine flour, baking soda and salt in small bowl. Beat butter, granulated sugar, brown sugar and vanilla extract in large mixer bowl until creamy. Add eggs, one at a time, beating well after each addition. Gradually beat in flour mixture. Stir in morsels. Drop by rounded tablespoon onto ungreased baking sheets.

Bake for 8 to 11 minutes or until golden brown. Cool on baking sheets for 2 minutes; remove to wire racks to cool completely.

rugelach

copy-of-img_8773

The closest I’ve ever come to making, or even eating, rugelach is spreading jam on scraps of pie dough, rolling them up, sprinkling them with sugar, and baking them. So pretty close actually. Except that it never occurred to me to add chocolate, so I’ve been missing out.

copy-of-copy-of-img_8728

Dave loves jam+scraps of dough, so I was confident that he’d enjoy these. I was right, and he was not pleased when I sent the first batch to a soldier in Iraq. That gave me a great reason to make them again, with a few changes I had in mind.

copy-2-of-copy-of-img_8741

Dorie practically insists that we play with the filling recipe, so I took it upon myself to do so. For the first batch I followed the recipe exactly, and it was no bad thing. However, they were, if such a thing is possible, too chocolately. Not that they weren’t still delicious, but I happened to know that I added all sorts of other tasty things in the filling, and I wanted to taste all of it!

copy-of-img_8761

For the second batch, I cut the chocolate in half and reduced the jam a little, since so much of it oozed out from the first batch. And in a weird reversal, after months of replacing Dorie’s raisins with other dried fruit, I ran out of currants and substituted raisins. Still good. So many flavors playing along nicely together.

copy-of-img_8770

The recipe, chosen for TWD, can be found on Grace’s site. Changes I made include cutting the amount of chocolate in half, reducing the jam to ½ cup, and increasing the cinnamon to ¾ teaspoon. I also found that it was best to cut the dough into triangles before adding the chunks of chocolate, which blocked my pizza cutter when I added it before cutting.

copy-of-img_8767

dorie’s chocolate cupcakes

I was excited all day about baking the chocolate cupcakes that Clara chose for TWD. I almost always look forward to baking, but I was downright giddy this time. With the variety of desserts I make lately, I guess I forgot that classic chocolate cake is my favorite!

Clara also suggested that we decorate these for Halloween. Ack…even simple cake decorating inevitably ends up as a huge mess for me, and I’m incapable of making things easy on myself. My six little cupcakes required four colors of frosting, one of which I didn’t actually have food coloring for (orange – I had to mix yellow and red) and another that involved chocolate (black – to give it a head start toward being dark enough). And I am far from an expert cake decorator, so my design options were limited to the few piping tips that I know how to use properly.

The cake itself was a little disappointing. I was getting worried that I would start to sound like a Negative Nellie when it comes to Dorie’s recipes, but this time it seems that a lot of people ended up with dry cupcakes that were a little too tame in chocolate flavor. Not that they were inedible or anything, but Dave and I didn’t need a side-by-side comparison to recognize that we like my other recipe a lot more. One nice thing, since it took a few days for us to eat all of them, was that these seemed to get denser and fudgier with time instead of tasting stale.

Whether I think it’s the best chocolate cake ever or not, I’m always happy to eat cupcakes. I made my favorite Easy Vanilla Buttercream instead of Dorie’s ganache frosting since I needed something that would pipe well. To check out Dorie’s recipe, go to Clara’s blog.

caramel peanut-topped brownie cake

I have a hard time believing that anyone who owns Dorie’s Baking book has flipped past the photo of this cake without their mouth watering at least a little. When most recipes for TWD are announced, I have to look them up to get an idea of what we’ll be making. But when Tammy chose this cake, I could picture exactly what it was. Dark chocolate cake with peanuts and dripping caramel is hard to ignore.

Although I think my 4-inch diameter springform is ridiculously cute, I wish the sides were a little higher. A 4-inch diameter circle has exactly one quarter the area of an 8-inch diameter circle, but my pan can’t fit one quarter of the batter because the sides are about an inch shorter. Plus I actually made a third of the recipe, not a quarter. The batter didn’t seem like it filled the pan very much, but it rose higher than I was expecting.

It did rise higher than the sides of the pan, but fortunately it didn’t spill over. I managed to overcook the cake part somehow, which is a bummer because a brownie-type cake had the potential to be amazing. It was still good, but definitely too dry.

The caramel portion of this recipe went smoothly for me, which was a relief because I hadn’t worked with caramel since the debacle with the filbert cake. Plus, Dorie specifically says that it’s difficult to work with less sugar than the recipe calls for, but I only made a third of the recipe anyway.

Before adding the peanut caramel topping, I carved off the top somewhat burned part of the cake. I didn’t put the cake back into the springform ring before adding the caramel – since my cake was higher than the sides anyway, I don’t think it would have made a difference. However, I can see why she recommends doing so – it gives the caramel a chance to set a little, so it doesn’t all drip down the sides and pool on the plate.

Even with overcooked cake and drippy caramel, this was a fun dessert. The ratio of caramel to peanut to cake was spot on. The cake was nice and chocolately, and the high rise made it attractively tall. For the recipe, go to Tammy’s blog.

chocolate chunkers

Just about every week, I’m reminded of why I enjoy being a member of TWD so much. The Chocolate Chunkers Claudia chose this week are no exception. I am always impressed by Dorie’s creativity.

That being said, Dorie and I do often differ on taste preferences. For example, what is with all the raisins? She puts them in everything. I do not approve. Also, peanuts. I like them, but I rarely want them in dessert. Also, this phrase: “You’ll have more crunchies than dough.” But…I love dough. Even more than crunchies.

This recipe is far more involved than my normal cookie recipes. It has quite the substantial ingredient list, and a good number of those ingredients need to be prepped in some way. At least I was able to use up my little-bits-of-leftover-chocolate stash.

She doesn’t call these “chunkers” for nothing. More crunchies than dough indeed. There’s just enough of the brownie-like batter to hold the mix-ins together. But – it works. Yes, I’d rather have a plain, rich, moist, perfect brownie, but for something super-fun and different, I like these cookies.

Claudia has the recipe posted. I substituted dried cherries (which I chopped up a bit) for the raisins and walnuts (not toasted, but they should have been) for the peanuts.

chocolate whopper malted drops (twd)

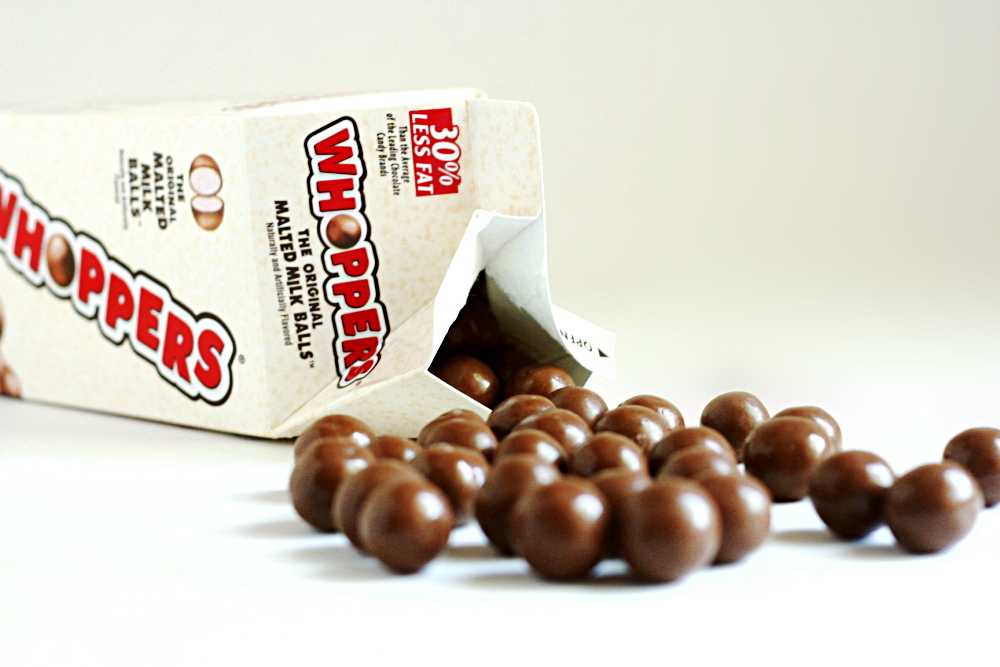
The Whopper cookies that Rachel chose for TWD are such a fun idea, and I think you’d be hard-pressed to find a recipe like this from any other source. With cocoa and malted milk powder in the dough and chopped Whoppers and chocolate chips as mix-ins, this recipe is pure Dorie.

It became clear to me right off the bat that chopping something as small and perfectly spherical as Whoppers would drive me to distraction. So instead, I dumped them in the food processor. It was risky, because food processors are far better at pulverizing than chopping, but it seemed worth it.

I was a little worried by the texture of the cookies right after they came out of the oven, because they seemed gummy. Had my partially powdered Whoppers ruined an entire batch of cookies? Fortunately, they improved greatly once they cooled, becoming pleasantly chewy and rich.

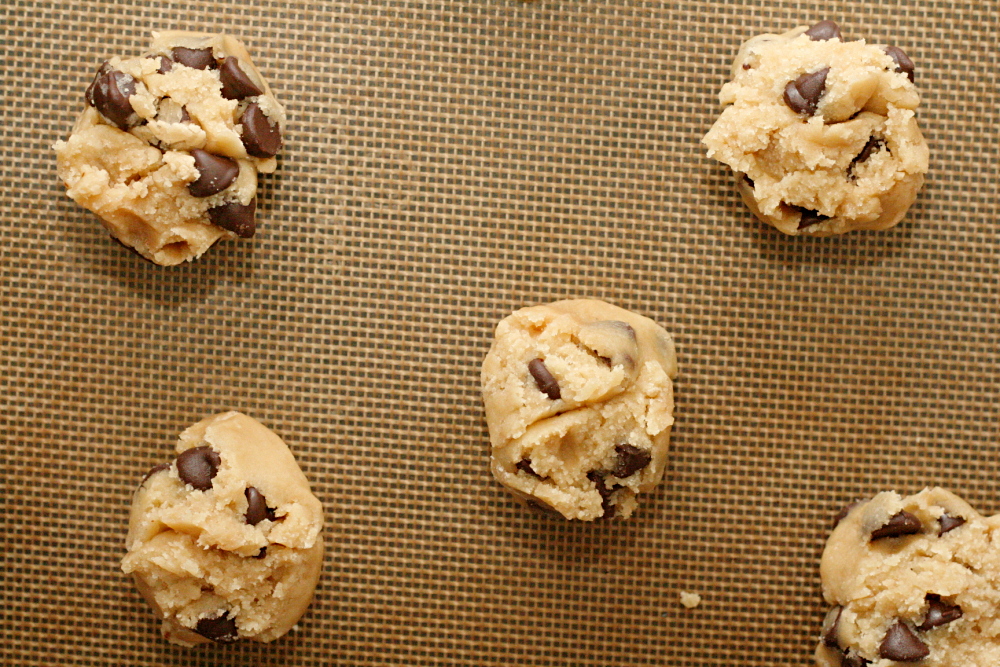
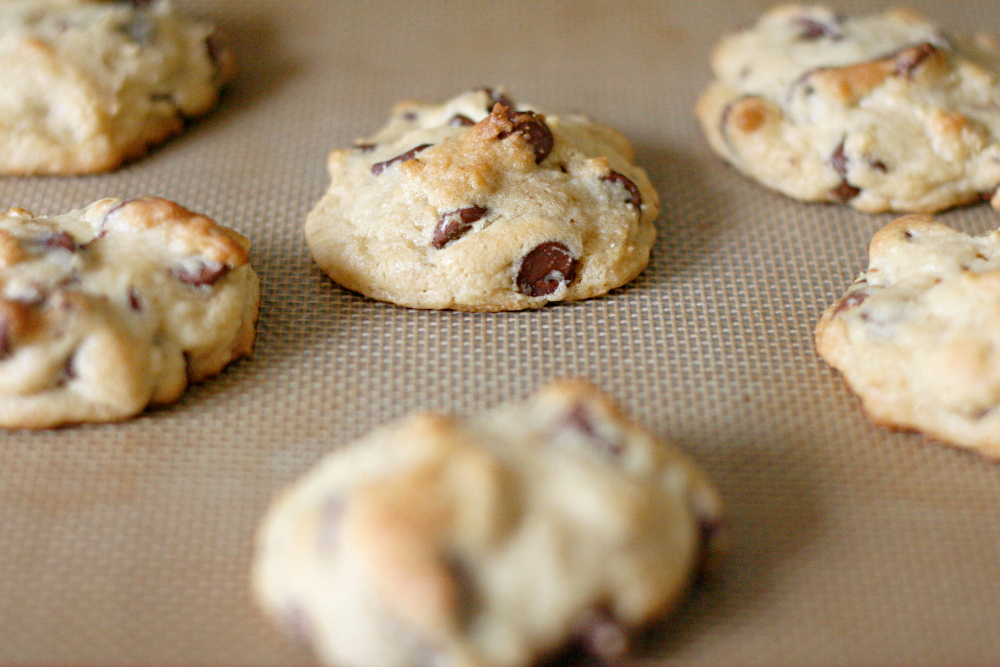
I compared batches baked right after the dough was made and baked the next day. Dave and I agreed that the batch chilled overnight was oh-so-slightly chewier with a more even texture, but that the difference was so subtle that the wait wasn’t worth it.

I thought it was a fun cookie – definitely a different idea, and a good one. Dave said they were nice, but not thrilling. Damned by faint praise.

Rachel has the recipe in her blog.