lemon meringue cake

Copy of IMG_7956

“I’m gonna go torch my birthday cake. Do you want to watch?”

It was late and I was crabby, so I thought I would get more of a reaction. But apparently I’d already shown Dave a picture of the cake I was planning to make for my birthday, so he knew exactly what I was talking about.
Copy of IMG_7926

Yes, I made my own birthday cake. Bakers are often disappointed on their birthday when no one offers to make them a cake. I might feel this way if I had plenty of opportunities to bake cakes for other people, but most of my baking is limited to what Dave and I can eat within a few days. For cakes, that means making a few cupcakes at a time. Having an opportunity to say (emphatically) screw that and just make a damn layer cake is rare. My birthday is one, and I take advantage of it.
Copy of IMG_7931

Of course, you have to take that with a grain of salt, because someone does make me a birthday cake every year, although how close that happens to my birthday is a crapshoot. I usually see my family once during the summer, and if it’s within about a month of my actual birthday, we’ll celebrate then, and whoever’s house we’re at will make a cake. (Last year, it was my brother, and when he asked me what kind of cake I wanted, he was sure to specify “a basic cake, not a four-hour project.”) When I visited my family a few weeks ago, my mom satisfied my chocolate craving with a chocolate cake with raspberry filling. That left me free to try something more adventurous.
Copy of IMG_7939

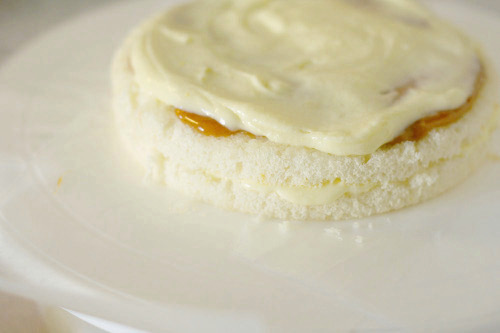
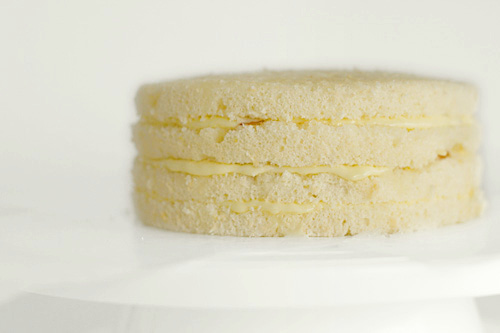
Tartine’s lemon meringue cake is a lemon chiffon cake brushed with lemon syrup and layered with caramel and lemon cream, then topped with meringue and torched. (“Four-hour project” is optimistic.) After making lemon cream last year, I was pretty sure I wouldn’t be making it again – it’s lemon-flavored butter. But it’s my birthday, and I say again, screw that. Mark made this cake recently and assured me I wouldn’t have any problems.
Copy of IMG_7944

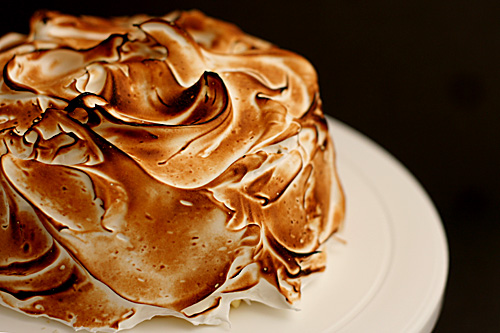
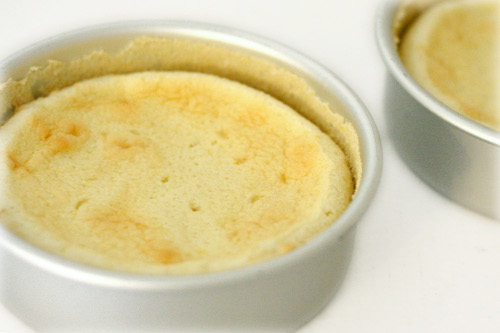
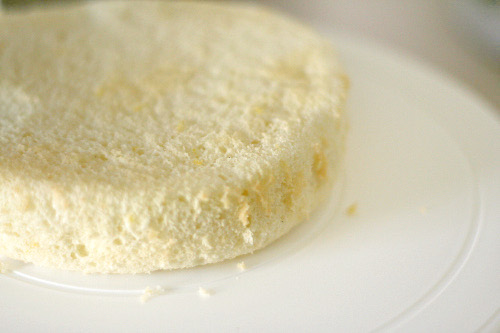
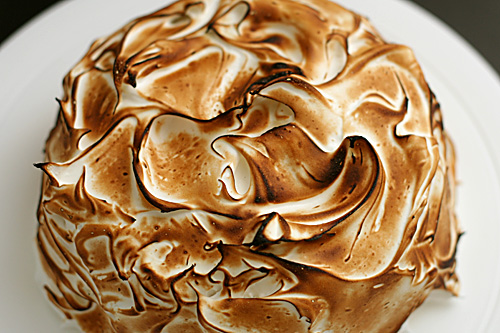
And I didn’t have any big problems. The cake sank quite a bit after baking, so I probably underbaked it. Then I overcooked the caramel a little, so it hardened too much. And I underbeat the lemon cream because I was too lazy to wash my blender and I left the immersion blender I got for my birthday at my parents’ house. (Gah!) Nothing ruined the cake though, and anyway, do you see those perfectly browned peaks?! I’m such a rockstar. (It’s my birthday and I’ll brag if I want to.)

Copy of IMG_7948

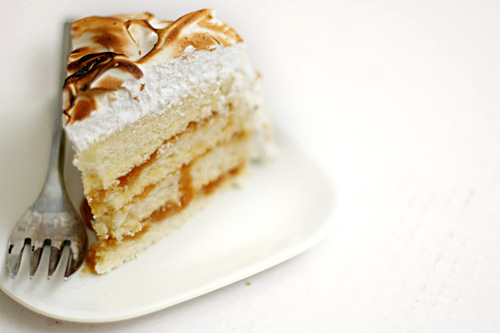
Hot damn, that’s a delicious cake. Yes, the cake part is too dense – I’m a chronic underbaker. But the lemon cream remained stable, and the caramel softened up nicely.
Copy of IMG_7953

The caramel, at first blush, stands out as a decidingly non-lemon component of this lemon cake. But the flavor was somehow remarkably complimentary. And I’d forgotten how much I love the feeling of meringue bubbles popping in my mouth. In the end, the cake is neither overbearingly citrusy nor overbearing sweet. (Um, at least I thought so – Dave couldn’t eat his without tea.) It was a wonderful at-least-four-hour already-got-my-chocolate-fix birthday cake project.
Copy of IMG_7982

One year ago: Fried Egg and Sausage Ciabatta Breakfast Pizzas

Lemon Meringue Cake (from Tartine, by Elisabeth Pruett and Chad Robertson)

Makes a 10-inch round cake

I made ⅓ of this recipe and divided the batter between two 6-inch pans. I cut each layer in half to create 4 even layers. Mark has the recipe amounts for an 8-inch cake.

Chiffon Cake:
2¼ cups (11.25 ounces) all-purpose flour
2 teaspoons baking powder
1½ cups (10.5 ounces) sugar
¾ teaspoon salt
½ cup vegetable oil
6 large egg yolks, at room temperature
½ cup water
¼ cup lemon juice
1½ teaspoon grated lemon zest
10 large egg whites, at room temperature
¼ teaspoon cream of tartar

Preheat the oven to 325F. Line the bottom of a 10-inch cake or springform pan with 3-inch sides with parchment paper cut to fit exactly; don’t grease the pan.

Sift together the flour and baking powder into a large mixing bowl. Add 1¼ cups (8.75 ounces) of the sugar and the salt and whisk to combine. In a small bowl, whisk together the oil, egg yolks, water, lemon juice, and lemon zest. Make a well in the flour, add the yolk mixture, and then whisk thoroughly and quickly for about 1 minutes until very smooth.

In another large mixing bowl, beat the egg whites until frothy, then add the cream of tartar and beat on medium-high speed until it holds soft peaks. Add the remaining ¼ cup (1.75 ounces) sugar slowly while beating on medium-high speed until the whites hold firm, shiny peaks. Add a third of the egg whites and fold into the yolk mixture to lighten, then fold in the rest of the whites until just combined.

Pour the batter into the pan, smoothing the top if necessary. Bake until a toothpick inserted in the center comes out clean, about 45-55 minutes. Let cool in the pan on a wire rack. Once completely cool, run a thin knife around the sides of the pan to loosen the cake an then release and lift off the pan sides. Invert the cake and peel off the parchment.

Caramel:
⅔ cup heavy cream
¼ vanilla bean
1¼ cup (8.5 ounces) sugar
¼ cup water
¼ teaspoon salt
2 tablespoons light corn syrup
¾ teaspoon lemon juice
4 tablespoons unsalted butter

Pour the cream into a small, heavy saucepan. Split the vanilla bean in half lengthwise and use the tip of a sharp knife to scrape the seeds from the pod halves into the milk. Place over medium-high heat and bring to just under a boil, stirring occasionally. Reduce the heat to low to keep the cream warm.

In a medium, heavy saucepan, combine the sugar, water, salt, and corn syrup. Bring to a boil over medium heat, stirring to dissolve the sugar. Then cook, without stirring, until the mixture is amber colored, 5 to 8 minutes. Remove from the heat.

The mixture will continue to cook off the heat and become darker, so make sure to have your cream close by. Carefully and slowly add the cream to the sugar syrup. The mixture will boil vigorously at first. Let the mixture simmer down, and then whisk until smooth. Add the lemon juice. Let cool for about 10 minutes.

Cut the butter into 1-inch chunks and add to the caramel one at a time, whisking constantly after each addition. Then whisk the caramel periodically as it continues to cool.

Lemon Cream:
½ cup + 2 tablespoons lemon juice
3 large eggs
1 egg yolk
¾ cup (6 ounces) sugar
pinch salt
16 tablespoons (8 ounces) unsalted butter

In a heatproof bowl set over a saucepan of simmering water, combine the lemon juice, eggs, yolk, sugar, and salt (make sure the bottom of the bowl doesn’t touch the water). Whisk them together constantly until very thick, or 80°C (180°F) on an instant-read thermometer. Remove from the heat and let it cool down until warm to touch (60°C or 140°F on a thermometer). Place the lemon cream in a blender and with the motor running, add the butter in small pieces. Allow to cool completely. (You may refrigerate it, but allow to come to cool room temperature before using.)

Lemon Syrup:
⅓ cup water
⅓ cup (2.5 ouncs) sugar
⅓ cup lemon juice

In a nonreactive saucepan, combine the sugar and water and bring to a boil over medium heat. Transfer to a cool bowl, let cool for a bit, then chill for half an hour. Stir in the lemon juice.

Assembly:
Split the chiffon cake horizontally into four equal layers. Place one layer on your serving plate (which I lined with wax paper around to cake) and moisten evenly with ¼ of the lemon syrup. Spread ⅓ of the caramel over the cake, then ⅓ of the lemon cream. Repeat with 2 more layers, using up the remaining caramel and lemon cream. Top with the fourth cake layer and moisten with the remaining lemon syrup. Cover the cake completely with plastic wrap and refrigerate for at least four hours or overnight.

Swiss Meringue:
7 egg whites
1¾ cup (12.25 ounces) sugar
pinch of salt

In a heatproof bowl over a pan of simmering water, combine the egg whites, sugar, and salt and whisk until the whites are hot to the touch, about 120F, about 5 minutes. Beat on high speed until the mixture is very thick and holds stiff, glossy peaks.

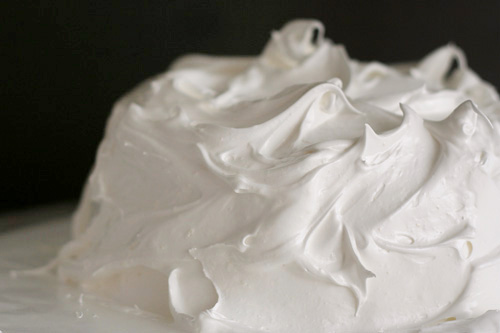
Unmold the cake and spread the meringue all over. Use a spatula or a spoon to create dramatic swirls. Using a propane torch if available, scorch the meringue, blackening the tips and swirls.
Copy of IMG_7957

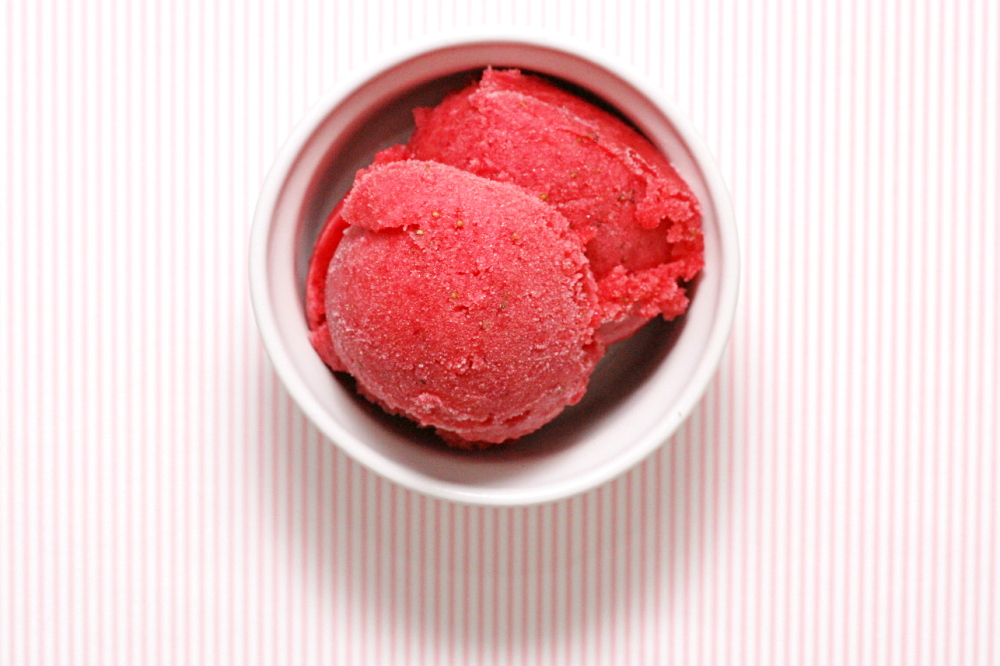
strawberry lemon sorbet

copy-of-img_5483

I think I’ve developed a warped sense of nutrition. For the most part, I maximize fruits and vegetables, minimize carbs, focus on lean, usually vegetarian proteins, and avoid alcohol. But this all gets thrown out the window on the weekends, when all I do is try not to overeat and hopefully get some fiber at some point. Oh, and then there’s dessert, which I eat every day.

copy-of-img_5180

I do not skip dessert. I try to control portion sizes of course, but I recognize that this is an indulgence that’s important to me and I’m willing to make other sacrifices (i.e., alcohol on weekdays) to account for it. But somewhere along the way I’ve tricked myself into thinking that as long as something doesn’t have loads of butter in it, it must be healthy.

copy-of-img_5185

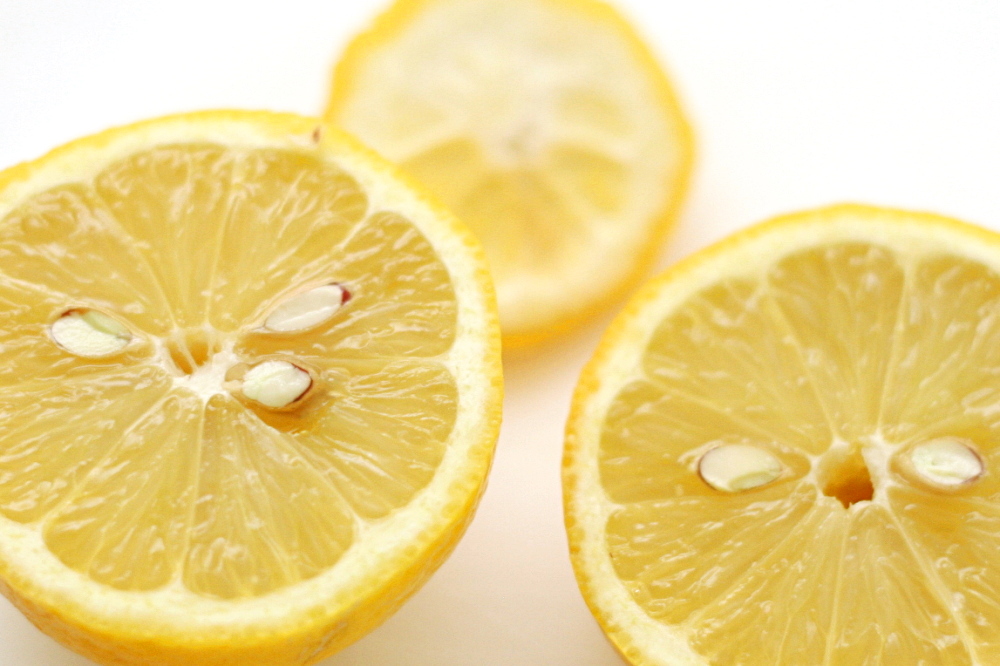
That means that I’m under the impression that this sorbet isn’t just “not so bad”, but it’s downright good for me! Pureed strawberries! A whole lemon! …2 cups of sugar? Oh well.

copy-of-img_5192

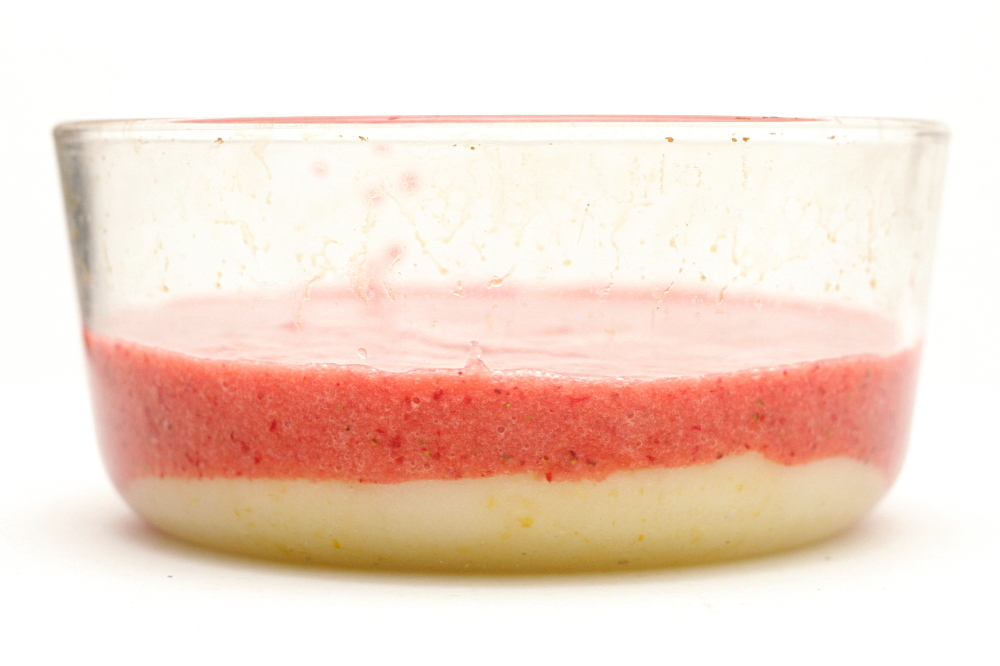
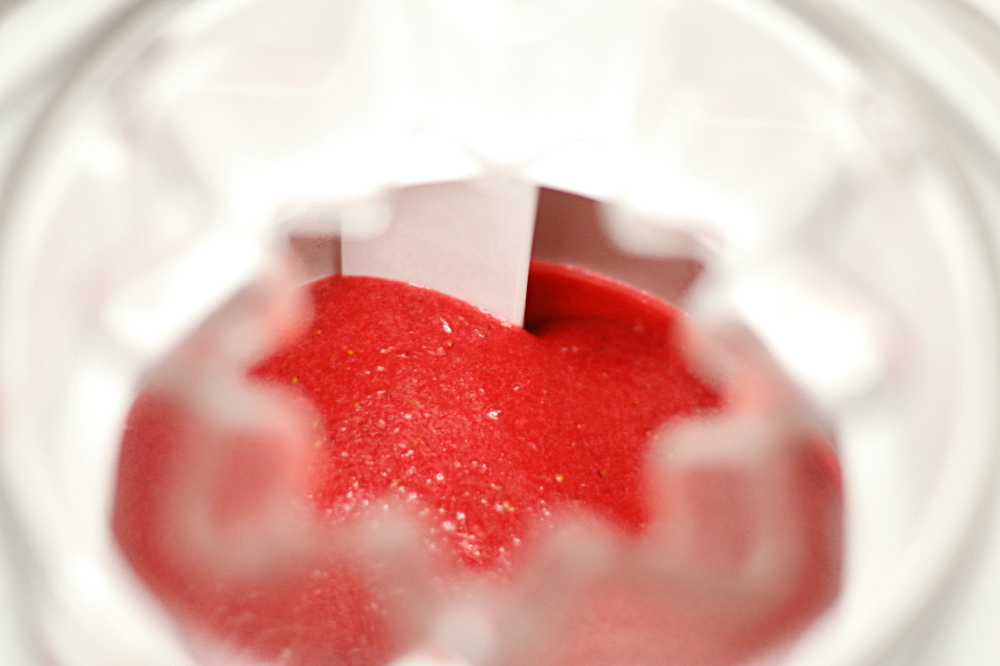
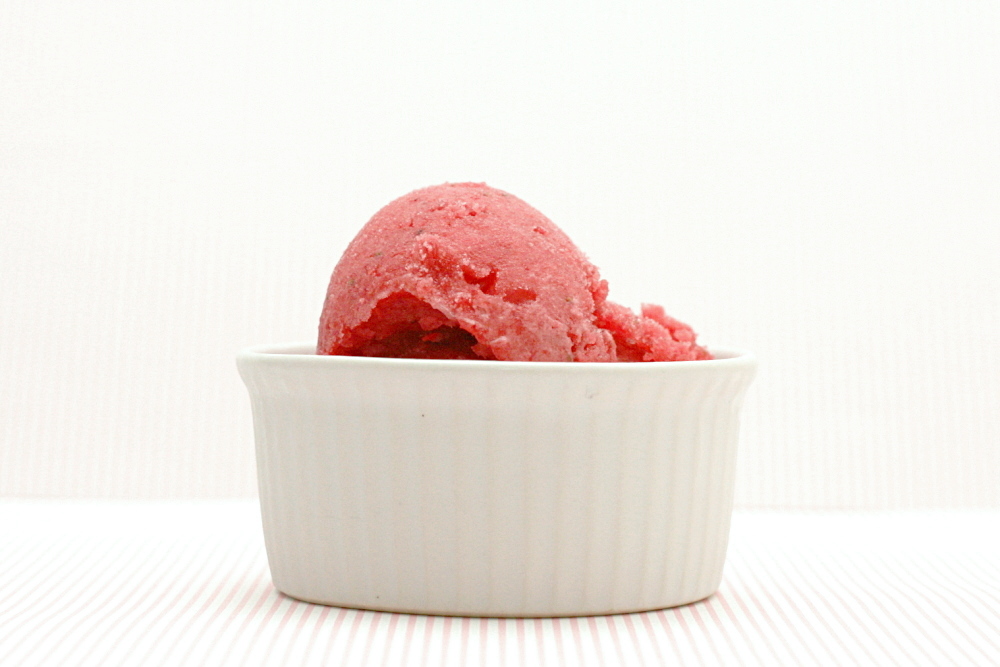
This is another whole lemon dessert, which makes it that much easier to make. All you do is puree everything and churn it in your ice cream maker. This smooth, bright pink sorbet tastes not just of strawberries, but almost equally of lemon, pleasantly tinged by bitterness from the lemon peel. It actually tastes a lot like a strawberry daiquiri. All that and it isn’t even an indulgence! Kinda.

copy-of-img_5235

One year ago: Asparagus and Arugula Salad with Cannellini Beans and Balsamic Vinegar

Strawberry Sorbet (from Smitten Kitchen, who reports the original source as the London River Cafe Cook Book)

Makes 1½ quarts

I added a bit of vodka, maybe a couple of teaspoons, just to keep it from freezing too solid. It was the perfect consistency. I’m wondering if rum would be even better, to keep with the daiquiri flavor?

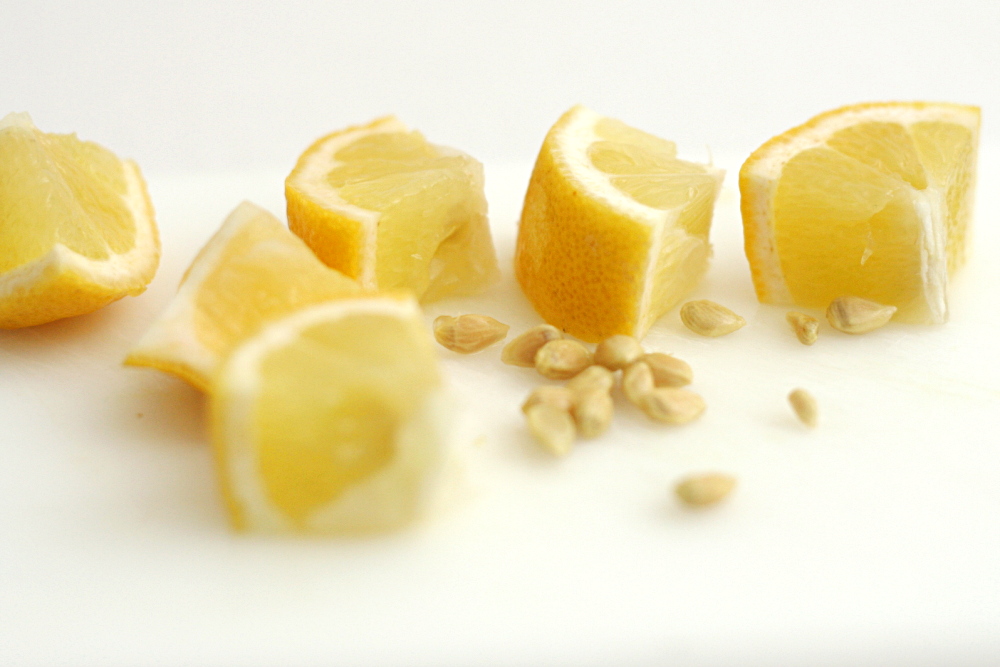
1 lemon, seeded and roughly chopped
2 cups sugar
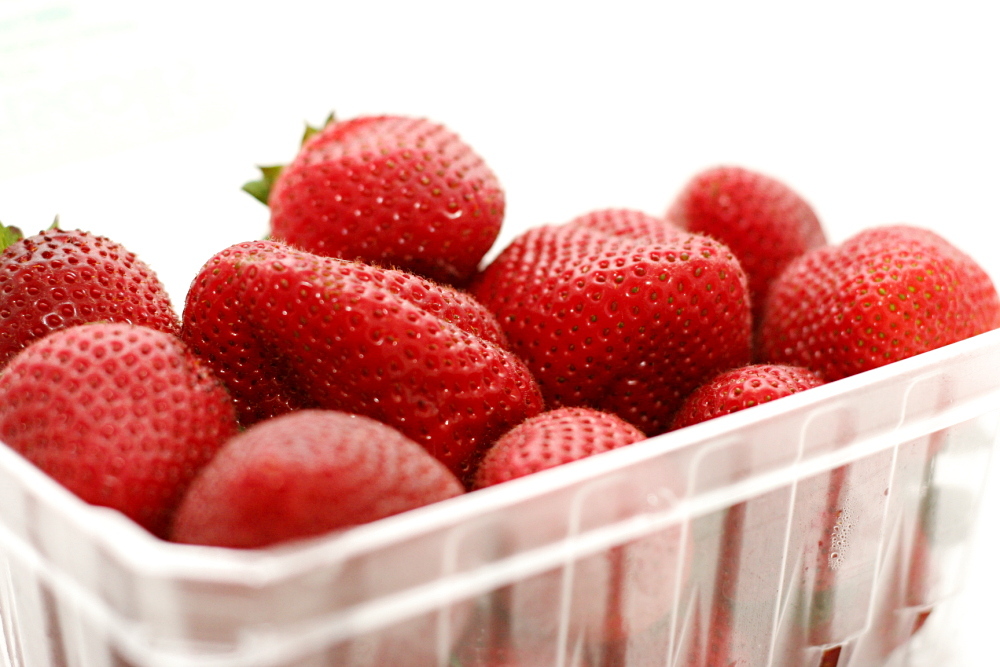
2 pounds strawberries, hulled
Juice of 1 to 2 lemons

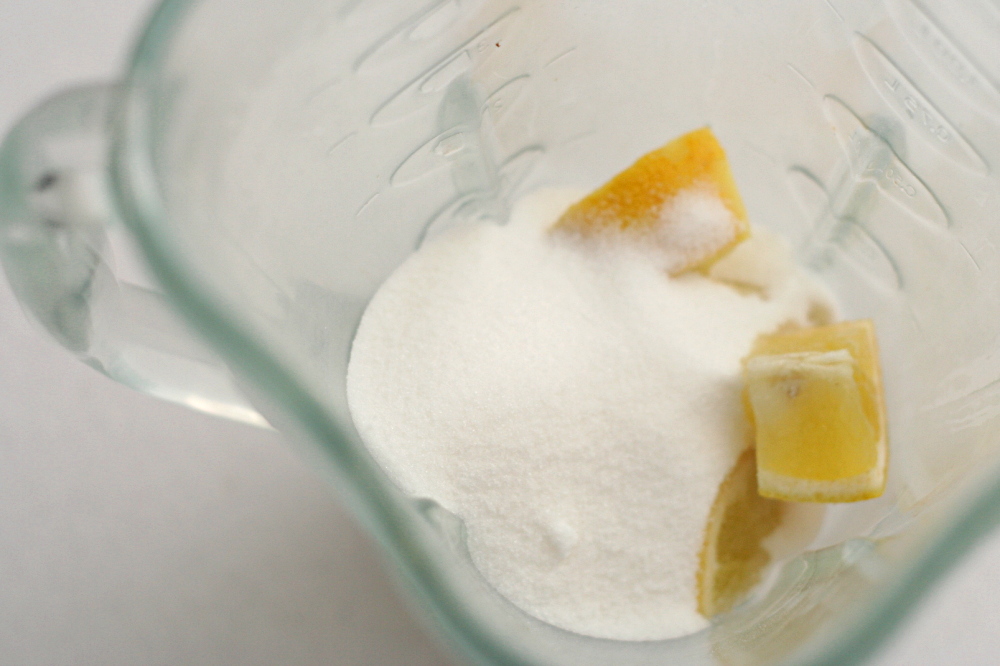
1. Place the chopped lemon and sugar in a food processor, and pulse until combined. Transfer to a bowl.

2. Puree the strawberries in a food processor, and add to the lemon mixture, along with the juice of 1 lemon. Taste and add more juice as desired. The lemon flavor should be intense but should not overpower the strawberries. Pour the mixture into an ice cream machine and churn until frozen.

copy-of-img_5490

tartest lemon tart

copy-of-img_5171

You know how a lot of citrus recipes warn you to be careful not to get any of the white pith when you zest the fruit, because it’s bitter? Well, guess what?

Bitter is good.

copy-of-img_5149

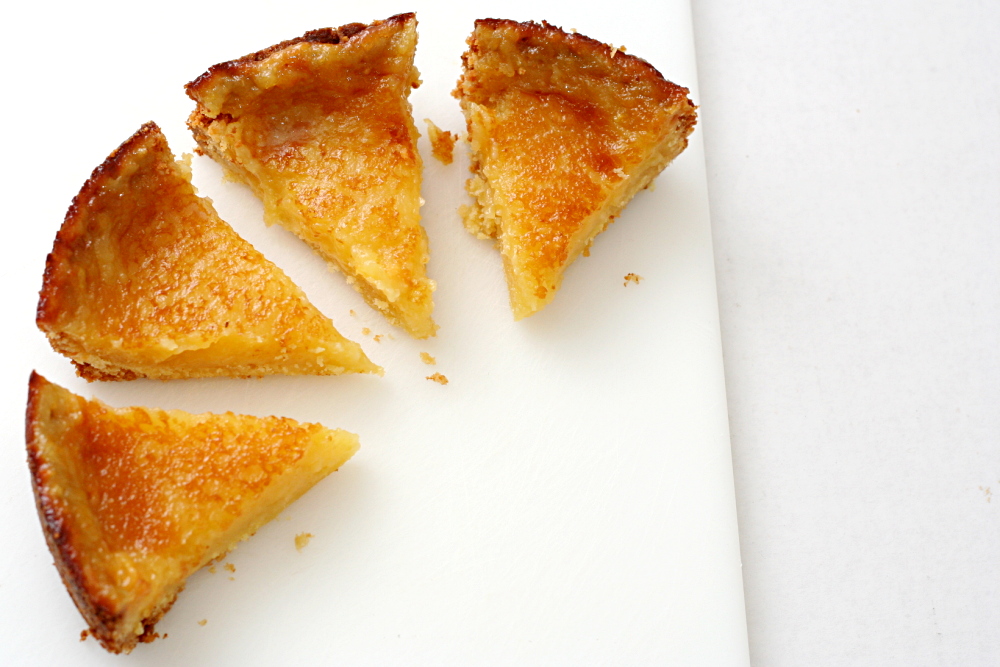
This was my first whole lemon dessert, where everything but the seeds is included. It was simple. Blend sugar and lemons together, then add the rest of the ingredients – eggs and cream, cornstarch and of course butter – to the blender and mix it all together. Then bake it, supposedly until it sets, but it never set for me. The filling boiled instead, until the crust was quite a bit darker than I like and I figured I’d better take the tart out of the oven, bubbling or not.

copy-of-img_5154

It did set up once it cooled, and it was delicious. I loved it. I didn’t think it was exceptionally tart, but it’s possible that I either had a lemon that was on the milder side, or my smallish organic lemons had a very thin layer of pith. It was just the slightest bit bitter, which was perfectly balanced by sour and sweet, adding an extra dimension to the dessert without dominating it.  I am definitely sold on the idea of whole lemon desserts – so much so that I made another one two days later!

copy-of-img_5156

Barb chose this tart for Tuesdays (or Thursdays, if you’ve been ignoring your blog while entertaining a guest) with Dorie, and she has the recipe posted.

One year ago: Caesar Salad and Snickerdoodles

Tartest Lemon Tart (adapted from Dorie Greenspan’s Tartest Lemon Tart recipe found in Baking from My Home to Yours)

Sweet Tart Dough with Nuts:
1¼ cups (6 ounces) all purpose flour
¼ cup ground almonds (or pecans, walnuts or pistachios)
½ cup (2 ounces) confectioners’ sugar
¼ tsp salt
1 stick, plus 1 tbsp (9 tbsp) very cold or frozen unsalted butter, diced
1 large egg yolk, at room temperature

Filling:
1½ lemons, scrubbed and dried
1½ cups (10.5 ounces) sugar
1 large egg, at room temperature
2 large egg yolks, at room temperature
1½ tbsp cornstarch
½ cup heavy cream
½ stick (4 tablespoons) unsalted butter, melted and cooled

1. For the dough: Put the flour, ground almonds, confectioners’ sugar and salt in a food processor, pulsing a few times to combine. Scatter the butter pieces over the dry ingredients and pulse until the butter is coarsely cut in—you should have some pieces the size of oatmeal flakes and some the size of peas. Stir the yolk, just to break it up, and add it a little at a time, pulsing after each addition. When the egg is in, process in long pulses— about 10 seconds each — until the dough, which will look granular soon after the egg is added, forms clumps and curds. Just before you reach this stage, the sound of the machine working the dough will change — heads up. Turn the dough out onto a work surface and, very lightly and sparingly, knead the dough just to incorporate any dry ingredients that might have escaped mixing.

2. To press the dough into the pan: Butter a 9-inch fluted tart pan with a removable bottom. Press the dough evenly over the bottom and up the sides of the pan, using all but one little piece of dough, which you should save in the refrigerator to patch any cracks after the crust is baked. Don’t be too heavy-handed—press the crust in so that the edges of the pieces cling to one another, but not so hard that the crust loses its crumbly texture. Freeze the crust for at least 30 minutes, preferably longer, before baking.

3. To partially bake the crust: Center a rack in the oven and preheat the oven to 375 degrees. Butter the shiny side of a piece of aluminum foil and fit the foil, buttered side down, tightly against the crust. (Since you froze the crust, you can bake it without weights.) Put the tart pan on a baking sheet and bake the crust for 25 minutes. Carefully remove the foil. If the crust has puffed, press it down gently with the back of a spoon. If there are any cracks in the baked crust, patch them with some of the reserved raw dough as soon as you remove the foil. Slice off a thin piece of the dough, place it over the crack, moisten the edges and very gently smooth the edges into the baked crust. If the tart will not be baked again with its filling, bake for another 2 minutes or so, just to take the rawness off the patch. Transfer the crust to a cooling rack (keep it in its pan).

4. For the filling: Center a rack in the oven and preheat the oven to 325 degrees. Place tart pan on baking sheet lined with parchment or silicone mat.

5. Slice whole lemon in half and pull out seeds from it and the half. Then cut lemons into small pieces. The filling is best made in a blender, but you can use a food processor. Put lemons and sugar in the blender or processor and pulse, blending and scraping down the sides until you have smooth mix. Add the remaining filling ingredients and pulse and blend until the filling is homogeneous. Rap bowl on counter several times to de-bubble the filling as much as possible, and pour it into your prepared partially baked crust.

6. Very carefully – tart shell will be full – transfer baking sheet to the oven. Bake 20 minutes, then increase the oven temp to 350 degrees and bake the tart for an additional 25 to 30 minutes. (The total time is 45 to 50 minutes). Don’t be alarmed when the filling starts to bubble up. (It might even bubble over the edge of tart – that’s okay.) When tart is properly baked, it should be set, although perhaps still shaky in center, and most of top will have formed a light sugary crust.

7. Transfer the tart pan to a cooling rack and let cool to room temperature. Chill, if you’d like, before serving with cream or a dusting of confectioners’ sugar.

copy-of-img_5166

orange-oatmeal-currant cookies

copy-of-img_4655

Is it possible to have a cookbook crush? I received Tartine in the mail three weeks ago, and I’ve hardly put it down since. I heard about the book when Mark recommended it, so I flipped through it one day in the bookstore. I flip through a lot of the books in the bookstore, but I can usually resist buying. I didn’t buy Tartine immediately, but after my initial look-through, I couldn’t put it out of my mind. The croissants! The shortbread! The banana cream pie!

copy-of-img_4591

There are a number of reasons to be excited about this book. The photography is beautiful. The desserts are garnished elegantly.  The author, Elisabeth Pruett (with her husband Chad Robertson) sets a friendly tone and provides plenty of helpful tips.

copy-of-img_4589

But as with any cookbook, it all comes down to the recipes. What I love about Tartine’s recipes is that they’re classics – lemon bars, clafoutis, gingerbread cookies – but they’re taken up a notch. The banana cream pie has a thin layer of chocolate on the bottom crust to keep it crisp. The croissant dough is built from a sponge and then a slow rise. The lemon bars have a crust made from browned butter that’s topped with an extra thick layer of curd.

copy-of-img_4594

You do have to work for those extra steps, so this book won’t be for everyone. But for someone like me, who enjoys the process as much as the result, the book is a perfect fit. There isn’t one recipe in the book that I’m not eager to make.

copy-of-img_4601

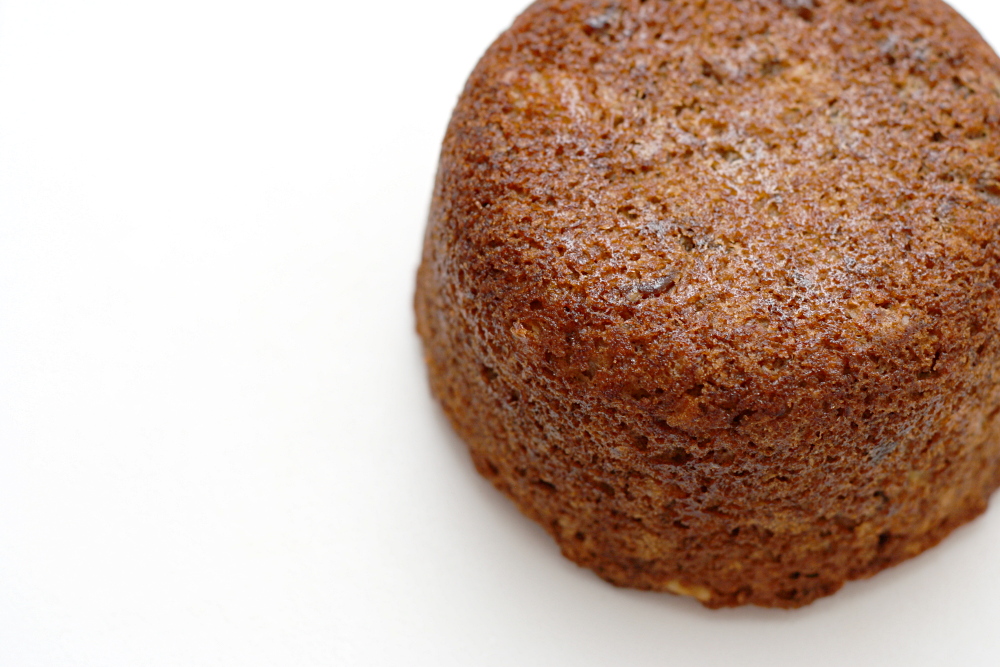
The first recipe I made was the Banana Date Tea Cake, which isn’t something that would normally sound good to me, but that’s what’s special about this book – everything sounds good. And the tea cake was delicious, with a moist, cinnamon-scented crumb that was just a little crisp at the edges. This is definitely one of my favorite banana breads. I have two old bananas sitting around right now, and I’m kicking myself for not buying dates.

copy-of-img_4573
miniature banana date tea cake

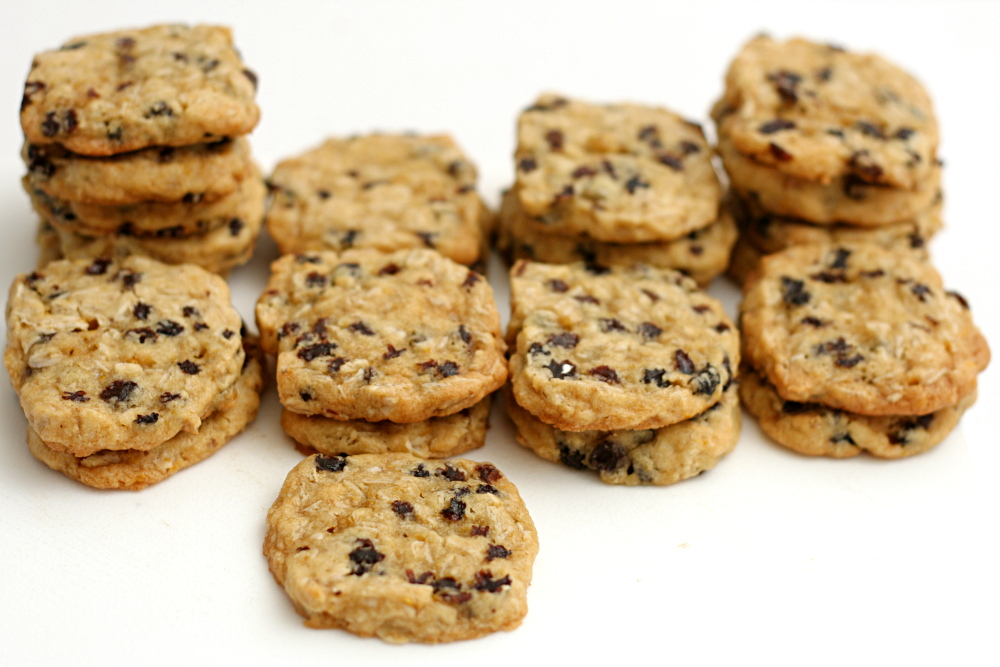
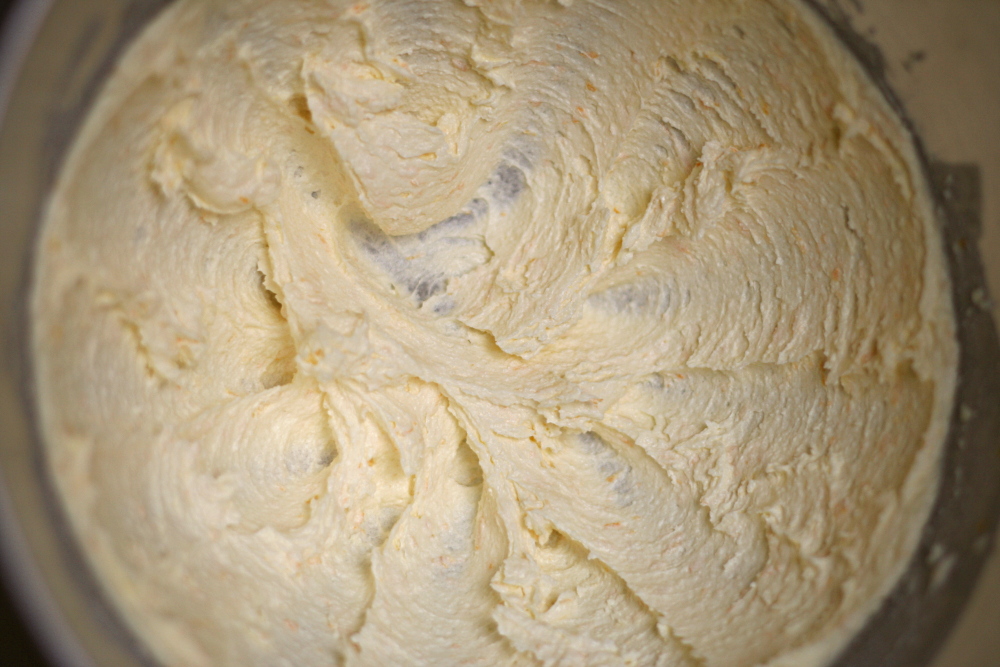
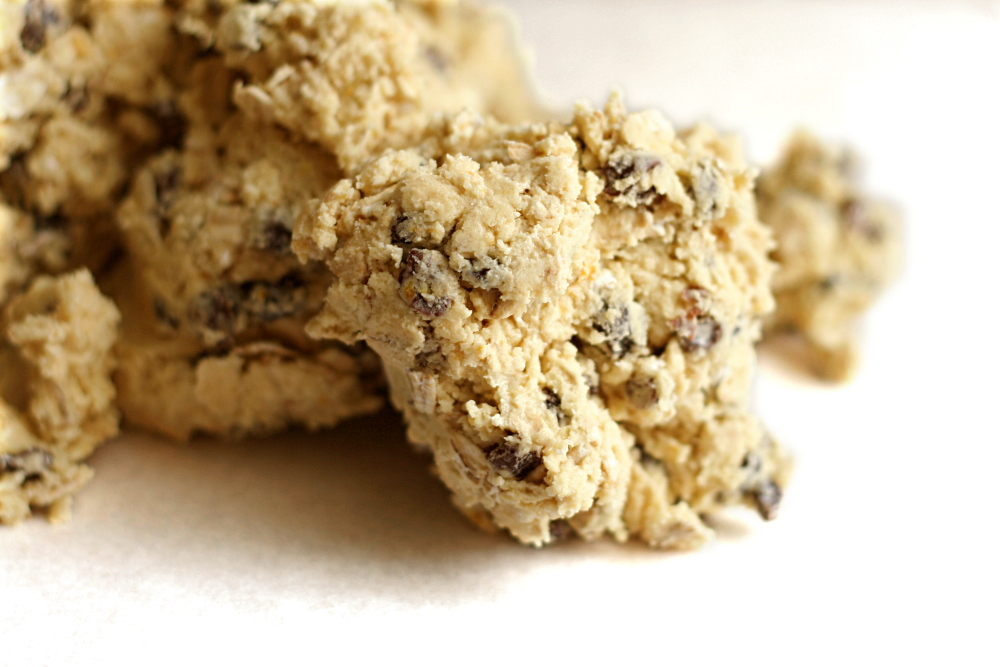
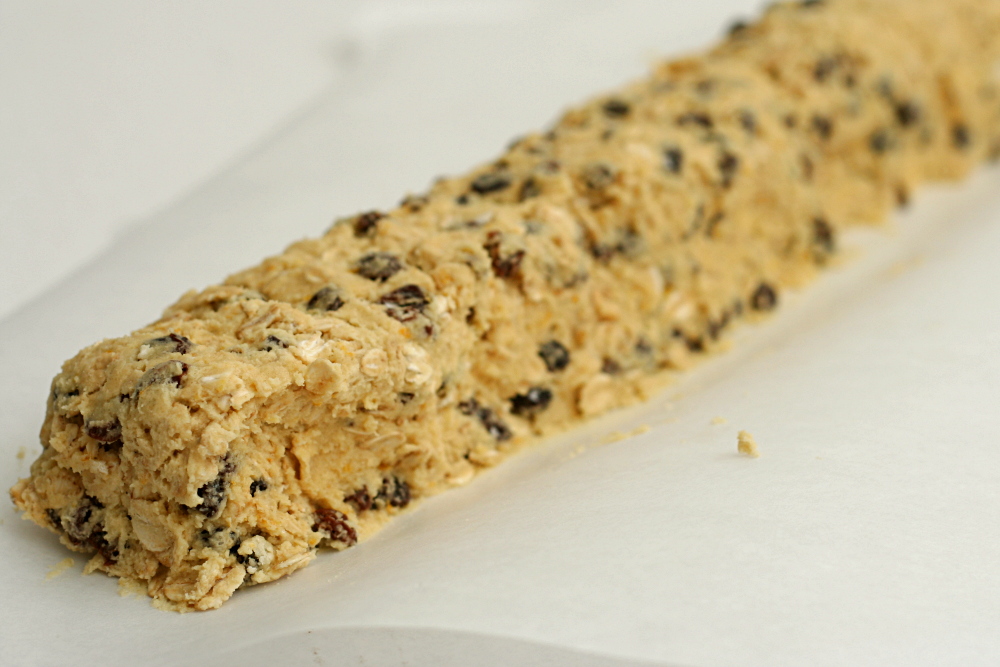
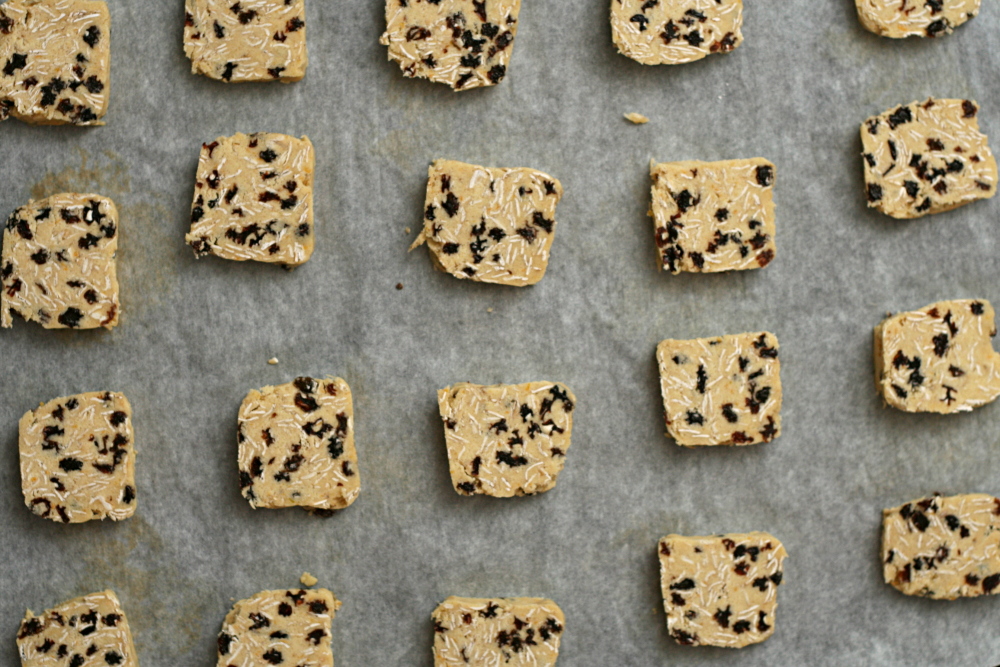
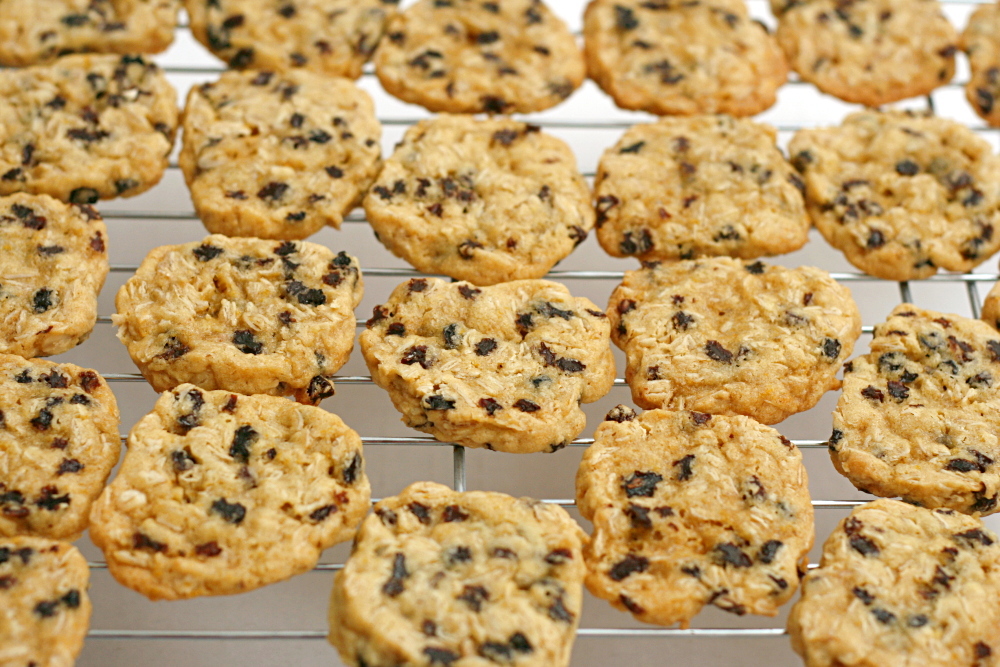
And these cookies honestly might be my new favorite (well…maybe not), and they’re certainly the best oatmeal cookie I’ve eaten. The method is mostly traditional – the butter and sugar are creamed, eggs are beaten in, and the dry ingredients are stirred in just until they’re incorporated. It’s a freezer cookie, so you wrap the dough up and chill it, then when you’re ready to bake, just slice off cookies.

copy-of-img_4644

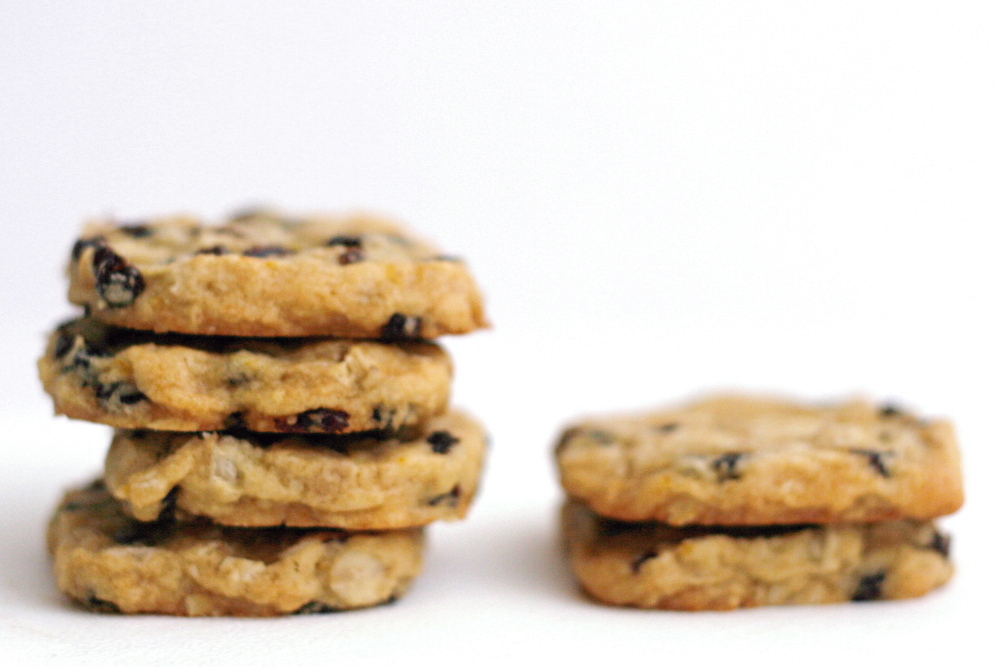
The cookies are perfectly balanced – slightly crisp on the edges, but mostly a soft chewy center, with tartness from the currants and a hint of orange and of spice. For a cookie, they feel almost light, with currants where chocolate often is and oatmeal adding plenty of healthy bulk. I’m looking for excuses to make them again, and I’m thinking particularly about Mother’s Day. It’s going to be impossible to make my way through Tartine if each recipe is so good that I have to make it twice to get enough.

copy-of-img_4645

One year ago: Red Beans and Rice

Orange-Oatmeal-Currant Cookies (from Tartine, by Elisabeth Pruett and Chad Robertson)

Makes 80 2-inch cookies

The recipe stressed the importance of being chilled overnight, but my dough was plenty chilled after a few hours in the freezer. Zante currants are the kind that you’ll find dried.

1½ cups (7 ounces) zante currants
2 cups (10 ounces) all-purpose flour
½ teaspoon baking soda
½ teaspoon nutmeg, freshly grated
1 cup (8 ounces/16 tablespoons) unsalted butter, at room temperature
1¼ cups (8¾ ounces) sugar
1 large whole egg
1 large egg yolk
1 teaspoon vanilla extract
2 tablespoons light corn syrup
1 tablespoon blackstrap or other dark molasses
½ teaspoon salt
4 teaspoon orange zest, grated
1½ cups (5½ ounces) old-fashioned rolled oats

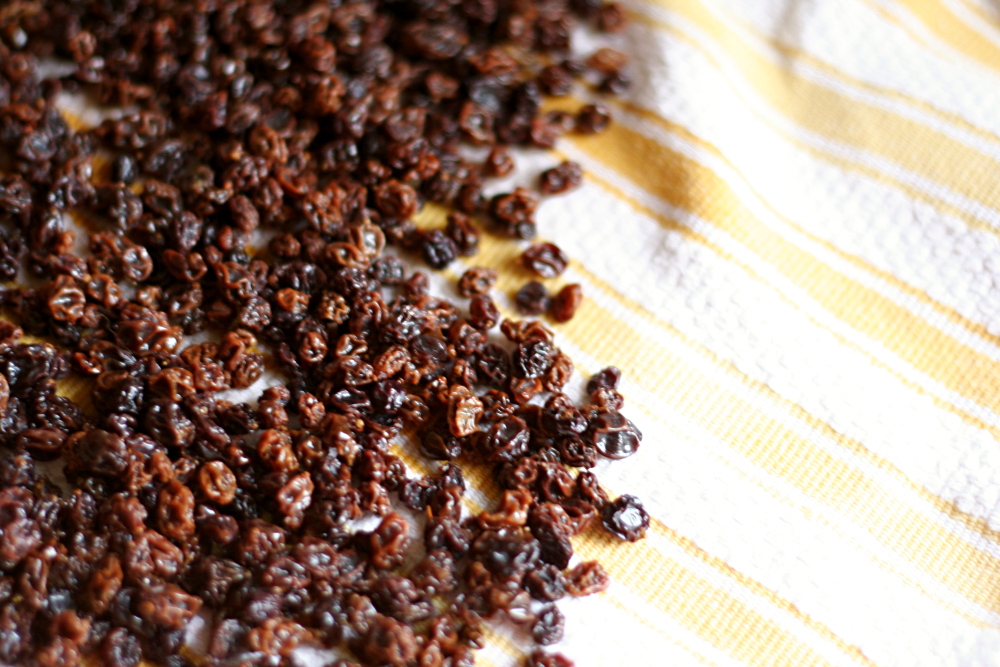
In a small bowl, combine the currants and warm water to cover and set aside for about 10 minutes until the currants are plumped. Drain well and set aside.

Sift together the flour, baking soda, and nutmeg into a mixing bowl and set aside. Using a stand mixer fitted with the paddle attachment, beat the butter on medium-high speed until light and creamy. Slowly add the sugar and mix on medium speed until light in color and fluffy. Stop the mixer and scrape down the sides of the bowl with a rubber spatula as needed. Add the whole eggs, egg yolk, vanilla, corn syrup, molasses, salt, and orange zest and beat until well mixed. Stir in the flour mixture, currants, and oats until well incorporated.

Divide the dough into 2 equal portions. Working on a large sheet of parchment paper, shape each portion into a log about 14 inches long and 2 inches in diameter. Gently Press each log to give it an oval shape. Wrap tightly in parchment paper or plastic wrap and place in the refrigerator or freezer overnight.

Preheat the oven to 350F. Line a baking sheet with parchment paper or a nonstick liner.

Unwrap the logs. Using a sharp knife, slice the logs into ovals about ¼ inch thick. Arrange the ovals on the prepared baking sheets. Bake until the edges of the cookies are lightly browned but the centers remain pale, 7-10 minutes. You may bake both pans at the same time, but rotate them 180 degrees at the midway point if they are not baking evenly. Transfer the cookies to wire racks to cool. The cookies will be soft when they cool. They will keep in an airtight container at room temperature for up to 2 weeks.

copy-of-img_4647

lemon poppy seed waffles

copy-of-img_2372

Over the last week, I’ve invested a considerable amount of time, plus some money, into my blog to make it look…well, pretty much the same. Plus, I’m guessing most of you read my blog through Google Reader or something similar and never actually see the design. Be that as it may, there are a couple design features on it that I’ve mostly gotten used to but have always bugged me a little. Now I can fix them! Eventually. When I learn how.

copy-of-img_2352

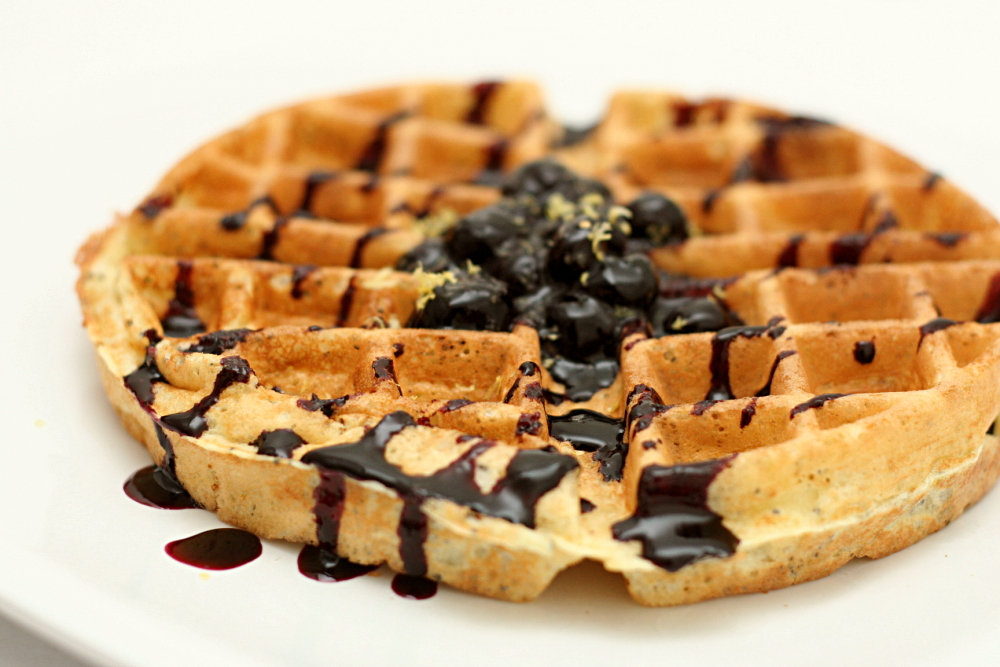
Thank god for things I do know how to do, like cook. I first tried a recipe for lemon poppy seed waffles that I found through epicurious, but my socks weren’t knocked off. It was a little dense and not crispy on the outside the way I like. I considered beating the egg whites separately and folding them back into the batter, but ultimately decided that if I’ve already found a waffle recipe that I like, why not stick with it? Especially if it’s less work.

copy-of-img_2349

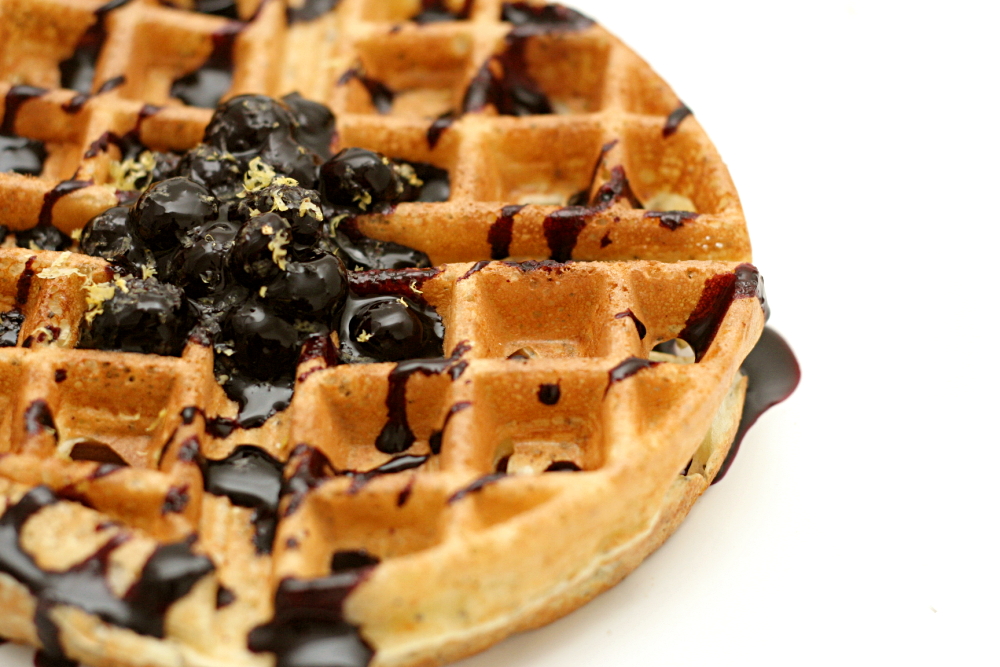
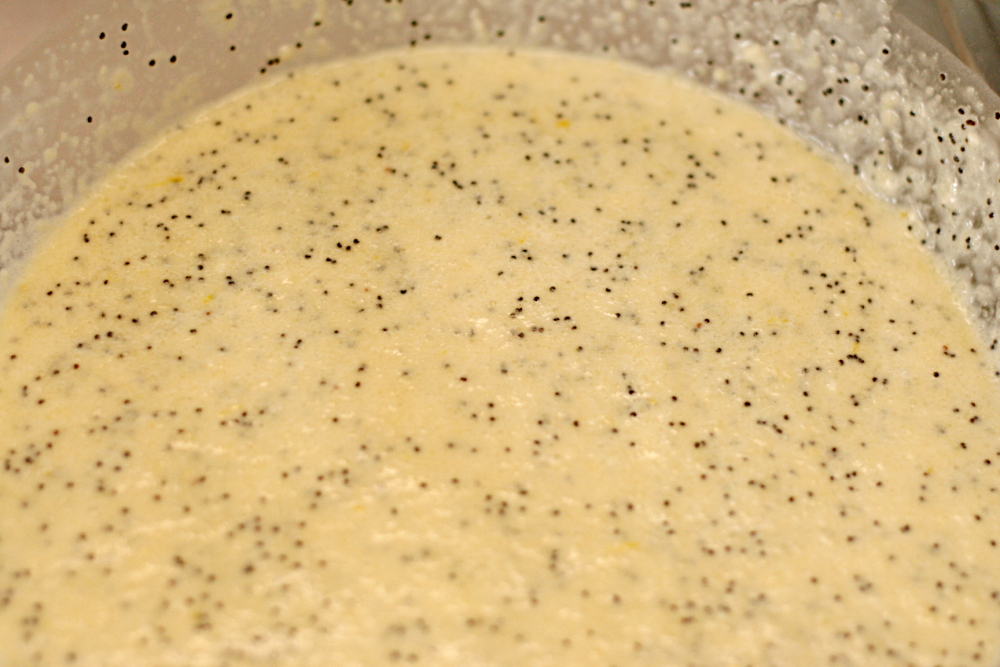
I took my favorite overnight waffle recipe and added lemon zest and poppy seeds to it. To maximize the flavor of the lemon, I rubbed the zest with the sugar before adding the remaining ingredients. (Thanks for the tip, Dorie!) The lemon sugar is mixed with water, yeast, milk, melted butter, and flour, then left to rest on the countertop overnight. The eggs and a bit of baking soda are stirred in in the morning right before the waffles are cooked.

copy-of-img_2361

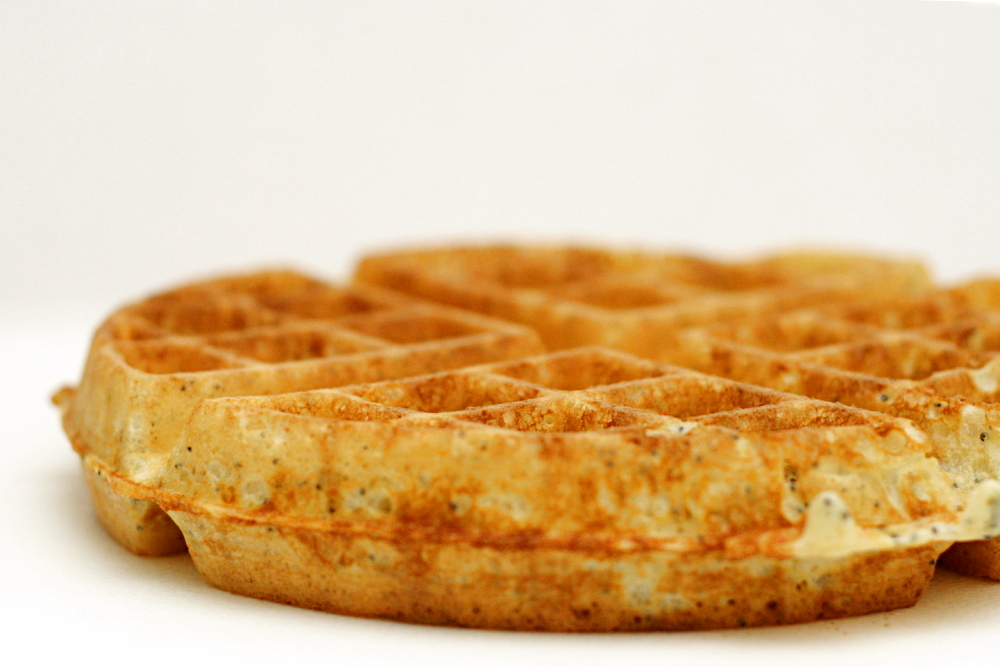
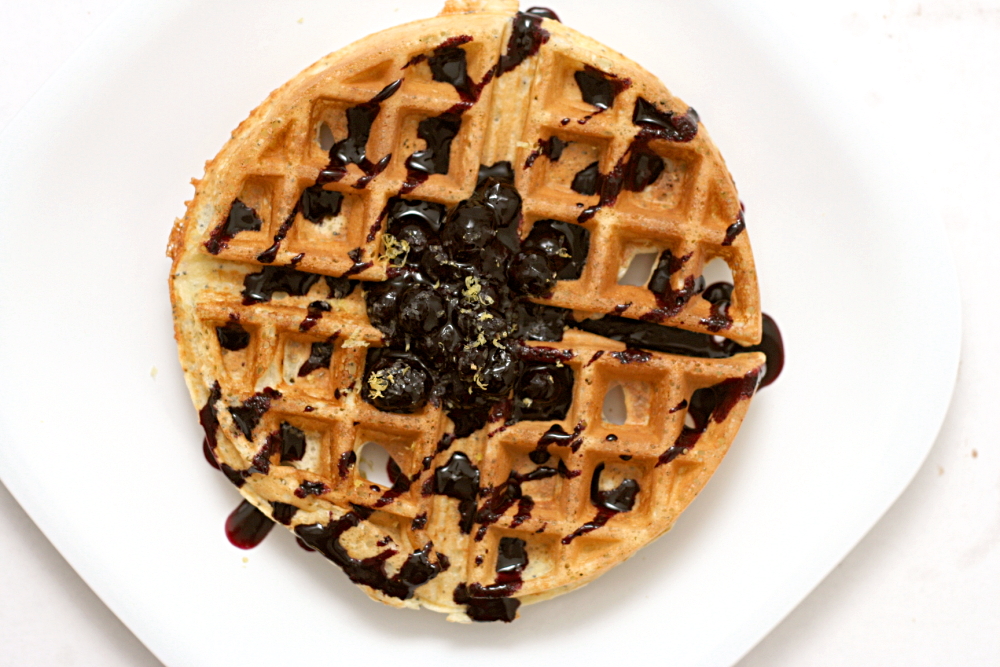
I love the texture of these waffles. They’re so light in the middle, and so crisp on the outside. I also love the crunch of poppy seeds. And the flavor, of course, is dominated by lemon, then topped with lemon’s great compliment, blueberries. Pretty nice for just a few minutes of effort in the morning.

copy-of-img_2377

One year ago: Whole Wheat Pasta with Greens, Beans, Tomatoes, and Garlic Chips

Lemon Poppy Seed Waffles (adapted from Waring Pro and from Bon Apetit September 2000 through epicurious)

The waffles have a pretty strong sourdough flavor, and although I generally like it, it’s a little much in these lemon waffles. I’m going to try reducing the yeast to 1 teaspoon next time. I’ll be sure to update when I do.

zest of one lemon
1 tablespoon granulated sugar
½ cup water
2¼ teaspoons (one packet) instant dry yeast
2 cups whole milk
4 tablespoons unsalted butter, melted and cooled
3 tablespoons poppy seeds
1 teaspoon salt
2 cups all-purpose flour
2 large eggs, lightly beaten
2 teaspoons vanilla extract
¼ teaspoon baking soda

1. The night before, or at least 8 hours before baking, rub the sugar and zest together until fragrant. Add the water, yeast, milk, melted butter, poppy seeds, and salt. Beat in the flour until smooth (this may be done using a hand mixer on low speed). Wrap the bowl tightly with plastic wrap and let stand overnight (or for 8 hours) on the countertop. Do not refrigerate.

2. When ready to bake, preheat your waffle maker on your preferred setting. While the waffle maker is heating, stir the eggs, vanilla extract, and baking soda into the batter. Measure out enough batter for your waffle maker and pour into the preheated waffle maker. Use a heat-proof spatula to spread the batter evenly over the grids. Close lid and bake the waffle in the waffle maker until it indicates the waffle is done.

3. Remove waffle and repeat until the desired number of waffles has been made. Cover remaining batter and place in the refrigerator for up to 3 days. Waffles may be kept warm in an oven at low-heat (200°F). Place waffles on a cookie sheet on a rack in the warm oven.

Blueberry Sauce

It’s very important to mix the cornstarch with cold water before adding it to the hot liquid. Otherwise, it will form clumps.

8 ounces blueberries, fresh or frozen
¼ cup sugar
¼ cup water
1½ teaspoons cornstarch
1½ teaspoons lemon juice

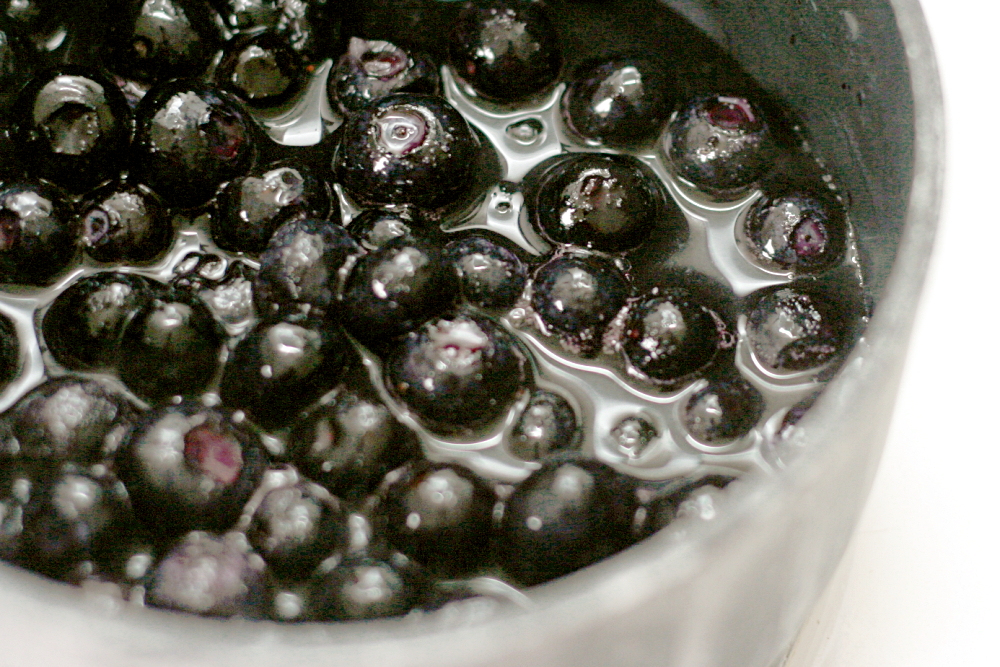
Heat the blueberries, sugar, and 2 tablespoons of the water in a medium saucepan over medium-high heat until simmering. Reduce the heat to medium and simmer until the most of the blueberries have popped, 3-4 minutes. Meanwhile, mix the remaining 2 tablespoons water with the cornstarch. Add to the blueberry mixture and simmering, stirring constantly, until thickened, about 1 minute. Stir in the lemon juice.

copy-of-img_2374

french yogurt cake

copy-of-img_2446

While shopping for baking ingredients recently, I was inwardly complaining about recipes that call for a volume amount of ground nuts. I’ve never been able to find ground nuts in my well-stocked grocery store. That means that I have to grind my own, which is annoying because my food processor takes up basically my whole dishwasher, plus, if we’re going to have to grind our own nuts, shouldn’t the recipe indicate how much whole nuts we’ll need to grind to get the right amount of ground nuts? Blah blah blah, whine whine whine, and then I stumbled upon this:

copy-of-img_2258

Never mind! Let me tell you some things that don’t matter to me about buying these: 1) It’s probably far more expensive than grinding my own. 2) It’s going to take me months to use up a pound of ground almonds. Oh, and 3) these were the wrong type of nut for the recipe I bought them for. Whatever! Yay for not using the food processor!

copy-of-img_2436

With pre-ground nuts, this cake was really easy. I had a bit of a time crunch due to traveling, so I made it at my place Thursday night, then packed it in my suitcase the next day when I flew across the country. My sister and brother-in-law and I snacked on it the next night after putting my nephews to bed.

copy-of-img_2439

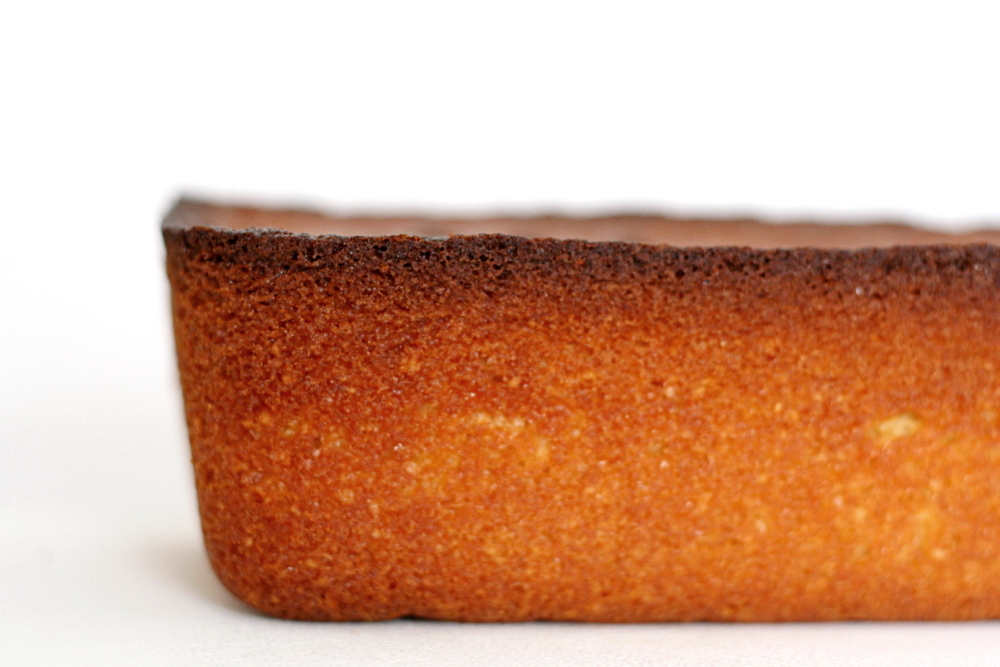
Dorie says twice in her introduction that the recipe is foolproof, so of course I had problems. Clearly the top of the cake is too dark, bordering on burned. I’m blaming my pyrex, instead of metal, loaf pan. I suppose I should lower the oven temperature 25 degrees when baking in pyrex. I didn’t want to serve the burned portion, so I trimmed it off before planning to add the glaze. Then I ate the trimmings and found them so tasty (and not burned-tasting at all) that I decided to skip the glaze altogether.

copy-of-img_2445

The cake was easy and delicious, sturdy enough to travel across the country with me, and was appropriate after dinner one night and for breakfast a few days later. Plus, I’ve now fairly well established that there’s a difference between baking in pyrex and metal that I’ll need to make adjustments for in the future. Altogether, a good Tuesdays with Dorie week for me. The recipe is posted on Liliana’s site.

One year ago: My first attempt at sushi rolls

copy-of-img_2493

lemon cup custard

copy-of-img_2420

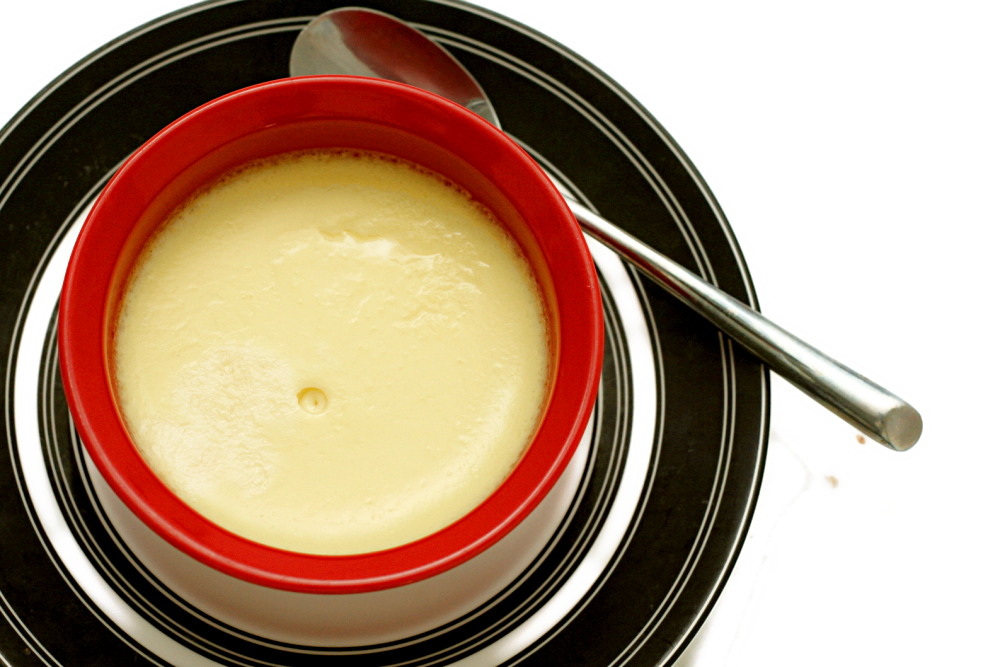
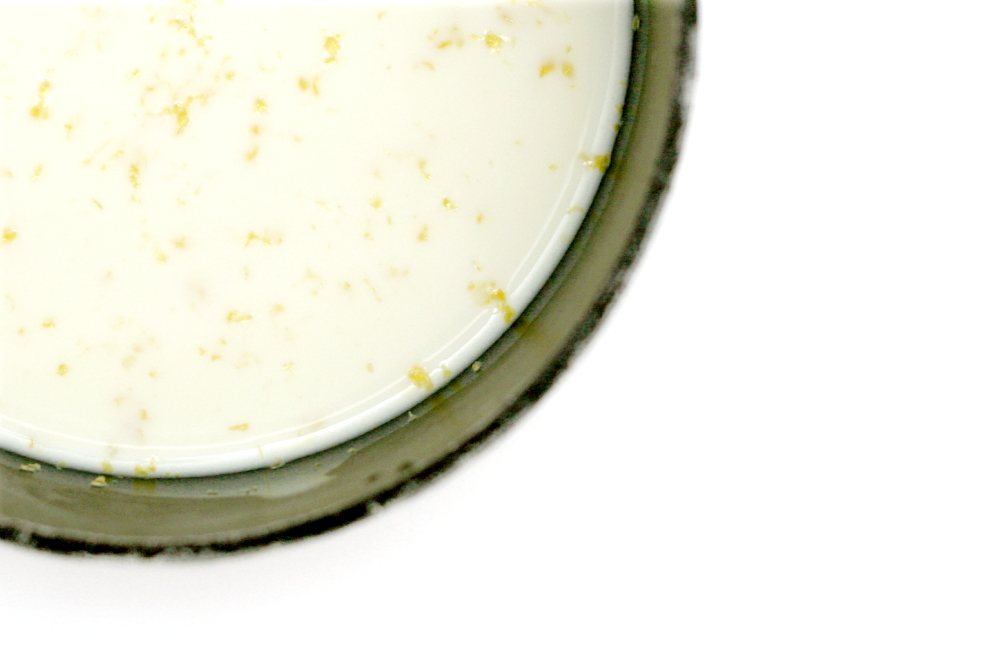
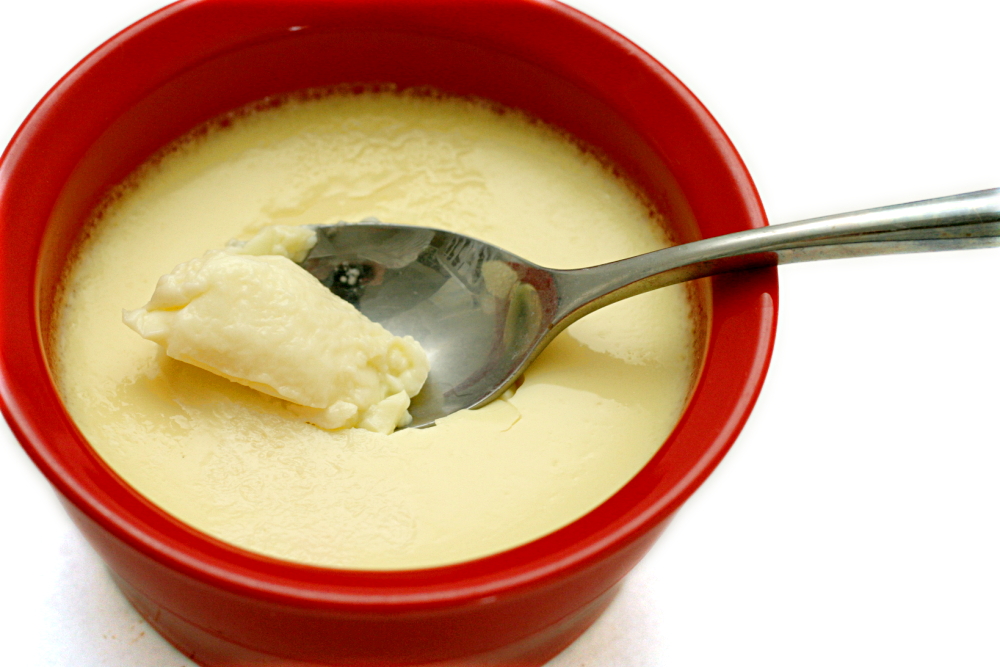
Well, I didn’t intend to choose an unpopular dessert for Tuesdays with Dorie this week. I was picturing a satiny, lemony pots de crème-type custard. Obviously I didn’t pay enough attention to the ingredients, which, with just milk, whole eggs, lemon zest, and sugar, in no way indicate that this custard would be rich. Sorry, custard-haters!

copy-of-img_2431

Hey, at least it was easy and didn’t use many ingredients. After the milk is steeped with lemon zest, it’s mixed into sugar and eggs, then baked in a water bath. I added a drop of lemon extract to half of my custards.

The lemon flavor was pretty tame, although it was noticeably stronger with the extract. The texture was certainly more eggy than I expected. I don’t mind the texture of classic baked custard, but I know it isn’t popular with a lot of people.

copy-of-img_2390

Overall, I thought the custard was light and refreshing, especially with the bit of lemon extract. It’s even a relatively healthy dessert – no butter, believe it or not! Not only that, but it was easy. So at least it was a winner in my book!

copy-of-img_2422

Lemon Cup Custard (from Baking: From my Home to Yours, by Dorie Greenspan)

Mine seemed to cook a little faster than Dorie indicates, so you might want to check them early.

Makes 6 servings

2¼ cups whole milk
grated zest of 1 lemon
4 large eggs
½ cup sugar
pure lemon oil or extract (optional)

Getting ready: Have six (6-ounce; ¾-cup) custard or coffee cups at hand. Put the milk and zest in a saucepan and bring just to a boil. Remove the pan from the heat, cover and set aside for 30 minutes so the zest can infuse the milk with its flavor. Reheat the milk before mixing the custard.

Getting ready to bake: Center a rack in the oven and preheat the oven to 325F. Line a roasting pan with a double thickness of paper towels and put the custard or coffee cups in the pan. Have a fine-mesh strainer at hand. Fill a teakettle with water and put it on to boil; when the water boils, turn off the heat.

In a 1-quart glass measuring cup or a heatproof bowl, whisk the eggs and sugar together until well blended. Still whisking, strain in about ¼ cup of the hot milk little by little – this will temper, or warm, the eggs so they won’t curdle. Whisking all the while, slowly strain in the remaining milk. Discard the zest remaining in the strainer. If you’d like a stronger lemon flavor – Dorie usually does – stir a few drops of lemon oil or extract into the custards. (Don’t go overboard – ⅛ teaspoon extract, less if you’re using oil, is about the most you’ll need.)

With a spoon, skim the foam off the top of the custard, then pour the custard into the cups. Very carefully slide the roasting pan into the oven, then pour enough hot water from the teakettle into the roasting pan to come halfway up the sides of the cups.

Bake the custards for 40 to 50 minutes, or until they jiggle only in the center when you tap the cups lightly. Transfer the cups to a rack and cool to room temperature, then cover and refrigerate for at least 2 hours before serving.

Serving: Serve just as is.

Storing: Well covered and away from foods with strong odors, the custards will keep in the refrigerator for up to 2 days.

Playing around:
Vanilla Cup Custard: Omit the lemon zest and oil or extract, and after the hot milk has been blended into the eggs, add 2½ teaspoons pure vanilla extract. (Dorie often adds ⅛ teaspoon pure almond extract too.) Alternatively, you can steep the milk with 1 split and scraped vanilla bean instead of using extract.

Lemon-Clove Cup Custard: Add 4 whole cloves to the milk along with the lemon zest.

Orange-Star Anise Cup Custard: Omit the lemon zest and oil or extract and add the grated zest of 1 orange and 3 points from a star anise to the milk before heating it.

Espresso-Cinnamon Cup Custard: Omit the lemon zest and oil or extract and add a cinnamon stick to the milk before heating it. Whisk 2 teaspoons instant espresso powder into the egg-sugar mixture.

copy-of-img_2408

orange berry muffins

copy-of-img_2209

I ran a little test with these muffins. I read somewhere, at some point, that it’s best to grease just the bottom of muffin cups and not the sides. But not all recipes specify this, so I’ve never known how important it is.

copy-of-img_2187

This muffin recipe, which was made by Tuesdays with Dorie before I joined the group, calls for the dry and wet ingredients to be mixed separately before folding them together. Because this is standard muffin procedure, it seemed like a good candidate to test out my question about oiling the cups.

copy-of-img_2191

For the six muffin cups on the outside of the pan (the two outer rows), I sprayed just the bottom of the cups. For the six muffin cups on the inside of the pan (the two inner rows), I sprayed the entire cup.

copy-of-img_2193left – bottoms only; right – whole cup

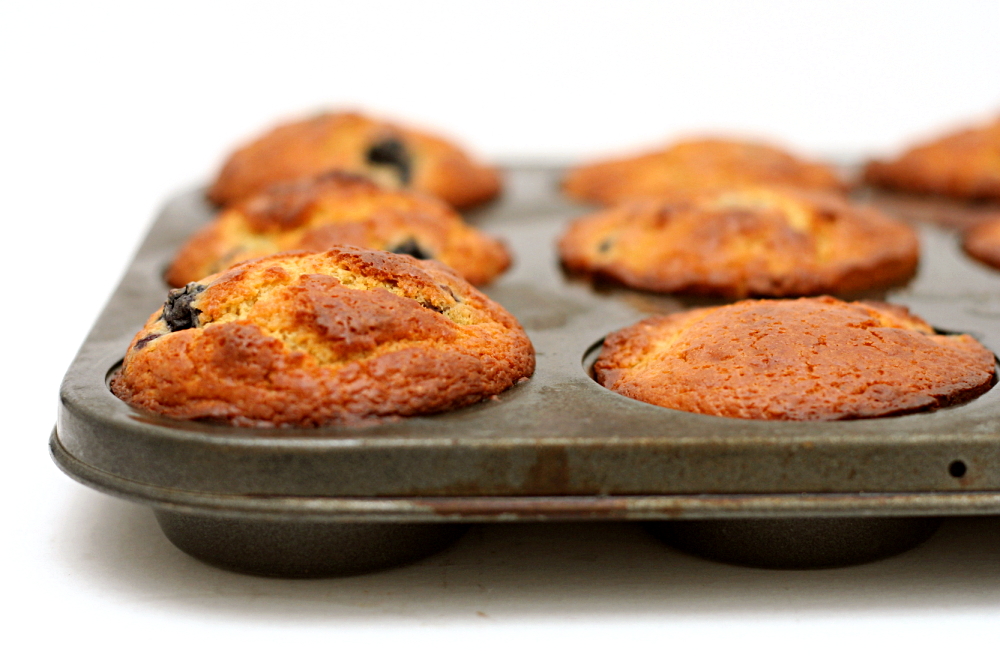
As you can see, the difference is striking. The muffins baked in the bottom-only sprayed cups rose taller and rounder. The muffins baked in the thoroughly sprayed cups have flat tops. My theory is that those muffins rose evenly on all sides, where the muffins baked in cups with unsprayed sides were held down at the sides and could only rise in the middle.

copy-of-img_2197left – whole cup sprayed; right – bottom only

Unfortunately, there’s another significant difference between each set, and that’s in how easily they came out of the pan. No one will be surprised to hear that the muffins in the completely sprayed cups were far easier to remove. The others needed a bit of prying around the edges before I could get them out of the pan, although they all came out cleanly.

For me, the extra few minutes to get the muffins out of the pan are worth it for the beautifully domed tops. (Of course now I’m wondering if there was a difference in texture. If there was, I didn’t notice.) And if the prize after carefully removing each muffin is these tender orange-scented treats studded with juicy blueberries, all the better.

copy-of-img_2198left – whole cup sprayed; right – bottom only
One year ago: Rice Pudding

Orange Berry Muffins (from Dorie Greenspan’s Baking: From my Home to Yours)

The only change I made was doubling the salt. However, you can see that my muffins got a little too dark. I know my baking pan has a dark finish, but I’ve never had problems with muffins before, so you might want to lower the oven temperature a bit, or at least check the muffins earlier than the recommended 22 minutes.

Grated zest and juice of 1 orange
About ¾ cup buttermilk
2 large eggs
3 tablespoons honey
1 stick (8 tablespoons) unsalted butter, melted and cooled
⅓ cup (2.33 ounces) sugar
2 cups (9.6 ounces) all-purpose flour
2½ teaspoons baking powder
¼ teaspoon baking soda
¼ teaspoon salt
1 cup blueberries – fresh, preferably, or frozen (not thawed)
Decorating sugar, for topping (optional)

Center a rack in the oven and preheat the oven to 400 degrees F. Butter or spray the 12 molds in a regular-size muffin pan or fit the molds with paper muffin cups. Alternatively, use a silicone muffin pan, which needs neither greasing nor paper cups. Place the muffin pan on a baking sheet.

Pour the orange juice into a large glass measuring cup or a bowl and pour in enough buttermilk to make 1 cup. Whisk in the eggs, honey and melted butter.

In a large bowl, rub the sugar and orange zest together with your fingertips until the sugar is moist and the fragrance of orange strong. Whisk in the flour, baking powder, baking soda and salt. Pour the liquid ingredients over the dry ingredients and, with the whisk or a rubber spatula, gently but quickly stir to blend. Don’t worry about being thorough – the batter will be lumpy and bubbly, and that’s just the way it should be. Stir in the blueberries. Divide the batter evenly among the muffin cups.

Bake for 22 to 25 minutes. If you want to top the muffins with decorating sugar, sprinkle on the sugar after the muffins have baked for 10 minutes. When fully baked, the tops of the muffins will be golden and springy to the touch and a thin knife inserted into the center of the muffins will come out clean. Transfer the pan to a rack and cool for 5 minutes before carefully removing each muffin from its mold.

copy-of-img_2212

lemon cream cheese bars

copy-of-img_1746

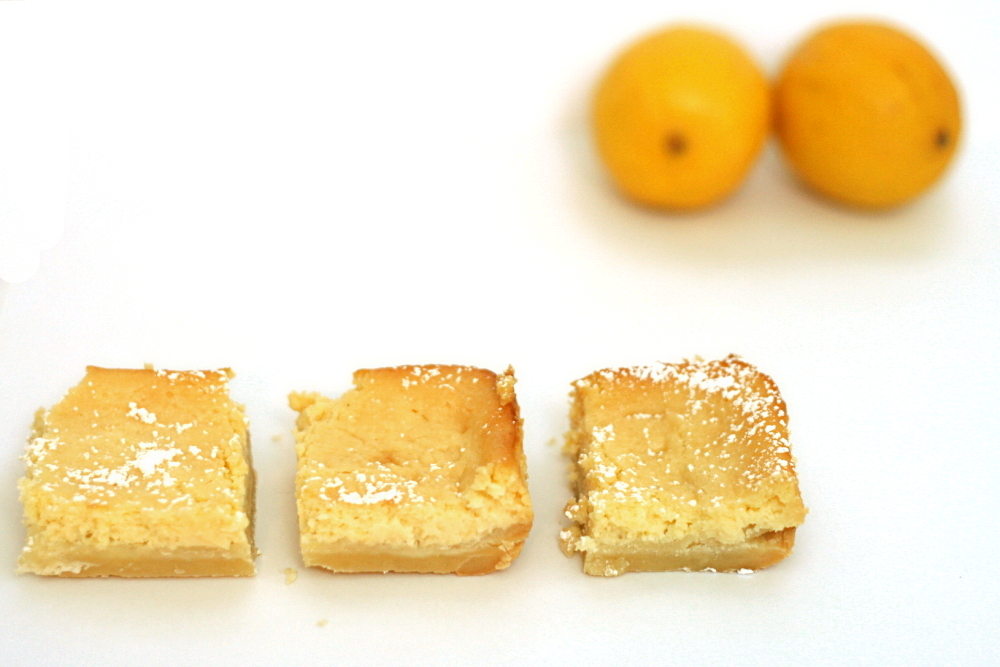
I’m not known for my self-control around desserts (or any food, for that matter) in general, but there are a few extreme cases. One is lemon. I almost never make lemon desserts, because I will eat them, all, until they’re gone, within a very short period of time. The other, which I only realized recently, is cheesecake. When I made cheesecake in a mini muffin pan, I had no resistance to grabbing just one more tiny cheesecake.

copy-of-img_1701

And then I saw this recipe, which is a combination of those two things. I was in trouble. I made them for the SuperBowl, thinking that was as good an excuse as any to overeat.

Except I didn’t overeat them. Because surprisingly, these did not knock my socks off.

copy-of-img_1710b

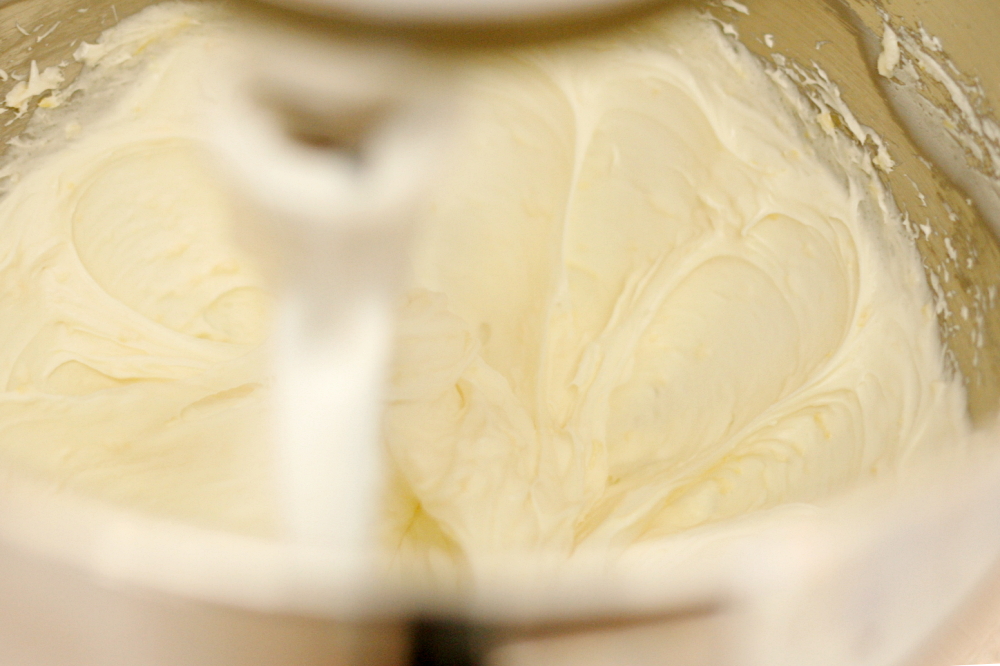
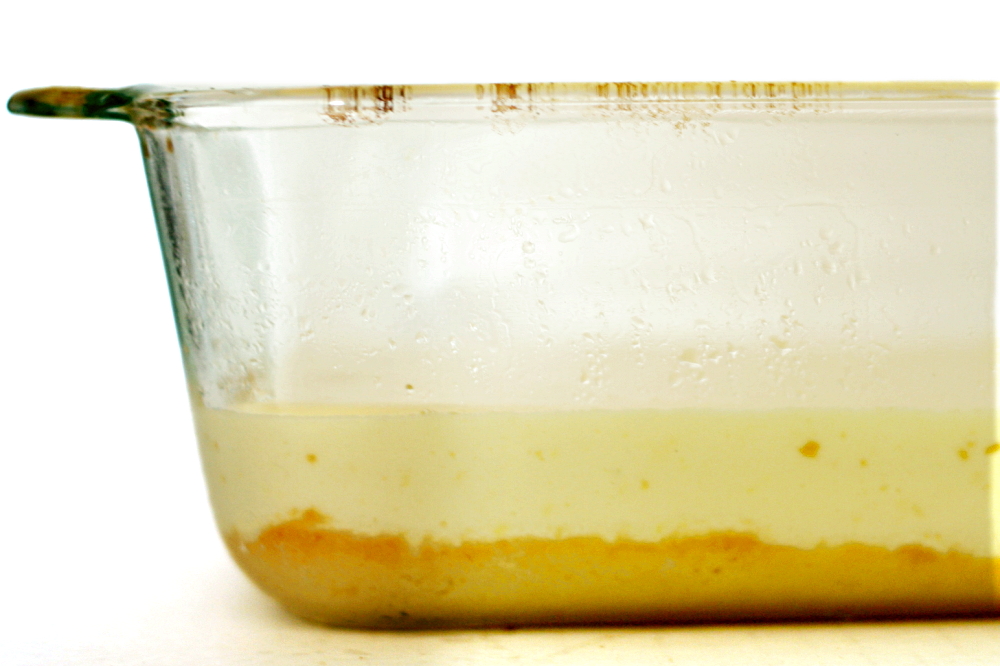
The base is a standard shortbread lemon bar base. The filling is similar to a regular lemon bar, including lemon juice, zest, eggs, and sugar, but includes cream cheese and sour cream, and leaves out the baking powder included in most lemon bar recipes.

copy-of-img_1711

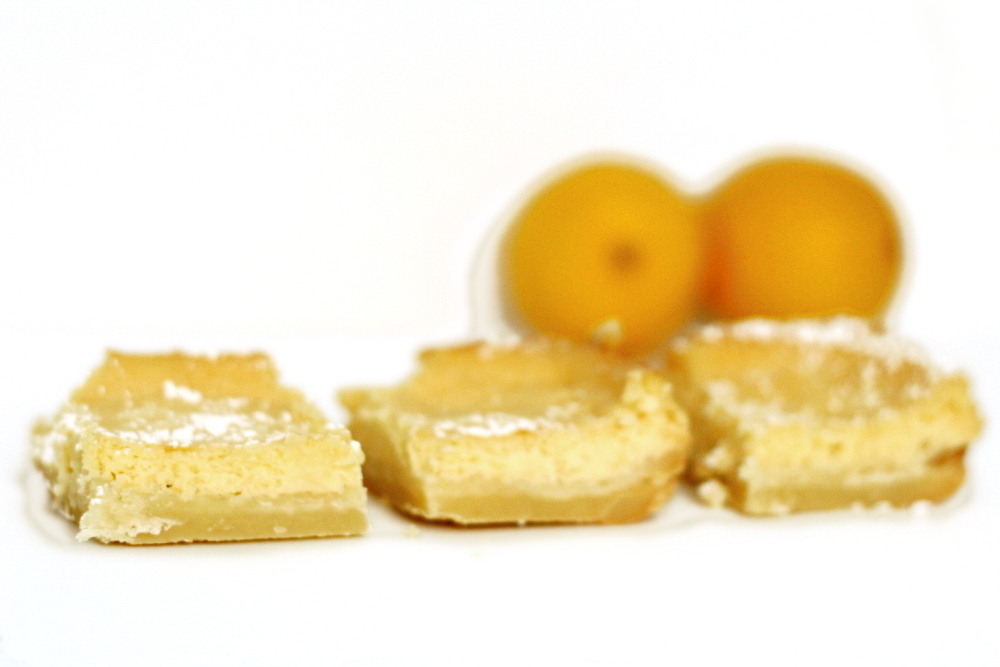
Of course they were good – there’s no way to go wrong with this combination of ingredients. But other than a texture that was a little creamier, I didn’t notice a significant difference between this and a regular lemon bar. The difference in fat content, however, is significant. It looks like I’ll be keeping my lemon bars and my cheesecake separate.

copy-of-img_1747

One year ago: Julia Child’s French Bread

Lemon Cream Cheese Bars (adapted from recipezaar)

Crust:
8 tablespoons (1 stick) unsalted butter, softened
pinch salt
¼ cup powdered sugar
¾ cup (3.6 ounces) unbleached flour
1 tablespoon cornstarch

Filling:
10 ounces cream cheese, room temperature
½ cup (3.5 ounces) sugar
2 teaspoons grated lemon zest
5 tablespoons sour cream, room temperature
6 tablespoons fresh lemon juice
2 large eggs, room temperature
1 teaspoon vanilla
powdered sugar for dusting

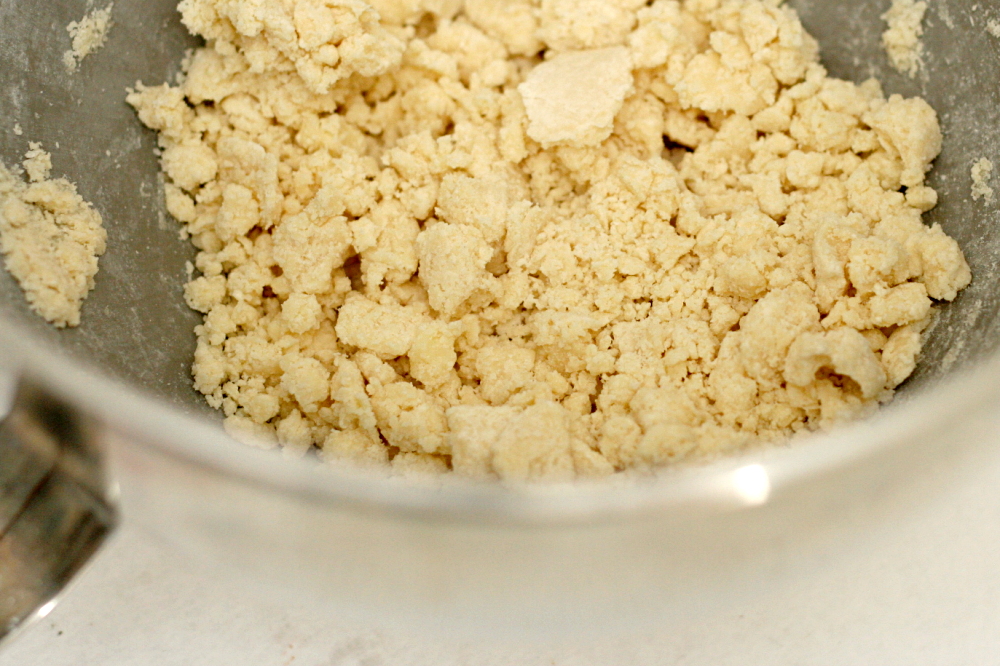
1. Adjust oven rack to middle position and heat oven to 350 degrees. Beat butter with an electric mixer on medium-low speed until creamy. Add sugar and salt and mix until it’s thoroughly combined. Add the flour and cornstarch and mix on low until the mixture forms large curds. Press the dough evenly over the bottom of an ungreased 8 by 8-inch baking dish. Bake at 350 degrees until golden brown, about 20 minutes. Remove the crust from the oven and set it on a cooling rack while you finish the filling.

2. Using an electric mixer on medium speed, cream the cream cheese for 2 minutes, until it’s completely smooth and creamy. Add the sugar, and lemon zest and beat until light and fluffy, 2 to 3 minutes. Stop the mixer once or twice to scrape the bowl with a rubber spatula. Add the sour cream and lemon juice and beat the mixture on medium speed until smooth, about 1 minute. Scrape the bowl. Add the eggs and vanilla and continue mixing until the filling is smooth and creamy, about 30 seconds. Spread the topping evenly over the cooked crust. It’s okay if the crust is still hot.

3. Bake the bars until the top is slightly golden and a toothpick inserted in the center comes out dry, about 1 hour. If the topping bubbles up during baking, prick the bubbles with a toothpick or a thin knife.

4. Allow the bars to cool completely on a rack. Dust them with powdered sugar. Cut them with the point of a thin sharp knife that is dipped in hot water and wiped dry before each cut.

white chocolate lemon truffles

copy-of-img_0672

A few years ago, I spent a couple of weeks working in Davis, California. I loved Davis. I stayed in a bed and breakfast near the university, right near Davis’ cute little downtown. There were all kinds of great restaurants nearby, including Ciocolat, a dessert café. I made a point to stop by there almost every day. And with minimal guilt, because I spent several hours every day walking around UC-Davis’s beautiful arboretum.

copy-of-img_0564

Ciocolat seems to specialize in truffles, which aren’t really my thing. I’d much rather eat chocolate once it’s mixed with eggs and butter and some flour and then baked. But I did love their lemon truffles. Smooth, creamy, not too sweet, and intensely lemony, I’ve been wanting to re-create them since, but I haven’t been able to find a recipe that seemed similar.

copy-of-img_0565

The only recipes I’ve found for lemon truffles include white chocolate, which I don’t remember the Ciocolat’s lemon truffle having. It recently occurred to me to look at their menu online, where I saw that it did include white chocolate. Perhaps a white chocolate lemon truffle recipe was exactly what I needed then.

copy-of-img_0571

The one I tried wasn’t difficult or too time-consuming. The only challenge is working with the white chocolate. I always seem to have problems with it, even when I follow the basic white chocolate rules of using a good brand (Callebaut in this case) and not overheating it. I took the white chocolate off of the heat when it was about half melted and stirred until the rest melted, and it still showed signs of breaking.

copy-of-img_0586

It seemed to work out in the end though. The only problem is that they’re not near as lemony as I’d like. The dominant flavor is definitely white chocolate. I’m not sure how to get more lemon flavor in them. Steep the zest in the cream longer? Use more zest? I considered adding more lemon juice, but I’m worried that would affect the texture too much. Substitute butter for some of the white chocolate? I’m thinking there might be some relevant tricks in Dorie Greenspan’s Lemon Cream Tart recipe, but I don’t have any specific ideas.

copy-of-img_0590

One year ago: Risotto with Peas

White Chocolate Lemon Truffles (adapted from Global Gourmet)

Makes 2-3 dozen

⅓ cup plus 1 tablespoon heavy cream
grated zest of 1 lemon
9 ounces best-quality white chocolate, very finely chopped
pinch salt
4 tablespoons (½ stick) unsalted butter, cut into ¼-inch cubes
2 teaspoons lemon juice
½ cup granulated sugar

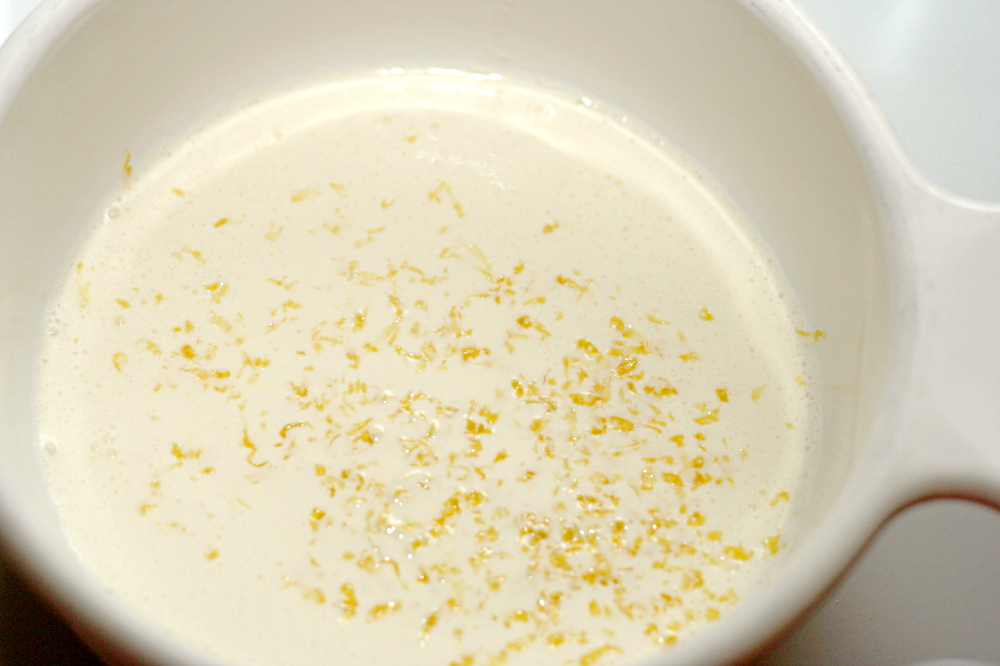
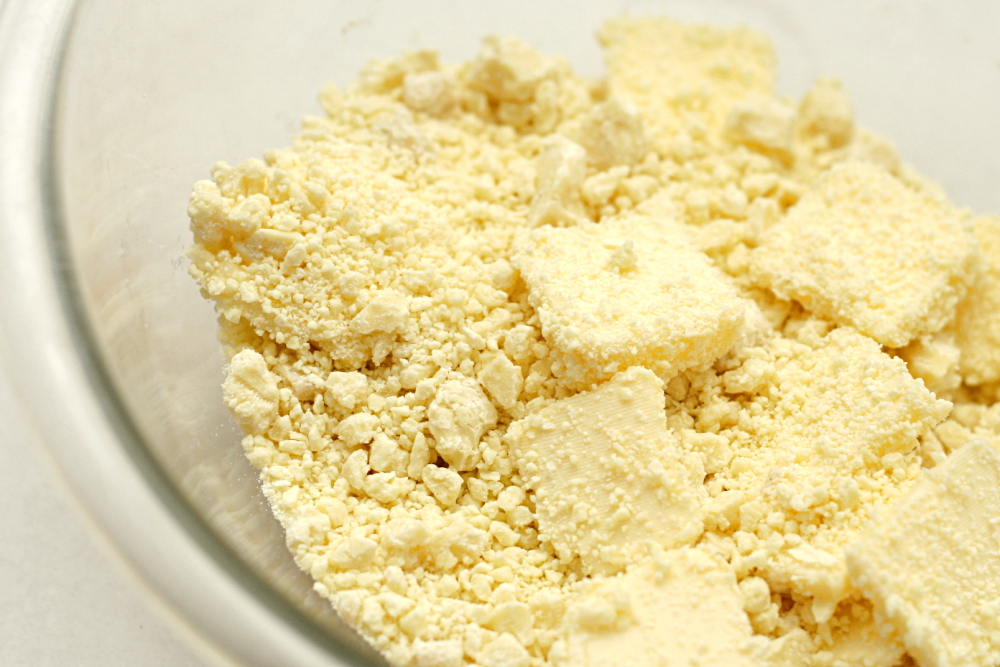
1. In a small, heavy, nonaluminum saucepan, combine heavy cream and lemon zest. Heat on medium heat until cream comes to a simmer, stirring occasionally. Remove from heat. Cover tightly and allow to stand 20 minutes at room temperature.

2. Meanwhile, combine white chocolate, salt, and butter in a medium heatproof bowl. When cream has stood 20 minutes, remove cover. Reheat the cream mixture over medium heat, stirring occasionally, until it reaches a simmer again. Strain cream through a fine-meshed strainer into the white chocolate mixture. Press down on the lemon zest left in the strainer to extract all of the liquid from it.

3. Melt the chocolate mixture in a large heatproof bowl set over a saucepan of almost-simmering water, stirring frequently, until just it’s just over half melted. Remove it from the heat and the hot water. Continue stirring until the mixture is completely melted and smooth. (Note: White chocolate, even of excellent quality, can be stubborn about melting. If there are small lumps of white chocolate in your truffle base, transfer the truffle base to a food processor fitted with a steel blade; process at high speed just until smooth.) Stir in lemon juice. Chill at least 4 hours.

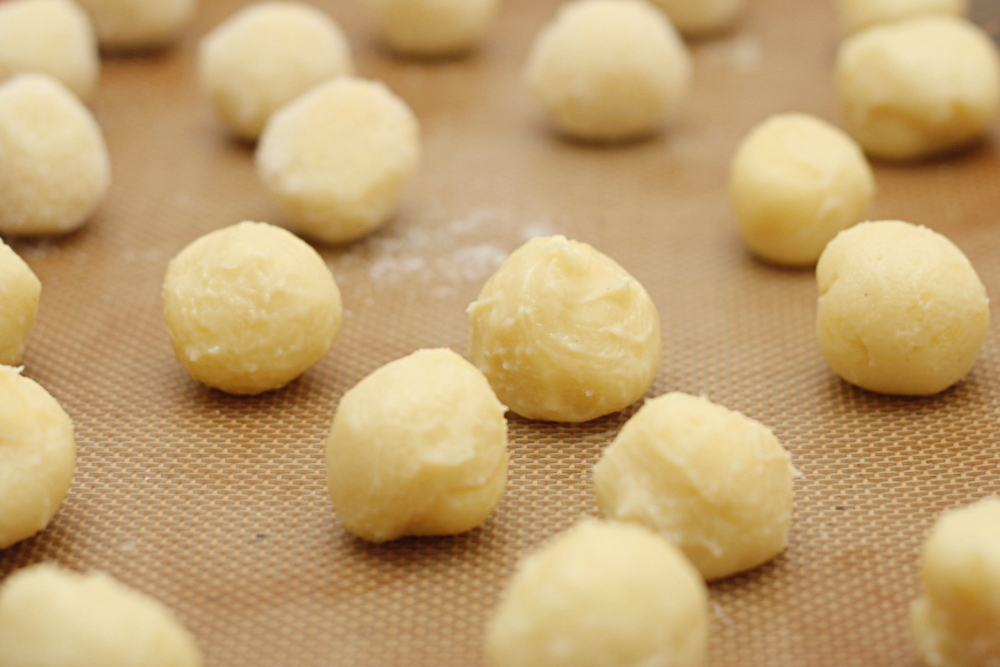
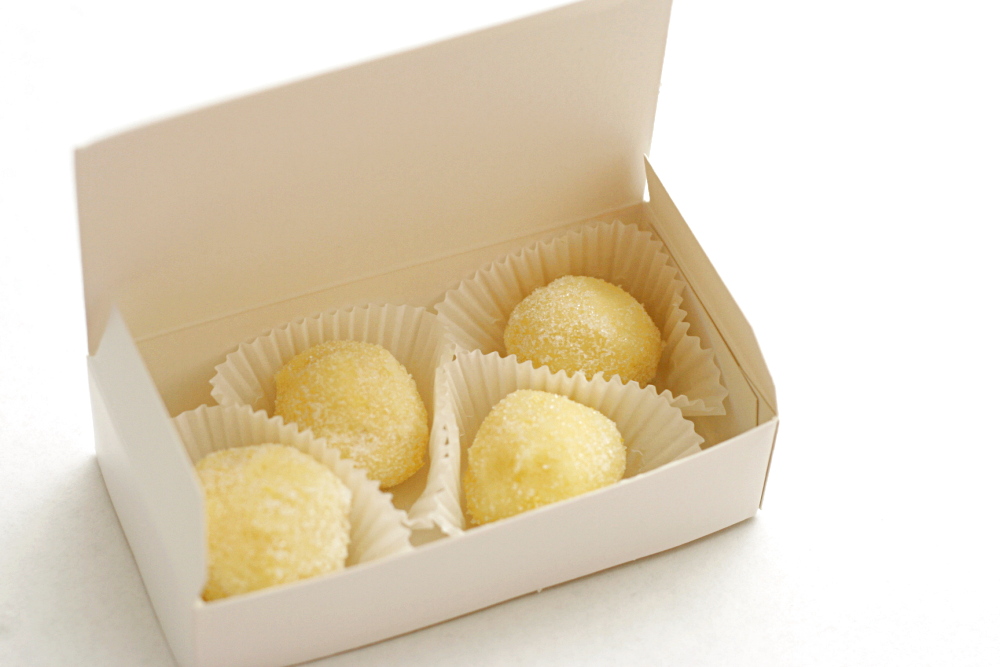
4. Using a small cookie scoop or a spoon, form balls of about 1 inch diameter from the cold truffle base. Roll in granulated sugar until well-coated. Continue until all base is used.

5. Store truffles airtight in refrigerator for up to one week; freeze for longer storage. To serve, remove from refrigerator 15 to 20 minutes prior to serving time.

copy-of-img_0661a