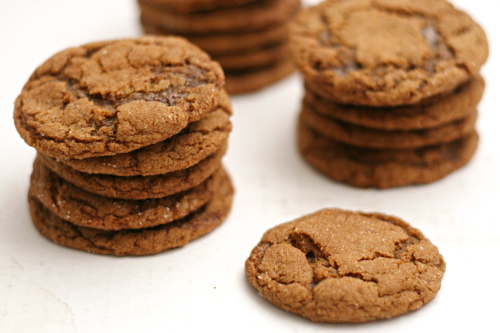
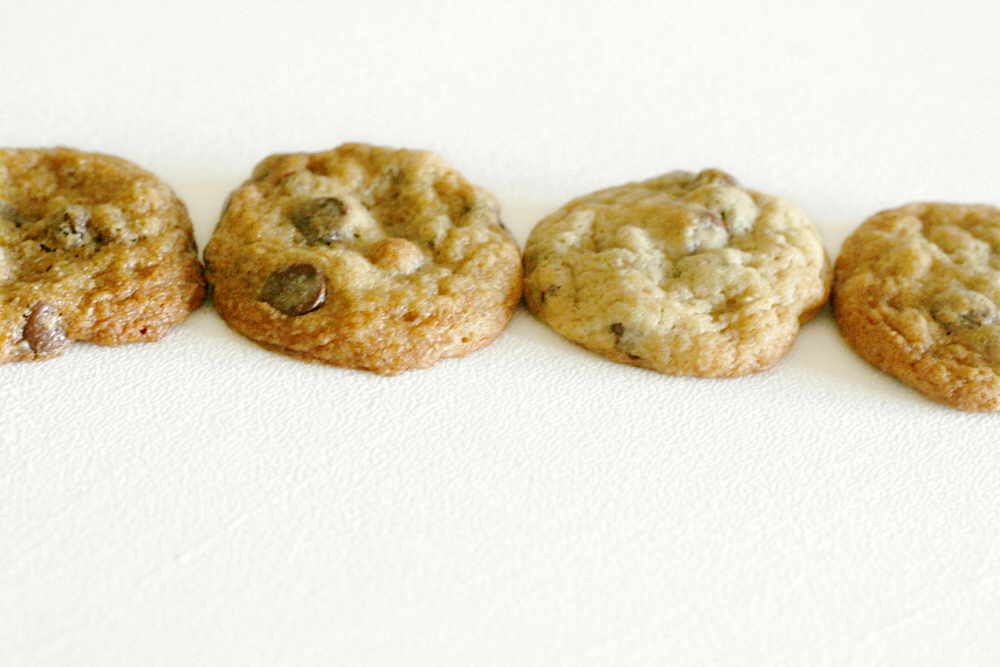
slice and bake brown sugar cookies

Copy of IMG_1207

It’s Thanksgiving! And that means it’s officially Christmastime!

Right?

Oh, it means something about giving thanks? Hmm. That’s cool too.

Copy of Copy of IMG_1129

Still, once the feast is over, it’s all about Christmas. I used to try to hold off thinking about, hearing, and seeing anything Christmas-related until Thanksgiving, but you can imagine how successful that strategy was. These days, I’m more in the ‘if you can’t beat ‘em, join ‘em’ mindset. I didn’t play carols or put up my tree, but I did smile over cute decorations.

Copy of IMG_1153

What better way to kick off the Christmas season than cookies? One of my favorite Christmas cookies, in fact, and I think I finally figured out exactly why I like them so much.

Copy of Copy of IMG_1198

The dough is pretty typical for cookies, with butter, sugar, salt, eggs, vanilla, flour, and leavening. But, it uses twice as much brown sugar as white sugar, which…you guys! It’s chocolate chip cookie dough, without the chocolate! Nothing against chocolate, but that’s pretty much my perfect cookie.

Copy of IMG_1192

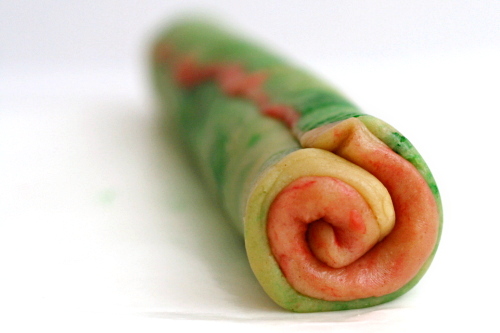
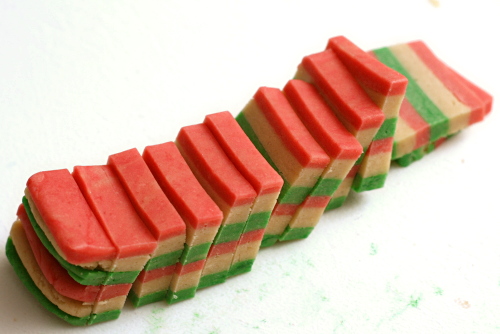
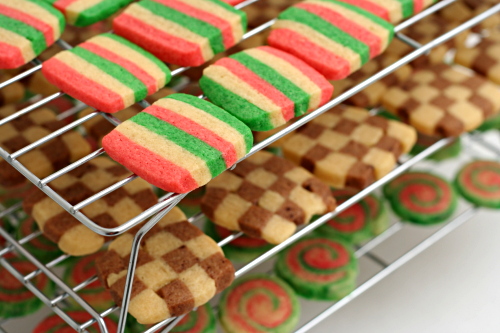
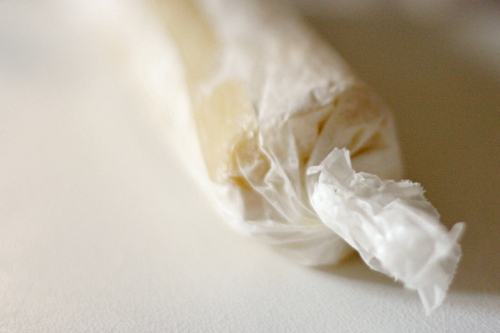
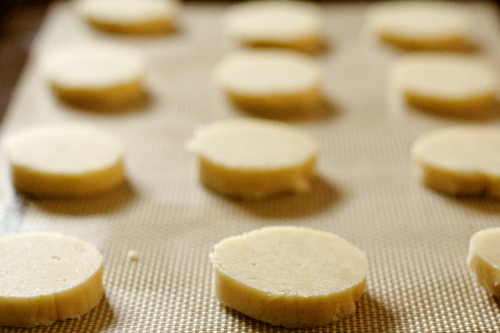
Plus, they’re so pretty. It takes a bit of effort to get them into the different shapes, but once they’re formed, you just throw the logs of dough in the freezer, then bake however many you want whenever you want.

Copy of IMG_1190

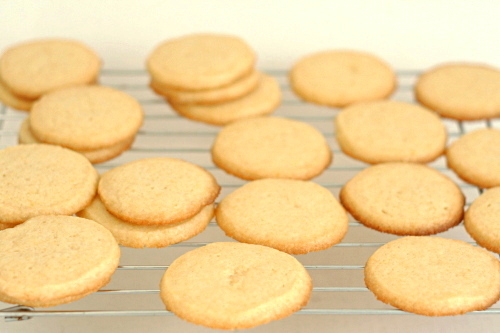
These cookies are delicious, they’re not hard to make, they look impressive, and their timing is completely flexible. In other words, they’re perfect. There can be no better way to shift into the Christmas season.

Copy of IMG_1208

One year ago: Multigrain Pancakes

Printer Friendly Recipe
Slice and Bake Brown Sugar Cookies

Makes about 8 dozen

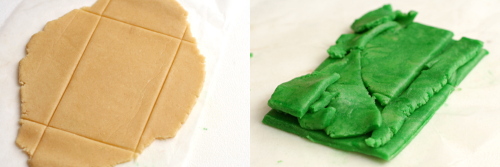
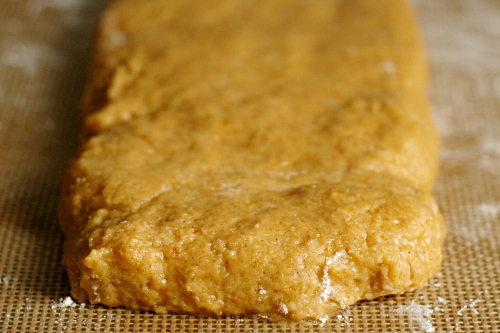
The only slightly difficult part of this recipe is rolling out the dough to an exact size. The best method I found was to initially roll it out to about twice the desired size, then trim the edges to a shape 1 inch smaller in each direction than you eventually want. Place the trimmings on the cut rectangle, cover with wax paper, and roll out to your final desired size (see photos above).

Update 12/22/2011: I like these cookies even better with a ½ cup less flour (3½ cups total).  The dough is stickier, and there’s no way you’d be able to roll it out to the right size, but I’ve decided that simply pressing it to the right size is easier anyway.

4 cups (19.2 ounces) unbleached flour
1 teaspoon baking powder
¼ teaspoon baking soda
2 eggs, preferably room temperature
2 teaspoons vanilla extract
20 tablespoons (2½ sticks) butter, room temperature
1 teaspoon salt
1 cup (7 ounces) firmly packed light brown sugar
½ cup (3½ ounces) granulated sugar
½ ounce unsweetened chocolate, finely chopped

1. In a medium-sized bowl, combine the flour, baking powder, and baking soda. Break the eggs into a small measuring cup, whisk them lightly, and mix in the vanilla.

2. Place the butter in the bowl of a stand mixer fitted with the paddle attachment (or a large mixing bowl if you’re using a hand-held mixer). Beat the butter on medium-low speed until it’s smooth, then add the salt and both sugars. Continue beating on medium-low until the mixture is light and fluffy, about 2 minutes, scraping the sides of the bowl as needed. With the mixer running, gradually add the egg mixture. Once the eggs have been added, scrape the sides of the bowl once, then continue mixing on medium speed for about 1 minute. Reduce the mixer speed to low and gradually add the flour mixture, mixing just until evenly combined. Divide the dough into three equal portions.

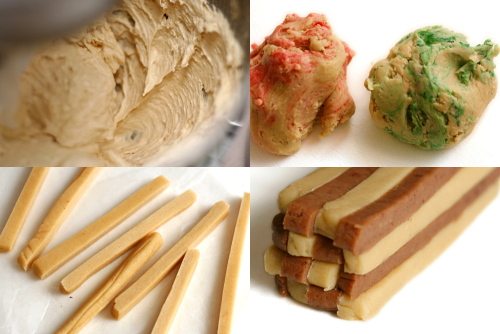
3. For the striped cookies: Divide the first portion of dough into three more equally sized parts. Color one third red, another green, and leave the last one white. Between sheets of wax paper, roll each portion out to a 3-by-9-inch rectangle. Freeze the rectangles for about 10 minutes, until they’re firm enough to cut and stack. Cut each rectangle in half lengthwise to form two 1½-by-9-inch rectangles. Stack the rectangles of dough, alternating colors, to form a block of dough with stripes. Trim the edges if desired. Wrap in wax paper and freeze for at least four hours, or up to 4 weeks.

4. For the checkerboard cookies: Place the chocolate in a microwave-safe bowl and microwave on half power for about 30 seconds. Stir, then repeat the heating and stirring until fully melted, being careful not to burn the chocolate. Divide one portion of dough into two equally sized parts. Mix the chocolate into one half and leave the other plain. Roll each portion into a 9-by-3-inch rectangle. Freeze the rectangles for about 10 minutes, until they’re firm enough to cut and stack. Cut each rectangle into eight 9-by-3/8-inch strips. On a sheet of wax paper, lay four strips next to each other, alternating colors. Press the strips together gently to remove any gaps. Lay another four strips on top of the first layer, alternating colors between layers. Repeat twice more, until there are four layers of four strips each. Trim the edges if desired. Wrap in wax paper and freeze for at least four hours, or up to 4 weeks.

5. For the spiral cookies: Divide the last portion of dough into two equally sized parts. Color one half red and the other green. Between sheets of waxed paper, roll each portion of dough into an 8-by-8-inch square. Without chilling the dough, stack the squares, then tightly roll them together to form a spiral. Wrap the dough in wax paper and freeze for at least fours hours, or up to 4 weeks.

6. When ready to bake, adjust an oven rack to the middle position and heat the oven to 350ºF. Line a baking pan with parchment paper or a silicone mat. Slice the frozen logs into cookies about 1/8-inch thick. Lay the cookies on the prepared pan, about ½-inch apart. Bake for 7-10 minutes, just until the tops no longer look wet. Let the cookies cool on the pan for about 2 minutes, then transfer them to wire racks. Serve at room temperature. Stored in an airtight container, the cookies will be good for at least a week.

Copy of IMG_1220

sugar-topped molasses spice cookies

Copy of IMG_0865

A story:

I was trying to decide where to go to graduate school, visiting schools and meeting with potential advisors. One of those advisors had me over for dinner at his house with his family. His wife said she’d recently made molasses taffy, and I blurted out, “It doesn’t taste like molasses, right? That would be disgusting!” Yes, she said, clearly taken aback, it tastes like molasses.

Copy of IMG_0850

Oh, god, it still makes me cringe. Shut up, Bridget.

It’s not my fault! I didn’t know much about molasses back then, and in fact had only recently bought my first jar – of blackstrap molasses, because I didn’t know there were different types. No wonder I thought all molasses tasted bad.

Now I know better. Molasses = gingerbread = good.

Copy of IMG_0853

These cookies are even more molassey than gingerbread, which I don’t mind at all these days. And you know what? I ate a piece of that molasses taffy, way back when, and it wasn’t all bad either. I must have come up with something appropriately polite to say, because four years later, that advisor gave me a degree.

Copy of IMG_0870

Pamela has the recipe posted for Tuesdays with Dorie. I liked the texture and shape of the cookies better when they were baked at 375ºF for 8-10 minutes instead of 350ºF for 12-14 minutes.

One year ago: Rice Pudding

Copy of IMG_0868

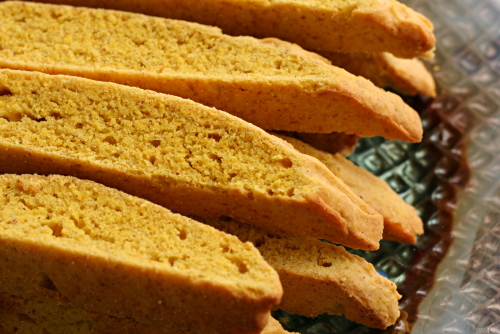
pumpkin biscotti

Copy of IMG_0891

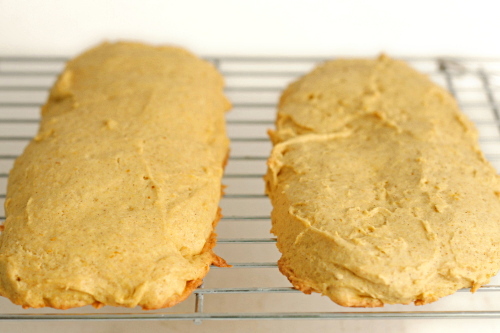
My less-baking-until-Thanksgiving goal is getting annoying. The deal was that for most of November, I would only bake biscotti for Dave, 100% whole wheat bread, and any recipes that were required for my blog. Well, I finished baking November’s Tuesdays with Dorie recipes last week, and my freezer is stocked with whole wheat bagels, pizza dough, and baguettes.

Copy of IMG_0514

So I’ve made a lot of biscotti for Dave this month. It’s been my way to cheat. I’ve been making half batches, not only because that way I get to make more again sooner, but I was a little uncertain about this recipe.

Copy of IMG_0510

The original version didn’t have any butter in it. I’ve made biscotti without fat before, and they were some of the worst biscotti I’ve had. The texture was not crunchy or crisp, but nearly crystalline. In this case, I guess I was hoping that the pumpkin would somehow make up for the lack of fat.

Copy of IMG_0520

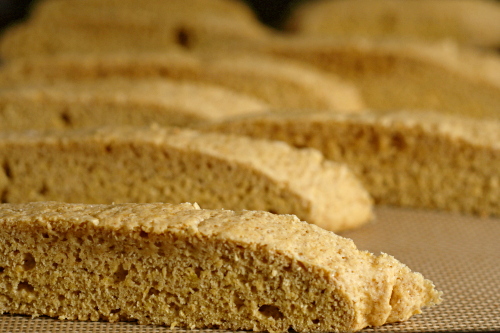
It didn’t, and the first batch of these biscotti weren’t great. I added a few tablespoons of butter to the second batch (less than half of what a regular cookie recipe has), and the texture was what Dave and I prefer in our biscotti – crunchy but not teeth-breakingly so. But there was some metallic background taste that Dave and I couldn’t identify, which made our tongues tingle unpleasantly after a bite.

Copy of IMG_0847
right – half the baking powder

What in the world was that? My guess was that there was too much baking powder, but the amount I used seemed on par with other biscotti recipes. So I tried one more time, this time making two half-batches of dough, one with half the amount of baking powder, one with the same amount.

Copy of IMG_0527

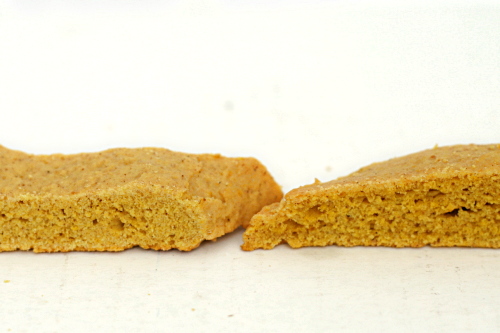
Well, I don’t know what was wrong with that second batch. Maybe I accidentally doubled the baking powder, because when I divided the amount in half, the biscotti didn’t rise correctly. It tasted good and the texture was fine, but it didn’t dome in the middle to make pretty shapes. The half-batch with the full amount of baking powder was perfect – crunchy, smooth and domed, and no metallic taste.

Copy of IMG_0889
left – half the baking powder

Which means I have no more excuses to experiment. I have half a carton of cranberries in my fridge, and I’m just about out of scones stored in my freezer, so I’m itching to make cranberry scones. And I have a friend with a birthday soon, and I want to send treats. But that’s breaking the rules, I suppose. Two more weeks until I get to bake again.

It’s cheating to let myself bake as long as it isn’t desserts for myself, right? Right?

Copy of IMG_0528
the first, butterless batch

One year ago: Bourbon Pumpkin Cheesecake

Printer Friendly Recipe
Pumpkin Biscotti
(adapted from Simply Recipes)

2½ cups (12 ounces) all-purpose flour
1 cup (7 ounces) granulated sugar
1 teaspoon baking powder
1 teaspoon cinnamon
½ teaspoon nutmeg
pinch ginger
pinch cloves
½ teaspoon salt
2 eggs
6 tablespoons butter, melted
½ cup pumpkin purée
1 teaspoon vanilla extract

1. Preheat oven to 350°F. Sift together the flour, salt, sugar, baking powder, and spices into a large bowl.

2. In another bowl, whisk together the eggs, melted butter, pumpkin purée, and vanilla extract. Pour the pumpkin mixture into the flour mixture. Give it a rough stir to generally incorporate the ingredients, the dough will be crumbly.

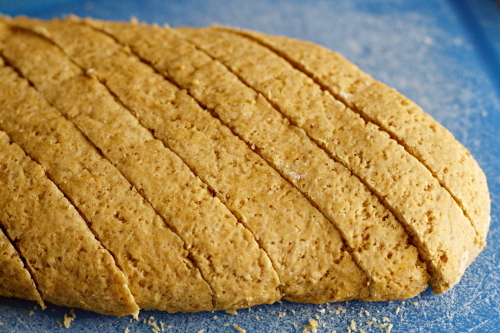
3. Flour your hands and a clean kitchen surface and lightly knead the dough. Lightly grease a baking sheet or line it with parchment paper. Form the dough into a large log, roughly about 15-20 inches by 6-7 inches. The loaves should be relatively flat, only about ½ inch high. Bake for 22-30 minutes at 350ºF, until the center is firm to the touch. (Feel free to also form two smaller logs for cute two-bite biscotti; just cut the baking time to 18-24 minutes.)

4. Let biscotti cool for 15 minutes and then using a serrated knife cut into 1 inch wide pieces. Turn the oven to 300ºF and bake for an additional 15-20 minutes. Cool completely.

Copy of IMG_0894

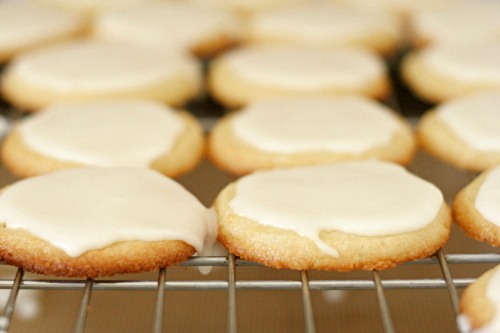
glazed lemon cookies

Copy of IMG_8114

Earlier in the summer, I got it in my head that I could bake all I wanted as long as I just sent the treats away. Brilliant! All the swirling butter and sugar in the mixer without any of the calories! I don’t have a PhD for nothing, people.

Copy of IMG_8082

So I put out a note on Facebook – essentially “Hey! Who wants treats!” – got a whole bunch of responses, and spent the next day baking.

Copy of IMG_8089

The weakness in my strategy was that it’s almost never the actual baked dessert that I overeat. It’s the dough, always the dough.

Copy of IMG_8108

Plus, I know everyone jokes about “Oh, I have to eat one, right? Just to make sure they’re good? <wink wink>.” The thing is, you do have to eat one to make sure they’re good! What if you forgot the salt and doubled the baking powder or, I don’t know, some other easily overlooked lame-brained maneuver? And you send out eight packages, all over the country, to friends and family you haven’t seen in ages, all filled with lackluster messed up “treats”?

Copy of IMG_8112

Anyway, so after spending all day shopping, baking, packaging, eating lots of dough and (at least) one of each treat, I decided I should make myself go for a run.

Copy of IMG_8113

Uh, it wasn’t the best run ever. It was one of those runs where puking doesn’t seem too far off. Weird that sugar and butter aren’t very good fuel for exercise. Bummer.

Copy of IMG_7879

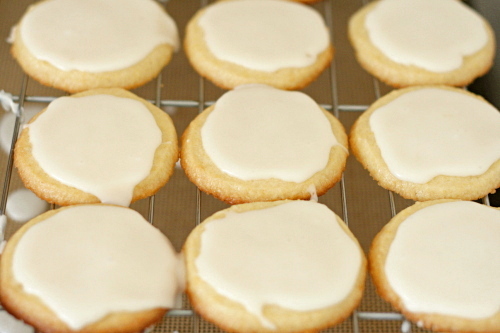
So I’ve mostly given up on the “I’ll just send everything away!” idea. Which is a shame, because now it’s going to be that much harder to find a reason to make these perfect lemon cookies. Sweet but tangy, super soft and tender, topped with a flavorful powdered sugar glaze that dries on top and snaps just a bit when you bite through it, these are cookies that I can’t resist in dough or baked form.

Copy of IMG_8115

One year ago: Wheatmeal Shortbread Cookies

Printer Friendly Recipe
Glazed Lemon Cookies (from Cooks Illustrated)

Cookies:
¾ cup (5.25 ounces) granulated sugar
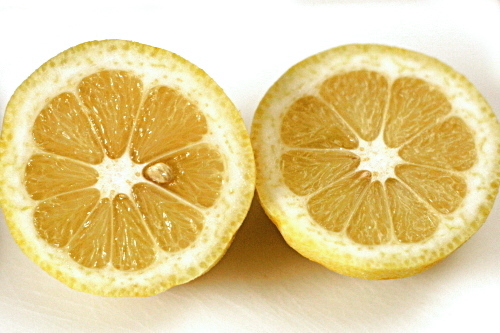
2 tablespoons grated zest plus 2 tablespoons juice from 2 lemons
1¾ cup (8.75 ounces) unbleached all-purpose flour
¼ teaspoon baking powder
¼ teaspoon salt
12 tablespoons (1½ sticks) cold unsalted butter, cut into ½-inch cubes
1 large egg yolk
½ teaspoon vanilla extract

Glaze:
1 tablespoon cream cheese, softened
2 tablespoons juice from 1 lemon
1½ cups (6 ounces) confectioners’ sugar

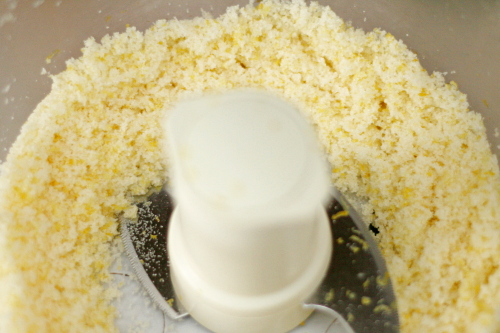
1. For the cookies: In a food processor, process the granulated sugar and lemon zest until the sugar looks damp and the zest is thoroughly incorporated, about 30 seconds. Add the flour, baking powder, and salt; pulse to combine, about ten 1-second pulses. Scatter the butter pieces over the dry ingredients; pulse until the mixture resembles fine cornmeal, about fifteen 1-second pulses. In a measuring cup or small bowl, beat together the lemon juice, egg yolk, and vanilla with a fork to combine. With the machine running, add the juice mixture in a slow, steady stream (the process should take about 10 seconds); continue processing until the dough begins to form a ball, 10 to 15 seconds longer.

2. Turn the dough and any dry bits onto a clean work surface; working quickly, gently knead to ensure that no dry bits remain and the dough is homogeneous. Roll the dough into a cylinder approximately 10 inches long and 2 inches in diameter. Center the dough on a piece of parchment. Fold the paper over the dough. Grasp one end of the parchment. With the other hand, use a bench scraper to firmly press the parchment against the dough to form a uniform cylinder. Roll the parchment and twist the ends together to form a tight seal. Chill the dough until firm and cold, about 45 minutes in the freezer or 2 hours in the refrigerator. (The dough will keep in the refrigerator for up to 3 days or in the freezer for up to 2 weeks.)

3. Meanwhile, adjust the oven racks to the upper- and lower-middle positions; heat the oven to 375 degrees.

4. Line 2 large baking sheets with parchment paper or spray them with nonstick cooking spray. Remove the dough log from its wrapper and, using a sharp chef’s knife, slice the dough into rounds 3/8 inch thick; place the rounds on the prepared baking sheets, spacing them about 1 inch apart. Bake until the centers of the cookies just begin to color and the edges are golden brown, 14 to 16 minutes, rotating the baking sheets front to back and top to bottom halfway through the baking time. Cool the cookies on the baking sheets about 5 minutes; using a wide metal spatula, transfer the cookies to a wire rack and cool to room temperature before glazing.

5. For the glaze: Whisk the cream cheese and lemon juice in a medium nonreactive bowl until no lumps remain. Add the confectioners’ sugar and whisk until smooth.

6. To glaze the cookies: When the cookies have cooled, spoon a scant teaspoon of glaze onto each cookie and spread evenly with the back of the spoon. Let the cookies stand on a wire rack until the glaze is set and dry, about 1 hour. The cookies are best eaten the day they are glazed.

Copy of IMG_7881

snickerdoodle experiments

Copy of IMG_6966
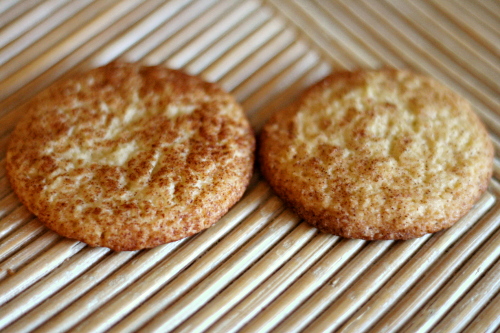
Uh…sorta forgot to write down which cookie is which, but, does it really matter?  They’re just about identical.

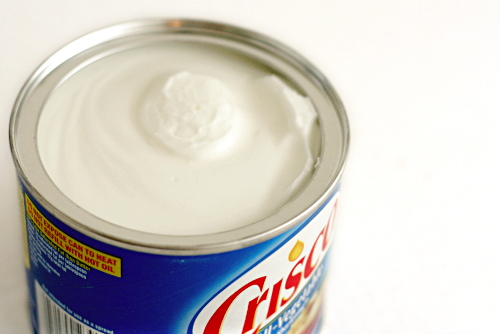
I don’t cook with shortening.  I just don’t.  Look, I know a tablespoon here or there isn’t going to kill me, but my granola-like reasons go beyond my health.  For one thing, it kind of grosses me out.  Mmm, chemically solidified oil, yum.  No.  Also, and here is where I really start to sound like a crazed liberal, but I try to vote with my dollar.  So if I don’t like how a product is produced or what the product stands for, I try not to buy it.

Copy of IMG_6572

Besides, shortening isn’t any good.  Its only advantage is it doesn’t melt as easily as butter, but if you know how to work with butter correctly, that isn’t an issue.

I absolutely don’t judge you if you cook with shortening, okay?  To each his own.  I’m fully aware that I’m being stubborn and probably impractical.  If I was at your house and you made a light, flaky pie crust with shortening, I would absolutely eat it and enjoy it.  And heck, good for you for not being as close-minded as I apparently am.

Copy of IMG_6901

So.  When I saw that Cooks Illustrated requires shortening in their snickerdoodle recipe, I had my doubts.  Yes, maybe the cookies would spread just a tiny bit more if they’re made with only butter, but is it significant?  To see how big of a difference the shortening would make, I made the recipe both ways and compared.  (Yes, I had to buy shortening to do this.)

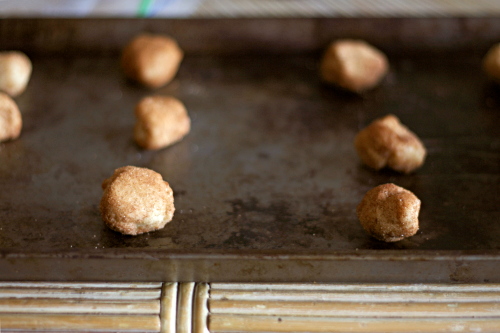
I made the dough and baked some immediately.  I sent most of those away, but my initial impression was that the cookies were identical.  I also froze some of each batch after forming it into balls, then toted in on a 9-hour drive for vacation, then refroze it, then defrosted it and left it in the fridge for a few days until I finally got around to baking it.  Way to respect my food, right?  Fortunately, they came out just fine.

Copy of IMG_6909

There were four of us comparing the cookies, and the others didn’t know which cookie had shortening and which used all butter.  Here are some of the comments:

  • Shortening: uniform texture; dry; generic; tastes storebought
  • All-butter: buttery; delicate; firm edges, soft middle; tastes like a snickerdoodle should taste; better

Copy of IMG_6964
butter + shortening

Are those conclusive results or what?  Also, I didn’t see an issue with the all-butter cookies spreading.  But in the interest of full disclosure, one of my friends didn’t really notice a difference between the two, so while the all-butter cookie did undoubtedly have a better, more buttery flavor and the other tasted a little flat in comparison, the difference isn’t huge.  Both cookies were good, of course.

But, I will certainly be leaving the shortening out of my snickerdoodles (and my pie crust and my biscuits and everything else) in the future.

Copy of IMG_6955
all butter

Printer Friendly Recipe
Snickerdoodles
(from Cooks Illustrated via Annie’s Eats)

Makes about 30 cookies

I recommend replacing the shortening with more (4 tablespoons) butter.  Also, I made my cookies smaller, didn’t flatten them, and baked them for about 2 minutes less.  I only ever bake one sheet of cookies at a time.

2¼ cups (11¼ ounces) unbleached all-purpose flour
2 teaspoon cream of tartar
1 teaspoon baking soda
½ teaspoon salt
12 tablespoon unsalted butter, softened but still cool
¼ cup vegetable shortening
1½ cups (10½ ounces) granulated sugar, plus 3 tablespoon for rolling dough
2 large eggs
1 tablespoon ground cinnamon, for rolling dough

1. Adjust oven racks to upper- and lower-middle positions.  Preheat the oven to 400ºF.  Line baking sheets with parchment paper.  In a medium bowl, whisk together the flour, cream of tartar, baking soda and salt; set aside.  In the bowl of an electric mixer fitted with the paddle attachment, cream the butter, shortening and 1½ cups sugar on medium speed until well combined, 1 to 1½ minutes.  Scrape down the sides of the bowl, add the eggs, and beat again until combined, about 30 seconds.  Add in the dry ingredients and beat at low speed until just combined, about 20 seconds.

2. In a small, shallow bowl, combine the 3 tablespoons sugar and the cinnamon for rolling the dough.  Stir or shake well to combine.  Working with a heaping tablespoon of dough each time, roll the dough into 1½-inch balls.  Roll the balls in the cinnamon sugar mixture and place them on the prepared baking sheets, about 2 inches apart.  Use a drinking glass with a flat bottom to gently flatten the dough balls to ¾-inch thickness (butter the bottom of the glass before starting, and dip it in sugar between cookies if it begins to stick).

3. Bake until the edges of the cookies are beginning to set and the center are soft and puffy, 9-11 minutes, rotating the baking sheets front to back and top to bottom halfway through the baking time.  Let the cookies cool on the baking sheets 2-3 minutes before transferring them to a wire rack to cool completely.

cottage cheese pufflets

Copy of IMG_9500

I often write blog entries in my head while I cook. While I was rolling out the dough and forming these pufflets, I was planning to tell you that I do not recommend this recipe. That it was my least favorite Dorie Greenspan recipe so far. That the dough was impossible to work with. (I was also thinking: God [bleep] damn it, this stuff [bleep] sucks, give me a [bleep] break.)
Copy of IMG_9480

In other words, the dough was really sticky. It’s a mixture of pureed cottage cheese, butter, flour, and just a bit of sugar. It wasn’t very sweet, and honestly, just didn’t taste all that great as dough.

Copy of IMG_9484

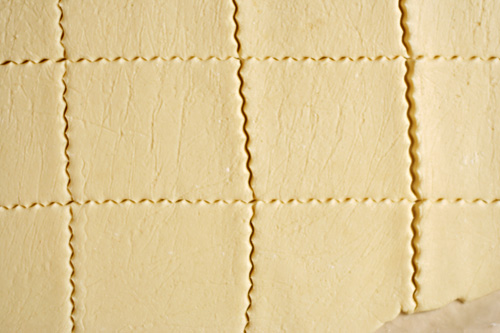
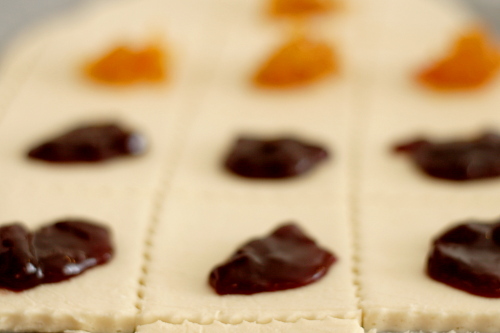
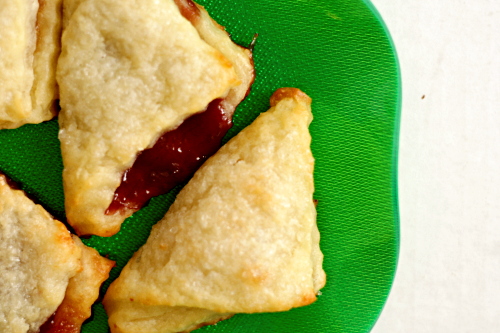
After the dough is chilled, it’s rolled out, cut into squares, filled with jam, folded to enclose the jam, and baked. And this is where I was getting so frustrated, because the dough was so. darn. sticky. The whole thing was turning into a mess, so I baked the few I’d formed and threw the rest back in the fridge to worry about later.

Copy of IMG_9489

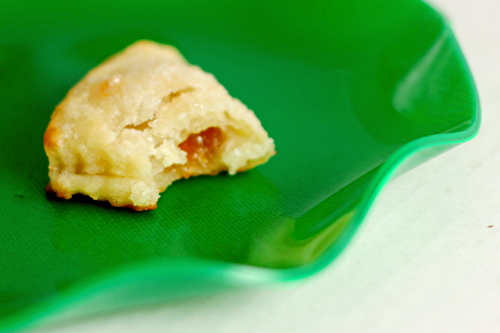
But then when I ate one, I changed my tune entirely! They’re so good! The crust does puff up and get really light, and it’s a good thing it isn’t too sweet, because of course the jam provides plenty of sweetness.

Copy of IMG_9493

The resulting treats are just too good to give up on this recipe because of the sticky dough. I think the best advice is just to leave yourself plenty of time while working with the dough to refrigerate it as soon as it gets sticky. Dorie doesn’t recommend a chilling time between rolling the dough flat and forming the pastries, but I really think it’s best to add one, probably about an hour long. With that in mind, I think these will be a lot easier to work with.

Copy of IMG_9504

Jacque has the recipe posted for Tuesdays with Dorie. I didn’t make any changes, but I did find that marmalade (the same ginger zucchini marmalade I used on the brioche tart) didn’t leak nearly as much as the raspberry jam I also used.

One year ago: Pan-Seared Steak with Red Wine Pan Sauce

Copy of IMG_9501

espresso cheesecake brownies

Copy of IMG_8405

One of the things I like about summer is wearing sundresses. For the bulk of the summer, that’s all I wear. They’re cute and comfortable and I love them.

But last week, it suddenly became a bit chillier. I put on a pair of jeans.

And I couldn’t button them. And the same thing happened the next day, with a different pair of pants.

Not good.

Copy of IMG_8342

Dave suggested I give up dessert, or at least limit it to weekends. And I was like “Wow?! Really?! It totally didn’t occur to me to consider the most indulgent part of my lifestyle as contributing to my recent weight gain! Thanks so much!” Also: <glare>

Copy of IMG_8344

At this point, I have no plans to give up dessert, even on weekdays. I will try not to go overboard. I will reduce my dinner portions. I will be extra careful with my daily snacks. But I’m not ready to give up dessert.

I can perhaps be convinced to leave the sour cream topping off of my cheesecake brownies though. Sacrifices!

Copy of IMG_8345

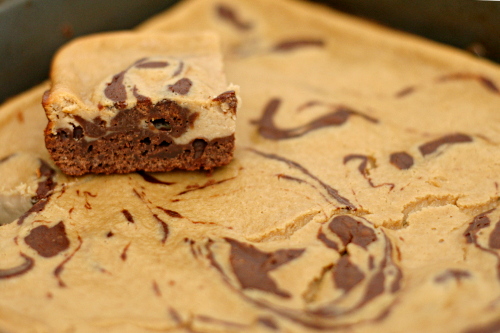
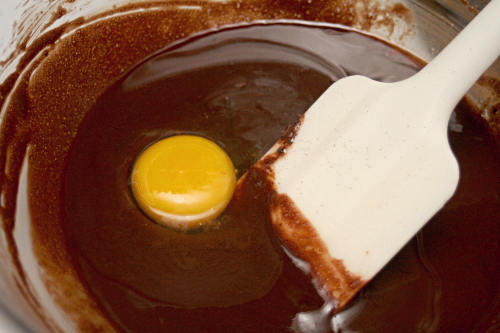
The base of these is a standard brownie. (Oh! I also left out one of the five tablespoons of butter from the brownies! Because of the pants and the not fitting! Also, I had four tablespoons easily available.) The next layer is a fairly standard cheesecake batter, although with a high ratio of eggs. Espresso is added to the cream cheese mixture.

Copy of IMG_8348

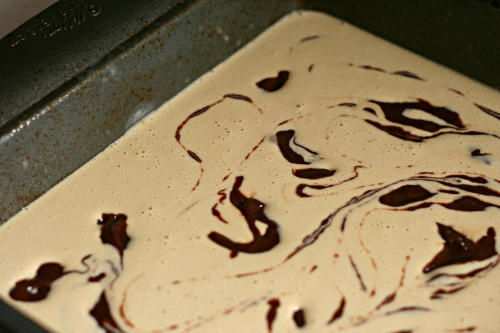
After most of the brownie batter is spread in a pan, the cheesecake portion is poured over it, and then the remaining brownie batter is dotted over the top. The two are swirled together before baking. This was a little iffy for me, because the brownie batter was a lot thicker than the cheesecake batter. But it basically worked.

Copy of IMG_8354

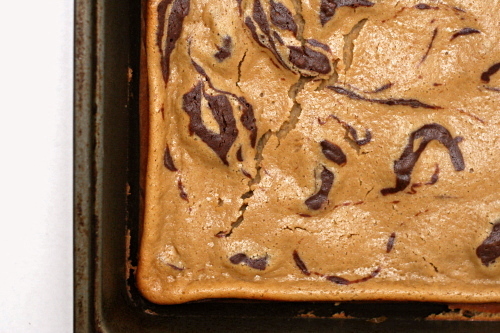
Overall, these were pretty good. No one component was overpowering. And, swirling issues aside, I thought they turned out quite attractive. And it took me five whole days to eat the entire pan, with almost no help from Dave!

Yeesh. Good thing I left the topping off, right?

Melissa chose this for Tuesdays with Dorie and has the recipe posted.

One year ago: Chunky Peanut Butter and Oatmeal Chocolate Chipsters

Copy of IMG_8395

applesauce spice bars

Copy of IMG_8183

My sister’s kids are very early risers. There are times when they get up so early that their parents have to creep into their room and tell them “It’s still night! Go back to sleep!”

I feel that way in August with food bloggers: It’s still summer! Put away the pumpkin!

Copy of IMG_8172

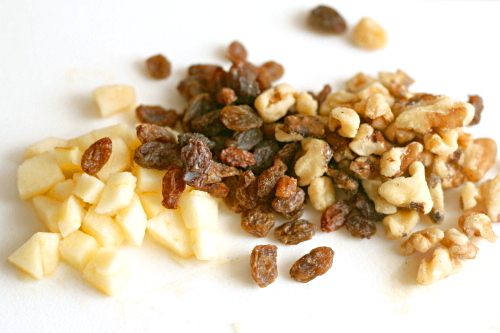
In revolt against making a dessert in August that Dorie recommends serving with mulled cider, I tried my darndest to screw it up. Most of my problems came down to dividing ½ cup by 8, because I made one-eighth of the recipe (again, in revolt). Guess what? It isn’t two tablespoons. It’s one tablespoon. So I added twice as many nuts and raisins, plus twice as much applesauce, which I then tried to scoop out before I mixed it in all the way. I’m a genius. Oh, I also heated the butter and sugar too much before adding the eggs, so the first bit of egg that I added to the mixture cooked immediately, and I had to pick out bits of cooked egg.

Copy of IMG_8178

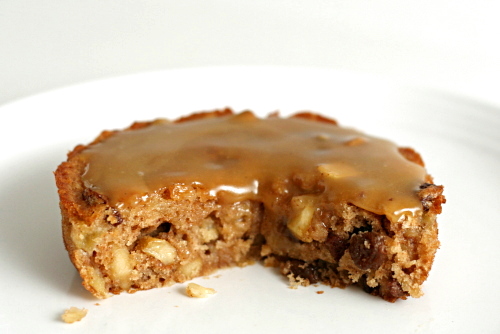
Despite my reluctance to make what’s clearly a fall treat in the middle of August and then my efforts to make it all wrong, the applesauce bars were pretty good. Really soft and tender, not too sweet, with a bit of tartness from (twice the amount of) the raisins. Dave said they made him want turkey and crackling leaves and hikes through crisp fall air. Maybe in a couple months.

Copy of IMG_8180

Karen chose this for Tuesdays with Dorie, and she has the recipe posted.

One year ago: Country Egg Scramble

Copy of IMG_8179

brownie buttons

Copy of IMG_7912

It took me a long time to understand edge people. In fact, my family is so squarely middle piece people that I didn’t even know brownie edge lovers existed until college. When my roommate and I would go out for dessert, I’d order a big piece of chocolate torte (with a side of mini cream puff), and she’d get a brownie (with a side of mini cream puff); but not just any brownie – a corner piece. What what what?

Copy of IMG_7829

Eventually, I realized it’s the chewiness that entices edge people. I think. I can somewhat see what edge people like about edge pieces, but I still am all about the middle. Soft and gooey all the way through.

Copy of IMG_7831

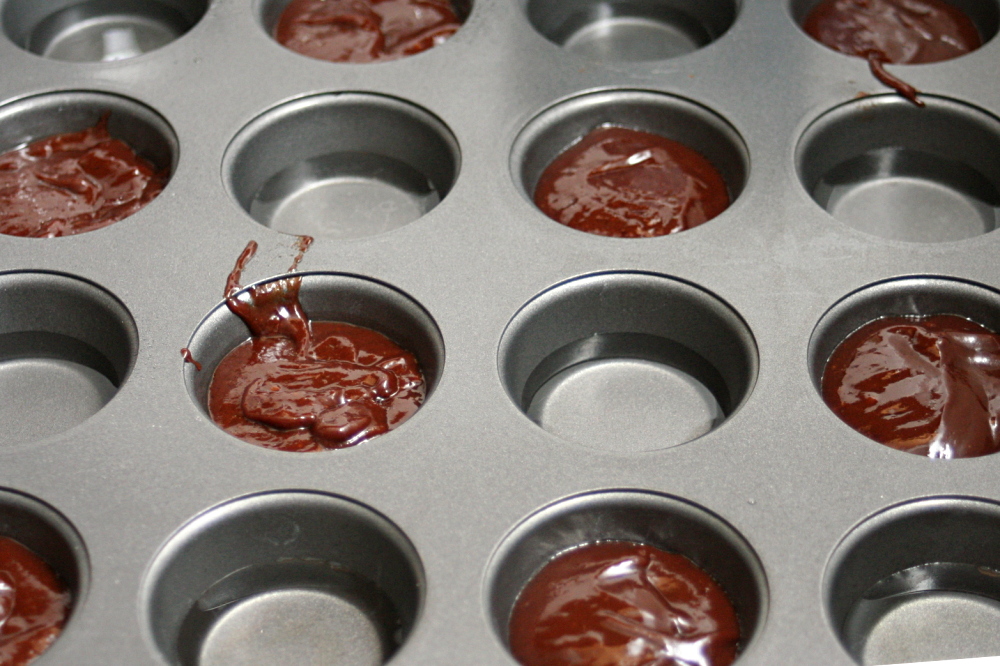
I was concerned that brownies baked in a mini muffin pan would be pretty much all edge. They weren’t. They were evenly textured, soft, and not chewy or dry. I did bake them for a lot less time than Dorie recommended, but they seemed cooked through. They certainly weren’t overcooked, which was my first priority.

Copy of IMG_7915

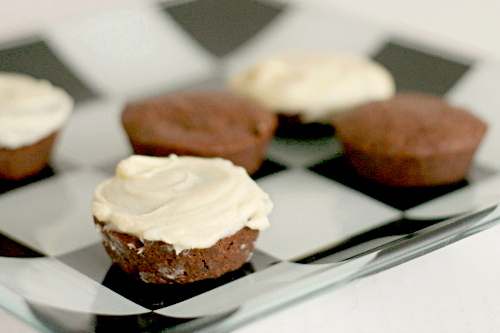
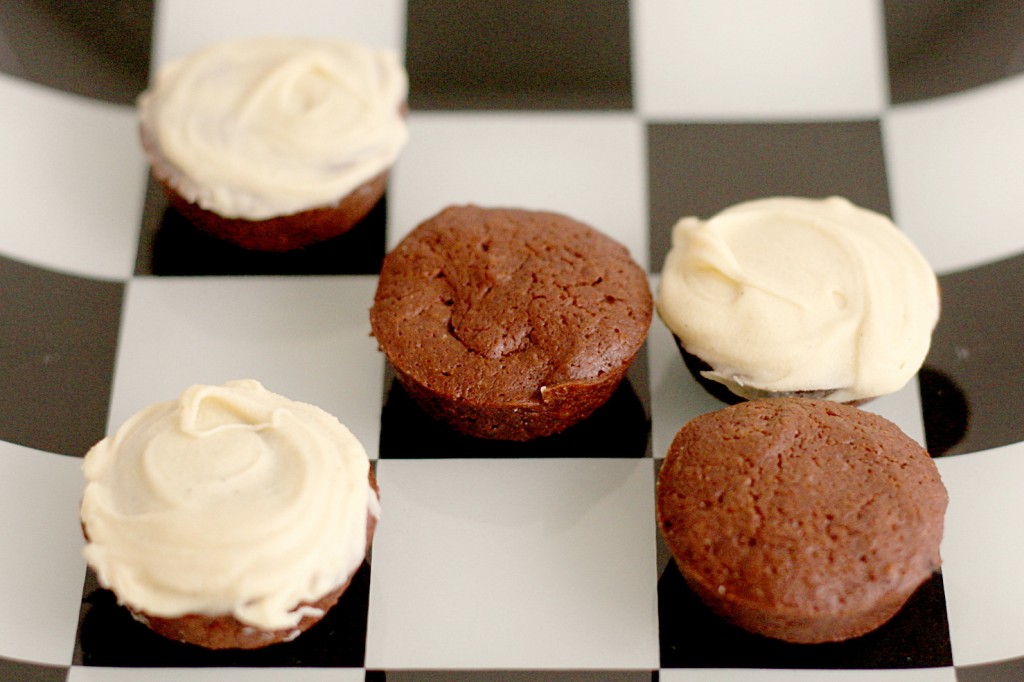
Overall, these were pretty much what you’d expect – brownies, but small and round. I like brownies. I like small things. (I can take or leave roundness.) I liked them.

Jayma chose this recipe for Tuesdays with Dorie, and she has it posted. I made 12 instead of 16 mini brownies, and baked them for 10 minutes instead of 14.

One year ago: Black and White Banana Loaf

Copy of IMG_7911

chocolate chip cookie experimentation

Copy of IMG_6823
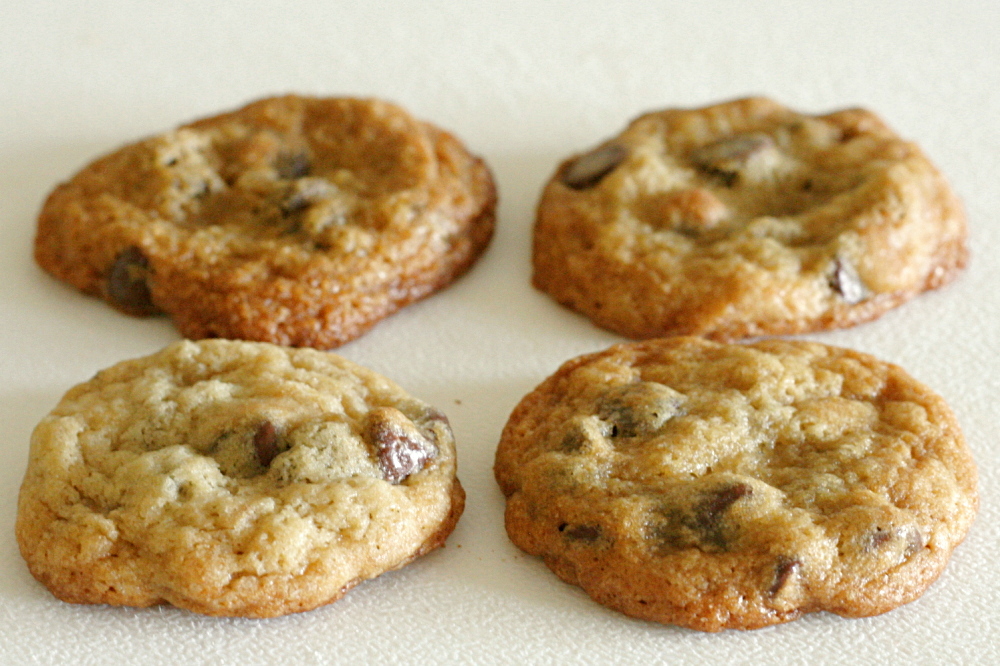
clockwise from upper left: #4 (whole wheat) #3 (yeast) #1 (control) #2 (bread)

I’m a scientist. I spent years working in labs, and I kid you not that what I did was combine ingredients and bake them. I did not, however, eat the results of those experiments. My cooking lately has become increasingly similar to my lab work. Notes are laboriously taken, samples are diligently labeled, variables are carefully controlled. But in this case, I do get to eat the results.  It’s a key difference.

This comparison is a little different than ones I’ve done in the past, because I wasn’t looking at different recipes. Instead, I used a master recipe and varied just one component in each batch of cookies. I mixed the dough, flash-froze the dough balls, transferred them to plastic bags, then took them on a 9-hour (make that 10-hour, because we missed a turn) drive. I baked each batch without adjusting the oven temperature in between. I had four tasters (including myself). I did not tell the other tasters what the differences between the cookies were.

Copy of IMG_5967

Batch #1: This was my control recipe. A fairly standard chocolate chip cookie recipe, the only difference between this recipe and Tollhouse is an increase in the ratio of brown sugar to white sugar.

Batch #2: This was the same as Batch #1, except I used bread flour instead of all-purpose flour.

Batch #3: This was the same as Batch #1, except I added 2 teaspoons instant yeast. The idea to use yeast in chocolate chip cookies came from this recipe, which I liked quite a bit. (Thanks to branny for bringing this to my attention.) However, since the recipe differs from traditional chocolate chip cookie recipes in a number of ways – bread flour, browned butter, less butter per flour – I couldn’t be sure what roll the yeast played. This is what spurred this whole comparison.

Batch #4: This was the same as Batch #1, except I used whole wheat pastry flour instead of all-purpose flour.

Copy of IMG_6014

The results:

Batch #1: Frankly, these aren’t my ideal chocolate chip cookies. That’s okay, because the purpose of this experiment was to identify differences, not necessarily find an ideal. (My notes say, simply, “soft.” So much for laborious note-taking!) They tend to be a little too flat, a little greasy, and, yes, very soft.

Batch #2: Alton Brown knows what he’s doing when he uses bread flour to make his cookies chewy. These were the overall favorite, with a nice balance between the greasy side and the cakey side – i.e., chewy.

Batch #3: Yeast apparently makes cookies fluffy. We found this one a little too cakey for our tastes.

Batch #4: I probably should have substituted just half of the all-purpose white flour for whole wheat pastry flour. A complete substitution resulted in cookies that were greasy, flat, and grainy. The flavor was a bit nutty. Kind of what you’d expect from whole wheat cookies, I suppose.

Copy of IMG_6814a

Overall conclusions:

  1. Bread flour makes cookies chewier, taller, and less greasy (or drier).
  2. Yeast makes cookies more cakey.
  3. A 1:1 substitution of whole wheat pastry flour for all-purpose flour in cookies is a bad idea.
  4. I am obsessive, at least when it comes to cookies!

Copy of IMG_6820a
left to right: #4 (whole wheat) #3 (yeast) #2 (bread) #1 (control)

One year ago: Summer Rolls

Chocolate Chip Cookies, previously:
Chocolate Chip Cookies (4 recipes)
Chocolate Chip Cookie (Cook’s Illustrated’s “Perfect”)

Master Recipe for Chocolate Chip Cookie Experiments

Please note that I’m not saying that you can’t make good cookies without bread flour, or that yeast will make all cookies too cakey. These were just the results with this particular recipe. All I’m saying is that yeast makes cookies cakier, and bread flour makes them chewier.

2¼ cups (10.8 ounces) all-purpose flour
1 teaspoon table salt
1 teaspoon baking soda
16 tablespoons (2 sticks) unsalted butter, at room temperature
¼ cup (1.75 ounces) sugar
1¼ cups (8.75 ounces) brown sugar
2 eggs
2 teaspoons vanilla extract
2 cups (12 ounces) semisweet chocolate chips

1. Adjust an oven rack to the middle position. Heat the oven to 375F. Line a baking sheet with parchment paper or a silicone baking mat. In a small bowl, combine the flour, salt, and baking soda.

2. In the bowl of a stand mixer fitted with the paddle attachment (or a hand mixer, or a spoon or whatever), beat the butter until creamy. Add the sugars and beat on medium speed until fluffy. Add the eggs, one a time, mixing for one minute after each addition. Add the vanilla. Reduce the mixer speed to low and add the flour, mixing just until almost combined. Add the chocolate chips and pulse the mixer on low speed until the chips are dispersed and the flour is incorporated.

3. Drop rounded tablespoons of dough onto the lined baking pan, spaced an inch or two apart. Bake the cookies for 7-10 minutes, until slightly browned around the edges and just set in the middle. Cool the cookies for at least 2 minutes on the sheet before transferring to a rack to finish cooling. (If they still seem fragile after 2 minutes of cooling, you can just leave them on the sheet to cool completely.)