chipster-topped brownies

copy-of-img_5872
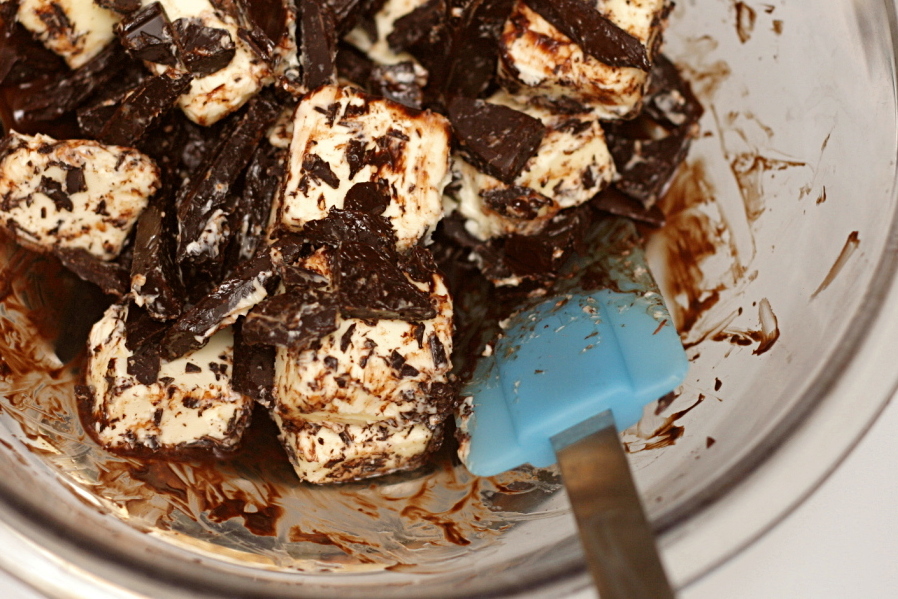
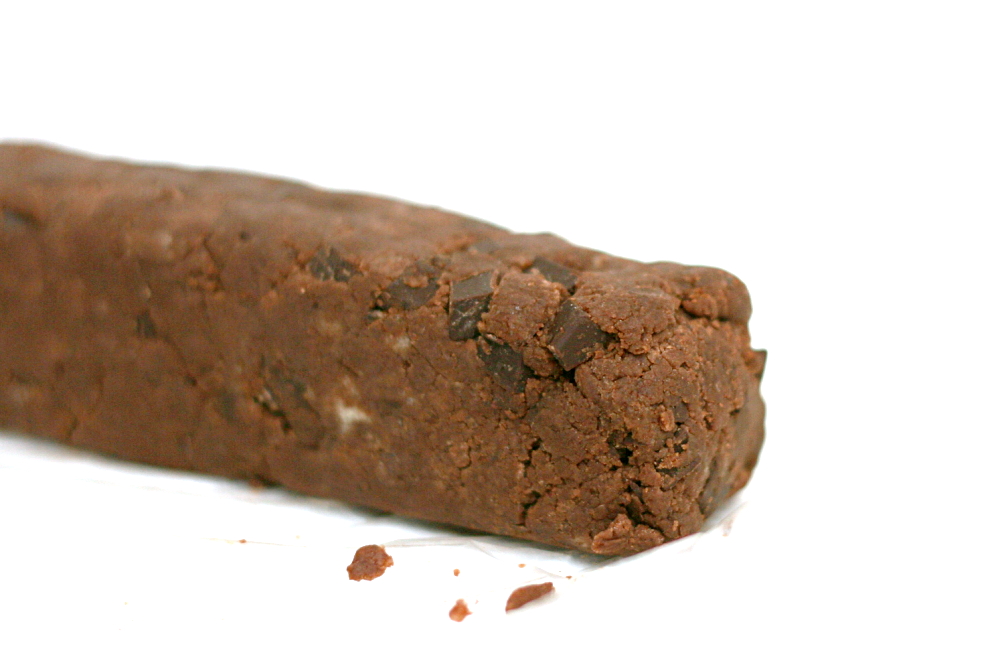
(chilled and therefore solid here)

One of my favorite things about the weekend is coffee. On weekdays, I limit myself to a big mug of black tea each day, maybe two mugs on Friday. But I have to be careful with caffeine, because even one mug of black tea makes me a little excited.  The day I made these brownies, I had about twice my normal weekend allotment of coffee at home, and then there was some deal at the bookstore, and I ended up getting a medium instead of my normal small cappuccino. Whoa.

I came home and tried to make dinner and these brownies. Dinner wasn’t too complicated, and this dessert is just a basic brownie recipe topped with a basic chocolate chip cookie recipe. But I couldn’t focus on anything. I kept walking into the kitchen, looking around, and basically thinking, “what should I do, what should I do, what should I do?” Bzzzzzt. That was my brain. Bzzzzt.
copy-of-img_5818

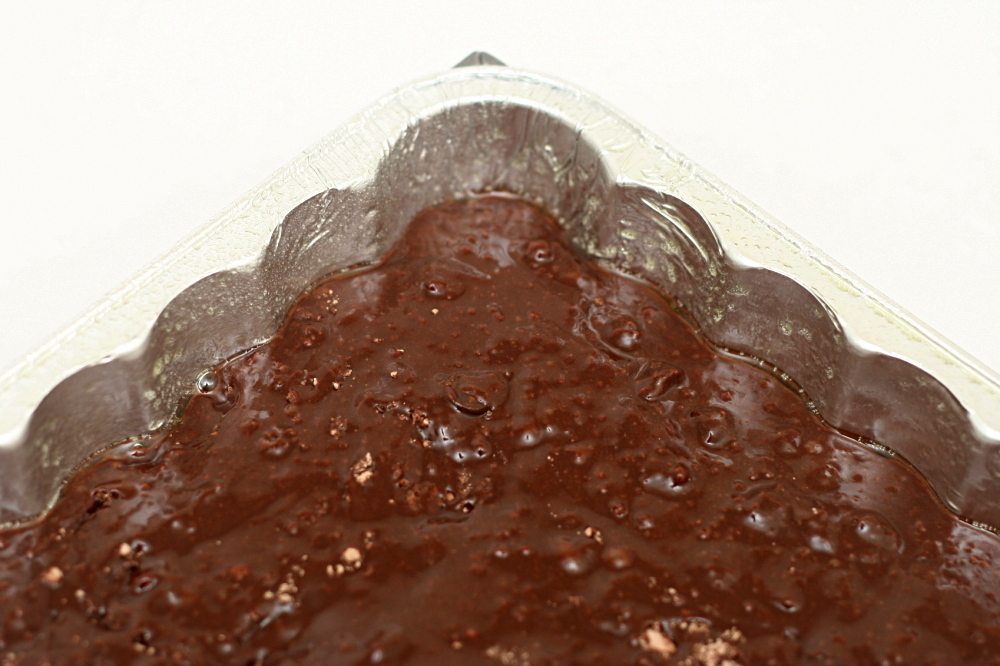
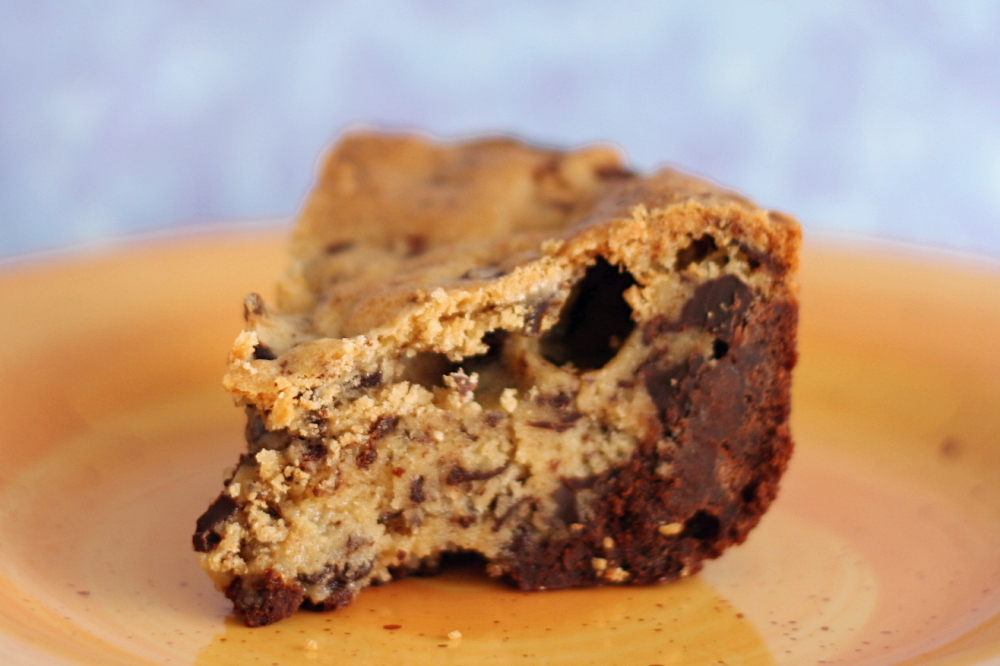
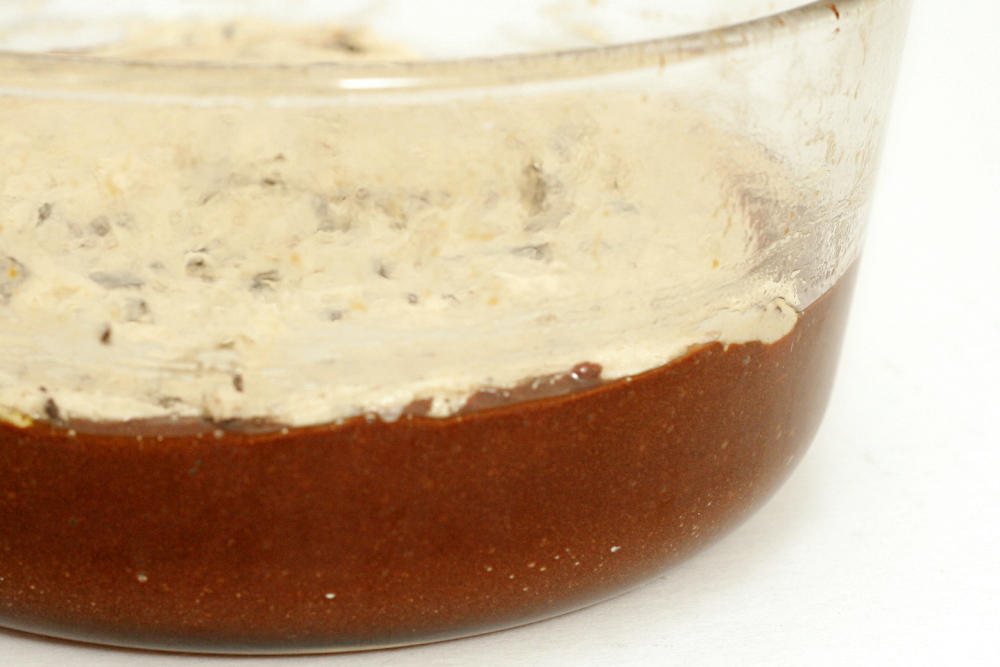
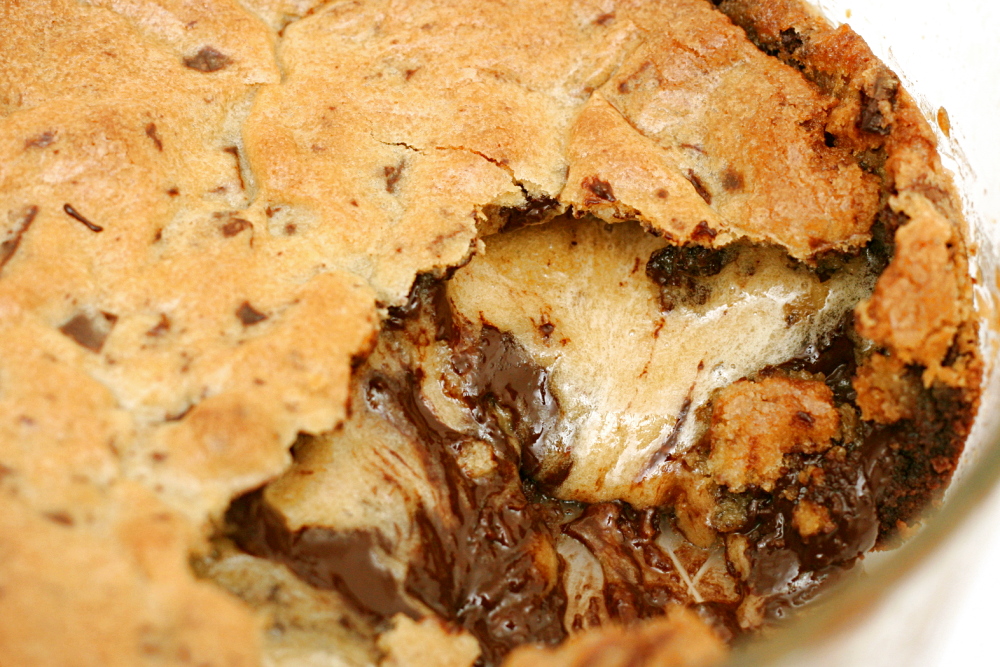
Dinner was sort of a disaster, so I decided to placate myself by skipping right to dessert – only to find that the middle of the pan of brownies was totally raw. That just made me irritated enough to grab a spoon and go to town.

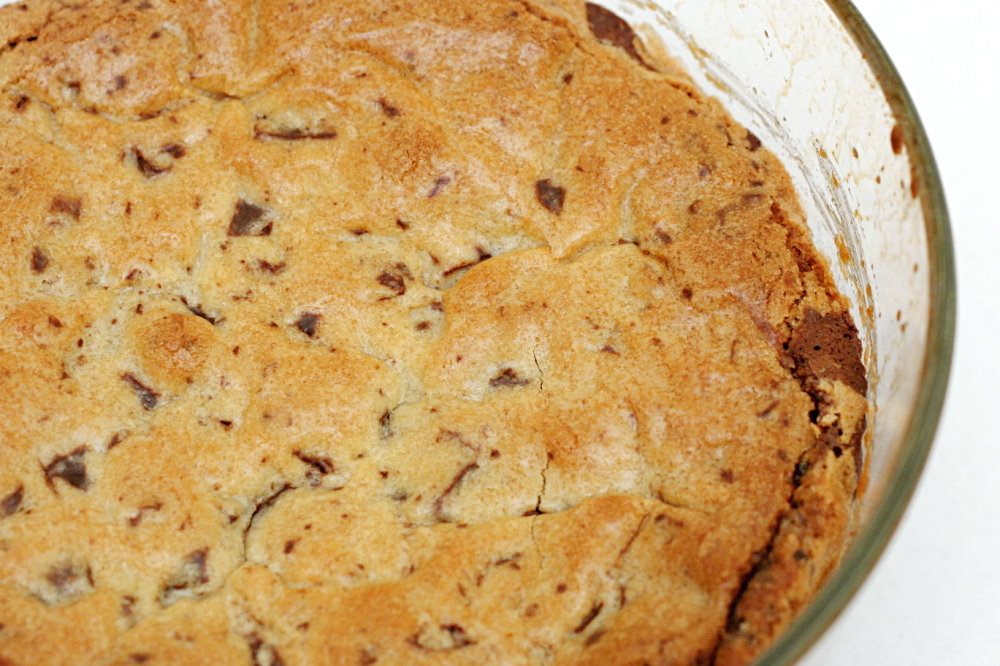
I have no one to blame but myself. I never bothered to check the doneness of the brownies at all. I didn’t pay attention to when they went into the oven, and then at some point later, it occurred to me that I should check on them. I noticed how dark the top was and assumed I’d overcooked them.
copy-of-img_5834

If I had bothered to read the discussion of this recipe on TWD’s site, which of course I hadn’t, I would have known that underdoneness was a common problem. To complicate matters, I made ¼ of the brownie portion and ½ of the cookie portion using a pan ¼ the size of what’s recommended for a full recipe. (Thanks to Caitlin for this advice – it was definitely closer to the ratio of brownie to cookie that I preferred.)

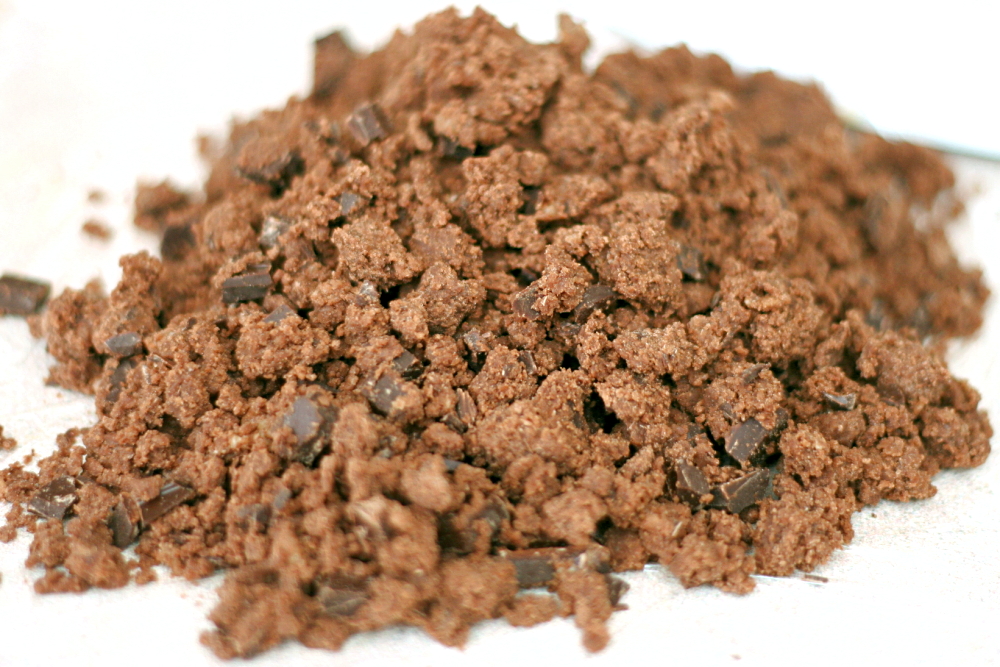
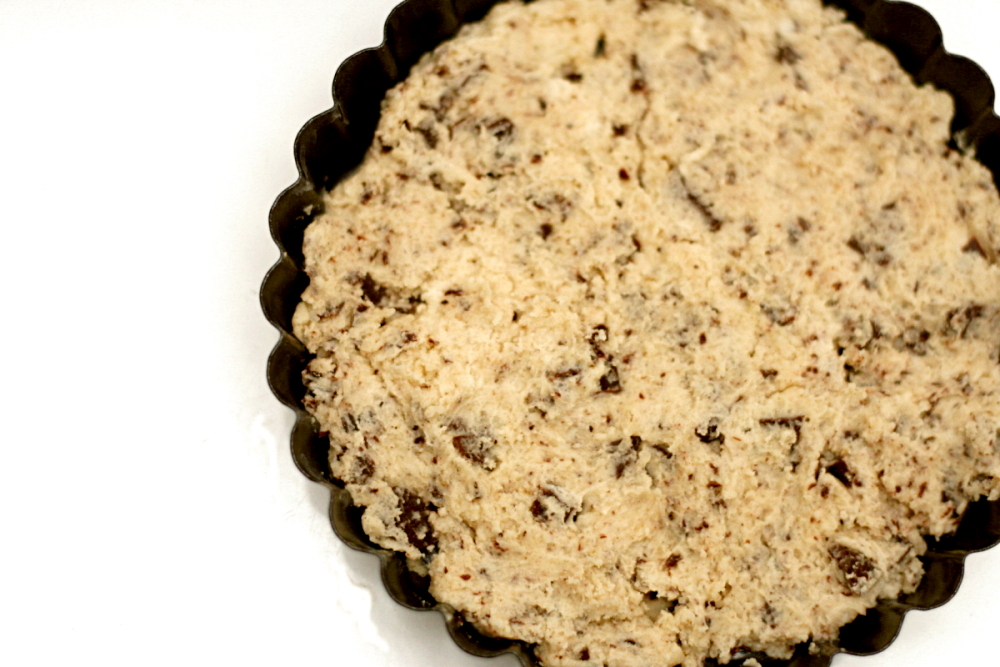
If this is the result, I’m really going to have to be more careful about my caffeine consumption. It’s a good thing that chocolate chip cookie dough is one of my favorite foods, because that and brownie batter is basically what this ended up as.

Chipster-Topped Brownies (from Dorie Greenspan’s Baking: From my Home to Yours)

For the brownie layer:
6 ounces bittersweet chocolate, coarsely chopped
3 ounces unsweetened chocolate, coarsely chopped
16 tablespoons (2 sticks) unsalted butter, cut into chunks
1⅔ cups (11.66 ounces) sugar
4 large eggs
½ teaspoon salt
½ teaspoon vanilla extract
1 cup (4.8 ounces) all-purpose flour
1 cup walnuts

For the cookie layer:
1¼ cups (6 ounces) all purpose flour
½ teaspoon baking soda
½ teaspoon salt
12 tablespoons (1½ sticks) butter, room temperature
¾ cup (5.25 ounces) packed brown sugar
⅔ cup (4.66 ounces) sugar
1 large egg
1 large egg yolk
1 teaspoon vanilla extract
6 ounces bittersweet chocolate, either chips or chunks

Getting Ready: Center a rack in the oven and preheat the oven to 350F. Butter a 9×13 inch pan, line it with wax or parchment paper and butter the paper. Put the pan on a baking sheet.

To make the brownie batter:
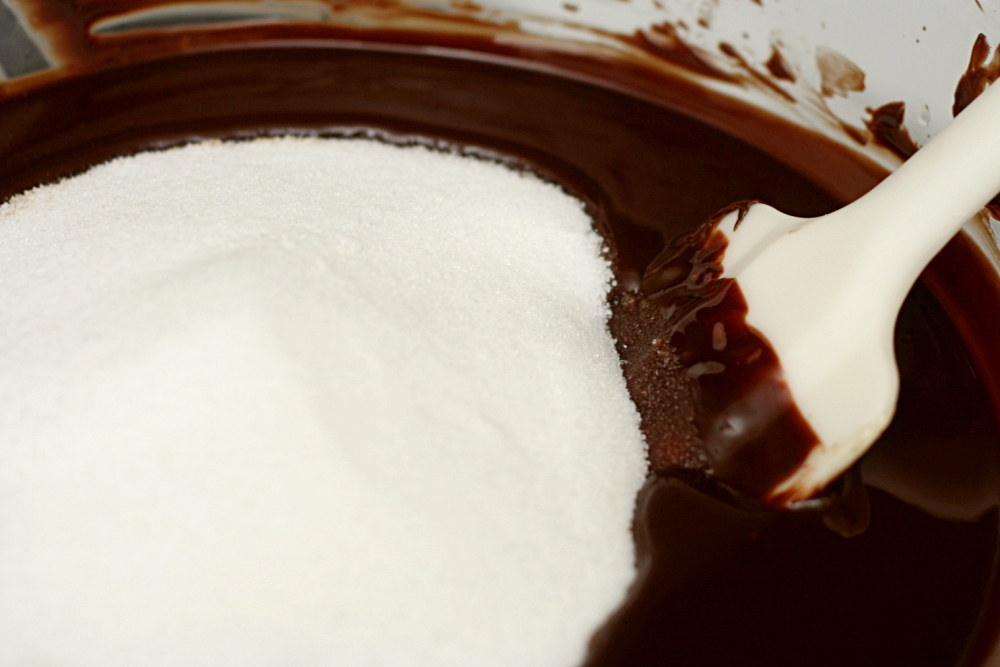
Put both chocolates and the butter in a bowl set over a saucepan of simmering water. Stirring occasionally, heat just until the ingredients are melted, shiny and smooth. If the mixture gets too hot, the butter will separate from the chocolate. Remove the bowl from the heat.

Working with a stand mixer, preferable fitted with a paddle attachment, or working with a hand mixer in a large bowl, beat the sugar and eggs on medium-high speed for about 2 minutes, until pale, thick and creamy. Beat in the salt and vanilla extract. Reduce speed to low and mix in the melted chocolate and butter, mixing only until incorporated. Scrape down the sides of the bowl with a rubber spatula, then, still on low speed, add the flour, mixing only until it disappear into the batter. Using a spatula, fold in the walnuts, and scrape the batter into the prepared pan. Set aside.

To make the cookie dough:
Whisk together the flour, baking soda and salt.

Working with the stand mixer in the cleaned bowl or with the hand mixer in another large bowl, beat the butter and both sugars together on medium-high speed until smooth and creamy, about 3 minutes. One at a time, add the egg and the yolk, beating for 1 minute after each addition. Beat in vanilla. Reduce the mixer speed to low and add the dry ingredients, mixing only until they disappear into the dough. Still on low, mix in the chocolate. Drop the cookie dough by spoonfuls over the brownie batter and, using a spatula and a light touch, spread evenly over the batter.

Bake for 50-55 minutes, or until the cookie top is deep golden brown and firm and thin knife inserted into the brownie layer comes out with only faint streaks of moist chocolate. Transfer the pan to a rack and cool to room temperature.

When the brownies are completely cool, carefully run a knife between the sides of the pan and the brownies, then invert them onto another rack, remove the paper and turn right side up onto a cutting board. Cut into bars about 2 inches by 1 inch.

One year ago: Ricotta Spinach Tofu Ravioli
copy-of-img_5837

orange-oatmeal-currant cookies

copy-of-img_4655

Is it possible to have a cookbook crush? I received Tartine in the mail three weeks ago, and I’ve hardly put it down since. I heard about the book when Mark recommended it, so I flipped through it one day in the bookstore. I flip through a lot of the books in the bookstore, but I can usually resist buying. I didn’t buy Tartine immediately, but after my initial look-through, I couldn’t put it out of my mind. The croissants! The shortbread! The banana cream pie!

copy-of-img_4591

There are a number of reasons to be excited about this book. The photography is beautiful. The desserts are garnished elegantly.  The author, Elisabeth Pruett (with her husband Chad Robertson) sets a friendly tone and provides plenty of helpful tips.

copy-of-img_4589

But as with any cookbook, it all comes down to the recipes. What I love about Tartine’s recipes is that they’re classics – lemon bars, clafoutis, gingerbread cookies – but they’re taken up a notch. The banana cream pie has a thin layer of chocolate on the bottom crust to keep it crisp. The croissant dough is built from a sponge and then a slow rise. The lemon bars have a crust made from browned butter that’s topped with an extra thick layer of curd.

copy-of-img_4594

You do have to work for those extra steps, so this book won’t be for everyone. But for someone like me, who enjoys the process as much as the result, the book is a perfect fit. There isn’t one recipe in the book that I’m not eager to make.

copy-of-img_4601

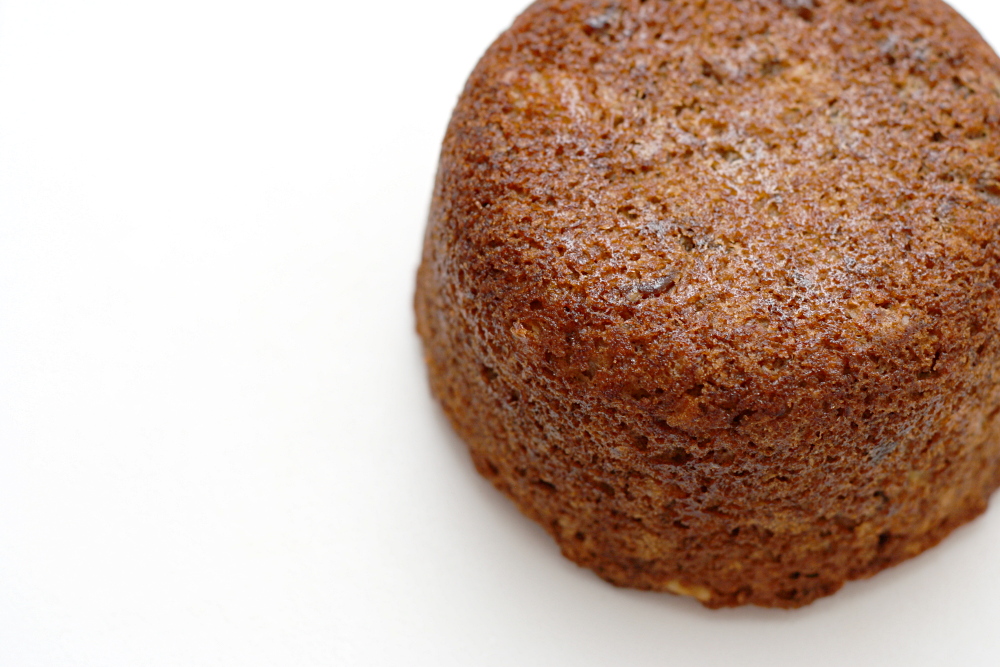
The first recipe I made was the Banana Date Tea Cake, which isn’t something that would normally sound good to me, but that’s what’s special about this book – everything sounds good. And the tea cake was delicious, with a moist, cinnamon-scented crumb that was just a little crisp at the edges. This is definitely one of my favorite banana breads. I have two old bananas sitting around right now, and I’m kicking myself for not buying dates.

copy-of-img_4573
miniature banana date tea cake

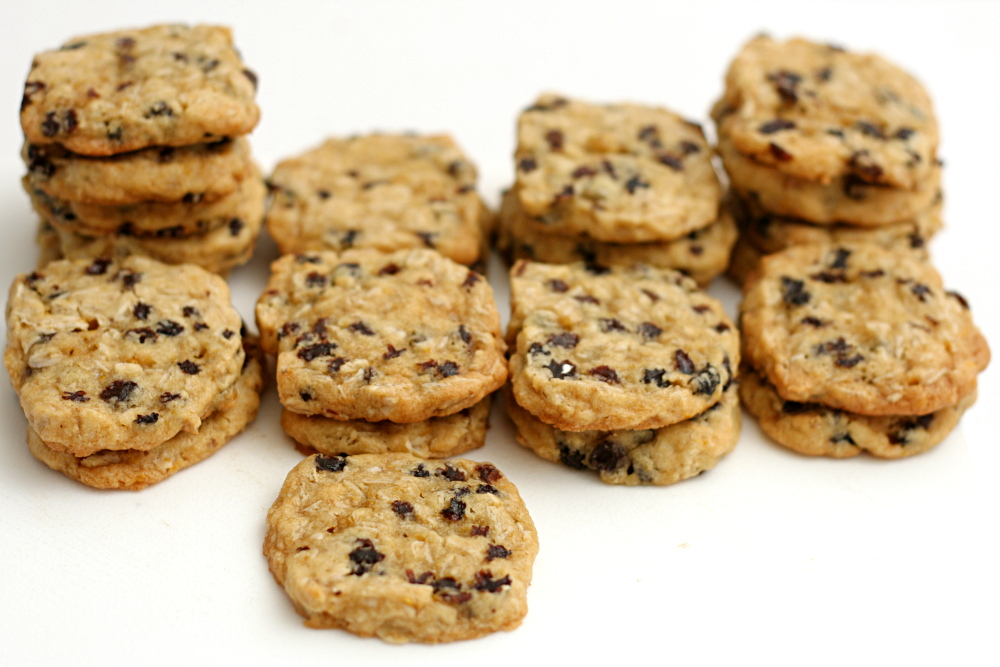
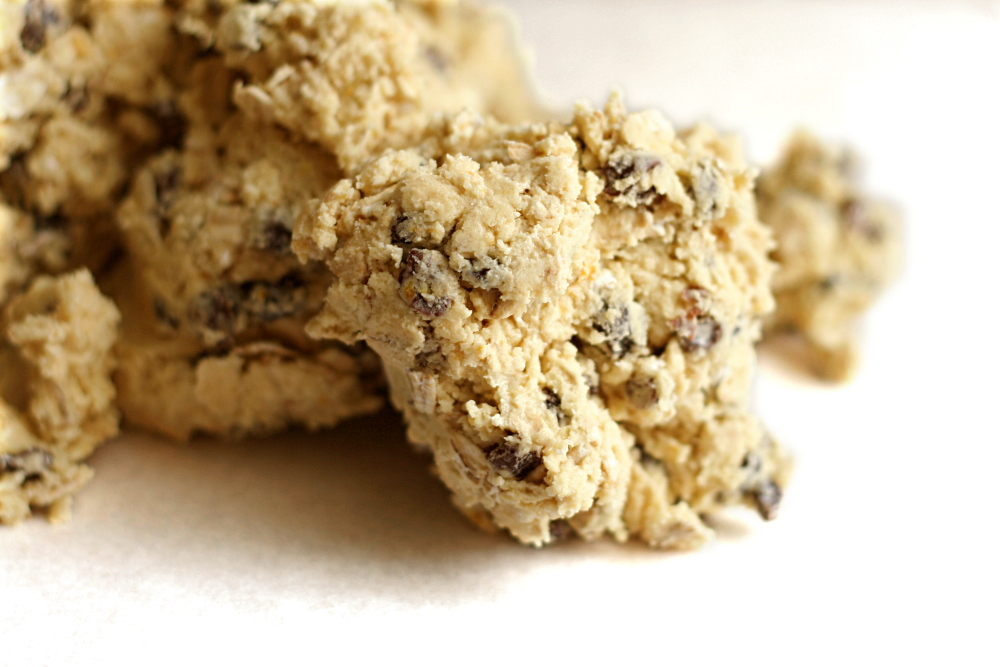
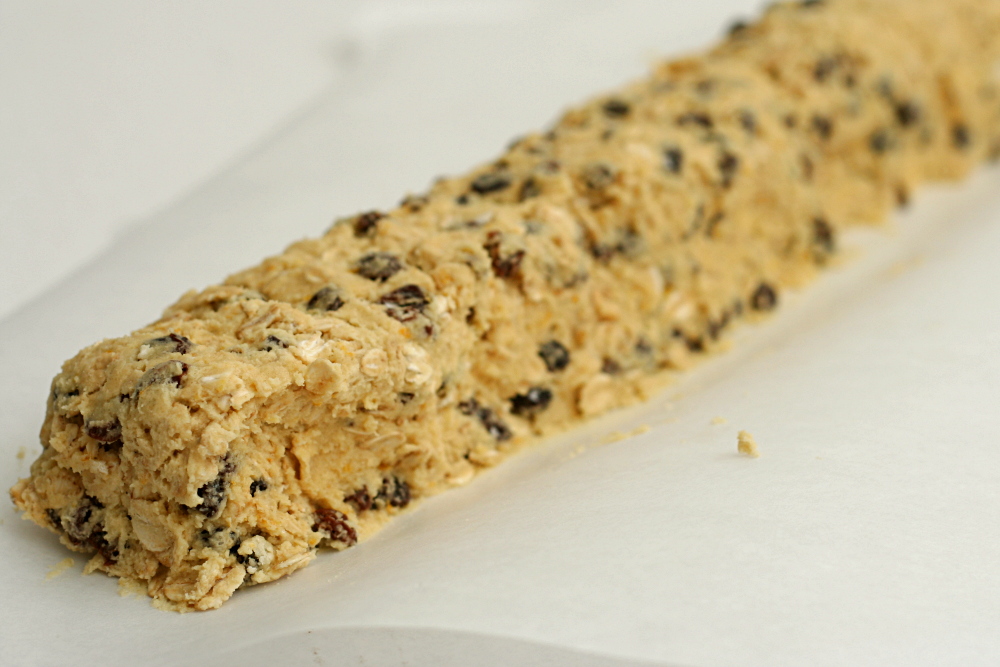
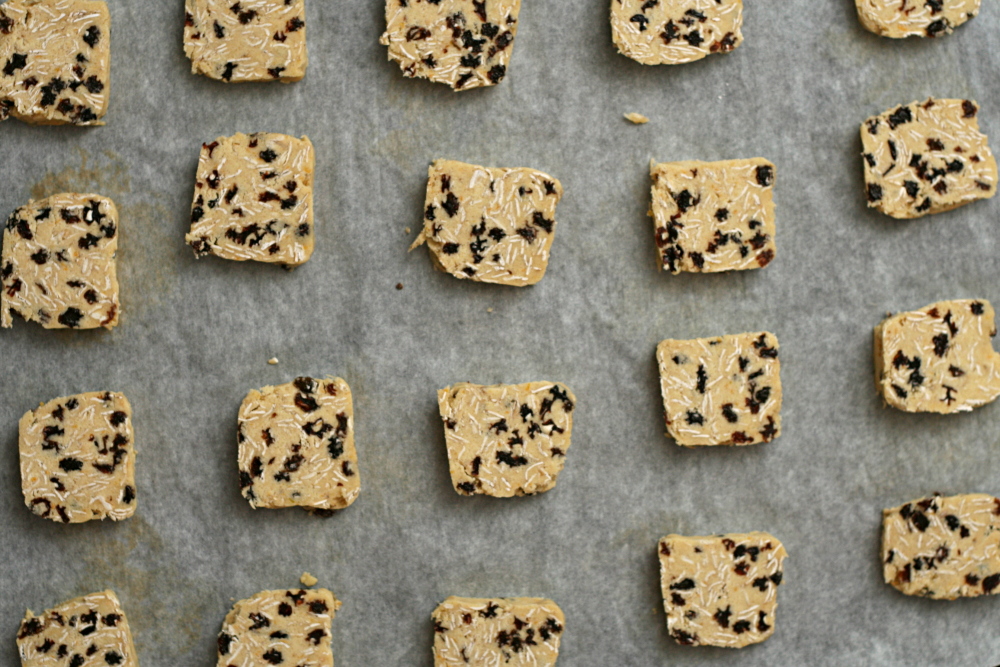
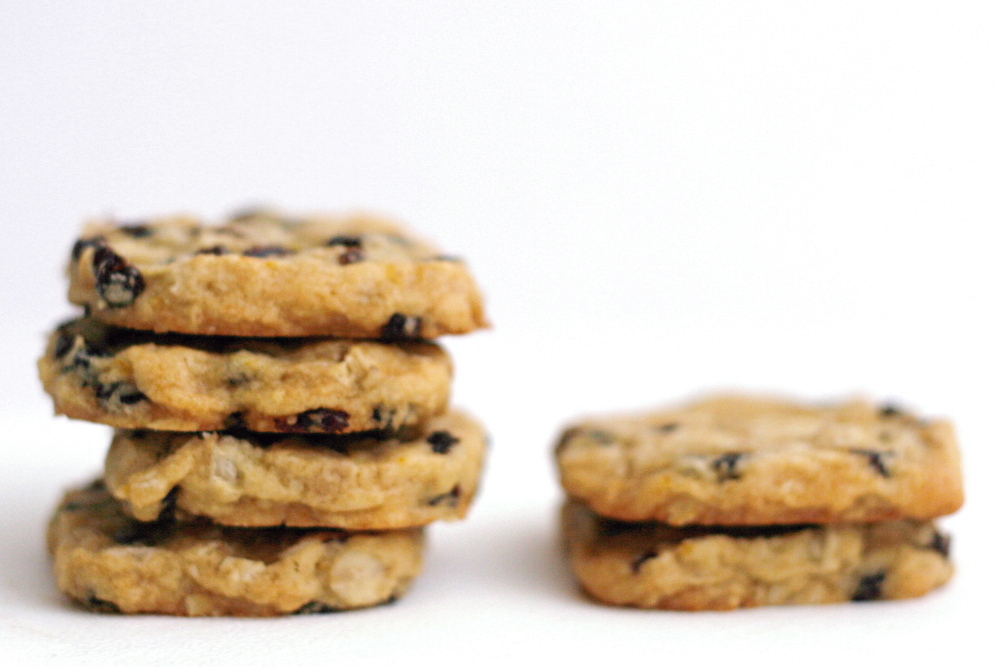
And these cookies honestly might be my new favorite (well…maybe not), and they’re certainly the best oatmeal cookie I’ve eaten. The method is mostly traditional – the butter and sugar are creamed, eggs are beaten in, and the dry ingredients are stirred in just until they’re incorporated. It’s a freezer cookie, so you wrap the dough up and chill it, then when you’re ready to bake, just slice off cookies.

copy-of-img_4644

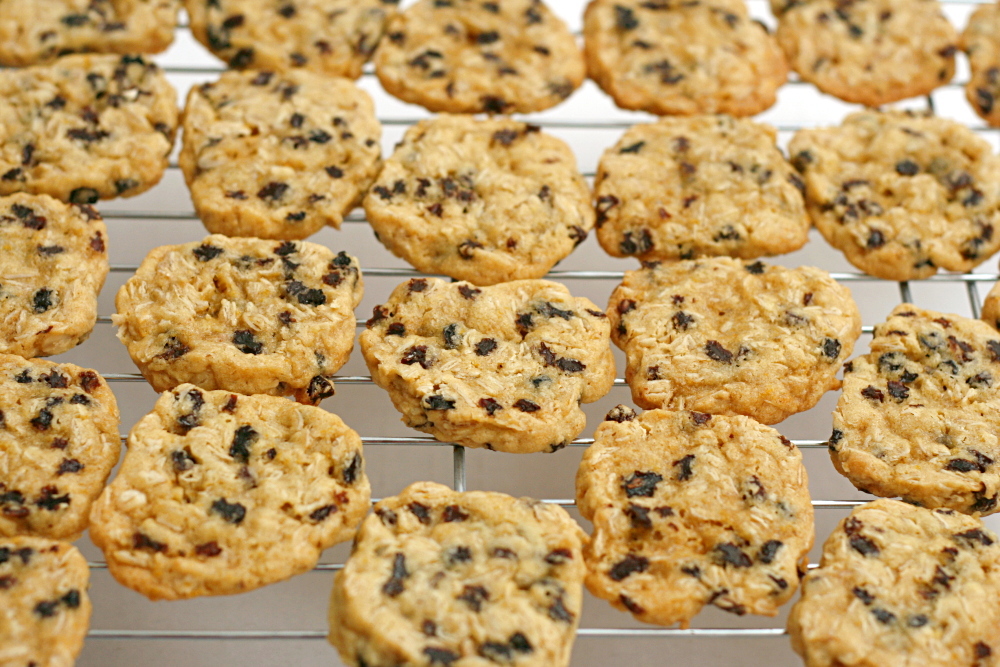
The cookies are perfectly balanced – slightly crisp on the edges, but mostly a soft chewy center, with tartness from the currants and a hint of orange and of spice. For a cookie, they feel almost light, with currants where chocolate often is and oatmeal adding plenty of healthy bulk. I’m looking for excuses to make them again, and I’m thinking particularly about Mother’s Day. It’s going to be impossible to make my way through Tartine if each recipe is so good that I have to make it twice to get enough.

copy-of-img_4645

One year ago: Red Beans and Rice

Orange-Oatmeal-Currant Cookies (from Tartine, by Elisabeth Pruett and Chad Robertson)

Makes 80 2-inch cookies

The recipe stressed the importance of being chilled overnight, but my dough was plenty chilled after a few hours in the freezer. Zante currants are the kind that you’ll find dried.

1½ cups (7 ounces) zante currants
2 cups (10 ounces) all-purpose flour
½ teaspoon baking soda
½ teaspoon nutmeg, freshly grated
1 cup (8 ounces/16 tablespoons) unsalted butter, at room temperature
1¼ cups (8¾ ounces) sugar
1 large whole egg
1 large egg yolk
1 teaspoon vanilla extract
2 tablespoons light corn syrup
1 tablespoon blackstrap or other dark molasses
½ teaspoon salt
4 teaspoon orange zest, grated
1½ cups (5½ ounces) old-fashioned rolled oats

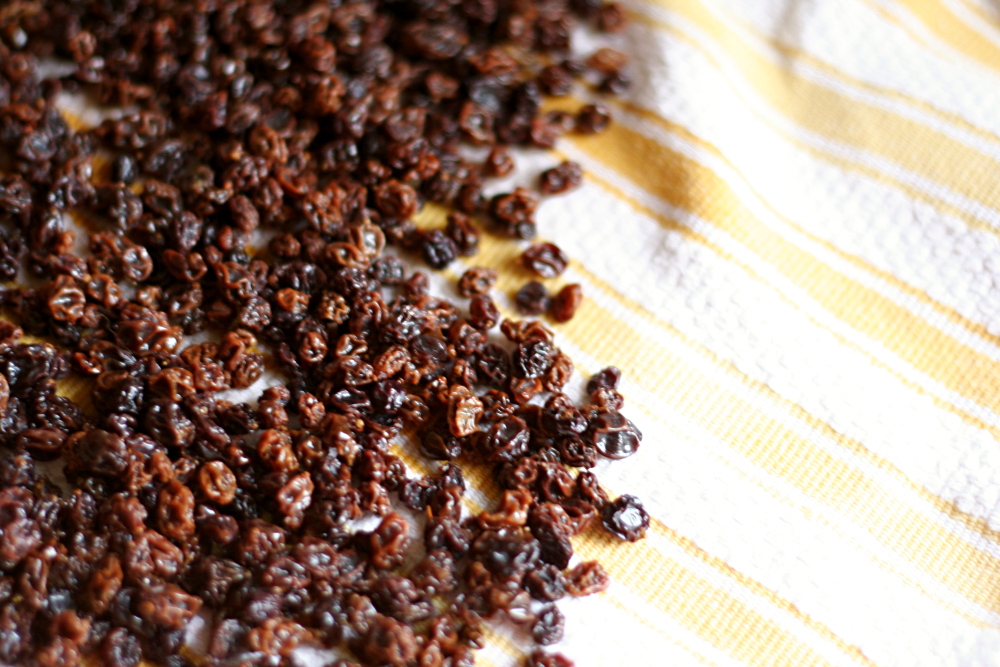
In a small bowl, combine the currants and warm water to cover and set aside for about 10 minutes until the currants are plumped. Drain well and set aside.

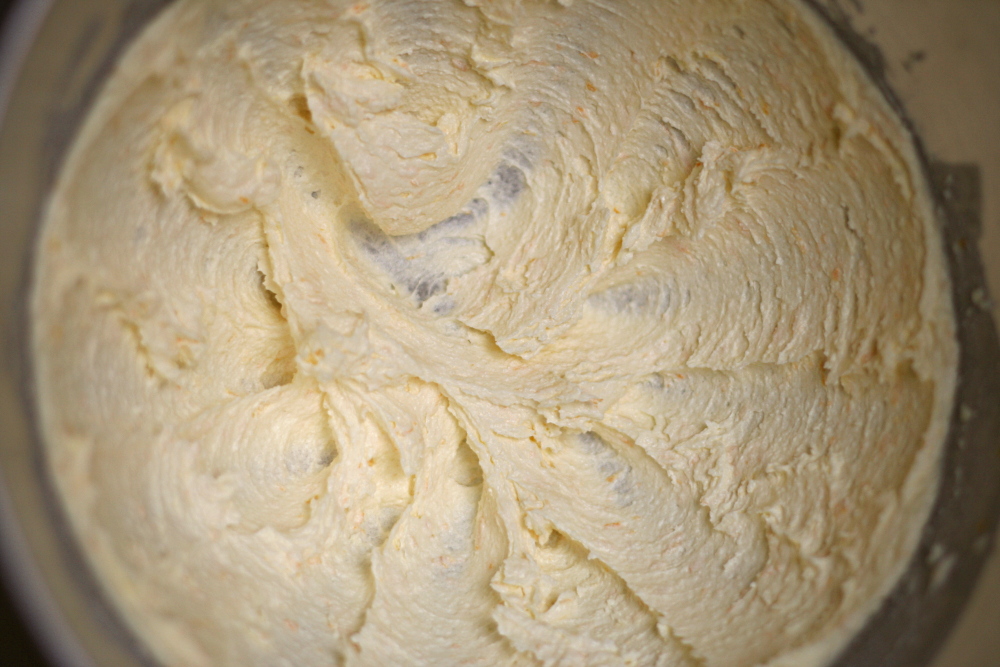
Sift together the flour, baking soda, and nutmeg into a mixing bowl and set aside. Using a stand mixer fitted with the paddle attachment, beat the butter on medium-high speed until light and creamy. Slowly add the sugar and mix on medium speed until light in color and fluffy. Stop the mixer and scrape down the sides of the bowl with a rubber spatula as needed. Add the whole eggs, egg yolk, vanilla, corn syrup, molasses, salt, and orange zest and beat until well mixed. Stir in the flour mixture, currants, and oats until well incorporated.

Divide the dough into 2 equal portions. Working on a large sheet of parchment paper, shape each portion into a log about 14 inches long and 2 inches in diameter. Gently Press each log to give it an oval shape. Wrap tightly in parchment paper or plastic wrap and place in the refrigerator or freezer overnight.

Preheat the oven to 350F. Line a baking sheet with parchment paper or a nonstick liner.

Unwrap the logs. Using a sharp knife, slice the logs into ovals about ¼ inch thick. Arrange the ovals on the prepared baking sheets. Bake until the edges of the cookies are lightly browned but the centers remain pale, 7-10 minutes. You may bake both pans at the same time, but rotate them 180 degrees at the midway point if they are not baking evenly. Transfer the cookies to wire racks to cool. The cookies will be soft when they cool. They will keep in an airtight container at room temperature for up to 2 weeks.

copy-of-img_4647

brownie comparison

copy-of-img_4059
clockwise from upper left: CI, Baked, Outrageous, box

Sometimes these recipe comparisons are a little silly. Once recipes reach a certain point of outstanding-ness, it’s almost meaningless to try to pick a favorite. Plus, we’re talking about brownies – how picky do we really need to be?

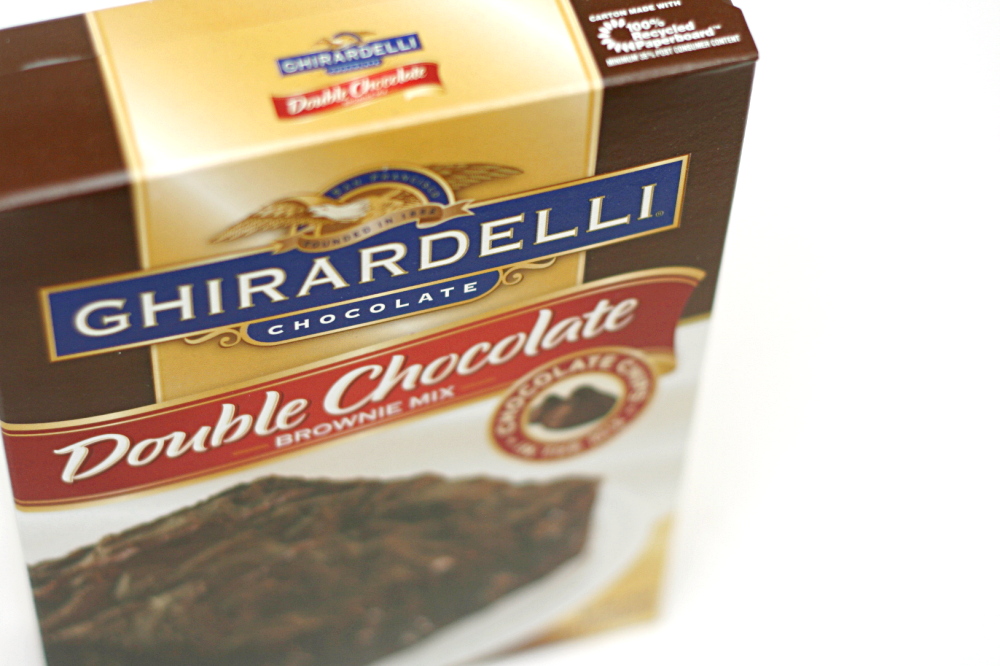
But since I’m not one to be deterred by practicalities, I went ahead with a brownie comparison post. I chose three superstars – Cooks Illustrated’s Classic Brownies, my favorite for years; Ina Garten’s Outrageous Brownies, very popular and the clear winner of another comparison; and the Baked (a bakery in Brooklyn) brownie, famous among people who care about these things. I also threw a boxed mix into the roundup. I chose Ghirardelli because it’s widely available in stores and often receives positive reviews. Plus it was on sale.
copy-of-img_4016

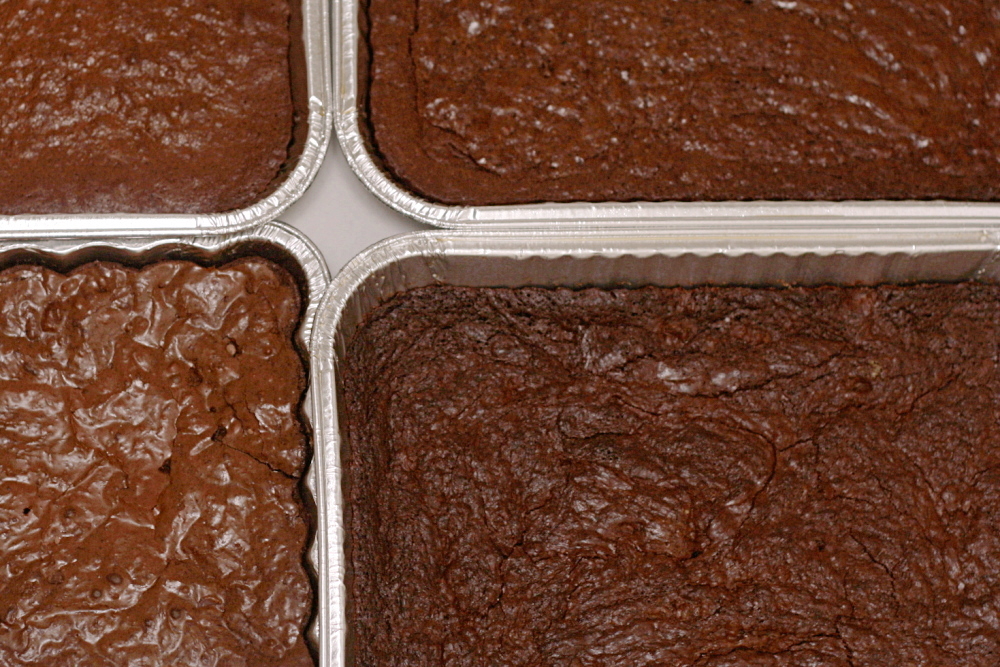
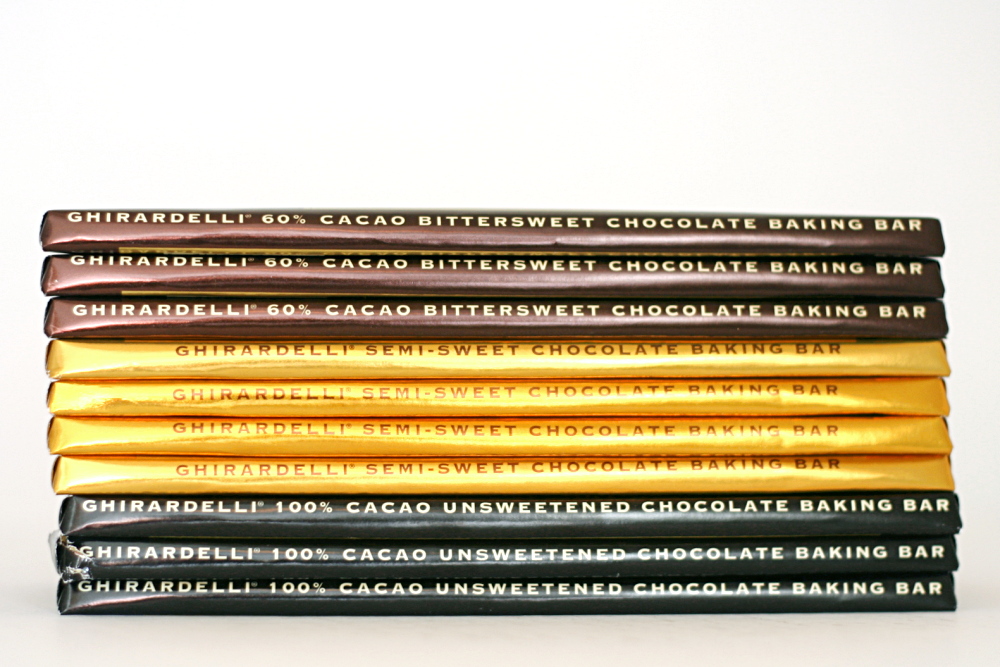
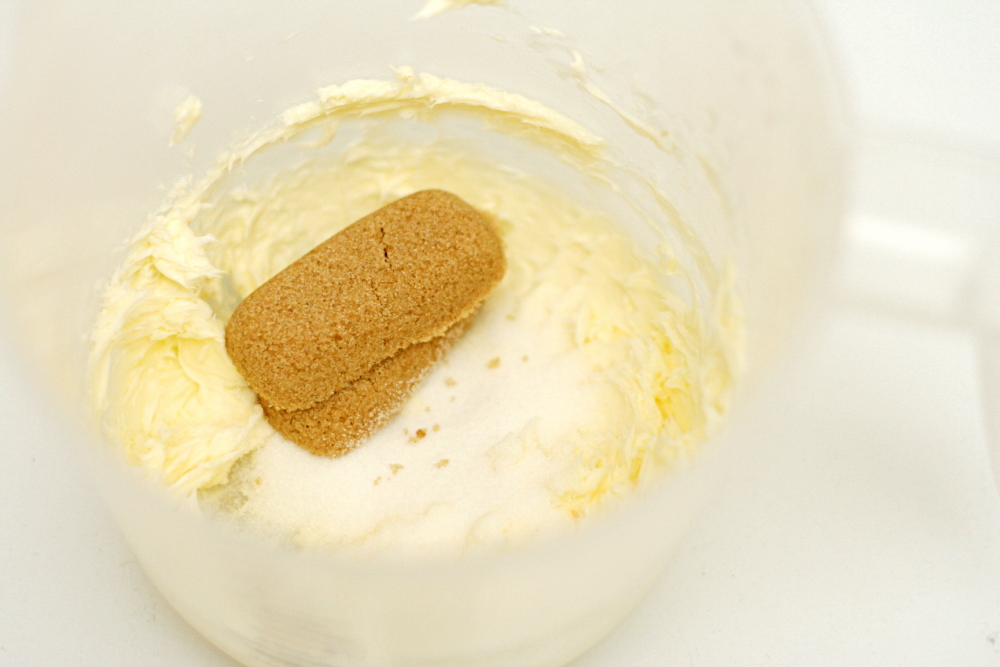
All three homemade recipes are made the same way, by melting the chocolate and butter together, whisking in the sugar, then the eggs, and finally folding in the dry ingredients. I baked the brownies in disposable foil pans (sorry, Earth!) because I was taking them camping. For baking, each foil pan was placed in a metal baking pan of the same size, in an effort to encourage more even heating than the thin foil pans could manage on their own. I chose a basic boxed mix and kept the homemade recipes at their most basic as well, leaving out nuts, spices, etc. I used Ghirardelli brand chocolate for everything.
copy-of-img_4013

It’s a good thing I had 9 tasters, because all of the recipes were good and no clear winner emerged. Here’s the breakdown:

-Ghirardelli boxed mix: This was the favorite of one person. Take that for what it’s worth – the same person had a McDonald’s chicken biscuit for breakfast after I’d made strawberry scones for him. He liked that the brownies were “sugary and moist.” Everyone else thought they were too sweet and not chocolately enough.

-Ina’s Outrageous brownies: When I made these, I was surprised by how much instant coffee powder the recipe calls for. I checked and double-checked. It was the correct amount, and that was the deciding factor for opinions of these brownies. Those who liked the bitter coffee taste (Dave was one) liked these brownies best.

-Cook’s Illustrated brownies: These were the general favorite of those who weren’t as excited about the Outrageous brownies’ coffee flavor. They were described as “cakey” by one person, and while they shouldn’t be confused with truly cakey brownies, I do think they have the most balanced texture. I guess I don’t want my brownies to be “outrageously” rich. They also have a nice strong chocolate flavor. One friend noted that both the initial taste and finish were chocolately, with none of the bitterness associated with the other homemade recipes. Perhaps because this was the only homemade recipe without coffee added?

-The Baked brownies: Major caveat – I underbaked the Baked brownies. (Ironic, no?) The toothpick came out clean, and it isn’t even supposed to be clean for brownies.  Apparently the crispy top was scraping the batter off the toothpick during my tests. I think that really affected people’s opinions of these brownies, which were often described as “too fudgy.” I did think the flavor was well balanced between sweetness and chocolate, and I liked the texture of the less-gooey edge pieces. (There’s an update below after I correctly cooked this recipe.)

copy-of-img_4052

I’m going to have to conclude that any well-reviewed homemade brownie recipe (and there are many more than these three) is going to be great. I often hear people say that they’ve never had homemade brownies better than a boxed mix, and that I don’t understand at all. Either they’re making the wrong brownies or they’re buying a much better mix than I did (or they like sugar a lot more than chocolate, like my chicken biscuit-eating friend). And since homemade brownies take only a few minutes longer to make than boxed brownies, I really don’t see the point.

copy-of-img_4055

Unfortunately, I don’t feel like this was the fairest comparison. What really matters with a brownie recipe is texture and chocolate flavor. But Ina’s brownies were dominated by the coffee flavor, which is very easy to vary by adding more or less instant coffee powder. The Baked brownies were impossible to judge because of my baking screw-up. I’d love to do another comparison that corrects these errors, but that will have to wait. One result of these comparison posts is that I end up burned out on the food for months to come. And I still have brownies in the freezer.

Okay, I guess I’m not that upset about it.

copy-of-img_4049

(I apologize for the lack of photos of each brownie’s texture, which I know would have been informative.  I was camping and hanging out with friends I rarely see, and there was just a lot going on.)

Update: I made the Baked brownie again, this time actually baking them, you know, all the way. I really like them, and they got great reviews from the people I sent them to. But, I still like Cooks Illustrated’s Classic Brownies better.  For one thing, the Baked brownies are so fudgy that it’s difficult to accurately test their doneness.

One year ago: Buttermilk Coleslaw

Classic Brownies (from Cook’s Illustrated)

CI note: Be sure to test for doneness before removing the brownies from the oven. If underbaked (the toothpick has batter clinging to it) the texture of the brownies will be dense and gummy. If overbaked (the toothpick comes out completely clean), the brownies will be dry and cakey.

1 cup (4 ounces) pecans or walnuts, chopped medium (optional)
1¼ cups (5 ounces) cake flour
½ teaspoon salt
¾ teaspoon baking powder
6 ounces unsweetened chocolate, chopped fine
12 tablespoons (1½ sticks) unsalted butter, cut into six 1-inch pieces
2¼ cups (15¾ ounces) sugar
4 large eggs
1 tablespoon vanilla extract

1. Adjust oven rack to middle position; heat oven to 325 degrees. Cut 18-inch length foil and fold lengthwise to 8-inch width. Fit foil into length of 13 by 9-inch baking dish, pushing it into corners and up sides of pan; allow excess to overhand pan edges. Cut 14-inch length foil and, if using extra-wide foil, fold lengthwise to 12-inch width; fit into width of baking pan in same manner, perpendicular to first sheet. Spray foil-lined pan with nonstick cooking spray.

2. If using nuts, spread nuts evenly on rimmed baking sheet and toast in oven until fragrant, 5 to 8 minutes. Set aside to cool.

3. Whisk to combine flour, salt, and baking powder in medium bowl; set aside.

4. Melt chocolate and butter in large heatproof bowl set over saucepan of almost-simmering water, stirring occasionally, until smooth. (Alternatively, in microwave, heat butter and chocolate in large microwave-safe bowl on high for 45 seconds, then stir and heat for 30 seconds more. Stir again, and, if necessary, repeat in 15-second increments; do not let chocolate burn.) When chocolate mixture is completely smooth, remove bowl from saucepan and gradually whisk in sugar. Add eggs on at a time, whisking after each addition until thoroughly combined. Whisk in vanilla. Add flour mixture in three additions, folding with rubber spatula until batter is completely smooth and homogeneous.

5. Transfer batter to prepared pan; using spatula, spread batter into corners of pan and smooth surface. Sprinkle toasted nuts (if using) evenly over batter and bake until toothpick or wooden skewer inserted into center of brownies comes out with few moist crumbs attached, 30 to 35 minutes. Cool on wire rack to room temperature, about 2 hours, then remove brownies from pan by lifting foil overhang. Cut brownies into 2-inch squares and serve. (Store leftovers in airtight container at room temperature, for up to 3 days,

Outrageous Brownies (from Ina Garten/Barefoot Contessa)

2 sticks unsalted butter
8 ounces, plus 6 ounces semisweet chocolate, chopped
3 ounces unsweetened chocolate
3 extra-large eggs
1½ tablespoons instant coffee powder
1 tablespoons real vanilla extract
1.125 (7.85 ounces) cups sugar
½ cup (2.4 ounces) all-purpose flour, plus 2 tablespoons
1½ teaspoons baking powder
½ teaspoon kosher salt

Preheat oven to 350 degrees F. Grease and flour a 13 by 9 by 1 ½-inch baking pan.

Melt together the butter, 8 ounces chocolate, and unsweetened chocolate on top of a double boiler. Cool slightly. Stir together the eggs, instant coffee, vanilla and sugar. Stir in the warm chocolate mixture and cool to room temperature.

Stir together ½ cup of the flour, baking powder and salt. Add to cooled chocolate mixture. Toss the 6 ounces of chocolate chips with 2 tablespoons flour to coat. Then add to the chocolate batter. Pour into prepared pan.

Bake for about 30 minutes, or until tester just comes out clean. Halfway through the baking, rap the pan against the oven shelf to allow air to escape from between the pan and the brownie dough. Do not over-bake! Cool thoroughly, refrigerate well and cut into squares.

The Baked Brownie (from Baked: New Frontiers in Baking from the Baked Bakery in Red Hook, Brooklyn, via Smitten Kitchen)

1¼ cups (6 ounces) all-purpose flour
1 teaspoon salt
2 tablespoons dark unsweetened cocoa powder
11 ounces dark chocolate (60 to 72% cacao), coarsely chopped
1 cup (2 sticks) unsalted butter, cut into 1-inch pieces
1 teaspoon instant espresso powder
1½ cups (10.5 ounces) granulated sugar
½ cup (3.5 ounces) firmly packed light brown sugar
5 large eggs, at room temperature
2 teaspoons pure vanilla extract

1. Preheat the oven to 350 degrees F. Butter the sides and bottom of a 9×13 glass or light-colored metal baking pan.

2. In a medium bowl, whisk the flour, salt, and cocoa powder together.

3. Put the chocolate, butter, and instant espresso powder in a large bowl and set it over a saucepan of simmering water, stirring occasionally, until the chocolate and butter are completely melted and smooth. Turn off the heat, but keep the bowl over the water and add the sugars. Whisk until completely combined, then remove the bowl from the pan. The mixture should be room temperature.

4. Add 3 eggs to the chocolate mixture and whisk until combined. Add the remaining eggs and whisk until combined. Add the vanilla and stir until combined. Do not overbeat the batter at this stage or your brownies will be cakey.

5. Sprinkle the flour mixture over the chocolate mixture. Using a spatula (not a whisk), fold the flour mixture into the chocolate until just a bit of the flour mixture is visible.

6. Pour the batter into the prepared pan and smooth the top. Bake in the center of the oven for 30 minutes, rotating the pan halfway through the baking time, until a toothpick inserted into the center of the brownies comes out with a few moist crumbs sticking to it. Let the brownies cool completely, then cut them into squares and serve.

7. Tightly covered with plastic wrap, the brownies keep at room temperature for up to 3 days.

copy-of-img_4070
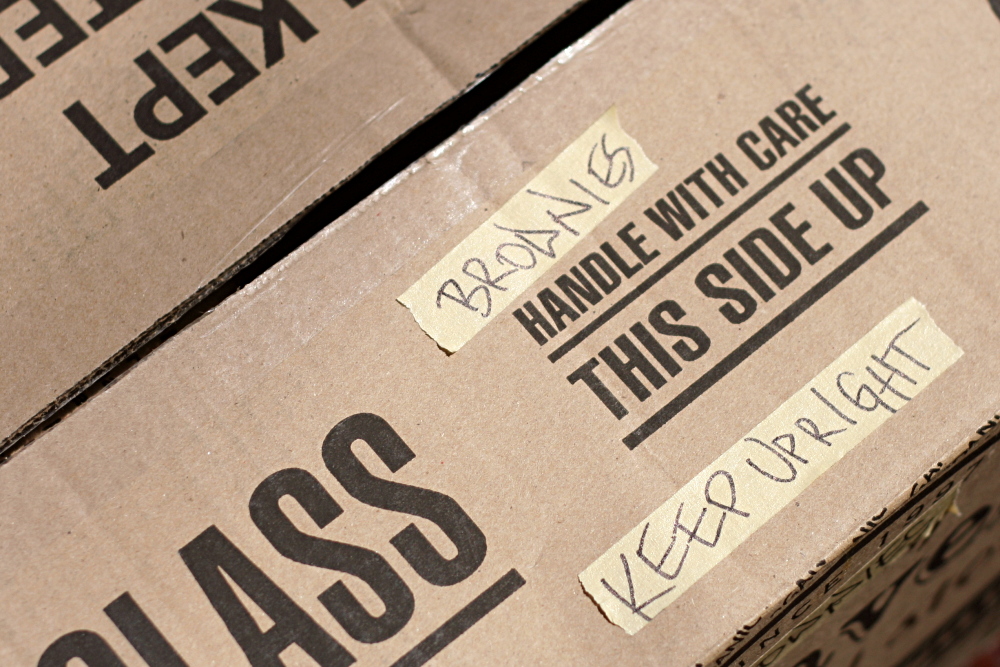
(Another apology: I didn’t realize until I uploaded this picture that it says ASS on the bottom left corner.  I’m too lazy to fix it.  Plus, it’s appropriate for a box full of brownies, no?)

cook’s illustrated’s perfect chocolate chip cookies

copy-of-img_3471

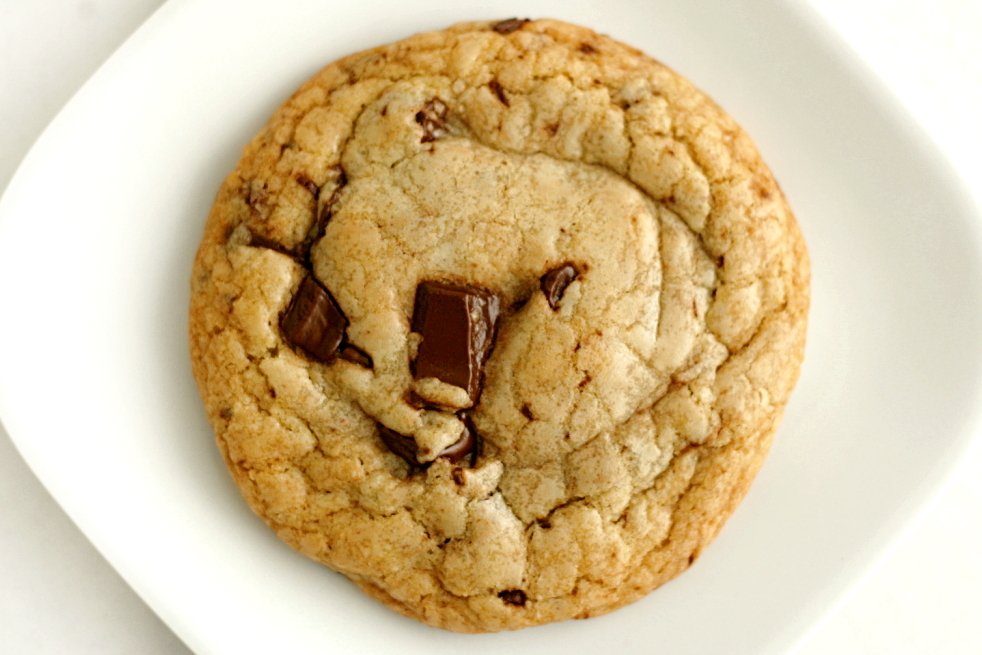
If you’re at all familiar with my blog, you must have known that I would be all over Cooks Illustrated’s new chocolate chip cookie recipe. Not because it might become my new favorite – I knew beforehand that it wouldn’t. The thing is, I’m a major cookie dough eater. To me, the baked cookies are just a bonus dessert; the dough is the reason I make chocolate chip cookies. And I don’t like dough made with melted butter.

copy-of-img_3459

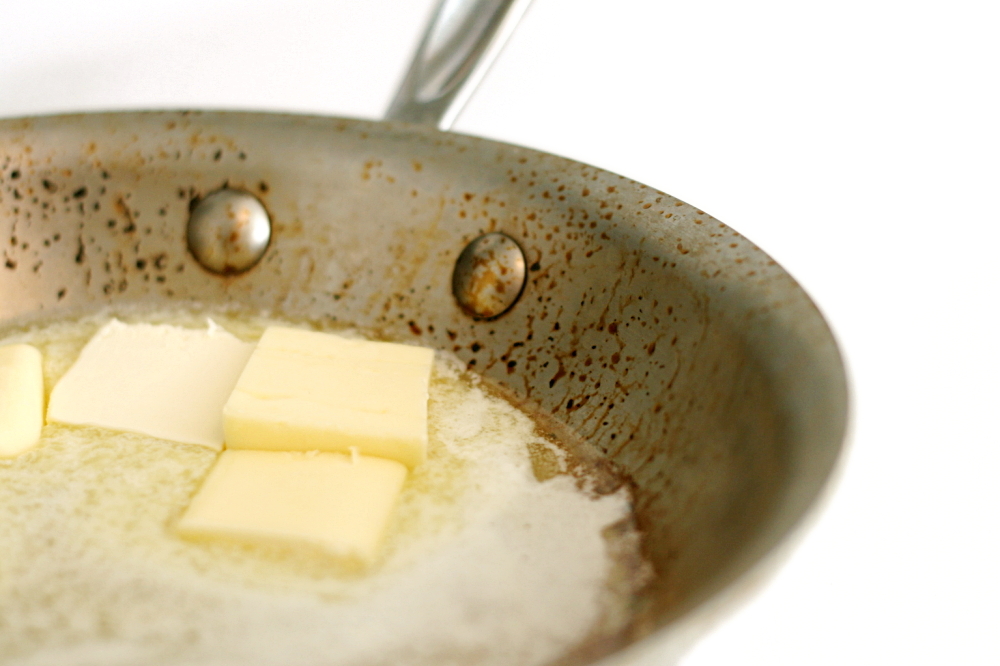
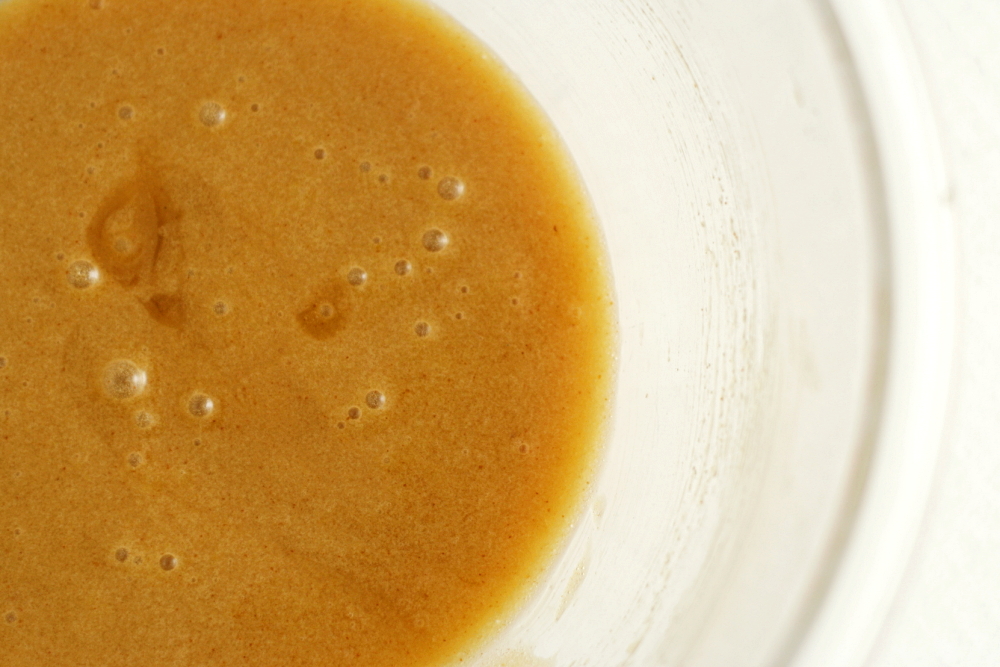
No, the real reason I wanted to try this recipe is because it has some interesting tricks in it, and I thought I might learn something. First, a portion of the butter is browned. Then the sugar is mixed into the melted butter and left to set for 10 minutes, which apparently dissolves the sugars and gives them more opportunity to caramelize in the oven.

copy-of-img_3466

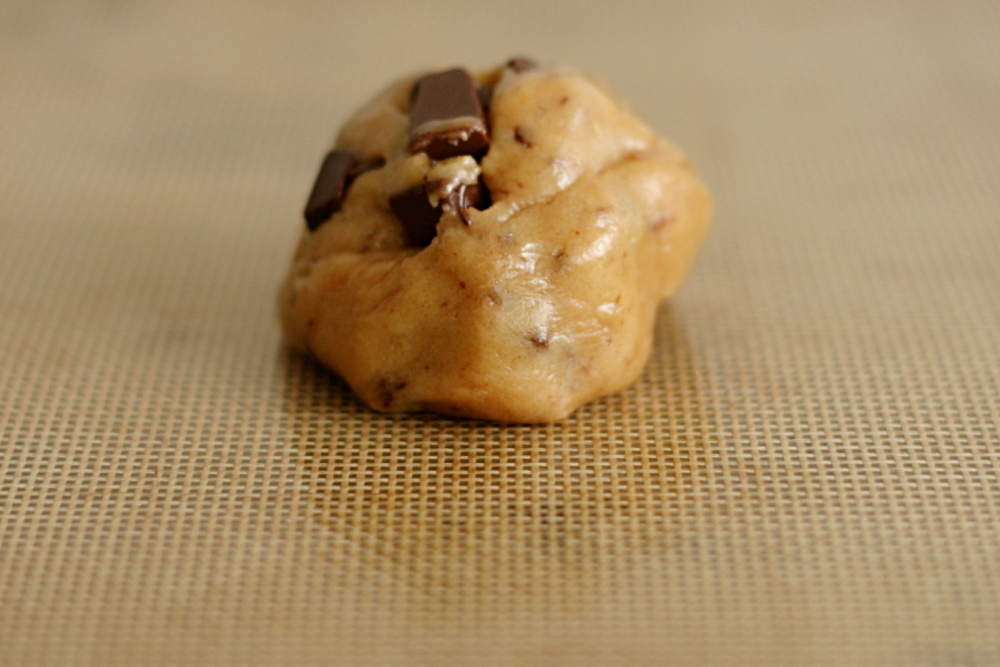
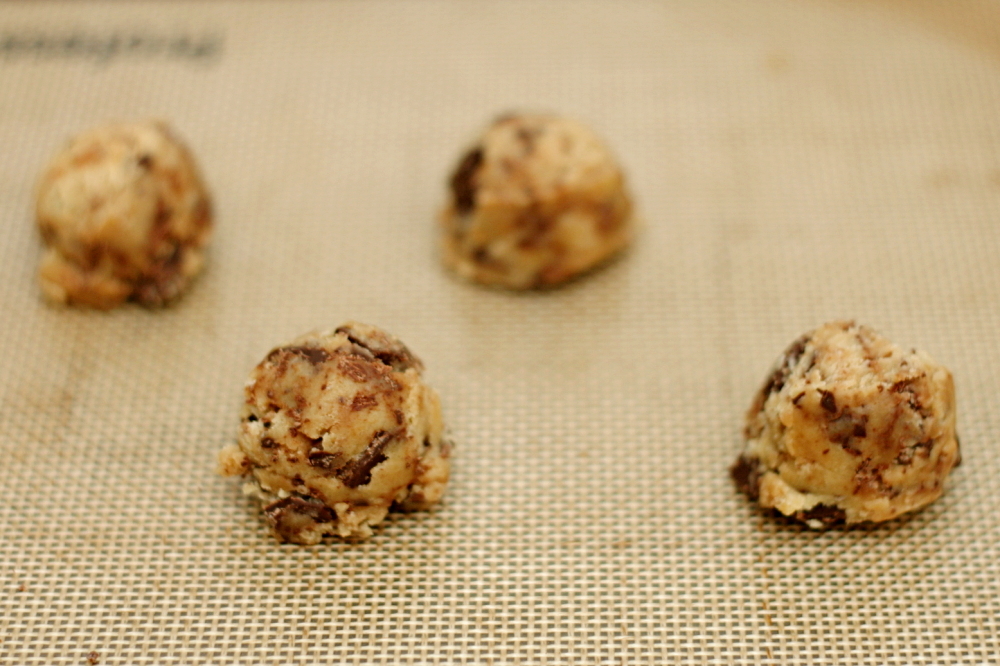
It also makes the recipe very easy – you just melt the butter, whisk in a few more ingredients, let it set, then stir in the remaining ingredients. Divide the dough into 16 portions and bake.

copy-of-img_3468

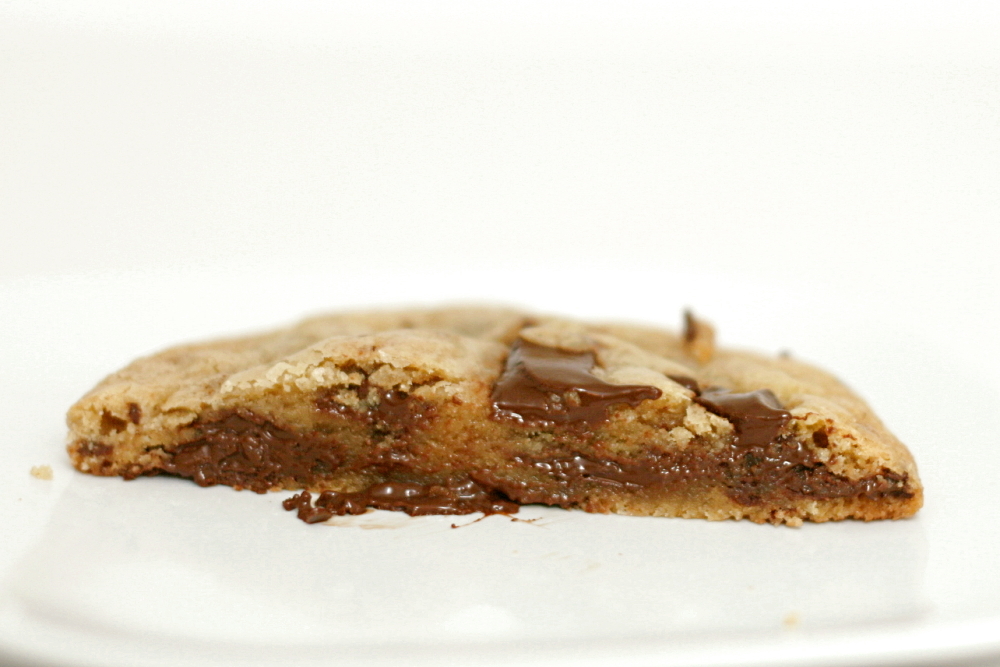
Here are, for me, the things the recipe has against it. 1) The dough has a greasy texture from the melted butter. 2) It uses portions of eggs. This is a pet peeve of mine, because I hate having containers of egg parts in my freezer or refrigerator. For something I make as often as chocolate chip cookies, I’d rather use whole eggs. 3) It doesn’t use a stand mixer. Dude, stand mixers are fun. That’s why everyone these days has one.

copy-of-img_3477

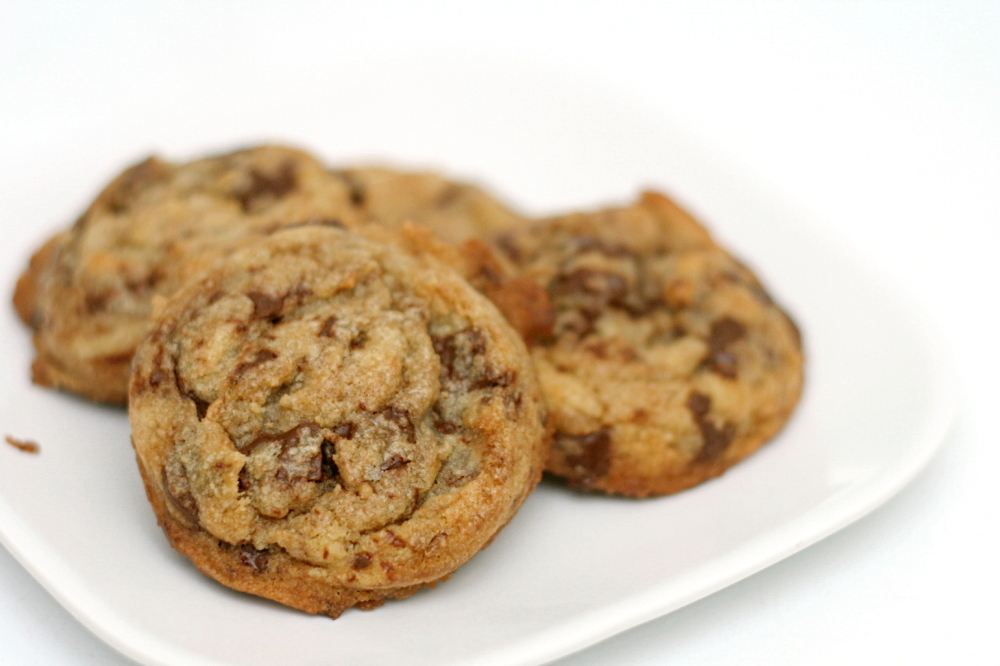
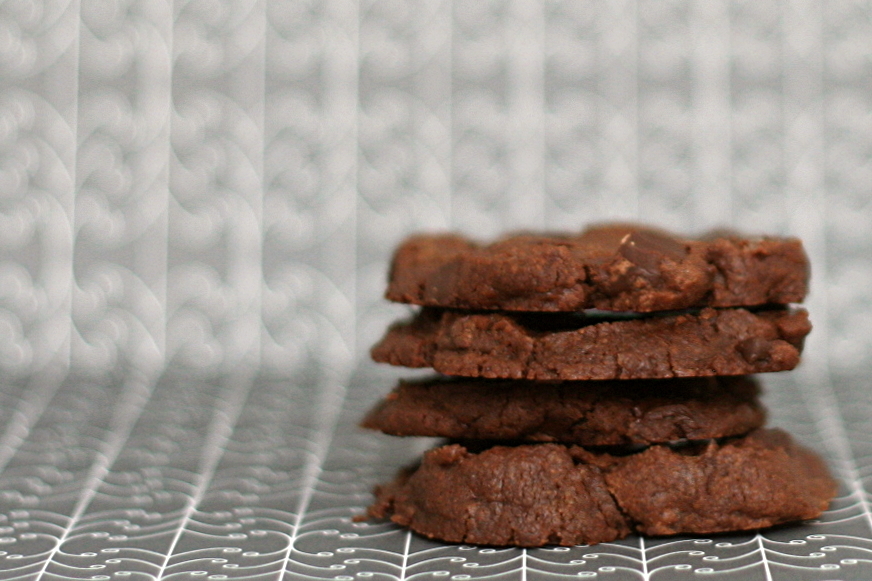
You may have noticed that none of my complaints take issue with the outcome of the baked cookie? That’s because the cookies were really good. This wasn’t a side-by-side comparison, so it’s hard for me to say exactly where they stand in my chocolate chip cookie rating, but they’re certainly in the upper echelon of chocolate chip cookies. So if you’re normal, and all you want out of your chocolate chip cookie recipe is really good cookies without a lot of effort, then definitely check this recipe out. It’s certainly up there with Alton Brown’s popular The Chewy and the NY Times recipe.

copy-of-img_3474

One year ago: Spinach Feta Pine Nut Tart and Dorie’s Perfect Party Cake

Perfect Chocolate Chip Cookies (from Cook’s Illustrated May/June 2009)

Note from Bridget: The recipe makes large cookies in an effort to maximize the difference in texture between the crisp exterior and the tender center. However, I prefer small cookies. I tried baking both sizes, and preferred the texture of the smaller cookies anyway. They still had a great mix of textures. If you do this, you’ll want to reduce the baking time to 7-9 minutes.

1¾ cups (8¾ ounces) unbleached all-purpose flour
½ teaspoon baking soda
14 tablespoons (1¾ sticks) unsalted butter
½ cup (3½ ounces) granulated sugar
¾ cup (5¼ ounces) packed dark brown sugar
1 teaspoon table salt
2 teaspoons vanilla extract
1 large egg
1 large egg yolk
1¼ cups semisweet chocolate chips or chunks
¾ cup chopped pecans or walnuts, toasted (optional)

1. Adjust oven rack to middle position and heat oven to 375 degrees. Line 2 large baking sheets with parchment paper. Whisk flour and baking soda together in medium bowl; set aside.

2. Heat 10 tablespoons butter in 10-inch skillet over medium-high heat until melted, about 2 minutes. Continue cooking, swirling pan constantly until butter is dark golden brown and has nutty aroma, 1 to 3 minutes. Remove skillet from heat and, using heatproof spatula, transfer browned butter to large heatproof bowl. Stir remaining 4 tablespoons butter into hot butter until completely melted.

3. Add both sugars, salt and vanilla to bowl with butter and whisk until fully incorporated. Add egg and yolk and whisk until mixture is smooth with no sugar lumps remaining, about 30 seconds. Let mixture stand for 3 minutes, then whish for 30 seconds. Repeat process of resting and whisking 2 more times until mixture is thick, smooth and shiny. Using rubber spatula or wooden spoon, stir in flour mixture until just combined, about 1 minute. Stir in chocolate chips and nuts (if using), giving dough final stir to ensure no flour pockets remain.

4. Divide dough into 16 portions, each about 3 tablespoons (or use a #24 cookie scoop). Arrange 2 inches apart on prepared baking sheets, 8 dough balls per sheet.

5. Bake cookies 1 tray at a time until cookies are golden brown and still puffy, and edges have begun to set but centers are still soft, 10-14 minutes, rotating baking sheet halfway through baking. Transfer baking sheet to wire rack; cool cookies completely before serving.

copy-of-img_3479

coconut butter thins

copy-of-img_3262

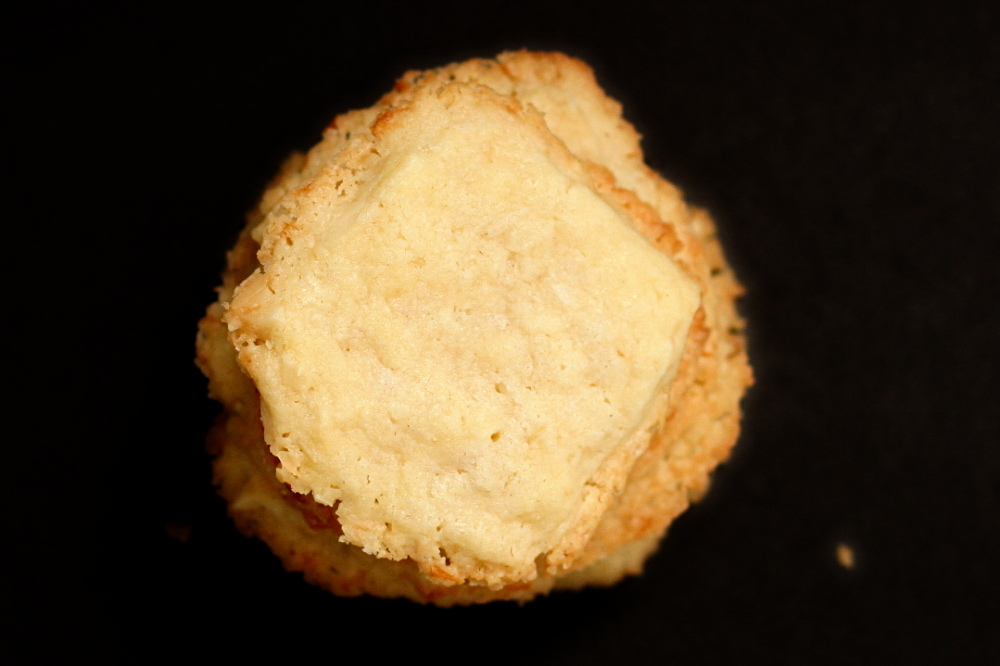
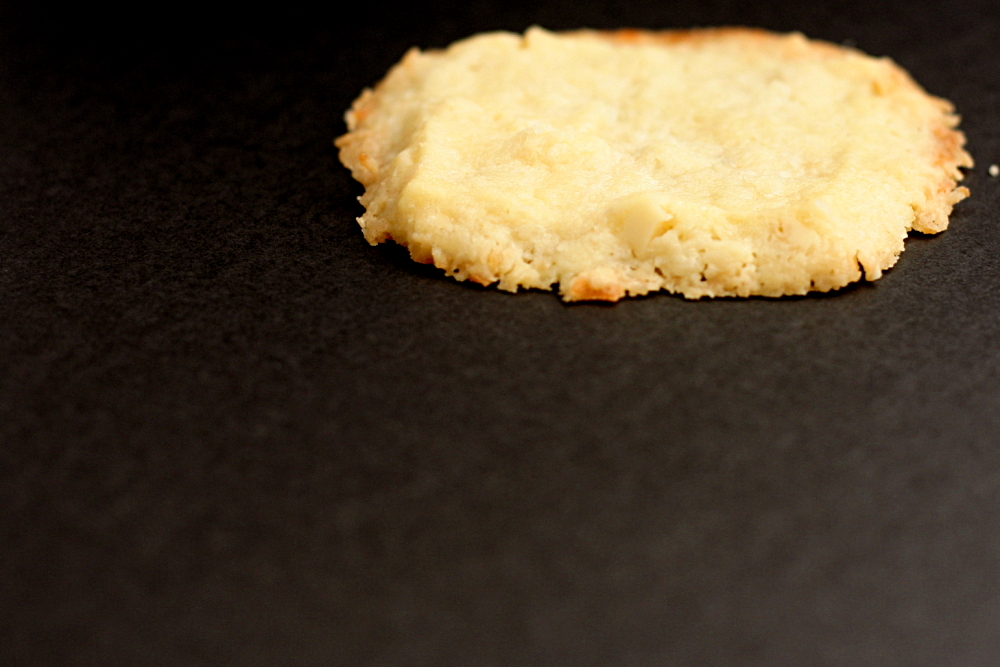
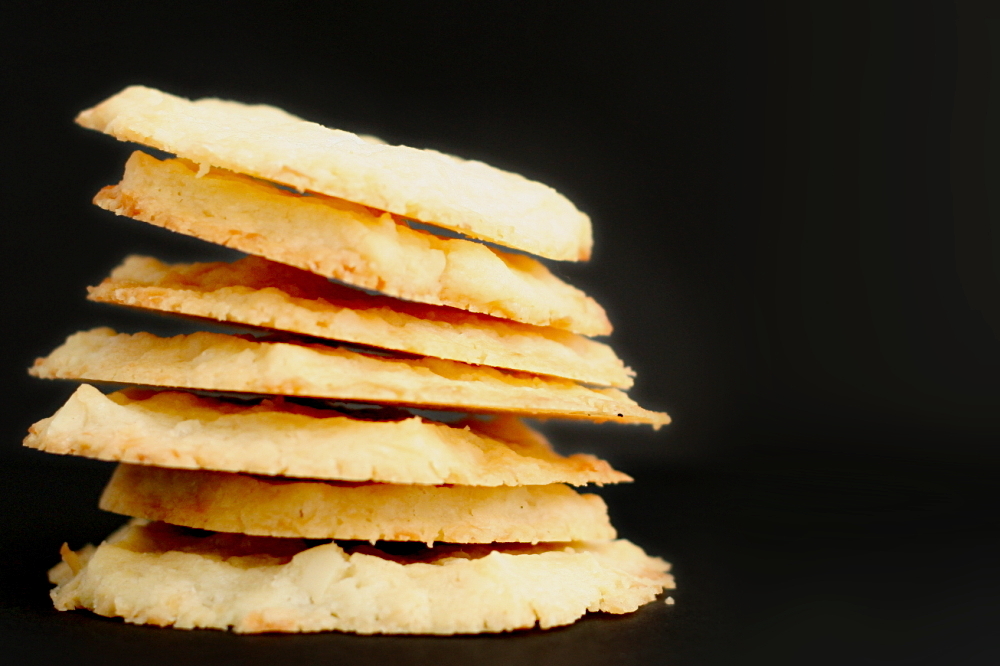
There was some confusion among the Tuesdays with Dorie group about this recipe. Are the cookies supposed to retain their shape as they’re baked, like a classic shortbread cookie? Or are they supposed to become thin, as the title implies, and wafery and lacy, as Dorie describes them? I think it’s clear what side of the debate I’m on…

copy-of-img_3252

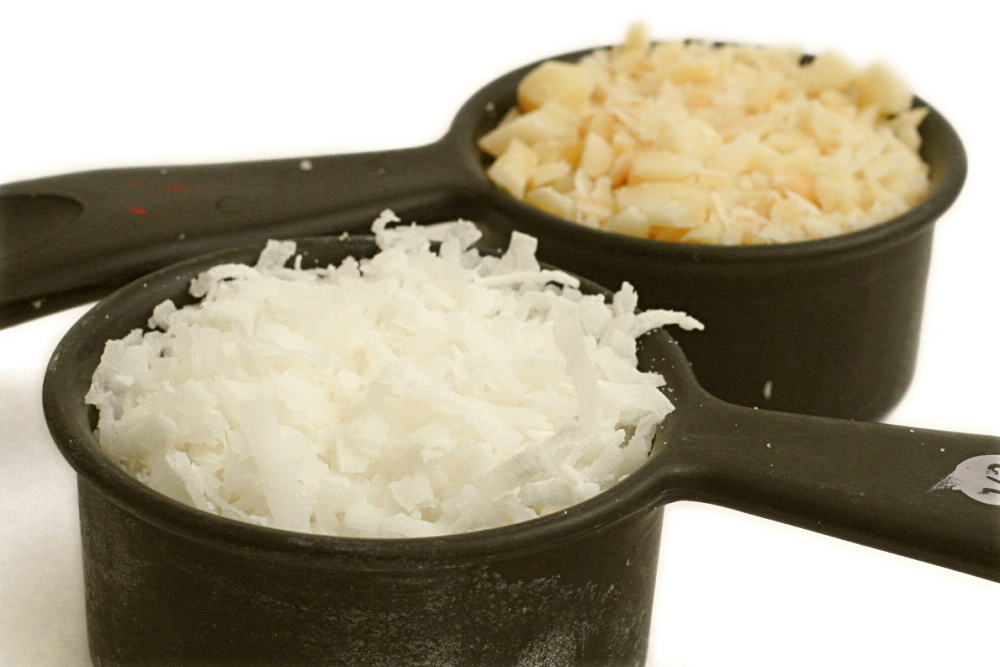
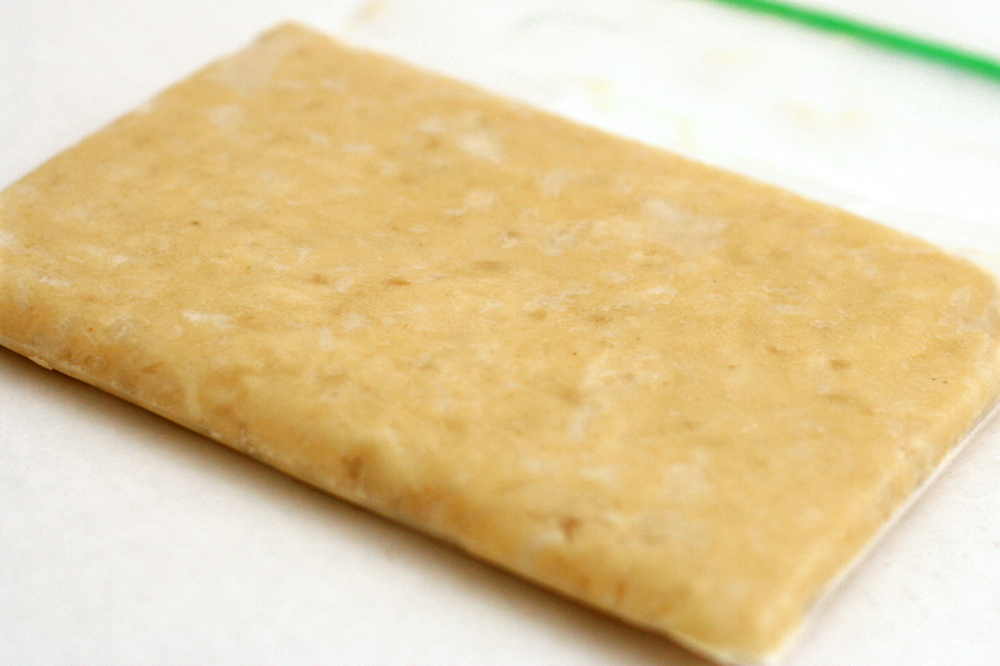
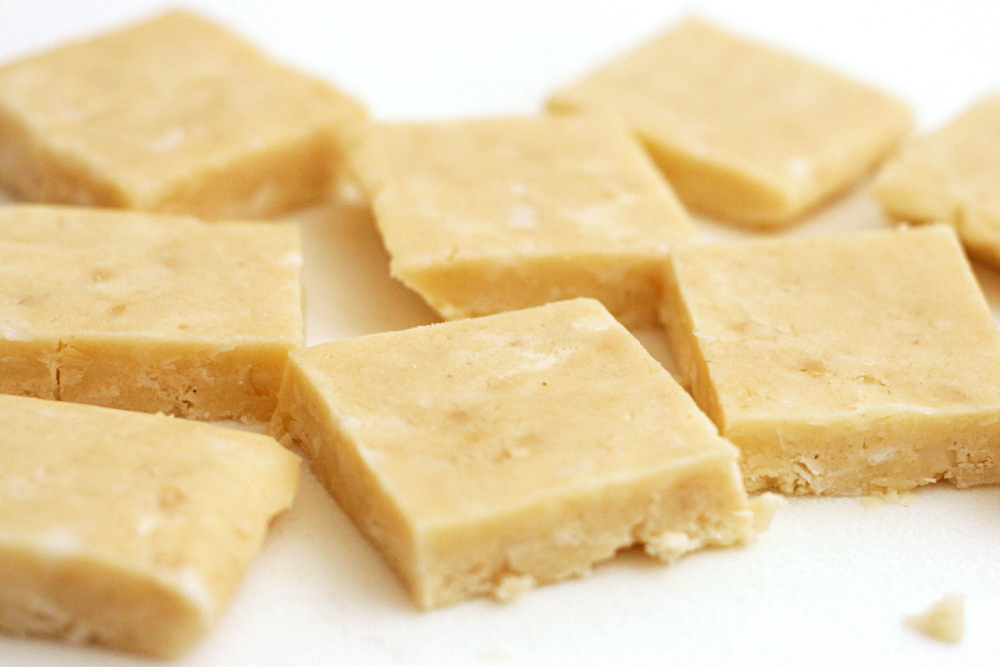
The cookies are mixed like shortbread, with no eggs and no leavener. Coconut, macadamia nuts, and lime zest is added to give them a tropical flavor. The dough is rolled out in a ziploc bag, chilled, then cut into squares and baked.

copy-of-img_3256

The cookies go into the oven with a thickness of ¼-inch, and, for me, they came out substantially thinner. But, again, Dorie makes clear that there’s supposed to be a lot of room between the cookies on the sheet, and they are called Coconut Butter Thins, after all. If you’d like them to look more like a classic shortbread, I’d increase the baking temperature to 375F, decrease the baking time substantially, and freeze the dough before baking.

copy-of-img_3258

I increased the salt a bit, because I’ve found that I like my sweets saltier than Dorie. I also forgot to buy a lime (twice), so I just sprinkled in some lemon extract instead of using lime zest.

copy-of-img_3267

I thought they were pretty great. The edges were crispy and the center was tender.  The coconut flavor was subtle, but that and the nuts gave the cookie some depth.  Jayne has the recipe posted.

One year ago: Bagels

copy-of-img_3260

lemon cream cheese bars

copy-of-img_1746

I’m not known for my self-control around desserts (or any food, for that matter) in general, but there are a few extreme cases. One is lemon. I almost never make lemon desserts, because I will eat them, all, until they’re gone, within a very short period of time. The other, which I only realized recently, is cheesecake. When I made cheesecake in a mini muffin pan, I had no resistance to grabbing just one more tiny cheesecake.

copy-of-img_1701

And then I saw this recipe, which is a combination of those two things. I was in trouble. I made them for the SuperBowl, thinking that was as good an excuse as any to overeat.

Except I didn’t overeat them. Because surprisingly, these did not knock my socks off.

copy-of-img_1710b

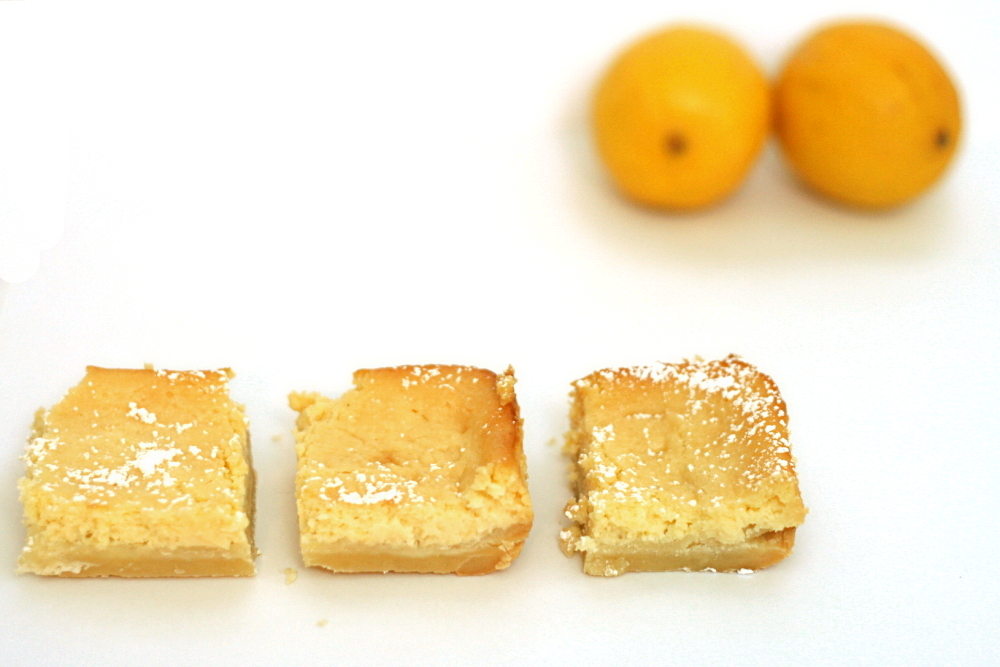
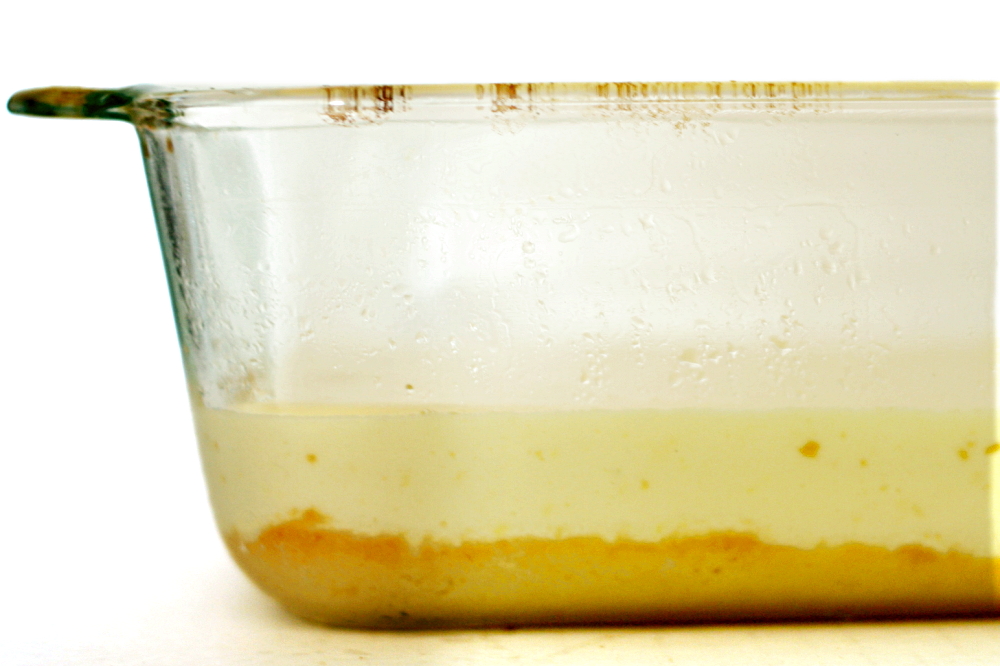
The base is a standard shortbread lemon bar base. The filling is similar to a regular lemon bar, including lemon juice, zest, eggs, and sugar, but includes cream cheese and sour cream, and leaves out the baking powder included in most lemon bar recipes.

copy-of-img_1711

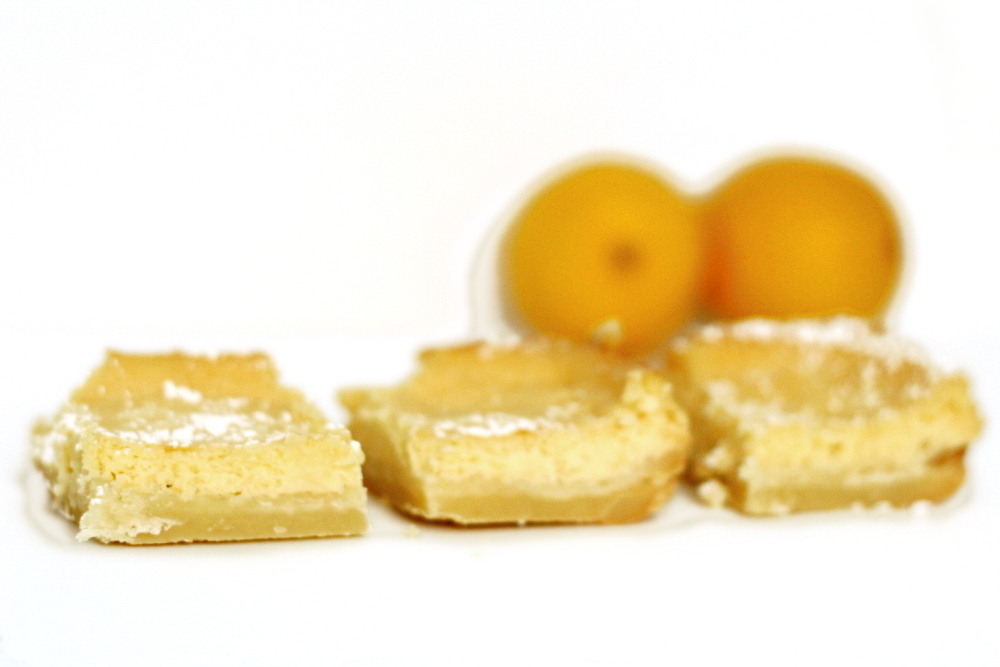
Of course they were good – there’s no way to go wrong with this combination of ingredients. But other than a texture that was a little creamier, I didn’t notice a significant difference between this and a regular lemon bar. The difference in fat content, however, is significant. It looks like I’ll be keeping my lemon bars and my cheesecake separate.

copy-of-img_1747

One year ago: Julia Child’s French Bread

Lemon Cream Cheese Bars (adapted from recipezaar)

Crust:
8 tablespoons (1 stick) unsalted butter, softened
pinch salt
¼ cup powdered sugar
¾ cup (3.6 ounces) unbleached flour
1 tablespoon cornstarch

Filling:
10 ounces cream cheese, room temperature
½ cup (3.5 ounces) sugar
2 teaspoons grated lemon zest
5 tablespoons sour cream, room temperature
6 tablespoons fresh lemon juice
2 large eggs, room temperature
1 teaspoon vanilla
powdered sugar for dusting

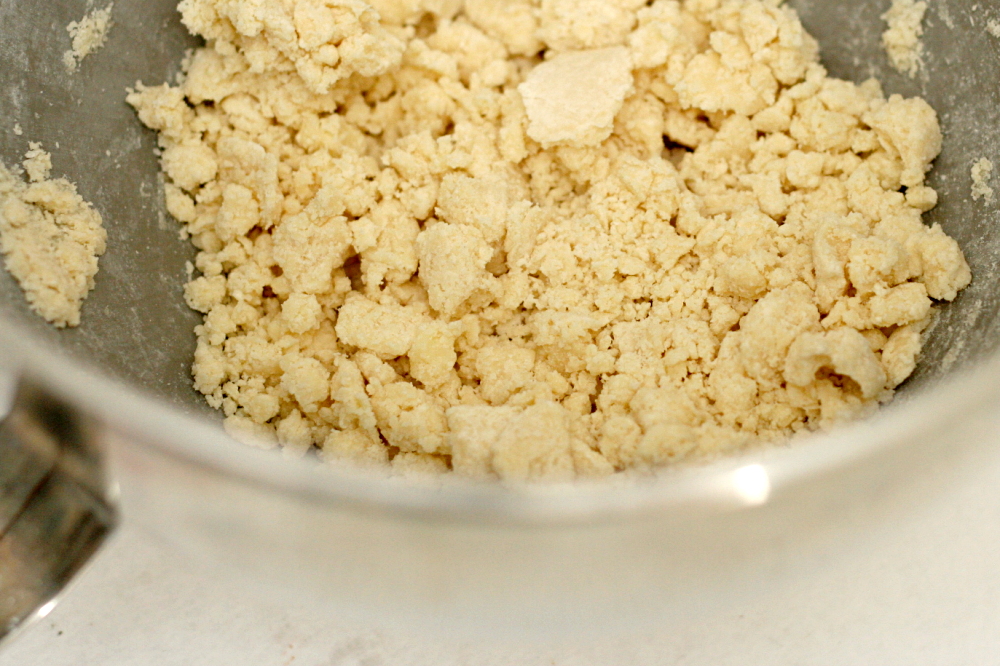
1. Adjust oven rack to middle position and heat oven to 350 degrees. Beat butter with an electric mixer on medium-low speed until creamy. Add sugar and salt and mix until it’s thoroughly combined. Add the flour and cornstarch and mix on low until the mixture forms large curds. Press the dough evenly over the bottom of an ungreased 8 by 8-inch baking dish. Bake at 350 degrees until golden brown, about 20 minutes. Remove the crust from the oven and set it on a cooling rack while you finish the filling.

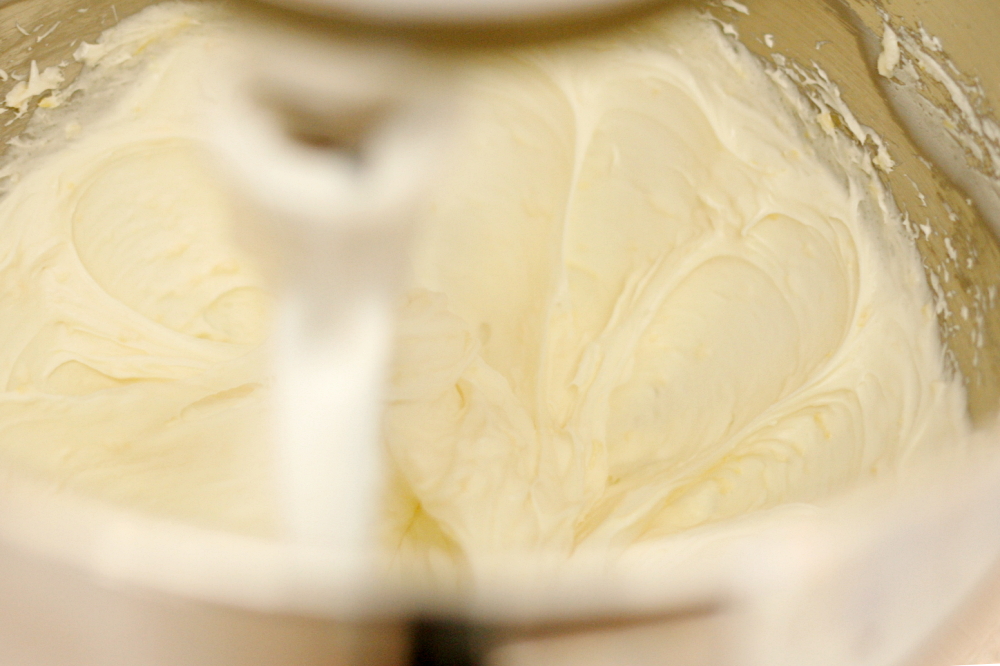
2. Using an electric mixer on medium speed, cream the cream cheese for 2 minutes, until it’s completely smooth and creamy. Add the sugar, and lemon zest and beat until light and fluffy, 2 to 3 minutes. Stop the mixer once or twice to scrape the bowl with a rubber spatula. Add the sour cream and lemon juice and beat the mixture on medium speed until smooth, about 1 minute. Scrape the bowl. Add the eggs and vanilla and continue mixing until the filling is smooth and creamy, about 30 seconds. Spread the topping evenly over the cooked crust. It’s okay if the crust is still hot.

3. Bake the bars until the top is slightly golden and a toothpick inserted in the center comes out dry, about 1 hour. If the topping bubbles up during baking, prick the bubbles with a toothpick or a thin knife.

4. Allow the bars to cool completely on a rack. Dust them with powdered sugar. Cut them with the point of a thin sharp knife that is dipped in hot water and wiped dry before each cut.

caramel crunch bars

copy-of-img_2148

I haven’t missed a Tuesday with Dorie since I joined the group last April. There were a few times, when I was traveling or something, where it was close, but for the most part, it’s been easy. I never really understood what the big deal was with people who only made half the recipes. It’s not like I wouldn’t be baking every chance I got anyway.

copy-of-img_2124

Oh, did I mention that I was unemployed for most of the last year, and had an easy part-time job for the remainder? Yeah, that makes a difference. Everything seems so easy when you don’t have to actually work.

copy-of-img_2127

Now that I have a much more demanding job, I’m getting each TWD recipe done just by the skin of my teeth. I’ve gotten in the habit of finishing the recipes Monday night, and I’m lucky if I can get the blog entry done by the end of Tuesday.

copy-of-img_2130

As I’m more rushed to finish each recipe, I find myself diving into the baking before I read it through. I was halfway through making these before I realized that they were basically fancied-up chocolate chip cookies. Woohoo!

copy-of-img_2135

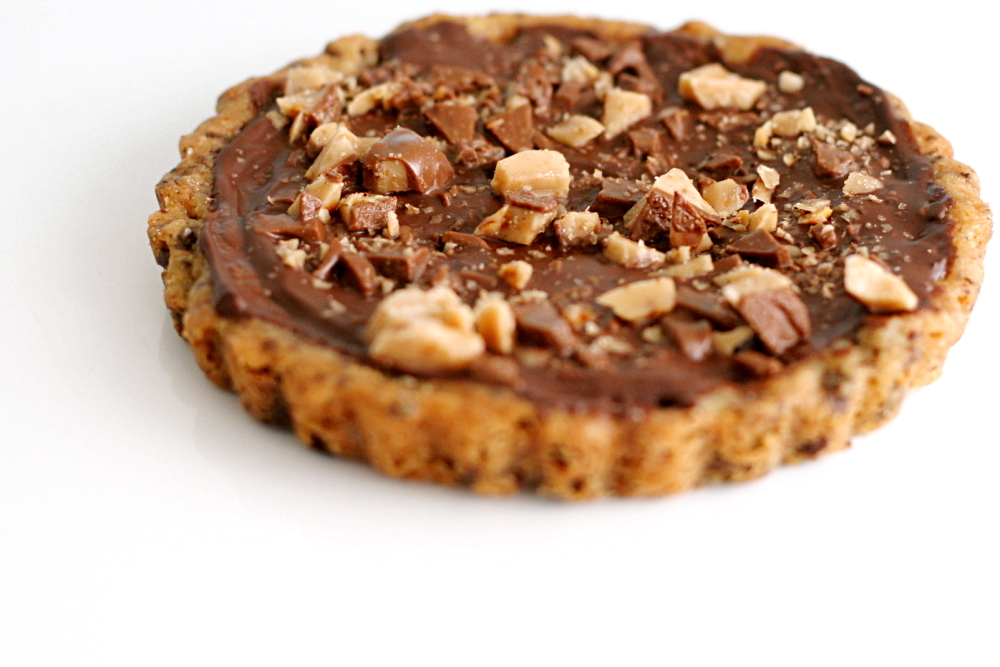
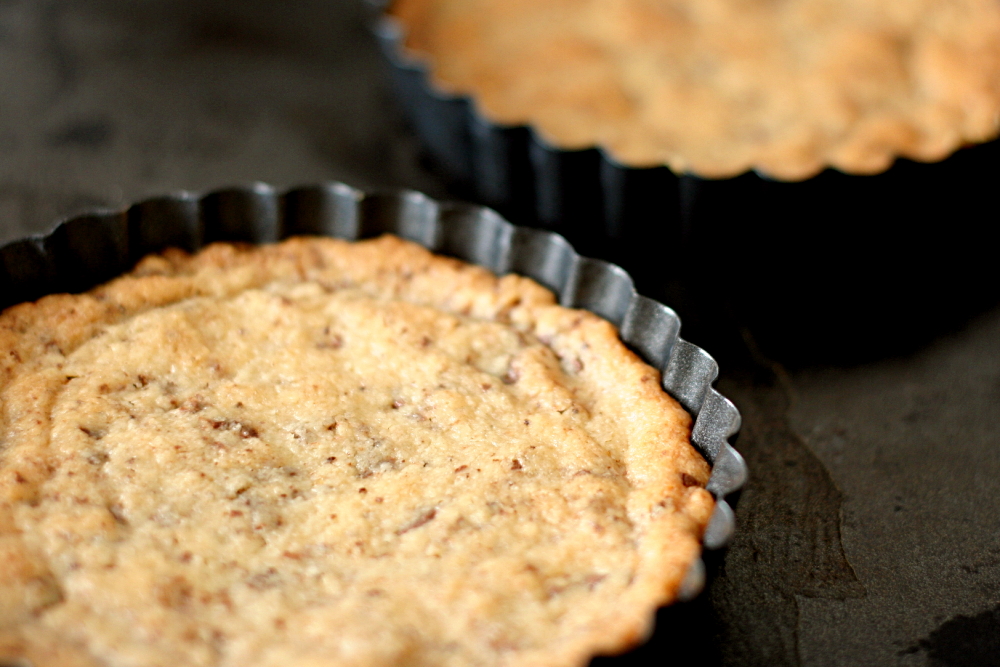
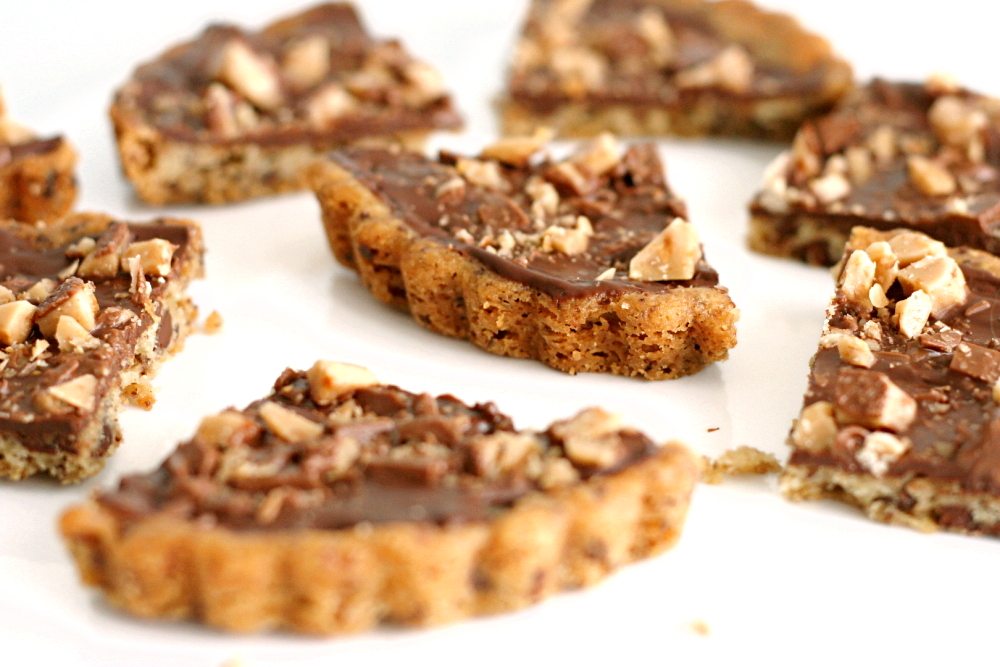
The base is a cinnamon- and espresso-enriched shortbread version of a chocolate chip cookie. Once that’s baked, it’s topped with finely chopped chocolate that quickly melts, then finished off with toffee bits. The cinnamon and espresso were pretty subtle – I couldn’t pick them out, but there was a little spice in the cookie. Overall, I really enjoyed these and wouldn’t change anything next time I make them.

Whitney has the recipe posted.

One year ago: Challah

copy-of-img_2150

world peace cookies

copy-of-img_1691

This week, I’m one of those reviewers – the ones who tweak the recipe beyond recognition, then say the recipe sucks and no one should bother making it.

Except for the ‘beyond recognition’ and ‘the recipe sucks’ parts, at least. For whatever reason, I took it upon myself to, um, improve upon this recipe. Yes, the World Peace Cookie recipe that has gotten one shining review after another.

copy-of-img_1632

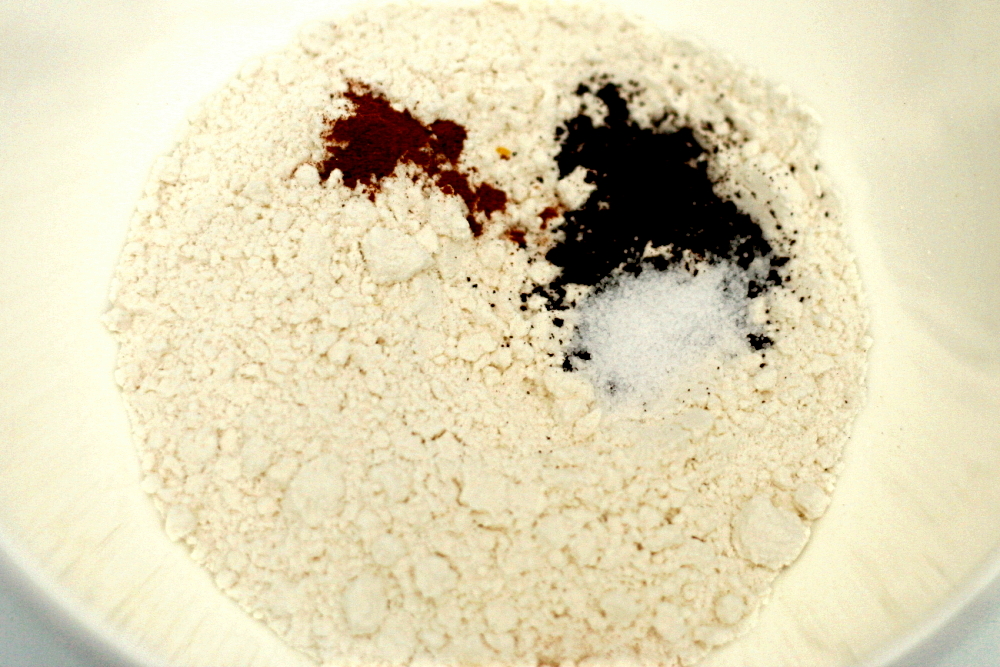
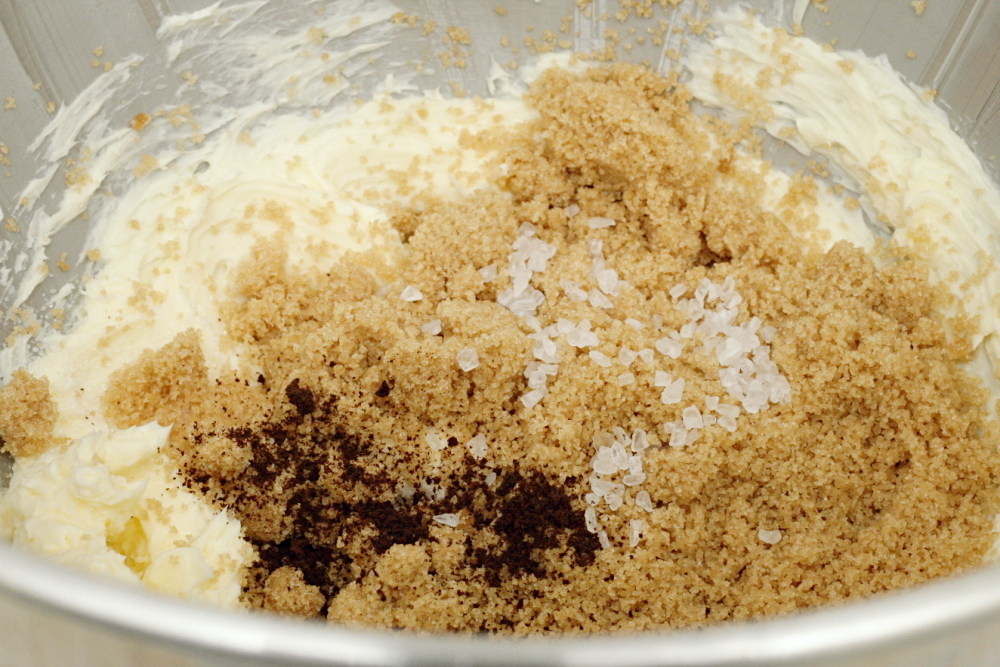
But a few Tuesdays with Dorie members said the dough was so crumbly they could hardly roll it into a log, and that trying to slice cookies off of the log was a mess. So I added an extra tablespoon of butter. And then I figured that what’s a chocolate cookie doing without espresso powder? So I added some. And I forgot to buy fleur de sel, so I used some coarse sea salt that I’ve had forever.

copy-of-img_1643

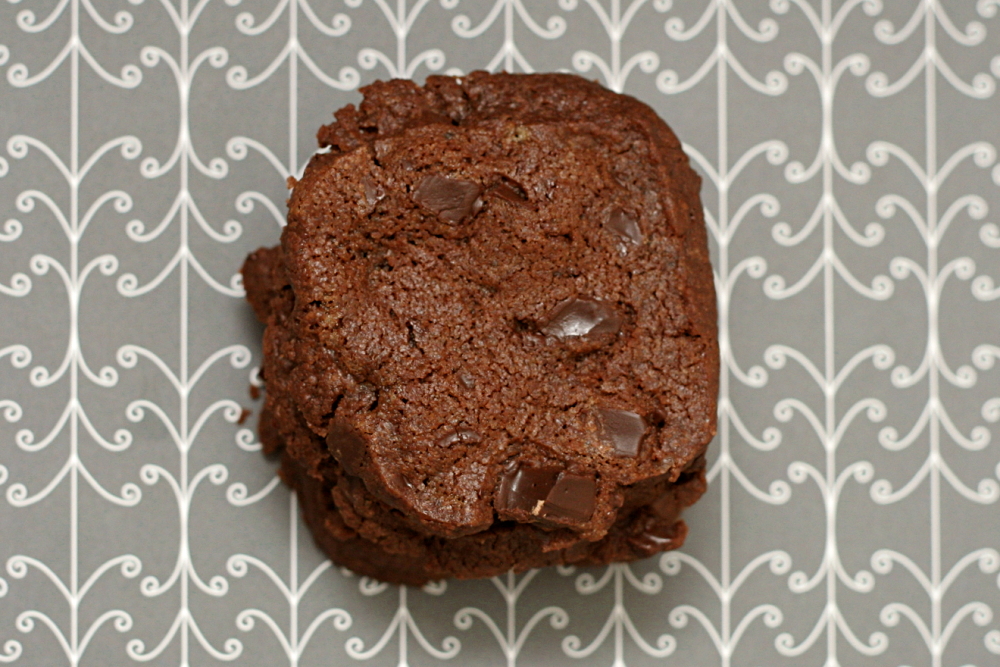
And the result was good. Not mind-blowing, but good. I don’t think the espresso was a good idea – the bitterness didn’t really blend into this cocoa-flavored cookie. The extra butter seemed like it was a good thing, because the dough was still pretty crumbly. On the other hand, there was a bit of a spreading problem during baking. (Maybe a higher temperature would solve that?)

copy-of-img_1669

Actually, I’m not sure shortbread is really my thing. I’m not against it, mind you, but my ideal cookie is chewier. I like them; I just like these chocolate cookies better.

Jessica (along with a lot of other people) has the recipe posted.

One year ago: Chocolate Cupcakes

copy-of-img_1680

tall and creamy cheesecake

copy-of-img_10641

Due to an email mishap, I found out that I was going to get a mini muffin pan for Christmas a few weeks early. It was great; I had lots of time to get excited about it and think about exactly what I wanted its first use to be. Bite-sized cheesecake!

copy-of-img_10461

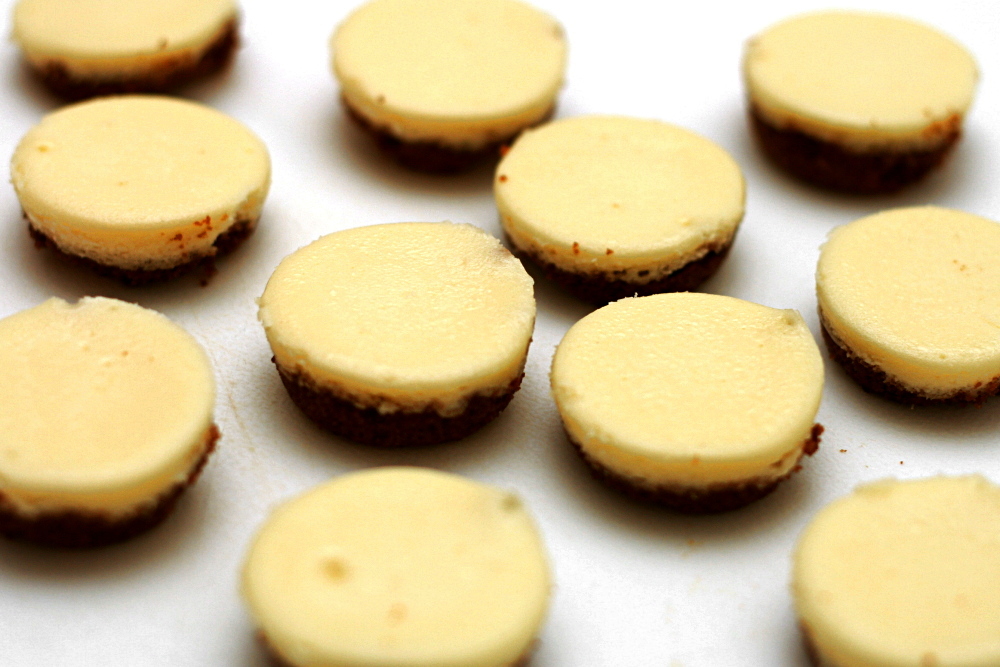
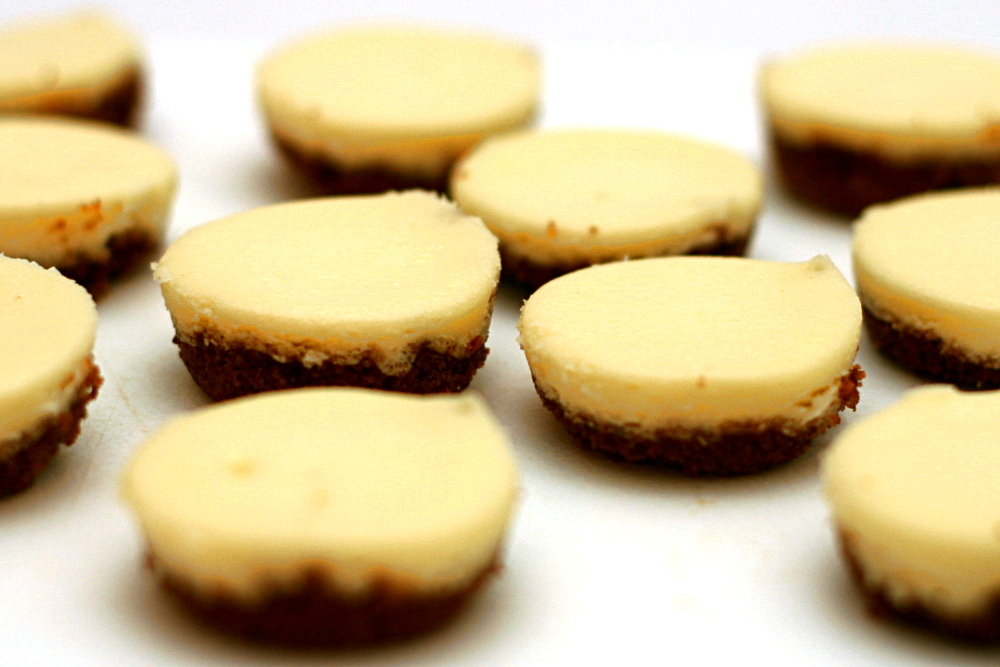
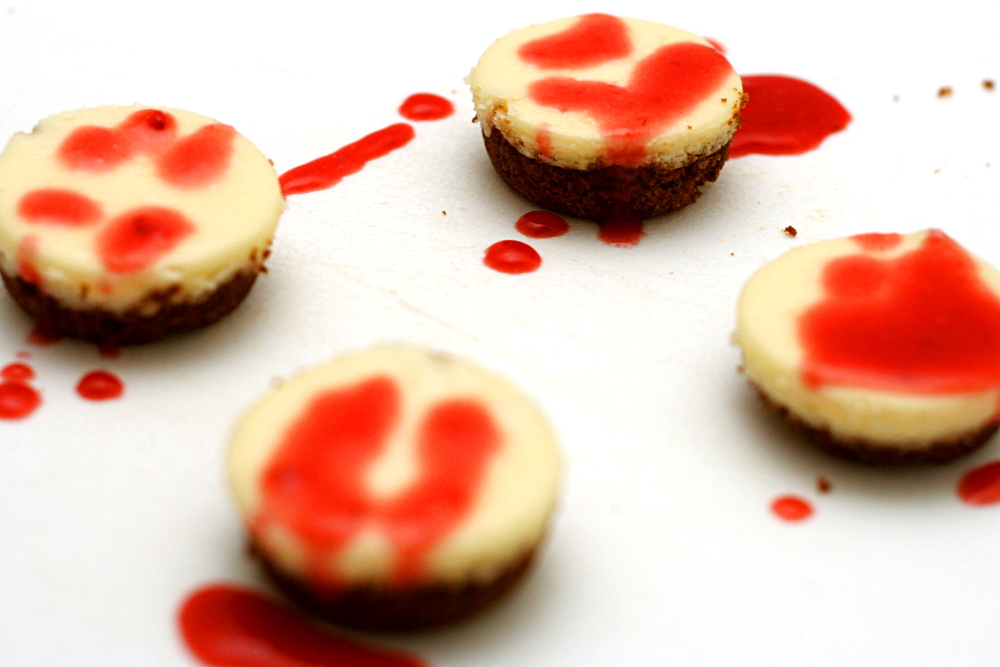
By the way, bite-sized cheesecake is a very bad idea. Even though post-Christmas detox is otherwise on in full force, I was hopeless in the face of these tiny cheesecakes. I ate one to make sure they were cooked through, then one when they had cooled a bit to make sure the consistency was right, then two that broke when I took them out of the pan, then one when I was taking the pictures, and one more after adding the strawberry sauce. Then two for dessert. <burp>

copy-of-img_1058a

One thing I really like about Dorie’s cheesecake recipes is her initial step of beating the cream cheese alone, before even the sugar is added. What a great way to ensure that there are no lumps in the final batter. I’ve started doing this with all cheesecakes.

copy-of-img_1062

The recipe calls for either heavy cream or sour cream to be added to the batter. I used sour cream. I’m far from an expert, but in my experience, heavy cream dulls and dilutes the cream cheese flavor, while sour cream enhances it.

The cheesecake was really really good (obviously,  if my uncontrollable snacking is any indicator). It seems like almost everyone in Tuesdays with Dorie loved it. The texture was kind of light and fluffy, which I liked, and the taste was spot on – the cream cheese flavor is balanced nicely between tart and sweet.

copy-of-img_1065

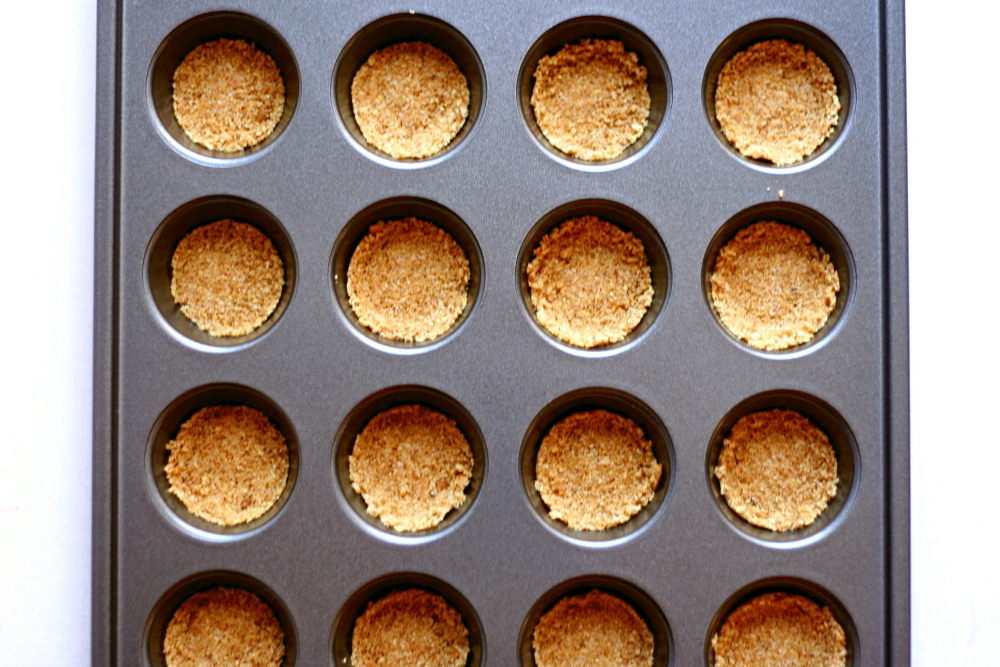
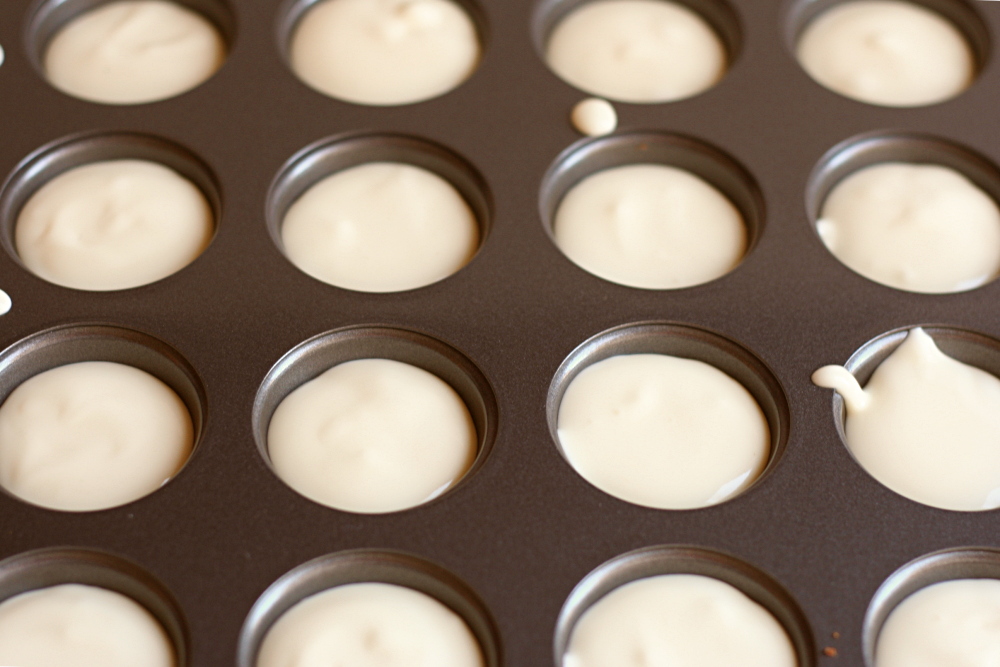
The recipe is posted on Anne’s website. For the minis, I used the same amount of crust ingredients, just pressing them into the muffin cups with the bottom of a small container. I made a fourth of the recipe, and I divided the cheesecake batter among 24 mini muffin cups, but this might be a little underfilled – you could probably fit the same amount of batter into just 18 cups. I baked the cheesecakes at 300 degrees (no water bath) for about 15 minutes, until they seemed fairly set. Then I left them in the oven, turned the oven off, and propped the door open. This seemed to keep them from sinking in the middle. I found it easiest to remove the cheesecakes from the pan when they were at room temperature, although last time I tried something similar, freezing them seemed to work too. When they were chilled from the refrigerator, they clung to the pan and broke apart when I tried to remove them.

copy-of-img_1067

buttery jam cookies

copy-of-img_0512

I’m a member of Tuesdays with Dorie because it encourages me to bake often and to keep trying new recipes. But I also like how it challenges me to be creative about presentation. When I’m writing a blog entry about the same recipe as hundreds of other people, I want to think of some sort of display that will look impressive or original. This is the real challenge for me.

copy-of-img_0507

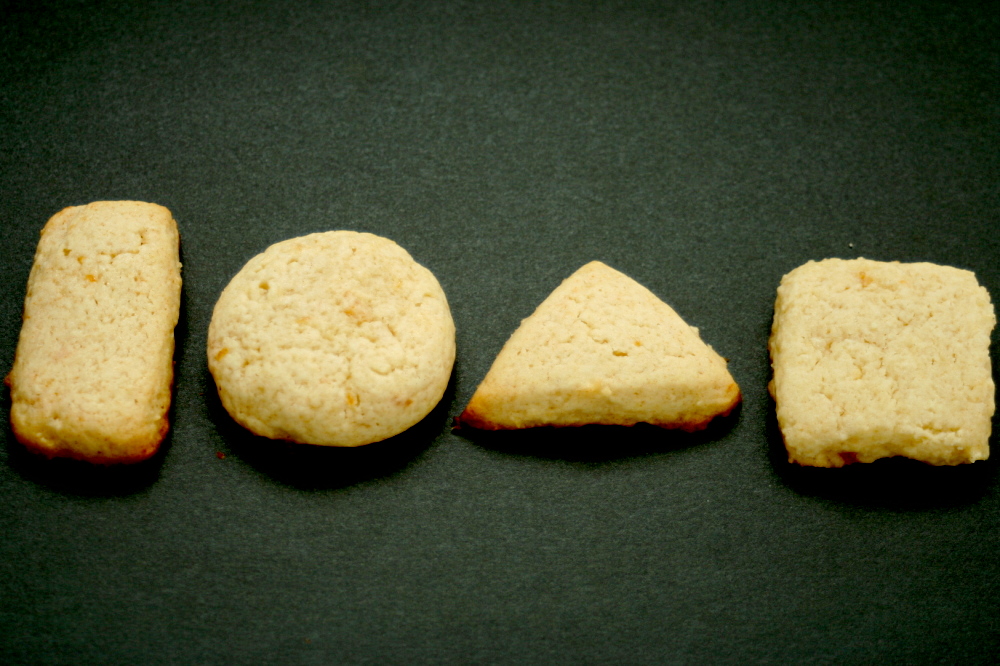
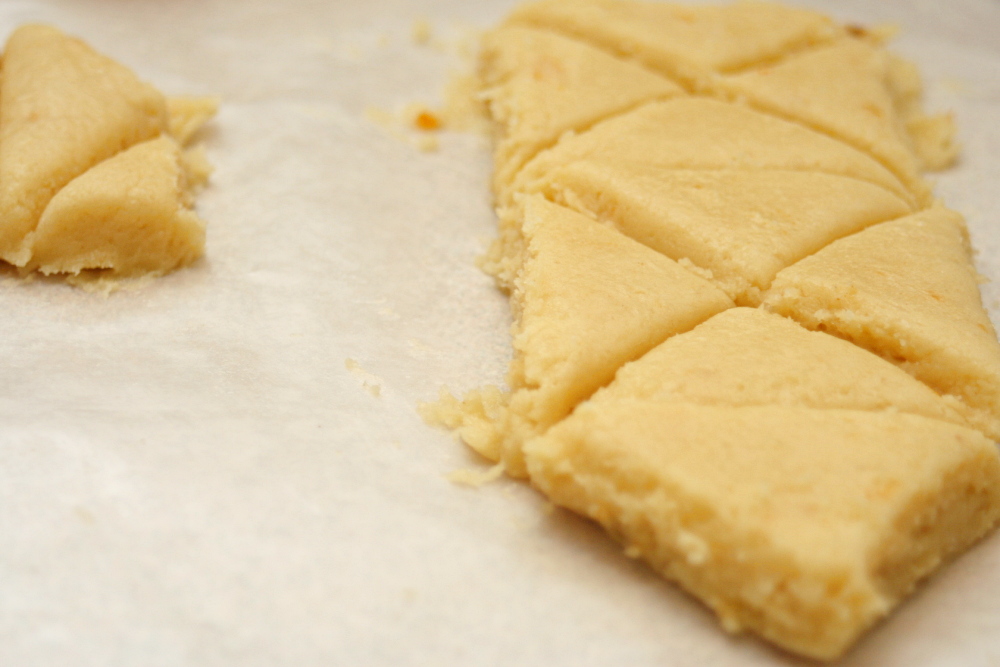
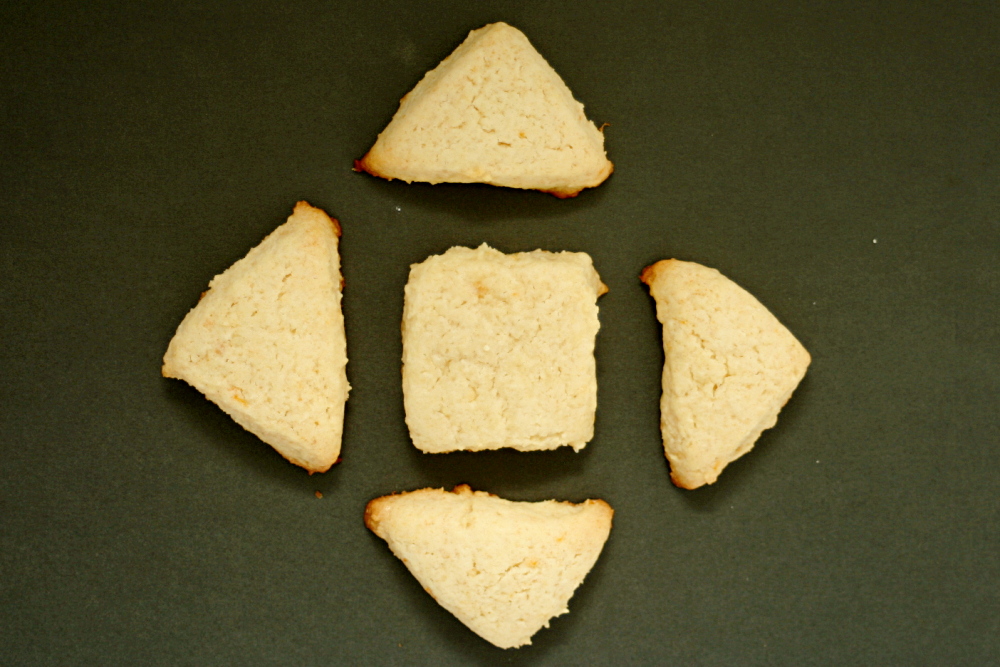
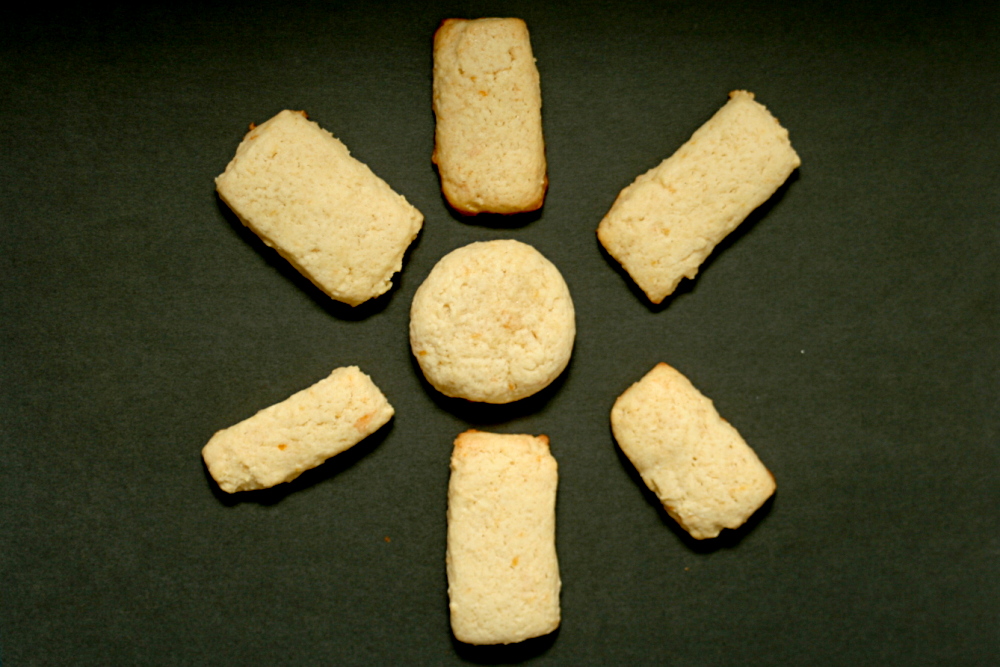
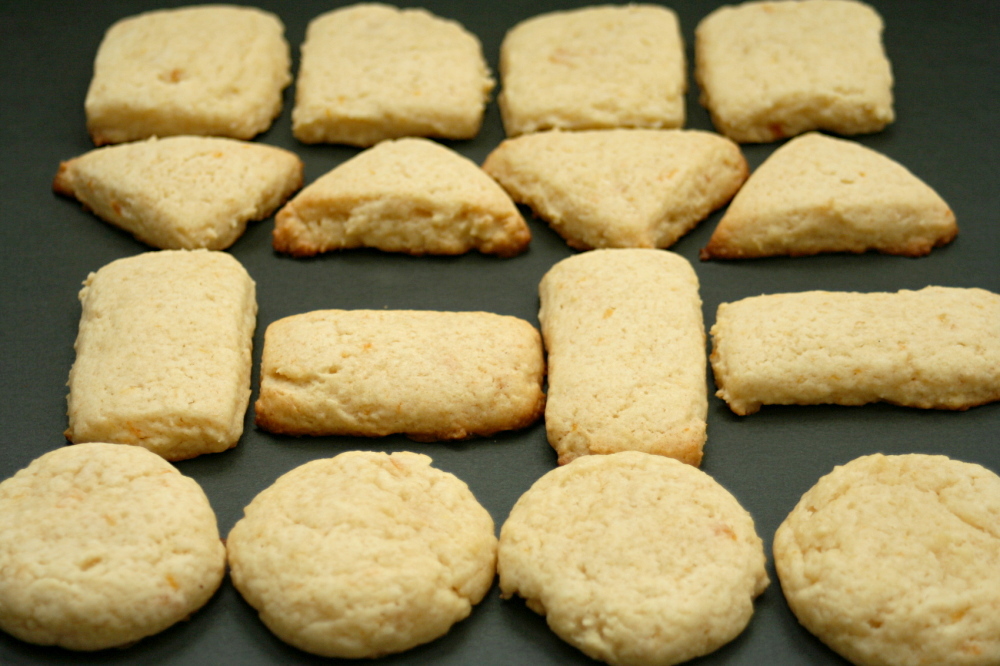
Not that square cookies is the most unique presentation ever. I’d heard that the cookies hold their shape in the oven really well, so I thought this might be a good cookie to use a cookie stamp on. But I don’t have one. My almost-3-year-old nephew is just starting to learn shapes, so this idea came from him. For the circles, I used spoonfuls of dough like the recipe calls for, and for everything else, I rolled the dough into about a ½-inch thickness and then used a knife to cut the shapes.

copy-of-img_0510

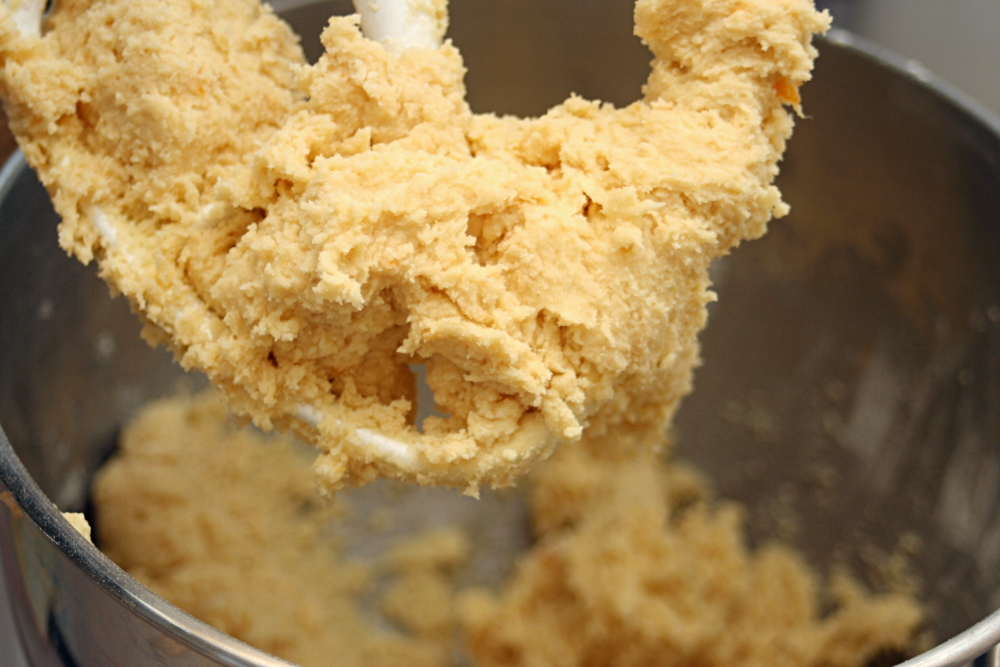
The recipe was very easy. Just like a standard cookie recipe, the butter and sugar are creamed together, the egg and vanilla are added, and then jam is added before the pre-mixed dry ingredients are mixed in just until blended. The dough tasted pretty good, which is always a good sign.

copy-of-img_0517

The cookies were decent. As soon as I saw that the recipe only called for ¼ teaspoon of salt for 2 cups of flour, I was concerned. I’m finding that I like my baked foods on the salty side. I added more, about ⅛ teaspoon, but I still would have liked the cookies to be saltier. They seemed a little bland. It didn’t help that I couldn’t taste the ginger at all. My powdered ginger is very old, so I’m sure that’s why. I suppose I should break down and replace it with fresher stuff.

copy-of-img_0522

So they didn’t knock my socks off, but I’m glad I tried them. Dorie has a lot of fun ideas for cookies that I wouldn’t think of on my own. Heather has the recipe posted.

One year ago: Braised White Beans with Tomatoes, Zucchini and Garlic.   This is still one of my favorite meals.

copy-of-img_0530