grandma’s all-occasion sugar cookies

copy-of-img_9846

Believe it or not, I had all of November’s Tuesdays with Dorie recipes baked by November 1st. (And somehow my freezer was still full of desserts by the end the month.) December has been a different story. I did make these cookies last week, but I only finished them one day before leaving to spend a week with my parents. The rest of the month is characteristically busy for December, so I’m sure this trend will continue.
copy-of-img_9800

Fortunately, none of the recipes this month seem to be long involved projects. These sugar cookies are a pretty basic cookie dough recipe with a bit of chilling, then the standard rolling and cutting. And baking and decorating. So I suppose there’s a fair bit of work, but I kept it as simple as possible.
copy-of-img_9817

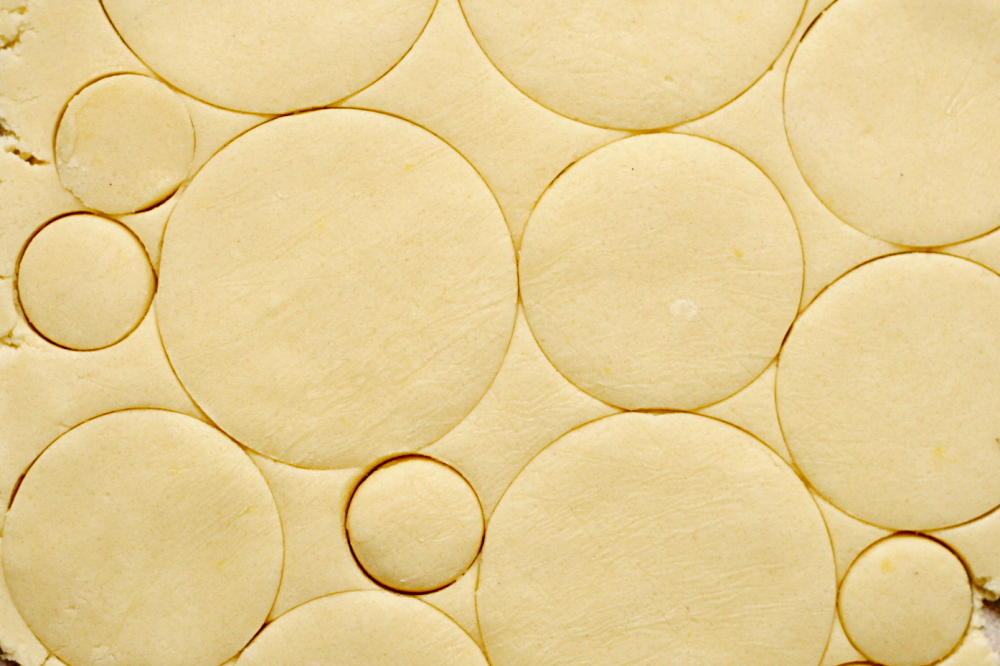
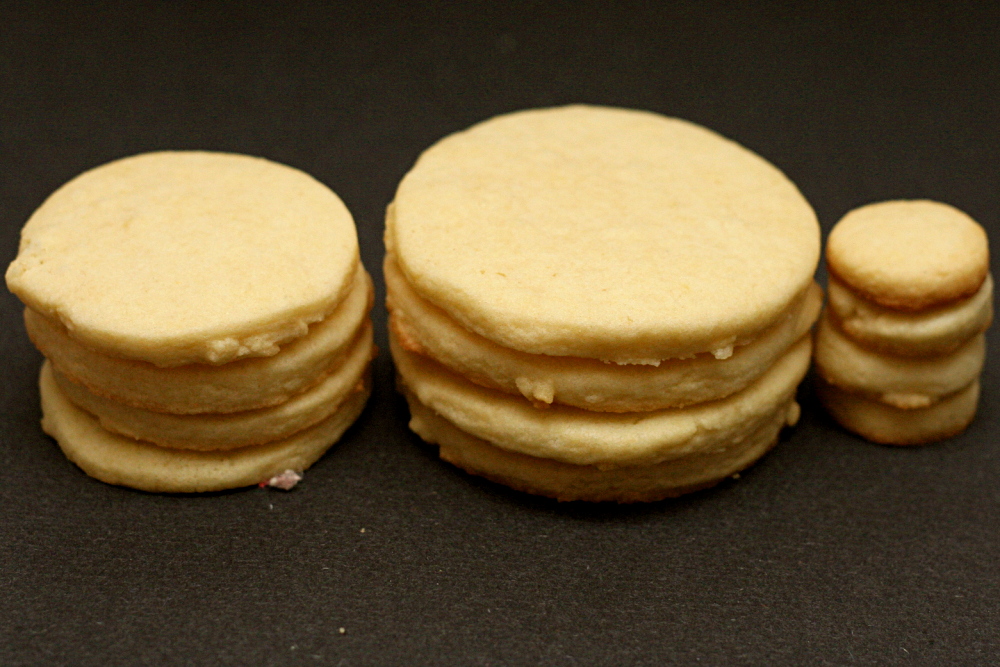
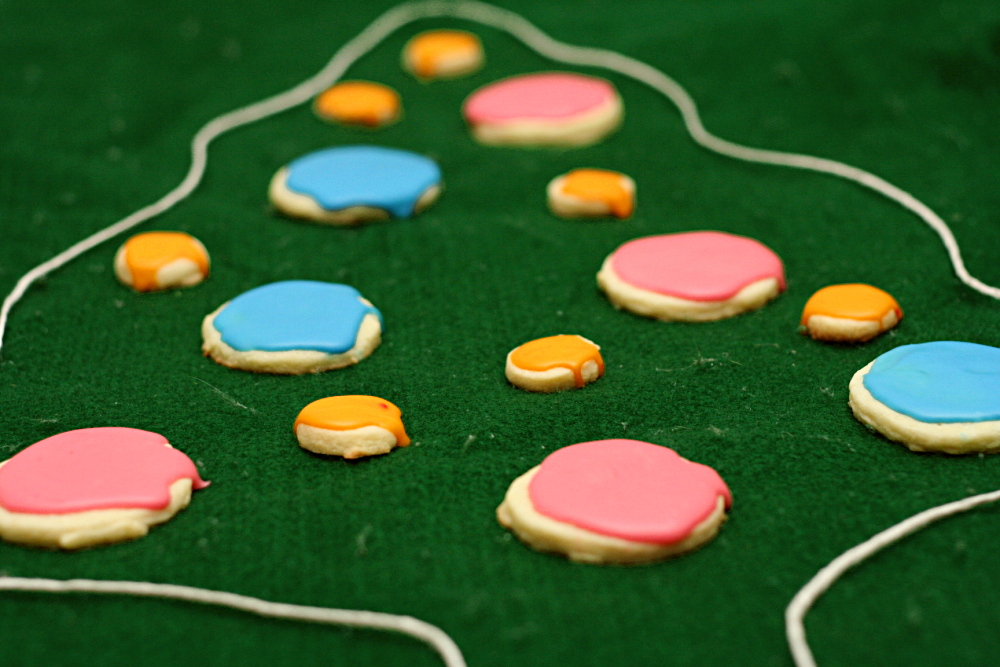
Keeping in mind that I prefer my sugar cookies super tender, I baked these for a little less time than the recipe indicates. Not wanting to struggle with my annoying clingy cookie cutters again, I was left with only one other option (two if you include Halloween cookie cutters, which I don’t in this case) – round biscuit cutters. Dorie suggested a simple cinnamon sugar coating for these cookies, which sounded a little plain. I didn’t have time for elaborate decorations, so I compromised with an easy powdered sugar glaze.
copy-of-img_9829

The cookies were pretty good. I added a bit of lemon zest, although a lot less than the lemon variation recommended. I wasn’t looking for a lemon cookie, just a little flavor besides sweetness. I liked the lemon, although next time I’ll add even less. I do prefer the sugar cookie recipe I made last month to this one. Dorie says in the recipe’s introduction that these are crispy, and even with the shorter baking time, they weren’t as soft as I like. But they were very tasty.

Ulrike has the recipe posted.
copy-of-img_9866

linzer sablés

copy-of-img_9756

I think Tuesday snuck up on a lot of the Tuesdays with Dorie members this week. I know it did for me. I’ve been holding onto last week as much as possible, with the long weekend and the holiday largely dedicated to food (oh yeah, and being thankful) and the turkey and the pie and mostly the long weekend. But going back to work yesterday made it hit me that I better get crackin’ on making this week’s recipe.

copy-of-img_9742

I’m glad Dennis picked a fairly simple recipe this week, so I could get the whole thing done Monday after work. Fortunately, I happened to have three bags of walnuts in the pantry that each had just a little bit left, and together made just enough ground nuts for me to make this recipe.

copy-of-img_9746

Some people who made the recipe before me suggested rolling out the dough thinner than Dorie’s recommended ¼-inch, so I took that advice. I’m glad I did, because I can see how that would have made some pretty thick cookies. The only other issue I had was a result of my super cheap cookie cutters, which were determined to hold onto the cut cookie dough instead of releasing it onto the baking sheet. I will be adding cookie cutters to my Christmas list.

copy-of-img_9753

I really enjoyed the cookies. The spice was a really nice addition, and the texture was this great tender-crisp combination. I don’t know that crisp is the right word, but they’re definitely not soft and chewy. Sablé, meaning sand, is really the right name for these cookies. I didn’t add enough jam to mine, but that wasn’t a big deal. Dave and I agreed that they’re a very nice cookie for Christmas.

You can find the recipe on Dennis’ blog.

One year ago: Crockpot Rice and Beans – I really love this meal.  We’re actually having it for dinner tonight.

copy-of-img_9761

lime meltaways

copy-of-img_8545

I’ve gotten into the annoying habit of buying a bag of limes when I only need one lime because they’re so darn expensive if you buy them singularly. And then I have to get creative trying to use up the rest of the limes. See, I was practically forced to make lime cookies.

copy-of-img_8446

There’s nothing complicated about the recipe, although for a few seconds, I wasn’t sure whether the lime juice was going to mix with the butter. You know, fat and water repelling and all. It mixed in.

copy-of-img_8447

Once the cookies come out of the oven, the recipe recommends putting them in a bag with powdered sugar and doing some shaking, until they’re evenly coated with sugar. I don’t know about this. They’re pretty fragile. Seems like you’re asking for broken cookies with this method. I just gave each one a quick dip in a bowl of powdered sugar.

copy-of-img_8480

I love lime-flavored stuff, and these were no exception. I wouldn’t have minded if they had been a little more limey – I might add just a little extra lime zest next time. Another great thing about these – this is one of those convenient recipes where you can leave the dough in the freezer until you need it. Fresh cookies with no effort!

copy-of-img_8542

Key Lime Meltaways (adapted from Martha Stewart via Smitten Kitchen)

Makes 5 dozen

You can use either regular or Key limes.

The dough, shaped into logs, can be kept in the freezer for up to 2 months.

12 tablespoons (1½ sticks) unsalted butter, room temperature
1 cup (4 ounces) powdered sugar
grated zest of 4 tiny or 2 large key limes
2 tablespoons freshly squeezed lime juice
1 tablespoon pure vanilla extract
1¾ cup plus 2 tablespoons (9.375 ounces) all-purpose flour (a.k.a. 2 cups minus 2 tablespoons)
2 tablespoons cornstarch
¼ teaspoon salt

1. In the bowl of an electric mixer fitted with the whisk attachment, cream butter and ⅓ cup (1.33 ounces) powdered sugar until fluffy. Add lime zest, juice, and vanilla; beat until fluffy.

2. In a medium bowl, whisk together flour, cornstarch, and salt. Add to butter mixture, and beat on low speed until combined.

3. Between two 8-by-12-inch pieces of parchment paper, roll dough into two 1¼-inch-diameter logs. Chill at least 1 hour.

4. Heat oven to 350F. Line two baking sheets with parchment. Place remaining ⅔ cup sugar in a resealable plastic bag. Remove parchment from logs; slice dough into ¼-inch-thick rounds. Place rounds on baking sheets, spaced 1 inch apart.

5. Bake cookies until barely golden, about 15 minutes. Transfer cookies to a wire rack to cool slightly, just three or four minutes. While still warm, place cookies in the sugar-filled bag; toss to coat. Bake or freeze remaining dough. Store baked cookies in an airtight container for up to 2 weeks.

copy-of-img_8549

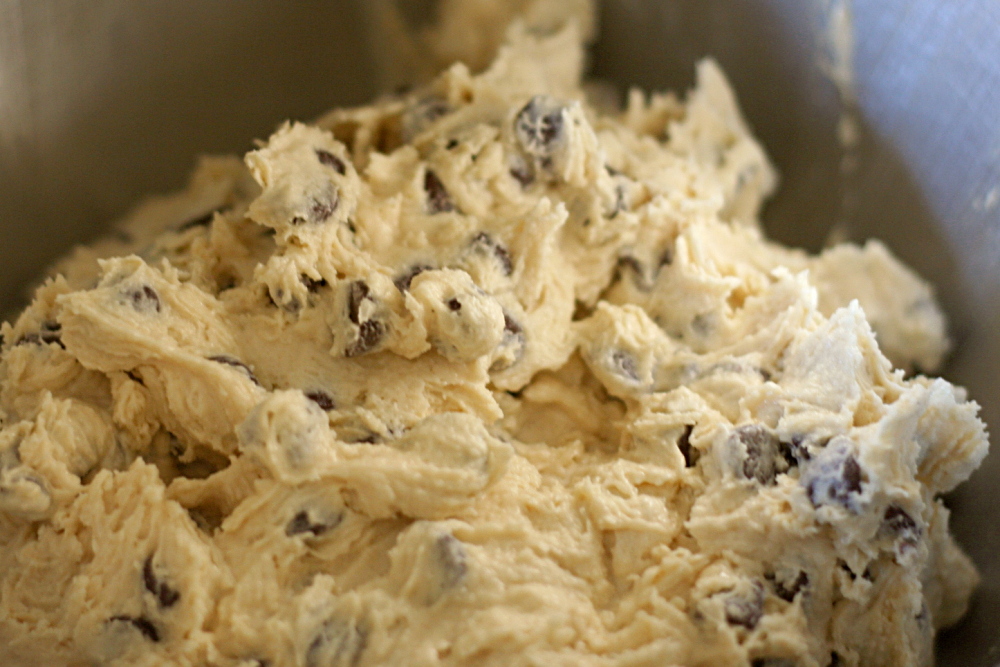
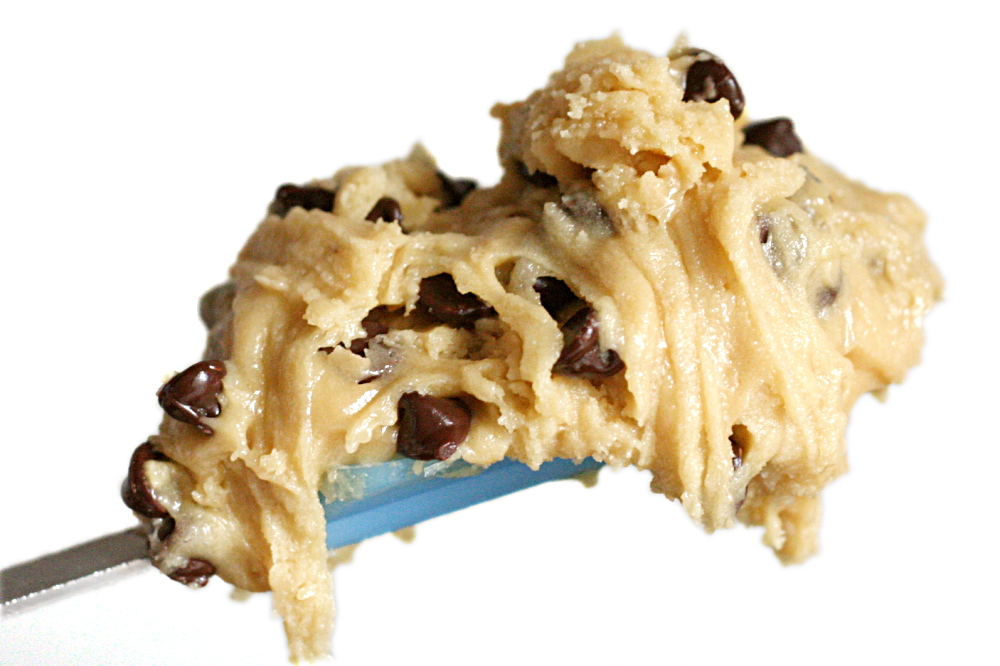
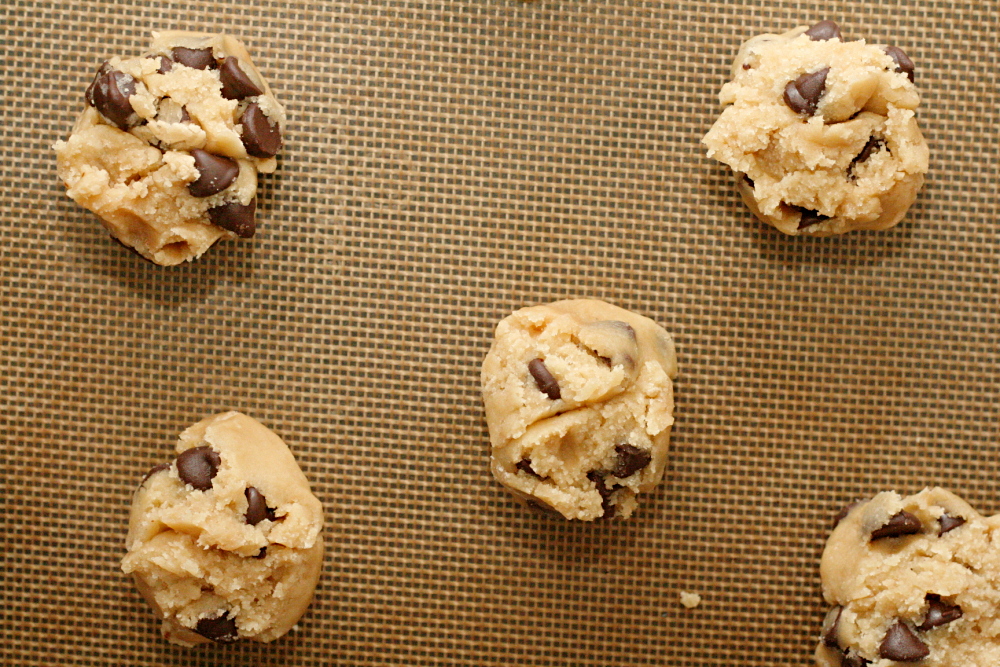
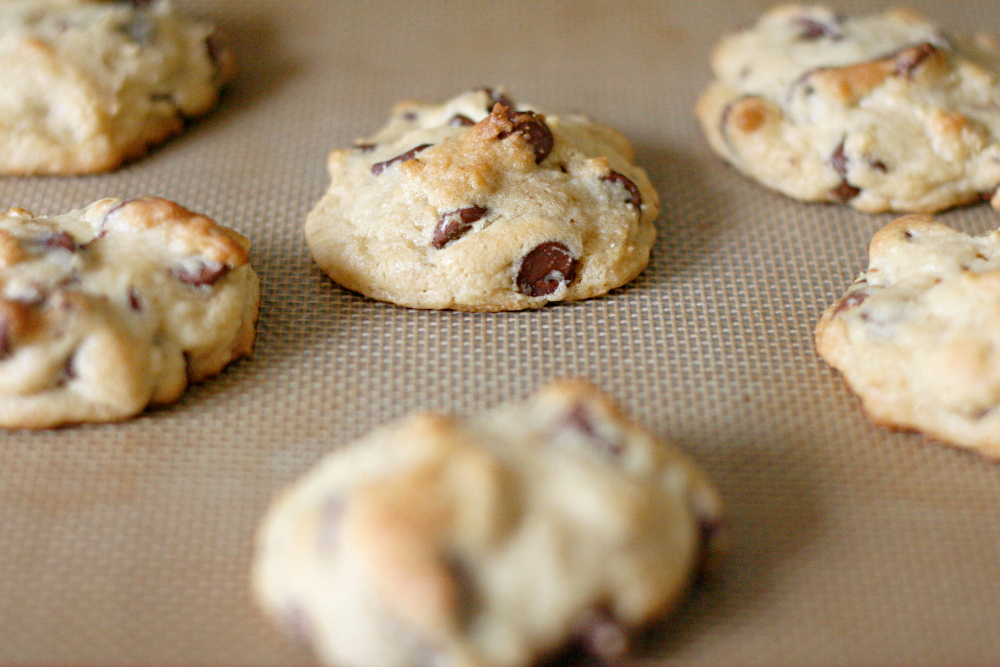
chocolate chip cookie comparison

copy-of-copy-of-img_7109

Everyone is always talking about what the best chocolate chip cookie recipe is. Last year, it seemed like everyone was making the Best Big Fat Chewy Chocolate Chip Cookie. A few months ago, Cooks Illustrated’s Thick and Chewy Chocolate Chip Cookie was all the rage. These days, people are testing out the New York Times recommendation to chill the dough for 36 hours before baking.

Until recently, I stayed out of this discussion. I knew that my favorite was unpopular among food bloggers – good ol’ Tollhouse, with just a bit more flour. I’ve made it so often that I don’t bother getting out the recipe anymore. When I lived alone, I made it nearly once a week. I would eat two cookies each night with tea, and then give the rest to Dave when I saw him over the weekend. He’d eat the rest of the batch in one day.

copy-of-img_5775

But eventually, curiosity got the best of me. It was the New York Times recipe that did it. I can never seem to resist making things more complicated – a required 36 hour rest was just up my alley, right? And then once I tried one new recipe, it was like a dam opened, and suddenly I wanted to be part of this quest to find the perfect recipe.

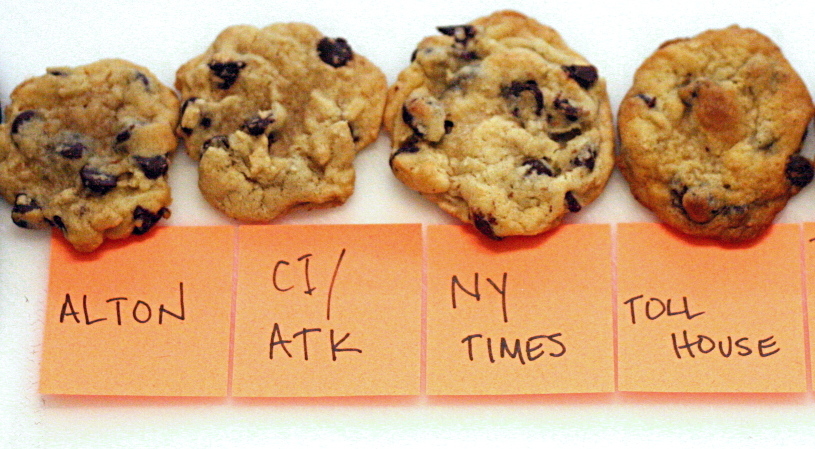
Because, let’s face it, just about all chocolate chip cookies are good (and certainly the ones I was making would be), Dave and I decided we would need to do side-by-side comparisons to discern differences between the recipes. I decided to try four of the most popular recipes – Tollhouse, NY Times, Cooks Illustrated, and Alton Brown’s The Chewy.

copy-of-img_8405

I wanted to publish this entry with conclusive results. I wanted to come to you and say “This recipe is the one you should make. It is the best. The most butterscotchy, the most tender, the best dough, the most fun to bake.” I wanted to let you know unequivocally that the overnight rest was or was not important.

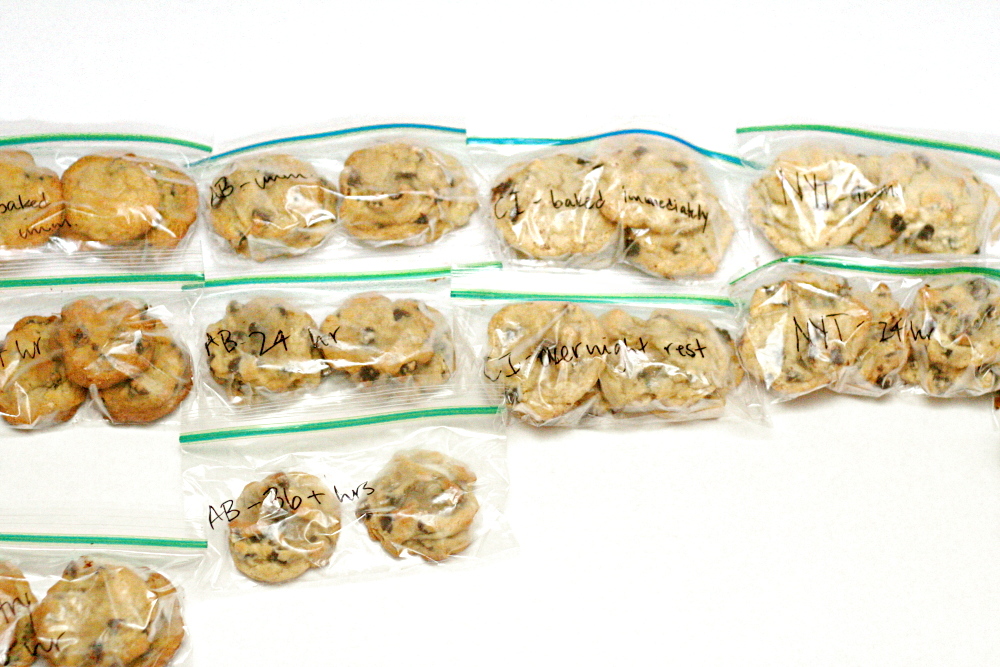
But I just don’t think it’s going to happen. The more cookies I eat, the more indecisive I get. I even made each recipe again, hoping to try again with fresh cookies. (Thank god for BakingGALS.) I had bags and bags of carefully labeled cookies in my freezer. It’s out of control. It’s time to stop the insanity and tell you what I did learn from this.

copy-of-img_7103

Regarding the overnight rest – it certainly doesn’t hurt, and I find it pretty convenient actually. You can bake one cookie sheet of cookies at a time, and you have fresh cookies every night. (You also have dough in the fridge available at all times, and I have no self-control.) Does it make a difference? Maybe. I think it gives cookies a more pronounced butterscotch flavor, and sometimes I think it helps even out the texture. But it’s pretty subtle.

copy-of-img_5082

Of the four recipes, Dave and I had two favorites, and the bake-off between those two was inconclusive.

My favorite was Alton Brown’s The Chewy. I am, sadly, not kidding when I say that I ate ten of these the first time I made them. <blush> Self-control-wise, I’m usually pretty good with cookies once they’re baked. This must have been a bad morning. It had a great butterscotch flavor, and a nice soft texture – tender without being too chewy or crisp. However, Dave had a few complaints about them being greasy, and I see his point, although I’m not bothered by this as much.

copy-of-img_5086

We were also very fond of the New York Times recipe. It was soft, with just a bit of crispness to the edges, which I like. However, they were a little dry and bready, and didn’t have as much flavor as Alton’s. They definitely weren’t greasy though.

I definitely wanted to like Cook Illustrated’s Thick and Chewy recipe. Over and over, I hear people say that it’s their absolute favorite, and usually I love CI. But not this time. These took chewy to the extreme. It was like cookie flavored bubble gum, although the cookie flavor was weak. I made them again, convinced that I must have done something wrong the first time, but I still couldn’t get excited about these cookies.

copy-of-img_8409

Dave wasn’t a fan of the Tollhouse cookies at all – too greasy, he says. I still like their flavor, which is intensely buttery. I also like the crispy edges and tender middles. But they could definitely benefit from some extra flour (which is how I made them for years, but I followed the recipe exactly this time).

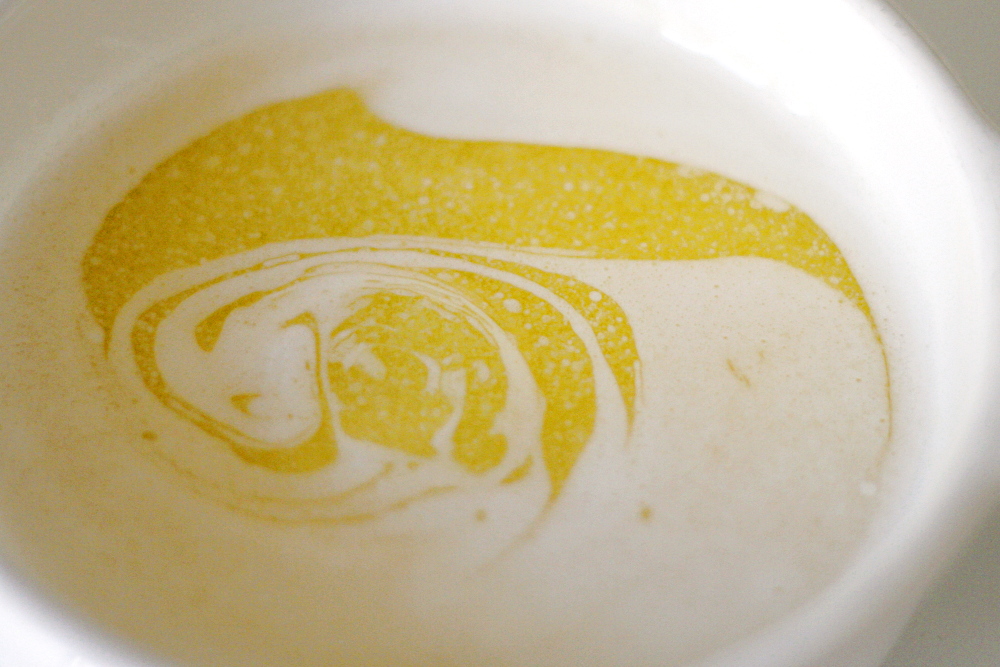
This shouldn’t be, but is, an issue to consider as well – the doughs made from melted butter (Alton’s and CI’s) were not nearly as good as those made from softened butter. That’s sad. Tollhouse’s dough is the best, but NY Time’s is nothing to scoff at. The NY Times recipe is the most fun to make – lots of mixer use with that one.

copy-of-img_8417

I wish I could provide a solid answer to the “which is best” chocolate chip cookie question, but I’m not sure it’s that easy. For one thing, every one has their own preferences – I only had two testers and we couldn’t agree! However, keep in mind that chocolate chip cookies are pretty much always good. Any of these recipes will give you something delicious. But if I have to recommend one, it would be Alton Brown’s The Chewy.

copy-of-copy-of-img_5789

Since this original post, I have also made Cooks Illustrated’s Perfect Chocolate Chip Cookies.

The Chewy (from Alton Brown)

2 sticks unsalted butter
2¼ cups bread flour
1 teaspoon kosher salt
1 teaspoon baking soda
¼ cup sugar
1¼ cups brown sugar
1 egg
1 egg yolk
2 tablespoons milk
1½ teaspoons vanilla extract
2 cups (12 ounces) semisweet chocolate chips

Hardware:
Ice cream scooper (#20 disher, to be exact)
Parchment paper
Baking sheets
Mixer

Heat oven to 375F.

Melt the butter in a heavy-bottom medium saucepan over low heat. Sift together the flour, salt, and baking soda and set aside.

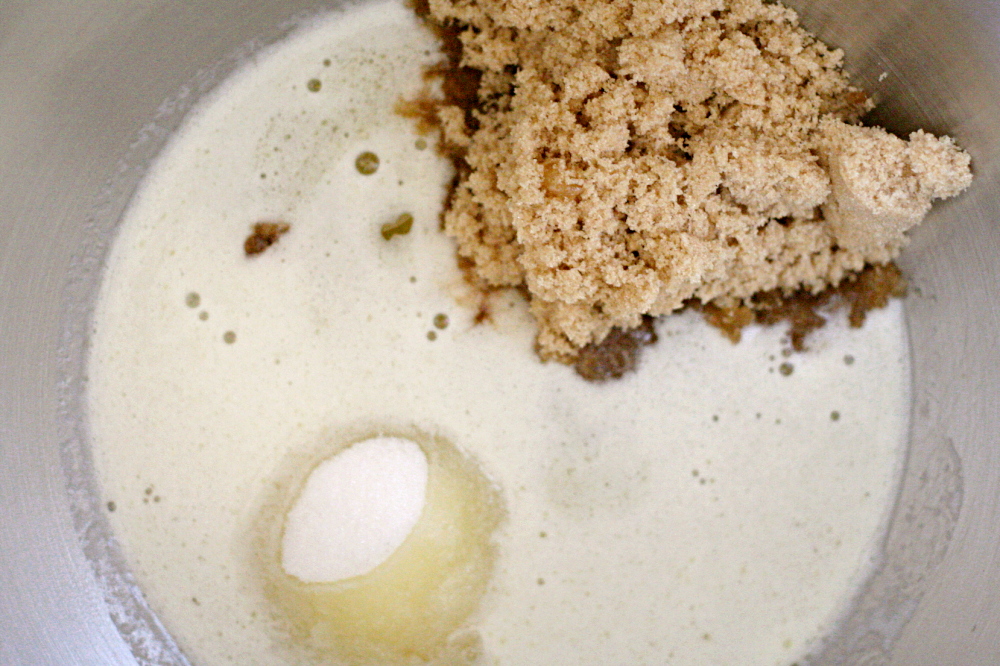
Pour the melted butter in the mixer’s work bowl. Add the sugar and brown sugar. Cream the butter and sugars on medium speed. Add the egg, yolk, 2 tablespoons milk and vanilla extract and mix until well combined. Slowly incorporate the flour mixture until thoroughly combined. Stir in the chocolate chips.

Chill the dough, then scoop onto parchment-lined baking sheets, 6 cookies per sheet. Bake for 14 minutes or until golden brown, checking the cookies after 5 minutes. Rotate the baking sheet for even browning. Cool completely and store in an airtight container.

Chocolate Chip Cookies (from the New York Times)

1½ dozen 5-inch cookies.

2 cups minus 2 tablespoons (8½ ounces) cake flour
1⅔ cups (8½ ounces) bread flour
1¼ teaspoons baking soda
1½ teaspoons baking powder
1½ teaspoons coarse salt
2½ sticks (1¼ cups) unsalted butter
1¼ cups (10 ounces) light brown sugar
1 cup plus 2 tablespoons (8 ounces) granulated sugar
2 large eggs
2 teaspoons natural vanilla extract
1¼ pounds bittersweet chocolate disks or fèves, at least 60 percent cacao content
Sea salt

1. Sift flours, baking soda, baking powder and salt into a bowl. Set aside.

2. Using a mixer fitted with paddle attachment, cream butter and sugars together until very light, about 5 minutes. Add eggs, one at a time, mixing well after each addition. Stir in the vanilla. Reduce speed to low, add dry ingredients and mix until just combined, 5 to 10 seconds. Drop chocolate pieces in and incorporate them without breaking them. Press plastic wrap against dough and refrigerate for 24 to 36 hours. Dough may be used in batches, and can be refrigerated for up to 72 hours.

3. When ready to bake, preheat oven to 350 degrees. Line a baking sheet with parchment paper or a nonstick baking mat. Set aside.

4. Scoop 6 3½-ounce mounds of dough (the size of generous golf balls) onto baking sheet, making sure to turn horizontally any chocolate pieces that are poking up; it will make for a more attractive cookie. Sprinkle lightly with sea salt and bake until golden brown but still soft, 18 to 20 minutes. Transfer sheet to a wire rack for 10 minutes, then slip cookies onto another rack to cool a bit more. Repeat with remaining dough, or reserve dough, refrigerated, for baking remaining batches the next day. Eat warm, with a big napkin.

Thick and Chewy Chocolate Chip Cookies (from Cooks Illustrated)

Makes 1½ dozen 3-inch cookies

CI note: These truly chewy chocolate chip cookies are delicious served warm from the oven or cooled. To ensure a chewy texture, leave the cookies on the cookie sheet to cool. You can substitute white, milk chocolate, or peanut butter chips for the semi- or bittersweet chips called for in the recipe. In addition to chips, you can flavor the dough with one cup of nuts, raisins, or shredded coconut.

2⅛ cups bleached all-purpose flour (about 10½ ounces)
½ teaspoon table salt
½ teaspoon baking soda
12 tablespoons unsalted butter (1½ sticks), melted and cooled slightly
1 cup brown sugar (light or dark), 7 ounces
½ cup granulated sugar (3½ ounces)
1 large egg
1 large egg yolk
2 teaspoons vanilla extract
1-2 cups chocolate chips or chunks (semi or bittersweet)

1. Heat oven to 325F. Adjust oven racks to upper- and lower-middle positions. Mix flour, salt, and baking soda together in medium bowl; set aside.

2. Either by hand or with electric mixer, mix butter and sugars until thoroughly blended. Mix in egg, yolk, and vanilla. Add dry ingredients; mix until just combined. Stir in chips.

3. Form scant ¼ cup dough into ball. Holding dough ball using fingertips of both hands, pull into two equal halves. Rotate halves ninety degrees and, with jagged surfaces exposed, join halves together at their base, again forming a single cookie, being careful not to smooth dough’s uneven surface. Place formed dough onto one of two parchment paper-lined 20-by-14-inch lipless cookie sheets, about nine dough balls per sheet. Smaller cookie sheets can be used, but fewer cookies can be baked at one time and baking time may need to be adjusted. (Dough can be refrigerated up to 2 days or frozen up to 1 month – shaped or not.)

4. Bake, reversing cookie sheets’ positions halfway through baking, until cookies are light golden brown and outer edges start to harden yet centers are still soft and puffy, 15 to 18 minutes (start checking at 13 minutes). (Frozen dough requires an extra 1 to 2 minutes baking time.) Cool cookies on cookie sheets. Serve or store in airtight container.

Original Nestle Toll House Chocolate Chip Cookies (slightly adapted)

Makes 60 cookies

2¼ cups all-purpose flour
1 teaspoon baking soda
1 teaspoon salt
1 cup (2 sticks) butter, softened
¾ cup granulated sugar
¾ cup packed brown sugar
1 teaspoon vanilla extract
2 large eggs
2 cups (12-ounces) chocolate chips

Preheat oven to 375° F.

Combine flour, baking soda and salt in small bowl. Beat butter, granulated sugar, brown sugar and vanilla extract in large mixer bowl until creamy. Add eggs, one at a time, beating well after each addition. Gradually beat in flour mixture. Stir in morsels. Drop by rounded tablespoon onto ungreased baking sheets.

Bake for 8 to 11 minutes or until golden brown. Cool on baking sheets for 2 minutes; remove to wire racks to cool completely.

wheatmeal shortbread cookies

copy-of-img_8467

I’ve only recently started to appreciate whole grain food as anything other than a healthy alternative that requires a compromise in flavor. For some foods, this is true – pizza crust is less tender and the dough harder to work with when whole wheat flour is substituted for a portion of the white flour; many rustic breads get most of their flavor from a slow fermentation of white flour; and certainly I’m not interested in making chocolate chip cookies with whole wheat flour.

copy-of-img_8427

But that doesn’t mean that whole grain food can’t be enjoyed for what it is, and not just as a healthy substitute. These cookies are unabashedly whole grain, and that’s part of their charm. But don’t worry – I wouldn’t call them healthy.

copy-of-img_8429

The recipe is straightforward and I had no real problems. I did rework it to be baked in a square pan because I don’t have the 10-inch springform pan that it calls for. Who has all these crazy pans that Martha’s recipes always call for? One step that I followed, but didn’t really understand the point of, was scoring the edges of the cookies halfway through baking. Also, my skewer pricks in the cookies got covered by the granulated sugar sprinkled on top. In retrospect, I could have repricked the cookies after the sugar was added to keep the design.

copy-of-img_8434

Besides that small nitpicking, the recipe was easy. And the cookies were so good! They’re really tender from all that butter. I’m having trouble describing the flavor; all I can think of is “earthy” but that doesn’t sound like a compliment. But the bran really added an extra dimension of flavor that was balanced wonderfully by the butter and sugar.

copy-of-img_8448

Wheatmeal Shortbread Cookies (from Martha Stewart’s Baking Handbook, slightly reworded)

MS note: Be sure to sprinkle the shortbread with granulated sugar as soon as it comes out of the oven; this will help the sugar adhere to the cookie.

1 cup (5 ounces) unbleached flour, plus more for dusting
¾ cup whole wheat flour
¼ cup wheat bran
¾ teaspoon salt
14 tablespoons (1¾ sticks) unsalted butter, room temperature
½ cup (3.5 ounces) packed light brown sugar
granulated sugar, for sprinkling

1. Preheat the oven to 325F. Have ready a 10-inch round springform pan or a 10-inch tart pan with a removal bottom. Alternatively, line a 9-inch square pan with parchment paper.

2. In the bowl of an electric mixer fitted with the paddle attachment, mix both flours, the bran, and the salt on low speed just to combine. Add the butter and brown sugar, and beat until all the ingredients come together and form a smooth dough, about 3 minutes, scraping down the sides of the bowl as needed.

3. Turn the dough out into the pan. Using your fingers, spread out the dough evenly while pressing it firmly into the pan. Use a spoon to flatten the edges.

4. Place pan in oven, and reduce temperature to 300F. Bake until the edges just begin to turn golden, about 30 minutes. Remove pan from oven; using a bench scraper or long, sharp knife, score the cookie into 8 wedges (if using round pan) or 16 squares (if using square pan). Using the tip of a wooden skewer or the tines of a fork, prick the shortbread all over in a decorative pattern, if desired. Return pan to oven, and bake until golden all over, about 15 minutes more.

5. Transfer pan to a wire rack. Sprinkle shortbread with granulated sugar. Remove the sides of the pan (if using pan with removable bottom/sides) or use the parchment paper to lift the cookies out of the pan (if using a square pan). Let stand until completely cool before cutting into wedges. Shortbread can be kept in an airtight container at room temperature for up to 1 week.

copy-of-img_8468

rugelach

copy-of-img_8773

The closest I’ve ever come to making, or even eating, rugelach is spreading jam on scraps of pie dough, rolling them up, sprinkling them with sugar, and baking them. So pretty close actually. Except that it never occurred to me to add chocolate, so I’ve been missing out.

copy-of-copy-of-img_8728

Dave loves jam+scraps of dough, so I was confident that he’d enjoy these. I was right, and he was not pleased when I sent the first batch to a soldier in Iraq. That gave me a great reason to make them again, with a few changes I had in mind.

copy-2-of-copy-of-img_8741

Dorie practically insists that we play with the filling recipe, so I took it upon myself to do so. For the first batch I followed the recipe exactly, and it was no bad thing. However, they were, if such a thing is possible, too chocolately. Not that they weren’t still delicious, but I happened to know that I added all sorts of other tasty things in the filling, and I wanted to taste all of it!

copy-of-img_8761

For the second batch, I cut the chocolate in half and reduced the jam a little, since so much of it oozed out from the first batch. And in a weird reversal, after months of replacing Dorie’s raisins with other dried fruit, I ran out of currants and substituted raisins. Still good. So many flavors playing along nicely together.

copy-of-img_8770

The recipe, chosen for TWD, can be found on Grace’s site. Changes I made include cutting the amount of chocolate in half, reducing the jam to ½ cup, and increasing the cinnamon to ¾ teaspoon. I also found that it was best to cut the dough into triangles before adding the chunks of chocolate, which blocked my pizza cutter when I added it before cutting.

copy-of-img_8767

decorated sugar cookies

copy-2-of-img_8949

Decorated sugar cookies are a basic recipe that every established baker needs in their arsenal. I’ve got the frosting down, but I’ve haven’t quite found the right cookie.

It’s a tall order. I want a sugar cookie that’s super tender with only, maybe, if absolutely necessary, the smallest bit of crispness to it, just on the edges. I want it to be flavorful enough to eat on its own, but made that much better by frosting. I want it to be easy to roll out. And I want it to use butter and no shortening.

copy-of-img_8910

These cookies were described as soft and chewy with great butter flavor, so it seemed like a good recipe to try. Except that they weren’t soft. Damn it. The recipe specifically says bake for 6-9 minutes or they’ll be crisp, and it’s possible that I, um, didn’t bother to set a timer. In my defense, I took them out of the oven when they were just showing a bit of browning on the bottom edge; the bottom of each cookie is a nice light gold.

copy-of-img_8923Whether they’re overcooked or not, I have a feeling this isn’t my ideal sugar cookie recipe. My problem is actually that the dough doesn’t need to be refrigerated before being rolled out. For the dough to be unsticky enough to be rolled without chilling, it has to have quite a bit of flour in it. I think the flour contributes to the crispness of the cookie, and of course it detracts from the butter and sugar flavors that cookies are all about.

copy-of-img_8932

If you have the perfect sugar cookie recipe, please let me know! In the meantime, I’ll be making this one with a half cup less flour. And then trying not to eat frosting by the spoonful.

copy-of-img_8939

Update 11.4.08: I still had dough in the fridge after I posted this entry.  After reading bakingblonde’s comment below, I tried rolling it thicker and was careful to bake the cookies for only 6 minutes.  They were so much better – soft and tender.  I do think next time I’ll reduce the flour just a bit, and I’ll add some lemon zest.  I also plan on going through all of the recipes everyone recommended below (which, from my initial glance at each, are quite similar to this one) and taking my favorite aspects of each.

Famous Sugar Cookies (adapted from bakingblonde)

2¾ cups (13.75 ounces) flour
½ teaspoon salt
2 teaspoons baking powder
16 tablespoons (2 sticks) butter, very soft
1 cup (7 ounces) sugar
1 large egg
1 teaspoon vanilla extract

1. Preheat oven to 375F. In a small bowl, stir together the flour, salt, and baking powder.

2. Beat butter until smooth, about 1 minute. Add sugar and continue beating until light and fluffy, about 3 minutes. Add egg and vanilla and beat until combined, about 30 seconds. Add dry ingredients and beat at low speed until just combined, about 30 seconds, scraping down bowl as needed.

3. Place dough on floured work surface and roll to ⅓-inch thickness. Use cookie cutter to cut desired shapes.

4. Place cookies on baking sheets and bake for 6-9 minutes, until cookies are beginning to brown on bottom and around edges. Don’t overbake or they will be crisp.

5. Transfer to wire racks to cool. Cool completely before frosting.

I decorated the cookies with Easy Vanilla Buttercream.

copy-of-img_8953

lenox almond biscotti

Dave loves biscotti, especially almond biscotti, so he was really happy about Gretchen’s pick for TWD this week. I do like biscotti, but I have trouble figuring out where it should fit into my routine. They’re too snack-like for dessert, but too unhealthy for a snack. Plus they’re kind of a hassle to make, with the slicing and the double-baking and all.

Ah, but almond extract, how I love it. The dough for this biscotti tasted really good.

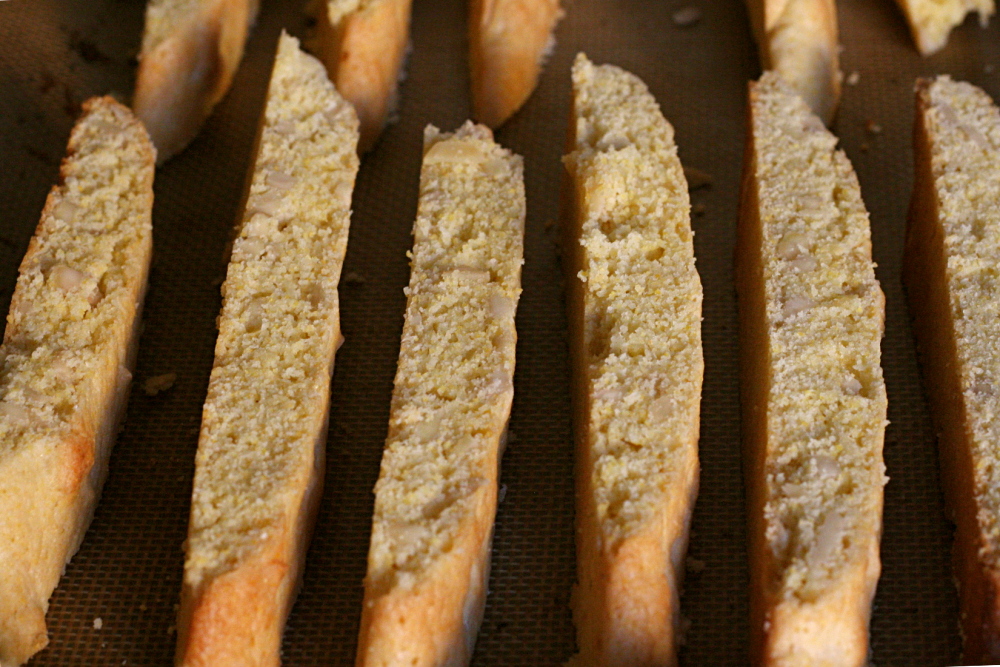
There was some confusion among TWD members about what Dorie meant by “standing the biscotti slices up like a marching band” for the second baking, but looking at it now, I’m thinking she means that they should bake on the flat non-cut side of each slice. I laid them on a cut side instead, oops. I didn’t bother to flip them, but both sides seemed evenly browned regardless.

There is a reason why I do a lot of side-by-side comparisons of recipes. Not only is it the best way to spot small differences, but Dave, who is actually pretty good at picking out subtle differences in recipes, has a very bad memory for food. Whenever I ask him how one recipe compares to another, he says he’d need to taste them side-by-side.

Not so this biscotti. He knew immediately that he preferred the last biscotti recipe I made, even though I hadn’t made it in over 6 months. He likes that the other recipe is crunchier. Dorie’s biscotti were more tender than most that I’ve tried, which I don’t necessarily mind, but I’m not the main biscotti-eater around here. The reason for the difference is easy to see from a quick comparison of the recipes – Dorie’s uses almost twice as much butter.

So it looks like I’ll be sticking with my old biscotti recipe for now. If you’d like to check out Dorie’s recipe, Gretchen has it on her blog.

chocolate chunkers

Just about every week, I’m reminded of why I enjoy being a member of TWD so much. The Chocolate Chunkers Claudia chose this week are no exception. I am always impressed by Dorie’s creativity.

That being said, Dorie and I do often differ on taste preferences. For example, what is with all the raisins? She puts them in everything. I do not approve. Also, peanuts. I like them, but I rarely want them in dessert. Also, this phrase: “You’ll have more crunchies than dough.” But…I love dough. Even more than crunchies.

This recipe is far more involved than my normal cookie recipes. It has quite the substantial ingredient list, and a good number of those ingredients need to be prepped in some way. At least I was able to use up my little-bits-of-leftover-chocolate stash.

She doesn’t call these “chunkers” for nothing. More crunchies than dough indeed. There’s just enough of the brownie-like batter to hold the mix-ins together. But – it works. Yes, I’d rather have a plain, rich, moist, perfect brownie, but for something super-fun and different, I like these cookies.

Claudia has the recipe posted. I substituted dried cherries (which I chopped up a bit) for the raisins and walnuts (not toasted, but they should have been) for the peanuts.
chocolate whopper malted drops (twd)

The Whopper cookies that Rachel chose for TWD are such a fun idea, and I think you’d be hard-pressed to find a recipe like this from any other source. With cocoa and malted milk powder in the dough and chopped Whoppers and chocolate chips as mix-ins, this recipe is pure Dorie.

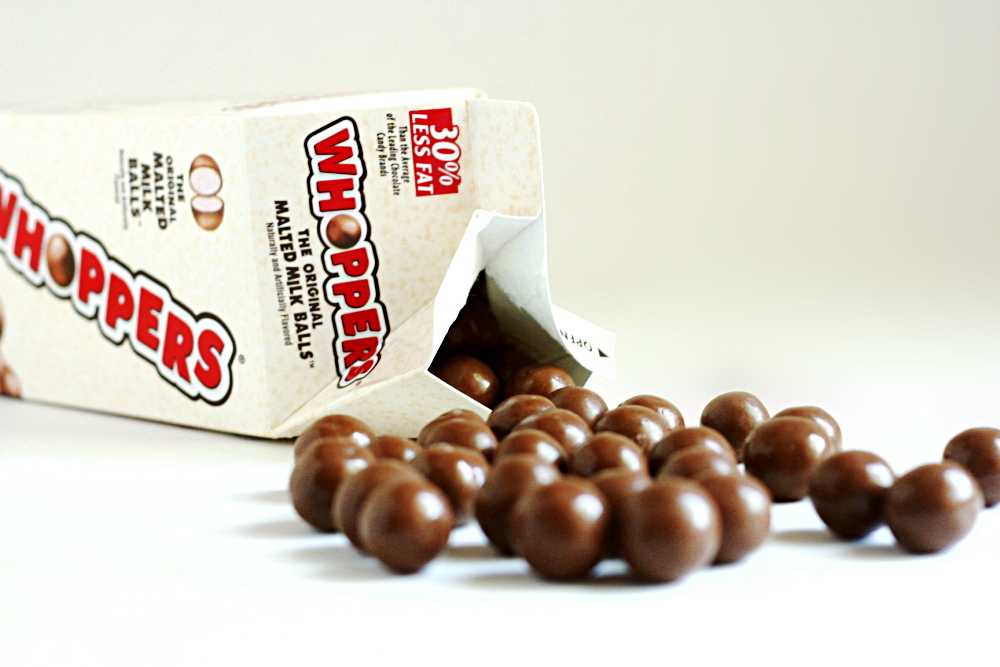
It became clear to me right off the bat that chopping something as small and perfectly spherical as Whoppers would drive me to distraction. So instead, I dumped them in the food processor. It was risky, because food processors are far better at pulverizing than chopping, but it seemed worth it.

I was a little worried by the texture of the cookies right after they came out of the oven, because they seemed gummy. Had my partially powdered Whoppers ruined an entire batch of cookies? Fortunately, they improved greatly once they cooled, becoming pleasantly chewy and rich.

I compared batches baked right after the dough was made and baked the next day. Dave and I agreed that the batch chilled overnight was oh-so-slightly chewier with a more even texture, but that the difference was so subtle that the wait wasn’t worth it.

I thought it was a fun cookie – definitely a different idea, and a good one. Dave said they were nice, but not thrilling. Damned by faint praise.

Rachel has the recipe in her blog.