banana cream pie

Dave lucked out this year when his annual birthday pie didn’t come out quite right. Because then I made another one, and then when that one wasn’t perfect either, I made another one.

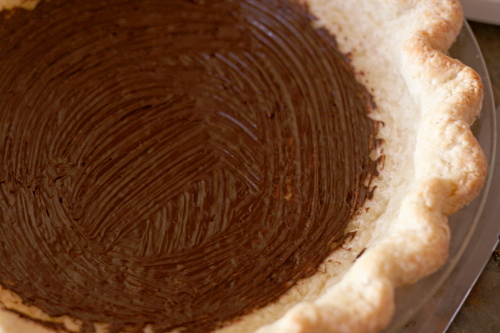
The recipe is Tartine’s, and as usual, they take a classic and kick it up a notch. Their banana cream pie has the traditional flaky crust, pastry cream, bananas, and whipped cream. Then they add caramel and a thin layer of chocolate over the crust to keep the pastry cream from compromising the crust’s crispness.

The chocolate layer in my first pie was way too thick. It was like a Hershey bar on the bottom of the pie. It was impossible to cut. Dave compared it to armor. The second time, I slimmed down the chocolate, but ran out of sugar when I was making the caramel. I thought I’d come up with a way around the sugar issue, but it must not have worked because the caramel layer was hard and chewy. If the chocolate had been like leather armor over the crust, this was chain mail.

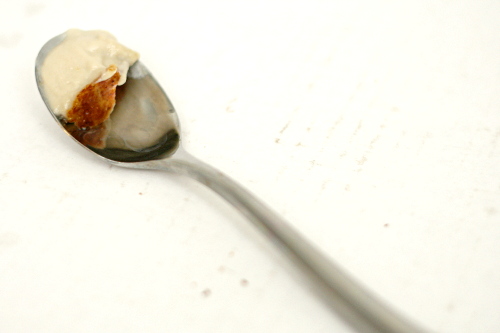
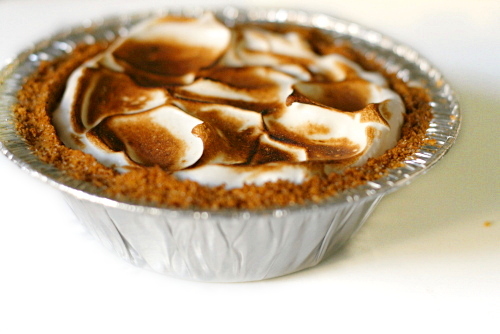
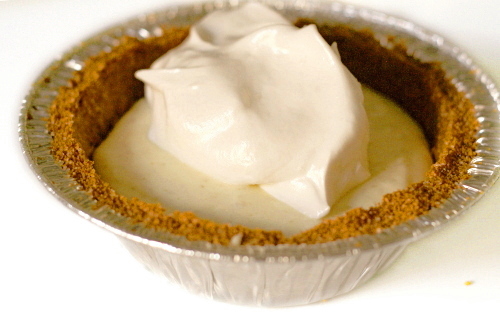
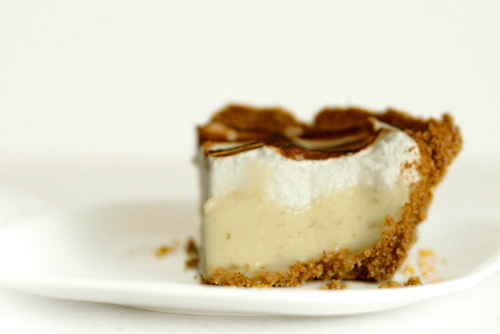
I tried one more time. And, finally! A very thin chocolate layer, the added subtleties of caramel, two layers of sliced bananas, Tartine’s wonderful light pastry cream, all topped with sweet whipped cream. Perfection. Although after my third banana cream pie in as many weeks, I am so ready for some cake or something. I’m not sure Dave agrees.

One year ago: Crispy Baked Chicken Strips
Two years ago: Moo Shu Pancakes

Printer Friendly Recipe
Banana Cream Pie (completely rewritten and slightly tweaked from Tartine’s cookbook)

Full disclosure:

1) The pastry cream pretty much always curdles for me before it boils, but I just pour it into the strainer set over a bowl, whisk like crazy and strain it, and it always ends up smooth and delicious.

2) Working with small amounts of caramel can be tricky, but I had no problems with these quantities. If you see crystals forming when the sugar mixture is bubbling, discard those ingredients and start over. If you’re worried about it working right, you might want to make twice the amount listed here and save half of it for another use.

3) I’m too lazy to set up a makeshift double boiler for 1 ounce of chocolate and I’m biased against microwaves for some reason, so I just melt the chocolate in a very small saucepan over low heat while stirring constantly.

4) The photo of the slice shows only half the whipped cream called for in the recipe, because I ran out of cream.

Pastry cream:
2 cups whole milk
¼ teaspoon salt
½ vanilla bean, cut in half and seeds scraped out
4 tablespoons cornstarch
4 ounces (½ cup + 1 tablespoon) granulated sugar
2 large eggs
4 tablespoons unsalted butter, cut into 8 cubes

Caramel:
5 tablespoons granulated sugar
1 tablespoon water
½ tablespoon light corn syrup
pinch salt
3 tablespoons cream
¼ teaspoon lemon juice
½ teaspoon vanilla extract
1 tablespoon butter, cut into four pieces

Whipped cream:
1 cup heavy cream, cold
2 tablespoons granulated sugar
1 teaspoon vanilla extract

Assembly:
1 pie crust for single-crust 9-inch pie, fully baked and cooled
1 ounce chocolate, finely chopped
3 bananas, sliced ¼-inch thick

1. For the pastry cream: Pour a bit of water into a medium saucepan and dump it out. I know it sounds strange, but wetting the bottom of the pot before adding the milk really helps keep the milk from forming a browned layer on the bottom. Add the milk, salt, and vanilla seeds to the pot and bring to a boil over medium-high heat. Meanwhile, whisk together the sugar and cornstarch in a medium bowl, then whisk in the eggs. When the milk boils, pour just a bit of it into the egg mixture, whisking constantly. Keep whisking and very gradually add the rest of the milk to the egg mixture. Pour the mixture back into the pot and whisk constantly over medium heat until the mixture thickens and just starts to boil; it will only take a few minutes (see note #1). Quickly pour the pastry cream into a fine-mesh strainer set over a medium bowl (I use the same bowl I originally mixed everything in). Use a rubber spatula to push the pastry cream through the strainer. Let the pastry cream cool for a few minutes, occasionally stirring it, and then mix in the butter, 2 cubes at a time. Press plastic wrap directly on the surface of the pastry cream and refrigerate it until completely chilled, 3-4 hours or overnight.

2. For the caramel: Pour the sugar into the center of a tall, heavy-bottomed medium saucepan (see note #2). Carefully pour the water and corn syrup over the sugar. Gently stir the mixture with a clean spatula. Place the saucepan over medium heat and bring the mixture to a boil. Before it boils, you can stir it a bit if it seems to be heating unevenly and the sugar isn’t dissolving, but once it starts to boil, stop stirring. You can gently swirl the pan if it seems to be cooking unevenly. Once the mixture becomes a light amber color, remove it from the heat and add the cream. It will bubble up a lot, so stand back. Give it a few seconds to die down, then whisk the cream into the caramel. Add the vanilla extract and lemon juice, then stir in the butter one cube at a time. Pour the caramel into a small dish.

3. Pour about an inch of water into a small saucepan and bring to a simmer (see note #3). Place the chocolate in a small heatproof bowl, place the bowl over the simmering water, and heat, stirring pretty often, until the chocolate is melted. Pour the chocolate into the cooled crust and use a pastry brush to spread it evenly. Set the chocolate aside to set for a few minutes.

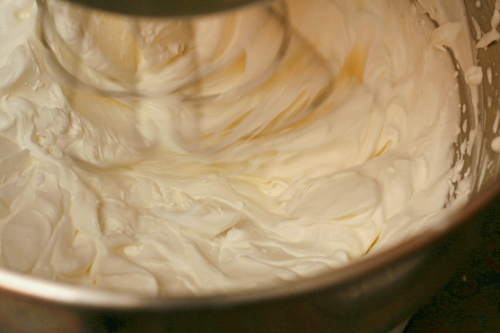
4. For the whipped cream: Place the mixer bowl and whisk attachment (or beaters for a handheld mixer) in the freezer for at least 10 minutes. When the bowl is cold, add the cream and beat at high speed until soft peaks form. Add the sugar and vanilla and continue beating at high speed until firm peaks form.

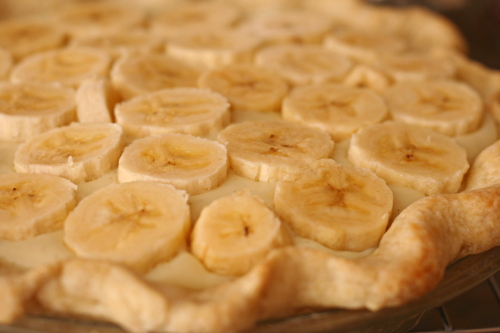
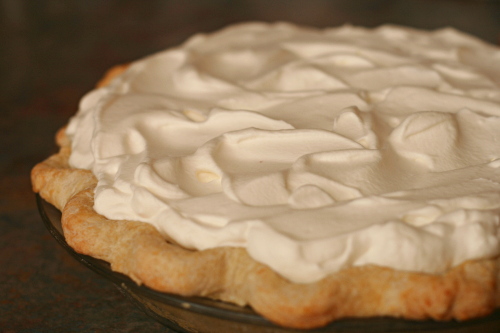
5. Pour the warm-not-hot caramel over the chocolate and spread it fairly evenly. Spread half the pastry cream over the caramel, then arrange half of the banana slices over the pastry cream. Repeat with the remaining pastry cream and bananas. Spread the whipped cream over the bananas. Refrigerate the pie at least 4 hours or overnight, until set.
rosy poached pear and pistachio tart

Copy of IMG_1364

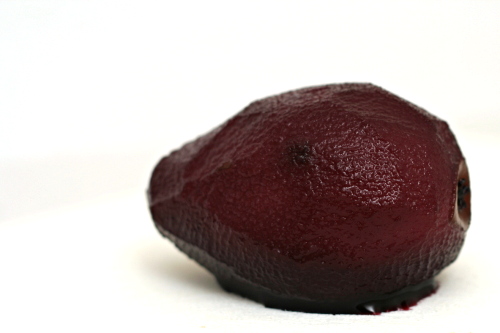
I’m not really good with pears. I don’t know much about them, so I never buy them. And, of course, because I never buy them, I don’t learn much about them. Which types are best for baking and for eating? When are they in season? How do I know when they’re ripe? How long do they take to ripen after you buy them?

Copy of IMG_1336

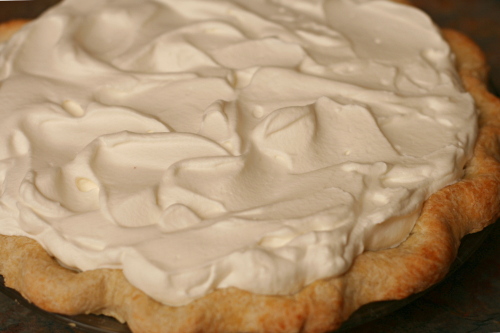
Due to my lack of pear knowledge, I was a little worried about how my tart would come out. I should have looked up what kind of pear to use, plus I forgot to buy mine early so it would have time to ripen before I needed to make the tart.
Copy of IMG_1352

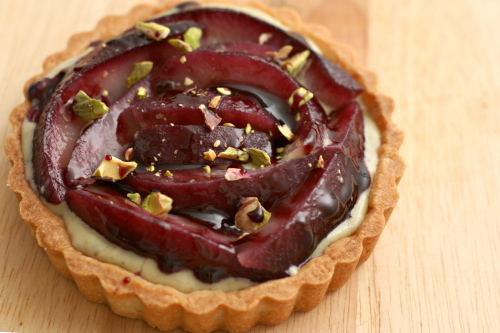
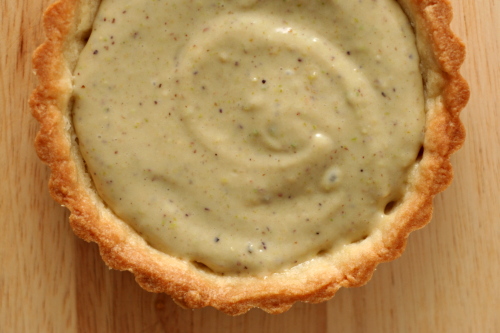
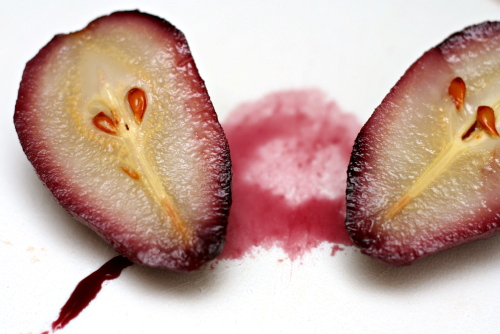
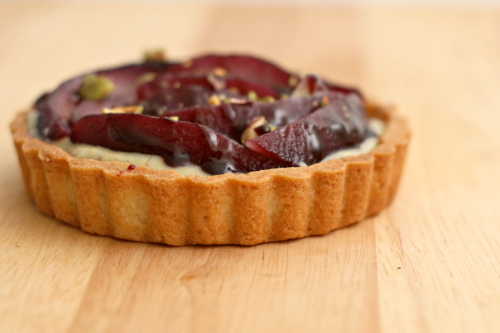
It probably would have been a little better if my pear had been softer, but, as it was, this was a pretty darn good tart. I mean, the pear is cooked in wine for over half an hour – how could that be bad? Plus, pastry cream is just delicious, although pistachio pastry cream resembles split pea soup a little too closely for my comfort. Good thing it’s covered by that beautiful purple poached pear!

Copy of IMG_1355

Lauren chose this for Tuesdays with Dorie and she has the recipe posted.

One year ago: Linzer Sablés

Copy of IMG_1361

green tea crème brûlée

Copy of IMG_8543

Dave’s attitude toward restaurants has changed dramatically over the past few months, and I love it. He used to think of eating out as simply a way to get food with minimal effort; the faster he could get in and out, the better. I remember impatiently waiting for our orders to be taken, for the meal to arrive, and for the server to bring the bill.

Copy of IMG_8513

Fortunately, after some fancy work-related dinners, he decided that eating at restaurants can be about more than filling a void. It’s about the whole experience – trying new foods, enjoying the company of your friends, choosing the right drink to compliment your meal. These days when we go out to eat, we take our time, starting with appetizers and ending with dessert and coffee.

Copy of IMG_8517

After enjoying green tea crème brûlée at the end of a fancy schmancy Thai meal (which I sadly did not get to share), he kept talking about it later. It’s rare for a dessert to make such an impression on Dave. But crème brûlée is so simple to make at home, it almost seems like a waste to order it in a restaurant.

Copy of IMG_8534

From his description, the restaurant’s version arrived in something similar to a tiny trough – a long, narrow oval. Dave specifically requested a similarly shaped dish when I made it at home, as he is full of obnoxiousness. Round ramekins it is!

Copy of IMG_8536

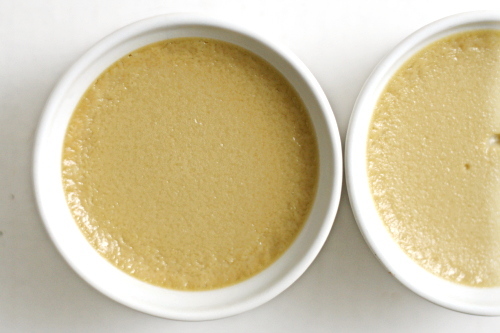
But fun dishes is just about the only advantage restaurants have over home cooks when it comes to crème brûlée, which is not hard to make and requires no odd ingredients. Smooth and creamy, with just enough green tea flavor, topped with a crackling layer of caramelized sugar, I can see why Dave thought this was worth ordering out, but I’m glad we can enjoy it at home whenever we want.

Copy of IMG_8540

One year ago: Country-Style Sourdough Bread

Printer Friendly Recipe
Green Tea Crème Brûlée

Makes 4

1¼ cups heavy cream
¼ cup whole milk
⅓ cup + 2 teaspoons granulated sugar
pinch table salt
3 green tea bags (or 1 tablespoon loose tea)
4 large egg yolks
1 teaspoon vanilla extract
2 teaspoons brown sugar

1. Adjust an oven rack to the lower-middle position and heat the oven to 300ºF.

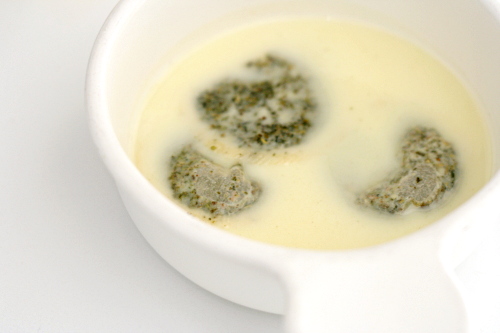
2. Combine ½ cup cream and the milk, ⅓ cup sugar, and the salt in a medium saucepan; submerge the tea bags in the liquid; bring the mixture to a boil over medium heat, stirring occasionally to ensure that the sugar dissolves. Take the pan off of the heat and let the mixture steep for 15 minutes to infuse the flavors.

3. Meanwhile, place a kitchen towel in the bottom of a large baking dish or roasting pan and arrange flour 4- to 5-ounce ramekins (or shallow fluted dishes) on the towel. Bring a kettle or large saucepan of water to a boil over high heat.

4. After the cream has steeped, remove the tea bags or strain the loose tea; stir in the remaining ¾ cup cream to cool down the mixture. Whisk the yolks in a large bowl until they’re broken up and combined. Whisk about half of the cream mixture into the yolks until they’re loosened and combined; repeat with the remaining cream and the extract; whisk until the mixture is evenly colored and thoroughly combined. Strain through a fine-mesh strainer into a 2-quart measuring cup or pitcher (or clean medium bowl); discard the solids in the strainer. Evenly divide the mixture among the ramekins.

5. Carefully place the baking dish with the ramekins on an oven rack; pour boiling water into the dish, taking care not to splash water into the ramekins, until the water reaches two-thirds height of the ramekins. Bake until the centers of the custards are just barely set and are no longer sloshy, and a digital instant-read thermometer inserted in the center of one ramekin registers 170 to 175 degrees, 30 to 35 minutes (25 to 30 minutes for shallow fluted dishes). Begin checking the temperature about 5 minutes before the recommended time.

6. Transfer the ramekins to a wire rack; cool to room temperature, about 2 hours. Set the ramekins on a rimmed baking sheet, cover tightly with plastic wrap, and refrigerate until cold, at least 4 hours or up to 4 days.

7. Uncover the ramekins; if condensation has collected on the custards, place a paper towel on the surface to soak up moisture. Mix the 2 teaspoons granulated sugar with the brown sugar. Sprinkle each ramekin with about 1 teaspoon of the sugar mixture; tilt and tap the ramekins for even coverage. Ignite torch and caramelize sugar. Refrigerate the ramekins, uncovered, to re-chill, 30 to 45 minutes (but no longer); serve.

split-level pudding

Copy of IMG_9800

Have you ever had a recipe go haywire and just not be able to figure out for the life of you what went wrong?  You review the recipe again and again, thinking, “well, it certainly looks like I did exactly what I was supposed to…”

One of the best parts of Tuesdays with Dorie is the discussion of the weekly recipe, where people can voice concerns, provide tips, and compare results.  If a bunch of us have the same issue, I feel pretty safe saying that the recipe has a finicky step.  We didn’t all follow the directions incorrectly, after all.  (But usually only a portion of us have problems, and I swear, I am always in that portion.)

Copy of IMG_9788

My pudding didn’t set up quite right.  It seemed perfect right off the stove, but then Dorie likes to give pudding a whirl in a food processor or blender before she chills it, just to make sure it’s lump free.  My smooth, thickened pudding turned right back to liquid after its time in the blender.  After it set up in the fridge, it was kind of…weird and lumpy.  And I wasn’t the only one with this problem.  No more blender/food processor step for me!  A fine-mesh strainer will do from here on out.

Copy of IMG_9791

Other that a slightly odd texture, what’s not to like about this?  Soothing, fresh vanilla paired with rich, comforting chocolate.  It’s a classic flavor combination for a reason.  Remind me in the future how good vanilla pudding is when a simple ganache is added.  That’s probably true for most things, though, right?

Copy of IMG_9809

Garrett should have the recipe posted.  As I said, in the future I’ll skip the food processor steps in favor of using a whisk and a fine-mesh strainer.  I might also add a little more cream (or less chocolate) to the ganache, because it was quite a bit more solid than the pudding.

One year ago: Caramel Peanut-Topped Brownie Cake

Copy of IMG_9811

chocolate souffle

Copy of IMG_8302

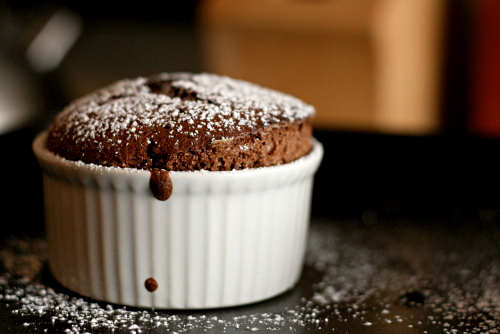
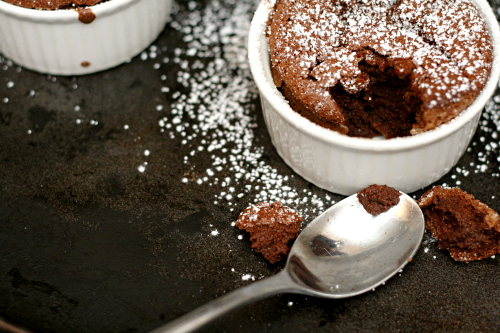
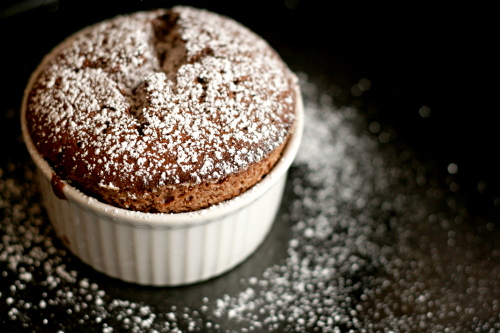
I’ve noticed lately that some of the fanciest desserts are actually the easiest to make. Crème brulée? Mousse? Molten chocolate cake? There’s nothing difficult about any of them, and the same can be said of chocolate soufflé.

Copy of IMG_8292

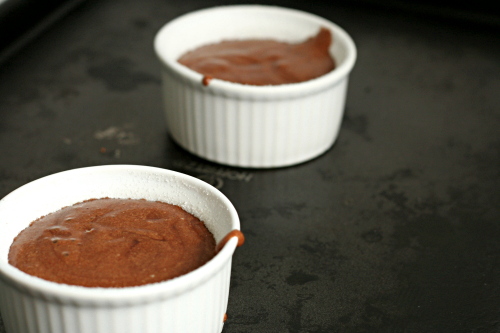
You really just melt chocolate with sugar, then stir in milk and egg yolks. Whip some egg whites and fold them into the chocolate mixture. Bake. That’s all there is to it.

Copy of IMG_8297

Maybe the trickiest part is knowing when they’re done. I’ve underbaked, overbaked and perfectly baked soufflés, and I recommend erring on the side of less baked. I think I overbaked these, because they seemed too dry.

Copy of IMG_8298

They were also really really sweet, and I’m not sure if that was related to overbaking them, or the type of chocolate I used (Ghirardelli bittersweet), or something else. But even too sweet and too dry, it’s still chocolate soufflé, so no complaints. Especially considering how easy it was to make!

Copy of IMG_8309

Susan chose this for Tuesdays with Dorie, and she has the recipe posted.

One year ago: Chocolate Whopper Malted Drops

Copy of IMG_8303

lime cream meringue pie

Copy of IMG_8317

Oh, how times change. I had kind of thought that last year’s lemon cream tart would be my first and last citrus cream experience. Seriously, that is a lot of butter. But apparently, my attitude toward rich foods has slowly evolved from ‘this is way too fattening for me to indulge in more than a few bites at a time’ to ‘well…it’s not like I eat like this all the time…’ except that, these days, I kinda do.

Copy of IMG_8202

The lime cream is made almost exactly the same as last year’s lemon cream – heat sugar, eggs, zest, and juice, then blend in softened butter – with the only difference a couple teaspoons of cornstarch that is added to the lime version, along with grated fresh ginger. Don’t take me lightly when I say there’s a lot of butter involved – the full pie calls for 2½ sticks (20 tablespoons), and that doesn’t even include the portion in the crust.

Copy of IMG_8204

Fortunately, I was hearing that some Tuesdays with Dorie members were decreasing the butter, sometimes by as much as half. I didn’t make quite such a dramatic change, using 4 tablespoons for the quarter of the recipe I made – so the equivalent of 16 tablespoons (2 sticks) for a whole recipe. It worked really well.

Copy of IMG_8207

I do like these citrus creams. I’m a big fan of citrus desserts, and of smooth, rich custards, so the combination is wonderful. I also really like meringue and, you know, torching food. So there really wasn’t much not to like for me this week! Except for the tiny portions I forced upon myself. Ah, compromise…

Copy of IMG_8312

Linda has the recipe posted. I decreased the meringue by half, because I happened to have that amount of egg whites leftover from something else.  Also, I didn’t strain out the zest.

One year ago: Black (and Pink) and White Chocolate Cake

Copy of IMG_8326

amaretto cheesecake

Copy of IMG_5299

My brother became known as the family cheesecake maker early on. I think we were still teenagers when he started getting cheesecake cookbooks. In one of those, there was a recipe for amaretto peach cheesecake that became a family favorite.

Copy of IMG_5223

I’m guessing it’s a Kraft recipe that’s widely available on the internet, but, frankly, I think I can do better than Kraft these days. Okay, fine, I think Dorie Greenspan can do better than Kraft, and I can add a bunch of amaretto to her Tall and Creamy Cheesecake recipe.

Copy of IMG_5216

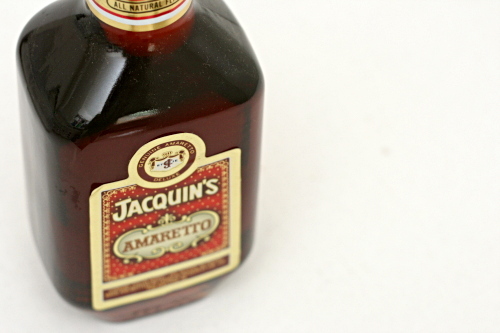
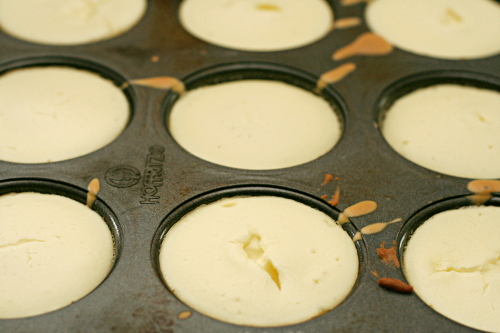
The ratio of the main ingredients – the cream cheese, eggs, and sugar – is the same as Dorie’s recipe. I used heavy cream this time instead of sour cream because I didn’t want anything to fight with the almond flavor of the amaretto. I dumped in as much amaretto as I thought the batter could take, then added a teaspoon of almond extract to bump up the flavor even more. I used a sugar cookie crust instead of a graham cracker crust, again, so as not to fight with the almond flavor. Something sweet and subtle was more in line with my goals.

Copy of IMG_5219

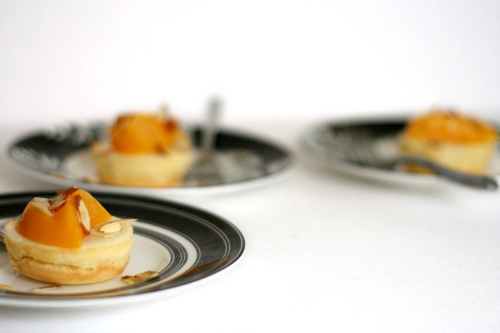
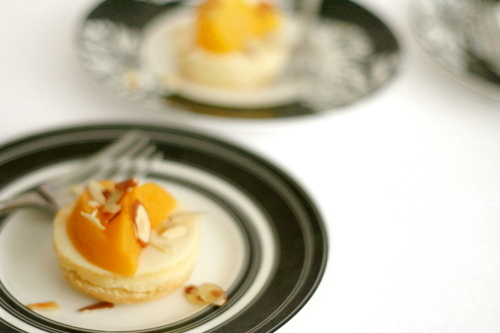
The peach part of the picture was an afterthought in my case. I considered somehow adding it directly to the cream cheese mixture, but, I couldn’t figure out how to make this work. In the end, I think I’m happier with keeping the almond and peach parts separate anyway. I had wanted to make a peach coulis to top the cheesecake, but I ran out of time. Instead, I thinly sliced some peaches (canned, as this was several months before peach season) and sprinkled the tops with toasted almonds.

Copy of IMG_5226

And – yum. I was worried that the amaretto flavor would be too subtle, but I thought it was perfectly balanced. The texture was smooth and creamy, just what you want from cheesecake. It wasn’t quite as light as some cheesecakes, since I didn’t use much heavy cream, but it wasn’t overly dense either. The peaches and almond are such a great combination. I still think a light peach coulis would be perfect, but there’s certainly nothing bad about almond-scented cheesecake, sliced peaches, and toasted almonds. Who’s the family cheesecake maker now? 😉

Copy of IMG_5243

One year ago: Fruit Bruschetta

Amaretto Cheesecake

To make a full cheesecake instead of miniatures, use a 9-inch springform pan; bake the crust for 10 minutes and cook the cheesecake in a water bath for 90 minutes, keeping the same temperatures noted below.

Crust:
3 tablespoons butter
⅓ cup (2.33 ounces) sugar
pinch salt
1 egg
¾ cup (3.6 ounces) unbleached all-purpose flour

Cheesecake:
4 (8-ounce) boxes cream cheese, room temperature
1⅓ cup (10.5 ounces) granulated sugar
½ teaspoon salt
4 eggs, room temperature
½ cup heavy cream
¼ cup amaretto
2 teaspoons lemon juice
1 teaspoon almond extract

1. Adjust an oven rack to the middle position and preheat the oven to 350 degrees. Spray a muffin pan with nonstick spray. (You could also line the muffin tin with cupcakes liners.)

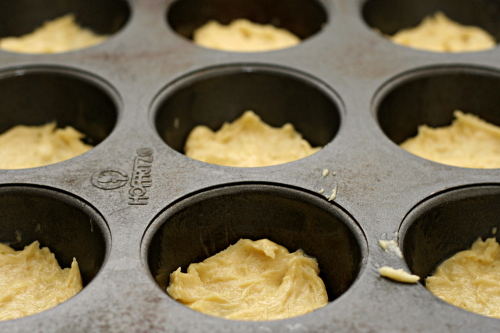
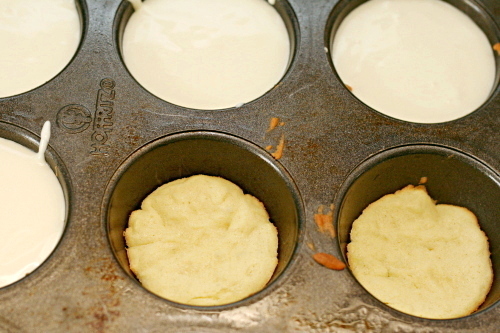
2. For the crust: Beat the butter on medium speed until smooth. Add the sugar and salt and continue beating until the mixture is light and fluffy. Add the egg, mixing until thoroughly integrated. Gradually add the flour, mixing just until combined. Divide the batter evenly between 24 muffin cups and spread over just the bottom of each tin. Bake 7-10 minutes, until the crusts are firm and just slightly browned around the edges. Cool on a wire rack. Reduce the oven temperature to 325 degrees.

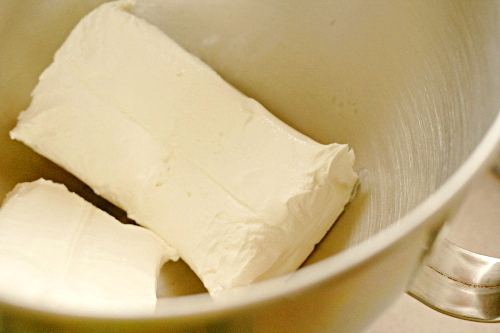
3. Meanwhile, beat the cream cheese in the bowl of a standing mixer fitted with the paddle attachment until soft and smooth. (Of course, you can also use a hand mixer for this.) Add the sugar and salt and continue beating until smooth and light. Add the eggs, one at a time, beating for about 1 minute between each addition. Add the cream, amaretto, lemon juice, and almond extract and beat until combined.

4. Pour the batter into the crust-lined muffin cups. It won’t rise significantly, so feel free to fill the cups. Bake in the preheated oven for 25-30 minutes, until an instant-read thermometer inserted into the center of a cheesecake measures 150 degrees.

5. Let the cheesecakes cool on a wire rack until they’re at room temperature. Use a thin-bladed knife or offset spatula to remove the cheesecakes from the pan. (If you can’t seem to get them to budge without breaking them, try putting the pan in the freezer for 15 minutes first.) Refrigerate for several hours, until cool. Top with something peachy and lightly toasted sliced almonds, if desired.

Copy of IMG_5303

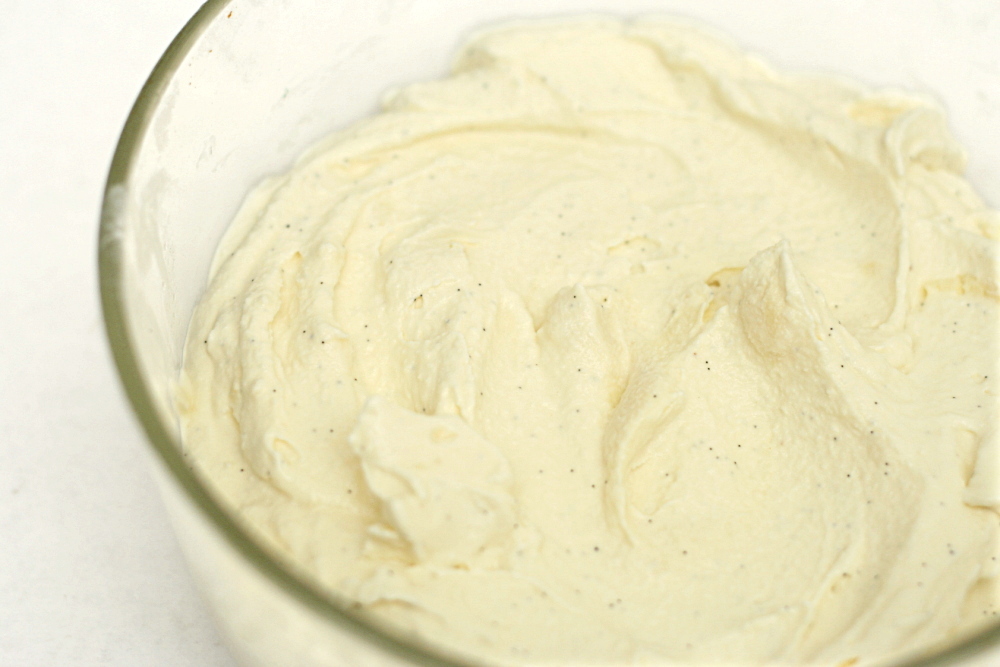
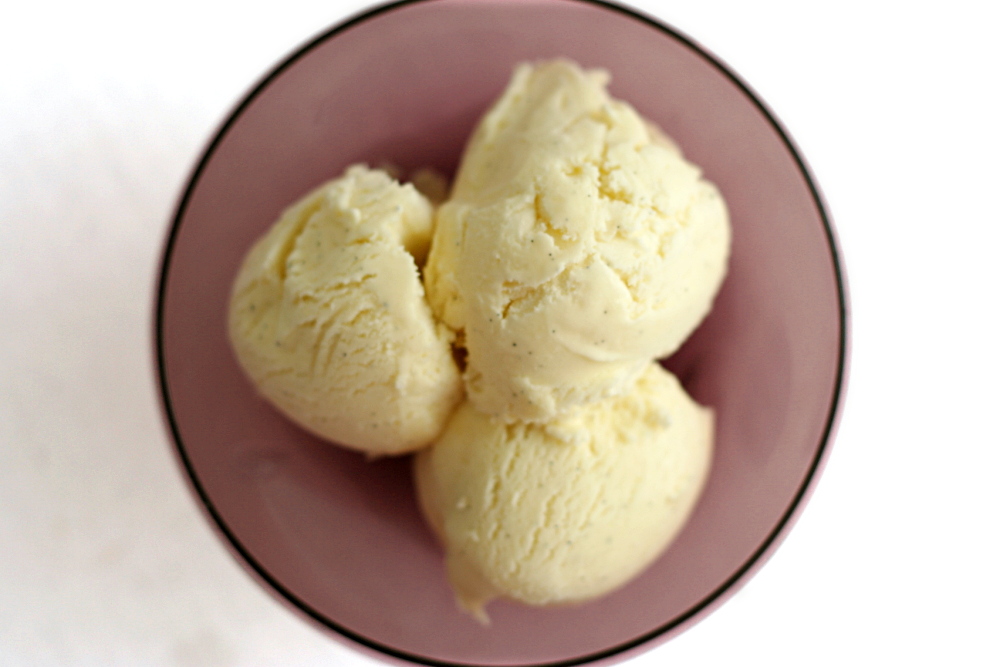
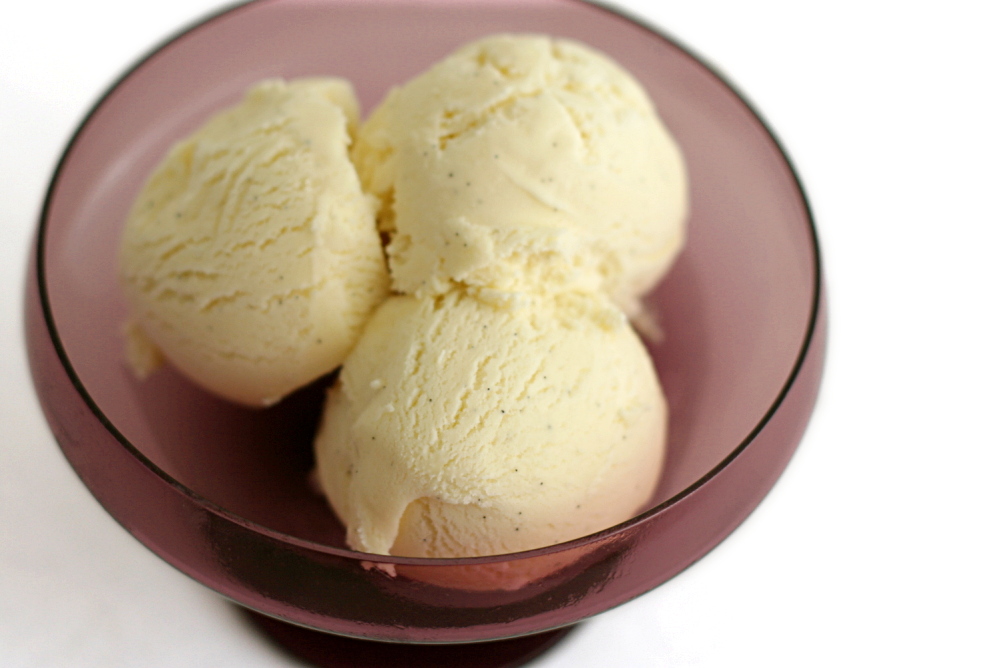
vanilla ice cream

Copy 2 of IMG_7554

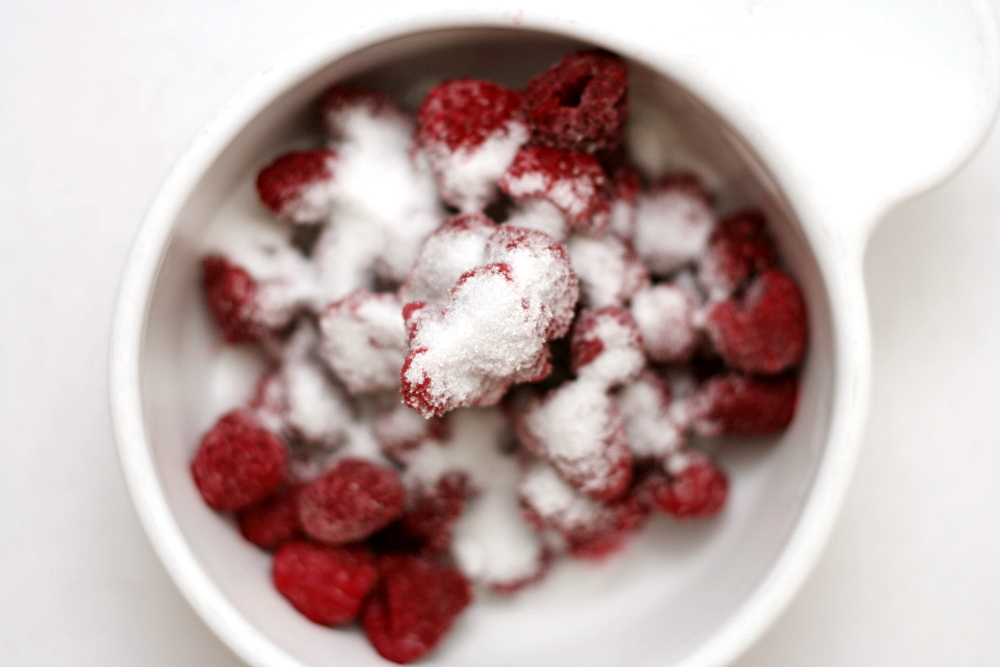
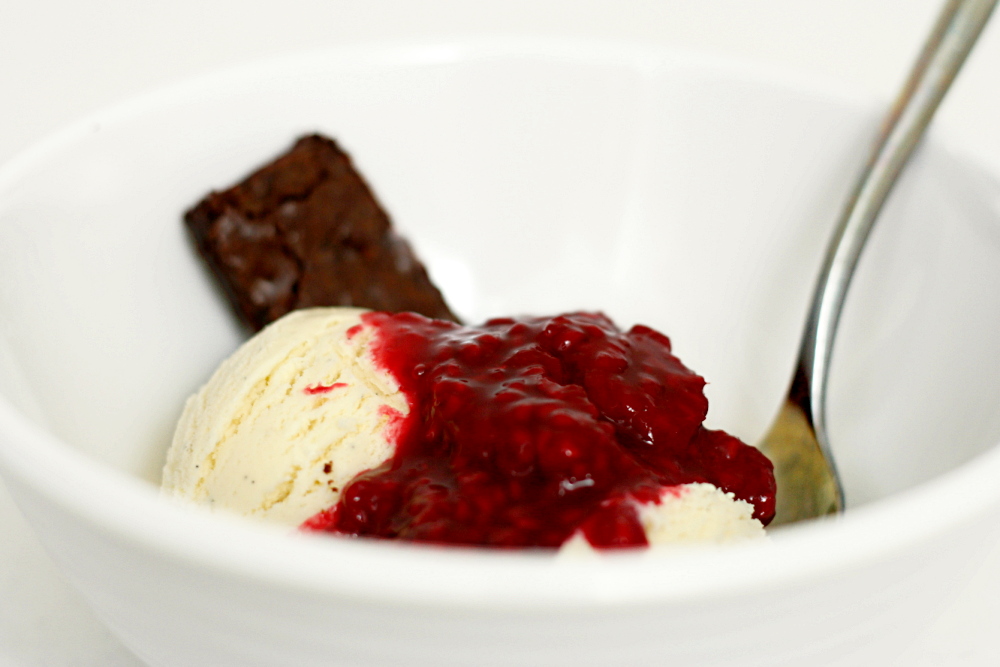
I haven’t been as interested in ice cream the last few years (I demand butter and flour and the stand mixer and the oven!), but that wasn’t always the case. When Dave and I started dating, we lived near a great frozen custard place. We’d go probably once a week, normally just for a single scoop in a sugar cone, but when I was feeling indulgent, I’d get the brownie sundae – vanilla custard, a brownie, whipped cream, and hot fudge, but I exchanged the hot fudge for raspberry sauce. Mmm…raspberries and chocolate…my favorite.

Copy of IMG_7268

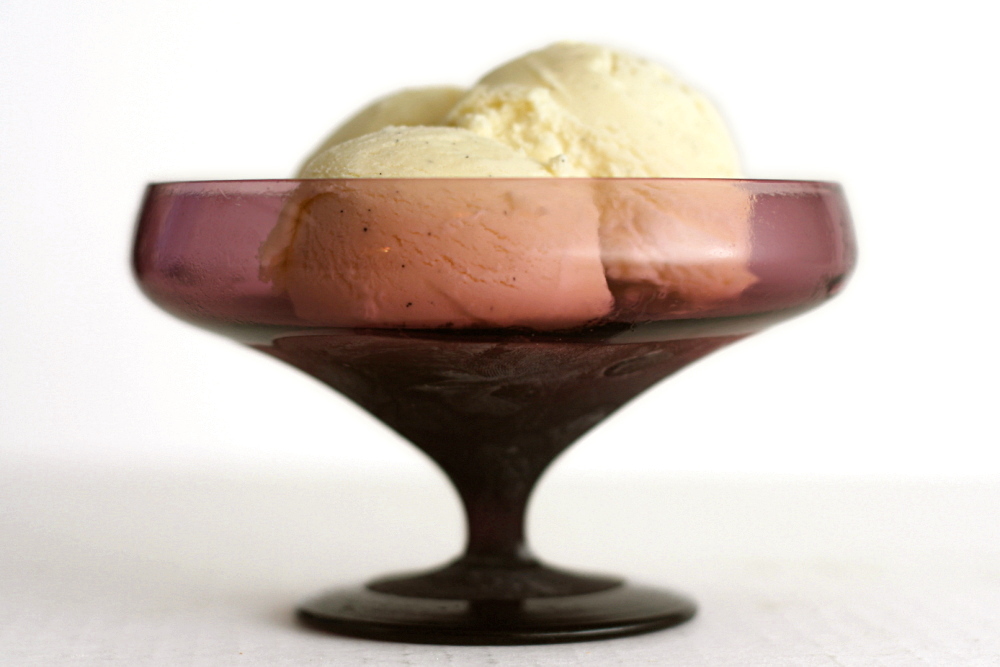
This is something like the fifth vanilla ice cream recipe I’ve tried in the last few years, and most of them are very similar. Egg yolks, cream, milk, sugar, vanilla. Heat the cream and/or milk, temper the egg yolks, heat it up, chill it, churn it. In fact, the only difference between this recipe and David Lebovitz’s recipe, which I made last year, is the ratio of cream to milk.

Copy of IMG_7301

Dorie’s recipe has a 1:1 ratio of cream to milk, while David’s has a 2:1 ratio of cream to milk. Guess which one I liked more? Yes, the fattier one. It’s smoother, richer, creamier.

Copy of IMG_7557

Not that Dorie’s recipe is low fat, and, as a result, it is also smooth, rich and creamy. If you care about fat content and calories and such, then don’t eat ice cream definitely go with Dorie’s. If you want just a bit of extra ice cream perfection, treat yourself to David’s. And definitely top it with a brownie and raspberry sauce.

Copy of IMG_7345

Lynne chose this recipe for Tuesdays with Dorie this week and has the recipe posted.

One year ago: Summer Fruit Galette

Copy of IMG_7555

clafoutis

Copy of IMG_7738

Cooking, to me, isn’t a competition. It’s about sharing and exchanging ideas. Cooking for someone is like offering them a bit of a gift, and competition adds intimidation where there should be none. Plus, whether someone is more or less experienced than me when it comes to cooking, I’m sure I have something to learn from them. So I’ve never participated in a cooking contest.

Copy of IMG_7713

Um, until now. This one isn’t just about cooking, it’s also blogging, and it seemed too fun to pass up. The event is associated with the movie Julie and Julia, based on a book of the same name. I read this book years ago, and after the book, I went back and read Julie’s entire blog. In it, Julie Powell cooks her way through Julia Child’s thoroughly intimidating Mastering the Art of French Cooking in one year. Not only is the book fun and easy to read, the whole concept of cooking entirely through a book appeals to me.

Copy of IMG_7721

To enter, I had to cook and blog about a Julia Child recipe. I’ve owned MtAoFC for years. I’ve just never bothered to use it, at all. I figured the time would come when I was excited to pick it up, and I was right. After scanning through the book, I chose to make clafoutis.

Copy of IMG_7724

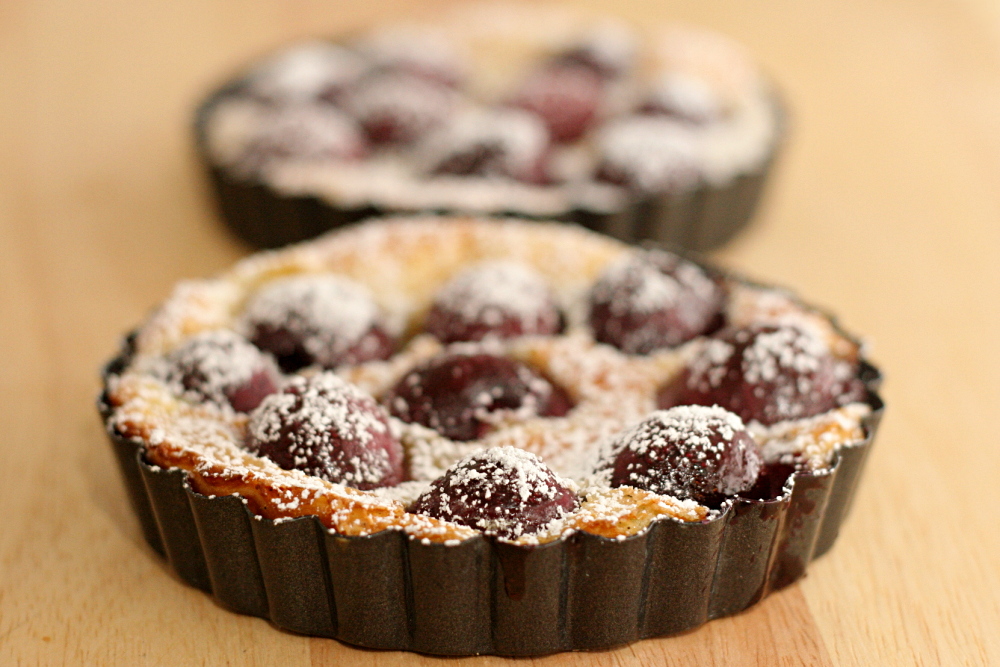
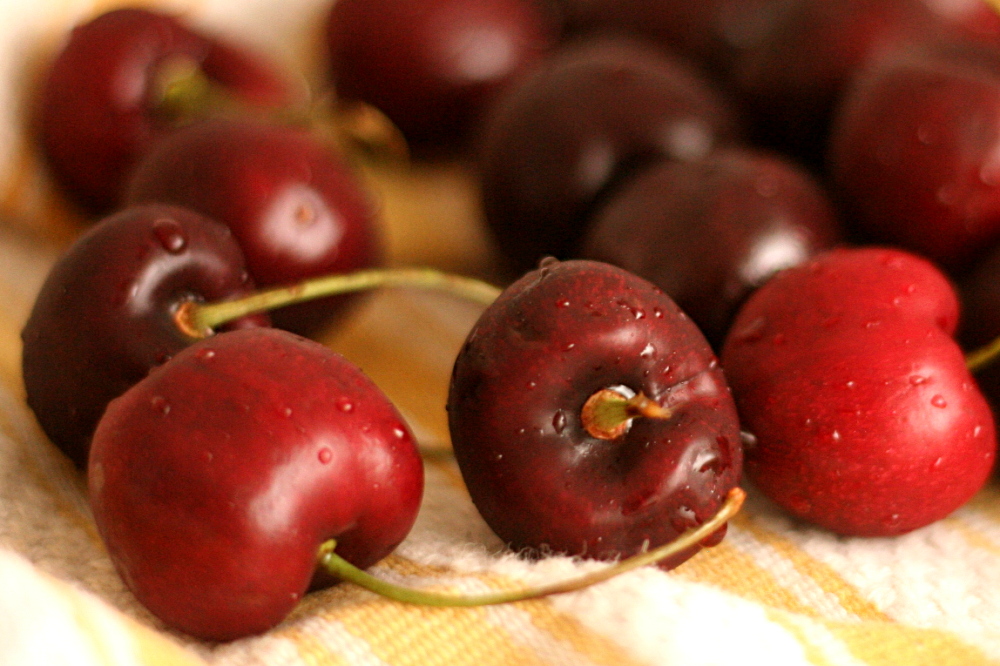
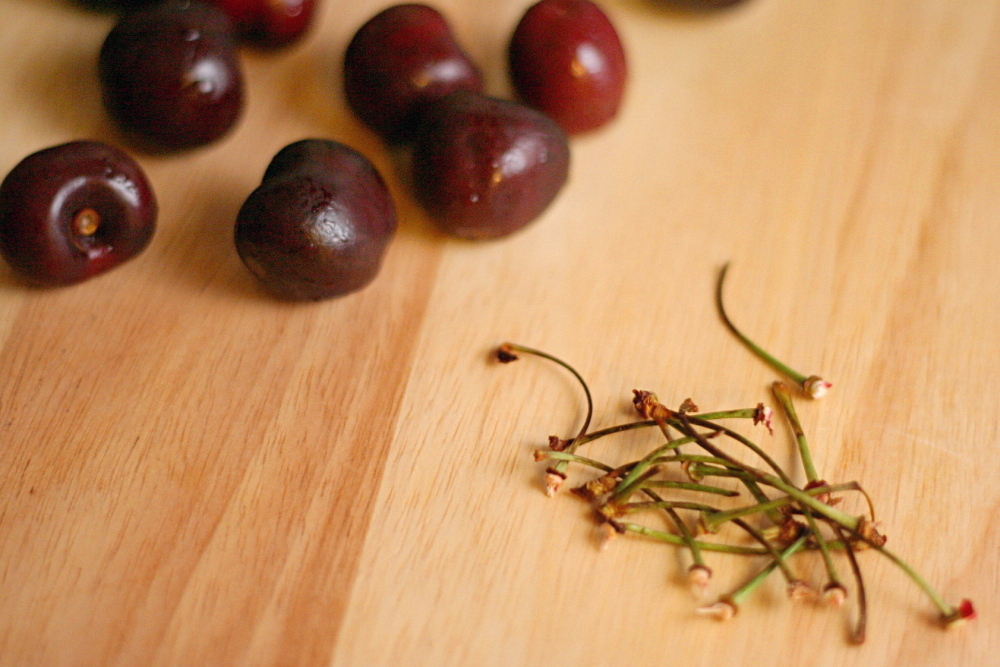
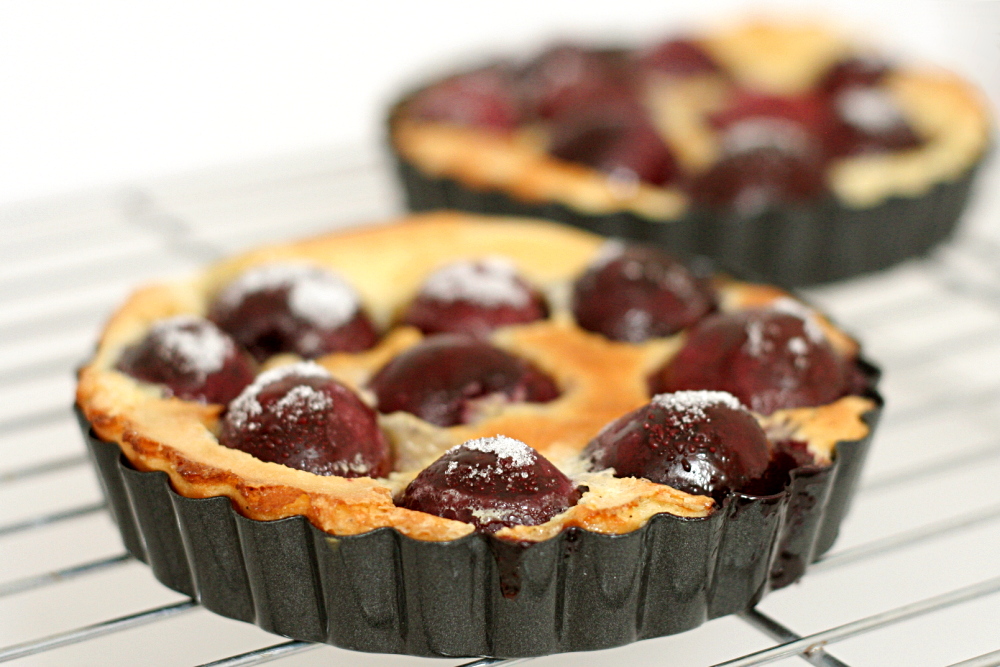
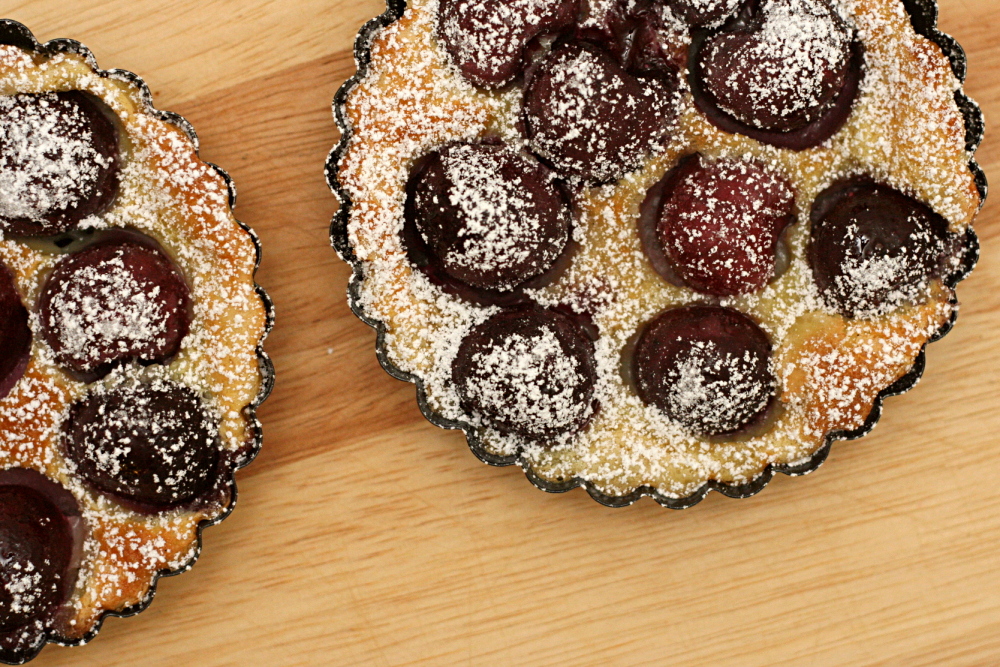
Clafoutis, it turns out, is really easy. The batter, which is similar to crepe batter or thin pancake batter, is mixed in the blender. Then it’s poured into a baking pan with cherries, topped with more sugar, and baked. To make it even easier, the cherries are traditionally left unpitted (although Julia does call for pitted cherries). Cherry pits release a bit of almond flavor as they’re heated, which is lost if the cherries are pitted before baking.

Copy of IMG_7729

That being said, next time, I’ll pit the cherries, because the seeds were a little distracting. Other than that detail, this was a treat. You can’t go wrong with cherries in July, and these were just slightly tart and complimented the sweet batter. The batter cooks up moist and soft. What’s more, there’s no butter or oil in this dessert. So it’s fancy, easy, and relatively light – definitely a winner.

The contest winners are chosen through voting.  It’s an easy process with no sign-in required.  If you’d like to vote, click here.  I’m last on the list.  Thanks!

Copy of IMG_7734

One year ago: Comparison of 4 white cake recipes

Clafouti (slightly reworded from Mastering the Art of French Cooking, by Julia Child, Louisette Bertholle, and Simone Beck)

MtAoFC note: Use fresh, black, sweet cherries in season. Otherwise, use drained, canned, pitted Bing cherries, or frozen sweet cherries, thawed and drained.

My note: The only bit of funny business is that Julia calls for a Pyrex pan, then says to “set it over moderate heat.” Pyrex is not fit for stove use. I put the pan in the oven for a few minutes to let the batter set before continuing. I think you could also preheat the pan as the oven heats, and then the batter would set immediately after it’s poured in. (The batter isn’t especially cold, so it won’t shock the hot pan and cause it to shatter.)

For 6 to 8 people

3 cups pitted black cherries
1¼ cups milk
⅔ cup sugar, separated
3 eggs
1 tablespoon vanilla extract
⅛ teaspoon salt
½ cup flour (scooped and leveled)
powdered sugar

1. Preheat oven to 350F. Butter (or spray with nonstick spray) a 9-inch Pyrex pie pan.

2. Place the milk, ⅓ cup sugar, eggs, vanilla, salt, and flour in your blender jar in the order in which they are listed. Cover and blend at top speed for 1 minute.

3. Pour a ¼-inch layer of batter in the baking dish or pie plate. Set over moderate heat for a minute or two until a film of batter has set in the bottom of the dish. Remove from heat. Spread the cherries over the batter and sprinkle on the remaining ⅓ cup sugar. Pour on the rest of the batter and smooth the surface with the back of a spoon.

4. Place in middle position of preheated oven and bake for about an hour. The clafouti is done when it has puffed and browned, and a needle or knife plunged into its center comes out clean. Sprinkle top of clafouti with powdered sugar just before bringing it to the table. (The clafouti need not be served hot, but should still be warm. It will sink down slightly as it cools.)

Copy of IMG_7746

blancmanger

Copy of IMG_7625

Sometimes I have a hard time motivating myself to make certain things. Or, what I should really say is, I’m going through a cookies and cupcakes phase. Blancmanger is neither of those.

Copy of IMG_7615

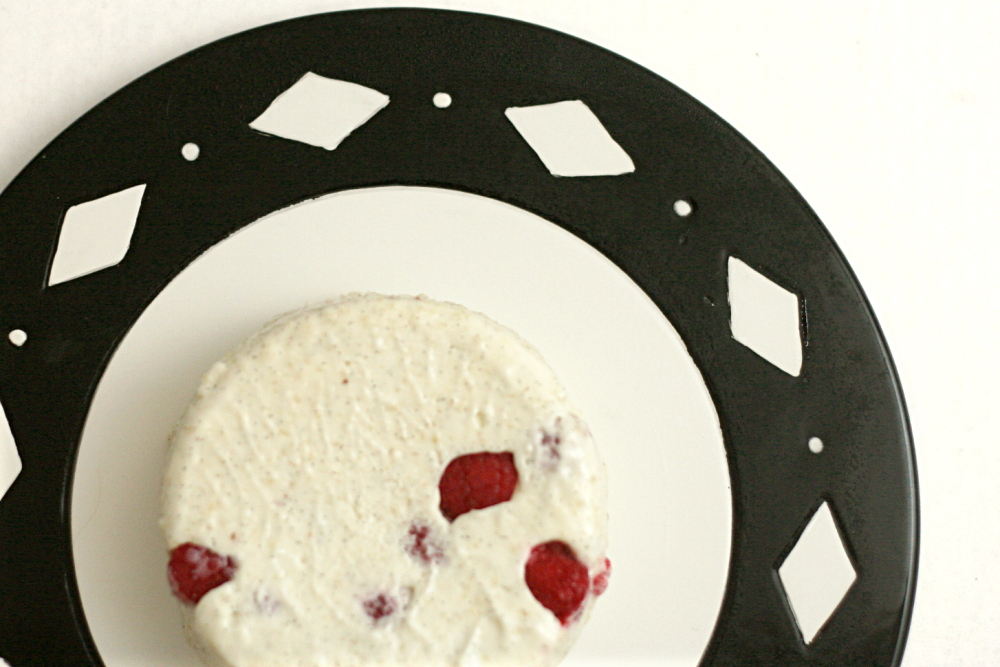
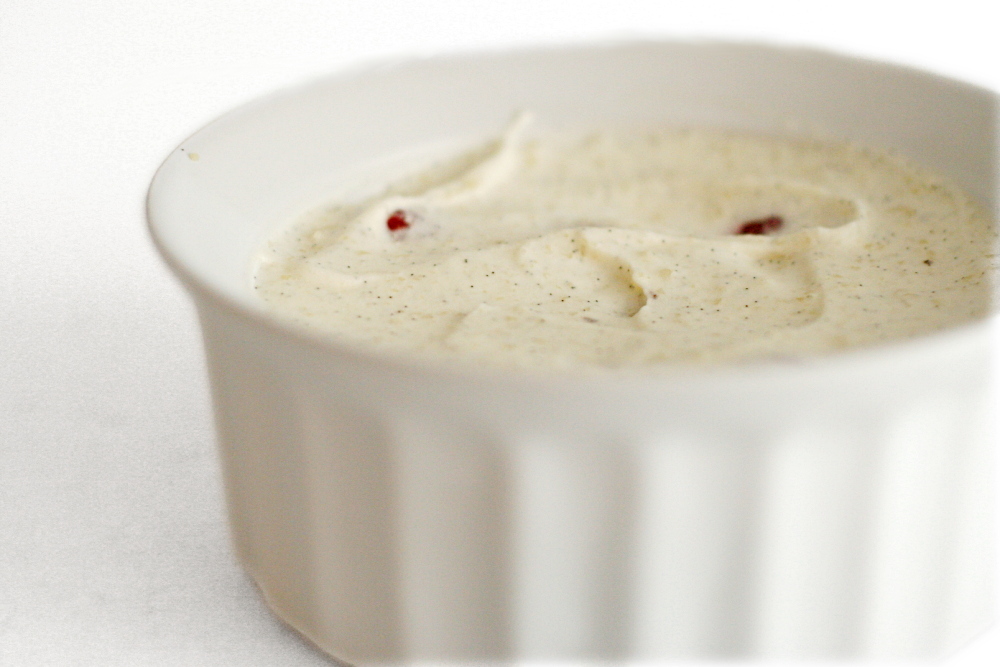
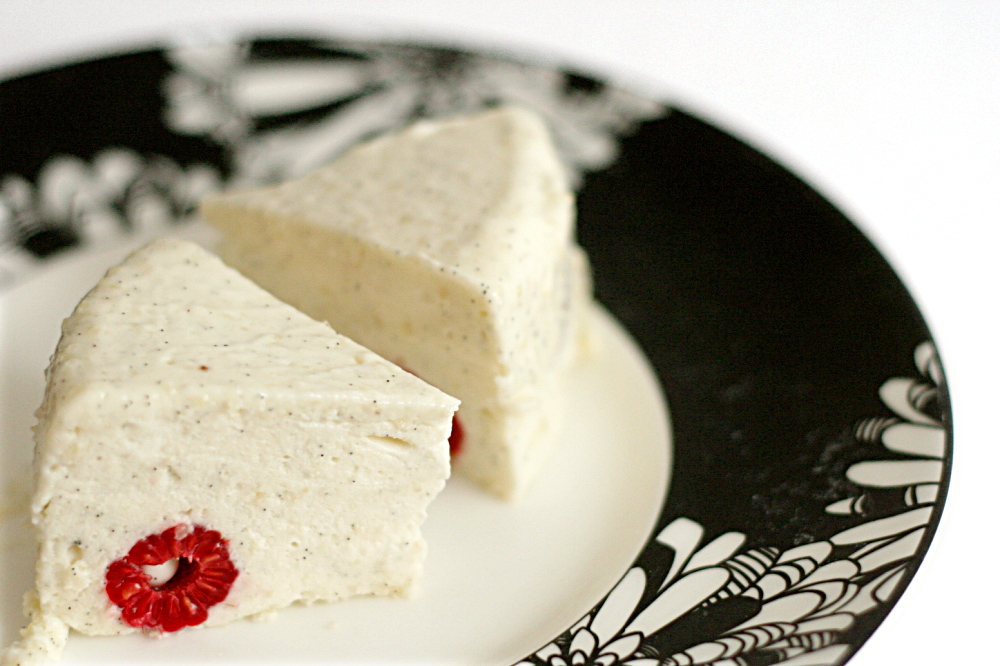
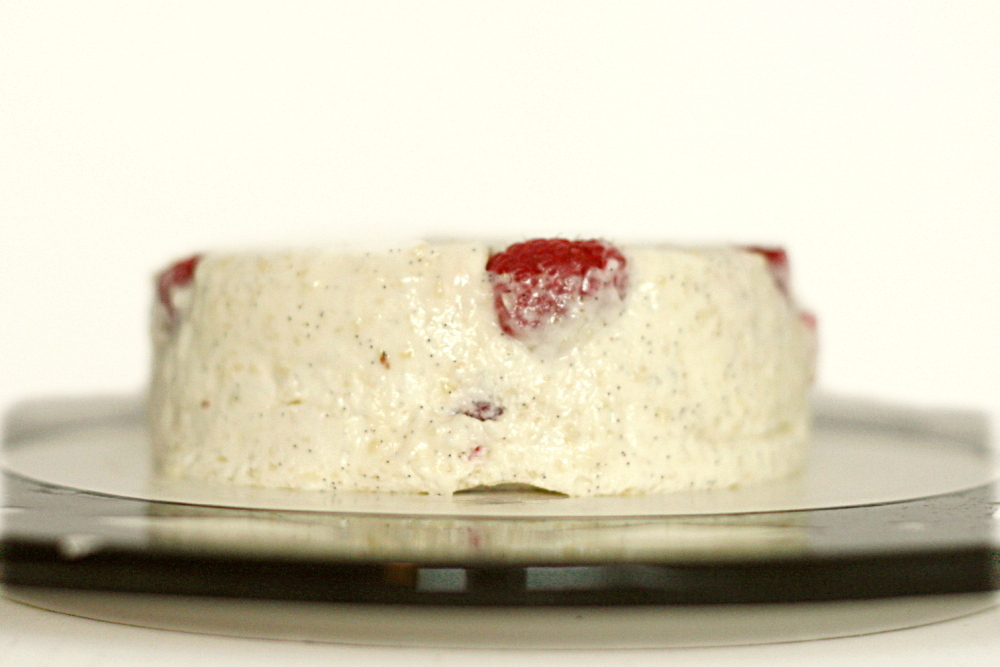
So what is it? Basically fancy whipped cream. First, you heat milk, ground almonds, sugar, and in my case, a ridiculous amount of vanilla seeds, and then you add gelatin to the mixture. Chill it a bit and stir in some whipped cream and fruit. Chill it some more. Unmold. Eat. Really, I thought it was going to be much more time-consuming than it was.

Copy of IMG_7617

It tasted pretty good too. You can maybe see that I went overboard with the vanilla – I had half a bean leftover from something else, so I used all of that, but I only made a third of the recipe. My blancmanger isn’t quite as pristinely white as Dorie’s, but it did taste nicely of vanilla.

Copy of IMG_7621

The only thing I wasn’t completely sold on with this recipe was the ground almonds, whose texture didn’t seem to complement the perfectly smooth cream base. In the future, I’ll probably keep my sweetened gelatinized cream without ground nuts – in other words, as panna cotta.

Copy of IMG_7629

Susan chose the blancmanger for Tuesdays with Dorie and has the recipe posted.

One year ago: Soba Salad with Feta and Peas

Copy of IMG_7627