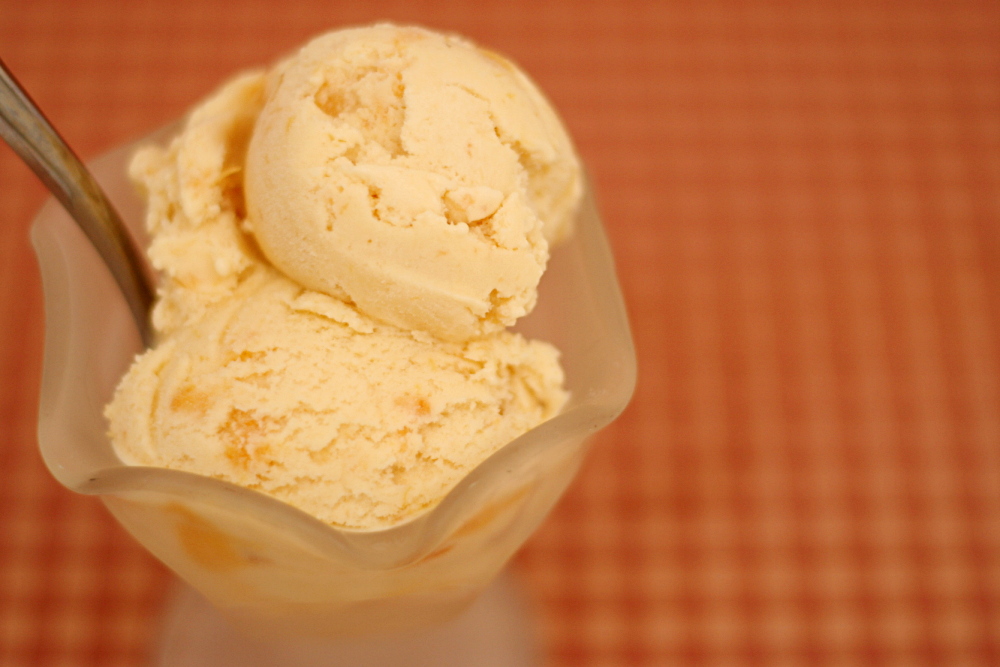
honey peach ice cream

img_6200-copy

It seems lately that ice cream isn’t really my thing. For one thing, it hurts my sensitive teeth. For another, when it comes to making desserts, I really want to use the mixer. And the oven. And butter and flour and leavening. The blender and the stove? Pbbth! That’s for cooking, not baking. Although watching the ice cream slowly change texture while churning is fun.
img_6156-copy

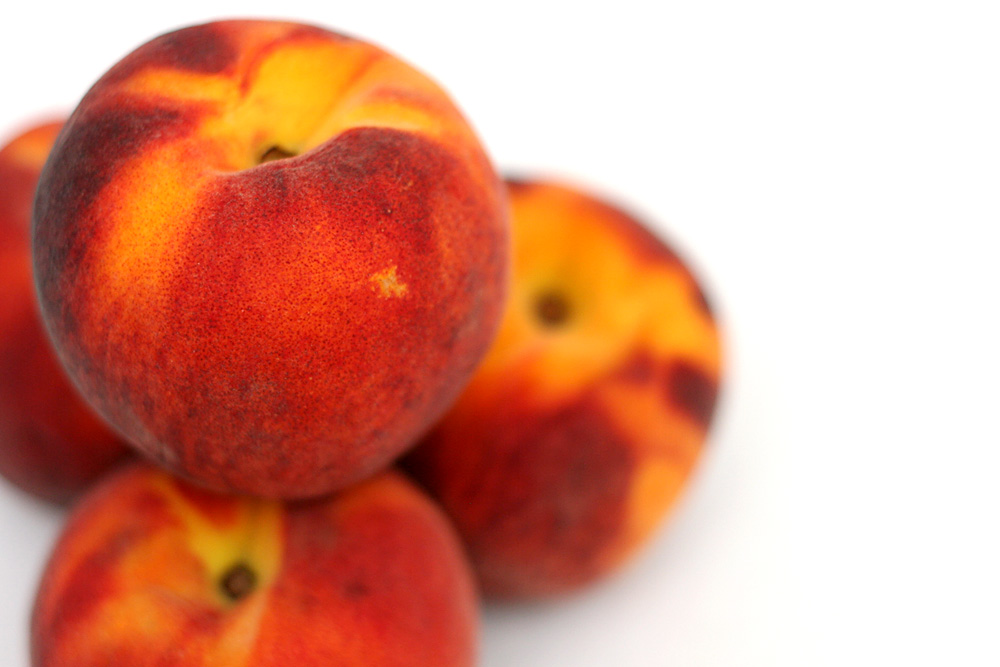
But if I’m making ice cream, at least it’s peach ice cream. It’s the only flavor I remember my mom making as a kid, and I always loved it, even though I thought I didn’t like peaches, picky little brat that I was.
img_6160-copy

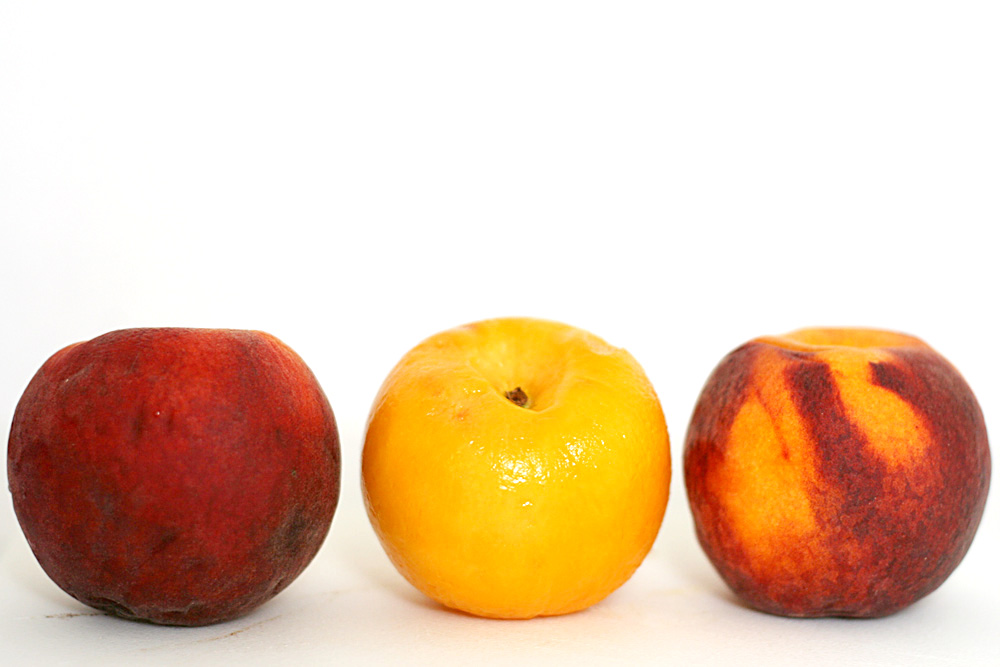
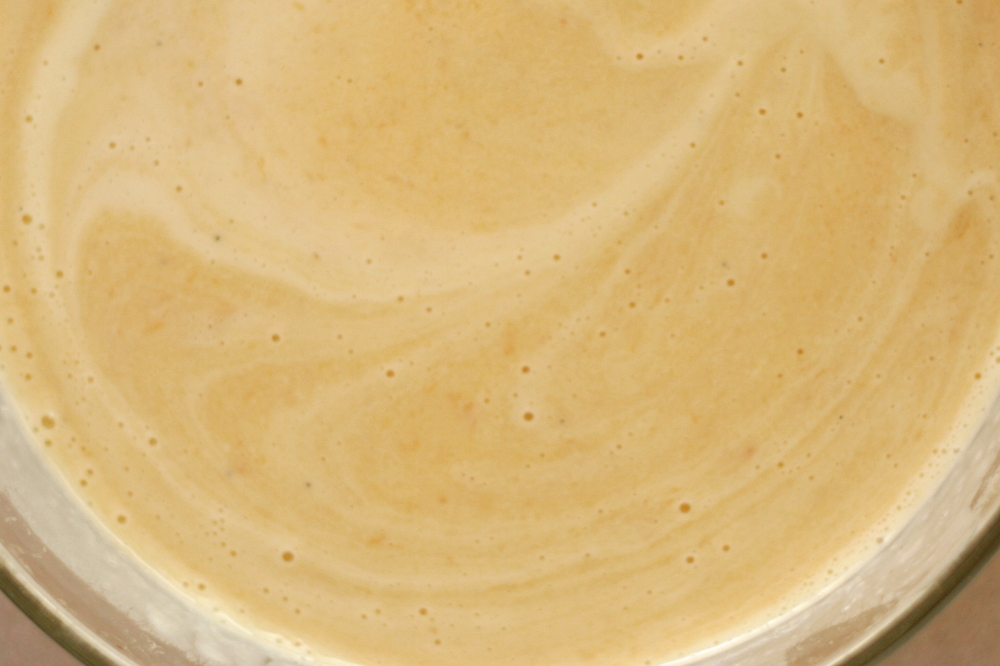
For this ice cream, peaches are softened over low heat with honey, then pureed and made into a custard with egg yolks, sugar, milk and cream. Once the custard is chilled, it’s churned into ice cream, with more peaches, chopped, mixed in at the end.
img_6165-copy

Because I had no desire for peach-flavored ice cubes dispersed throughout my ice cream, I stirred some vodka into the chopped peaches and let them set for a few hours. Hopefully the alcohol would soak into the peaches and keep them from freezing completely.
img_6197-copy

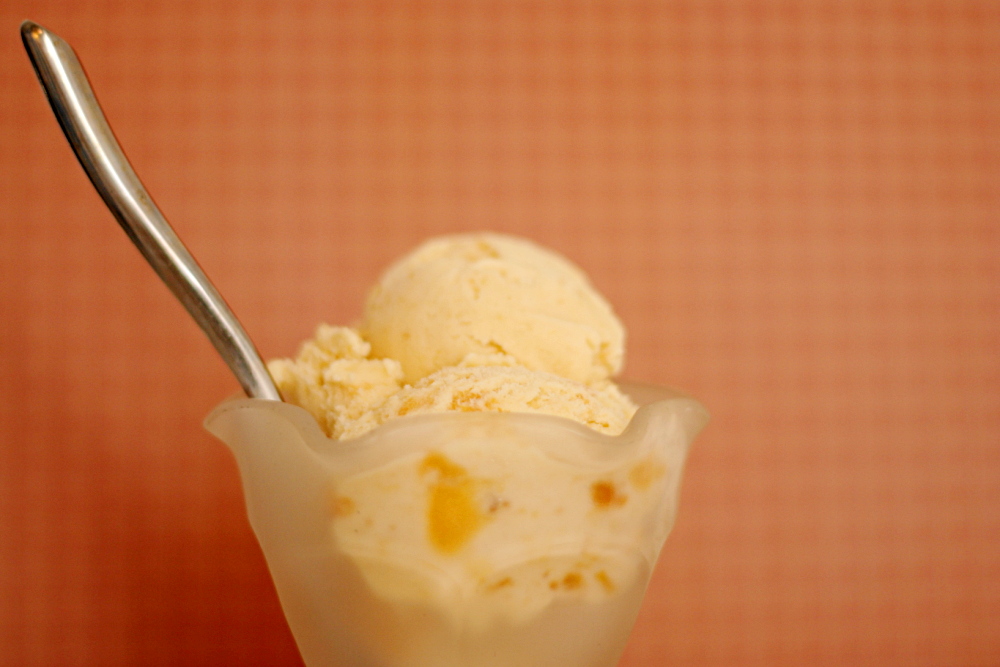
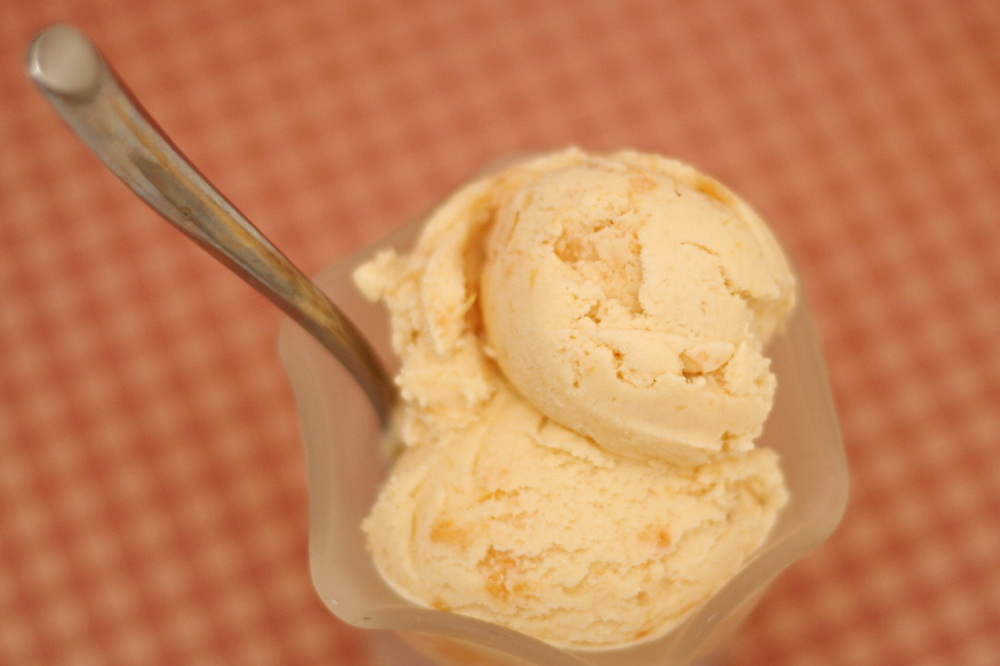
It sort of worked. Nothing is going to stop ice cream from being cold, of course, but at least the peach bits weren’t ice bits. I personally would have still preferred the ice cream without them, but Dave liked them. The custard part of the ice cream was smooth and soft enough to scoop after spending days in the freezer. It tasted pleasantly peachy, although I’m sure the flavor would be improved by more seasonal specimens than I was able to find. I couldn’t really taste the honey, but since I do like honey quite a bit, I think I’m going to start replacing part of the sugar with honey every time I make peach ice cream.

This ice cream was chosen for Tuesdays with Dorie by Tommi, and she has posted the recipe.

One year ago: Deep Dark Chocolate Cookies
img_6192-copy

Temporarily or not, the above link doesn’t work for the recipe.  So here it is!

Honey-Peach Ice Cream (from Dorie Greenspan’s Baking: From my Home to Yours)

4 large ripe peaches
1/4 cup honey
1 cup whole milk
1 cup heavy cream
3 large egg yolks
1/2 cup sugar
2 tsp vanilla

1. Chop 2 of the peaches into 1/2 inch chunks and toss them in a small saucepan. Add the honey and bring to a boil, lower the heat, cover the pan and cook until the peaches are soft (about 10 minutes). Scrape the mixture into a blender or food processor and puree. Set aside.

2. Bring the milk and cream to a boil in a saucepan. Meanwhile, whisk the yolks and sugar together until blended in a heatproof bowl. Drizzle in a bit of the hot milk mixture to temper the eggs (making sure they don’t curdle). Slowly add the rest of the milk mixture. Pour the milk/egg mixture back into the saucepan and heat while stirring until it thickens. Remove from the heat, pour into a heatproof bowl, and stir in the vanilla and peach puree.

3. Refrigerate the custard until chilled. Scrape into the bowl of an ice cream maker and churn according to the manufacturer’s instructions. While the ice cream is churning, dice the remaining 2 peaches and add them just before the ice cream is thickened. When the ice cream is ready, pack into a container and freeze for at least 2 hours until it is firm enough to scoop.
tartest lemon tart

copy-of-img_5171

You know how a lot of citrus recipes warn you to be careful not to get any of the white pith when you zest the fruit, because it’s bitter? Well, guess what?

Bitter is good.

copy-of-img_5149

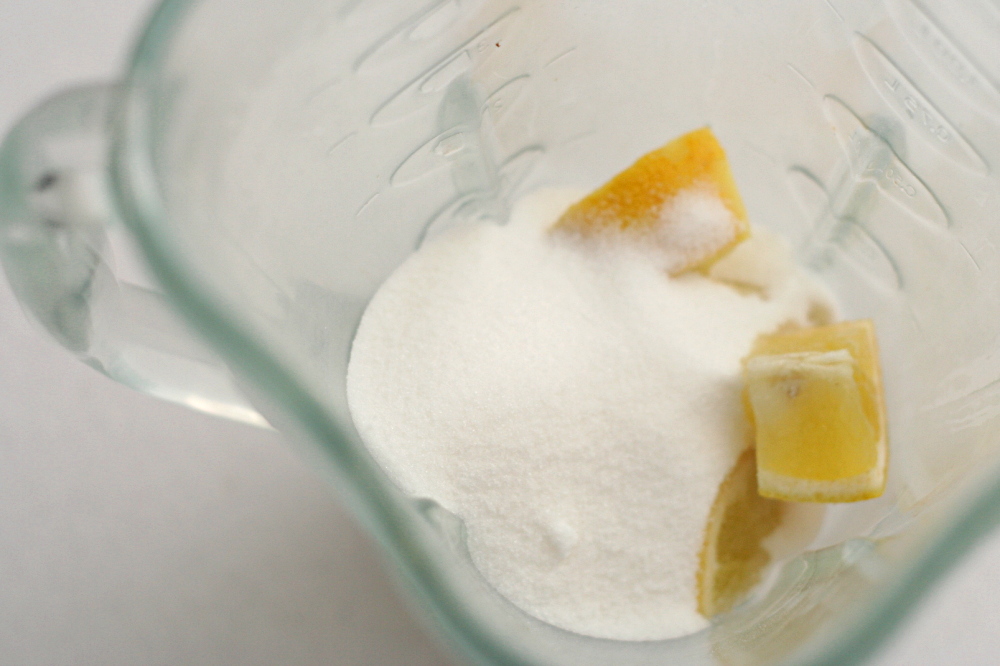
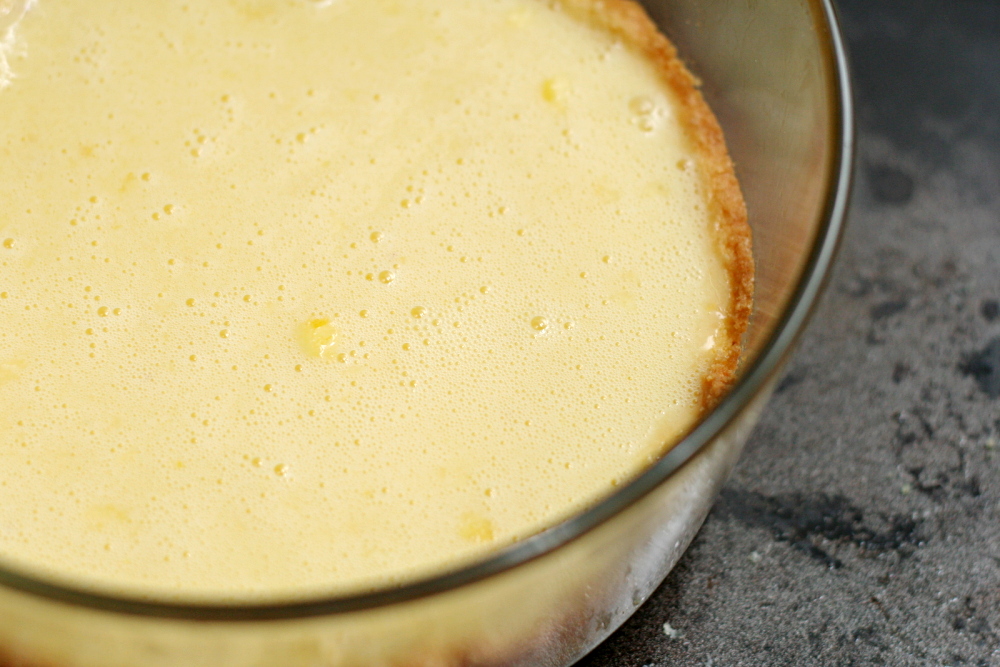
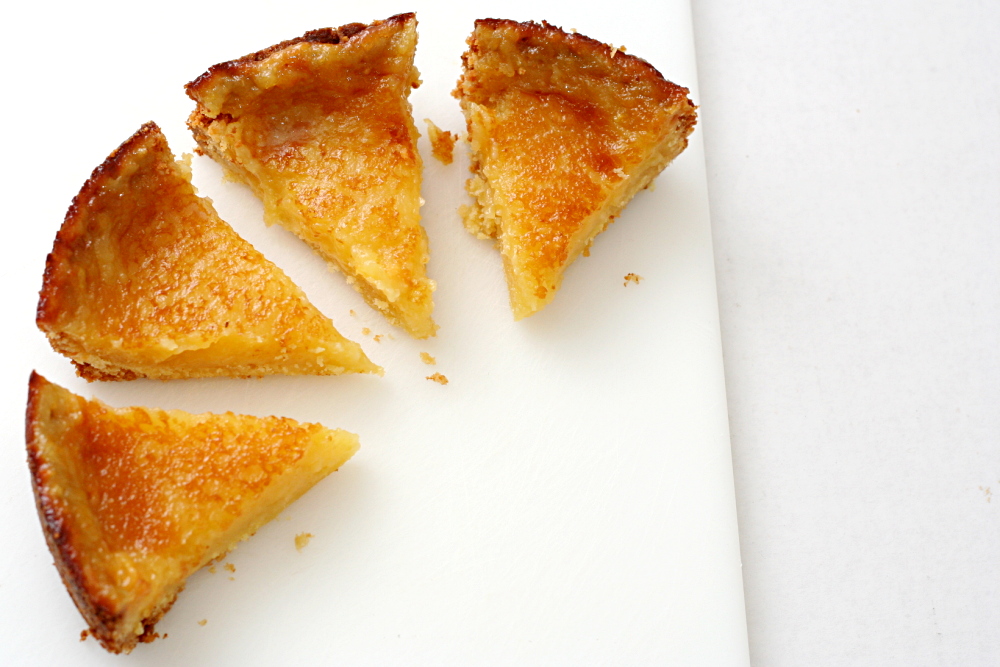
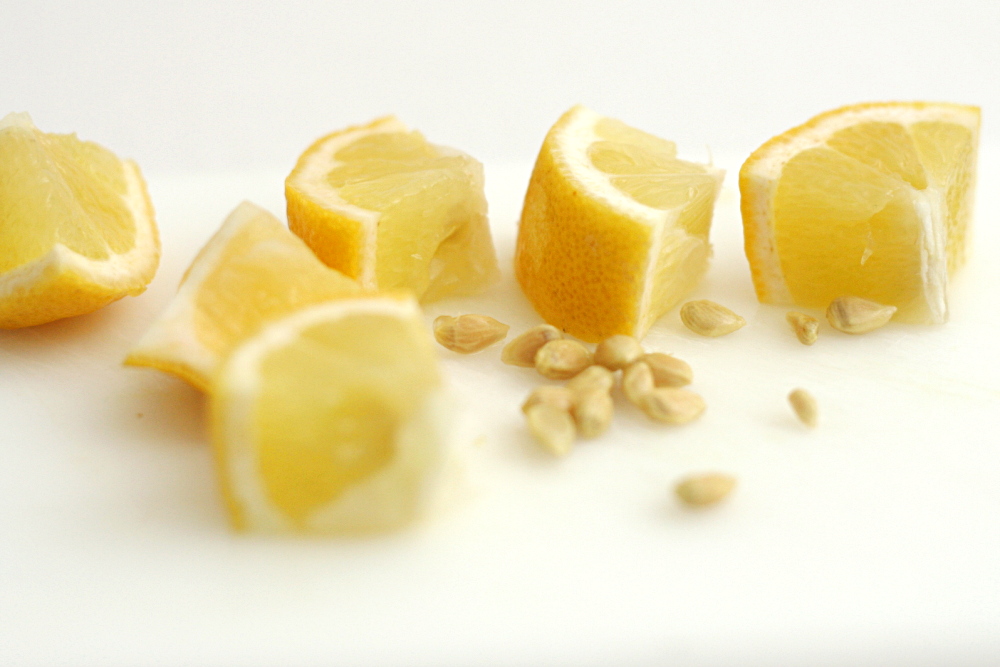
This was my first whole lemon dessert, where everything but the seeds is included. It was simple. Blend sugar and lemons together, then add the rest of the ingredients – eggs and cream, cornstarch and of course butter – to the blender and mix it all together. Then bake it, supposedly until it sets, but it never set for me. The filling boiled instead, until the crust was quite a bit darker than I like and I figured I’d better take the tart out of the oven, bubbling or not.

copy-of-img_5154

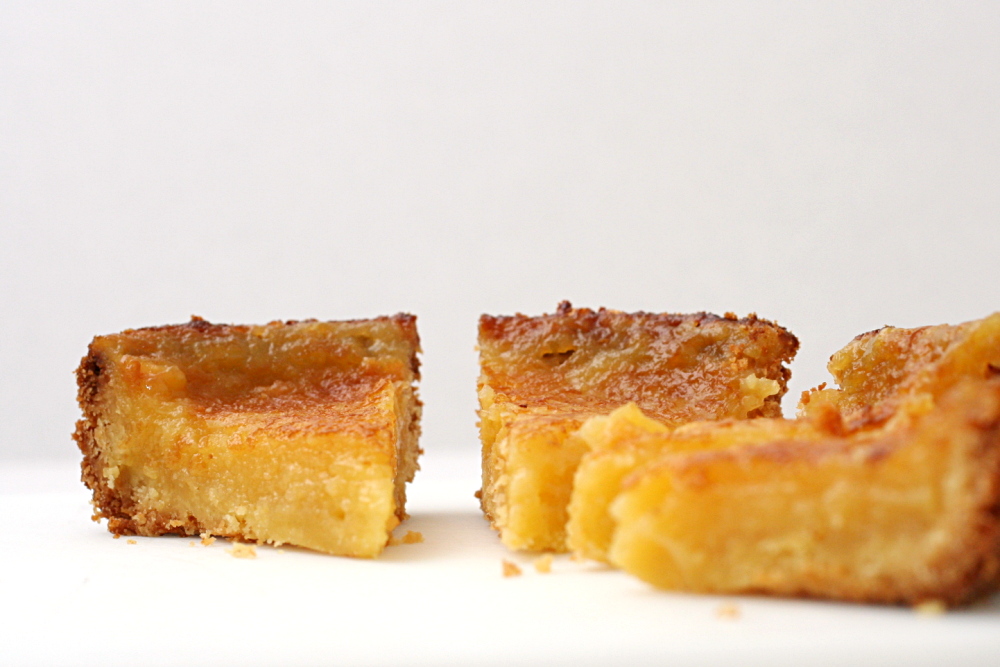
It did set up once it cooled, and it was delicious. I loved it. I didn’t think it was exceptionally tart, but it’s possible that I either had a lemon that was on the milder side, or my smallish organic lemons had a very thin layer of pith. It was just the slightest bit bitter, which was perfectly balanced by sour and sweet, adding an extra dimension to the dessert without dominating it.  I am definitely sold on the idea of whole lemon desserts – so much so that I made another one two days later!

copy-of-img_5156

Barb chose this tart for Tuesdays (or Thursdays, if you’ve been ignoring your blog while entertaining a guest) with Dorie, and she has the recipe posted.

One year ago: Caesar Salad and Snickerdoodles

Tartest Lemon Tart (adapted from Dorie Greenspan’s Tartest Lemon Tart recipe found in Baking from My Home to Yours)

Sweet Tart Dough with Nuts:
1¼ cups (6 ounces) all purpose flour
¼ cup ground almonds (or pecans, walnuts or pistachios)
½ cup (2 ounces) confectioners’ sugar
¼ tsp salt
1 stick, plus 1 tbsp (9 tbsp) very cold or frozen unsalted butter, diced
1 large egg yolk, at room temperature

Filling:
1½ lemons, scrubbed and dried
1½ cups (10.5 ounces) sugar
1 large egg, at room temperature
2 large egg yolks, at room temperature
1½ tbsp cornstarch
½ cup heavy cream
½ stick (4 tablespoons) unsalted butter, melted and cooled

1. For the dough: Put the flour, ground almonds, confectioners’ sugar and salt in a food processor, pulsing a few times to combine. Scatter the butter pieces over the dry ingredients and pulse until the butter is coarsely cut in—you should have some pieces the size of oatmeal flakes and some the size of peas. Stir the yolk, just to break it up, and add it a little at a time, pulsing after each addition. When the egg is in, process in long pulses— about 10 seconds each — until the dough, which will look granular soon after the egg is added, forms clumps and curds. Just before you reach this stage, the sound of the machine working the dough will change — heads up. Turn the dough out onto a work surface and, very lightly and sparingly, knead the dough just to incorporate any dry ingredients that might have escaped mixing.
2. To press the dough into the pan: Butter a 9-inch fluted tart pan with a removable bottom. Press the dough evenly over the bottom and up the sides of the pan, using all but one little piece of dough, which you should save in the refrigerator to patch any cracks after the crust is baked. Don’t be too heavy-handed—press the crust in so that the edges of the pieces cling to one another, but not so hard that the crust loses its crumbly texture. Freeze the crust for at least 30 minutes, preferably longer, before baking.

3. To partially bake the crust: Center a rack in the oven and preheat the oven to 375 degrees. Butter the shiny side of a piece of aluminum foil and fit the foil, buttered side down, tightly against the crust. (Since you froze the crust, you can bake it without weights.) Put the tart pan on a baking sheet and bake the crust for 25 minutes. Carefully remove the foil. If the crust has puffed, press it down gently with the back of a spoon. If there are any cracks in the baked crust, patch them with some of the reserved raw dough as soon as you remove the foil. Slice off a thin piece of the dough, place it over the crack, moisten the edges and very gently smooth the edges into the baked crust. If the tart will not be baked again with its filling, bake for another 2 minutes or so, just to take the rawness off the patch. Transfer the crust to a cooling rack (keep it in its pan).

4. For the filling: Center a rack in the oven and preheat the oven to 325 degrees. Place tart pan on baking sheet lined with parchment or silicone mat.

5. Slice whole lemon in half and pull out seeds from it and the half. Then cut lemons into small pieces. The filling is best made in a blender, but you can use a food processor. Put lemons and sugar in the blender or processor and pulse, blending and scraping down the sides until you have smooth mix. Add the remaining filling ingredients and pulse and blend until the filling is homogeneous. Rap bowl on counter several times to de-bubble the filling as much as possible, and pour it into your prepared partially baked crust.

6. Very carefully – tart shell will be full – transfer baking sheet to the oven. Bake 20 minutes, then increase the oven temp to 350 degrees and bake the tart for an additional 25 to 30 minutes. (The total time is 45 to 50 minutes). Don’t be alarmed when the filling starts to bubble up. (It might even bubble over the edge of tart – that’s okay.) When tart is properly baked, it should be set, although perhaps still shaky in center, and most of top will have formed a light sugary crust.

7. Transfer the tart pan to a cooling rack and let cool to room temperature. Chill, if you’d like, before serving with cream or a dusting of confectioners’ sugar.

copy-of-img_5166

chocolate cream tart

copy-of-img_4742

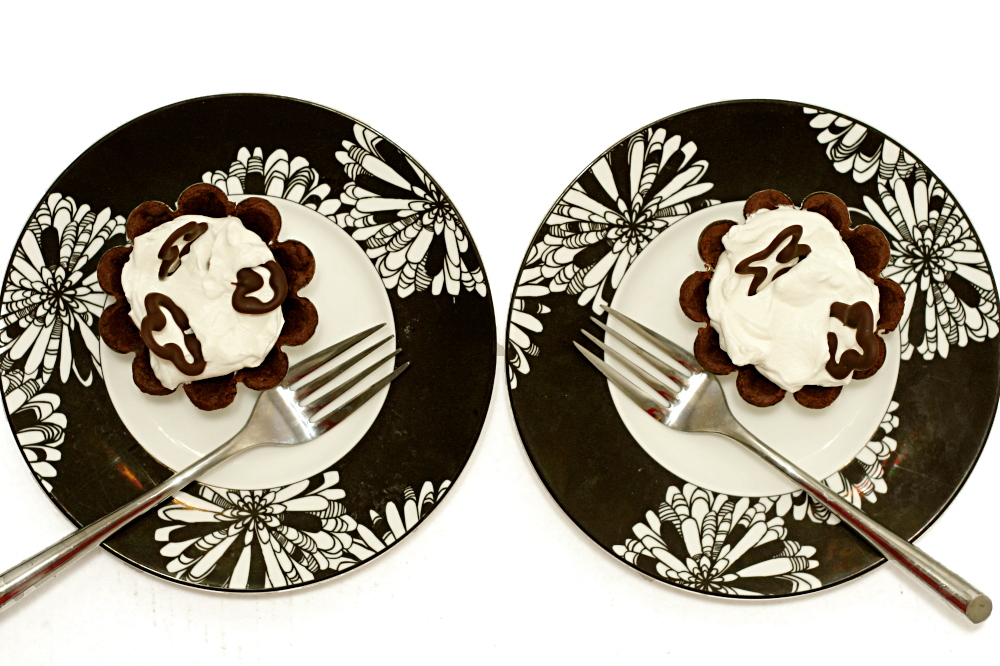
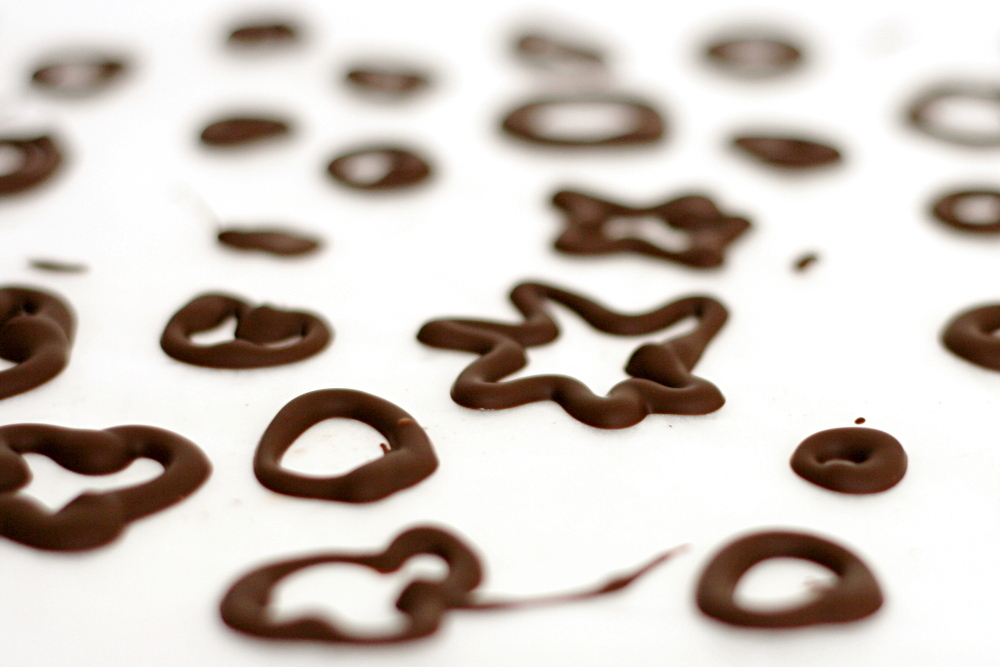
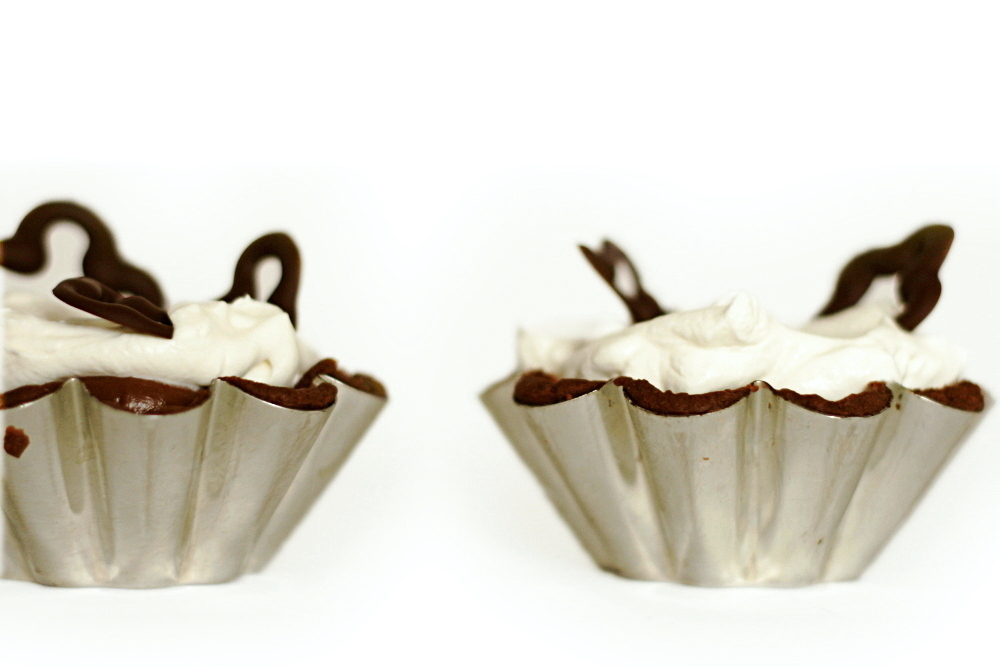
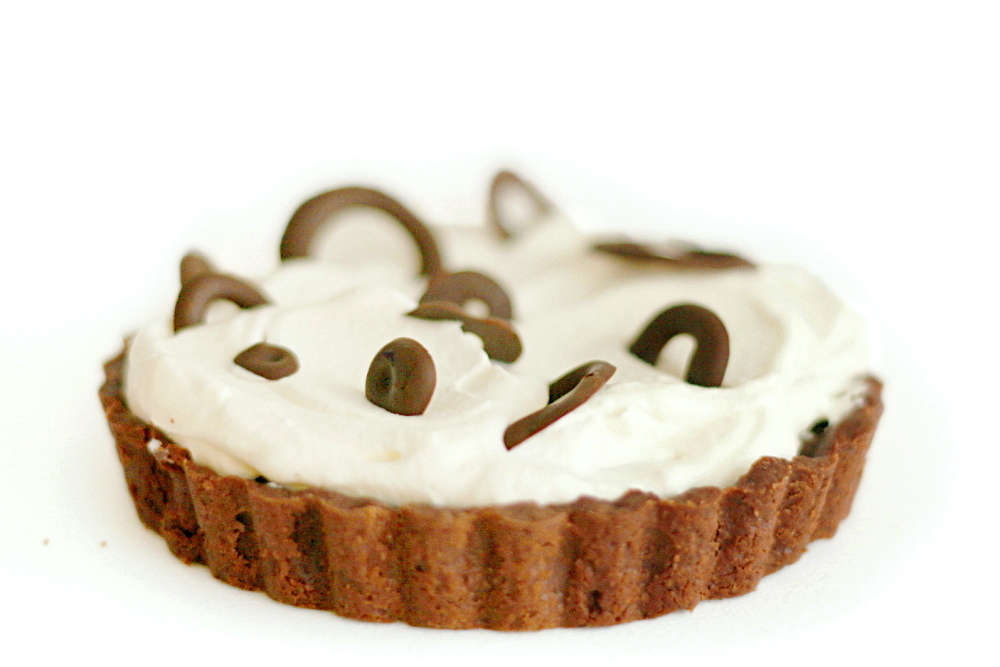
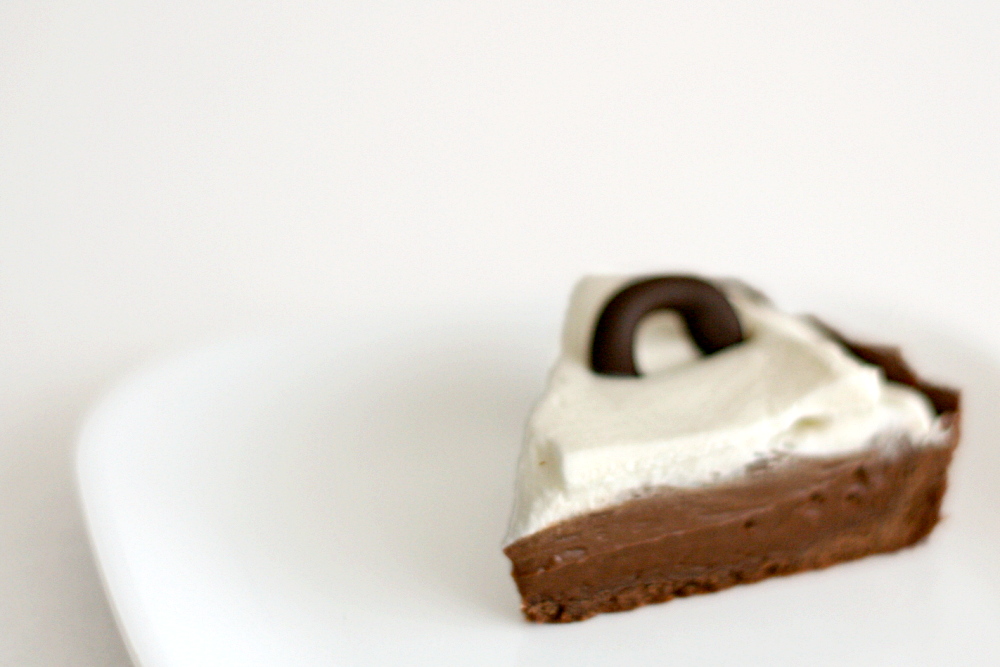
Chocolate cream tart seems like an appropriate way to cap off this month of chocolate, with a bitter chocolate crust and rich chocolate pastry cream balanced by lightly sweetened whipped cream and topped off with decorations of pure bittersweet chocolate. It’s a good thing that  I don’t get tired of chocolate or have problems with rich desserts.

copy-of-copy-of-img_4693

But I was concerned that Dave, who, after eating his umpteenth brownie, mentioned he’s actually not the biggest chocolate fan, wouldn’t like this. Fortunately, I’d forgotten how much he does like custard and pie, which apparently overshadowed his lukewarm feelings toward chocolate.

copy-of-img_4721

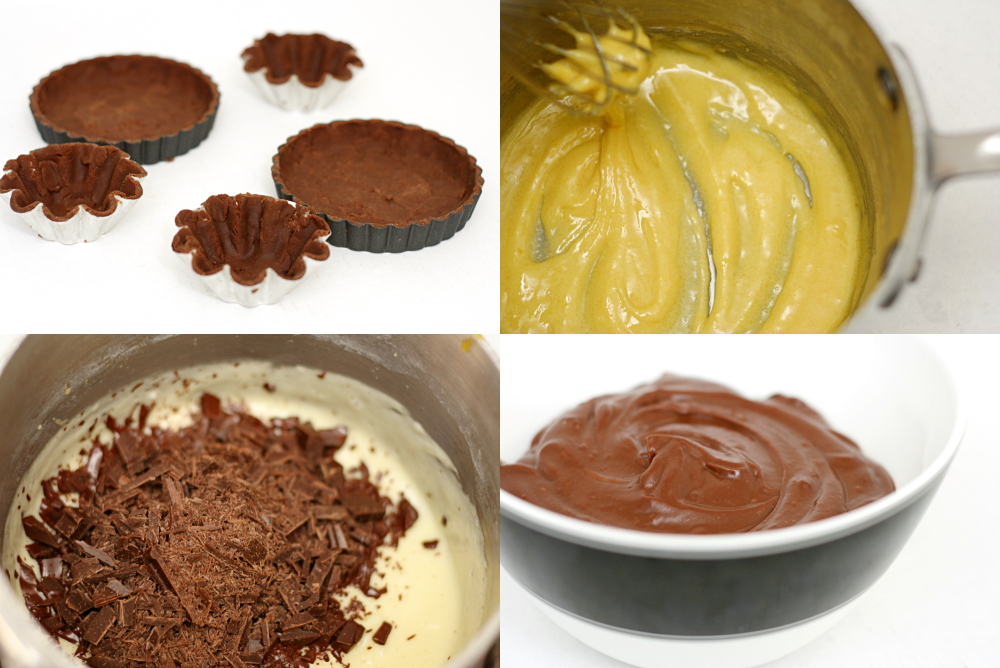
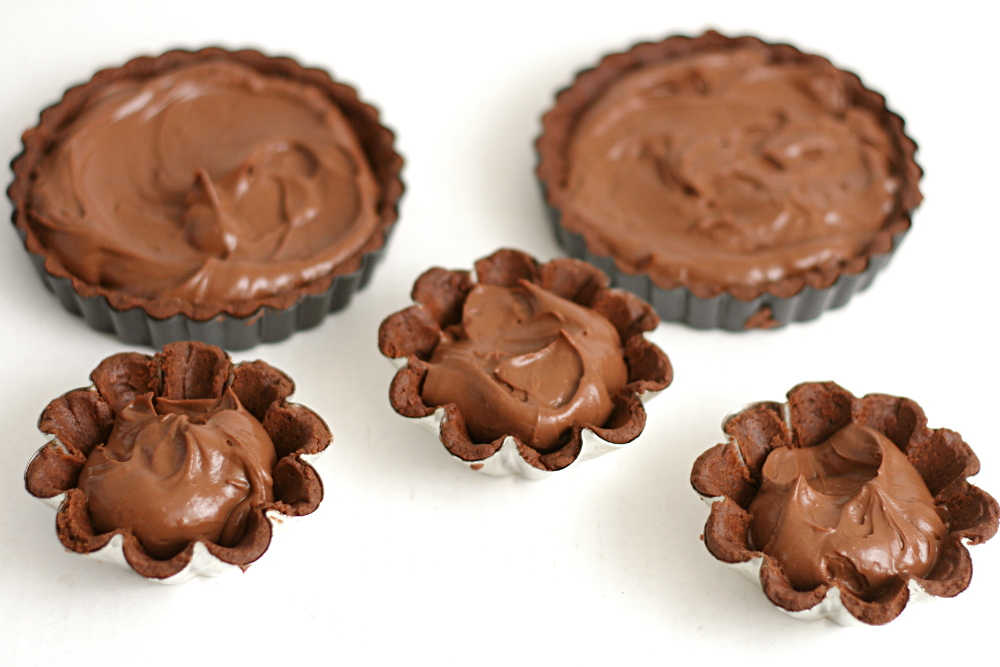
I’m always intrigued by Dorie’s tart dough, which calls for almost no liquid, and instead comes together through far more processing than is usually recommended in crust recipes. She then recommends pressing the dough into the pan instead of rolling it out. Am I the only one who hates pressing dough into pans? I don’t think it’s any less work than rolling it out. I did have to roll it out for the little brioche pans, because in my experience, pressing crusts into these deeply fluted edges results in a huge buildup of crust in the ridges. I pressed the crust into the flat tart pans, and I like both crusts equally.

copy-of-img_4730

The pastry cream is pretty luscious stuff. I did reduce the cornstarch a bit, remembering how the last few times I’ve made a cornstarch-containing custard from Dorie, the cornstarch didn’t seem to completely dissolve. I don’t mind a softer pastry cream anyway. Also, I missed that the chocolate was supposed to be melted before it was added to the pastry cream until it was too late to do anything about it, so I just finely chopped it and stirred it into the hot cream. It worked great, so this a timesaving trick I’ll keep in mind for the future.

copy-of-img_4733

Overall, I thought the tart was pretty great. Some TWD members indicated that they would have rather had a regular tart crust instead of the chocolate crust, and I wholeheartedly disagree. Usually I think tart crusts just get in the way of the filling, but I felt like the chocolate crust complimented, rather than detracted, from this dessert. All of the components, bitter and sweet, rich and light, balanced each other well.

copy-of-img_4884

Kim has posted the recipe.

One year ago: Carrot Cake

copy-of-img_4891

chocolate bread pudding

copy-of-img_3971

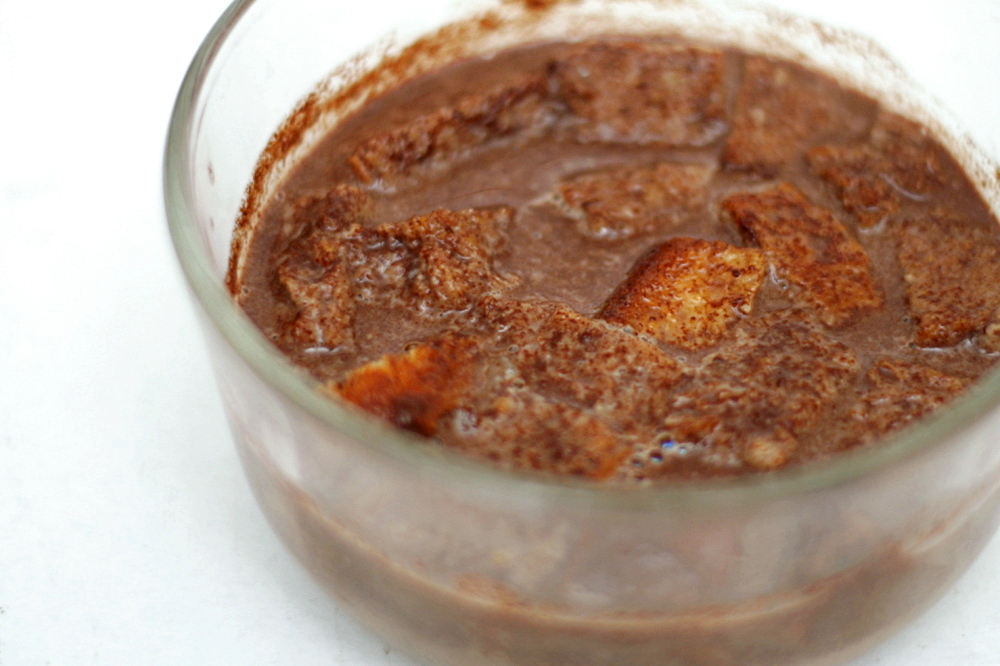
My first bread pudding experience involved Dessert Envy, when Dave and my brother and I went out for dessert and beer a few years ago. I ordered something rich and chocolately and otherwise unmemorable, and my brother ordered pumpkin bread pudding. I had one bite, my first taste ever of bread pudding, and was immediately smitten. Regrettably, I’ve only had it once since, another bite of someone else’s dessert order in a restaurant.

copy-of-img_3942

Finally, thanks to TWD, I’ve made my own bread pudding, and even got to eat a full serving instead of a single bite! But since this was my first time making it, I couldn’t troubleshoot as I baked.

copy-of-img_3954

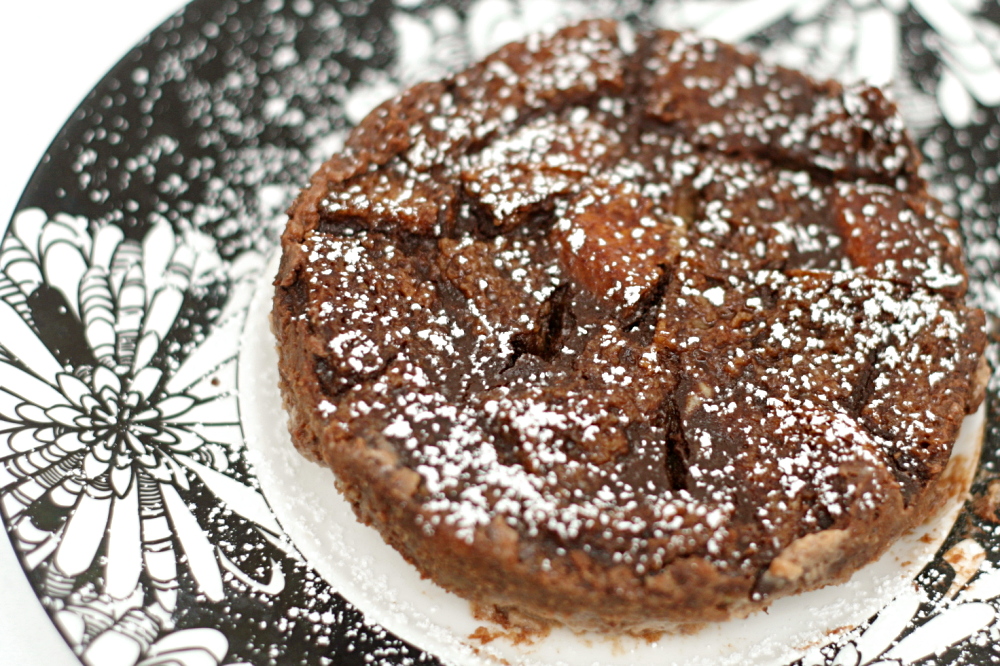
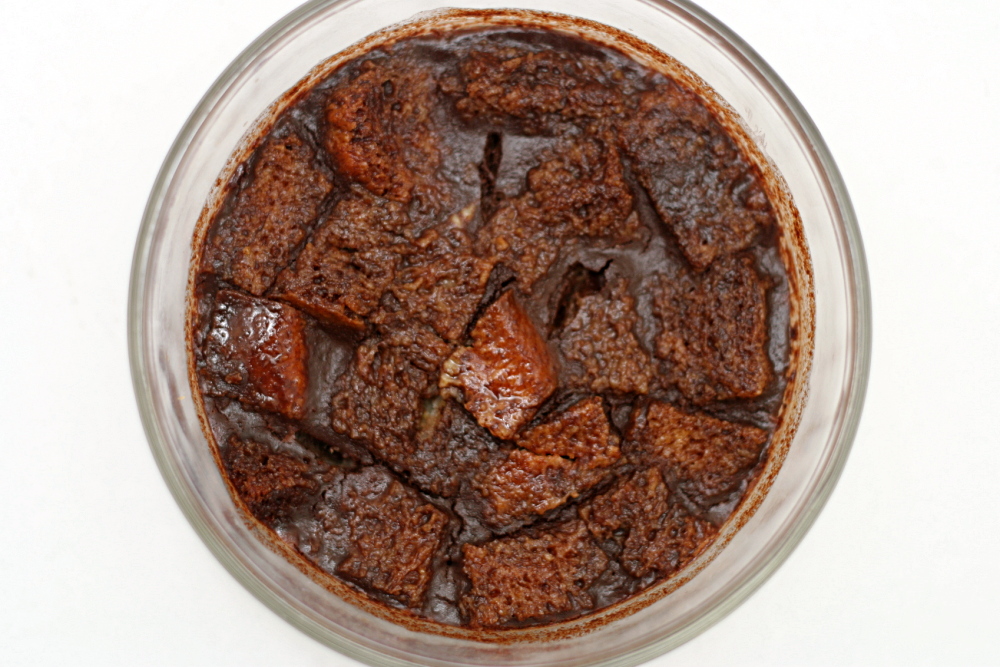
Mostly I was surprised by how much liquid there was compared to the amount of bread. I weighed out the bread before leaving it out to stale, but it lost 33% of its weight by the time I baked with it, so I probably should have used more bread. It probably should have been drier too; it was still a little soft in the middle.

copy-of-img_3969

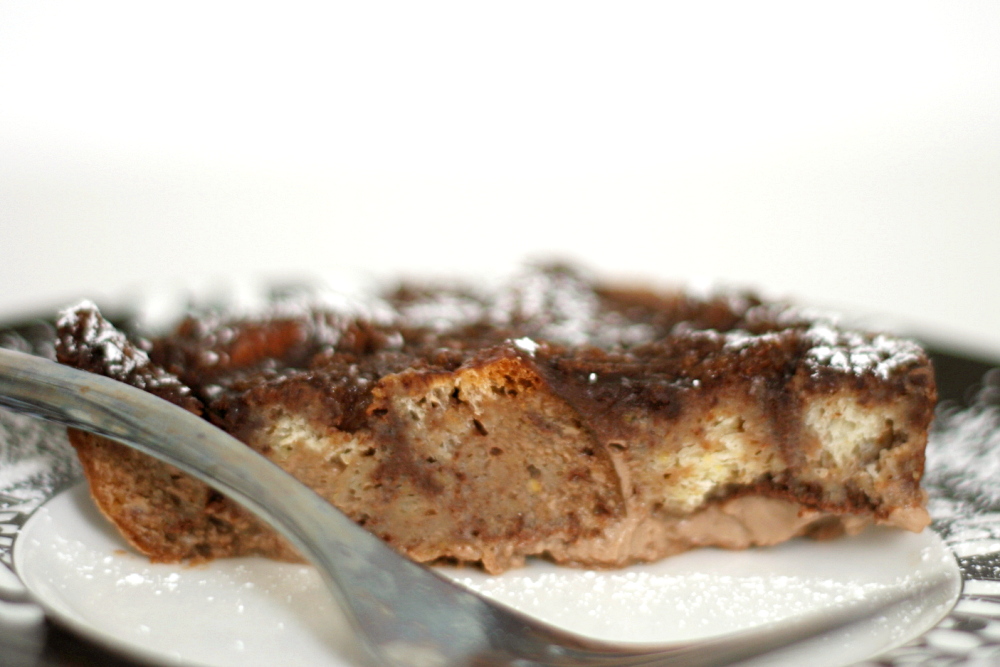
As a result, the bread wasn’t able to soak up all of the custard. (Is it supposed to? I’m assuming so, but I don’t know for sure.) The puddings baked up with a layer of pure custard on the bottom of the pan.

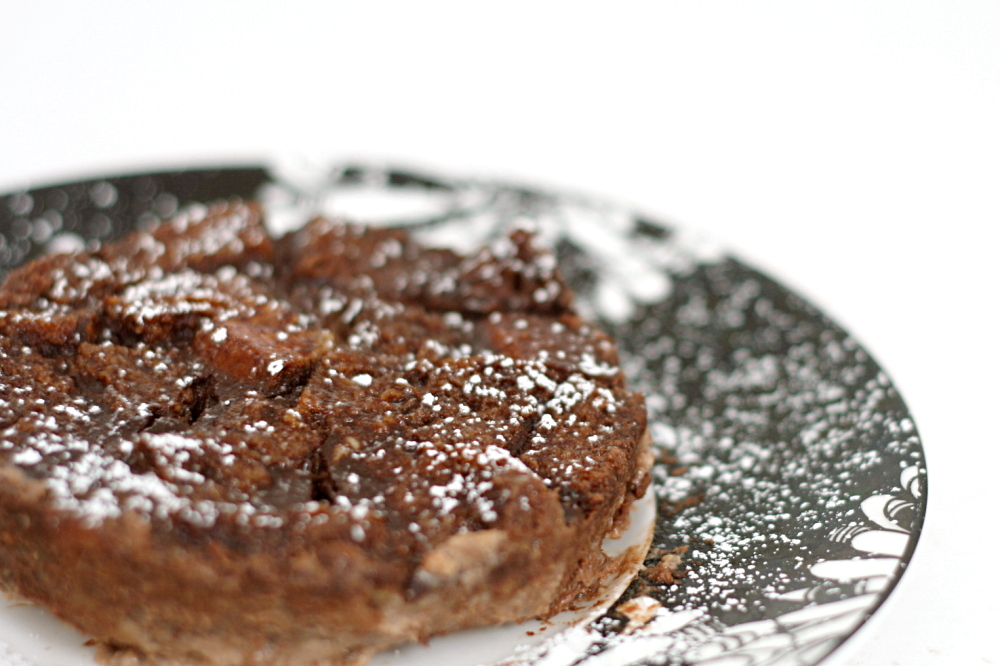
I still really enjoyed it though. Bread and custard sounds like an unlikely combination, but when the bread is saturated with the liquid, it forms, well, pudding. And pudding is good.

copy-of-img_3976

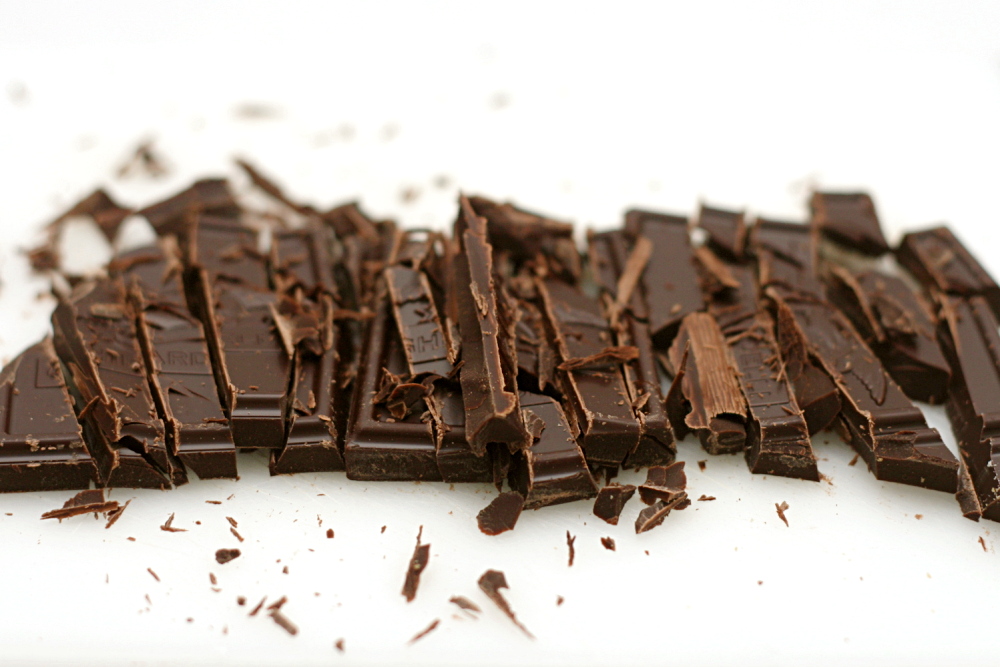
Lauren has the recipe posted. Next time I’ll use a darker chocolate (than the 60% cocao that I used), as the chocolate flavor was a little weak. And like I said, you’ll want 12 ounces of bread after it’s stale, not before.

One year ago: Marshmallows – I made this again and had some problems.   Now I want to try a marshmallow recipe that doesn’t have egg whites.

copy-of-img_3979

banana cream pie

copy-of-img_1410

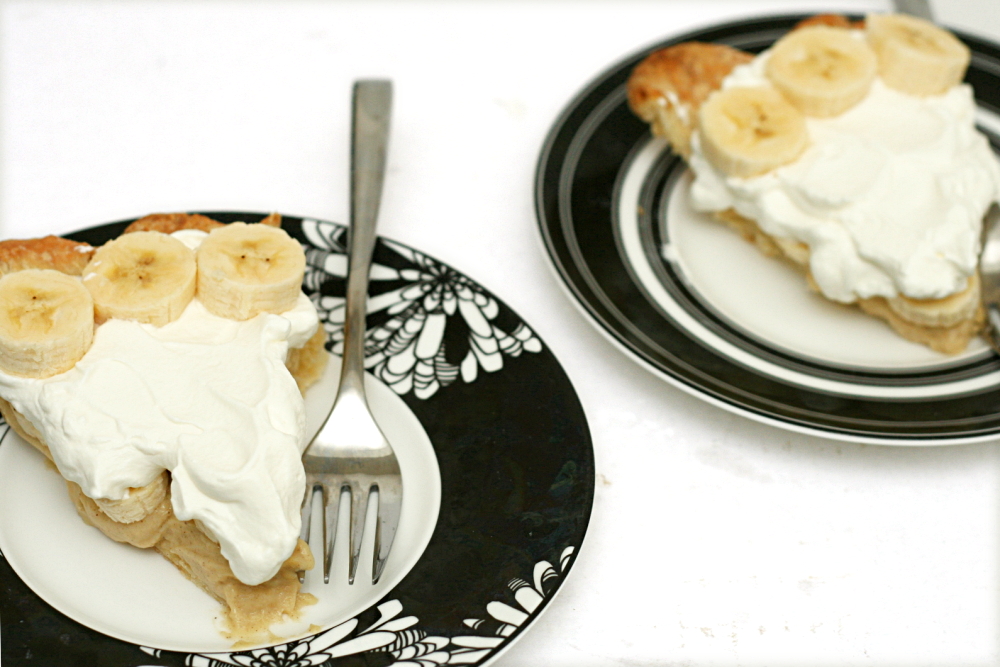
Poor Dave. His favorite dessert is banana cream pie, and I just don’t make it very often. For one thing, it’s kind of a lot of work, what with the crust and the pastry cream and the whipped topping. (Okay, so whipped cream isn’t hard to make. But still.) Plus, it doesn’t have a long shelf life and it isn’t an easy recipe to scale down, so it’s tricky to make for just the two of us. I pretty much only make banana cream pie on his birthday.

copy-of-img_1381

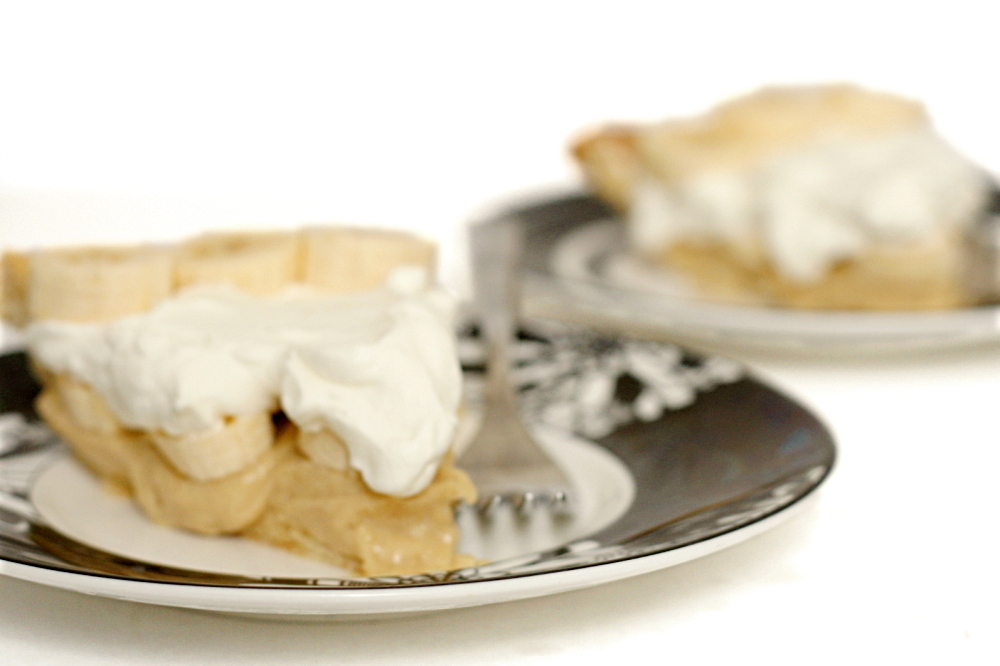
To avoid watery separated whipped cream and old browned bananas, I made and baked the pie crust and spread the pastry cream in it, without adding the bananas and topping. I sliced bananas and whipped cream each time we ate pie, instead of doing it all at once.

copy-of-img_1383

A number of people have said that their pastry cream was too thick, and they added extra milk to thin it. I think I’ll use less cornstarch instead. It seemed like there was a little chalkiness in the pastry cream, which I’m thinking is due to undissolved cornstarch.

copy-of-img_1387

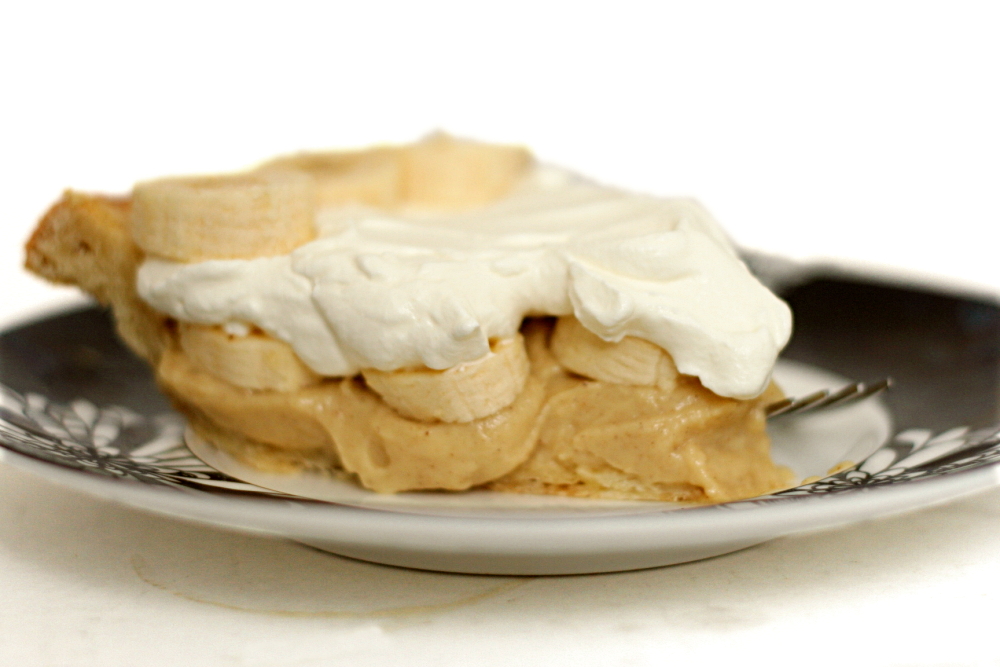
Other than that, I thought the pie was really good. The cinnamon and nutmeg in the pastry cream was subtle; in the future, I think I’ll keep the nutmeg, but maybe not the cinnamon. The small amount of sour cream in the whipped cream added a nice tangy flavor. With just the two of us, it took us, um, less than 2 days to get through the whole pie. Maybe I didn’t need to worry about the pie not storing well after all…

copy-of-img_1417

I’ll be sure to make this again. Next year. For Dave’s birthday.

Amy, who chose this recipe for Tuesdays with Dorie, has the recipe posted.

One year ago: Scotch Eggs

copy-of-img_1416

lemon cup custard

copy-of-img_2420

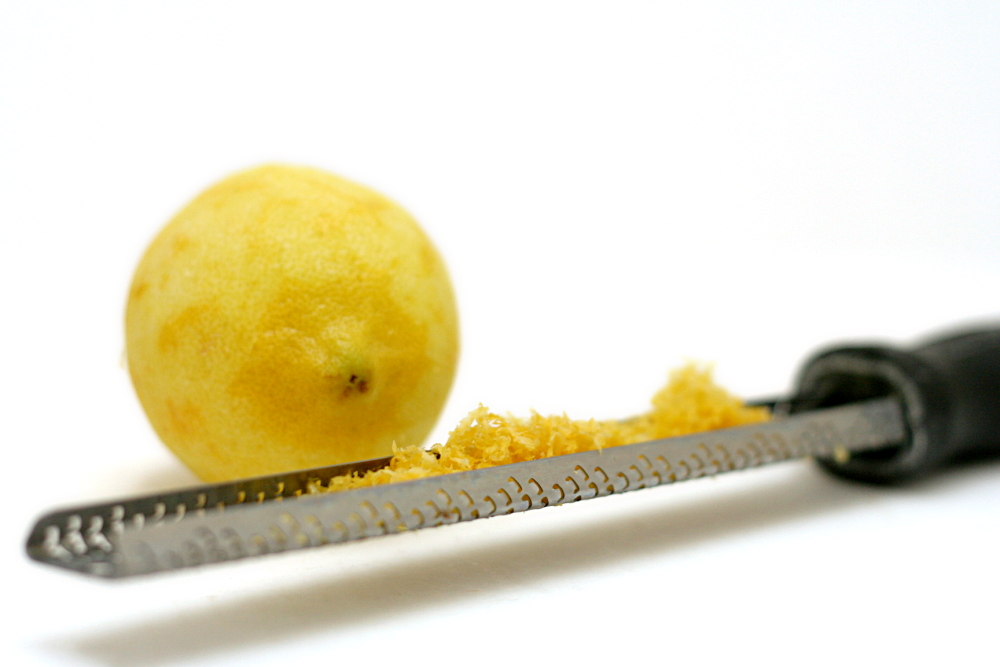
Well, I didn’t intend to choose an unpopular dessert for Tuesdays with Dorie this week. I was picturing a satiny, lemony pots de crème-type custard. Obviously I didn’t pay enough attention to the ingredients, which, with just milk, whole eggs, lemon zest, and sugar, in no way indicate that this custard would be rich. Sorry, custard-haters!

copy-of-img_2431

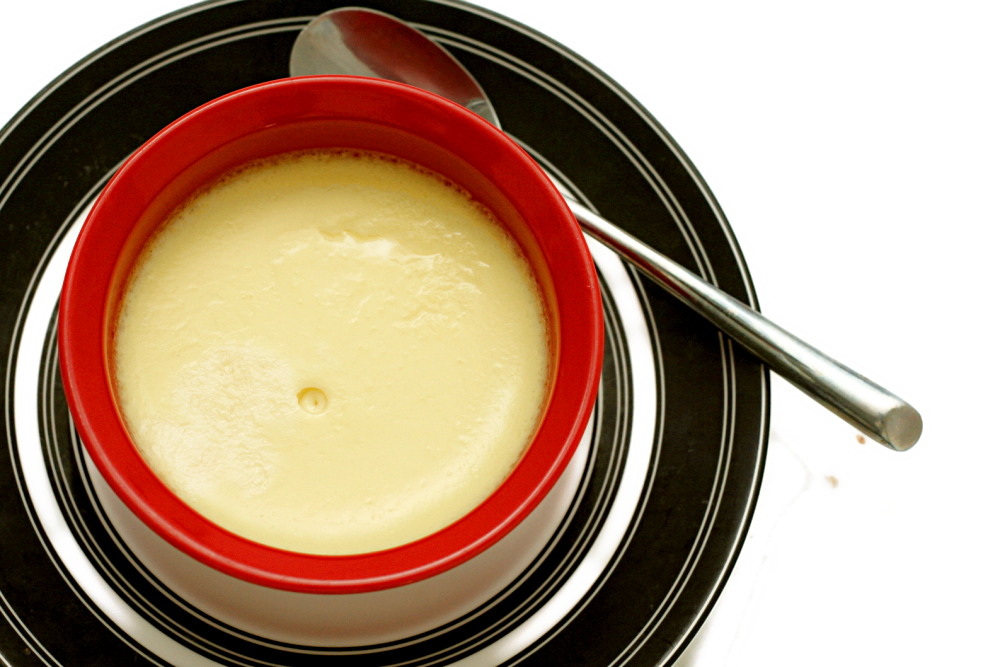
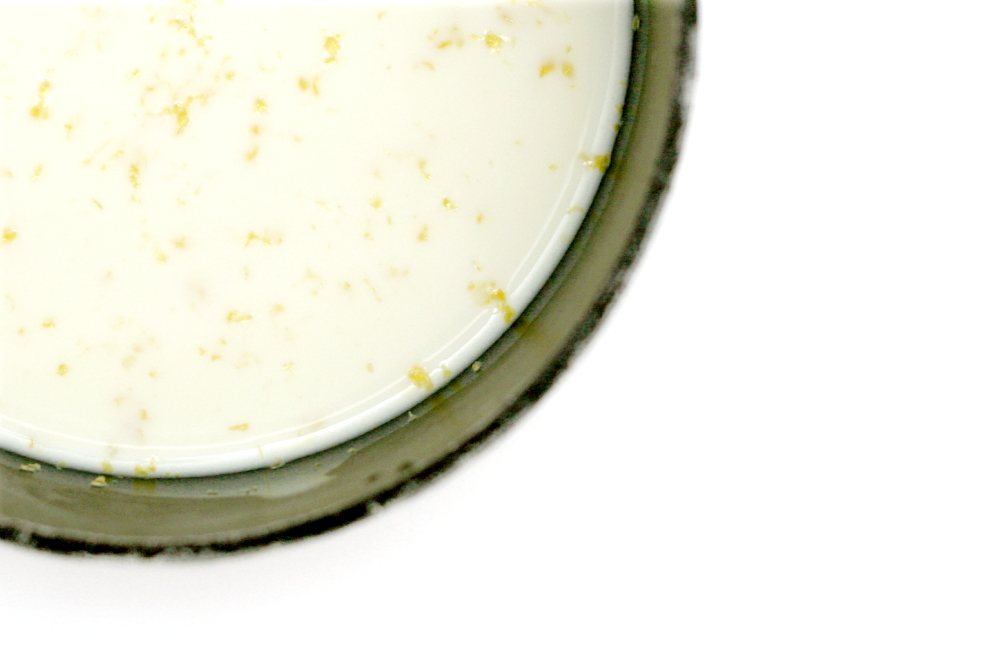
Hey, at least it was easy and didn’t use many ingredients. After the milk is steeped with lemon zest, it’s mixed into sugar and eggs, then baked in a water bath. I added a drop of lemon extract to half of my custards.

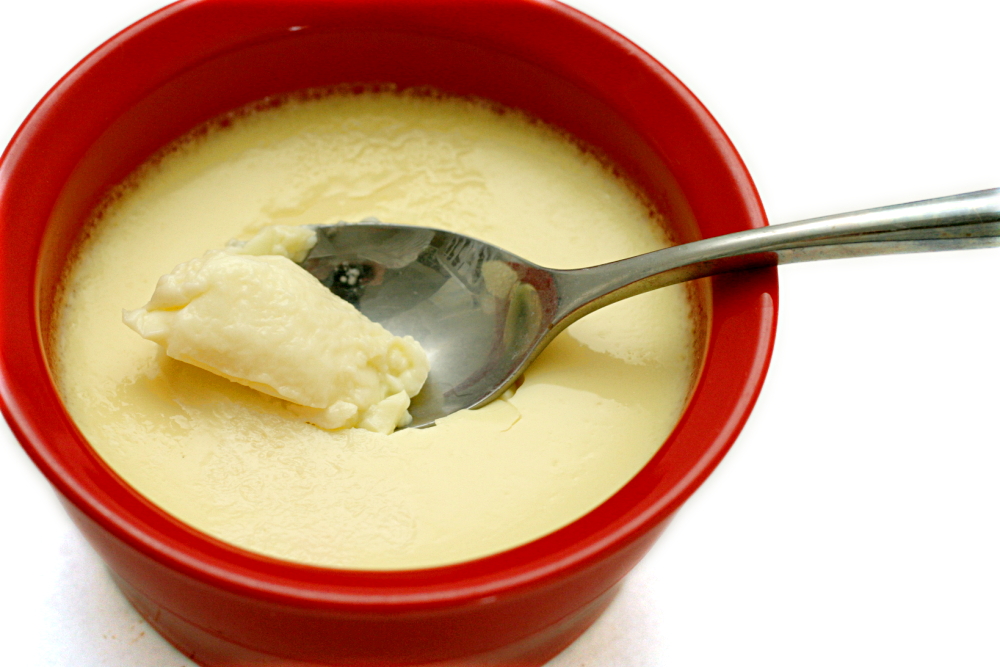
The lemon flavor was pretty tame, although it was noticeably stronger with the extract. The texture was certainly more eggy than I expected. I don’t mind the texture of classic baked custard, but I know it isn’t popular with a lot of people.

copy-of-img_2390

Overall, I thought the custard was light and refreshing, especially with the bit of lemon extract. It’s even a relatively healthy dessert – no butter, believe it or not! Not only that, but it was easy. So at least it was a winner in my book!

copy-of-img_2422

Lemon Cup Custard (from Baking: From my Home to Yours, by Dorie Greenspan)

Mine seemed to cook a little faster than Dorie indicates, so you might want to check them early.

Makes 6 servings

2¼ cups whole milk
grated zest of 1 lemon
4 large eggs
½ cup sugar
pure lemon oil or extract (optional)

Getting ready: Have six (6-ounce; ¾-cup) custard or coffee cups at hand. Put the milk and zest in a saucepan and bring just to a boil. Remove the pan from the heat, cover and set aside for 30 minutes so the zest can infuse the milk with its flavor. Reheat the milk before mixing the custard.

Getting ready to bake: Center a rack in the oven and preheat the oven to 325F. Line a roasting pan with a double thickness of paper towels and put the custard or coffee cups in the pan. Have a fine-mesh strainer at hand. Fill a teakettle with water and put it on to boil; when the water boils, turn off the heat.

In a 1-quart glass measuring cup or a heatproof bowl, whisk the eggs and sugar together until well blended. Still whisking, strain in about ¼ cup of the hot milk little by little – this will temper, or warm, the eggs so they won’t curdle. Whisking all the while, slowly strain in the remaining milk. Discard the zest remaining in the strainer. If you’d like a stronger lemon flavor – Dorie usually does – stir a few drops of lemon oil or extract into the custards. (Don’t go overboard – ⅛ teaspoon extract, less if you’re using oil, is about the most you’ll need.)

With a spoon, skim the foam off the top of the custard, then pour the custard into the cups. Very carefully slide the roasting pan into the oven, then pour enough hot water from the teakettle into the roasting pan to come halfway up the sides of the cups.

Bake the custards for 40 to 50 minutes, or until they jiggle only in the center when you tap the cups lightly. Transfer the cups to a rack and cool to room temperature, then cover and refrigerate for at least 2 hours before serving.

Serving: Serve just as is.

Storing: Well covered and away from foods with strong odors, the custards will keep in the refrigerator for up to 2 days.

Playing around:
Vanilla Cup Custard: Omit the lemon zest and oil or extract, and after the hot milk has been blended into the eggs, add 2½ teaspoons pure vanilla extract. (Dorie often adds ⅛ teaspoon pure almond extract too.) Alternatively, you can steep the milk with 1 split and scraped vanilla bean instead of using extract.

Lemon-Clove Cup Custard: Add 4 whole cloves to the milk along with the lemon zest.

Orange-Star Anise Cup Custard: Omit the lemon zest and oil or extract and add the grated zest of 1 orange and 3 points from a star anise to the milk before heating it.

Espresso-Cinnamon Cup Custard: Omit the lemon zest and oil or extract and add a cinnamon stick to the milk before heating it. Whisk 2 teaspoons instant espresso powder into the egg-sugar mixture.

copy-of-img_2408

floating islands

copy-of-img_1962

When you make a commitment to bake a recipe every single week, some of those weeks are by necessity going to be half-assed. It’s not that I’m any less interested in floating islands than any other dessert – it sounds tasty, and it’s definitely not something I have experience with – it just happens that this week I have another dessert project that dominating my attention right now.

copy-of-img_1946

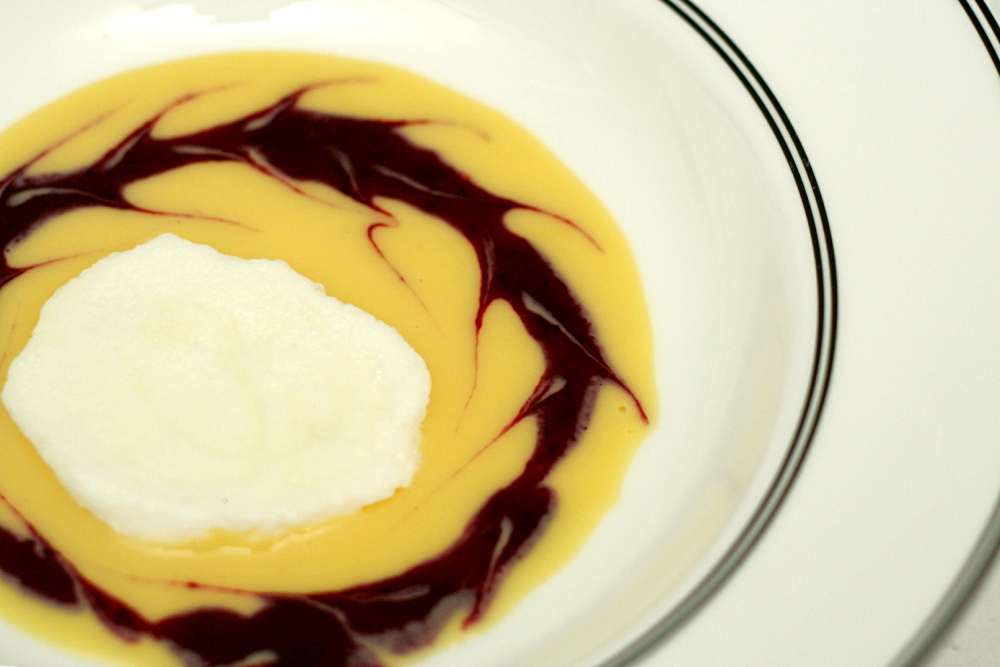
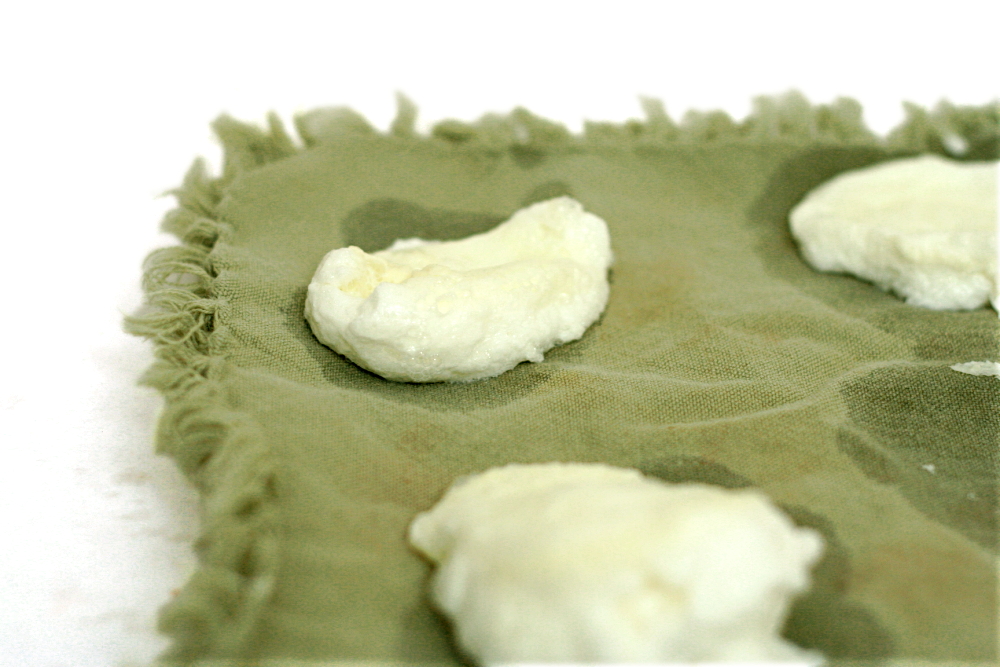
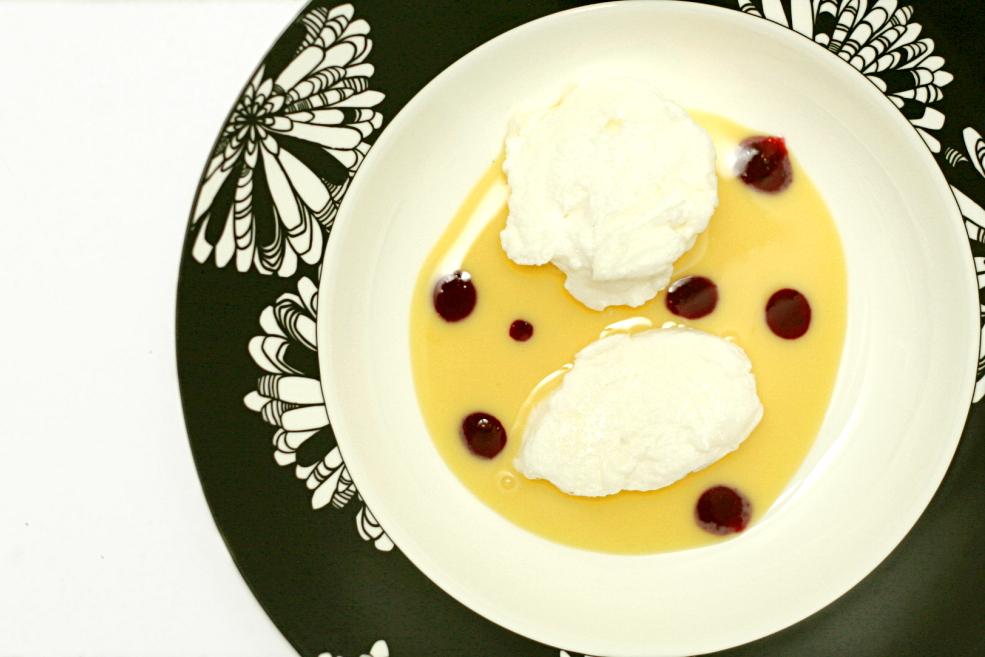
Floating islands are meringues that have been poached in milk and are served with crème anglaise. It wasn’t that I skimped too much on the effort involved; it’s just that I decided to use only one egg. That means I made a quarter of the meringue recipe and one sixth of the crème anglaise.

copy-of-img_1955

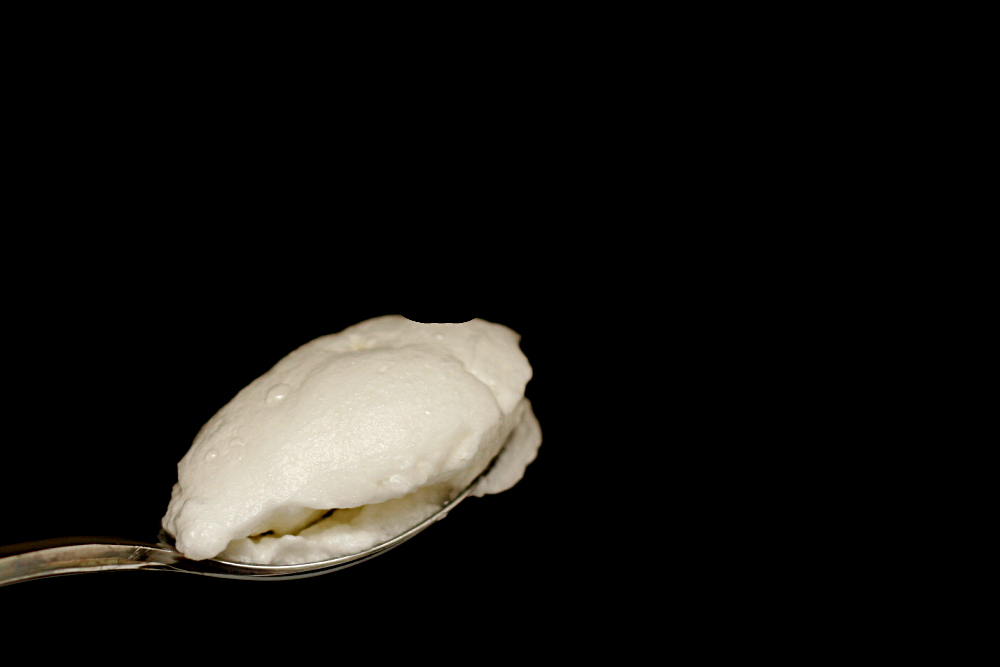
None of this recipe was very difficult, although the work involved with multi-component desserts always seems to add up. The only portion I had any problem with was the poaching, and most of that was because I didn’t carefully read the instructions that warn you that the meringues will deflate after poaching. I thought I had screwed them up, so I ate one while I poached the rest.

I served the floating islands with berry coulis. Dave and I both thought that the dessert was really good. It would be even better with some fresh berries. I’ll have to try that next time. Shari has the recipe posted.

copy-of-img_1957

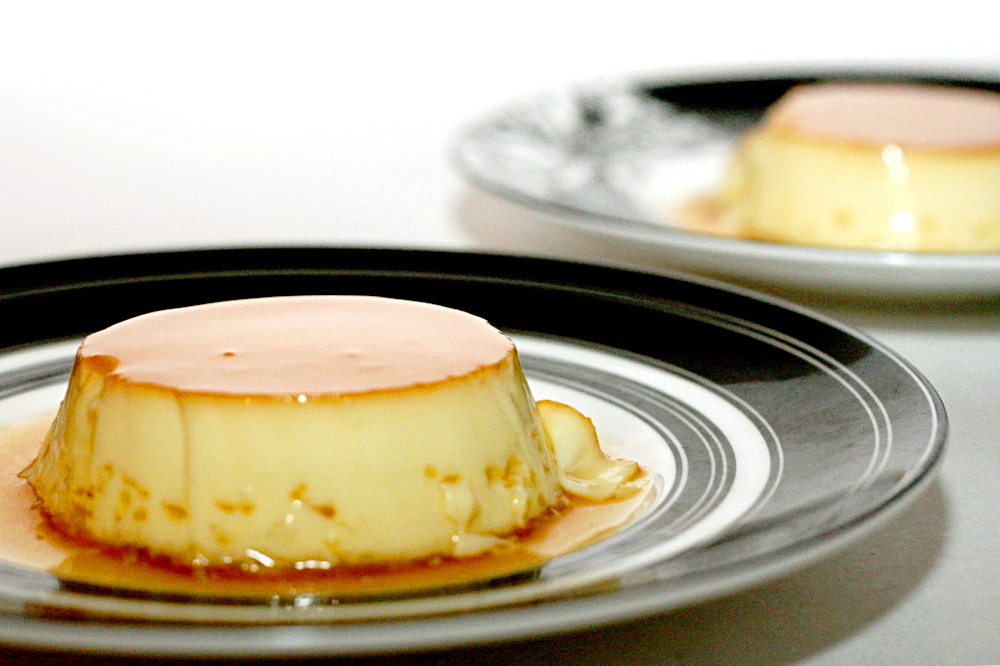
caramel-topped flan

copy-of-img_8591

Like a lot of Tuesdays with Dorie members who joined the group late, I plan on eventually making all of the recipes that I missed. Why not? I make those thirteen recipes (down to nine, now), and I will eventually have baked through the entire book. How cool is that?

There were just two recipes that I had no interest in. I already have tried and true recipes for both pound cake and crème caramel, plus Dorie’s versions didn’t get rave reviews across the board. But, Dave requested flan, and he was insistent that it be flan and not crème caramel, never mind that they’re the same thing, and since Dave rarely gets so specific, I indulged him.

copy-of-img_8553

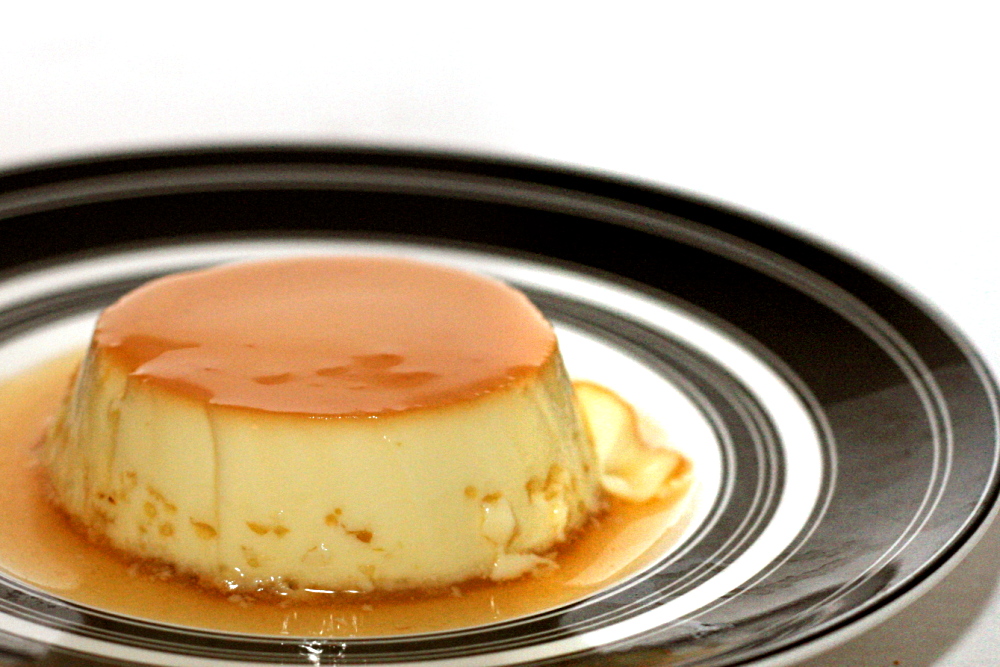
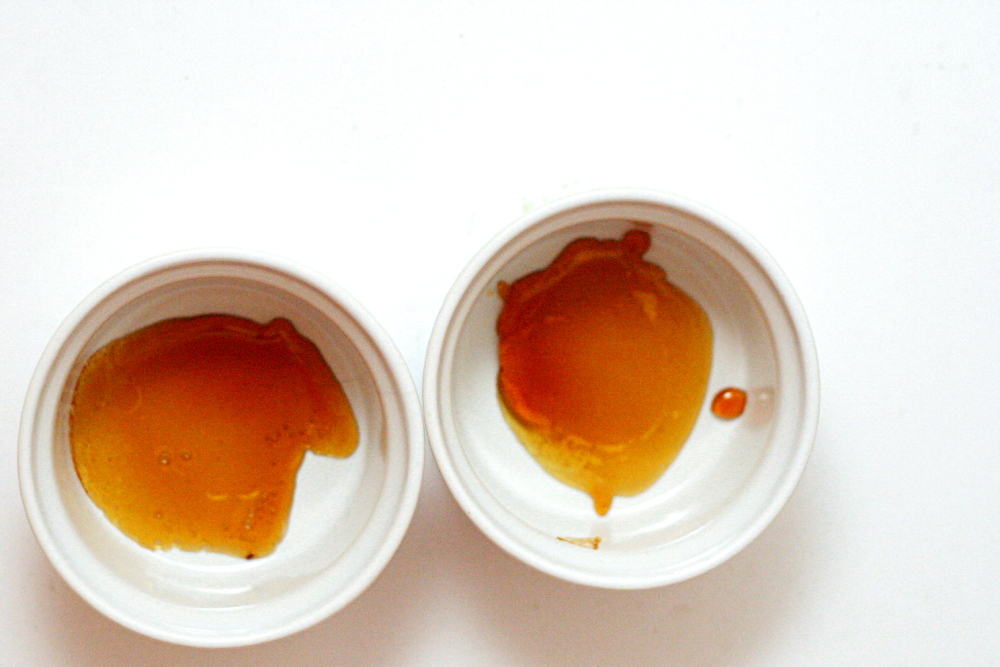
This flan wasn’t drastically different than my other recipe. There wasn’t as much caramel, but it seemed like enough. The custard ingredients and methods are very similar, so I’m not clear on why the tops of these flans turned golden, while the crème caramel that I made last year isn’t browned at all.

copy-of-img_8587

The two recipes are so similar that I’d be hard-pressed to pick a favorite. They’re both smooth and creamy with a good balance of sweet caramel. It was definitely worth making it to get it marked off the list. I think I might try making the pound cake recipe now. It never hurts to try a new recipe.

copy-of-img_8589

One year ago: Marcella Hazan’s Lasagne Bolognese – not my favorite lasagna recipe, but I learned a lot from making it

Caramel-Topped Flan (from Dorie Greenspan’s Baking: From My Home to Yours)

Makes one 8-inch flan, or six 6 servings in 6-ounce ramekins, or 8 servings in 4-ounce ramekins

For the caramel:
⅓ cup sugar
3 tablespoons water
squirt of fresh lemon juice

For the flan:
1½ cups heavy cream
1¼ cups whole milk
3 large eggs
2 large egg yolks
½ cup sugar
1 teaspoon pure vanilla extract

Getting ready:
Center a rack in the oven and preheat the oven to 350F. Line a roasting pan or 9-by-13 inch baking pan with a double thickness of paper towels. Fill a teakettle with water and put it on to boil; when the water boils, turn off heat.

Put a metal 8-inch round cake pan – not a nonstick one – in the oven to heat while you prepare the caramel. (If you are using individual molds or ramekins, then skip this step.)

To Make the Caramel:
Stir the sugar, water and lemon juice together in a small heavy-bottomed saucepan. Put the pan over medium-high heat and cook until the sugar becomes an amber-colored caramel, about 5 minutes-remove the pan from the heat at the first whiff of smoke.

Remove the cake pan from the oven and, working with oven mitts, pour the caramel into the pan and immediately tilt the pan to spread the caramel evenly over the bottom; set the pan aside.

To Make the Flan:
Bring the milk and heavy cream just to a boil.

Meanwhile, in a 2-quart glass measuring cup or in a bowl, whisk together the eggs, yolks and sugar. Whisk vigorously for a minute or two, and then stir in the vanilla. Still whisking, drizzle in about one quarter of the hot liquid-this will temper, or warm, the eggs so they won’t curdle. Whisking all the while, slowly pour in the remainder of the hot cream and milk. Using a large spoon, skim off the bubbles and foam that you worked up.

Put the caramel-lined cake pan in the roasting pan. Pour the custard into the cake pan and slide the setup into the oven. Very carefully pour enough hot water from the kettle into the roasting pan to come halfway up the sides of the cake pan. (Don’t worry if this sets the cake pan afloat.) Bake the flan for about 35 minutes, or until the top puffs a bit and is golden here and there. A knife inserted into the center of the flan should come out clean. (Small, individual molds will take less time- start checking for doneness around the 25-minute mark).

Remove the roasting pan from the oven, transfer the cake pan to a cooking rack and run a knife between the flan and the sides of the pan to loosen it. Let the flan cool to room temperature on the rack, then loosely cover and refrigerate for at least 4 hours.

When ready to serve, once more, run a knife between the flan and the pan. Choose a rimmed serving platter, place the platter over the cake pan, quickly flip the platter and pan over and remove the cake pan-the flan will shimmy out and the caramel sauce will coat the custard.

Storing: Covered with plastic wrap in its baking pan, the flan will keep in the refrigerator for up to 2 days. However, once unmolded, its best to enjoy it the same day.

Serving: Bring the flan to the table and cut into wedges. Spoon some of the syrup onto each plate.

copy-of-img_8589

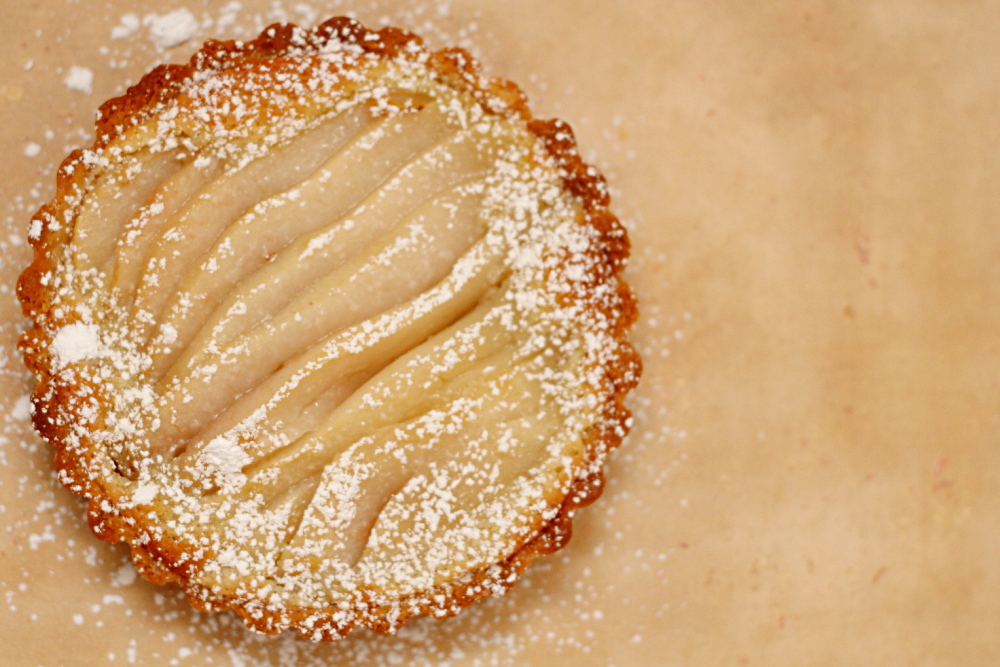
french pear tart

copy-of-img_1195

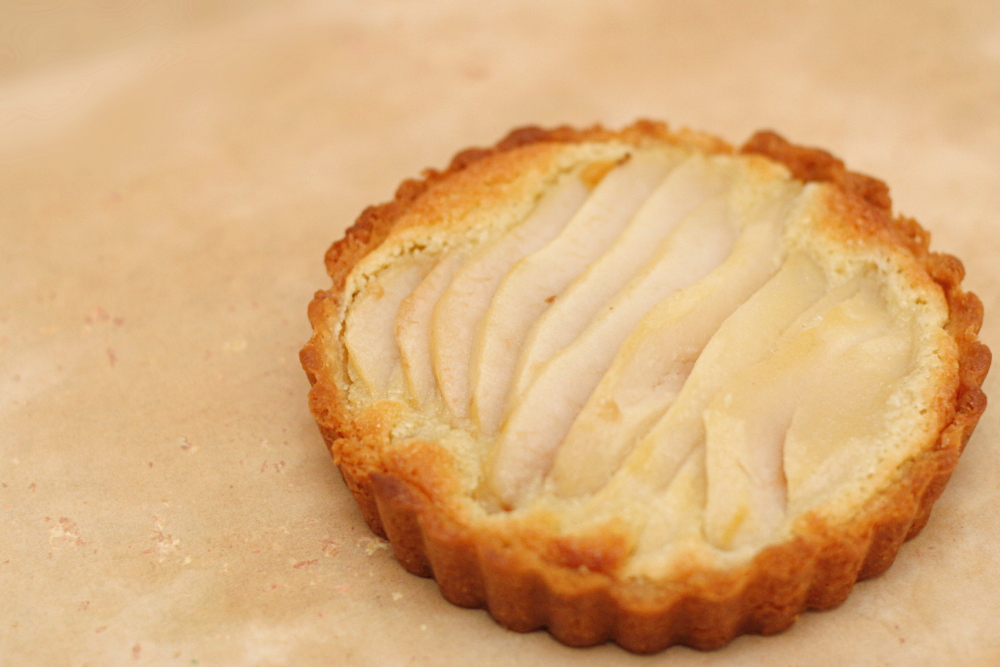
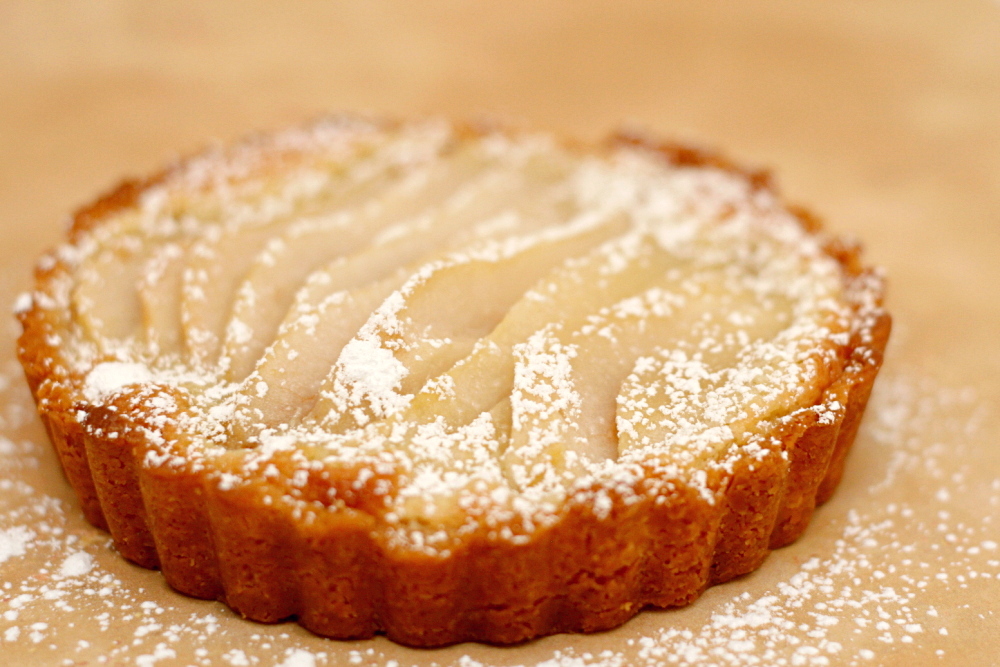
This tart had everything going against it. For one thing, I wasn’t in the mood to make a three-part dessert. For another, Dorie says that it’s supposed to be eaten the day it’s assembled, and I had my doubts that Dave and I would be eating the whole thing in one day. But that worked out – I made a third of the recipe, which I divided between two mini-tart pans. I prepared the ingredients, but didn’t layer them or bake each tart until the day I planned to eat it.

copy-of-copy-of-img_1189

I was too tired to take photos of the finished tart the first night we ate it. But the second night was even worse – Dave had very attentively refilled my wineglass throughout the evening, and I was hard-pressed to find the motivation to take photos of food. Plus the second tart (the drunk one) wasn’t as pretty as the first tart (the tired one). Imagine that.

copy-of-img_1180

But all’s well that ends well, because the tart was delicious. The crust was crisp but not tough, and the almond cream complimented the pears nicely. The dessert was pretty sweet and I could have used some more salt somewhere, but I say that every week. I had never eaten anything like this, so I’m really glad I tried it.

copy-of-img_1192

Dorie actually chose the recipe for us this week, and the recipe is posted on her blog.  Dorie has been fantastically supportive of Tuesdays with Dorie from the beginning of the group. She regularly answers questions, she’s posted about the group multiple times on her own blog, and this week she took the time to answer a number of interview-type questions that TWD members have wondered about for the past few months. I love baking along with a group and I enjoy the recipes from the book, and having Dorie interact with TWD so closely is the icing on the cake.

One year ago: Oatmeal.  We just had this last weekend – I love it during the winter.

copy-of-img_1196

butterscotch pudding

copy-of-img_0784

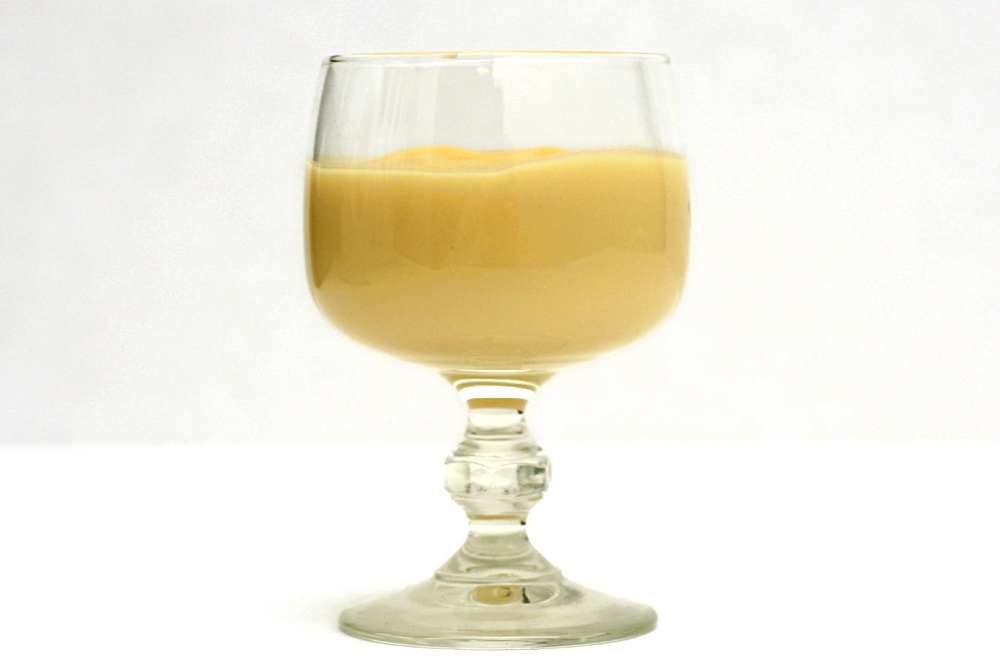
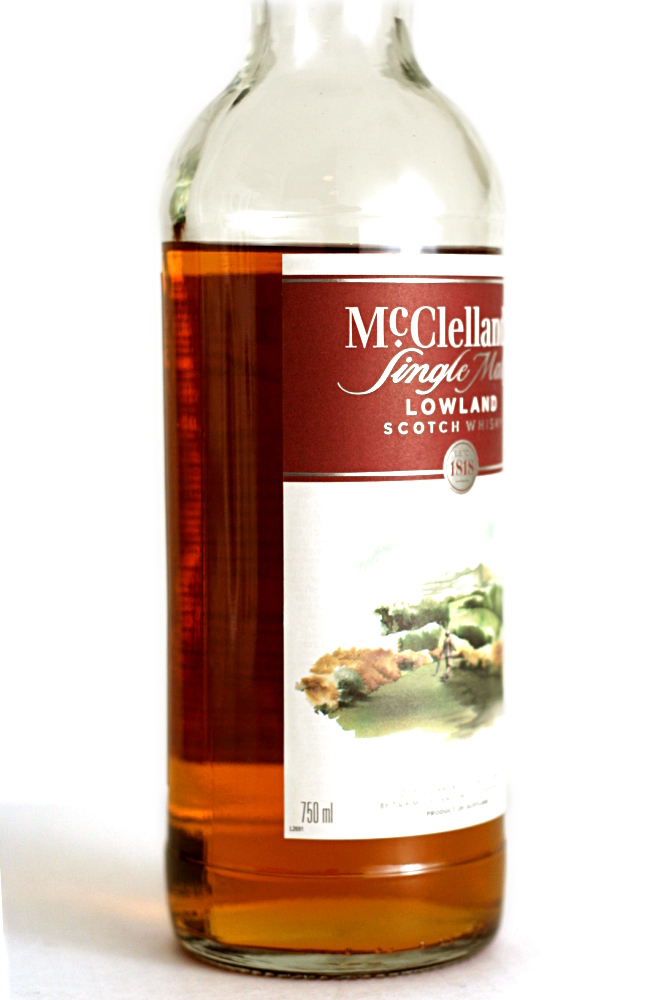
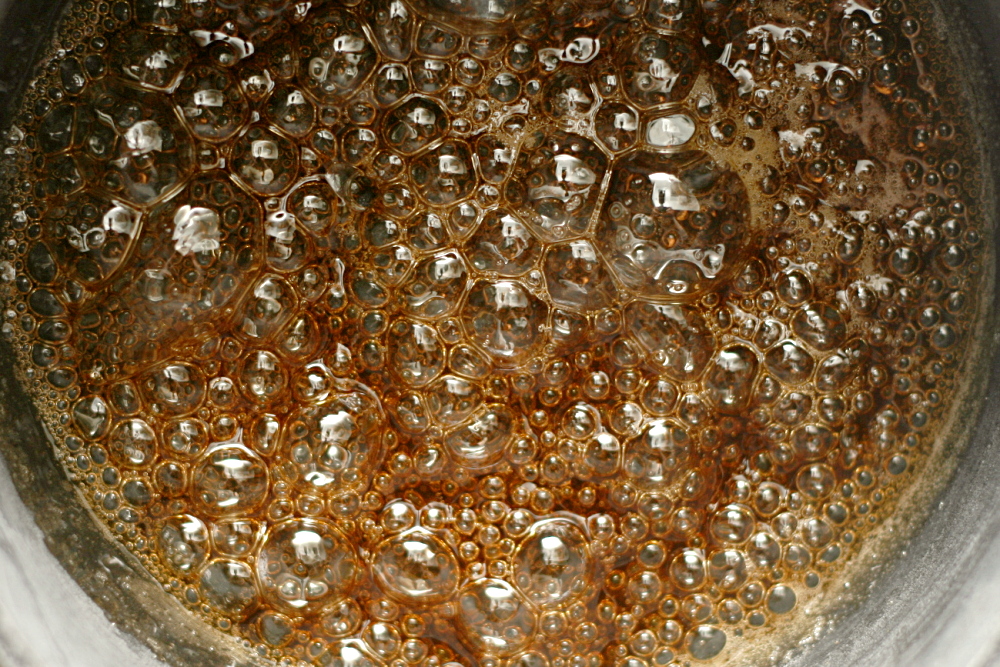
A few years ago, a group of my friends got together and did a whiskey tasting. We compared a few different whiskeys of varying quality. At the time, they all tasted really strong to me, but I think that was the turning point of when I started to actually like whiskey. And butterscotch, which, by the way, is traditionally brown sugar and butter and has nothing to do with whiskey, tends to taste a little too sweet for me, so I was thinking that adding some whiskey would be perfect to cut that.

copy-of-img_0692

Of course I was glad that this week’s recipe was so simple, since, like everyone else I think, I’m swamped by Christmas right now. It’s a pretty standard pudding recipe – heat the dairy, add it to the egg yolks, heat everything together until it thickens. Dorie likes to use a food processor for pudding to get the smoothest texture, but I was way too lazy for that, so I did my best with a whisk.

copy-of-img_0677

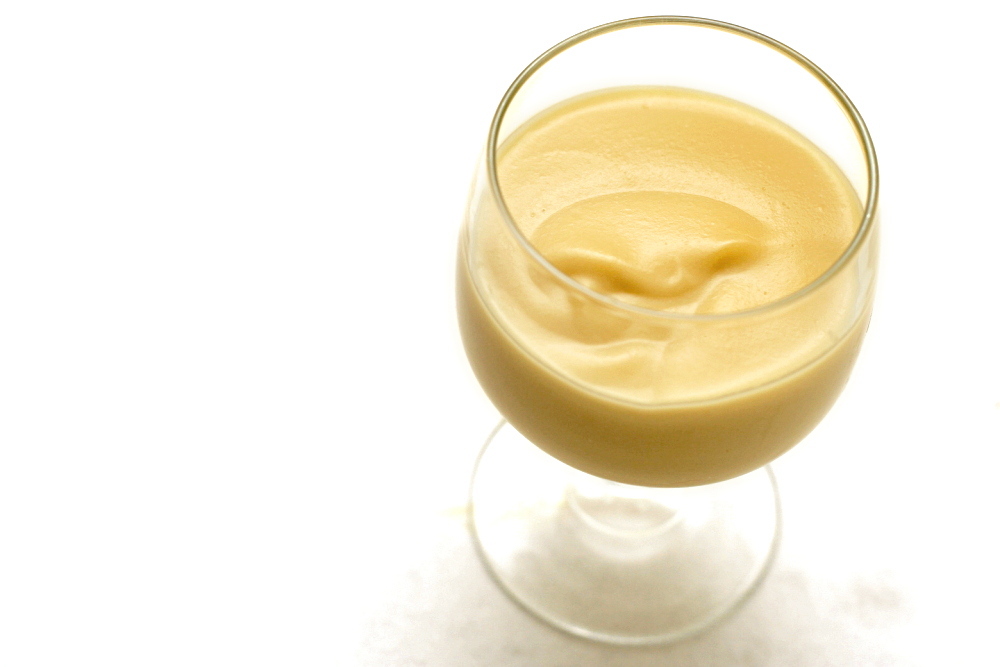
The pudding was very good. It was definitely smooth enough without the food processor. If my fine-mesh strainer hadn’t been dirty, I would have strained the pudding through that, but it worked out nicely even without that step. It was indeed very sweet. The alcohol flavor was pretty strong on the first bite, but it seemed to blend with the other flavors as I kept eating. Overall, this was very good pudding, and I definitely prefer butterscotch when it’s accompanied by whiskey.

The recipe is available on Donna’s site.  I think I’ll cut the amount of scotch in half next time, just to bypass the initial spoonful of overwhelming alcohol flavor.

copy-of-img_0783