cinnamon macarons with apple buttercream

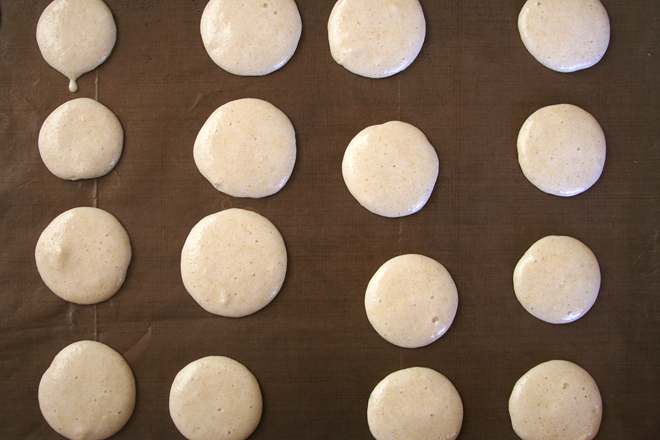
apple cinnamon macarons 4

Macarons have been all the rage recently, and yet, I’ve had no real desire to make them myself. This, even though they’re known to be finicky, and I do love making my life unnecessarily complicated. But while I do love a challenge, I don’t particularly love meringue cookies.

apple cinnamon macarons 1

This is probably because I’ve never gotten them quite right, as they always seem to be chewy in the center instead of crisp the whole way through. Maybe the precise directions included with many macaron recipes could help me avoid this pitfall. If not, at least they’d be filled with swiss meringue buttercream.

apple cinnamon macarons 2

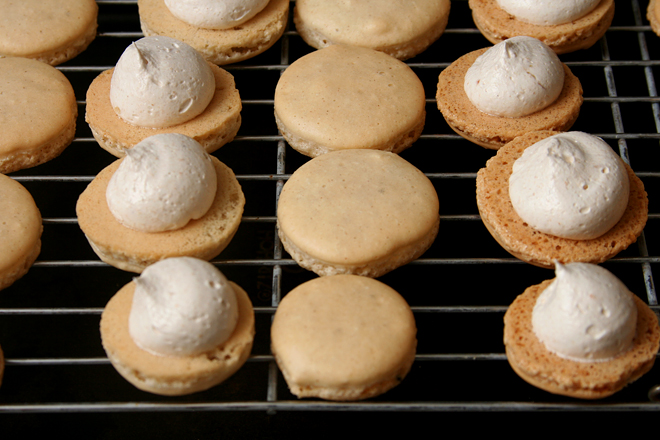
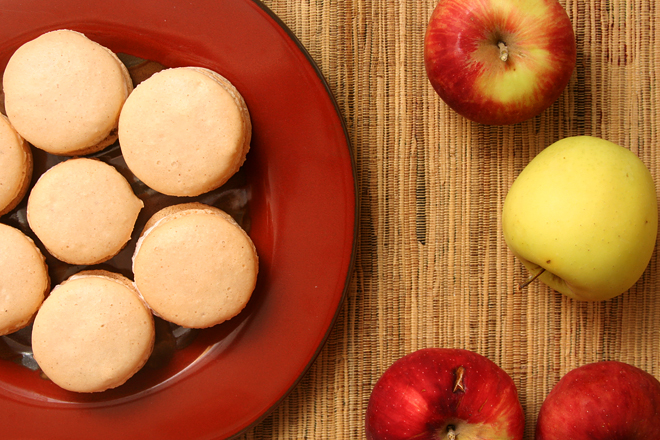
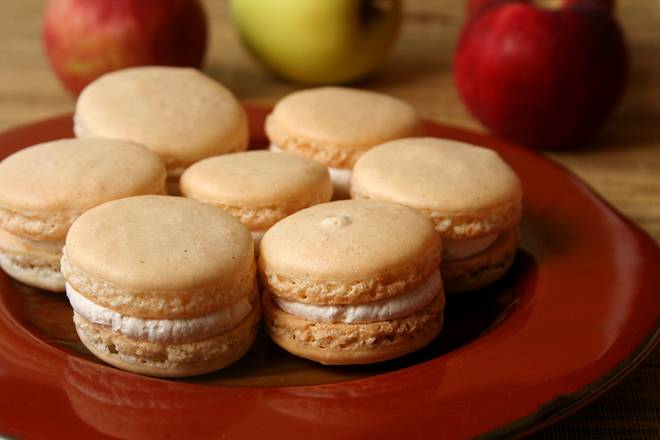
One of the hallmarks of good macarons is the foamy feet around the bottom edge, which show that your macarons rose up in the oven instead of spreading out. When I started to see those feet form, I made Dave come over to look through the oven window with me and give me a high-five. I was also happy with the smooth tops of the cookies, and it goes without saying that I was happy with the apple buttercream, which was noticeably and pleasantly appley.

apple cinnamon macarons 3

The only problem? A chewy center. I guess practice makes perfect. Fortunately, I think it’s safe to say that meringues are good enough to make again.

apple cinnamon macarons 6

One year ago: Butternut Squash Risotto
Two years ago: Pomegranate Glazed Salmon
Three years ago: Sun-Dried Tomato Jam
Four years ago: Sushi Bowls

Printer Friendly Recipe
Cinnamon Macarons with Apple Buttercream (adapted from Tartelette)

Makes about 20 sandwich cookies

For a lot of meringue-making tips, read Tartelette’s article.

Meringues:
110 grams blanched almonds or almond meal
200 grams powdered sugar
½ teaspoon cinnamon
100 grams egg whites (from about 3 large eggs), aged overnight
25 grams sugar
Pinch salt

Apple buttercream:
4 egg whites
1¼ cups (8.75 ounces) granulated sugar
Pinch salt
24 tablespoons (3 sticks) unsalted butter, softened
⅓ cup apple butter
1 teaspoon vanilla extract

1. In a food processor, process the almonds and powdered sugar until the nuts are finely ground. In a stand mixer fitted with the whisk attachment (or a large bowl with a handheld mixer), beat the egg whites, sugar, and salt on medium-high speed (high speed if using a stand mixer) until soft peaks form. Use a large rubber spatula to fold the nut mixture into the egg mixture. After about 50 folds, the batter should be evenly mixed, with no streaks of egg white.

2. Line 2 baking sheets with parchment paper or silicone mats. Spray the lined sheets lightly with cooking spray. Transfer the batter to a piping bag fitted with a wide (about ½-inch) round tip. Pipe quarter-sized rounds onto the prepared pans, leaving about an inch between rounds. Gently rap the baking sheet against the counter to pop any large bubbles. Set the piped dough aside for 1 hour.

3. Adjust a rack to the middle position and heat the oven to 300 degrees. Bake one sheet at a time until the cookies are lightly browned around the bottom edges, about 15 minutes. Transfer the baking sheet to a wire rack; cool for about 5 minutes, then use a thin spatula to transfer the cookies from the pan to the wire rack. Cool completely before filling.

4. In the bowl of a stand mixer (or a large bowl if using a hand-held mixer), combine the egg whites, sugar, and salt. Set the bowl over a pot of simmering water, making sure the bottom of the bowl does not touch the water. Whisk constantly until the mixture reaches 160 degrees.

5. Fit the mixer with the whisk attachment; beat the egg white mixture on medium-high speed until stiff peaks form and it has cooled to room temperature, about 8 minutes. Reduce the mixer speed to medium and add the butter 2 tablespoons at a time, adding more once each addition has been incorporated. Increase the mixer speed to medium-high and beat until the buttercream is thick and smooth, 3-5 minutes. Add apple butter and vanilla; mix until incorporated.

6. Pipe the buttercream onto the flat sides of half of the cookies.  Top with the remaining cookies.  Serve immediately or cover and store overnight in the refrigerator (bring to cool room temperature before serving).
apple cinnamon macarons 5

candy corn cheesecake

candy corn cheesecake 10

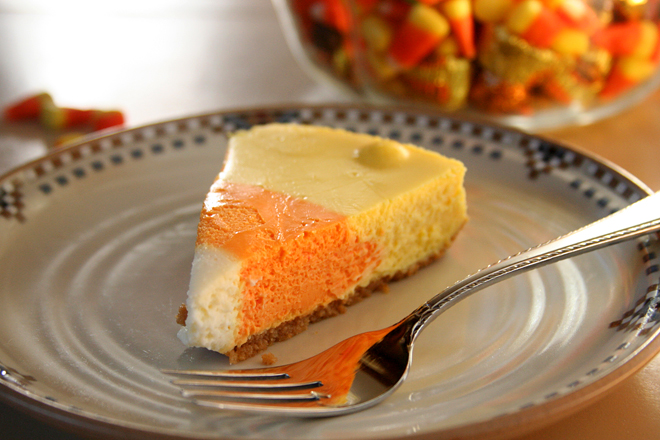
I don’t know what it is about candy corn that makes some people eat it until they’re sick, but for the people who love it, they can’t seem to resist.  My sister is one of those people.  She also considers cheesecake one of her favorite desserts, so obviously a cheesecake baked to look like candy corn was the perfect dessert for her.

candy corn cheesecake 6

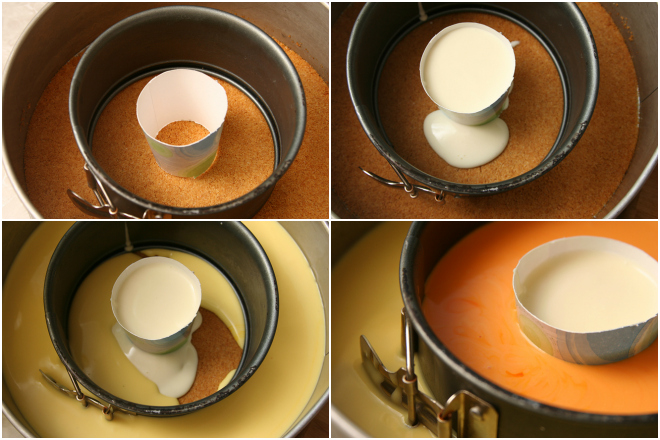
It’s just a regular cheesecake with colored batter poured into divided rings. The dividers are carefully removed before baking. However, I refused to buy a special cake batter divider tool, so I looked around my kitchen for alternatives. A 6-inch springform pan would work for the outer ring, and I went really low-tech for the inner ring – a Dixie cup with the bottom cut off. There was some leakage of each color below the dividers, but I think that would be hard to avoid with nearly any set up.

candy corn cheesecake collage

As for which cheesecake recipe to use, that was easy. It was a cake for my sister, so I made her favorite. It worked perfectly – the batter was thin enough that it didn’t stick to the dividers when I removed them, but thick enough not to mix once the dividers were removed.  My sister loved it just as much as I knew she would – and she even managed to restrain herself from eating it until she felt sick.

candy corn cheesecake 8

One year ago: Butternut Squash Risotto
Two years ago: Pomegranate-Glazed Salmon
Three years ago: Sun-Dried Tomato Jam
Four years ago: Sushi Bowls

Printer Friendly Recipe
Candy Corn Cheesecake (adapted from Dorie Greenspan’s Tall and Creamy Cheesecake)

Makes 16 servings

I didn’t want the cheesecake to be too tall, because I wanted slices to have the approximate dimensions of one piece of candy corn, so I cut the recipe down by a fourth, but I think it was too short then. I’ve increased the ingredient amounts back to those in the original recipe, so your cheesecake will be taller than mine.

For the crust:
4 ounces graham crackers (about 8 full crackers)
2 tablespoons sugar
⅛ teaspoon salt
4 tablespoons unsalted butter, melted

For the cheesecake:
4 (8-ounce packages) cream cheese, at room temperature
1⅓ cup (9.33 ounces) sugar
½ teaspoon salt
2 teaspoons pure vanilla extract
4 large eggs, at room temperature
1⅓ cups sour cream

1. For the crust: Grease a 9-inch springform pan and wrap the bottom of the pan in aluminum foil. Heat the oven to 350 degrees.

2. In the food processor, process the graham crackers until finely ground; add the sugar and salt and pulse to combine. Pour the melted butter over the crumbs; pulse until evenly coated. Press the mixture evenly onto the bottom of the prepared pan. Bake until fragrant and beginning to brown around the edges, 10 to 12 minutes. Cool on a wire rack while preparing the filling. Reduce the oven temperature to 325°F.

3. For the cheesecake: Working in a stand mixer, preferably fitted with a paddle attachment, or with a hand mixer in a large bowl, beat the cream cheese at medium speed until it is soft and creamy, about 4 minutes. With the mixer running, add the sugar and salt and continue to beat another 2 minutes, until the cream cheese is light. Beat in the vanilla. Add the eggs one at a time, beating until each is thoroughly combined. Reduce the mixer speed to low and stir in the sour cream.

4. Bring 2 quarts of water to a boil. Place the foil-wrapped springform pan in a larger baking dish.

5. Arrange molds of 2-inch diameter and 6-inch diameter in the springform pan. Pour uncolored batter into the smallest mold in the middle, to a height about 1-inch below the top of the pan. Color the remaining batter yellow and fill the outermost ring. Use a small amount of red food coloring to color the remaining batter orange and pour the rest of the batter into the second ring. Carefully remove the molds by lifting them straight up out of the batter.

6. Pour the boiling water into the baking dish around the springform pan. Transfer to the oven and bake for 1 hour and 30 minutes, until the center jiggles like jello when lightly shook and a thermometer inserted into the center of the cheesecake reads 150 degrees. Turn the oven off, prop open the oven door, and leave the cheesecake in the oven for another hour.

7. Remove the cheesecake from the oven and the water bath. Cool on a wire rack until it reaches room temperature, then transfer to the refrigerator and chill for at least 4 hours or up to a week.

candy corn cheesecake 9

lentil salad with squash and goat cheese

lentil squash salad 4

The Great Cookie Craze that is December perplexes me. I understand that with various holiday-related celebrations, there are more opportunities for feasts and drinks than at other times of the year, but the cookie mania goes beyond parties. People send dozens of treats out to families and friends, most of whom are making their own dozens of cookies. The number of cookies in the world exponentially increases for a month.

lentil squash salad 2

The tide turns in January, which, without any significant celebration of its own, becomes the Undo the Holidays month. Poor January, but really, it isn’t such a bad thing. After all, healthy food tastes good too, particularly healthy food that includes goat cheese.

lentil squash salad 3

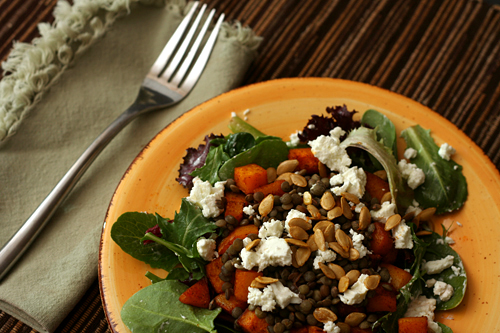
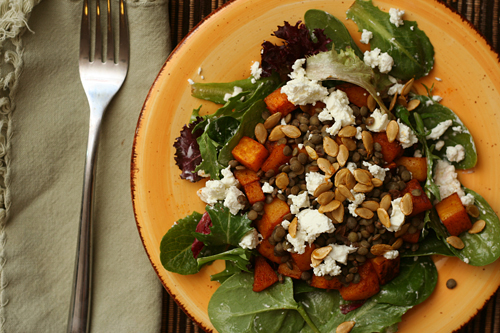
Tart goat cheese mixed with sweet winter squash is becoming one of my favorite flavor combinations, and kale, with its bitter notes, and lentils, with its meatiness, make it even better. Or, if kale isn’t your thing, arugula adds some freshness to the plate. Nothing about this salad feels like punishment for the past month’s excesses.  But have a cookie afterward anyway; December shouldn’t get to have all the fun.

lentil squash salad 5

One year ago: Nutty Chocolately Swirly Sour Cream Bundt Cake
Two years ago: Chocolate Oatmeal Almost Candy Bars
Three years ago: Herbed Lima Bean Hummus
Four years ago: Pissaladiere

Printer Friendly Recipe
Lentil Salad with Squash and Goat Cheese (adapted from Bon Appétit via Smitten Kitchen)

Serves 4

The original recipe calls for arugula, which I used the first time I made this. (Actually, the pictures seem to indicate I used mixed greens.) The second time, I used kale, which I like even more. I wrote the directions for kale into the recipe; if you use arugula instead, simply add it to the salad at the end. You can also use a smaller pot to cook the lentils if you’re not adding the kale.

¾ cup green lentils
salt
1 butternut squash, peeled and cut into ½-inch cubes, seeds reserved
1 tablespoon plus 1 teaspoon olive oil, divided
1 teaspoon ground cumin
1 teaspoon paprika
1 bunch kale, ribs removed, leaves coarsely chopped
4 ounces goat cheese, crumbled
1 tablespoon red wine vinegar, plus additional to taste

1. Place the butternut squash on a sheet pan. Add 1 tablespoon of the olive oil, the spices, and ½ teaspoon salt; toss to coat. Roast the squash for 25 minutes, turning once. In a small bowl, mix the cleaned squash seeds with the remaining 1 teaspoon oil and a pinch of salt. Add the seeds to the baking sheet with the squash and continue to roast until the squash is tender and the seeds are browned.

2. Combine the lentils, ½ teaspoon salt, and 3 cups of water in a 3- to 4-quart saucepan; bring to a boil over medium-high heat. Reduce the heat, cover, and simmer until the lentils are tender, 18-20 minutes. Add the kale to the pot during the last 2-3 minutes of simmering. (The kale will overwhelm the size of the pot at first but will quickly wilt.)

3. Combine the lentils, squash, kale, goat cheese, and vinegar. Season with salt, pepper, and extra vinegar, if desired. Serve.

lentil squash salad 6

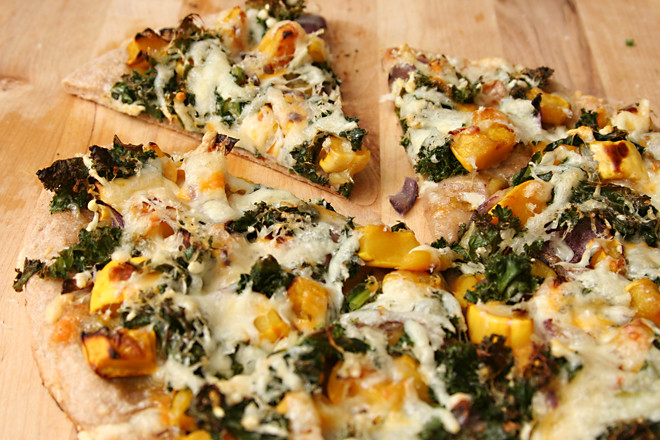
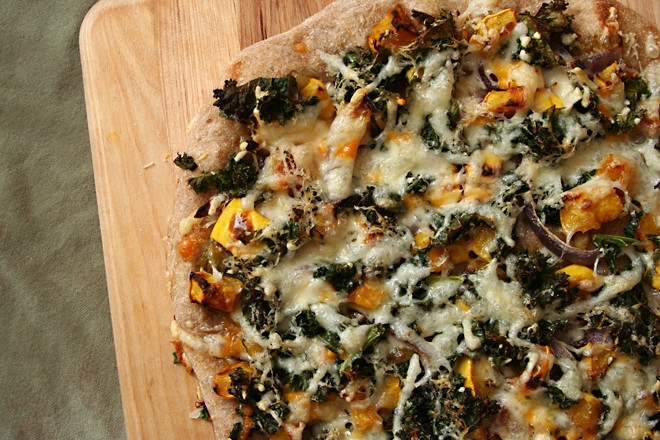
squash kale pizza

squash kale pizza 6

This recipe knocked me out of a months-long pizza rut. At about two homemade pizza dinners a month, that’s a lot of green chile-turkey pepperoni-mushroom pizza. Not that anyone around here was complaining.

squash kale pizza 1

It’s the complimentary earthy flavor that squash and kale both have, combined with the contrasting sweetness of the squash and slight bitterness of the kale that make this pizza work so well. Onions with savory centers and caramelized tips bridge the gap, then the whole thing is topped with plenty of cheese, which is what really matters. I don’t know if it’s going to rival green chile-turkey pepperoni-mushroom for our next rut, but it was definitely a nice diversion.

squash kale pizza 3

One year ago: Beef in Barolo
Two years ago: Steak au Poivre
Three years ago: Red Velvet Whoopie Pies

Printer Friendly Recipe
Kale and Butternut Squash Pizza (from Bev Cooks via Cate’s World Kitchen)

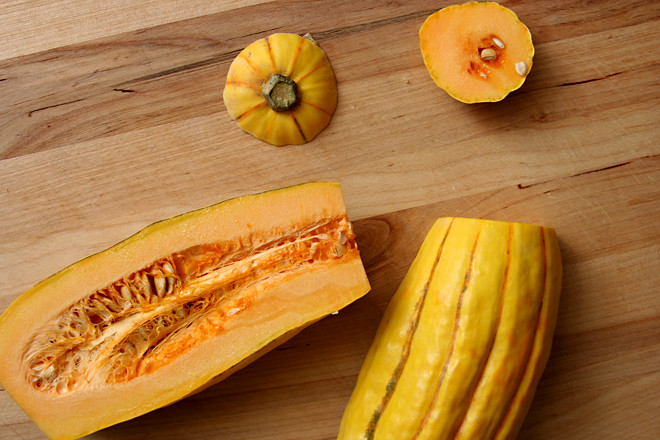
I used acorn squash the first time I made this and delicata squash the second time. So technically, I haven’t made butternut squash and kale pizza yet!

Dough for two 10-inch pizza crusts (half of this recipe)
1½ tablespoons olive oil, divided
salt and freshly ground pepper
1 medium butternut squash, peeled, seeded and cut into bite-sized cubes
2 small red onions, cut into wedges
3 cups kale (from about 1 bunch), cut in thin ribbons
2 garlic cloves, sliced
2 cups (8 ounces) shredded mozzarella cheese

1. Place a pizza stone on the bottom rack of the oven and preheat the oven to 400 degrees. Divide the dough in two and shape each portion into a ball. Set the balls of dough aside for 10 to 30 minutes, loosely covered, to allow the gluten to relax.

2. Transfer the squash and onions to a large baking sheet; season with a generous pinch of salt and pepper and coat with 1 tablespoon of oil. Bake, stirring once halfway through, until softened and browned, about 30 minutes.

3. Heat the remaining ½ tablespoon of oil with the garlic in a large skillet; add the kale and a pinch of salt; cook, stirring constantly, until wilted, about 2 minutes. Remove from the heat.

4. Work with one ball of dough at a time on a lightly floured surface or a damp cloth. Flatten the dough, then pick it up and gently stretch it out, trying to keep it as circular as possible. Curl your fingers and let the dough hang on your knuckles, moving and rotating the dough so it stretches evenly. If it tears, piece it together. If the dough stretches too much, put it down and gently tug on the thick spots. Transfer the round of dough to a large square of parchment paper; slide onto a pizza peel.

5. Top the dough with half of each of the roasted vegetables, kale, and cheese. Slide the pizza with the parchment onto the hot baking stone. Bake for 8-10 minutes, until the crust is browned around the edges. Transfer the pizza to a cooling rack without the parchment. Let the pizza rest for 5 minutes before serving. Repeat with the remaining ingredients.

squash kale pizza 4

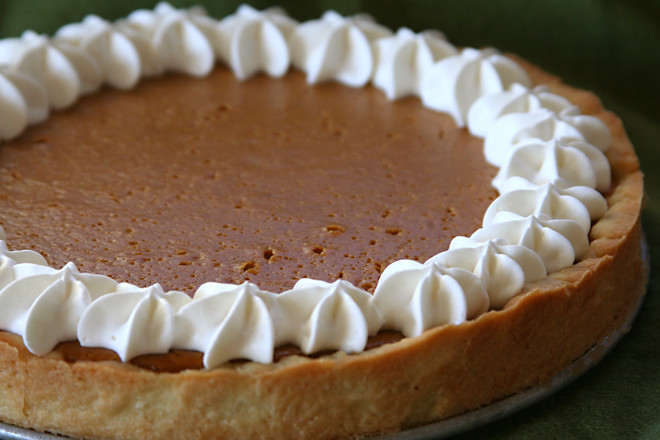
sour cream pumpkin tart

sour cream pumpkin tart 5

My brother majorly stuck his foot in his mouth a couple Christmases ago. He lives in the same part of the country as most of my relatives and had spent Thanksgiving with them; then he and my aunt and grandmother all visited for Christmas. As my aunt was mixing up the pumpkin pie, my brother recalled the apparently horrible (“completely tasteless”, I believe, were his words) pumpkin pie from their Thanksgiving festivities. “Who made that anyway”, he wondered?

sour cream pumpkin tart 1

You know where this is going, right? Yes, my aunt had made the pie. And she was right there during this conversation, making more pumpkin pie. And it must have affected her confidence, because she forgot to add the sugar.

sour cream pumpkin tart 2
(extra batter)

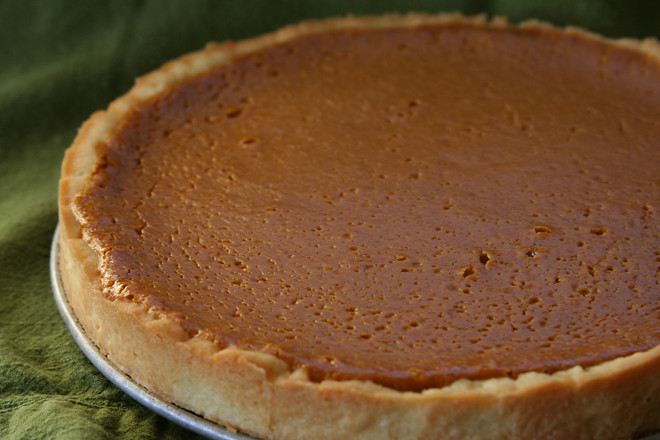
Fortunately, this pie was anything but completely tasteless. The spices were in perfect balance and it was just the right level of sweetness. I hope that my brother would approve – and that if he didn’t, he’d keep his mouth shut about it.

sour cream pumpkin tart 3

Judy chose this pie (or tart) for Tuesdays with Dorie, and she has the recipe posted. I exchanged the sour cream for 2% Greek yogurt, because I don’t often buy sour cream.

Two years ago: Herbed Lamb Chops with Pinot Noir Sauce
Three years ago: Truffles (chocolate comparison)

sour cream pumpkin tart 4

normandy apple tart

normandy apple tart 7

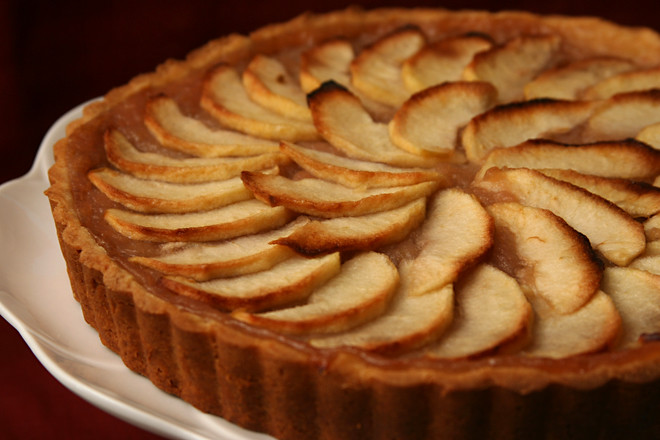
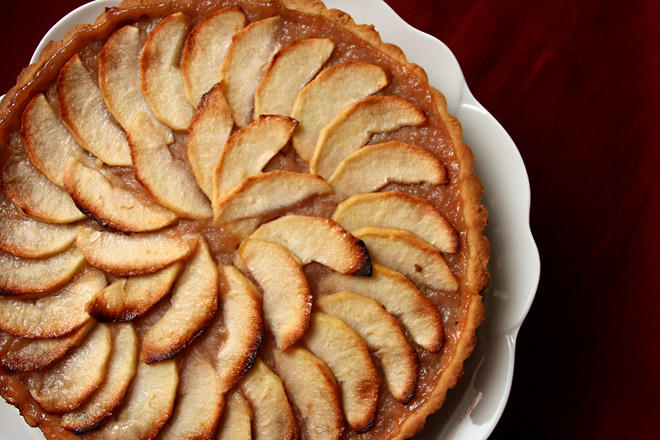
There seems to be a misconception among some people that I have my act together. Something like this tart, with its carefully arranged apple slices, presents an image of someone organized and calm and productive. Who knows – they might even think that I regularly clean my bathrooms.

normandy apple tart 2

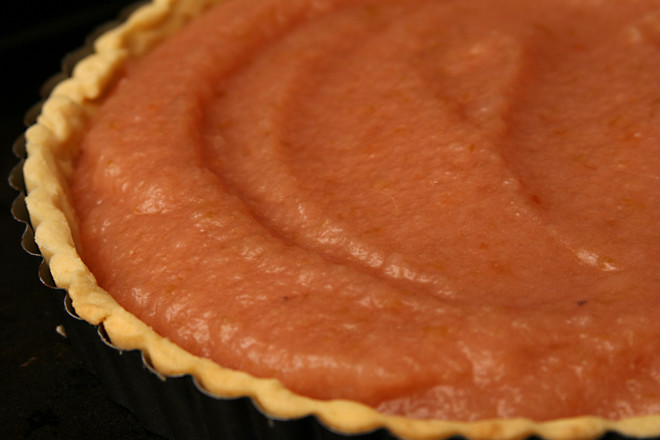
The truth is that I forgot about the apples while they were cooking down into sauce and was lucky that there was no harm done. The truth is that I sliced and arranged the topping while singing Chicago hits (you’re the inspiration!) and drinking champagne late Sunday night when I should have been getting ready for bed.

normandy apple tart 4

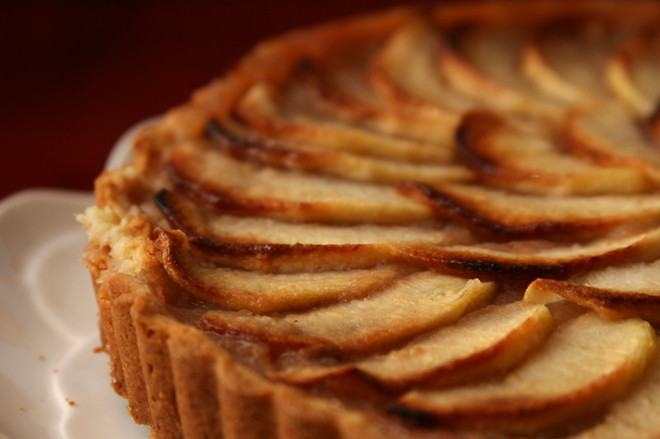
I took the tart out of the oven long after my normal bed time. Then my hand slipped and mussed the carefully arranged apples and scalloped edge. The truth is that photographing the tart Monday morning made me even later for work than usual.

normandy apple tart 6

Maybe the moral of the story is that even if you’re just fumbling through, things will probably turn out just fine. You can use two forks to carefully unmuss your carefully arranged apple slices. You can eat the broken edge first. And none of those surficial imperfections spoiled how incredible this tart tasted, with the apples in the sauce adding a bright contrast to the sweet browned apples on top. This tart, Chicago’s greatest hits, and champagne were worth staying up for – even if it means that any image of me having it all together is just smoke and mirrors.

normandy apple tart 8

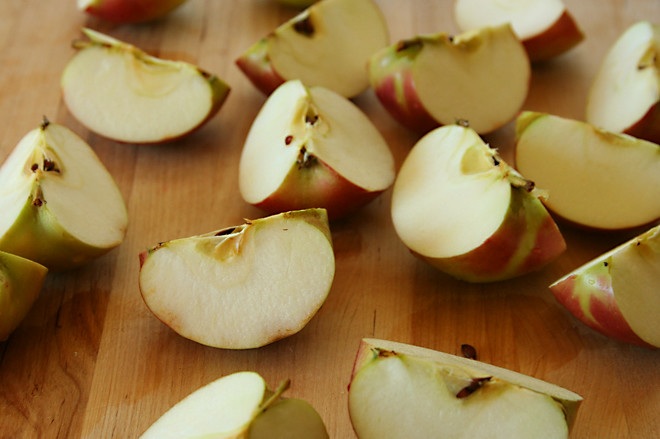
Tracey chose this tart for Tuesdays with Dorie, and she has the full recipe posted.  I followed it exactly, except, remembering a Cook’s Illustrated testing of applesauce and how the version with a pinch of salt was the favorite, I was sure to add a smidgen of salt to my sauce as well.

One year ago: Devilish Shortcakes
Two years ago: All-in-One Holiday Bundt
Three years ago: Linzer Sables

normandy apple tart 9

apple pie cake

apple pie cake 13

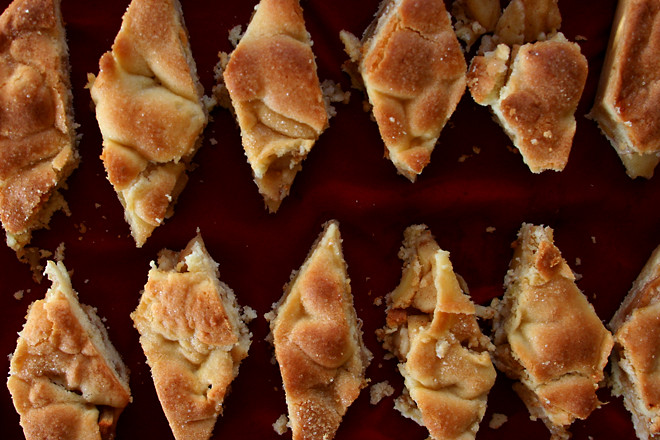
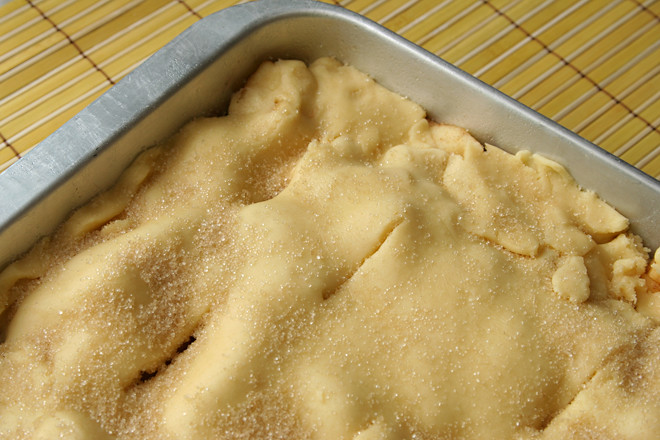
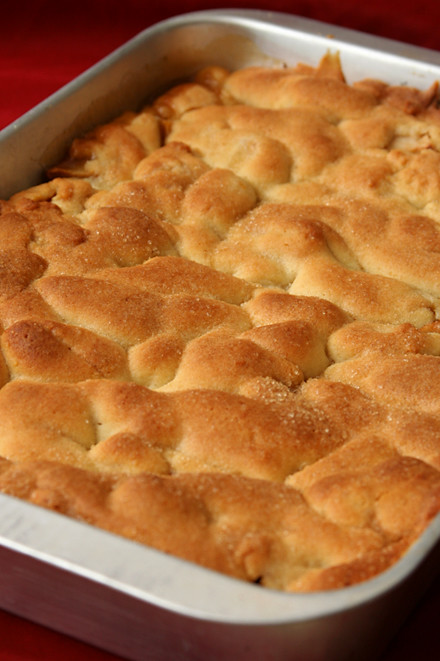
Those accursed diamonds. Dorie Greenspan tells a cute story about how her grandmother used to make a similar recipe to this one and cut it into diamonds. Notably however, Dorie did not suggest the diamond shape. She recommends squares.

apple pie cake 2

But I thought the diamonds sounded so elegant and pretty. I considered and then disregarded how fragile the sharp diamond corners would be. I also considered and disregarded the impracticality of cutting a rectangular pan of pie-cake into diamonds. I powered on.

apple pie cake 6

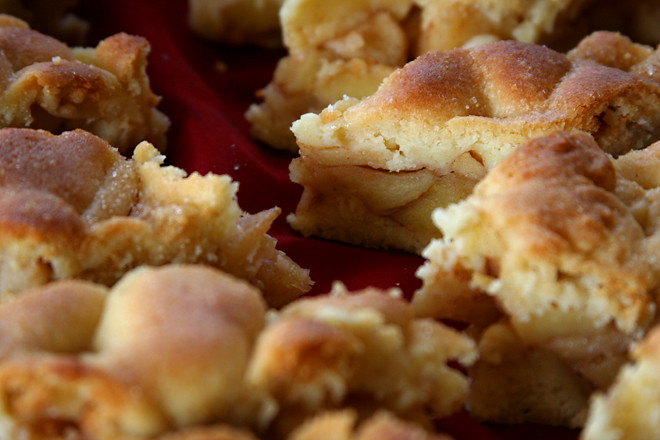
The result was more crumbs than diamonds. I usually consider the fallen crumbs to be a little treat to snack on, but when half of a large pan of pie-cake crumbles as you cut it, that can be dangerous. Once the crumbs started getting really out of control, I shoved them all in a bowl before I could even consider eating them.

apple pie cake 7

Bu not even one coworker mentioned the broken diamonds when they came by to tell me that these might be the best thing I’ve ever brought to share. It didn’t even get mentioned when one coworker announced over the intercom how amazing they were. (I blushed.) I’m actually a little bit glad that I cut them into impractical diamonds, because now I have a bowl full of apple pie-cake crumbs stashed in my freezer.

apple pie cake 10

One year ago: Almost-Fudge Gateau
Two years ago: Sugar-Topped Molasses Spice Cookies
Three years ago: Thanksgiving Twofer Pie

Printer Friendly Recipe
Russian Grandmother’s Apple Pie-Cake (from Dorie Greenspan’s Baking: From my Home to Yours)

As usual with Dorie’s recipes, I bumped up the salt – ¾ teaspoon in the dough and a pinch in the apples. And I completely forgot the raisins.

For The Dough
2 sticks (8 ounces) unsalted butter, at room temperature
1 cup sugar
2 large eggs
1 tablespoon baking powder
½ teaspoon salt
Juice of 1 lemon
3¼ – 3½ cups all-purpose flour

For The Apples
10 medium apples, all one kind or a mix
Squirt of fresh lemon juice
1 cup moist, plump raisins (dark or golden)
¼ cup sugar
1¼ teaspoons ground cinnamon

Sugar, preferably decorating (coarse) sugar, for dusting

To Make The Dough: Working with a stand mixer, preferably fitted with a paddle attachment, or with a hand mixer in a large bowl, beat the butter and sugar together on medium speed until smooth, about 2 minutes. Add the eggs and continue to beat until the mixture is light and fluffy, about 3 minutes more. Reduce the mixer speed to low, add the baking powder and salt and mix just to combine. Add the lemon juice – the dough will probably curdle, but don’t worry about it. Still working on low speed, slowly but steadily add 3¼ cups of the flour, mixing to incorporate it and scraping down the bowl as needed. The dough is meant to be soft, but if you think it looks more like a batter than a dough at this point, add the extra ¼ cup flour. (The dough usually needs the extra flour.) When properly combined, the dough should almost clean the sides of the bowl.

Turn the dough out onto a work surface, gather it into a ball and divide it in half. Shape each half into a rectangle. Wrap the dough in plastic wrap and refrigerate for at least 2 hours, or for up to 3 days. (The dough can be wrapped airtight and frozen for up to 2 months; defrost overnight in the refrigerator.)

To Make The Apples: Peel and core the apples and cut into slices about ¼ inch thick; cut the slices in half crosswise if you want. Toss the slices in a bowl with a little lemon juice – even with the juice, the apples may turn brown, but that’s fine – and add the raisins. Mix the sugar and cinnamon together, sprinkle over the apples and stir to coat evenly. Taste an apple and add more sugar, cinnamon, and/or lemon juice if you like.

Getting Ready to Bake: Center a rack in the oven and preheat the oven to 375 degrees F. Generously butter a 9×13-inch baking pan (Pyrex is good) and place it on a baking sheet lined with parchment or a silicone mat.

Remove the dough from the fridge. If it is too hard to roll and it cracks, either let it sit at room temperature for about 15 minutes or give it a few bashes with your rolling pin to get it moving. Once it’s a little more malleable, you’ve got a few choices. You can roll it on a well-floured work surface or roll it between sheets of plastic wrap or wax paper. You can even press or roll out pieces of the dough and patch them together in the pan – because of the baking powder in the dough, it will puff and self-heal under the oven’s heat. Roll the dough out until it is just a little larger all around than your pan and about ¼ inch thick – you don’t want the dough to be too thin, because you really want to taste it. Transfer the dough to the pan. If the dough comes up the sides of the pan, that’s fine; if it doesn’t that’s fine too.

Give the apples another toss in the bowl, then turn them into the pan and, using your hands, spread them evenly across the bottom.

Roll out the second piece of dough and position it over the apples. Cut the dough so you’ve got a ¼ to ½ inch overhang and tuck the excess into the sides of the pan, as though you were making a bed. (If you don’t have that much overhang, just press what you’ve got against the sides of the pan.)

Brush the top of the dough lightly with water and sprinkle sugar over the dough. Using a small sharp knife, cut 6 to 8 evenly spaced slits in the dough.

Bake for 65 to 80 minutes, or until the dough is a nice golden brown and the juices from the apples are bubbling up through the slits. Transfer the baking pan to a cooling rack and cool to just warm or to room temperature. You’ll be tempted to taste it sooner, but I think the dough needs a little time to rest.

apple pie cake 14

cranberry apple brandy

cranberry apple brandy 3

When I was simmering sugar syrup, smashing fruit, and measuring alcohol for these cocktails, my mom made the excellent point that opening a bottle of wine is a heck of a lot easier. And while I appreciate how wine compliments food and how beer signals relaxation, I love cocktails too. Cocktails are special. They mean fun and celebration. You can’t help but be happy when enjoying a cocktail with friends and family. And that’s why they’re worth the trouble.

cranberry apple brandy 1

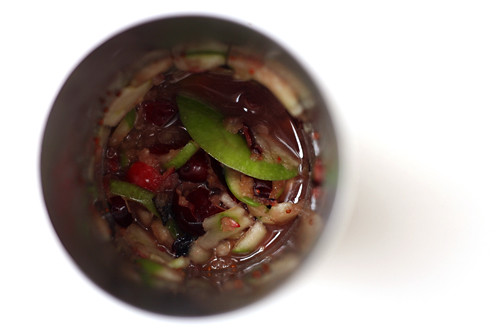
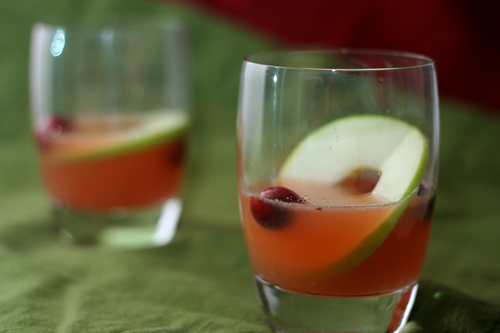
This one takes more work than the citrus squeezing, liquor measuring, and syrup simmering of my favorite vodka gimlets and magaritas, as apples need to be sliced, then crushed along with cranberries before the liquor and syrup are stirred in – and that’s in addition to the squeezing, measuring, and mixing of citrus, liquor, and syrup, respectively.

cranberry apple brandy 2

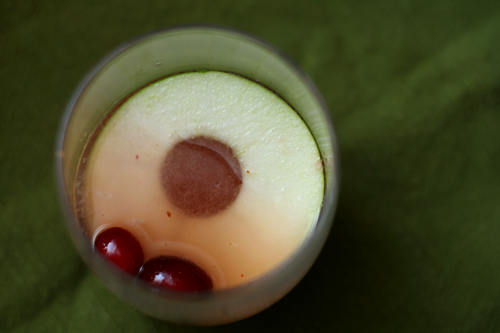
It’s a strong drink, undoubtedly, as it is mostly brandy.  But it has all of the ingredients in a good apple dessert – sugar, a touch of citrus to brighten the flavors, cranberries in case you needed another reminder that it’s the end of fall and the beginning of winter.  Fortunately, that’s just the time for celebrations worthy of the trouble involved with mixing up a seasonal cocktail.

cranberry apple brandy 4

One year ago: Cranberry Apple Galette
Two years ago: Carne Adovada
Three years ago: Baked Eggs with Spinach and Mushrooms

Printer Friendly Recipe
The Normandy
(from The Essential New York Times Cookbook by Amanda Hesser)

Serves 1

9 cranberries
2 thin slices green apple
1 teaspoon dark brown sugar
1 tablespoon fresh lemon juice
1 tablespoon simple syrup
2 ounces Calvados or other good-quality apple brandy

Combine 6 cranberries, 1 apple slice, the brown sugar, and lemon juice in a cocktail shaker and muddle (crush with a muddler or the back of a wooden spoon). Add the simple syrup, Calvados, and a few ice cubes, cover, and shake well. Strain into a rocks glass filled with ice and garnish with the remaining 3 cranberries and apple slice.
maple pumpkin pots de creme

maple pumpkin pots de creme 4

The last few times I’ve made pots de crème, in any flavor, I’ve concluded that crème brûlée in that flavor would be far superior. Because what’s better than a dish full of sinfully rich baked pudding? Sinfully rich baked pudding topped with caramel.

maple pumpkin pots de creme 1

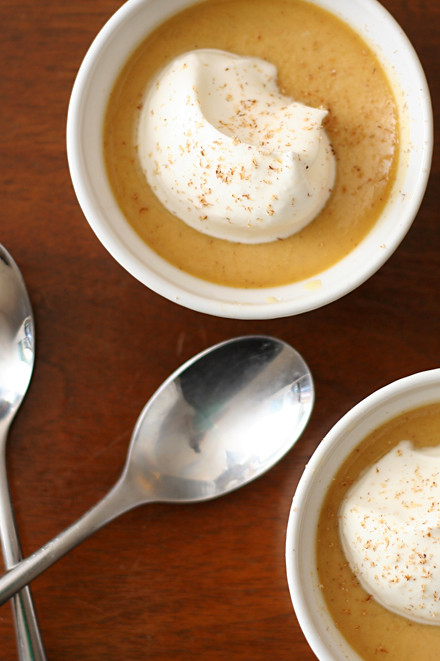
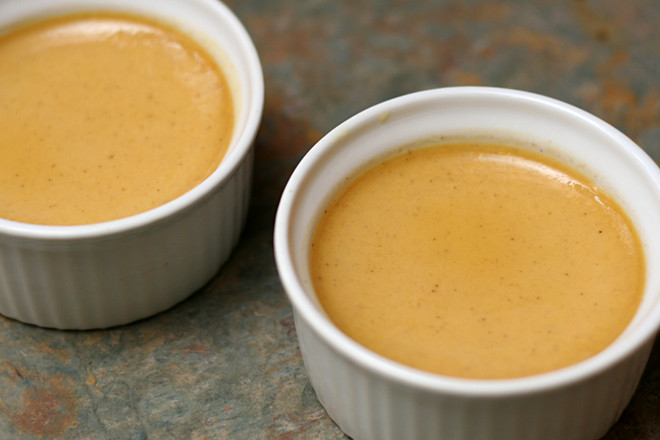
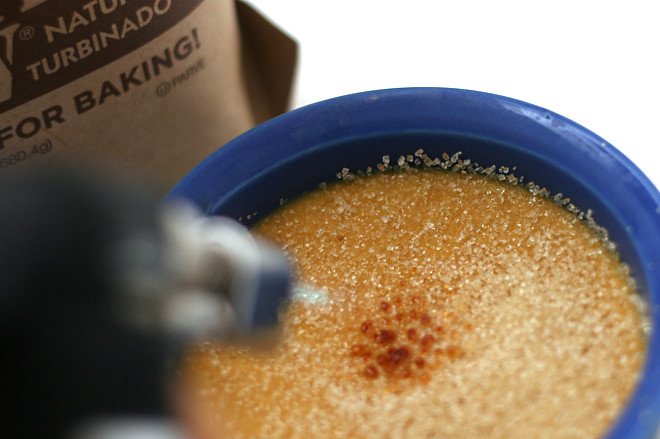
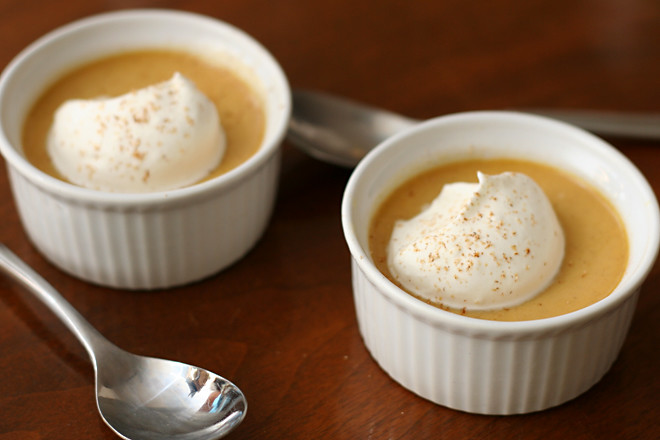
These custards are almost like pumpkin pie without the crust, and come to think of it, while I love flaky pie crusts on summery fruit pies, I think I could do without it for pumpkin pie. I love being able to focus on just the silky custard – or being able to snap through a layer of crackly sugar to the custard.

maple pumpkin pots de creme 3

I have a feeling I won’t be able to get away with skipping the crust on everyone’s favorite Thanksgiving dessert, but I wonder how people would feel about me torching the entire top of the pie? It’s tempting, but I suspect brûléeing is usually reserved for individual servings for good reason. Perhaps I’d better stick with whipped cream on top of pie and make individual pumpkin pots de crème when I want a crackly burnt sugar topping.

maple pumpkin pots de creme 6

Two years ago: Vegetarian Lasagna
Three years ago: Stuffed Sandwich Rolls

Printer Friendly Recipe
Maple Pumpkin Pots de Crème (adapted from Gourmet via epicurious)

Serves 6

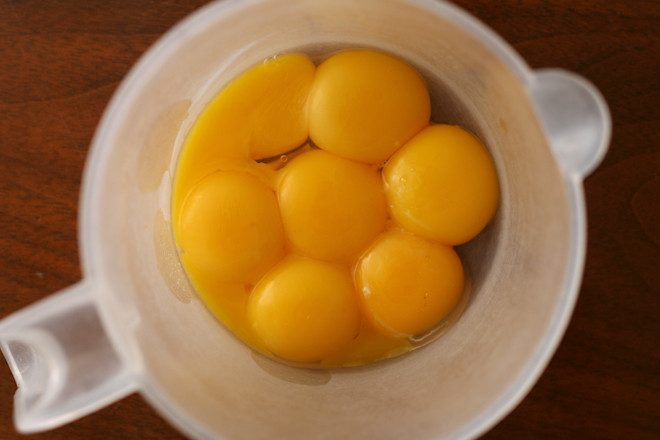
7 large egg yolks
½ teaspoon cinnamon
⅛ teaspoon freshly grated nutmeg
⅛ teaspoon salt
1 cup heavy cream
¾ cup whole milk
¾ cup pure maple syrup
½ cup canned solid-pack pumpkin

1. Adjust a rack to the middle position and heat the oven to 300 degrees. Line a 9 by 13 inch Pyrex pan with a dish towel. Arrange six 5-ounce ramekins in the pan. Bring about 2 quarts of water to a boil. In a large bowl, whisk together the yolks, cinnamon, nutmeg, and salt.

2. In a heavy saucepan, whisk together the cream, milk, syrup, and pumpkin; bring just to a simmer over moderate heat. Add the hot pumpkin mixture to the yolks in a slow stream, whisking constantly. Pour the custard through a fine-mesh strainer into a large measuring cup, then divide the custard among the ramekins (you may have some custard left over, depending on the size of cups).

3. Pour the boiling water into the towel-lined pan, coming about halfway up the sides of the ramekins and being careful not to splash water into the custards. Transfer the pan to the oven and bake until the custard just barely jiggles when shaken, a knife inserted in center of a custard comes out clean, and an instant-read thermometer registers 170 to 175 degrees from the center of a ramekin, 35 to 40 minutes. Transfer the custards to a rack to cool completely, then chill, covered, until cold, at least 2 hours. Serve with lightly sweetened whipped cream. (To brûlée the pots de creme, pat the custard dry, then top each ramekin with a light coating of demerara, turbinado, or a mixture of brown and granulated sugar. Use a kitchen torch to melt and brown the sugar.)

maple pumpkin pots de creme 5


alsatian apple tart

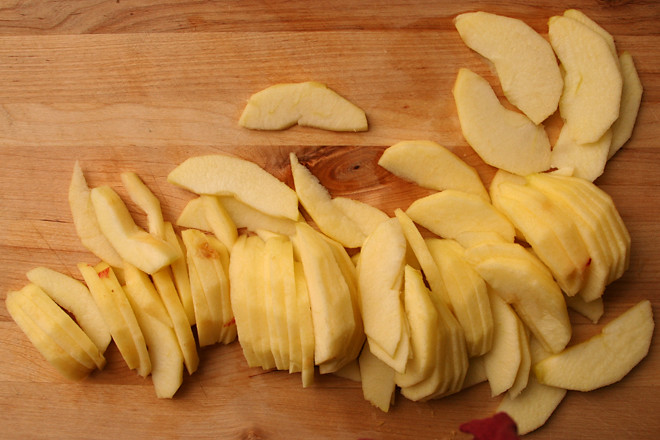
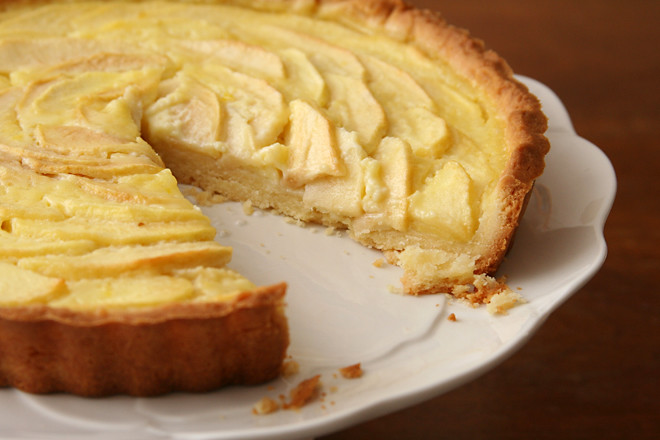
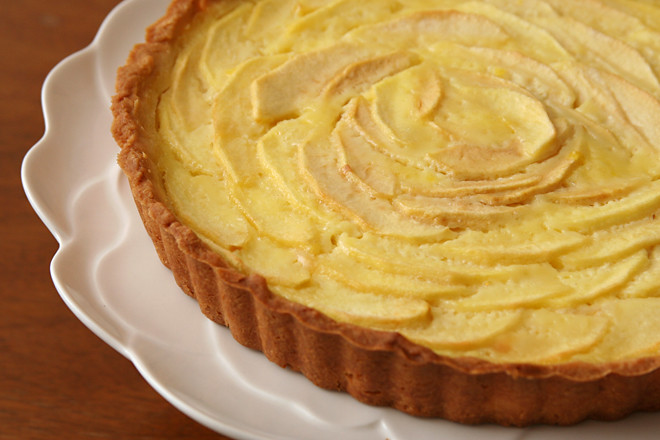
alsatian apple tart 5

I recently congratulated myself on having become more practical now that I’m older and then almost immediately had to call my own BS. I tried to think of one example of having taken the more practical route lately and came up blank. My tendency to go overboard nearly always wins.

alsatian apple tart 1

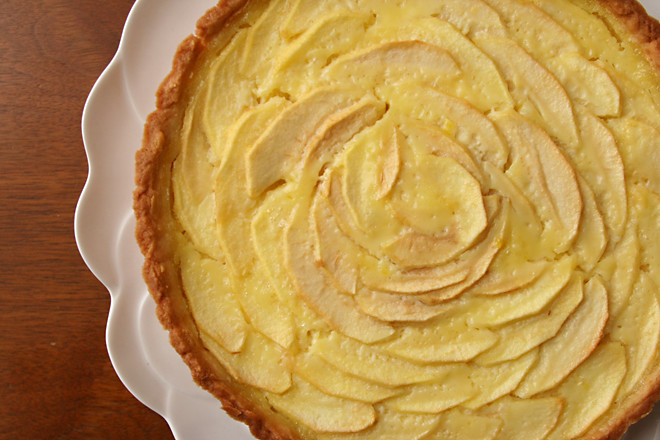
Just to prove that I can, indeed, tone things down, I kept myself from perfecting the edges of my pastry cloth that always get crinkled after washing. Also, I only rearranged the apple slices on this tart once when they didn’t look the way I’d hoped. Even then, it wasn’t perfect, and I had at least a third of the apple slices leftover, but I had to move on with my evening.

alsatian apple tart 3

In the end, I think the tart came out very nicely. It’s pretty and it’s tasty. But. I think with the rest of the apples, it would have been even better – a little more tart to balance the sweet custard, and the apple slice design would have stood out more. I have to admit though, the difference isn’t so significant to make the time it would have taken to perfect it worthwhile. Sometimes, good enough is just fine.

alsatian apple tart 9

Jessica chose this tart for Tuesdays with Dorie, and she has the recipe posted. The recipe indicates that the tart will need to bake for 50-55 minutes, but mine was done around 35 minutes. The shorter time could be because it wasn’t as full, or it’s possible that I should have left it in the oven until the custard started to brown.

Two years ago: Alice Water’s Apple Tart
Three years ago: Basic Mashed Potatoes

alsatian apple tart 8