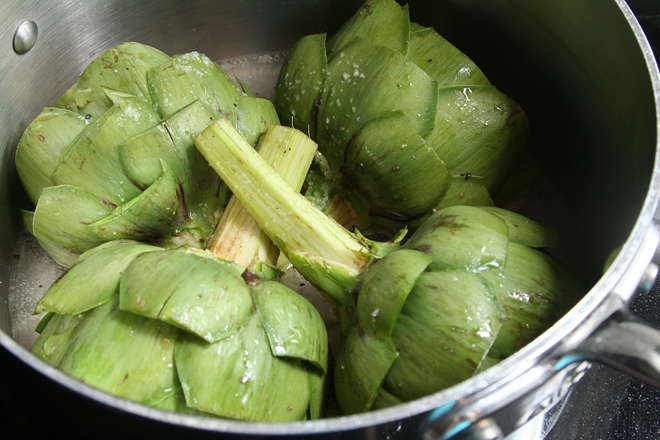
summer fresh tomato sauce

tomato sauce 5

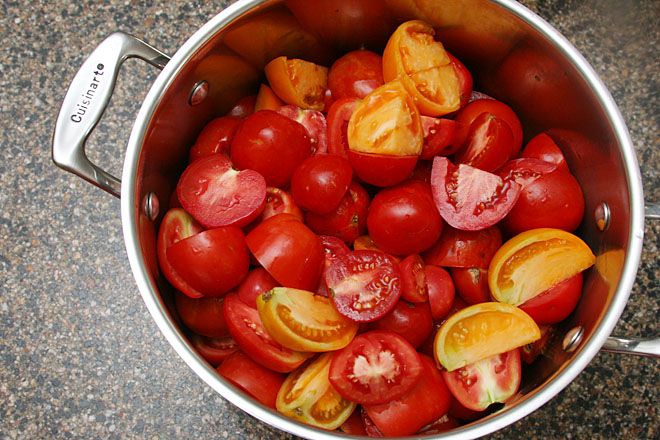
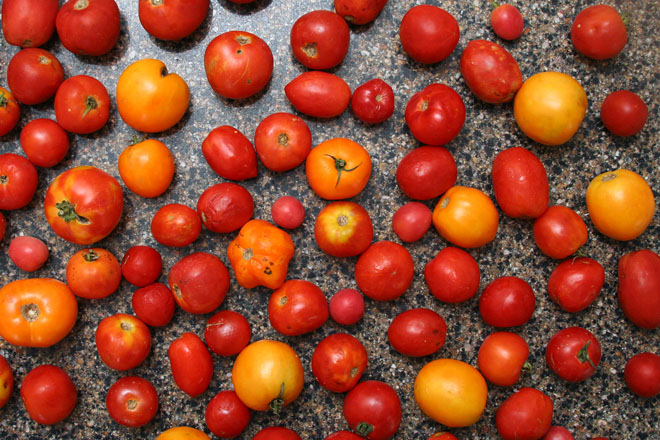
My requirements for the perfect tomato sauce made from fresh tomatoes were very specific – the same issues that everyone has with removing enough liquid from the tomatoes without cooking away all the fresh flavor that makes them so special, plus one more – I did not want to peel the tomatoes. I hate peeling tomatoes. I hate using a vegetable peeler to peel them, and I hate cutting an X into the bottom of each one, then boiling them, then dipping them in cold water, and then pulling the peels off. I cooked sixteen pounds of tomatoes into this batch of sauce, which was well over fifty tomatoes. I do not want to individually peel fifty tomatoes.

tomato sauce 1

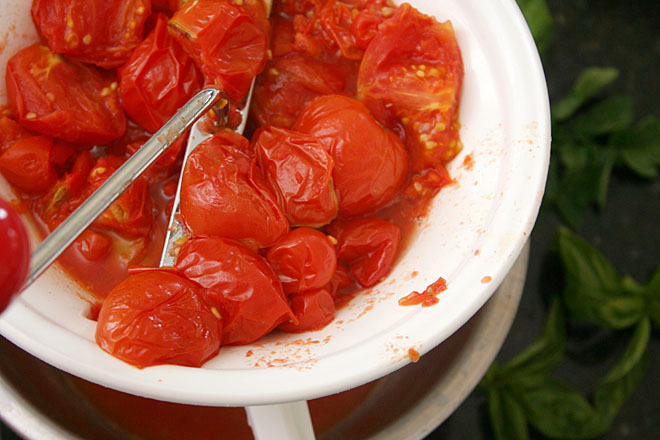
This recipe satisfies all of those requirements, with an added bonus – you don’t even have to core the tomatoes. The tomatoes, very roughly chopped, are cooked down slightly to soften them, then pressed through a food mill – the mill strains out the seeds, cores, and peels. For a batch this large, it’s still a somewhat tedious process, but nothing compared to the prospect of coring and peeling each tomato individually.

tomato sauce 2

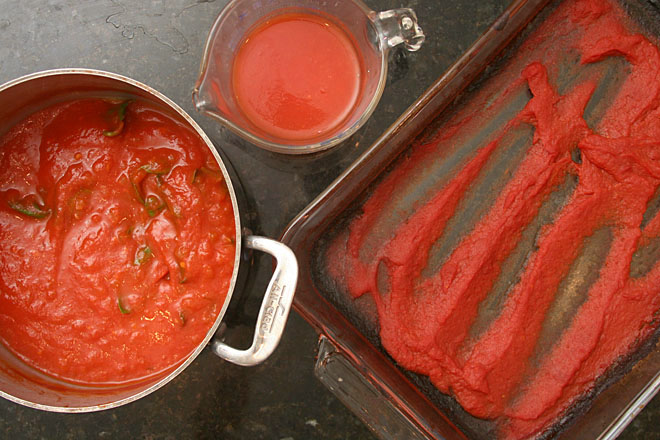
From there, the fresh tomato puree is divided into three portions – one portion is simmered on the stovetop with aromatics until it reaches a sauce consistency. Another is kept fresh, with no cooking at all. If just these two portions were combined, the resulting sauce would be too liquidy, so the final portion is transferred to a baking pan and roasted until it’s thick and slightly caramelized.

tomato sauce 8

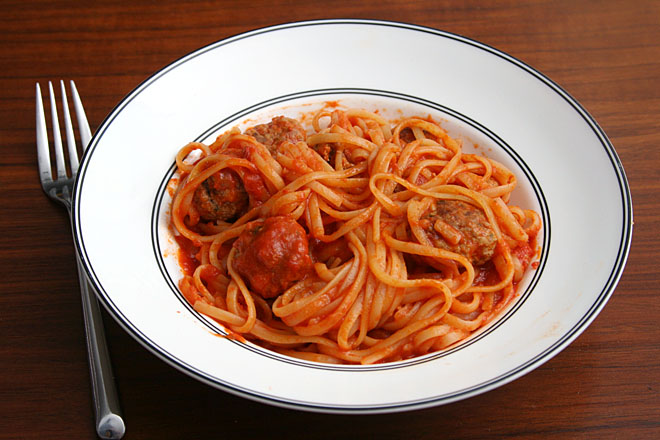
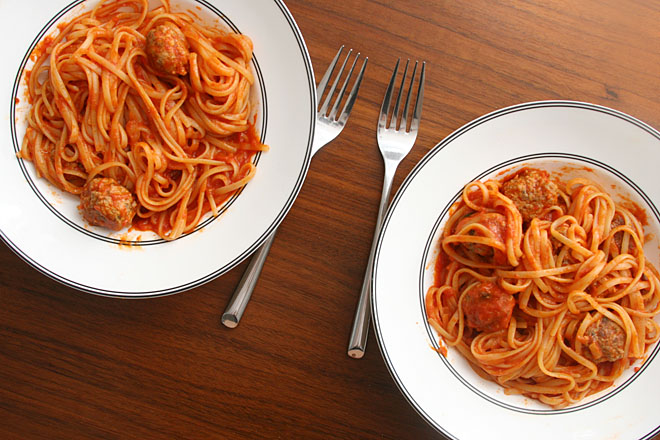
These three mixtures each have something different to offer to the final sauce, and the combination of them makes a sauce with the best that tomatoes have to offer in any form – the bright summeriness of uncooked tomatoes, the deep savoriness of roasted tomatoes. It’s thick enough for anything you’d normally use tomato sauce for – meatballs and spaghetti like we did here, pizza, lasagna. All that, and the only real work you have to do is quarter the tomatoes and push them through a food mill. This has become my summer staple, with extra in the freezer to hoard as long as I can stand.

tomato sauce 9

Printer Friendly Recipe
Summer Fresh Tomato Sauce
(slightly adapted from Serious Eats)

The original recipe starts with 25 pounds of tomatoes. The largest batch I’ve made was 16 pounds, but I’ve also made much smaller batches with just a handful of tomatoes. I’ve based my recipe on ten pounds because it’s a nice round number.

While the recipe recommends any variety of tomato, I’d be hesitant to use all cherry tomatoes, which could make the sauce too sweet. Also, wetter variety of tomatoes will take longer to reduce to a sauce or paste consistency.

If you’re scaling this recipe up or down, put about 40% of the puree in the oven, leave 10% uncooked, and cook the remaining 50% on the stove.

Makes about 1 quart of sauce, although it will depend on the type(s) of tomatoes used

10 pounds tomatoes, any variety, quartered, or halved if small
1 tablespoon olive oil
1 small yellow onion, chopped fine
salt
1 clove garlic, minced
2 sprigs fresh basil
1 small tomato plant cutting with about 5 leaves attached (optional)

1. Heat the oven to 300 degrees. In a large (7- or 8-quart) stockpot over medium heat, cook the tomatoes, covered, until they begin to soften and release their liquid. (You may need to do this in multiple batches, depending on the size of your largest pot and the size of the batch you’re making.) Transfer the tomatoes to a food mill on the finest setting set over a large bowl and press the tomatoes through. Discard the skins and seeds that accumulate in the food mill.

2. Spray two 9-by-13-inch (or similarly sized) baking pans with cooking spray (or grease lightly with olive oil). Pour 3½ cups of tomato puree into each of the pans. Transfer the pans to the oven and roast, stirring occasionally, until the puree has reduced to a paste and leaves a clean trail when a spatula is dragged through it, 2 to 4 hours.

3. Pour another 1½ cups of tomato puree into a small container. Set aside.

4. In a large saucepan over medium heat, cook the onion and a pinch of salt, stirring occasionally, until translucent, 4 to 5 minutes. Add the garlic and cook, stirring constantly, until fragrant, about 1 minute. Add the remaining tomato puree and cook, stirring very occasionally, until thick enough to coat the back of a spoon, 1 to 2 hours. Remove from the heat, add the basil and tomato leaves (if using) and set aside for about 5 minutes. Remove the basil and tomato leaves and discard them.

5. Combine the three mixtures, and add salt to taste. Serve, refrigerate for up to 5 days, or freeze.
tomato sauce 4

peach-riesling sangria

sangria 5

This recipe is delicious, easy, light, summery, and goes well with a variety of foods. With that list of compliments, you can probably tell that it’s one of my favorite summer drinks, especially when I’m serving a crowd. I like it even more than traditional red wine-based sangria.

peach sangria 1

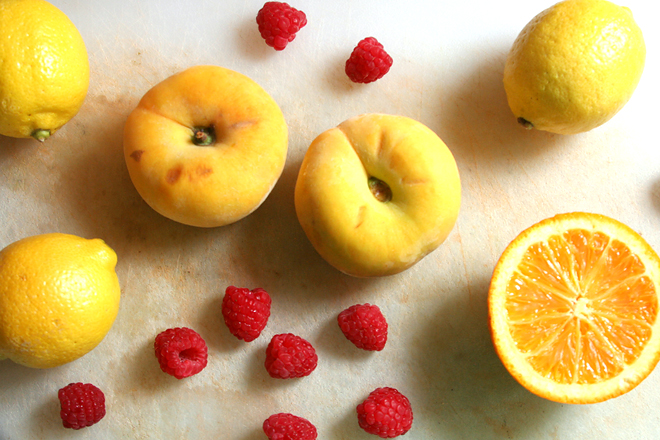
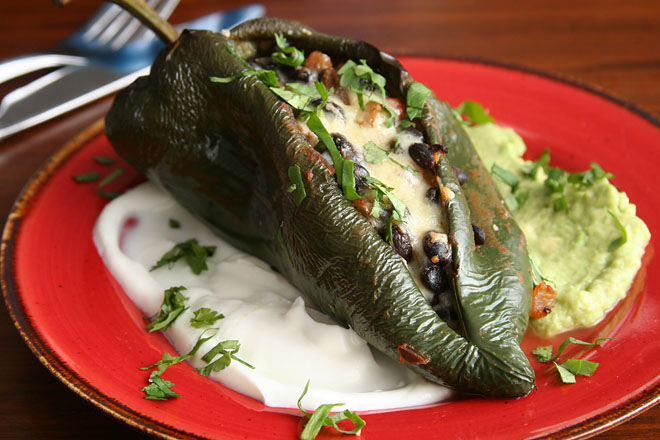
I love how, between the sliced peaches, peach liqueur, and cranberry peach juice, it actually tastes peachy. The raspberries are mostly for decoration, but they certainly are a pretty one. Plus, if you manage to fish them out of the steeped liquid without smooshing them, the boozy berries are a nice treat.
peach sangria

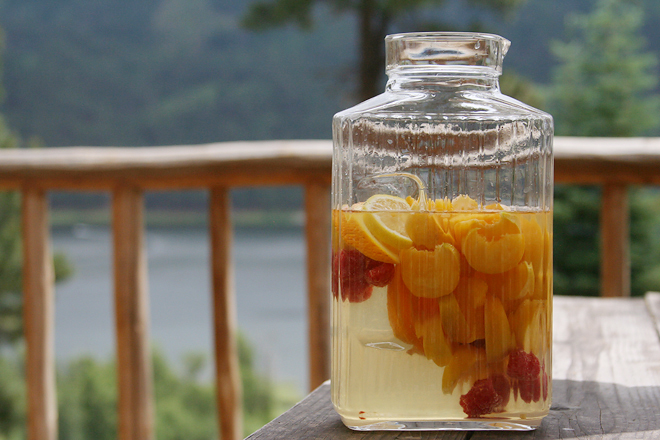
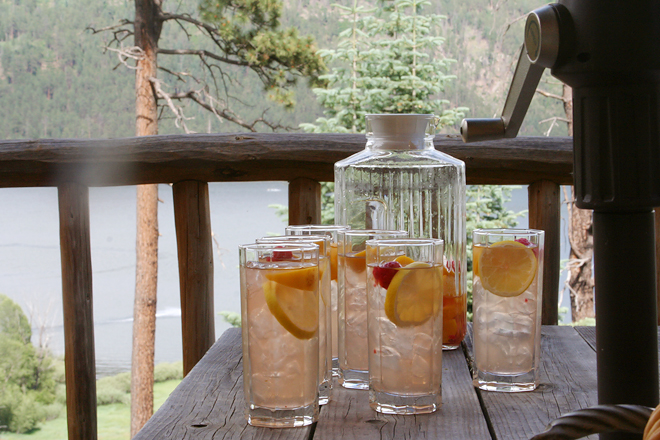
Other than slicing some fruit, you just mix a bunch of stuff in a pitcher, wait a day, and then you’ve got enough drinks for a group. However, I made a single recipe for six people to go along with afternoon cheese and crackers, and we all agreed that we wanted more. Fortunately, making another batch is no problem at all.

peach sangria 4

Peach-Riesling Sangria (slightly adapted from Bon Appetit via epicurious)

The original recipe also includes the seeds from a vanilla bean, but the black specks floating in the drink looked unappetizing and didn’t add noticeable flavor. I leave the vanilla out entirely, but a teaspoon of extract would be good too. I also cut the orange and lemon slices a little thinner, which I think looks nicer in a clear glass.

1 (750-ml) bottle dry Riesling
1½ cups white cranberry-peach drink
½ cup peach schnapps
3 tablespoons fresh lemon juice
2 tablespoons sugar
2 ½-inch-thick lemon slices
2 ½-inch-thick orange slices
2 peaches, cut into wedges
10 fresh raspberries

Combine all ingredients in a pitcher. Cover and refrigerate overnight. Serve over ice.

peach sangria 3

Save

slow ferment pizza dough

pizza dough 9

Since I make pizza once every two weeks or so, it’s only natural that my dough recipe has evolved over the years. The recipe I’ve been using lately doesn’t bear much resemblance to my favorite from several years ago beyond the obvious flour, water, and yeast. My current favorite couldn’t be easier to make – with a few caveats.

pizza dough 2

The first is that it’s best if you think ahead – far ahead, if you can. I usually mix the dough on Monday night to cook it on Friday night. That being said, if I didn’t decide I wanted pizza until Thursday, I’d still use this recipe, with just a one-night rest.

pizza dough 4

The second is that I’m using flour I special-ordered from Italy. I’ve entered the deep end, where flour for pizza is no longer taken out of the grocery budget, it comes out of my fun money allowance. But then I tried the recipe with bread flour (King Arthur), and to be honest, it was so good that it doesn’t seem like the special flour is worth the splurge.

pizza dough 5

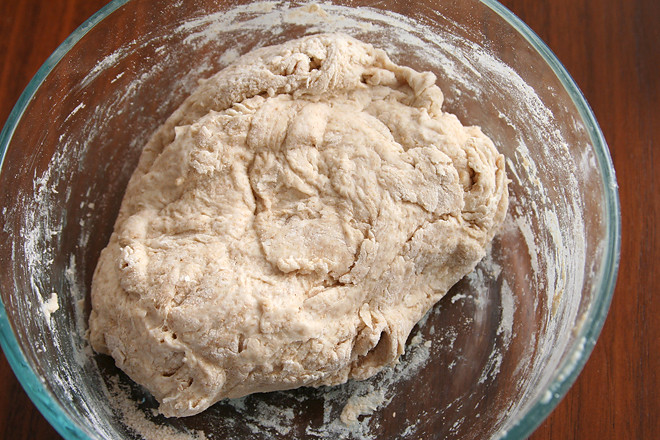
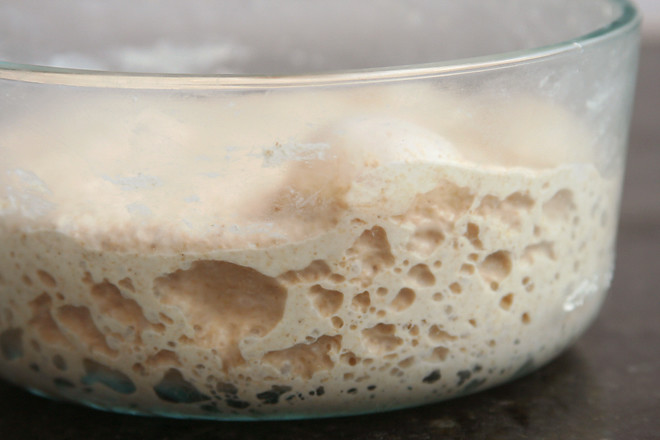
So, thinking in advance helps, and fancy flour might help, but after that, it’s just mixing up flour, water, yeast, sugar, and salt. I don’t bother with a whole wheat pre-dough; I just use half whole wheat flour in the dough, and the long wait in the fridge is plenty of time to soften the grains. I also don’t put much effort into kneading the dough. I mix it, put it in the fridge overnight, and spend a minute or two kneading it once it’s evenly hydrated. If you’d rather do all the work up front and forget about it for a few days, you can just knead it longer right after you mix it up.

pizza dough 6

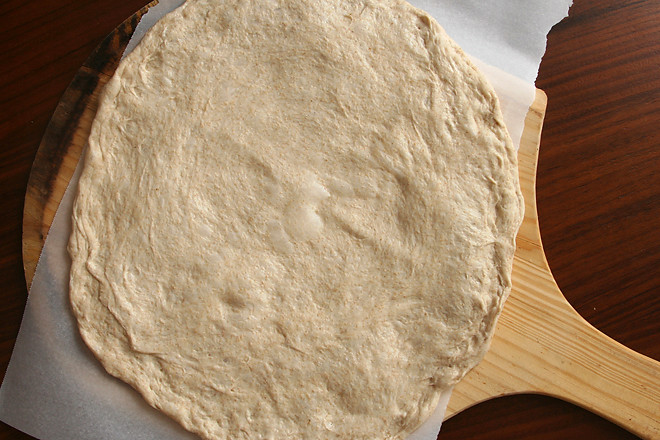
Then it sits in the back of the fridge until I’m ready for it at the end of the week. I come home from work on Friday, take the dough out to warm up, and go sit in my favorite chair with a book and my cat. An hour or two later, somewhat refreshed, the dough is easy to stretch out to a circle and ready to top.

pizza dough 14

Another pizza splurge I indulged in last year was a Baking Steel. It does make homemade pizza better, and I recommend it, but of course a pizza stone will do a fine job too. With the Baking Steel, it gets so hot that the dough crisps and browns within a few minutes, so I put it on a high rack and turn the broiler on when the pizza goes in. This is not recommended with a stone, since the direct heat could cause it to crack (heck, in my experience, anything causes them to crack!).

pizza dough 15

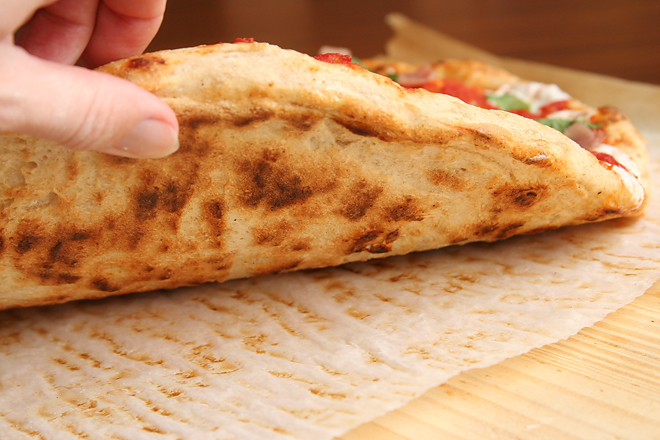
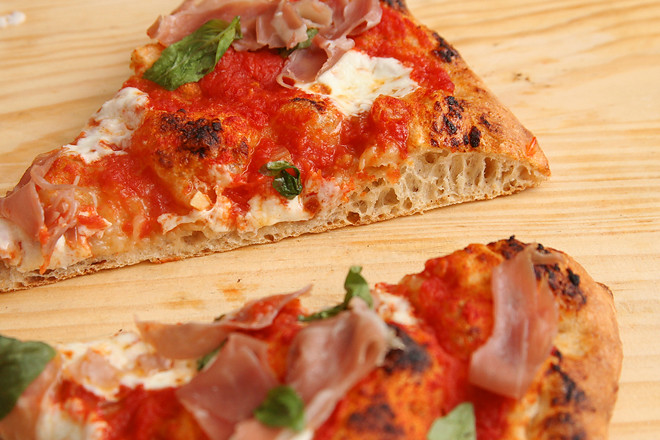
And then you’ve got pizza as good as you can get with a home oven. The bottom is crisp and browned, the middle is full of bubbles, the dough has great flavor on its own, even without whatever delicious toppings you pile on top. I’ve been making this new favorite for almost a year, and I have no plans to change it up – but you never know. There’s always something new to try, so maybe in a few years, I’ll be sharing yet another new and improved pizza method.

pizza dough 13

Printer Friendly Recipe
Slow Ferment Pizza Dough
(adapted from Serious Eats’ Cold-Fermented Pizza Dough)

I’ve reduced the yeast from Kenji’s recipe, because with the full amount, my fermented dough was developing an unpleasant sour aroma.

Whether baking on a steel or a stone, I’ve found that the dough is easiest to transfer to the oven with parchment paper, but it crisps and browns better if the paper is removed once the dough sets. Furthermore, a baking steel is hot enough to burn the paper after a couple minutes in the oven, creating a mess.

10 ounces (2 cups) bread flour or 00 flour
10 ounces (2 cups) whole wheat flour
2 teaspoon salt
⅔ teaspoon yeast
½ teaspoon sugar
1¾ cups water

1. In a medium bowl, combine all of the ingredients until there are no dry bits remaining. Tightly cover and store in the refrigerator, at least overnight or up to 5 days. The following day, knead the dough for about a minute, until it’s smooth and elastic. Cover and refrigerate. (Alternatively, the dough can be kneaded for about 5 minutes right after mixing, with no additional kneading necessary.)

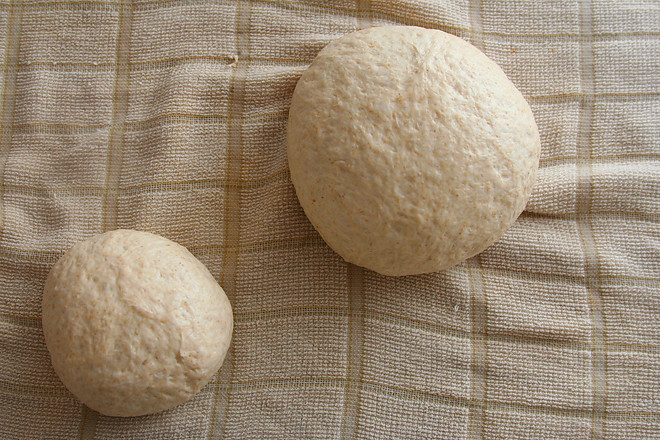
2. About two hours before baking, remove the dough from the refrigerator. Use a dough scraper or rubber spatula to transfer the dough from the bowl to a damp dishtowel or a lightly floured surface. Use a knife to divide the dough in half. Shape each portion into a ball. Cover the dough balls loosely with plastic wrap; leave at room temperature for 1½ to 2 hours, until the dough is easily stretched.

3. About 45 minutes before baking the pizzas, place a baking steel (about 6 inches from the broiler) or pizza stone (lowest rack) in the oven; heat the oven to its hottest setting. Line a pizza peel or the back of a baking sheet with parchment paper.

4. Stretch one portion of dough to a 10- to 12-inch round; lay it on the parchment paper. If necessary to even out thick areas and fix the shape of the dough, pull the edges to an even circle. Top with desired toppings.

5. Transfer the pizza on the parchment paper to the heated steel or stone. If using a steel, immediately turn the oven off and the broiler on to its hottest setting. After 1 minute, use a metal spatula to lift the pizza while using tongs to remove the parchment paper. Continue cooking until the cheese is bubbling and the bottom of the crust is spottily browned, about 4 additional minutes for a baking steel or 6-7 minutes for a baking stone. Use the metal spatula and pizza peel to remove the pizza from the oven and transfer it to a cooling rack. Cool for about 5 minutes before cutting and serving. Repeat with the remaining dough.

pizza dough 10

cheesecake squares with sour cream topping

cheesecake squares 5

I tend to think of this as my dad’s cheesecake, even though it’s really my grandmother’s cheesecake, based on the handwritten recipes that she gave to each of her granddaughters, wildly inaccurate baking time included. I think we each discovered the error the hard way before talking to each other (and my mom) and figuring out that we needed to almost double my grandmother’s recommended baking time.

cheesecake squares 1

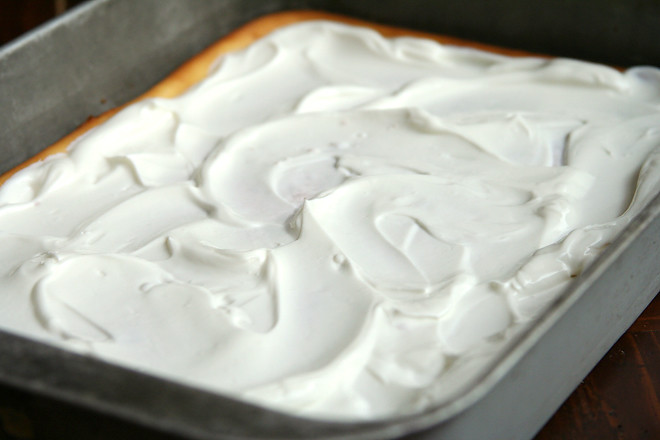
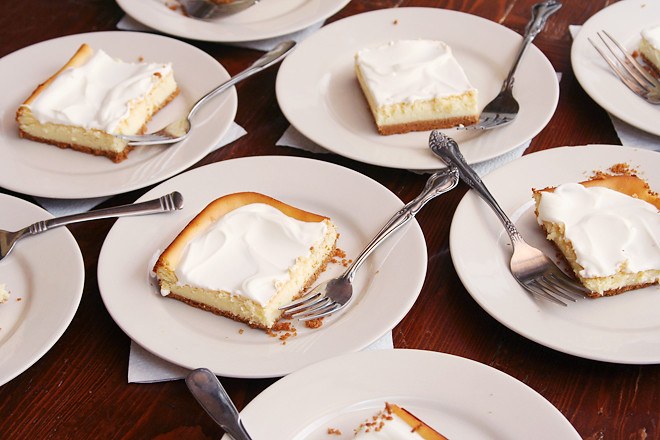
I also think of it as “the flat cheesecake.” Most cheesecakes are tall, round, and impressive. This one is flat and, served straight from the 9-by-13-inch pan it’s baked in, maybe not particularly impressive, no matter how hard I try to add pretty swirls in the topping.

cheesecake squares 3

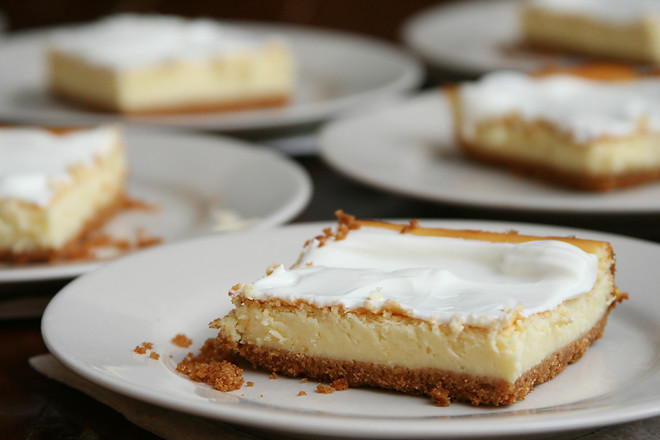
But I love it anyway. It’s simple – no goat cheese, no amaretto, no pumpkin. There’s nothing to distract from sugary cream cheese, which is one of my favorite flavors. The sour cream topping, which might sound weird, is the perfect sweet and tangy complement to the cake underneath. It’s no wonder that my grandmother and my dad and I all love this recipe so much.

cheesecake squares 6

Printer Friendly Recipe
Cheesecake Squares with Sour Cream Topping

12 servings

Once the topping is added, it’s best to serve the cheesecake within about a day, because the topping dries out. However, both the cheesecake and the topping can be made several days in advance if kept separate until shortly before serving.

Crust:
18 full sheets (10 ounces) graham crackers
2 tablespoons granulated sugar
pinch salt
5 tablespoons butter, melted

Filling:
3 (8-ounce) packages cream cheese, softened
¼ teaspoon salt
1 cup (7 ounces) granulated sugar
4 eggs
2 teaspoons vanilla extract

Topping:
1 cup sour cream
2 tablespoons granulated sugar

1. Adjust a rack to the middle position and heat the oven to 350 degrees. Spray a 9-by-13-inch pan with cooking spray.

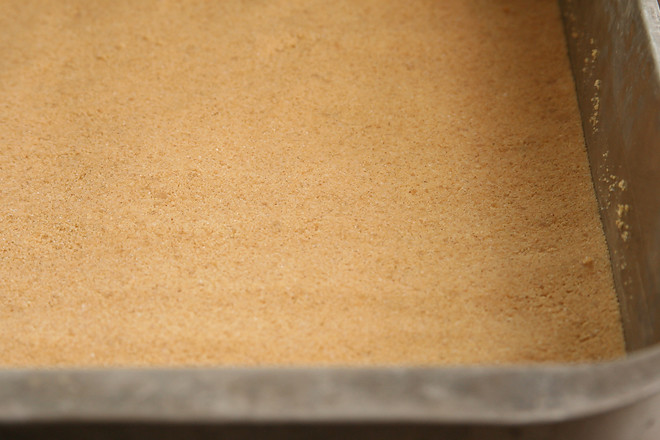
2. In a food processor, process the graham crackers until finely ground. (Alternatively, put the crackers in a ziploc bag and use a rolling pin to crush them. Transfer the crumbs to a bowl and stir in the remaining ingredients.) Add the sugar and salt and process until mixed. Add the butter and process until evenly incorporated, stopping to scrape the sides as necessary.

3. In a stand mixer fitted with the paddle attachment (or in a large bowl if using a hand mixer), beat the cream cheese on medium-low speed until smooth. Add the salt and sugar, and continue beating until blended, about 2 minutes. Add the eggs, one at a time, beating until blended. Beat in the vanilla extract.

4. Pour the filling mixture over the crust, spreading it evenly. Transfer to the oven and bake until the cake is just slightly jiggly, 45-55 minutes. Transfer to a cooling rack to cool completely before topping.

cheesecake squares 4

tonga punch

tonga punch 5

Our experiments with rum cocktails have progressed from comparing how well different fruits infuse into rum (strawberries and raspberries work the best; apples don’t work at all) to trying a new tiki drink almost every week. Over the last year, we’ve tried over thirty tiki drinks!

tonga punch 3

On Sunday evenings, after the chores are done, workouts are finished, food for the week is prepped, we reward ourselves with a couple cocktails. Sometimes we sit outside in the backyard while we sip; sometimes I sit inside on my computer and plan our next vacation. (We’re going to Iceland, which is about an untiki-y as you can get.) It’s one of my favorite times of the week, even though I know we have to go back to work the next day.

tonga punch 4

Of all that we’ve tried, this one is both Dave’s and my favorite. It’s so refreshing – not too sour, not too sweet, not too strong, not too weak. As a bonus, it doesn’t require any particularly rare ingredients. It also doesn’t require tiki mugs, but if you’ve got them, they make the best time of the week just a little bit better.

tonga punch 7

Printer Friendly Recipe
Tonga Punch (rewritten from Stephen Siegelman and Maren Caruso’s Trader Vic’s Tiki Party)

Makes 1 drink

I recommend Shellback, Flor de Caña, or Appleton white rums.

Technically, triple sec and orange curaçao are different and not interchangeable (Grand Marnier is curaçoa; Cointreau is triple sec), but using triple sec instead of curaçao won’t ruin this drink. We use Clement Creole Shrubb, which is neither triple sec nor curaçao.

Look for grenadine with pomegranate in the ingredient list; otherwise you’re just buying a combination of high fructose corn syrup, citric acid, and food coloring.

2 ounces silver rum
1½ ounces orange juice
¾ ounce lemon juice
½ ounce orange curacao
¼ ounce lime juice
¼ ounce grenadine
1 cup ice

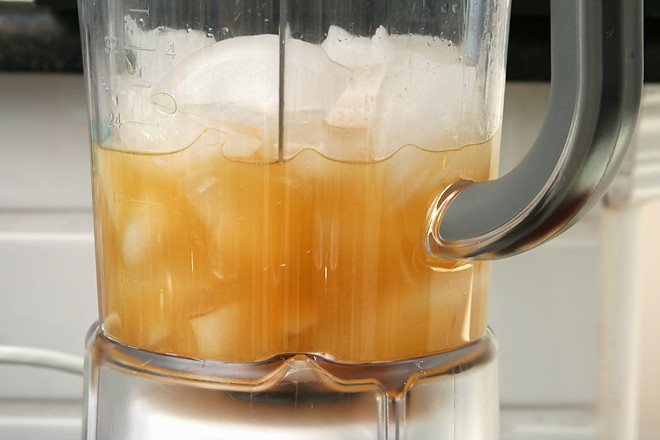
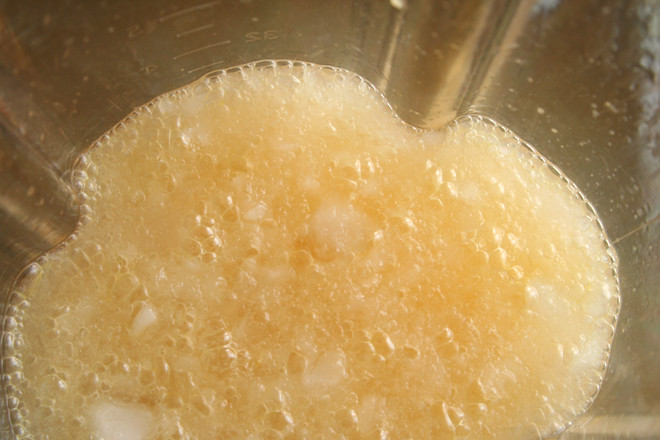
Combine the liquids in a blender. Add the ice and pulse until the largest pieces if ice are approximately ½-inch. Pour unstrained into a glass and enjoy.

tonga punch 6

blueberry lemon date bars

blueberry lara bars 4

Dave and I had a Serious Discussion last year about hiking. He loves it; I’m okay with it. I like the part that involves relaxing exercise (usually an oxymoron) in a pretty place, but not the part that requires several hours of driving. Dave doesn’t love the driving either, but for him, it’s worth it for the hiking. So we’ve compromised and are making more of an effort to get miles in; Dave’s goal this year is 100 miles.

blueberry lara bars 1

The more often we go, the more we get into a routine. Make coffee at home; stop for breakfast burritos to eat on the road; almonds, these bars, and camelbaks full of water for snacks; and a grain or pasta-based salad for lunch if it’s a long enough hike. Having a series of tasty foods lined up definitely helps get me motivated.

blueberry lara bars 2

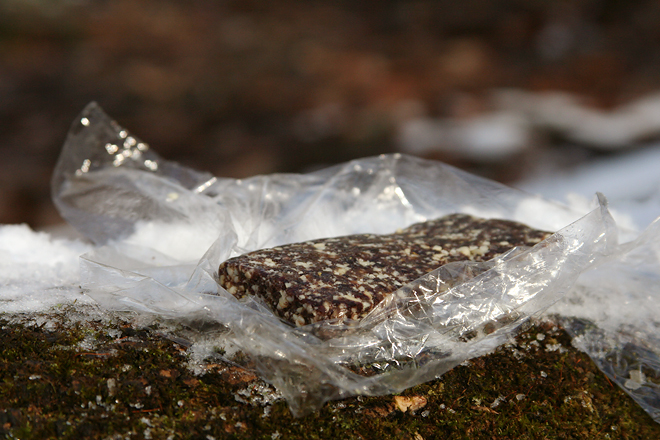
Breakfast burritos win as my favorite food of the day, of course, but these bars are delicious too. They’re a perfect mid-morning treat, when you’re just over halfway up the mountain, the burrito has worn off, lunch is still a ways off, and your feet could use a break. They’re easy to make and last a while tightly wrapped in the fridge. I need to keep a stock handy; the easier it is to get out the door, the more likely we are to get those miles in.

blueberry lara bars 3

Printer Friendly Recipe
Blueberry Lemon Date Bars (slightly adapted from Use Real Butter)

Makes 8 bars

I should probably mention that I’ve never eaten a real Larabar, blueberry or otherwise.

I’ve found that these are great for plane rides too.

2 cups unsalted cashews
1 cup dried blueberries
1 cup dates, pitted
grated zest from 1 lemon
⅛ teaspoon salt
seeds of ½ vanilla bean

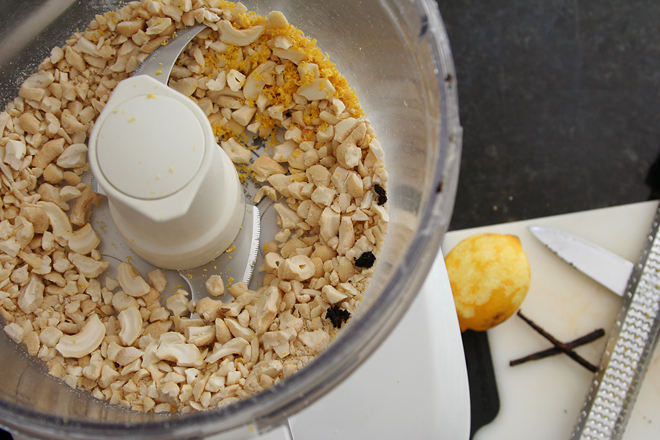
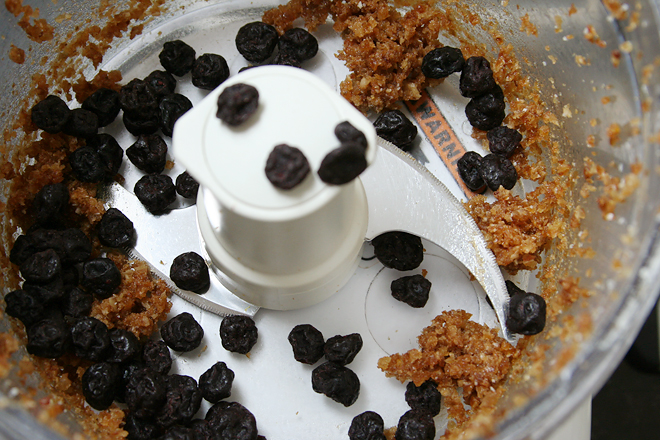
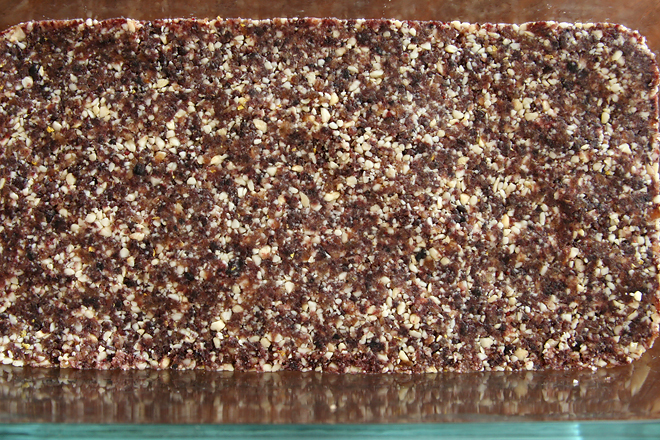
Transfer the cashews to the bowl of a food processor; pulse until coarsely ground. Add the blueberries, dates, lemon zest, salt, and vanilla seeds; process until the mixture forms large sticky clumps. Line an 8-by-8-inch baking dish with parchment or wax paper, with the paper coming up the sides by several inches. Press the mixture tightly into the lined pan. Cover and chill for at least 30 minutes (or up to several days). Use the ends of the parchment paper to lift the bars out of the pan. Cut into 8 bars; wrap individually. Can be stored in the refrigerator for several months.

poblanos stuffed with black beans and cheese

stuffed poblanos 3

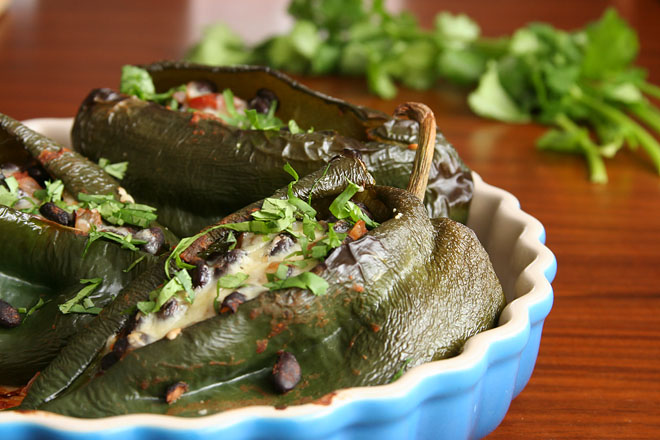
Sometimes I try to have quick, healthy weeknight dinners that don’t include any grains. I’ve found that melty cheese is a satisfying way to replace the simple comfort of starches – although I’m not sure that replacing brown rice with cheese is much of a nutritional improvement.

stuffed poblanos 1

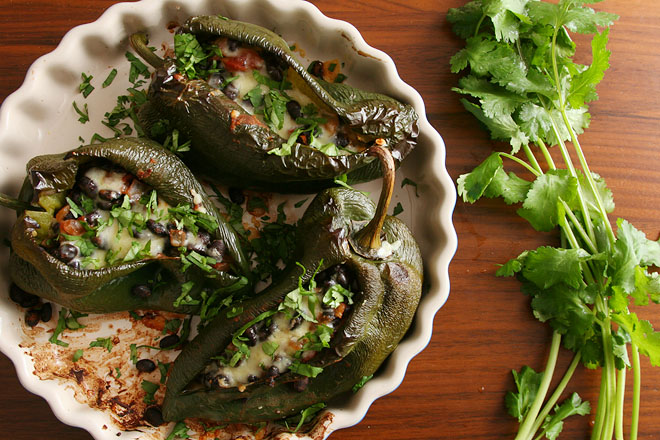
This has become a new favorite, in that it takes the main flavors of some of my fallback rice and bean dishes and stuffs them inside of a pepper. (I’m always reaching for the bag of frozen Hatch green chile we keep in the freezer so I can add it to the beans, and I have to remind myself that there’s plenty of spicy chiles in this recipe already.)

stuffed poblanos 2

With beans, Greek yogurt, and a simple guacamole, there’s plenty to keep me full here, even with a restrained amount of cheese. Even if it isn’t, in the end, any healthier than my normal bowl of rice and beans, it’s worth it for a meal as good as this one.

stuffed poblanos 5

Printer Friendly Recipe
Poblanos Stuffed with Black Beans and Cheese (inspired by Sara Forte’s The Sprouted Kitchen cookbook)

2 generous main course servings or 4 side dish servings

You can, of course, add more cheese, but I was trying to keep it light, and I found this amount to be satisfying.

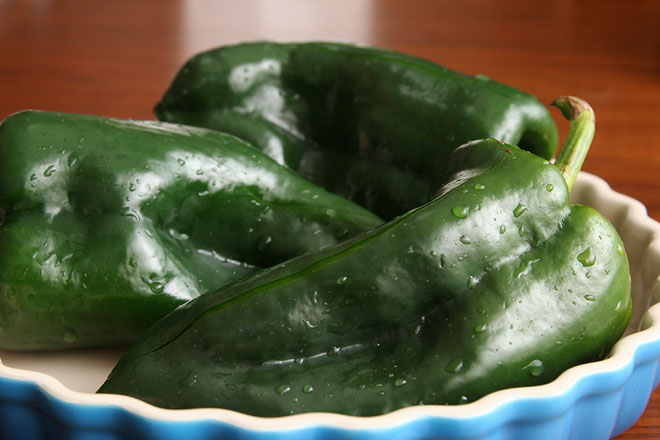
4 medium poblano peppers
2 teaspoons oil
1 onion, diced
salt
2 cloves garlic, minced
1 (15-ounce) can black beans (about 2 cups)
½ cup salsa
3 ounces cheddar, monterey jack, cotija, or queso fresco, shredded or crumbled
1 avocado, peeled and seeded
juice from ½ lime
¼ cup Greek yogurt (or sour cream)
cilantro

1. Heat the oven to 425 degrees. Cut a slit in each pepper from the stem to the end. Place the peppers in a rimmed baking dish; bake for 15 minutes, until softened.

2. Meanwhile, heat the oil in a medium saucepan over medium heat. Add the onion and 1/4 teaspoon salt; cook, stirring occasionally, until the onion is translucent, about 5 minutes. Add the garlic and cook, stirring constantly, until fragrant, about 30 seconds. Add the salsa and beans. Simmer, uncovered for 10 minutes. Remove from the heat and stir half of the cheese into the beans.

3. Remove the peppers from the oven. When they’re cool enough to handle, use a paring knife to remove the seeds and veins. Pour out any liquid inside the peppers. Spoon one-quarter of the bean mixture into each pepper, then stuff the remaining cheese into the peppers over the beans. Transfer to the oven and bake until the cheese is spottily browned and the peppers are soft, 15-20 minutes.

4. In a small bowl, mash the avocado with a pinch of salt and half of the lime juice. In a separate bowl, mix the Greek yogurt with the remaining lime juice. Serve the roasted peppers with the avocado, yogurt, and a sprinkling of cilantro.

stuffed poblanos 4

quinoa puttanesca

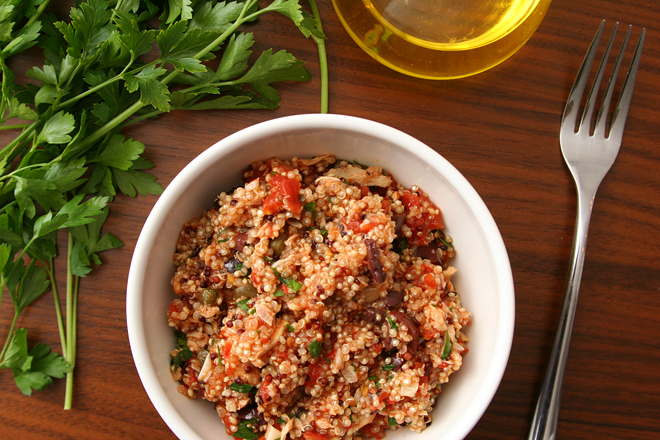
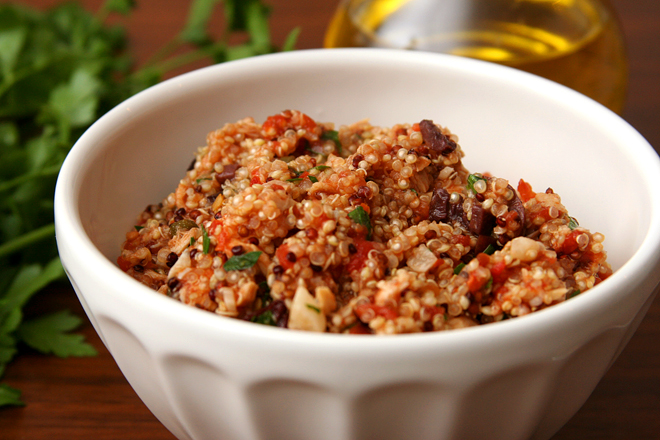
quinoa puttanesca 1

Based on whether it leaves a bunch of half-used ingredients leftover, this may not be the best single-person dinner, but it’s one of my favorite meals for when Dave is out of town anyway. For years, Dave didn’t like anchovies or olives, so those were the things I ate when he traveled. He’s come around to both, but the tradition has stuck, and this has become a treat for myself while he’s gone.

quinoa puttanesca 3

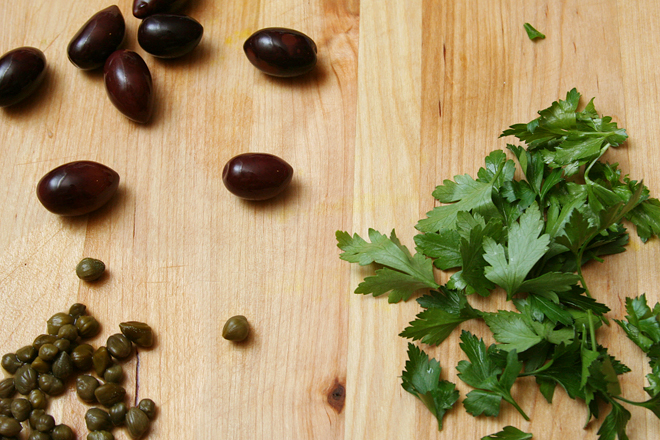
It’s very similar to the pasta version, but I like to think quinoa is a little healthier than pasta. Certainly, quinoa has a stronger, earthier flavor, which required adjustments in the other ingredients. More briny olives, more salty capers, and more bitter parsley were all necessary to stand out next to the quinoa.

quinoa puttanesca 4

Even if it doesn’t fulfill my no-leftover-bits-of-ingredients rule for single-person dinners, it meets the rest of my criteria – easy, healthy, minimal dishes. Fortunately, I like it so much that I’m willing to make it twice in one week while Dave travels, which is the perfect way to use up the half cans of tomatoes and tuna leftover from one serving. That puts this back on the list of great meals for cooking for one.

quinoa puttanesca 2

Printer Friendly Recipe
Quinoa Puttanesca (adapted from Cook’s Illustrated’s Spaghetti Puttanesca)

4 servings

I use the higher amount of anchovies, because I love them, but I understand that not everyone shares that opinion. The tuna is not at all traditional in puttanesca, but it increases the protein of this one-pot dish.

1 tablespoon olive oil
1 teaspoon red pepper flakes
6 cloves garlic, peeled and minced
6-8 anchovies, minced
8 ounces (1⅓ cups) quinoa, rinsed and drained
1 (28-ounce) can whole tomatoes, coarsely diced in the can with scissors
2 (5-ounce) cans solid white tuna in water, drained and flaked into bite-sized pieces (optional)
¼ cup capers, drained
1 cup kalamata olives, finely chopped
¼ cup minced parsley

In the medium saucepan over medium heat, heat the olive oil, red pepper flakes, garlic, and anchovies until sizzling and fragrant, 2-3 minutes. Add the quinoa, tomatoes with their juice, and tuna (if using). Increase the heat to medium-high and bring to a simmer. Once the mixture simmers, cover, reduce the heat to low, and simmer for 15 minutes. Stir once, then replace the cover, remove the pot from the heat, and let set for another 15 minutes. Stir in the capers, olives, and parsley; serve immediately.

pan-seared halibut in white wine sauce with green beans and tomato-scallion relish

halibut green beans 5

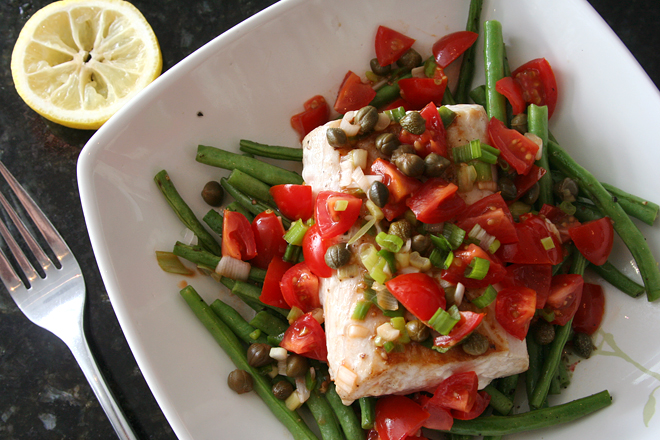
I have found the perfect single-person dinner. Not because it’s easy, although that’s nice. Not because it only uses one pan to cook, although I’m not complaining about less dishes to wash. Not because it tastes good, because of course it tastes good or why would I be talking about it?

halibut green beans 0

No, the key for bachelor(ette) meals is that they don’t leave you with half a can of tomatoes or beans, or half a cucumber or pepper, or the vast majority of a roast leftover. If you’re cooking for one, this recipe uses one fish filet, one tomato, one scallion, and a handful of green beans.

halibut green beans 1

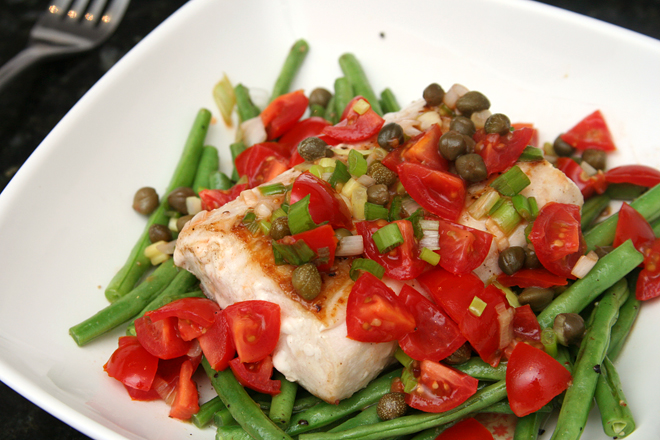
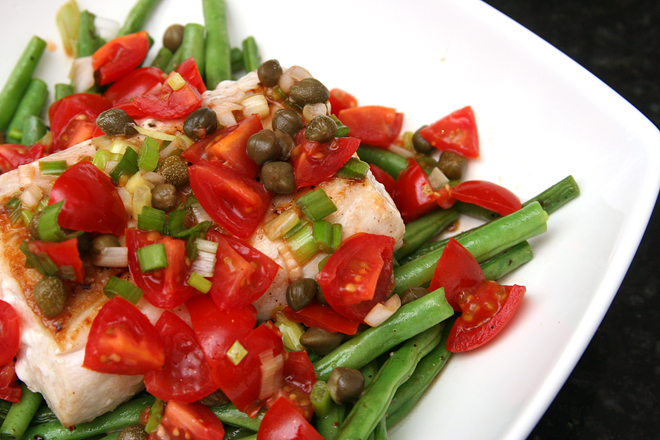
Because I have been cooking for one a lot lately, while Dave travels for work, I’ve been making this dish often. The original recipe instructs that the green beans be steamed in a separate pot, but that seemed like a lot of hassle and dishes just for me, so I saute them quickly in a skillet, then add just a bit of water to cook them through. Any remnant green bean bits are scraped up with a glug of wine. I like to transfer the green beans to a pasta bowl and cover them with a big plate while the fish cooks in the same skillet. The fish gets laid over the green beans, the pan is deglazed with wine again, then a simple relish is heated briefly in the pan before it’s time to eat.

halibut green beans 3

I don’t know if fish served over green beans (although you could put yours on the side if that’s more your thing) sounds weird. The relish really brings everything together, since it’s so bright and flavorful, mixing perfectly with both the beans and the fish. It’s an easy, healthy, one-pan, delicious meal that won’t leave you with a bunch of half-used ingredients, and one of my newest favorites.

halibut green beans 6

Printer Friendly Recipe
Pan-Seared Halibut in White Wine Sauce with Haricots Verts and Tomato-Scallion Relish (adapted from Alfred Portale’s The Twelve Seasons Cookbook via epicurious)

4 servings

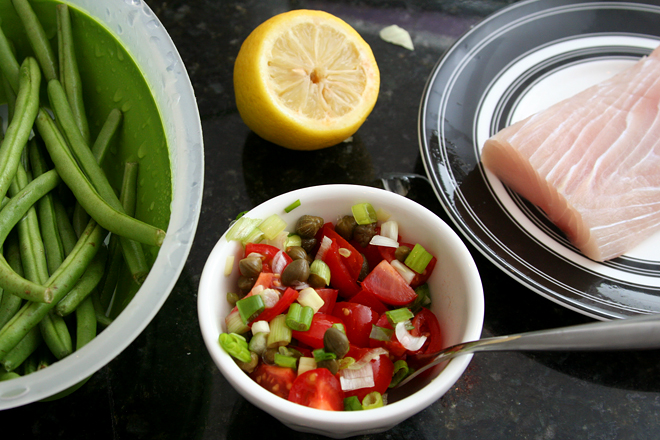
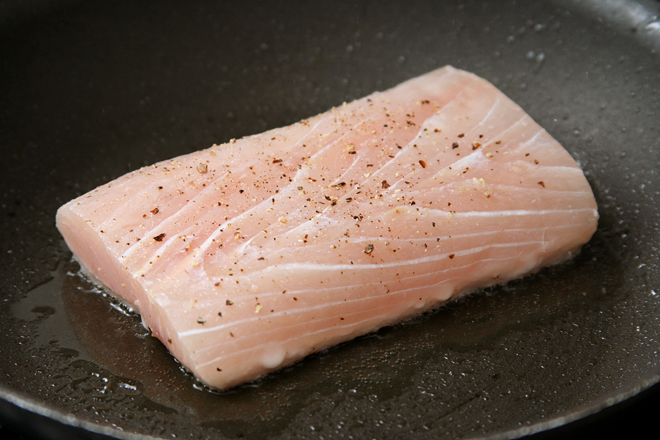
Regular green beans work just as well as haricots verts in this recipe. I’ve also successfully made it with both halibut and mahi-mahi. The pictures show mahi-mahi.

It’s easy to adapt for one person; just divide all of the ingredients by four and use a small skillet.

2 tablespoons olive oil, divided
16 ounces haricots verts or green beans
Coarse salt and freshly ground pepper to taste
¼ cup water
6 tablespoons white wine, divided
4 halibut or mahi-mahi fillets, each approximately 1 inch thick
2 tablespoons fresh lemon juice
2 tablespoons unsalted butter
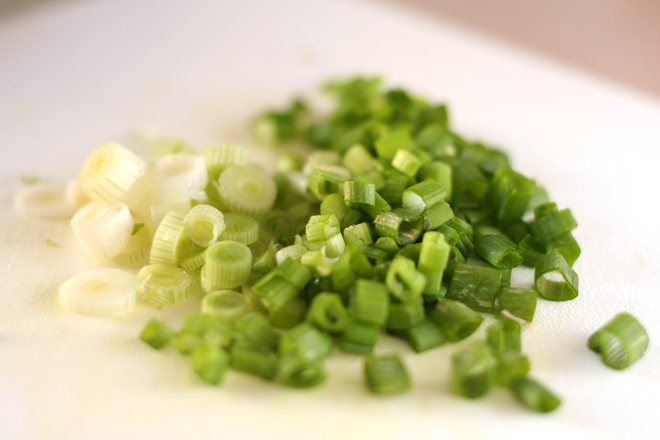
4 scallions, finely sliced
2 tablespoons capers, drained
4 small roma tomatoes, diced fine

1. In a large nonstick skillet, heat 2 teaspoons oil over medium to medium-high heat. Add the beans, 1 teaspoon salt, and a pinch of pepper; cook, stirring occasionally, until the beans are spotty brown, 4 minutes. Add the water, cover, and cook until the beans are bright green and still crisp, about 2 minutes. Remove the cover, increase the heat to high, and cook until the water evaporates, 30 to 60 seconds. Divide the beans between four plates or shallow bowls. Add 2 tablespoons of wine to the pan, swirling it around and scraping the pan with a rubber spatula to dissolve any stickiness on the bottom of the skillet. Transfer to liquid to the dishes with the green beans; cover set aside.

2. Season the halibut on both sides with salt and pepper. In the same skillet, heat the remaining 4 teaspoons of oil over medium-high heat. Cook the fish for about 3 minutes, until lightly browned. Flip the fish, reduce the heat to medium, and cook about 4 minutes longer, until the fish is opaque in the center and browned on both sides. Put the fish over the green beans in the bowl; cover again.

3. Remove the pan from the heat and add the remaining 4 tablespoons wine and the lemon juice to the pan. Deglaze the pan by scraping up any browned bits with a rubber spatula. Stir in the butter. Add the scallions, capers, and tomatoes. Season with salt and pepper if necessary, and pour over the fish in the bowls. Serve immediately.

halibut green beans 4

braised artichokes with creamy dipping sauce

braised artichokes 8

My sister’s kids aren’t particularly picky, but sometimes I push their limits without meaning to. Like the time I thought they’d get a kick out of eggs cooked in bacon toast cups, but instead they were like, Hey, now where does the jelly go? And at least that wasn’t a vegetable.

braised artichokes 2

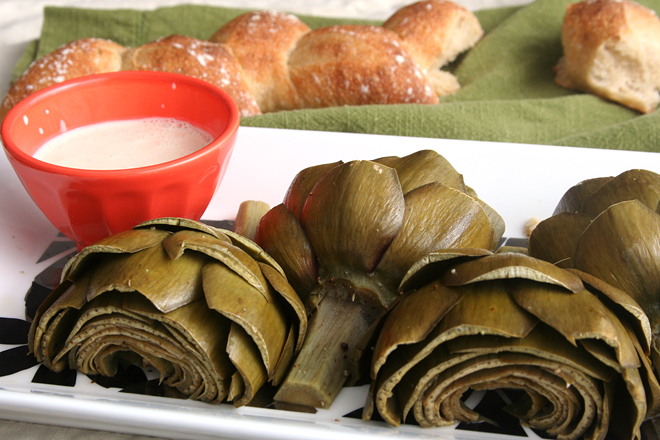
I don’t even remember why I thought artichokes would be a good idea in the first place, but then when I started thinking about it, I got worried. They tend to turn a military shade of green once they’re cooked. I tried to get the kids excited about saying “okey dokey artichokey”, but I was pulling at strings and knew it.

braised artichokes 4

And then, oddly, they loved the artichokes. I think it was the number one rule of feeding children that worked in my favor – opportunities to dip. Plus, maybe, just maybe, I was right, and the fun of pulling off leaves and scraping the “meat” off with your teeth was more important than the brownish green shade of the vegetables. It certainly is for me, as this is one of my absolute favorite foods.

braised artichokes 7

Printer Friendly Recipe
Braised Artichokes with Creamy Dipping Sauce

Serves 3 to 6 as a first course, depending on how big your artichokes are and how big your appetite is

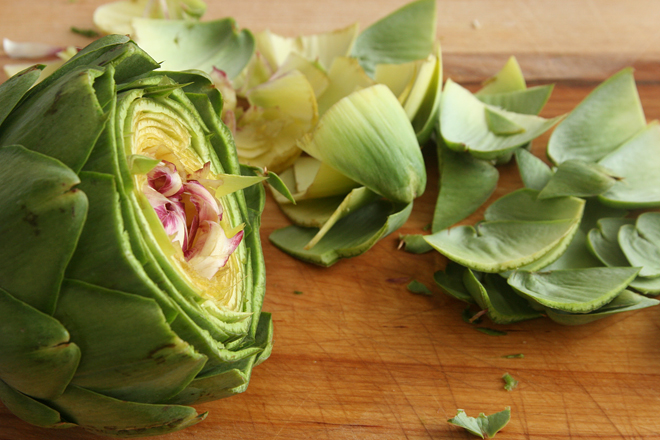
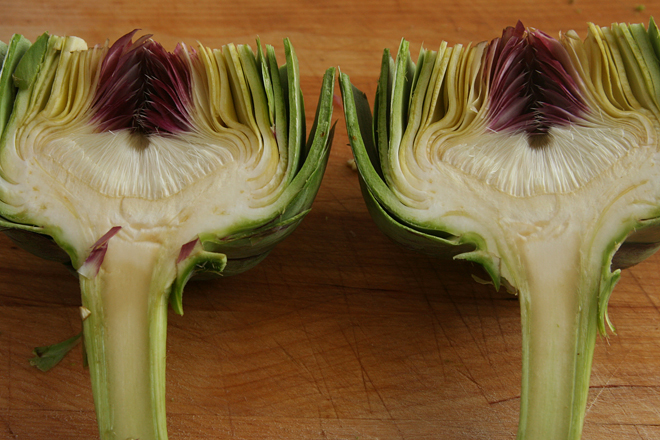
Trimming artichokes isn’t hard, but you might want to watch a youtube video or two if you’re not familiar with the process.

99% of artichoke recipes call for transferring the trimmed ‘chokes to a bowl of water with a lemon squeezed into it to keep them from browning. Not only does it not work, but they look and taste the same after cooking, so I’ve skipped this step. (But a recent issue of Cook’s Illustrated tested it and found it the lemon water worthwhile.)

If your artichokes are really big, you might need to use a 12-inch sauté pan instead of a Dutch oven to fit them in a single layer.

If you’re mayonnaise-adverse, crème fraiche would be a great substitute. Greek yogurt or sour cream would work if you stir it in off the heat so the dairy doesn’t curdle.

3 medium artichokes
1 tablespoon olive oil
3 cloves garlic, minced
¾ cup water
½ cup white wine
¼ teaspoon black pepper
½ teaspoon salt
2 tablespoons mayonnaise
1 tablespoon parsley leaves, minced

1. Working with one artichoke at a time, cut off the top 2 inches of the artichoke. Working around the artichoke, use scissors to cut off the sharp tips of the leaves. Trim the base of the stem, then trim off the outside millimeter or so of the stem. Cut the artichoke in half from top to bottom and use a paring knife to cut out the sharp purple leaves and fuzzy choke from the center. Rinse the artichoke under running water to remove any remaining fuzz.

2. Heat the olive oil in a 5- or 6-quart Dutch oven over medium heat. Add the garlic and cook, stirring constantly, until fragrant, about 30 seconds. Arrange the artichokes cut-side down in the pot, overlapping the stems in the middle. Add the water, wine, pepper, and salt. Cover the pot, reduce the heat to medium-low, and braise artichokes until tender when pierced with a knife, about 30 minutes for small artichokes and 40 minutes for very large artichokes. (If you’re not ready to serve the artichokes right away, remove the pot from the heat and leave the cover on; the ‘chokes will stay hot for up to 30 minutes.)

3. Transfer artichoke halves to a serving platter or plates. There should about ⅓ cup liquid remaining in the pot; if there’s less, add water until there’s a total of ⅓ cup liquid; if there’s more, simmer the liquid to reduce it slightly. Add the mayonnaise and parsley to the liquid; whisk to combine and pour into individual dipping containers.

braised artichokes 10