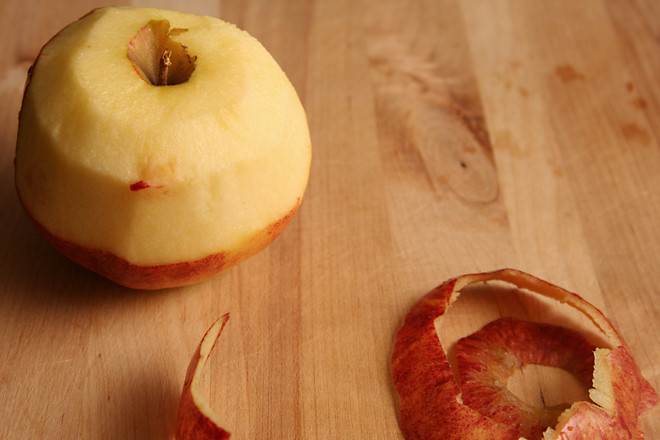
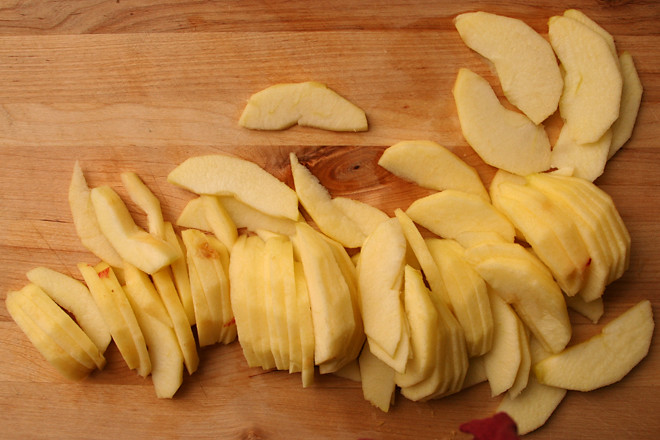
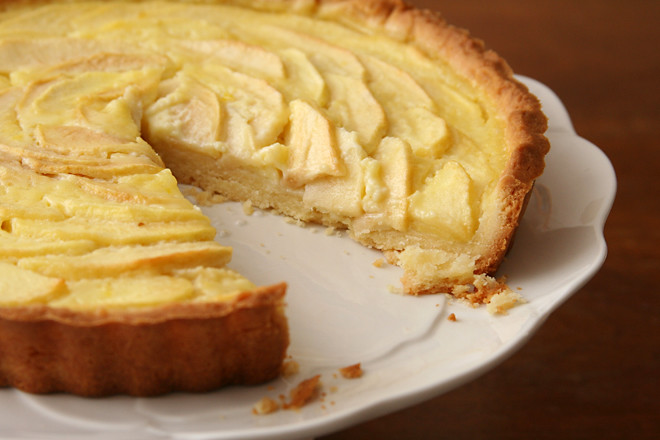
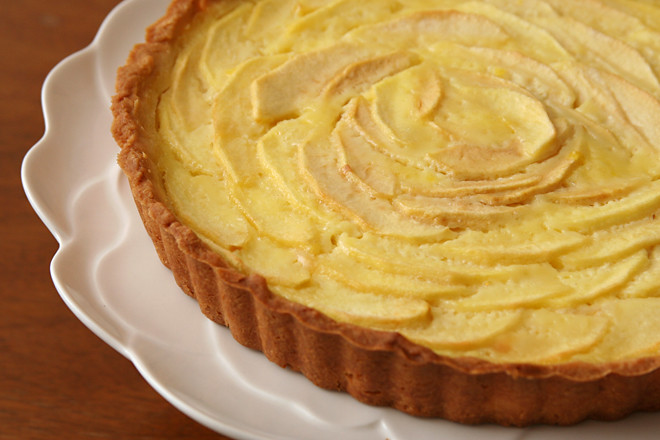
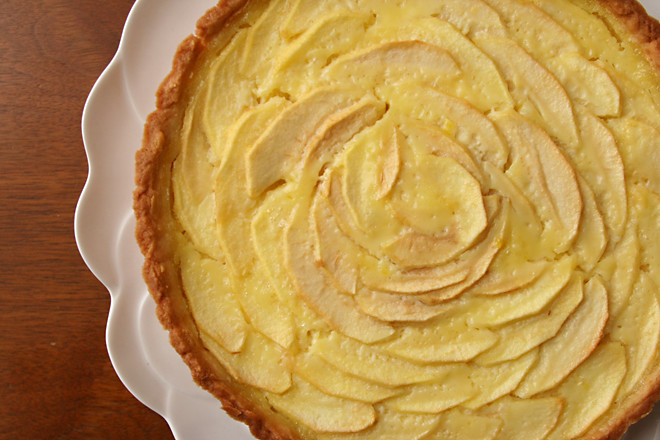
alsatian apple tart

alsatian apple tart 5

I recently congratulated myself on having become more practical now that I’m older and then almost immediately had to call my own BS. I tried to think of one example of having taken the more practical route lately and came up blank. My tendency to go overboard nearly always wins.

alsatian apple tart 1

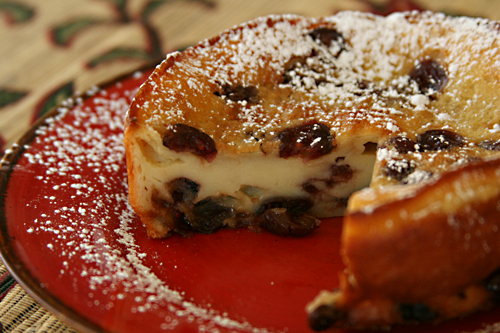
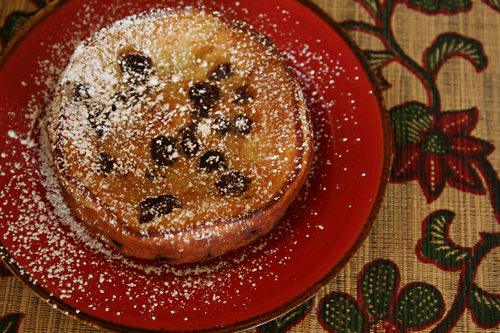
Just to prove that I can, indeed, tone things down, I kept myself from perfecting the edges of my pastry cloth that always get crinkled after washing. Also, I only rearranged the apple slices on this tart once when they didn’t look the way I’d hoped. Even then, it wasn’t perfect, and I had at least a third of the apple slices leftover, but I had to move on with my evening.

alsatian apple tart 3

In the end, I think the tart came out very nicely. It’s pretty and it’s tasty. But. I think with the rest of the apples, it would have been even better – a little more tart to balance the sweet custard, and the apple slice design would have stood out more. I have to admit though, the difference isn’t so significant to make the time it would have taken to perfect it worthwhile. Sometimes, good enough is just fine.

alsatian apple tart 9

Jessica chose this tart for Tuesdays with Dorie, and she has the recipe posted. The recipe indicates that the tart will need to bake for 50-55 minutes, but mine was done around 35 minutes. The shorter time could be because it wasn’t as full, or it’s possible that I should have left it in the oven until the custard started to brown.

Two years ago: Alice Water’s Apple Tart
Three years ago: Basic Mashed Potatoes
alsatian apple tart 8

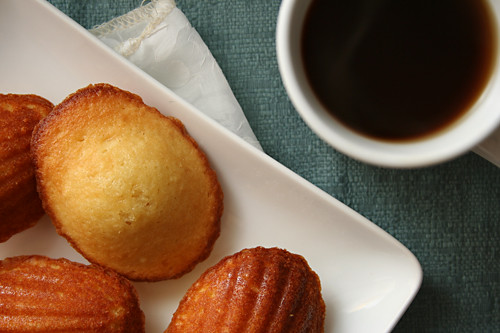
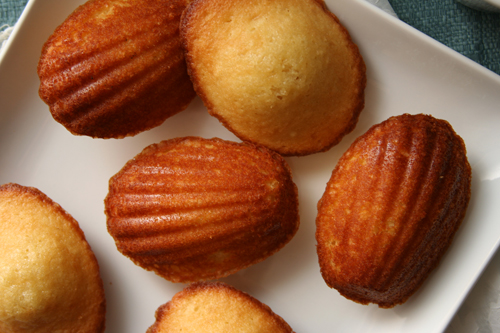
brown sugar honey madeleines

brown sugar honey madeleines 4

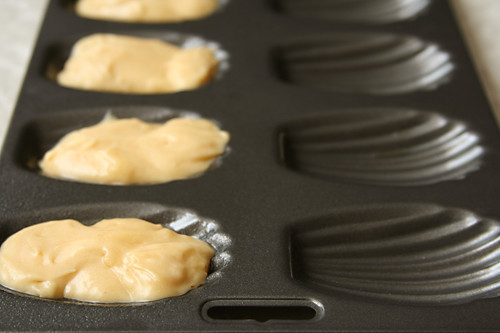
My poor madeleine pan doesn’t get a lot of use. I love it; I got it for Christmas years ago, and seeing it in the cabinet has always made me happy. But I seldom bake with it.

brown sugar honey madeleines 1

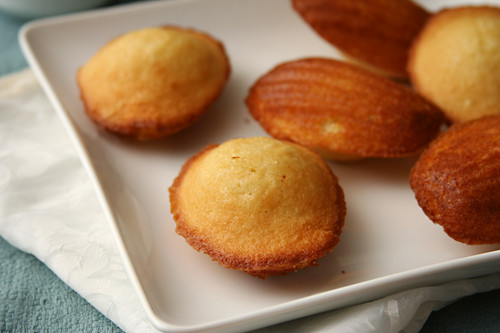
There’s no good reason for this, because I love madeleines. They’re miniature handheld cakes. The batter is easy to mix up. They look fancy with no extra effort on my part. There are endless variations to experiment with. I think I just convinced myself to like madeleines more than cupcakes.

brown sugar honey madeleines 2

It’s possible that it’s just this recipe I love so much, with its brown sugar caramel notes. I wouldn’t know, since my only experience with traditional madeleines was years ago and a very qualified success at best. Clearly I need to try that recipe for madeleines again – and many more.

brown sugar honey madeleines 3

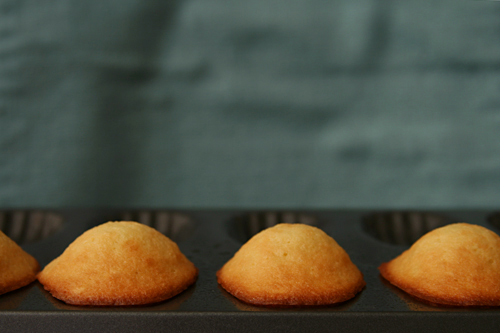
Di chose this recipe for Tuesdays with Dorie, and she has it posted. It’s originally designed for a mini madeleine pan, but considering how rarely I use my regular madeleine pan, I think a mini version is the last thing I need. I just added a couple minutes to the baking time recommended for minis. I had a difficult time prying the cakes out of the pan, even though it’s nonstick and I sprayed it with cooking spray. Next time I’ll give it a more thorough spritz of floury baking spray.

One year ago: Cranberry Shortbread Cake
Two years ago: Chocolate Caramel Chestnut Cake
Three years ago: Kugelhopf

brown sugar honey madeleines 5

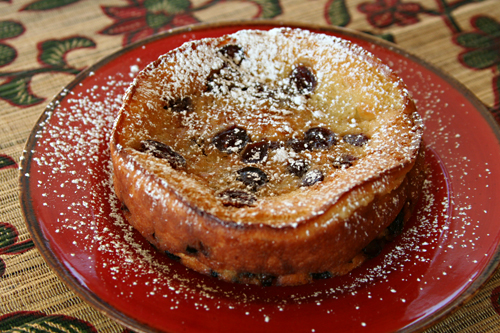
far breton

far breton 3

This doesn’t seem to be a very popular opinion, but I love custards. Far Breton isn’t the most custardy custard I’ve ever eaten, but it’s certainly on the eggy side of the cake spectrum. I was looking forward to a light, lightly sweetened and beautifully browned cake.

far breton 5

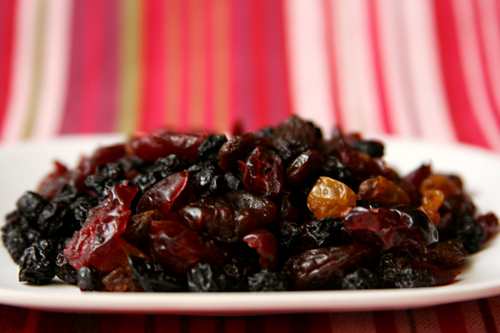
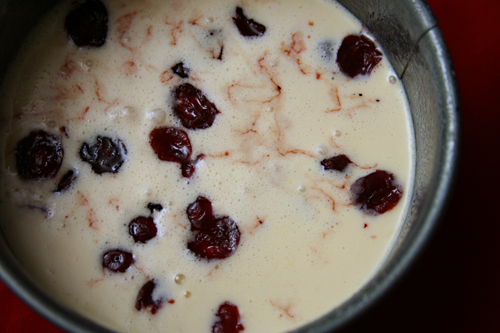
I wasn’t so sure about the dried fruit, but I thought using small fruits like a mix of raisins, cherries, and cranberries would meld better with the batter than large prunes, and softening them in brandy couldn’t hurt. Unfortunately my math skills failed me and I messed up the proportions of the batter, using one-third of the total amount of egg and milk, and one-half of the full recipe worth of sugar, flour, and butter.

far breton 1

Dave and I both enjoyed the cake, even with the mixed up ratios of ingredients in the batter. I still think the dried fruit were out of place, probably because I like cake/custard so much more than I like dried fruit. I think, for my tastes, pure custard would be just right.

far breton 4

Nicole chose this recipe for Tuesdays with Dorie, and she has it posted. Like I mentioned above, I made a handful of involuntary changes that I don’t recommend (even if the final result was quite good)!

My post on the honey nut scones, also chosen for TWD this week, will be up tomorrow.

One year ago: Peanut Butter Blondies
Two years ago: Cherry-Fudge Brownie Torte
Three years ago: Rugelach

far breton 2

croissants (tartine bread)

croissants tartine bread 20

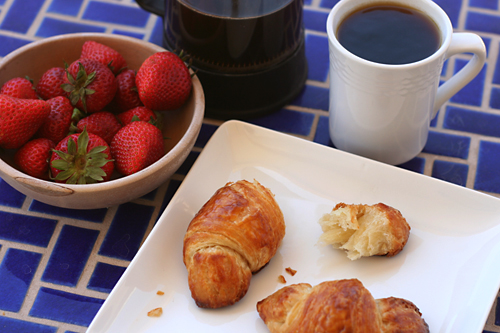
My coworker seemed surprised when I told him I was going home at lunch to work on croissants. He wondered if all croissant recipes are so complicated. No. But I chose the most complicated one.

croissants tartine bread 4

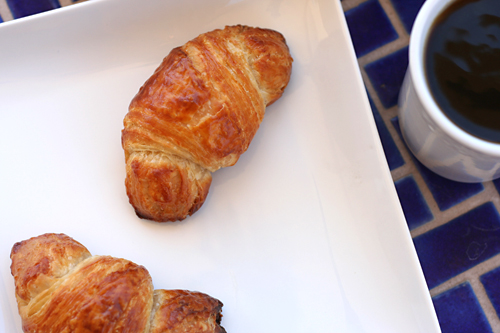
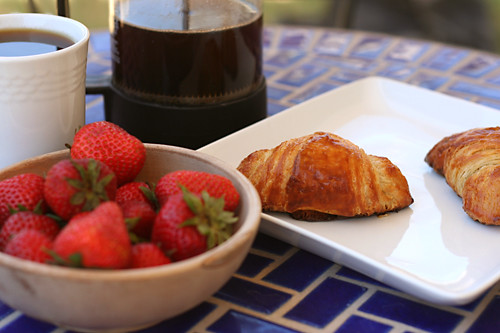
I seem to have convinced myself that the recipe with the most steps must produce the best result. By no means is this rule always true, but in this case, it was. Spending my lunch break rolling and shaping buttery dough was a small price to pay for croissants this good.

croissants tartine bread 7

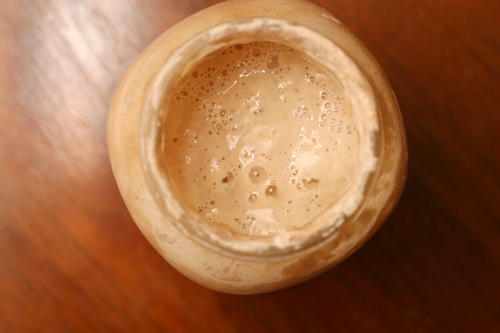
And that’s just the beginning (well, it’s the end of the recipe, but it’s the beginning of me telling you about the recipe). The process starts a couple days earlier, when you feed your starter. If you don’t have a starter, you should make one! It isn’t hard, and I’m more proud of my all wild-yeast bread than anything else I’ve accomplished in the kitchen this year.

croissants tartine bread 11

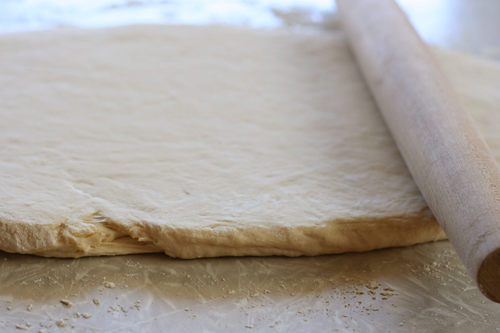
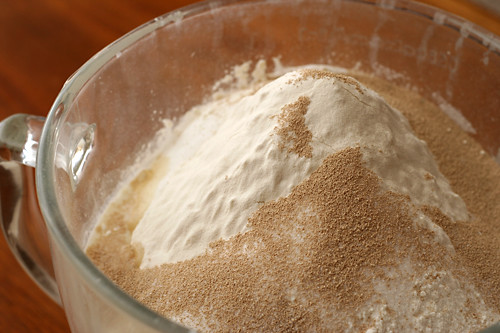
Once your starter is awake and you’ve mixed up another pre-dough with instant yeast, you’ll make your dough, but instead of kneading it, you’ll spend a minute or so fussing with it every half an hour for a few hours. Once it’s risen and chilled, you can roll it out and start working in the butter, and this process takes a few minutes of fussing over the course of several hours too. Then chill the dough some more. Then roll it out some more. Then, finally, you can shape your croissants! But then you have to let them rise for a couple hours before baking.

croissants tartine bread 16

I actually love recipes like this. I love getting to play with dough for just a few minutes at a time, and because the dough is chilled in between, it’s adaptable to my schedule. And in this case, all that fussing paid off with the best croissants I’ve made yet. My coworker grabbed two, and then he didn’t seem to doubt my lunchtime fussing at all.

croissants tartine bread 18

More experiments with croissants:
Tartine Bakery (the recipe in their first book is different than the recipe in their bread book)
Martha Stewart (using fresh yeast)
Martha Stewart (using instant yeast)

One year ago: Taco Pasta Salad
Two years ago: Green Chile Huevos Rancheros
Three years ago: Pan-Seared Steak with Red Wine Pan Sauce

Printer Friendly Recipe
Croissants (adapted from Tartine Bread)

Makes 16 croissants

I’ve shortened the instructions and added volume measurements. Keep in mind though, that the weight measurements are more precise, so if you have a scale, use it (as always).

The original recipe recommends an egg wash made from 2 egg yolks and 1 teaspoon of heavy cream, but I used a whole egg whisked with a pinch of salt (which loosens the protein structure of the egg) because I didn’t want 2 extra egg whites to use up.

I wouldn’t have minded the croissants being just a little bit sweeter. Next time I’ll increase the sugar to ½ cup (100 grams).

You don’t use all of the leaven, because the leftover leaven becomes the starter that you keep and feed and use in the future.

Poolish:
200 grams (1½ cups) all-purpose flour
200 grams (⅔ cup) water, room temperature
3 grams (1 teaspoon) instant yeast

Leaven:
1 tablespoon starter
220 grams (1⅔ cups) all-purpose flour
220 grams (¾ cup) water, room temperature

Dough:
450 grams (1¾ cup) whole milk, room temperature
300 grams leaven
400 grams polish (this is all of the poolish)
1000 grams (7 cups) bread flour
28 grams (4½ teaspoons) salt
85 grams (7 tablespoons) sugar
10 grams (1 tablespoon) instant yeast

400 grams (28 tablespoons, although I used a full pound (32 tablespoons)) unsalted butter
½ cup all-purpose flour
Egg wash

1. To make the poolish: In a small bowl, mix the flour, water, and yeast. Cover and let stand at room temperature for 3-4 hours or store overnight in the refrigerator.

2. To make the leaven: In a small bowl, mix the starter, flour, and water. Cover and let rise overnight.

croissants tartine bread 2

3. Add the milk, leaven, and poolish to a large mixing bowl; stir to break up the doughs. Add the flour, salt, sugar, and yeast; mix thoroughly until there are no bits of dry flour. Cover and let rest for 25-40 minutes. Fold the dough a few times by using a dough scraper to scoop up one side of the dough and drape it over the rest of the dough.

croissants tartine bread 3

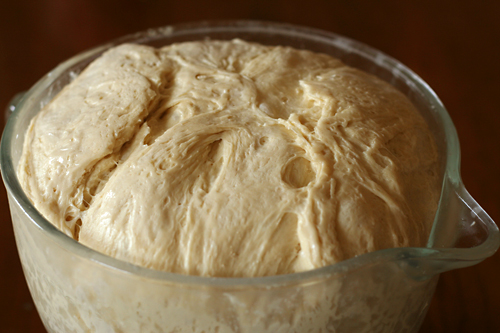
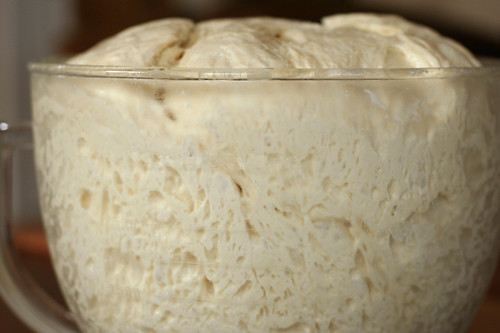
4. Allow the dough to ferment for 3 to 4 hours and give it another few turns every 30 minutes. This takes the place of kneading. Be more gentle with the turning toward the end of the rising time. The dough is ready when it’s slightly increased in volume and is full of air bubbles. Flatten the dough into a rectangle, wrap it in plastic wrap, and refrigerate for 2-3 hours.

croissants tartine bread 5

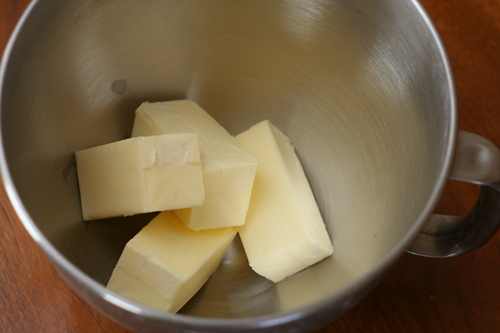
5. Just before rolling out the dough, cut the cold butter into cubes. Gradually adding the ½ cup flour, pound the butter with a rolling pin until it comes together into a cohesive mass. Alternatively, use a stand mixer fitted with the paddle attachment to mix the cold butter and flour. Mold the butter into a rectangle measuring 8 by 14 inches.

croissants tartine bread 6

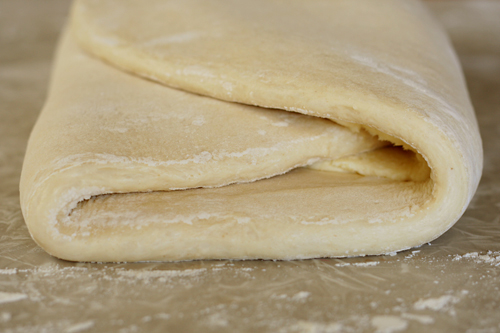
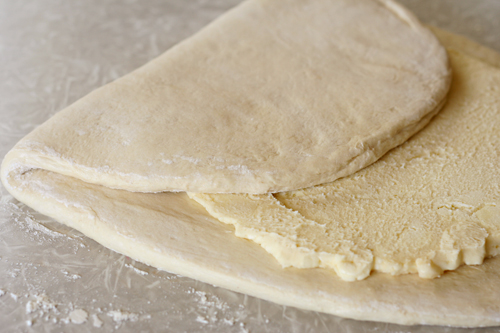
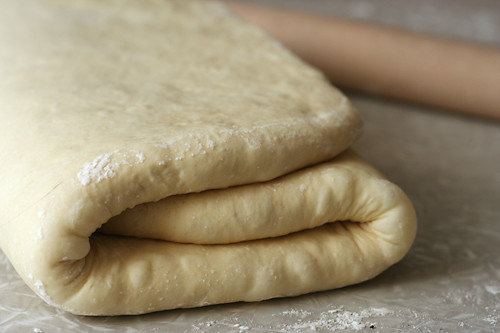
6. On a work surface dusted with flour, roll the dough out to a rectangle measuring 12 by 20 inches. Lay the butter block over the dough so that it covers about two-thirds of the dough. Fold the uncovered third of dough toward the center over the butter. Fold the other end of the dough, with the butter, over the center, as if you’re folding a letter. Turn the dough a quarter turn; roll it again into a 12 by 20-inch rectangle, then fold it in thirds. Wrap the dough in plastic wrap and refrigerate for 1 hour. (You can chill the dough longer, but you’ll need to let it warm up a few minutes before rolling so the butter isn’t too stiff.)

croissants tartine bread 10

7. Remove the dough from the refrigerator. Roll it out to a 12 by 20-inch rectangle, fold it in thirds, rotate it a quarter-turn, and repeat the rolling and folding. Chill for an hour. Repeat the rolling, folding, rotating, rolling and folding once more. Wrap the folded dough in plastic wrap and freeze it for 1-2 hours. If you don’t plant to finish the croissants until the next morning, transfer the dough to the refrigerator after a couple hours in the freezer. (You can store the dough in the freezer for several days at this point, letting it defrost overnight before using.)

croissants tartine bread 14

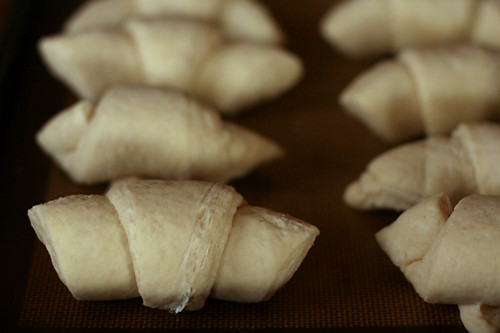
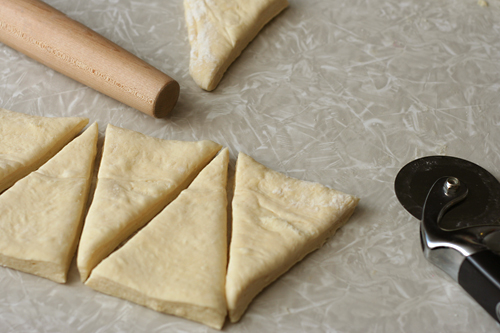
8. Roll the dough into a rectangle that is 18 by 24 inches and is about ½-inch thick. If the dough becomes very elastic, let it rest (preferably in the refrigerator) for several minutes before continuing the rolling. Cut the dough in half to form two 9 by 24-inch rectangles. Cut each rectangle into 8 triangles. Roll up each triangle, starting at the wide side. Transfer the croissants to a parchment-lined baking sheet, spacing them at least an inch apart. Cover them loosely and let rise until they are about 50 percent larger than their original size, about 2 hours. They will be firm, but puffed. (You can also refrigerate them overnight at this point, which is what I did.)

croissants tartine bread 15

9. Heat the oven to 425 degrees. Brush the croissants with the egg wash. Bake until they are deep golden brown, crisp, and flaky, about 30 minutes. Let cool slightly before serving.

croissants tartine bread 17

prosecco raspberry gelee

raspberry gelee 7

One New Year’s Eve, I was standing in line at the grocery store buying sushi rice (because I had a very exciting evening of cooking ahead of me to ring in the new year), when I heard the person behind me tell someone on her cell phone, “I’m buying vodka…and Grandma got the good jello!”

raspberry gelee 4The advantage of only making a half recipe – half a bottle of champagne to use up!

What, I wonder, is the “good jello”? Jell-o brand, and not store brand? I assure you that the two will make equally gag-worthy but redeemingly drunk-making jello shots.

raspberry gelee 2

I think I have found my own good jello, and it involves, as all good things must, bubbly wine. Not precisely prosecco, because apparently that Italian sparkling wine isn’t available in my area, but I’m sure my favorite New Mexico champagne will work just as well.

raspberry gelee 5

And good wine is key here, because very little is done to it. It’s mixed with raspberries, of course, and solidified, and slightly sweetened, and that’s it. In the end, it’s a dessert that tastes almost exactly like champagne with fruit, and the best part is that it even keeps its fizz. It keeps its buzz too, as I accidentally learned on a pleasant Sunday afternoon. I wouldn’t call this a jello shot, but it’s definitely good jello.

raspberry gelee 6

One year ago: Whole Wheat Bagels
Two years ago: Quick Baking Powder Pizza Crust
Three years ago: Eclairs

printer friendly recipe
Prosecco Raspberry Gelée (from Bon Appétit)

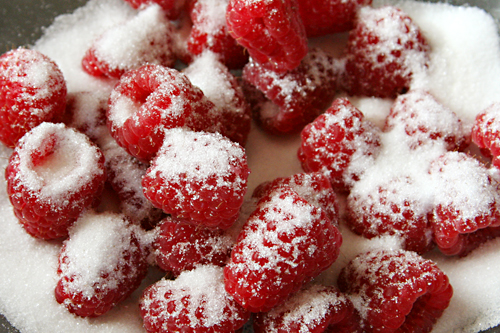
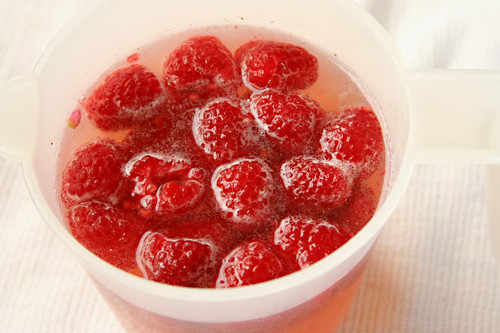
Mixing fresh raspberries with sugar doesn’t do much if you don’t cut or crush them, but just go with it. You’ll end up breaking them up slightly when you mix them with the rest of the ingredients, which will tint your gelée a pretty blush color.

I might add a couple tablespoons more sugar next time, just to make this feel more like dessert and less like a glass of wine that happens to be solid(ish).

I did use the orange-flower water, and I recommend it if you have it.

2 cups (9 ounces) fresh raspberries
¾ cup plus 2 tablespoons sugar, divided
2 tablespoons fresh lemon juice, divided
1 750-ml chilled bottle Prosecco (Italian sparkling wine), divided
3½ teaspoon unflavored gelatin (measured from two 1/4-ounce envelopes)
¾ teaspoon orange-flower water (optional)

1. Place the raspberries, ¼ cup sugar, and 1 tablespoon lemon juice in a medium bowl; toss gently to combine. Let stand at room temperature until the raspberries release their juices, tossing occasionally, 20-30 minutes.

2. Place ½ cup Prosecco in a small bowl. Sprinkle the gelatin over it and let stand 5 minutes to soften. Bring 1 cup Prosecco to a boil with the remaining ½ cup plus 2 tablespoons sugar, stirring until the sugar is dissolved. Remove from the heat; add the gelatin mixture and stir until dissolved.

3. Transfer the gelatin mixture to a large pitcher. Add the raspberries with their juices, the remaining Prosecco, the remaining 1 tablespoon lemon juice, and orange-flower water (if using), stirring to dissolve any sugar.

4. Using a slotted spoon, divide the raspberries equally among coupe glasses or other small wide shallow glasses or cups. Divide the Prosecco mixture equally among the glasses, about ¾ cup per glass. Chill gelée until firm, about 3 hours. (Gelées can be made up to 2 days ahead. Cover and keep chilled.)

raspberry gelee 8

golden brioche loaves

brioche 6

Saturday I had a cooking extravaganza. I chose five fun recipes and spaced out the eating and the cooking over the course of the evening. I spent hours in the kitchen, and I had a great time.

brioche 3

I spent most of Sunday in the kitchen as well, but it wasn’t planned, so it wasn’t as fun. Plus, I made bread dough for three types of bread, but one (completely delicious) grilled pita was the only bread I ate all day. It’s a good reminder that the best part of cooking is eating.

brioche 4

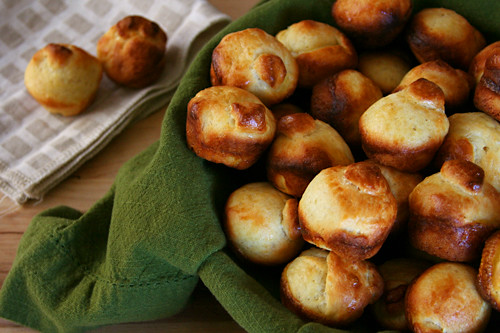
Of course it’s worth it in the end. I was thankful for the Sunday’s batch of bagels at work Monday morning, and I was grateful for the brioche on Tuesday. My coworkers were particularly grateful for the brioche. Who can say no to bread that’s this flakey, and most importantly, buttery?

brioche 9

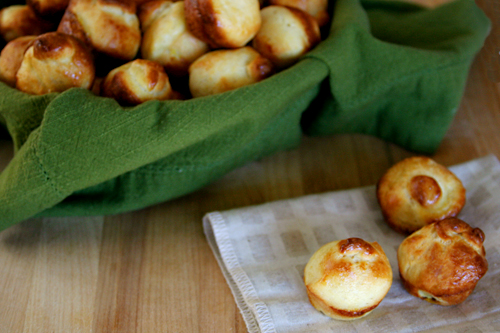
Margie chose brioche for Tuesdays with Dorie, and she has the recipe posted. Despite Dorie’s recommendation that the full recipe (enough for two loaves) of dough be made at once, I was able to make only half the recipe with no problems. For tiny brioches baked in a mini muffin pan, I divided the half recipe into 36 portions and baked them at 450 degrees for 12 minutes.

One year ago: Crunchy and Custardy Peach Tart
Two years ago: Applesauce Spice Bars
Three years ago: Chocolate-Banded Ice Cream Torte

brioche 7

caramel pots de creme

caramel pots de creme 4

Despite a few bumps in the road, caramel and I have always been on good terms. I’ve had a good, safe method that I’m comfortable with: add sugar and water to a pot, be careful not to get any crystals on the sides of the pot, stir in some corn syrup for safety, bring to a simmer, be careful to brush down any crystals on the sides of the pot, watch carefully while it darkens, be careful to swirl the pan instead of stir with anything that might have sugar crystals on it. It worked…as long as I was careful.

caramel pots de creme 1

I knew there was this no-water method, in which sugar is melted directly, instead of dissolved in water first. But it seemed so much safer to add water and dissolve the sugar first, despite all the being careful that that method entailed. I assumed I’d try the other method eventually, but, for years, I was nervous.

I finally took the plunge this weekend, and, friends? Dive right in, because the water is just fine.

caramel pots de creme 2

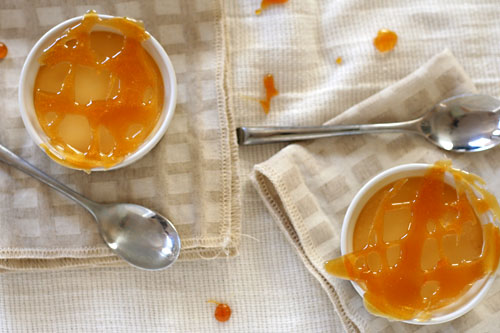
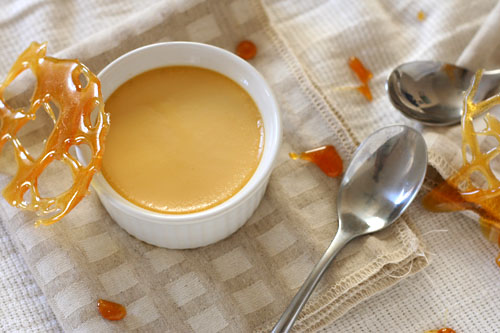
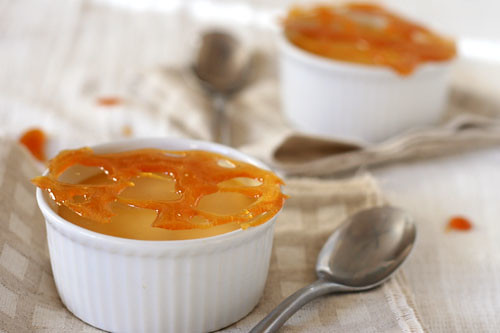
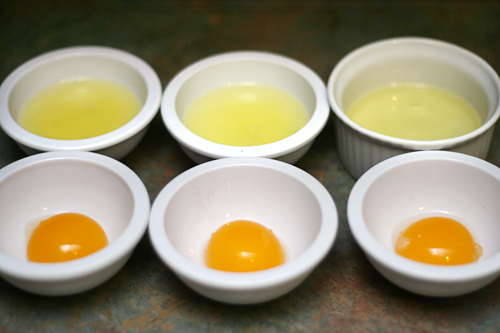
Directly melting the sugar is so much easier! Why does anyone bother with that troublesome water method? It takes twice as long, and there’s all this being careful to be careful about. Just put the sugar in a pot, turn the heat on, stir when it starts to melt and keep stirring as it darkens, which takes just a few minutes. And then if you want a real treat, mix in some heavy cream and eggs for a smooth, creamy, thick custard that has a hint of burnt sugar – a hint you hardly had to work for.
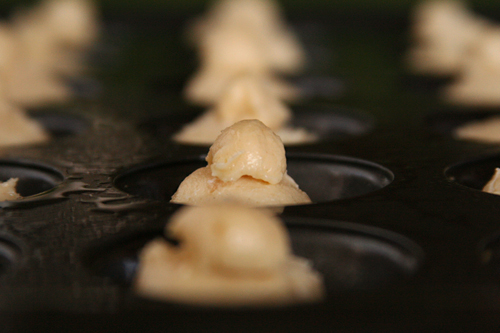
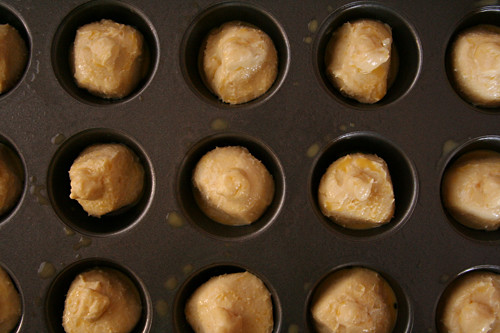
Peggy chose this recipe for Tuesdays with Dorie, and she has the recipe posted. I added a hefty pinch of salt to balance all that sugar.

One year ago: White Chocolate Brownies
Two years ago: Cappuccino Muffins
Three years ago: French Chocolate Brownies

caramel pots de creme 3

chocolate mousse comparison

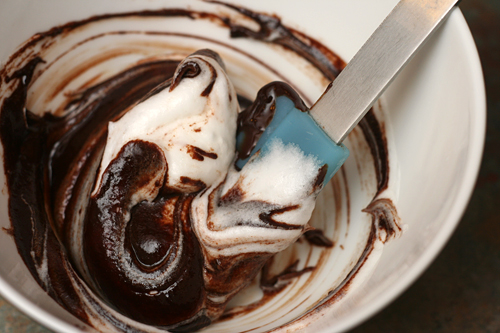
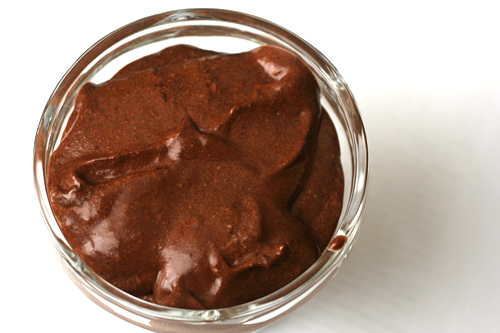
I realized something potentially important with this comparison. When Dave and I and whoever else participate in comparisons, we just dive in and start throwing out adjectives. That’s never been a problem before, but this time, Dave and I had some confusion over what we each wanted in a mousse. Perhaps my tasters and I should clarify beforehand what we’re looking for. I know I wanted an exceptionally chocolately flavor and an exceptionally light texture. I don’t think Dave knew what he wanted…or even what chocolate mousse is supposed to be.

I compared David Lebovitz’s recipe from A Sweet Life in Paris (DL), Cooks Illustrated’s Premium Chocolate Mousse recipe from 2006 (CI Premium), and Cooks Illustrated’s older Chocolate Mousse recipe (found in The New Best Recipe) (CI). It drives me crazy when Cooks Illustrated publishes multiple recipes for the same thing without referencing the previous recipe. I’m always left wondering which is the better version. What better way to find out than to make them both?

DL – This recipe is simple: chocolate melted with water, egg yolks added, beaten egg whites folded in. I haven’t read A Sweet Life and couldn’t find this recipe on David’s blog, but according to Annie, he explains in his book that this is the most traditional version of chocolate mousse.

CI Premium – This recipe is designed specifically for fancy schmancy chocolate. (I was using Valrhona.) The recipe contains the chocolate, water, and eggs called for in Lebovitz’s recipe, but spices things up with cocoa (balanced by the addition of sugar), brandy, and espresso powder. Folding in whipped cream lightens the mixture.

CI – Unlike the other two recipes, this one contains butter and no water. In addition to the requisite chocolate and eggs, it includes coffee (or alcohol), vanilla, sugar and whipped cream.

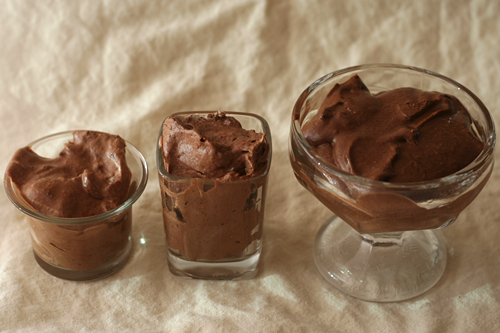
DL – Lightened by only beaten egg whites and not whipped cream, this was the heaviest mousse of the three. It was thicker, grainy, and more solid, with a cocoa-like flavor (despite containing no cocoa) and a bitter aftertaste. For Dave, it was too much – too rich and too dense.  For me, it just wasn’t as light as I want my mousse.

CI Premium – This was softer and sweeter than the other mousses. Dave thought it was the most balanced.

CI – This was light and airy and chocolately, and for me, perfect in every way. I love its bittersweetness, I love the meringue bubbles that pop in my mouth, I love how it’s firm but light.

The confusion came when Dave said that none of them were as good as my standard recipe – but I hadn’t made chocolate mousse in nearly four years, and CI’s recipe from The New Best Recipe was what I used then. Furthermore, Dave’s favorite of the three was CI’s Premium recipe, because it was “puddinglike”. But a mousse shouldn’t be puddinglike (and I confess it probably hadn’t chilled long enough).

It looks like for this comparison, there is only one opinion that matters, and that is mine, of course. Good thing Cooks Illustrated’s Chocolate Mousse was so clearly the winner. Well, I was the winner too, because I got to eat three delicious chocolate mousses – and one perfect mousse – in one sitting.


left to right: CI Premium, CI, DL

One year ago: Chicken Mushroom Spinach Lasagna
Two years ago: Pecan Sour Cream Biscuits
Three years ago: Spaghetti and Meatballs

Printer Friendly Recipe
Chocolate Mousse
(from Cooks Illustrated’s The New Best Recipe)

6 ounces bittersweet or semisweet chocolate, chopped coarse
4 tablespoons (½ stick) unsalted butter
Pinch salt
1 teaspoon vanilla extract
2 tablespoons strong coffee or 4 teaspoons brandy, orange-flavored liqueur, or light rum
4 large eggs, separated
2 tablespoons sugar
½ cup chilled heavy cream, plus more for serving

1. Melt the chocolate in a medium bowl set over a large saucepan of barely simmering water or in an uncovered Pyrex measuring cup microwaved at 50 percent power for 3 minutes, stirring once at the 2-minute mark. Whisk the butter into the melted chocolate, 1 tablespoon at a time. Stir in the salt, vanilla, and coffee until completely incorporated. Whisk in the yolks, one at a time, making sure that each is fully incorporated before adding the next; set the mixture aside.

2. Stir the egg whites in a clean mixing bowl set over a saucepan of hot water until slightly warm, 1 to 2 minutes; remove the bowl from the saucepan. Beat with an electric mixer set at medium speed until soft peaks form. Raise the mixer speed to high and slowly add the sugar; beat to soft peaks. Whisk a quarter of the beaten whites into the chocolate mixture to lighten it, then gently fold in the remaining whites.

3. Whip the cream to soft peaks. Gently fold the whipped cream into the mousse. Spoon portions of the mousse into 6 or 8 individual serving dishes or goblets. Cover and refrigerate to allow the flavors to blend, at least 2 hours. (The mousse may be covered and refrigerated for up to 24 hours.) Serve with additional whipped cream.

Printer Friendly Recipe
Dark Chocolate Mousse
(from Cooks Illustrated)

8 ounces bittersweet chocolate, 62 to 70 percent cacao, chopped fine
3 tablespoons granulated sugar
2 tablespoons cocoa powder, preferably Dutch-processed
1 teaspoon instant espresso powder
7 tablespoons water
1 tablespoon brandy
3 large eggs, separated
⅛ teaspoon table salt
1 cup heavy cream, plus 2 more tablespoons (chilled)

1. Melt the chocolate, 2 tablespoons sugar, cocoa powder, espresso powder, water, and brandy in a medium heatproof bowl set over a saucepan filled with 1 inch of barely simmering water, stirring frequently until smooth. Remove from the heat.

2. Whisk the egg yolks, 1½ teaspoons sugar, and salt in a medium bowl until the mixture lightens in color and thickens slightly, about 30 seconds. Pour the melted chocolate into the egg mixture and whisk until thoroughly combined. Let cool until slightly warmer than room temperature, 3 to 5 minutes.

3. In the clean bowl of a standing mixer fitted with the whisk attachment, beat the egg whites at medium-low speed until frothy, 1 to 2 minutes. Add the remaining 1½ teaspoons sugar, increase the mixer speed to medium-high, and beat until soft peaks form when the whisk is lifted, about 1 minute. Detach the whisk and bowl from the mixer and whisk the last few strokes by hand, making sure to scrape any unbeaten whites from the bottom of the bowl. Using the whisk, stir about one-quarter of the beaten egg whites into the chocolate mixture to lighten it; gently fold in the remaining egg whites with a rubber spatula until a few white streaks remain.

4. Whip the heavy cream at medium speed until it begins to thicken, about 30 seconds. Increase the speed to high and whip until soft peaks form when the whisk is lifted, about 15 seconds longer. Using a rubber spatula, gently fold the whipped cream into the mousse until no white streaks remain. Spoon the mousse into 6 to 8 individual serving dishes or goblets. Cover with plastic wrap and refrigerate until set and firm, at least 2 hours. (The mousse may be covered and refrigerated for up to 24 hours.)

Printer Friendly Recipe
Chocolate Mousse
(from David Lebovitz via Annie’s Eats)

I just got David Lebovitz’s The Sweet Life in Paris, which contains this original recipe, in the mail. I’ve copied the recipe in his words. I also noticed that he calls for 2 tablespoons brandy or coffee, which I didn’t use.

7 ounces bittersweet or semisweet chocolate, finely chopped
3 tablespoons water
4 large eggs, at room temperature, separated
Pinch of coarse salt

1. In a medium-sized bowl set over a pan of barely simmering water, begin melting the chocolate with the water, making sure not to let it get too hot. Take the bowl off the heat when the chocolate is almost completely melted, then stir gently until smooth. Set aside.

2. In a clean, dry bowl, whip the egg whites with the salt until they form stiff peaks when you lift the whip. They should still be smooth and creamy, not grainy.

3. Stir the egg yolks into the chocolate, then fold one-third of the whites into the chocolate to lighten it up.

4. Fold the remaining egg whites into the chocolate just until there are no visible streaks of whites. Cover the bowl with plastic wrap and chill for at least 3 hours. (You can also divide the mousse into individual custard cups, ramekins, or goblets before serving.)


chocolate pots de creme

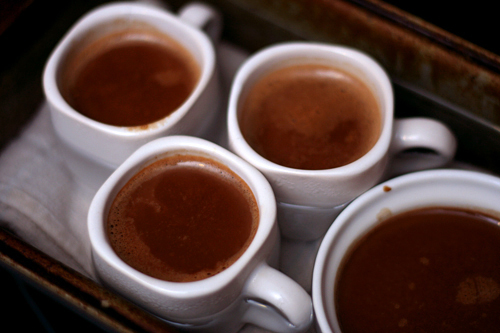
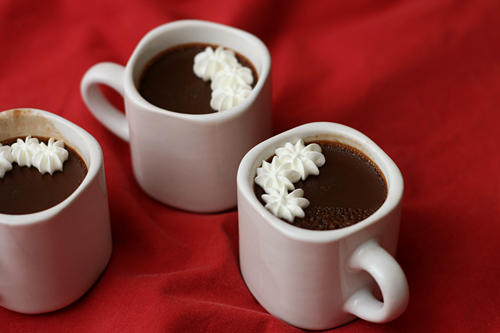
I optimistically bought a container of fancy full-fat yogurt to replace dessert this week, thinking that a few days without cookies and cake would do me good. I didn’t plan for the extra couple of chocolate pots de crème that would need to get eaten, and I forgot that I wanted to bake cookies to bring to work one day this week. I have good intentions of skipping dessert, but my love of baking is always my undoing.

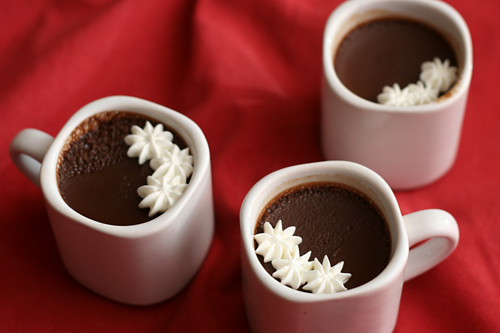
Inasmuch as a tiny espresso mug of chocolate pot de crème can be anyone’s undoing. This simple mixture of chocolate, milk, cream, and egg yolks is rich and certainly best served in tiny servings if you want to retain any bit of those good intentions. But where’s the fun in that?

Christine chose this for Tuesdays with Dorie, and she has the recipe posted. I love how rich and creamy it is but wish the chocolate flavor was more intense.

One year ago: Toasted-Coconut Custard Tart
Two years ago: Chocolate Whiskey Cake.


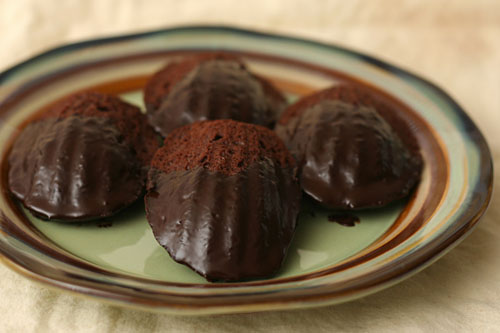
chocolate madeleines

These madeleines made me crave chocolate mousse. If you aren’t a batter eater, you probably don’t know what I’m talking about. You wouldn’t know how chocolately and fluffy and rich this batter was.  And if you aren’t a batter eater, I’m jealous, truly. I’d be a size smaller if I didn’t love cookie dough.

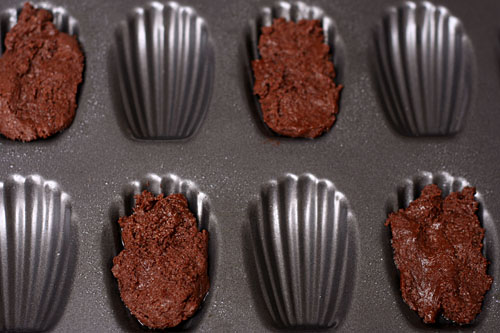
But I’m glad they were baked, because it gave me a chance to finally use the madeleine pan I got for Christmas – two years ago. I do feel silly having a pan I’ve never used for so long, but at least it’s easy to store and relatively cheap.  And honestly, seeing it in the cabinet every time I reached for my mini-muffin pan has made me happy.

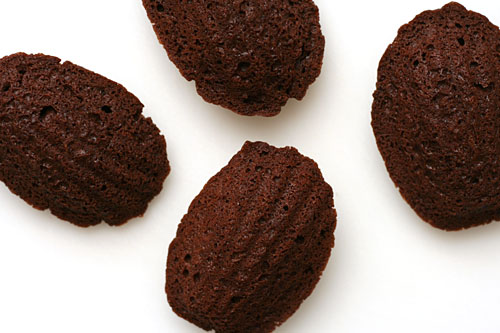
And now I’m using it. For chocolate! You just can’t go wrong with little clam-shaped chocolate cakes, and dipping them in ganache is even better. Probably I should use the pan again a little sooner than two years from now. But first I need to make chocolate mousse.

Margo chose this recipe for Tuesdays with Dorie, and she has it posted on her site. I halved the recipe (and ate about 2 madeleines worth of batter).  I “filled” the madeleines with strained cherry jam instead of marshmallow fluff; however, I found that the amount of jam I was able to stuff into each little cake was negligible.

One year ago: Mrs. Vogel’s Sherben
Two years ago: Savory Corn and Pepper Muffins