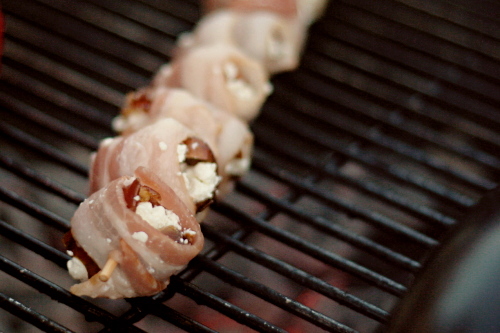
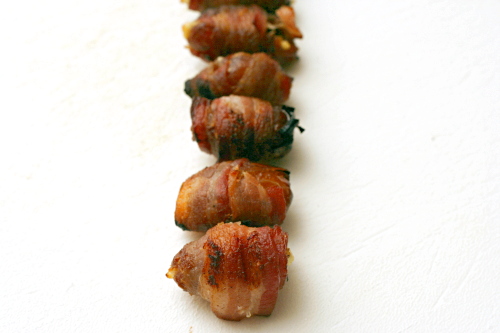
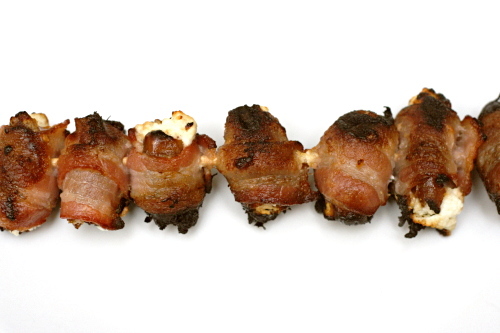
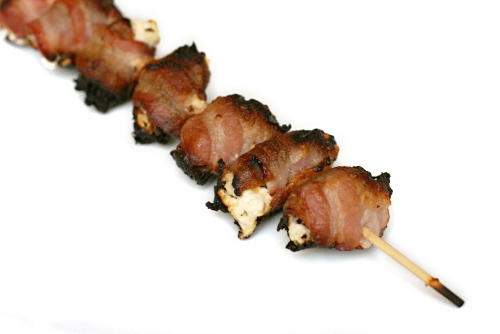
bacon-wrapped goat-cheese-and-almond-stuffed dates

Stuffed dates are part of one my favorite days recently – one of those that, for whatever reason, just ended up being particularly awesome. Some great friends visited us in Philadelphia shortly before we moved. After walking around the famous historical sites and before seeing one of my favorite musicians play; before walking up the famous steps to the art museum and much before eating cheesesteaks at 2am, we ate dinner at Alma de Cuba.

While we all loved our entrees, our drinks, and the ceviche, the star of the show was the bacon-wrapped almond-stuffed dates. Is transcendent too over-the-top a description? It seems appropriate for something that caused each of us to close our eyes and exclaim with every bite.

I had kind of assumed that my bacon-wrapped almond-stuffed date days were behind me when we moved from Philadelphia. I don’t know why it never occurred to me that I could make them myself. I certainly never thought it would be so easy.

And just as good! I mean, it’s missing the friends-visiting, concert-going, downtown-exploring mystique, but it retains other important things – salty bacon, sweet dates, tangy goat cheese, crunchy almonds. And now it isn’t a once in a lifetime treat, like those standout days are.

One year ago: Honey Yogurt Dip
Two years ago: Salmon Cakes with Hashed Brussels Sprouts and Flaky Biscuits

Printer Friendly Recipe
Bacon-Wrapped Goat-Cheese-and-Almond-Stuffed Dates (rewritten from Beantown Baker)

Makes 32 appetizers

32 dates, pitted
4 ounces goat cheese
32 almonds (about ⅓ cup)
16 slices (about 1 pound) bacon, halved lengthwise

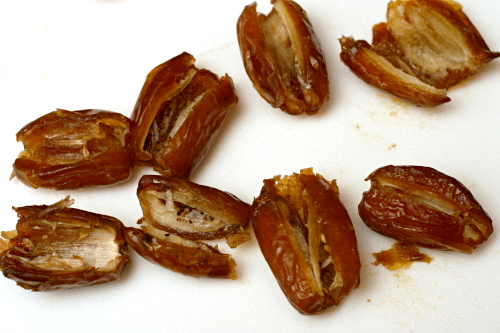
1. With a paring knife, cut through one long edge of each date; unfold the dates to open them up. Use your fingers to stuff both sides of the date with goat cheese. Push an almond into the goat cheese; close up the dates. Wrap each stuffed date with a piece of bacon and secure with a toothpick or skewer.

2. If you’re broiling the dates, put them on a rimmed baking sheet. Grill the dates over medium-hot coals or broil them 5 inches from the heating unit until the bacon is cooked through, about 5 minutes per side. Serve immediately or at room temperature.
oatmeal raisin muffins

I must be growing up. Since when do I like raisins? At least I still think green peppers are blech. If that ever changes, I know I’ll be ready to pick up my cane and trade in my real teeth for the kind you take out at night to clean. Oh, and buy one of those plastic bag things to wrap around my head when it rains.

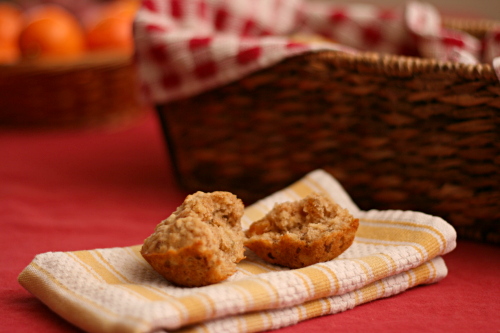
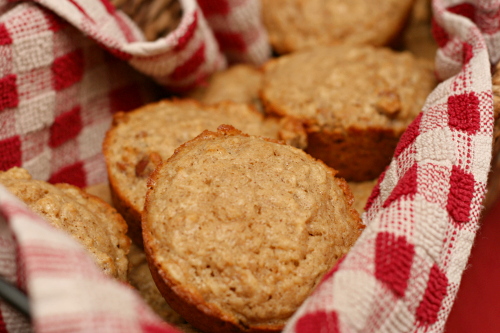
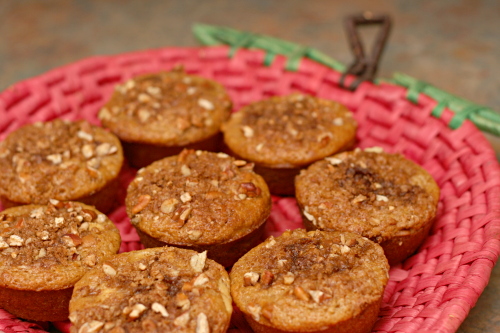
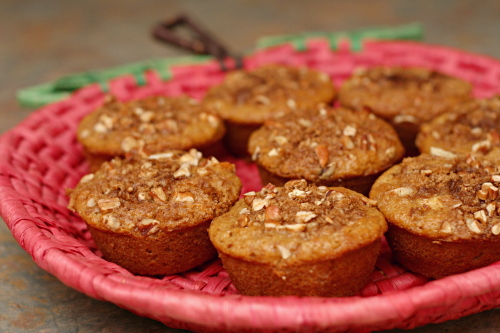
Granted, Dave pointed out that these are particularly good raisins. Even so, these muffins are wonderful – soft and fluffy and tender, and the raisins add some tartness and the pecans a bit of crunch, and all together, kinda sorta perfect actually!

They’re not too bad for you – oats are whole grains, right? I replaced a third of the flour with whole wheat pastry flour, a great trick with muffins. Let’s forget about the butter, okay? You have to pay a small price for muffins this good.

It seems inconceivable, but could oatmeal raisin cookies be my next favorite thing? I did buy yellow peppers for the fajitas we’re making for dinner tonight, instead of the green peppers called for in the recipe, so I feel safe there. Still young! (And picky, apparently.)

Two years ago: Potstickers

Printer Friendly Recipe
Oatmeal Raisin Muffins (adapted from Morning Food, by Margaret S. Fox and John B. Bear, via recipezaar)

Makes 12

I substituted ¼ cup whole wheat pastry flour for an equal amount of white flour, and the muffins were still wonderful.

1 cup old-fashioned oats
1 cup buttermilk
¾ cup (3.6 ounces) all-purpose flour
½ teaspoon baking powder
½ teaspoon salt
¾ teaspoon baking soda
1 teaspoon cinnamon
pinch nutmeg
½ cup pecans or walnuts, chopped
2 eggs, beaten lightly
⅓ cup (2.35 ounces) packed light brown sugar
6 tablespoons melted butter
½ cup raisins

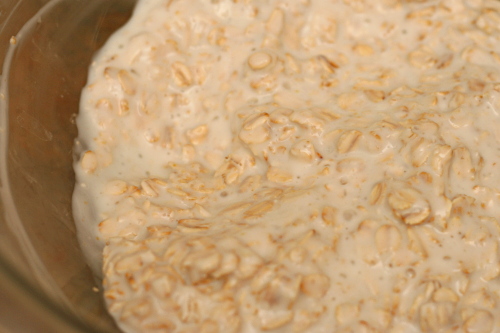
1. Combine the oats and buttermilk and let stand 30 minutes. Adjust a rack to the middle position and heat the oven to 400ºF. Spray the bottoms only of a 12-cup muffin pan with nonstick spray or line with paper liners. Combine the flour, baking powder, salt, baking soda, cinnamon, and nutmeg.

2. Spread the nuts evenly on a baking sheet. Bake, shaking the pan every couple of minutes, until fragrant, about 5 minutes. Transfer the nuts to a small bowl. (If you leave them on the hot pan, they’ll continue to cook and might burn.)

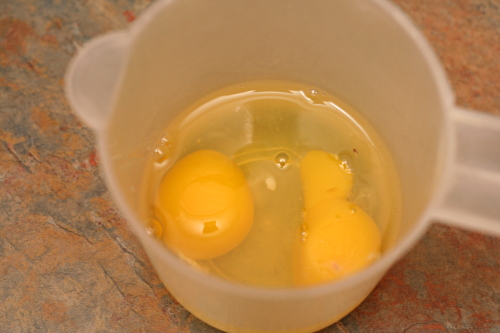
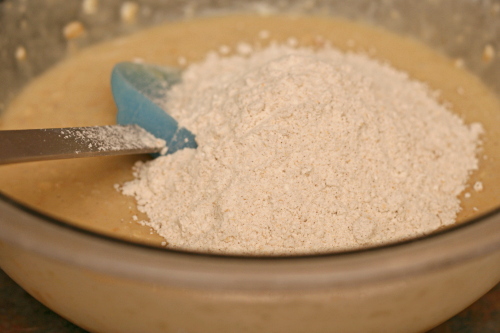
3. Add the eggs to the oatmeal mixture one at a time, whisking thoroughly after each addition. Whisk in the sugar, then the butter. Switch to a rubber spatula and fold in the flour mixture. Once the flour is dispersed, but not completely moistened, gently stir in the raisins and nuts.

4. Divide the batter evenly between the muffin cups. Bake until a toothpick inserted into a muffin comes out clean, 13-18 minutes. Set the pan on a rack to cool slightly, about 5 minutes, then use a thin-bladed knife to remove the muffins from the pan.

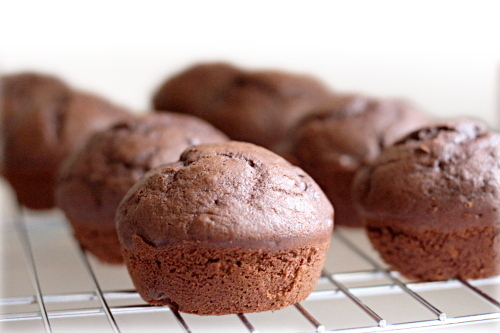
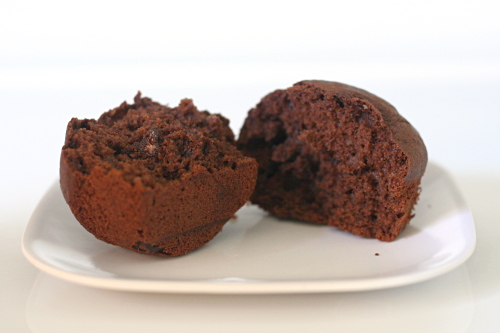
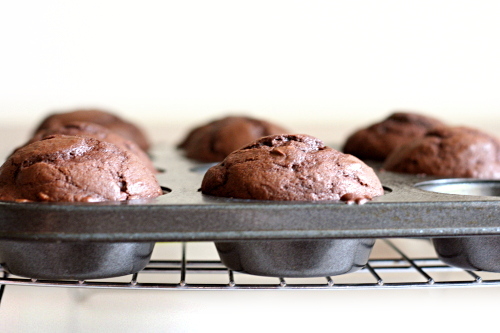
coco-nana muffins

I made these, oh, a year and a half ago. And the file’s just been sitting around waiting for someone to choose them for Tuesdays with Dorie. Actually, it was the first recipe I ever made from Dorie Greenspan that was not specifically for TWD. I had told myself that I would only bake from the book with the group, but I realized that was stupid when I wanted to make muffins and happened to have all the ingredients for these.

Obviously they’re not fresh in my mind, plus I usually just eat one muffin per batch. I freeze the rest and Dave takes one to work everyday. I do remember liking these though, and indeed, my notes say “good; great texture; mostly chocolate, hint of banana.” Sounds perfect to me.

Steph has the recipe posted.

One year ago: Fresh Ginger and Chocolate Gingerbread

banana cream pie

Dave lucked out this year when his annual birthday pie didn’t come out quite right. Because then I made another one, and then when that one wasn’t perfect either, I made another one.

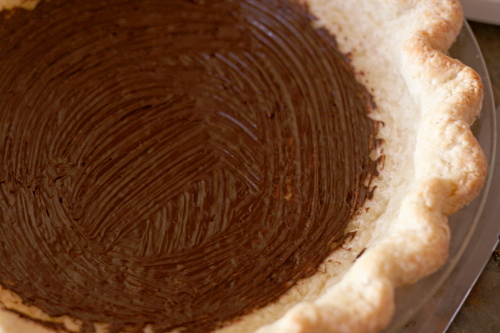
The recipe is Tartine’s, and as usual, they take a classic and kick it up a notch. Their banana cream pie has the traditional flaky crust, pastry cream, bananas, and whipped cream. Then they add caramel and a thin layer of chocolate over the crust to keep the pastry cream from compromising the crust’s crispness.

The chocolate layer in my first pie was way too thick. It was like a Hershey bar on the bottom of the pie. It was impossible to cut. Dave compared it to armor. The second time, I slimmed down the chocolate, but ran out of sugar when I was making the caramel. I thought I’d come up with a way around the sugar issue, but it must not have worked because the caramel layer was hard and chewy. If the chocolate had been like leather armor over the crust, this was chain mail.

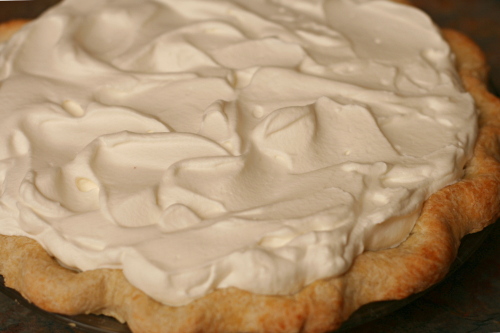
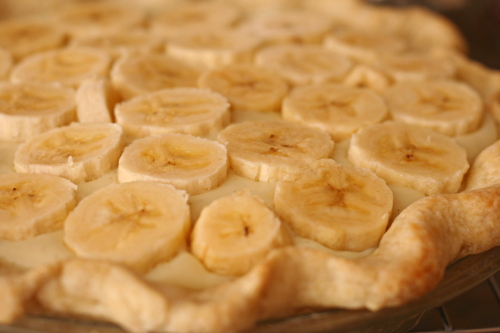
I tried one more time. And, finally! A very thin chocolate layer, the added subtleties of caramel, two layers of sliced bananas, Tartine’s wonderful light pastry cream, all topped with sweet whipped cream. Perfection. Although after my third banana cream pie in as many weeks, I am so ready for some cake or something. I’m not sure Dave agrees.

One year ago: Crispy Baked Chicken Strips
Two years ago: Moo Shu Pancakes

Printer Friendly Recipe
Banana Cream Pie (completely rewritten and slightly tweaked from Tartine’s cookbook)

Full disclosure:

1) The pastry cream pretty much always curdles for me before it boils, but I just pour it into the strainer set over a bowl, whisk like crazy and strain it, and it always ends up smooth and delicious.

2) Working with small amounts of caramel can be tricky, but I had no problems with these quantities. If you see crystals forming when the sugar mixture is bubbling, discard those ingredients and start over. If you’re worried about it working right, you might want to make twice the amount listed here and save half of it for another use.

3) I’m too lazy to set up a makeshift double boiler for 1 ounce of chocolate and I’m biased against microwaves for some reason, so I just melt the chocolate in a very small saucepan over low heat while stirring constantly.

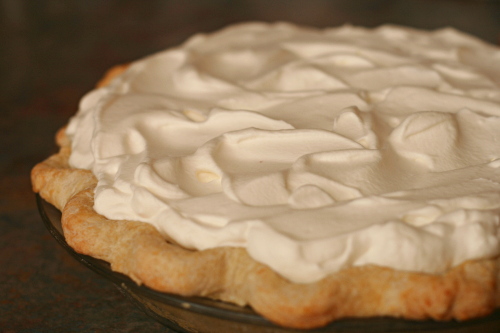
4) The photo of the slice shows only half the whipped cream called for in the recipe, because I ran out of cream.

Pastry cream:
2 cups whole milk
¼ teaspoon salt
½ vanilla bean, cut in half and seeds scraped out
4 tablespoons cornstarch
4 ounces (½ cup + 1 tablespoon) granulated sugar
2 large eggs
4 tablespoons unsalted butter, cut into 8 cubes

Caramel:
5 tablespoons granulated sugar
1 tablespoon water
½ tablespoon light corn syrup
pinch salt
3 tablespoons cream
¼ teaspoon lemon juice
½ teaspoon vanilla extract
1 tablespoon butter, cut into four pieces

Whipped cream:
1 cup heavy cream, cold
2 tablespoons granulated sugar
1 teaspoon vanilla extract

Assembly:
1 pie crust for single-crust 9-inch pie, fully baked and cooled
1 ounce chocolate, finely chopped
3 bananas, sliced ¼-inch thick

1. For the pastry cream: Pour a bit of water into a medium saucepan and dump it out. I know it sounds strange, but wetting the bottom of the pot before adding the milk really helps keep the milk from forming a browned layer on the bottom. Add the milk, salt, and vanilla seeds to the pot and bring to a boil over medium-high heat. Meanwhile, whisk together the sugar and cornstarch in a medium bowl, then whisk in the eggs. When the milk boils, pour just a bit of it into the egg mixture, whisking constantly. Keep whisking and very gradually add the rest of the milk to the egg mixture. Pour the mixture back into the pot and whisk constantly over medium heat until the mixture thickens and just starts to boil; it will only take a few minutes (see note #1). Quickly pour the pastry cream into a fine-mesh strainer set over a medium bowl (I use the same bowl I originally mixed everything in). Use a rubber spatula to push the pastry cream through the strainer. Let the pastry cream cool for a few minutes, occasionally stirring it, and then mix in the butter, 2 cubes at a time. Press plastic wrap directly on the surface of the pastry cream and refrigerate it until completely chilled, 3-4 hours or overnight.

2. For the caramel: Pour the sugar into the center of a tall, heavy-bottomed medium saucepan (see note #2). Carefully pour the water and corn syrup over the sugar. Gently stir the mixture with a clean spatula. Place the saucepan over medium heat and bring the mixture to a boil. Before it boils, you can stir it a bit if it seems to be heating unevenly and the sugar isn’t dissolving, but once it starts to boil, stop stirring. You can gently swirl the pan if it seems to be cooking unevenly. Once the mixture becomes a light amber color, remove it from the heat and add the cream. It will bubble up a lot, so stand back. Give it a few seconds to die down, then whisk the cream into the caramel. Add the vanilla extract and lemon juice, then stir in the butter one cube at a time. Pour the caramel into a small dish.

3. Pour about an inch of water into a small saucepan and bring to a simmer (see note #3). Place the chocolate in a small heatproof bowl, place the bowl over the simmering water, and heat, stirring pretty often, until the chocolate is melted. Pour the chocolate into the cooled crust and use a pastry brush to spread it evenly. Set the chocolate aside to set for a few minutes.

4. For the whipped cream: Place the mixer bowl and whisk attachment (or beaters for a handheld mixer) in the freezer for at least 10 minutes. When the bowl is cold, add the cream and beat at high speed until soft peaks form. Add the sugar and vanilla and continue beating at high speed until firm peaks form.

5. Pour the warm-not-hot caramel over the chocolate and spread it fairly evenly. Spread half the pastry cream over the caramel, then arrange half of the banana slices over the pastry cream. Repeat with the remaining pastry cream and bananas. Spread the whipped cream over the bananas. Refrigerate the pie at least 4 hours or overnight, until set.

apple muffins

I don’t know why I feel the need to state this every year, but, again, for the record: I am pro New Year’s Resolution. Yes, we all know that you can resolve to make changes any day of the year. So what? New Year’s Day is the official last day of holiday craziness. It’s the perfect day to start thinking about new routines.

Besides, this year, I also moved from the East Coast to the Southwest; from a suburb of one of the country’s largest cities to a very small, very isolated town; from an apartment to a house; from the subtropics to the desert. Dave is starting a new job; I’ll be starting one new job this week, plus interviewing for two others. I didn’t just make a New Year’s resolution; I made a resolution for this new life.

My goal is, in a nutshell, to be perfect. That sounds obtainable, right? More realistically, it’s to be a person I can be proud of. And, yes, part of that, the easier part actually, involves fitness.

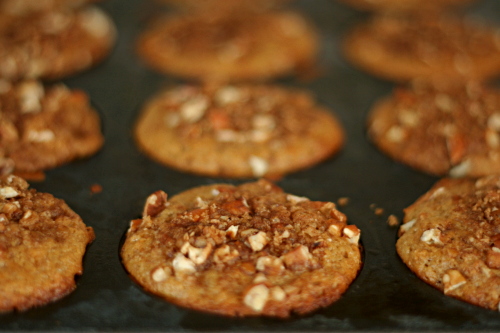
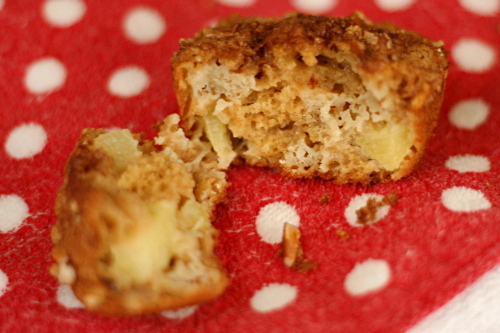
Fortunately, eating healthy isn’t a bit challenging when there are recipes like this one. Nothing about these indicates that they’re better for you than most muffins. But with whole wheat pastry flour substituting for half of the flour and applesauce taking the place of some of the fat, they’re downright wholesome. They’re also fluffy and light and delicious.

Muffins = one small step toward a more perfect me! Now I just need to keep it up for ever or so, plus be more productive, creative, organized, active, outgoing, focused, positive, motivated…

Two years ago: Macaroni and Cheese, Banana Cream Pie

Printer Friendly Recipe
Apple Muffins (from Ellie Krieger)

12-16 muffins

My batter seemed a little too liquidy. Next time I’ll reduce the buttermilk to ½ cup.

The original recipe says it makes 12 muffins, but I had extra batter.

cooking spray
¾ cup (5.25 ounces) plus 2 tablespoons packed brown sugar
¼ cup chopped pecans
½ teaspoon ground cinnamon
1 cup (4.8 ounces) all-purpose flour
1 cup whole-wheat pastry flour
1 teaspoon baking soda
½ teaspoon salt
¼ cup canola oil
2 large eggs
1 cup natural applesauce
1 teaspoon vanilla extract
¾ cup lowfat buttermilk
1 Golden Delicious apple, peeled, cored and cut into ¼-inch pieces

Preheat oven to 400 degrees. Coat a 12-capacity muffin pan with cooking spray.

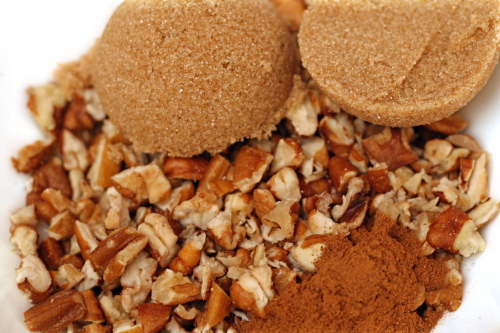
In a small bowl, mix together 2 tablespoons of the brown sugar, the pecans and cinnamon.

In a medium bowl, whisk together the all-purpose and whole-wheat flour, baking soda and salt.

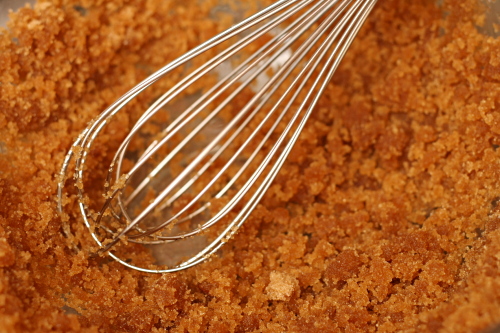
In a large bowl, whisk the remaining ¾ cup sugar and oil until combined. Add the eggs, one at a time, whisking well after each addition. Whisk in the applesauce and vanilla.

Whisk in the flour mixture in two batches, alternating with the buttermilk. Whisk just until combined. Gently stir in the apple chunks.

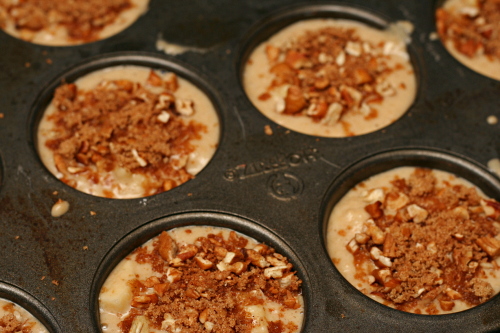
Pour the batter into the prepared muffin pan and sprinkle with the pecan mixture. Tap the pan on the counter a few times to remove any air bubbles. Bake for 20 minutes or until a wooden pick inserted in center of one of the muffins comes out clean.

Let cool on a wire rack for 15 minutes. Run a knife around the muffins to loosen them and unmold. Cool completely on the rack.

brioche raisin snails

Copy of IMG_6438

I’m very comfortable cutting recipes in half. Some people say that they don’t like to deal with the math, but I come from a family of three engineers and a math teacher, so I can handle math. Plus, I’m cooking for just two people now, and I lived alone for six years before that, so my options are either to make half-recipes, throw a lot of food away, or eat the same thing for weeks. Given those choices, I take fractions all the way.

Copy of IMG_6424

Even if a recipe specifically recommends making the full recipe because smaller amounts are harder to work with – eh. Whatever. I usually cut it in half anyway. Cakes, caramel, bread dough, whatever. You’d be surprised what you can get away with, although you might, as in this case, have to split the occasional egg in half.

Copy of IMG_6425

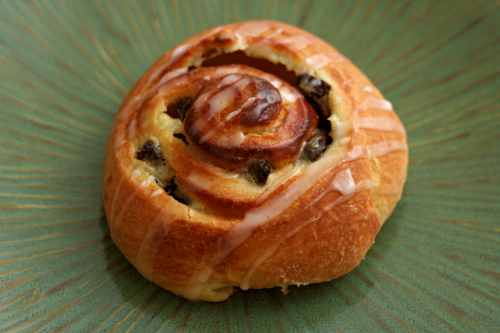
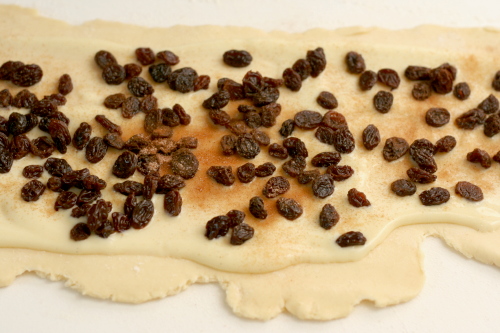
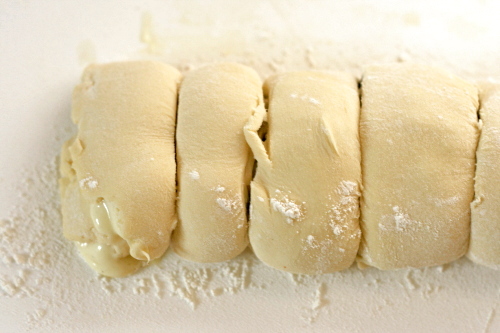
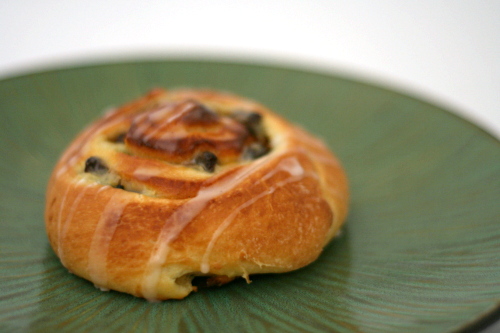
Dorie’s brioche raisin snails are a rich yeast dough with pastry cream and flambéed raisins rolled into it. It probably sounds like quite a bit of work, and frankly, it is, but it’s a nice change from cinnamon rolls if you find yourself making those often.

Copy of IMG_6426

If you follow the recipe exactly, you’ll end up with twice as much brioche as you need for the snails, so you can always make some of Dorie’s fantastic sticky buns too. Or, just cut the brioche recipe in half like I did. Does anyone really need two different kinds of buttery tender breakfast breads tempting them at once?

Copy of IMG_6429

One year ago: Pumpkin Ginger Muffins

Printer Friendly Recipe
Brioche Raisin Snails
(from Dorie Greenspan’s Baking: From My Home to Yours)

Makes about 12 snails

You’ll only need half of the brioche dough, and while Dorie recommends making the full recipe and saving half for later (the dough takes well to freezing), I found that I could successfully make half the recipe if I used a faster mixing speed than the recipe recommends. If you find that there isn’t enough dough for the dough hook to work effectively, knead with the paddle attachment, switching to the dough hook for just the last few minutes of kneading. The full recipe is presented below.

You can shape the rolls into a log and then wrap the log well and freeze it. When you’re ready to bake, let the log defrost in the refrigerator overnight, then cut the rolls and let them rise at room temperature.
Brioche:
2 packets (4½ teaspoons) instant yeast
⅓ cup warm water
⅓ cup warm milk
3¾ cups (27.6 ounces) all-purpose flour
2 teaspoons salt
3 large eggs, at room temperature
¼ cup sugar
24 tablespoons (3 sticks) unsalted butter, at room temperature but still slightly firm

Pastry cream:
1 cup whole milk
3 large egg yolks
¼ cup (1.75 ounces) sugar
2½ tablespoons cornstarch, sifted
¾ teaspoon pure vanilla extract
1½ tablespoons unsalted butter, at room temperature, cut into bits

Assembly:
1 cup moist, plump raisins
3 tablespoons dark rum
1½ teaspoons sugar
Scant ¼ teaspoon ground cinnamon

Glaze:
¾ cup confectioners’ sugar
about 1 teaspoon water
drop of pure vanilla extract

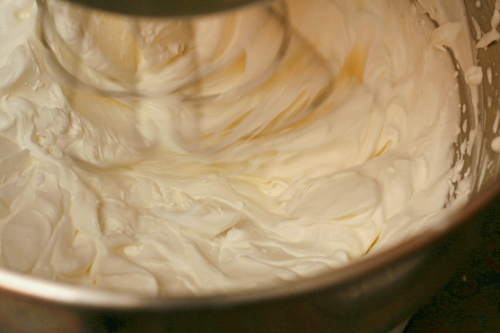
For the brioche: Put the yeast, water, and milk in the bowl of a stand mixer and, using a wooden spoon, stir until the yeast is dissolved. Add the flour and salt, and fit the mixer with the dough hook, if you have one. Toss a kitchen towel over the mixer, covering the bowl as completely as you can – this will help keep you, the counter and your kitchen floor from being showered in flour. Turn the mixer on and off in a few short pulses, just to dampen the flour (yes, you can peek to see how you’re doing), then remove the towel, increase the mixer speed to medium-low and mix for a minute or two, just until the flour is moistened. At this point you’ll have a fairly dry, shaggy mass.
Scrape the sides and bottom of the bowl with a rubber spatula, set the mixer to low and add the eggs, followed by the sugar. Increase the mixer speed to medium and beat for about 3 minutes, until the dough forms a ball. Reduce the speed to low and add the butter in 2-tablespoon-size chunks, beating until each piece is almost incorporated before adding the next. You’ll have a dough that is very soft, almost like a batter. Increase the speed to medium-high and continue to beat until the dough pulls away from the sides of the bowl, about 10 minutes.

Transfer the dough to a clean bowl (or wash out the mixer bowl and use it), cover with plastic wrap and leave at room temperature until nearly doubled in size, 40 to 60 minutes, depending upon the warmth of your room.

Deflate the dough b lifting it up around the edges and letting it fall with a slap into the bowl. Cover the bowl with plastic wrap and put it in the refrigerator. Slap the dough down in the bowl every 30 minutes until it stops rising, about 2 hours, then leave the covered dough in the refrigerator to chill overnight.

Divide the dough in half, reserving half for another use.

For the pastry cream: Bring the milk to a boil in a small saucepan.

Meanwhile, in a medium heavy-bottomed saucepan, whisk the yolks together with the sugar and cornstarch until thick and well blended. Still whisking, drizzle in about 2 tablespoons of the hot milk – this will temper, or warm, the yolks so they won’t curdle. Whisking all the while, slowly pour in the remainder of the milk. Put the pan over medium heat and, whisking vigorously, constantly and thoroughly (making sure to get into the edges of the pot), bring the mixture to a boil. Keep at a boil, still whisking, for 1 to 2 minutes, then remove the pan from the heat.

Whisk in the vanilla extract. Let sit for 5 minutes, then whisk in the bits of butter, stirring until they are fully incorporated and the pastry cream is smooth and silky. Scrape the cream into a bowl. You can press a piece of plastic wrap against the surface of the cream to create an airtight seal and refrigerate the pastry cream until cold or, if you want to cool is quickly, put the bowl into a larger bowl filled with ice cubes and cold water, and stir the pastry cream occasionally until it is thoroughly chilled, about 20 minutes.

To assemble: Line one large or two smaller baking sheets with parchment or silicone mats.

Put the raisins in a small saucepan, cover them with hot water and let them steep for about 4 minutes, until they are plumped. Drain the raisins, return them to the saucepan and, stirring constantly, warm them over low heat. When the raisins are very hot, pull the pan from the heat and pour over the rum. Standing back, ignite the liquor. Stir until the flames go out, then cover and set aside. (The raisins and liquor can be kept in a covered jar for up to 1 day.)

Mix the sugar and cinnamon together.

On a flour dusted surface, roll the dough into a rectangle about 12 inches wide and 16 inches long, with a short end toward you. Spread the pastry cream across the dough, leaving 1-inch strip bare on the side farthest from you. Scatter the raisins over the pastry cream and sprinkle the raisins and cream with the cinnamon sugar. Starting wit the side nearest you, roll the dough into a cylinder, keeping the roll as tight as you can. (At this point, you can wrap the dough airtight and freeze it up to 2 months; see Storing for further instructions. Or, if you do not want to make the full recipe, use as much of the dough as you’d like and freeze the remainder.)

With a bread knife or unflavored floss, trim just a tiny bit from the ends if they’re ragged or not well filled, then cut the log into rounds a scant 1 inch thick. Put the snails on the lined baking sheet(s), leaving some puff space between them.

Lightly cover the snails with wax paper and set the baking sheet(s) in a warm place until the snails have doubles in volume – they’ll be puffy and soft – about 1 hour and 30 minutes.

When the snails have almost fully risen, preheat the oven: depending on the number of baking sheets you have, either center a rack in the oven or position the racks to divide the oven into thirds and preheat the oven to 375ºF.

Remove the wax paper, and bake the snails for about 25 minutes (rotate the sheets, if you’re using two, from top to bottom and front to back after 15 minutes), or until they are puffed and richly browned. Using a metal spatula, transfer the snails to a cooling rack.

Copy of IMG_6434

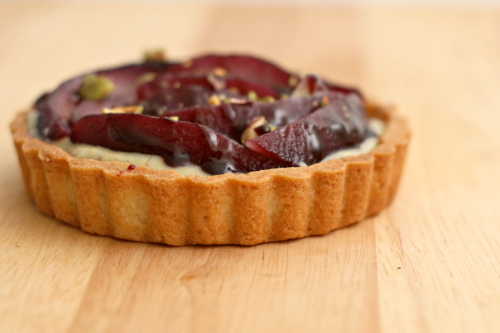
rosy poached pear and pistachio tart

Copy of IMG_1364

I’m not really good with pears. I don’t know much about them, so I never buy them. And, of course, because I never buy them, I don’t learn much about them. Which types are best for baking and for eating? When are they in season? How do I know when they’re ripe? How long do they take to ripen after you buy them?

Copy of IMG_1336

Due to my lack of pear knowledge, I was a little worried about how my tart would come out. I should have looked up what kind of pear to use, plus I forgot to buy mine early so it would have time to ripen before I needed to make the tart.

Copy of IMG_1352

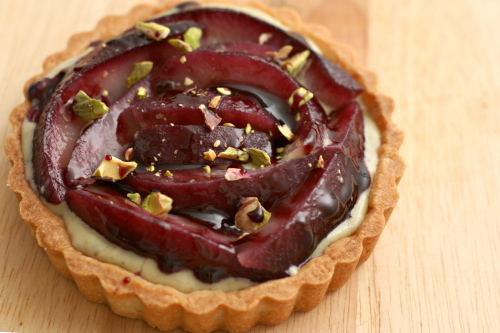
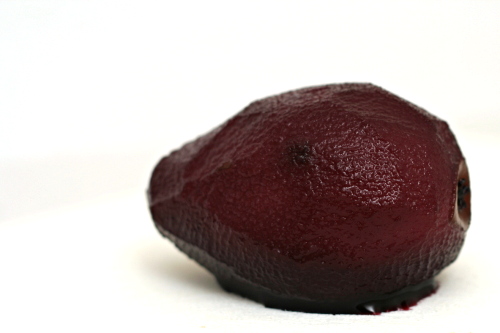
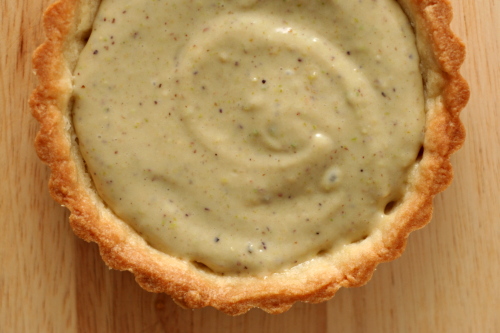
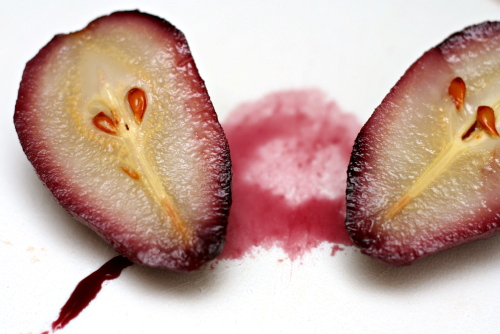
It probably would have been a little better if my pear had been softer, but, as it was, this was a pretty darn good tart. I mean, the pear is cooked in wine for over half an hour – how could that be bad? Plus, pastry cream is just delicious, although pistachio pastry cream resembles split pea soup a little too closely for my comfort. Good thing it’s covered by that beautiful purple poached pear!

Copy of IMG_1355

Lauren chose this for Tuesdays with Dorie and she has the recipe posted.

One year ago: Linzer Sablés

Copy of IMG_1361

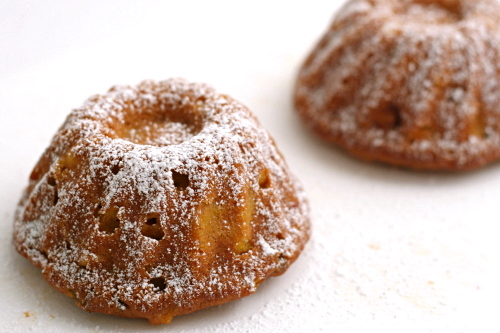
all-in-one holiday bundt cake

Copy of IMG_0911

When I did my bake-and-send extravaganza last summer, I unintentionally left a few key people out. Namely, our moms, both mine and Dave’s. Oops.

Copy of IMG_0871

I did, however, send a box of cookies to my mother-in-law’s sister. Who, of course, called my mother-in-law, mentioned the cookies, and then…I was in trouble. Well, not in trouble, because my mother-in-law is too nice for that, but not not in trouble either.

Copy of IMG_0884

So I finally made up for it recently by sending a box of fall-themed treats – molasses cookies, pumpkin biscotti, and this cake. Phew. No longer in the daughter-in-law doghouse.

Copy of IMG_0906

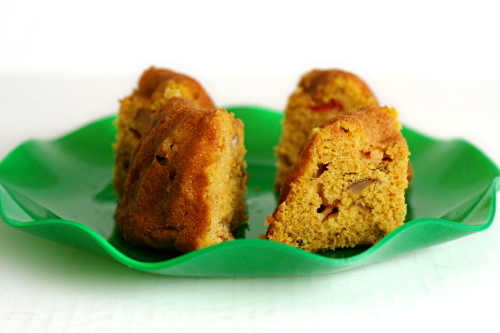
This is not a simple cake – we’re talking pumpkin, cranberries, apples, nuts, spices. I thought it smelled a lot like apple cake, but when I was eating it, the flavor of the cranberries stood out the most. It was a good cake – tasty and moist. I enjoyed it, and I hope my mother-in-law did too.

Now perhaps I should consider sending her a thank you note for the birthday present she sent me in August?

Copy of IMG_0934

Britin chose this cake for Tuesdays with Dorie, and she will have the recipe posted.  I substituted chestnuts for the pecans.

One year ago: Thanksgiving Twofer Pie

Copy of IMG_0908

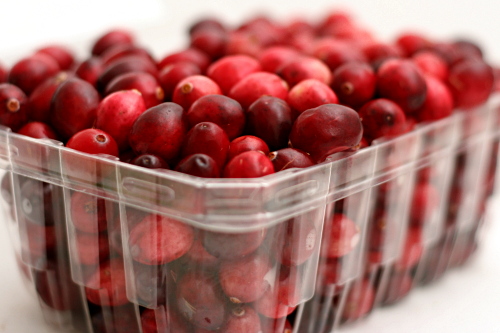
cranberry nut dessert

Copy of IMG_1245

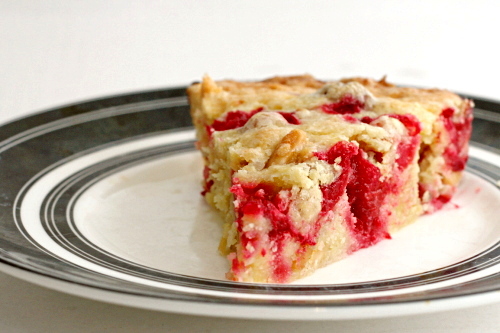
Sometimes I’m too full of myself for my own good. When I saw this on Jen’s site, I noted that she called it ‘cranberry dessert.’ But, in my hubris, I figured, what the hell, it looks like a cake. I’ll call it a cake and serve it as a cake.

Copy of IMG_1202

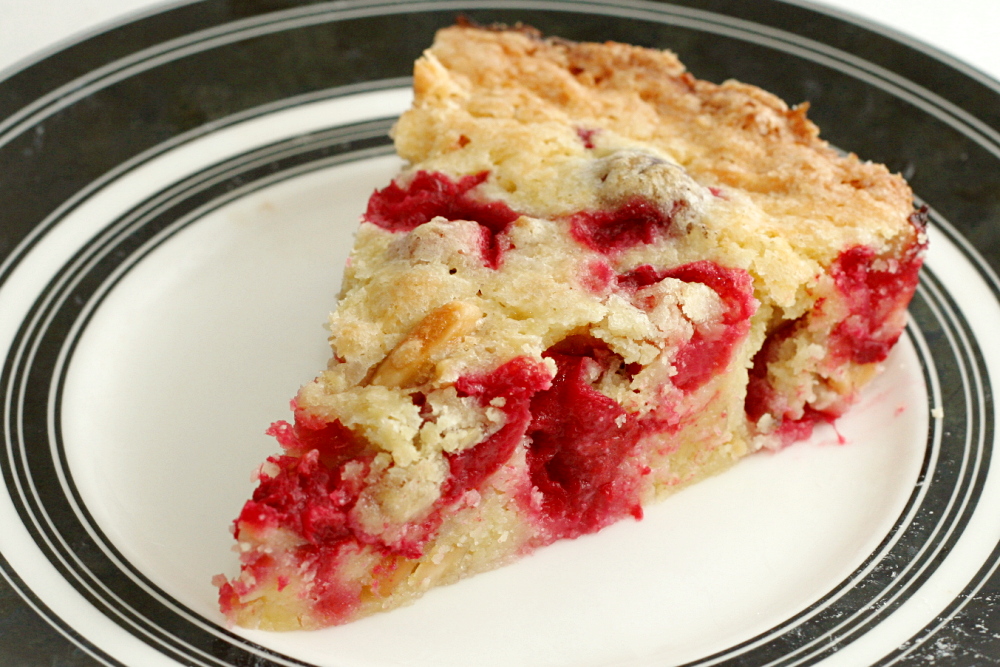
In retrospect, though, the vague title ‘dessert’ is probably more appropriate. Or maybe cranberry clafoutis? Except with more butter. Cobbler doesn’t quite work because the breading isn’t biscuits.

Copy of IMG_1205

Even looking at the photos now, it looks like a cake. The recipe is mixed like a quick bread, so that’s cake-like.

Copy of IMG_1206

But somehow, when I was eating it, it seemed more like a fruit dessert, maybe because the ratio of fruit to batter is so high. It was fantastic on its own, but it did cry out for a scoop of vanilla ice cream. Next time I won’t deny it.

Copy of IMG_1210

One year ago: Lime Meltaways

Printer Friendly Recipe
Cranberry Nut Dessert (rewritten from Use Real Butter)

Most nuts would work here, but I used lightly toasted almonds and it seemed like a perfect match.

1 cup (4.8 ounces) all-purpose flour
1 cup (7 ounces) granulated sugar
¼ teaspoon salt
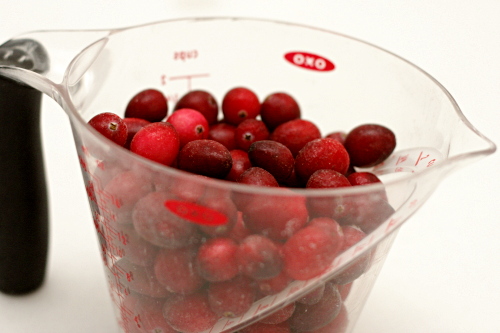
2 cups fresh or frozen cranberries
½ cup chopped nuts
2 eggs
8 tablespoons (1 stick) butter, melted and cooled
½ teaspoon almond extract

1. Adjust a rack to the middle position and heat the oven to 350ºF. Spray a pie pan with spray oil.

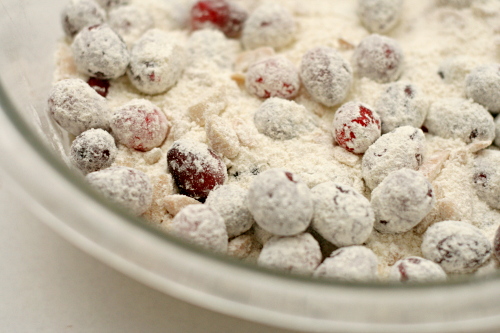
2. In a large bowl, combine the flour, sugar, salt, cranberries, and nuts. In another bowl, whisk the eggs until broken up, then whisk in the butter and almond extract. Pour the liquid ingredients into the dry ingredients and stir until just combined.

3. Spread the batter in the prepared pan; bake for 40 minutes or a until toothpick inserted near the center of the pan comes out clean or with a few crumbs hanging onto it. Let the dessert cool for at least 15 minutes before serving. Serve with ice cream or whipped cream, if desired.

Copy of IMG_1248

apple tart

Copy of IMG_1073

I cheated.

I baked.

Copy of IMG_1040

I said I wouldn’t, until Thanksgiving. I considered baking cookies to send to a friend for his birthday, figuring if it wasn’t for myself, it’s allowed, right? I considered making scones to use up some cranberries, figuring that if it wasn’t dessert, it’s allowed, right?

Copy of IMG_1050

And then I baked a dessert, for myself.

But hear me out, okay? I was never holding myself back from baking dough that I’d previously mixed up and frozen – I have three batches of cookie dough in the freezer and baking up one or two cookies each night was always part of the plan.

Copy of IMG_1047

Well, I had tart dough in the freezer too. And if frozen cookie dough is allowed, frozen tart dough is also allowed, right? And come on, I added a bunch of apples to it, so the whole thing is downright healthy. Or something.

Copy of IMG_1048

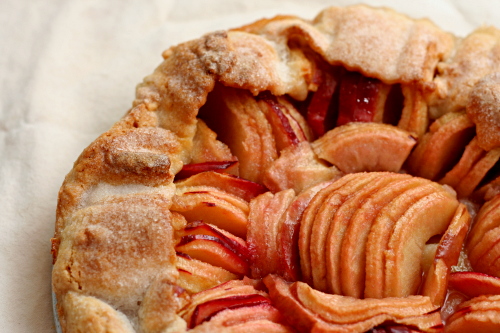
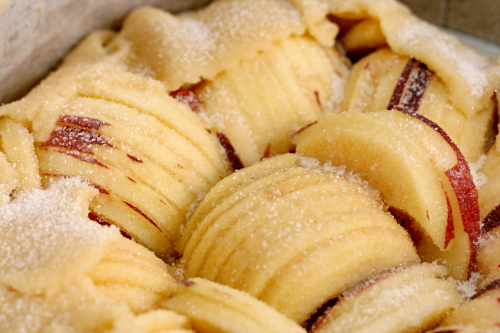
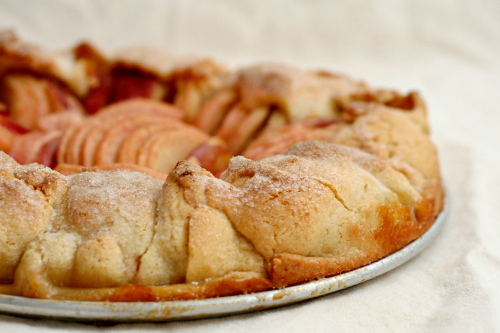
Anyway, it’s a pretty cool recipe. It’s simple, but I love how it eeks out all of the flavor possible from the apples. Tart dough, rolled out quite a bit larger than the 9-inch pan it’s placed in, is filled with slices of apples. The extra dough is folded over the apples, like a galette contained by the tart pan’s rim. The unbaked tart is brushed with butter and sprinkled with sugar. Simple.

Copy of IMG_1054

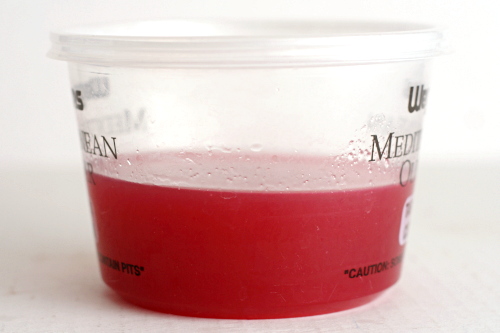
Then, in a interesting and creative move, the apple peels and cores are simmered with water and sugar until the liquid is reduced to a syrup, which is brushed on the baked tart right before serving. What a great way to maximize the flavor of the apples! (I did end up with way, way too much syrup, which I boiled down even further and then used as a topping for apple-cinnamon pancakes the next morning.)

Copy of IMG_1066

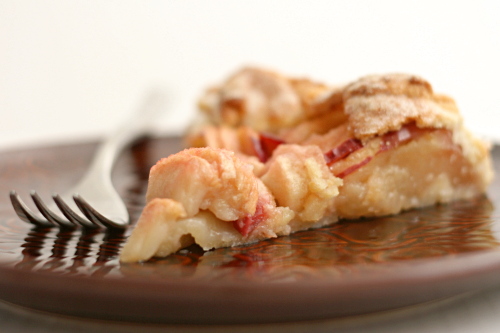
Of course it was good. The apples softened and intensified in the oven, and the crust provided a crisp sweet contrast to the apples. It’s also highly adaptable – I followed the recipe almost exactly, but next time I’ll add a light sprinkle of salt on top of the apples and few drops of lemon juice to the syrup. I’ll consider using a pie crust instead of tart crust as well, because I love that flakiness. If you can’t imagine an apple dessert without cinnamon, add some! But if you want to appreciate apples at their most basic and delicious, absolutely follow the recipe exactly. You can’t go wrong.

Copy of IMG_1084

One year ago: Basic Mashed Potatoes

Printer Friendly Recipe
Alice Waters’s Apple Tart (via Smitten Kitchen)

I didn’t use this tart dough recipe, because I already had some I needed to use up. I needed 6 apples to reach 2 pounds, but for my tart, that was about 1 apple too many to fit. Deb mentioned that she only used 3 tablespoons of sugar sprinkled over the tart right before baking, and I followed her advice. I suggest placing the tart pan (I used a springform pan) on a baking sheet, because mine leaked sugary apple juices.

Dough:
1 cup unbleached all-purpose flour
½ teaspoon sugar
⅛ teaspoon salt
6 tablespoons (¾ stick) unsalted butter, just softened, cut into ½-inch cubes
3½ tablespoons chilled water

Filling:
2 pounds apples (Golden Delicious or another tart, firm variety), peeled, cored (save peels and cores), and sliced
2 tablespoons unsalted butter, melted
5 tablespoons sugar

Glaze:
½ cup sugar

1. Mix flour, sugar, and salt in a large bowl; add 2 tablespoons of the butter. Blend in a mixer until dough resembles coarse cornmeal. Add remaining butter; mix until biggest pieces look like large peas.

2. Dribble in water, stir, then dribble in more, until dough just holds together. Toss with hands, letting it fall through fingers, until it’s ropy with some dry patches. If dry patches predominate, add another tablespoon water. Keep tossing until you can roll dough into a ball. Flatten into a 4-inch-thick disk; refrigerate. After at least 30 minutes, remove; let soften so it’s malleable but still cold. Smooth cracks at edges. On a lightly floured surface, roll into a 14-inch circle about 1/8 inch thick. Dust excess flour from both sides with a dry pastry brush.

3. Place dough in a lightly greased 9-inch round tart pan, or simply on a parchment-lined baking sheet if you wish to go free-form, or galette-style with it. Heat oven to 400ºF. (If you have a pizza stone, place it in the center of the rack.)

4. Overlap apples on dough in a ring 2 inches from edge if going galette-style, or up to the sides if using the tart pan. Continue inward until you reach the center. Fold any dough hanging over pan back onto itself; crimp edges at 1-inch intervals.

5. Brush melted butter over apples and onto dough edge. Sprinkle 2 tablespoons sugar over dough edge and the other 3 tablespoons over apples.

6. Bake in center of oven until apples are soft, with browned edges, and crust has caramelized to a dark golden brown (about 45 minutes), making sure to rotate tart every 15 minutes.

7. Make glaze: Put reserved peels and cores in a large saucepan, along with sugar. Pour in just enough water to cover; simmer for 25 minutes. Strain syrup through cheesecloth.

8. Remove tart from oven, and slide off parchment onto cooling rack. Let cool at least 15 minutes.

9. Brush glaze over tart, slice, and serve.

Copy of IMG_1068