chocolate whiskey cake

copy-of-img_2303

Dave was watching a Cleveland Cavelier’s basketball game while I made this cake. When LeBron James, doing what LeBron James does, executed some crazy maneuver that only he could have pulled off, the announcers praised his creativity. Dave noted that for anyone else, the move would have been called stupid, but then for anyone else, the move wouldn’t have worked.
copy-of-copy-of-img_2260

Putting prunes in chocolate cake is basically the same thing. If it works, you’re creative. If not, you’re…something else.
copy-of-img_2265

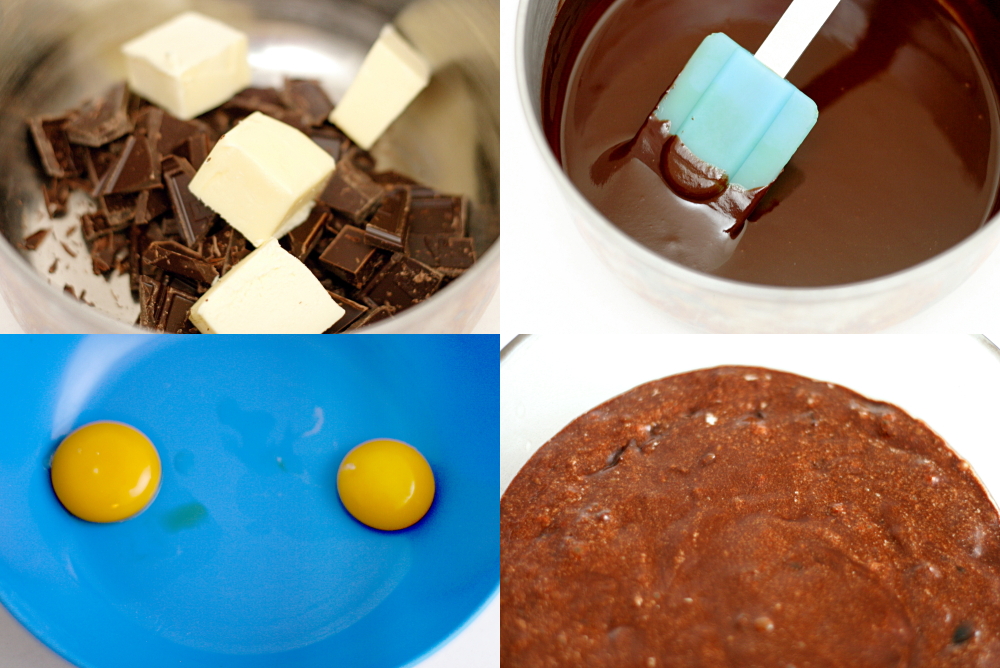
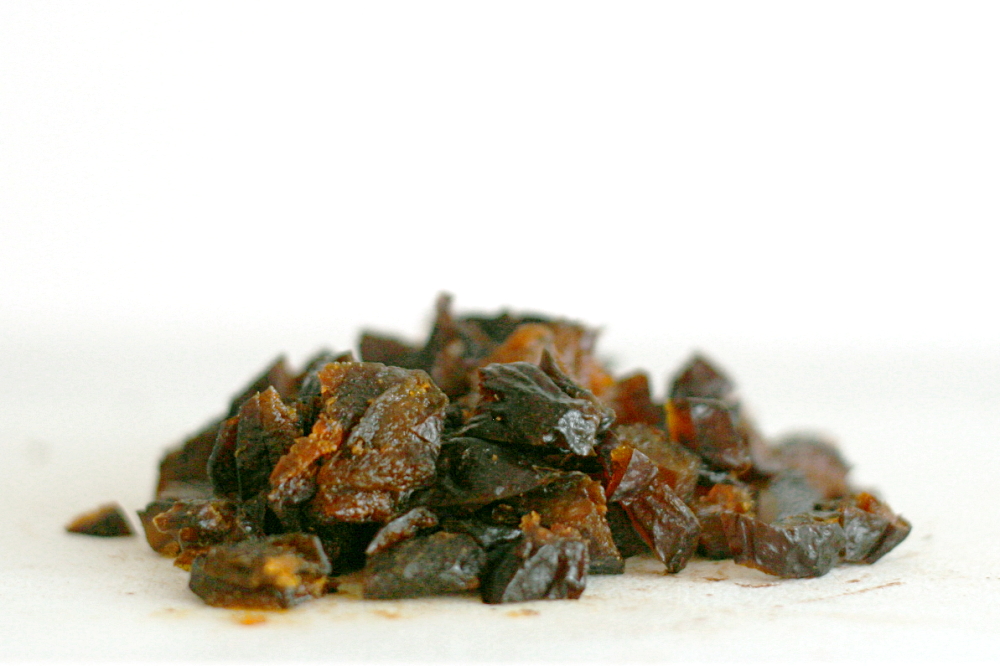
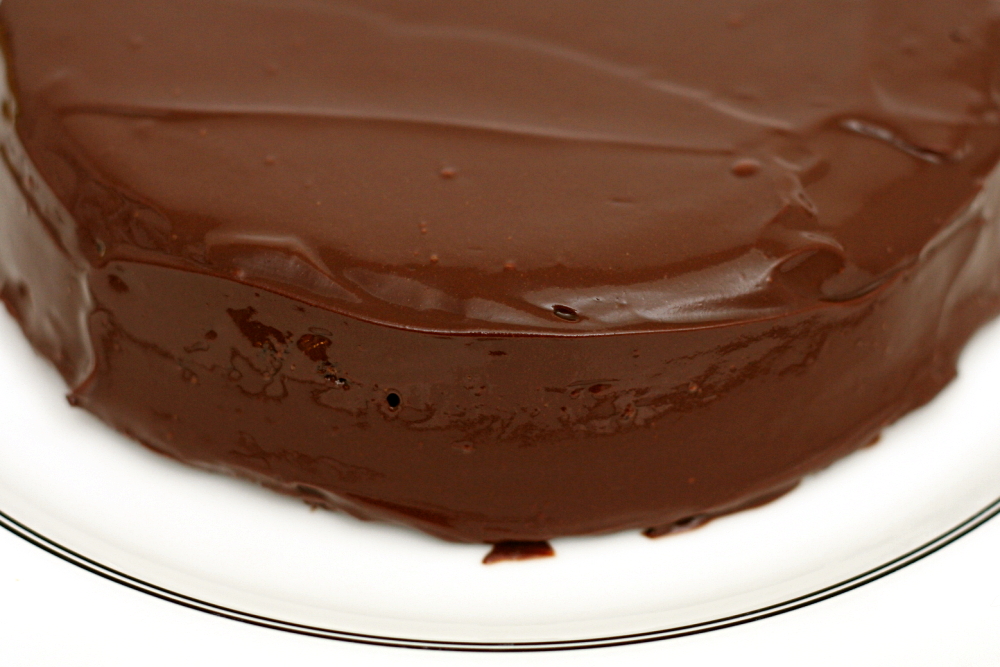
For this cake, prunes are chopped, softened in hot water, and flambéed.  The prunes are mixed with egg yolks, sugar, melted chocolate and butter, flour and ground nuts, and beaten egg whites. The cooled cake is topped with a rich chocolate glaze. Put this way, it sounds a lot simpler than over an hour of baking and at least six dirty bowls proved it to be.
copy-of-img_2290

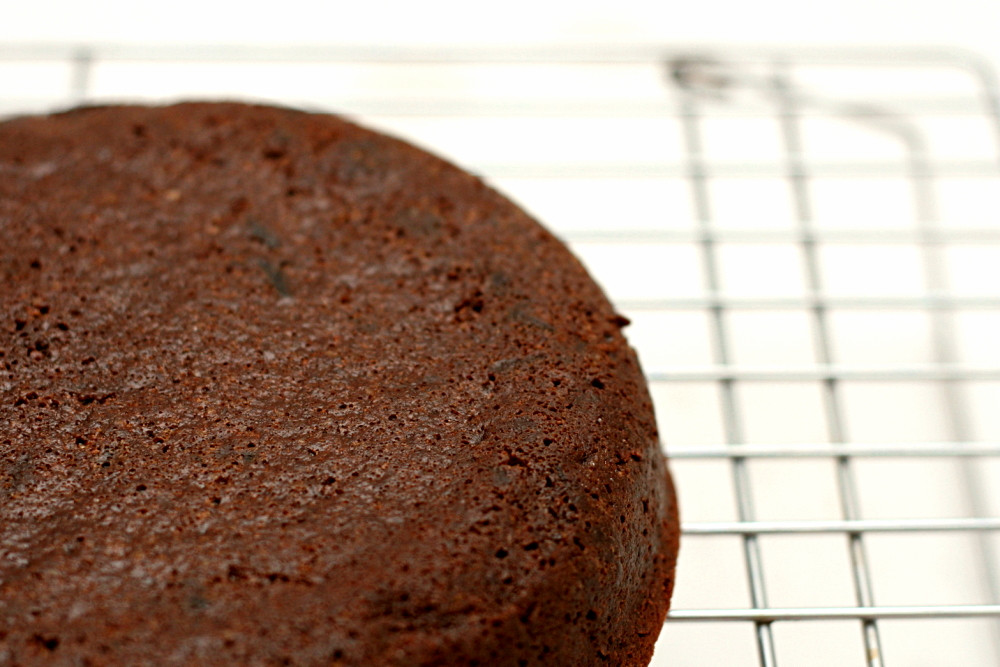
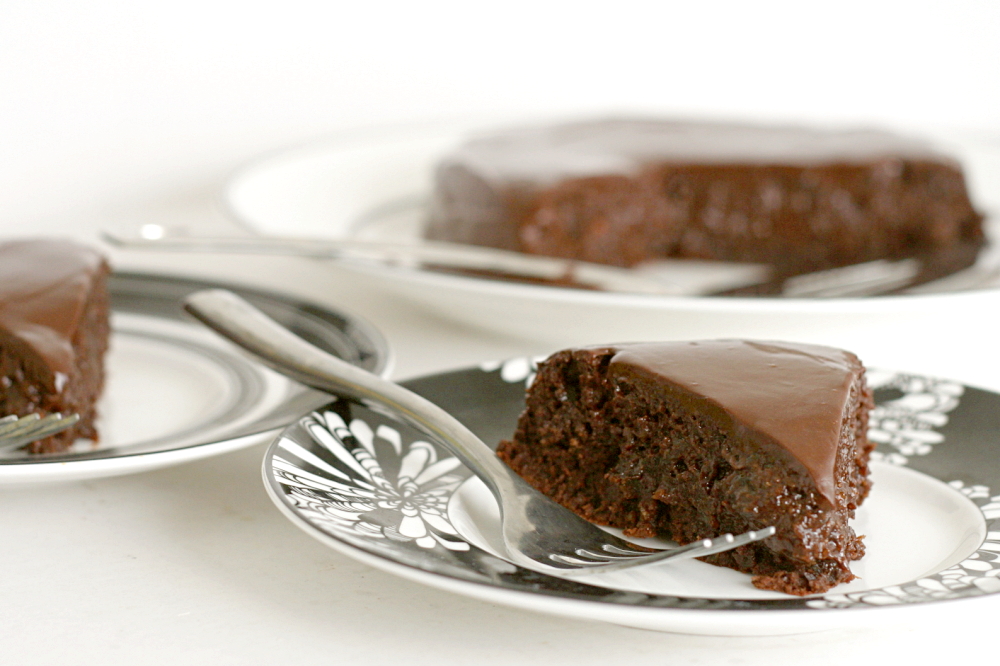
Baking the cake is where I, and it seems a number of other people, ran into problems. Dorie instructs that the cake is done when the sides are pulling away from the pan, the top is crisp, and a knife inserted into the center is “streaky.” Hm…”streaky” isn’t very definitive. My cake seemed to pass all three of those conditions and even unmolded cleanly, but when I cut into it, I realized it was gooey in the center. A better indicator of doneness would be a final temperature to be reached, to be read with an instant-read thermometer.
copy-of-img_2293

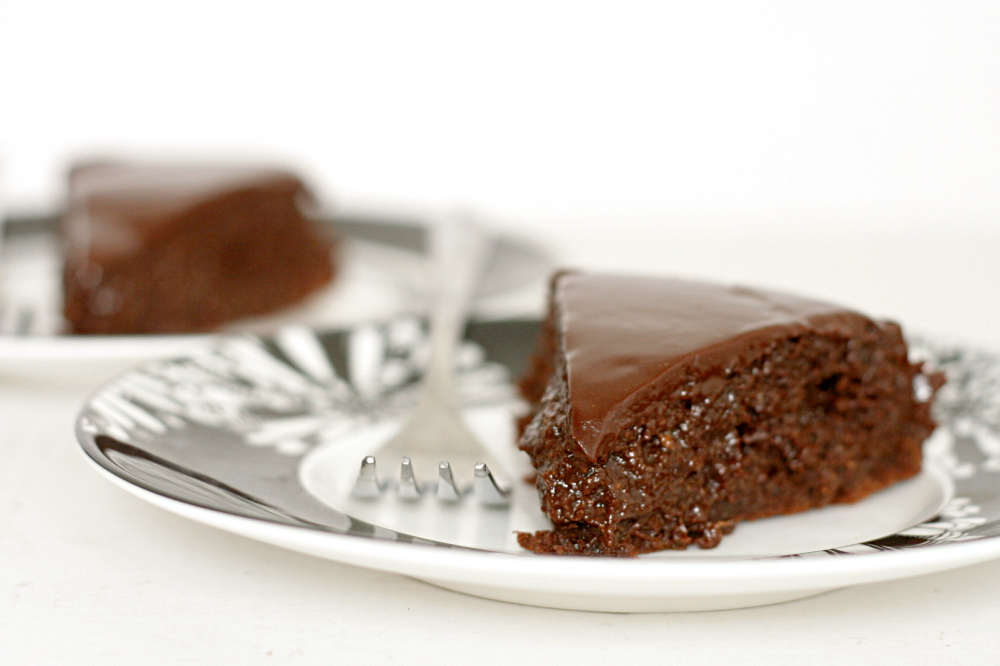
Regardless, I hereby decree Dorie creative, and not crazy, because a gooey center could not detract from just how delicious this cake is. If I hadn’t known, I would not have been able to identify the prunes in the cake, and certainly not the whiskey. However, there was definitely something more to this cake than a regular chocolate cake. I have two-thirds of it left, and it’ll be a miracle if I get through the day without stealing tiny slices here and there. It’ll be a miracle if I get through the next hour, honestly. (I did not make it. It’s half an hour later and I’m eating cake. And I agree with Dorie that it’s better at room temperature, but it isn’t half-bad cold either.)
copy-of-img_2298

Lyb has the recipe posted. I used whiskey instead of Armagnac, prunes instead of raisins, and ground almonds instead of walnuts. I wouldn’t change anything about the ingredients, but if you make this, err on the side of less streaky on a knife inserted into the middle at the end of baking. This cake is so moist that I think it would be a challenge to dry it out.

One year ago: Raspberry Bars
copy-of-img_2309

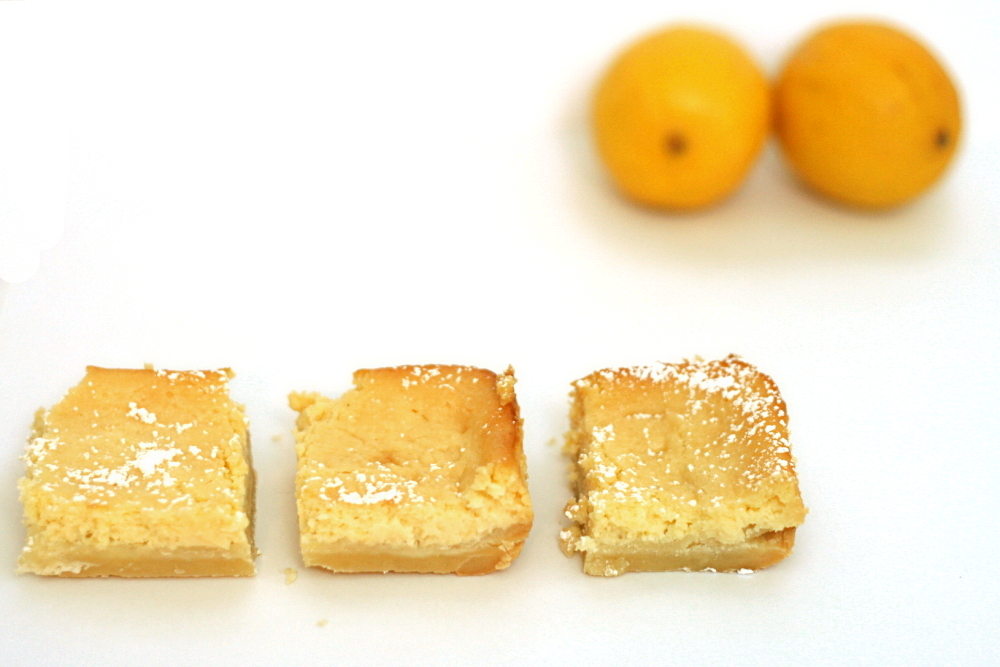
lemon cream cheese bars

copy-of-img_1746

I’m not known for my self-control around desserts (or any food, for that matter) in general, but there are a few extreme cases. One is lemon. I almost never make lemon desserts, because I will eat them, all, until they’re gone, within a very short period of time. The other, which I only realized recently, is cheesecake. When I made cheesecake in a mini muffin pan, I had no resistance to grabbing just one more tiny cheesecake.

copy-of-img_1701

And then I saw this recipe, which is a combination of those two things. I was in trouble. I made them for the SuperBowl, thinking that was as good an excuse as any to overeat.

Except I didn’t overeat them. Because surprisingly, these did not knock my socks off.

copy-of-img_1710b

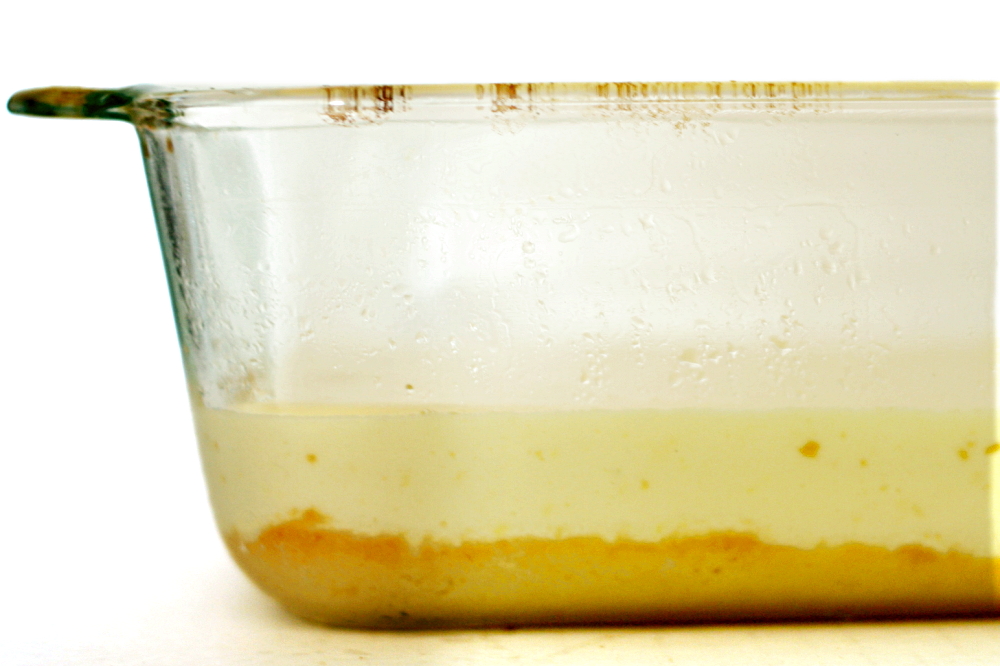
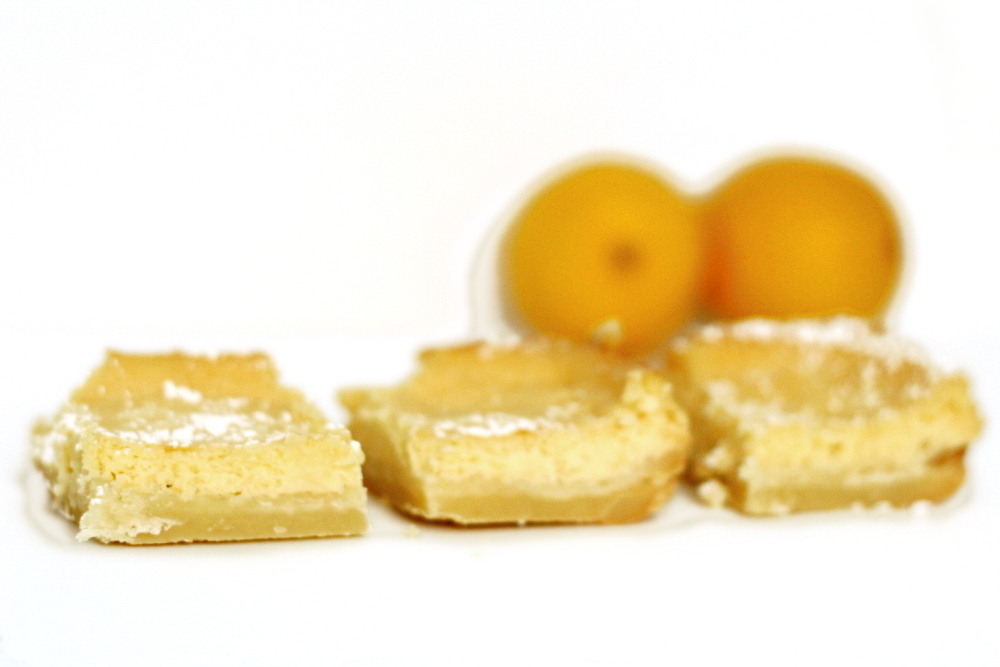
The base is a standard shortbread lemon bar base. The filling is similar to a regular lemon bar, including lemon juice, zest, eggs, and sugar, but includes cream cheese and sour cream, and leaves out the baking powder included in most lemon bar recipes.

copy-of-img_1711

Of course they were good – there’s no way to go wrong with this combination of ingredients. But other than a texture that was a little creamier, I didn’t notice a significant difference between this and a regular lemon bar. The difference in fat content, however, is significant. It looks like I’ll be keeping my lemon bars and my cheesecake separate.

copy-of-img_1747

One year ago: Julia Child’s French Bread

Lemon Cream Cheese Bars (adapted from recipezaar)
Crust:
8 tablespoons (1 stick) unsalted butter, softened
pinch salt
¼ cup powdered sugar
¾ cup (3.6 ounces) unbleached flour
1 tablespoon cornstarch

Filling:
10 ounces cream cheese, room temperature
½ cup (3.5 ounces) sugar
2 teaspoons grated lemon zest
5 tablespoons sour cream, room temperature
6 tablespoons fresh lemon juice
2 large eggs, room temperature
1 teaspoon vanilla
powdered sugar for dusting

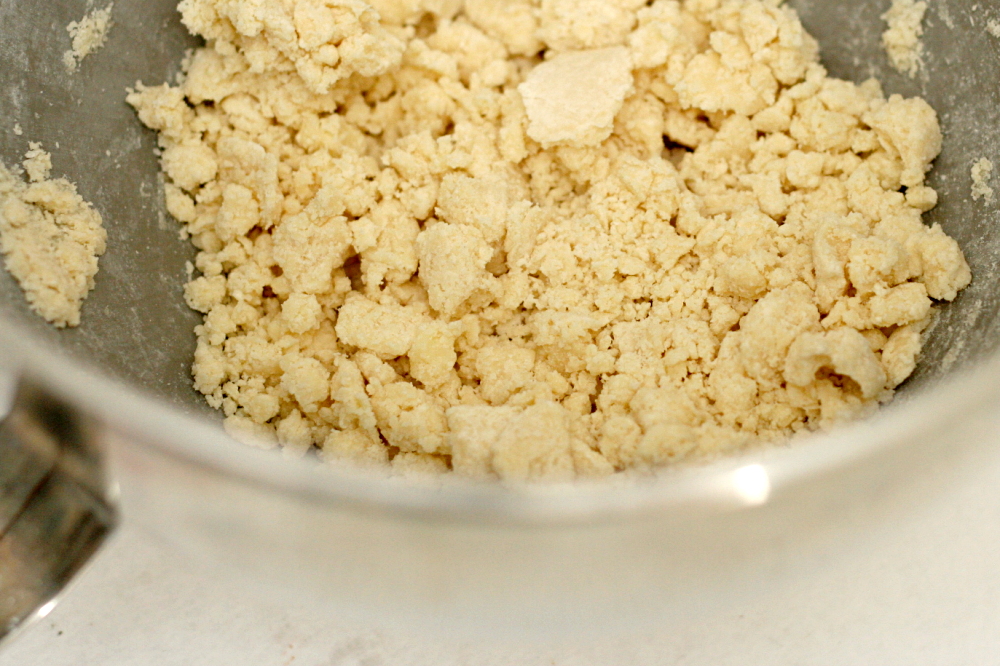
1. Adjust oven rack to middle position and heat oven to 350 degrees. Beat butter with an electric mixer on medium-low speed until creamy. Add sugar and salt and mix until it’s thoroughly combined. Add the flour and cornstarch and mix on low until the mixture forms large curds. Press the dough evenly over the bottom of an ungreased 8 by 8-inch baking dish. Bake at 350 degrees until golden brown, about 20 minutes. Remove the crust from the oven and set it on a cooling rack while you finish the filling.

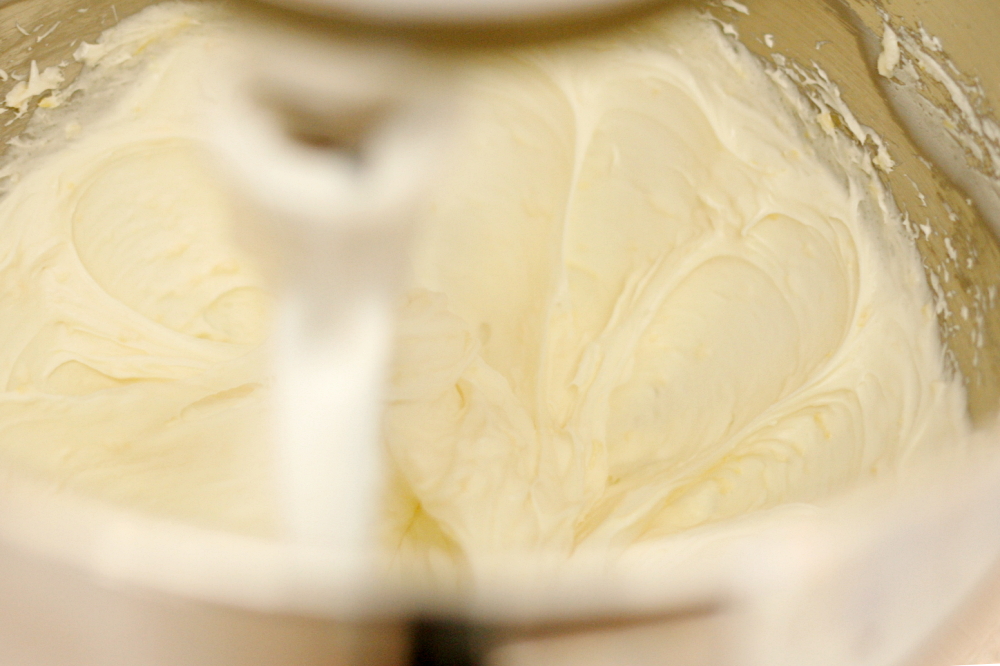
2. Using an electric mixer on medium speed, cream the cream cheese for 2 minutes, until it’s completely smooth and creamy. Add the sugar, and lemon zest and beat until light and fluffy, 2 to 3 minutes. Stop the mixer once or twice to scrape the bowl with a rubber spatula. Add the sour cream and lemon juice and beat the mixture on medium speed until smooth, about 1 minute. Scrape the bowl. Add the eggs and vanilla and continue mixing until the filling is smooth and creamy, about 30 seconds. Spread the topping evenly over the cooked crust. It’s okay if the crust is still hot.

3. Bake the bars until the top is slightly golden and a toothpick inserted in the center comes out dry, about 1 hour. If the topping bubbles up during baking, prick the bubbles with a toothpick or a thin knife.
4. Allow the bars to cool completely on a rack. Dust them with powdered sugar. Cut them with the point of a thin sharp knife that is dipped in hot water and wiped dry before each cut.
honey yogurt dip

copy-of-img_1756

Dave and I, for better or worse, don’t have the types of jobs that we can just forget about when we leave work at the end of the day. As a result, we often have to work on weekends. One particularly stressful weekend, I decided that we should make weekend working an event, where we set aside a few hours to sit down at the table together and get our work done. And what I really mean when I say ‘event’ is that I want snacks.

copy-of-img_1653

Since we were being industrious and working, it made sense to keep the snacks on the healthy side. Plus they were replacing dinner, so they needed to be nutritionally well-rounded. This fruit dip was exactly what I was looking for – easy, healthy(ish), and finger-food friendly.

copy-of-img_1644

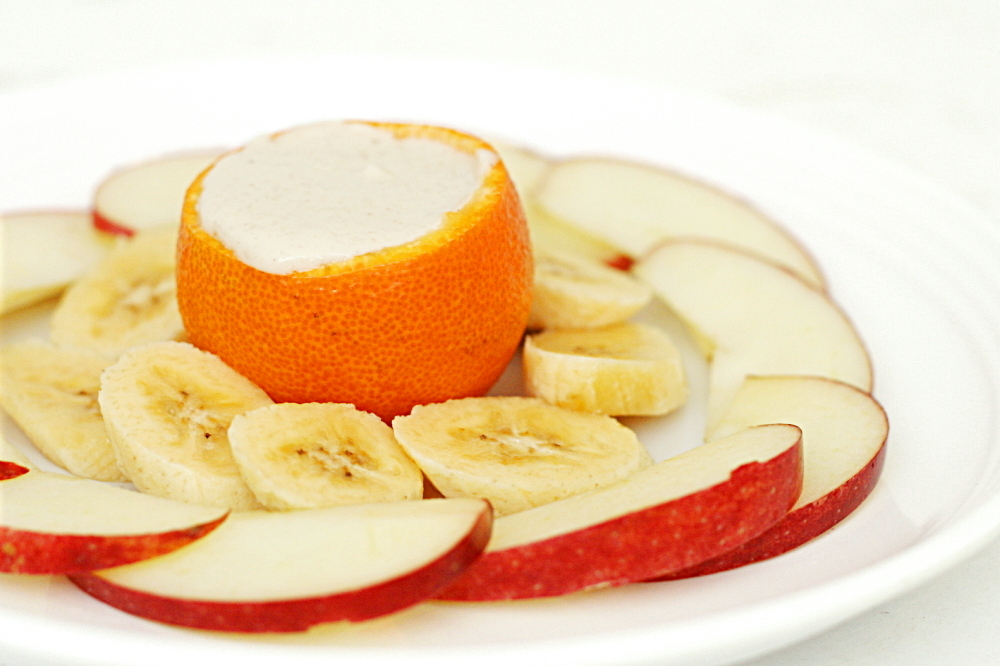
Calling this a recipe may be overstating things a bit – it’s really just yogurt sweetened with honey and enhanced with a pinch of cinnamon. The original recipe recommended vanilla yogurt, but a number of the reviewers indicated that the result was too sweet. Another common complaint was that the dip was too thin. I thought using Greek yogurt would solve both problems at once.

copy-of-img_1651

It was a good change apparently, because the dip was perfect – fresh and light, plus just a little spicy from the cinnamon. It enhanced our fruit without overpowering it. Unfortunately, the dip was a lot more successful than working was for me that weekend – I found myself all too easily distracted. But at least I was eating fruit, right?

copy-of-img_1750

One year ago: Green Chile Chicken Enchiladas

Yogurt Honey Dip (adapted from Bon Apetit July 1998, but really epicurious.com)

Makes about 1 cup, or 4 servings

I have to admit that I didn’t measure anything when I made this. It’s pretty much a to-taste thing anyway, just keep in mind that the flavor of the cinnamon didn’t really come through until the dip had been chilled for a few hours.

1 (7-ounce) container plain Greek yogurt
3-4 tablespoons honey
1/8-¼ teaspoon ground cinnamon

Mix the ingredients together. Cover and chill for at least 2 hours or up to 2 days. Serve with fresh fruit.

copy-of-img_1751

berry surprise cake

copy-of-img_1496

I’ve been a member of Tuesdays with Dorie for ten months, and I haven’t missed even one week. I’ve posted through holidays, vacations, and…I’m trying to come up with a third thing to round out this sentence, but honestly, I have no life. Hence it’s been easy to stay on track with TWD. But this week really tested me – my dishwasher is broken. That’s been rough.

copy-of-img_1486

It’s a good thing I persisted though, because I forgot to take into account Dave’s love of fruit + cream desserts. He goes nuts for them. I made a fourth of this recipe, and we ate the whole thing on Saturday night. Dave was talking about it all day Sunday, and it wasn’t until the end of the day that he realized there was none left. He wasn’t happy.

copy-of-img_1471

I guess I’ll have to make it again sometime then! Which is no problem, because there were things I really liked about this as well as things I’d like to experiment with.

copy-of-img_1473

Like most of the group this week, my cake fell in the middle. I’d read through the reviews of people who made it before me and knew this was a possibility, so I was so careful when mixing up the batter. I certainly didn’t overmix, because there were still clumps of hard, dry flour in the baked cake. On the other hand, I could see the structure of the beaten eggs breaking down as I tried to fold in the flour, so I knew I had to stop.

copy-of-img_1479

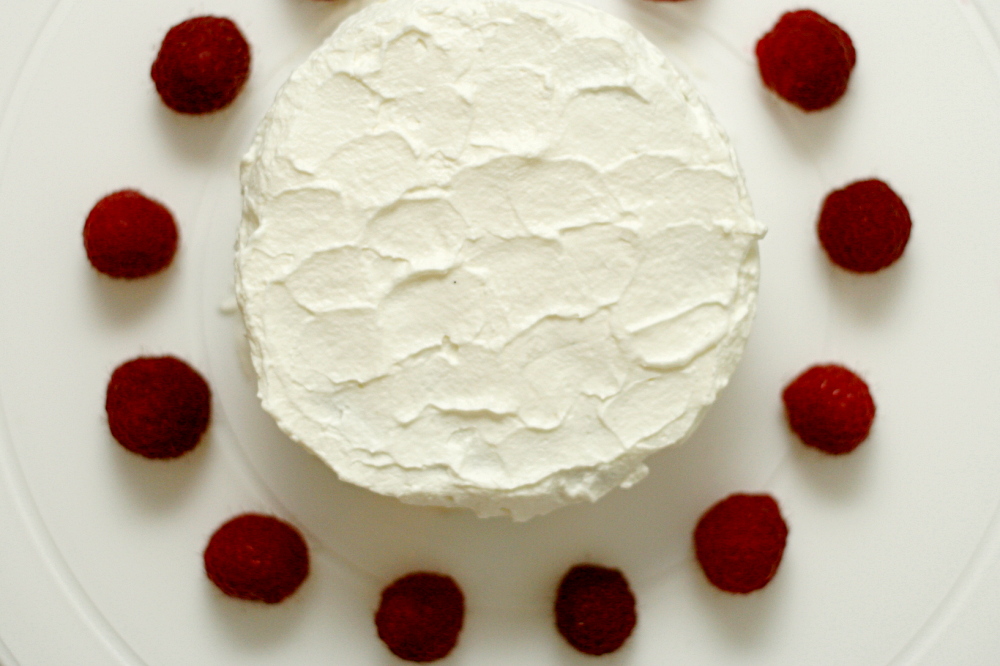
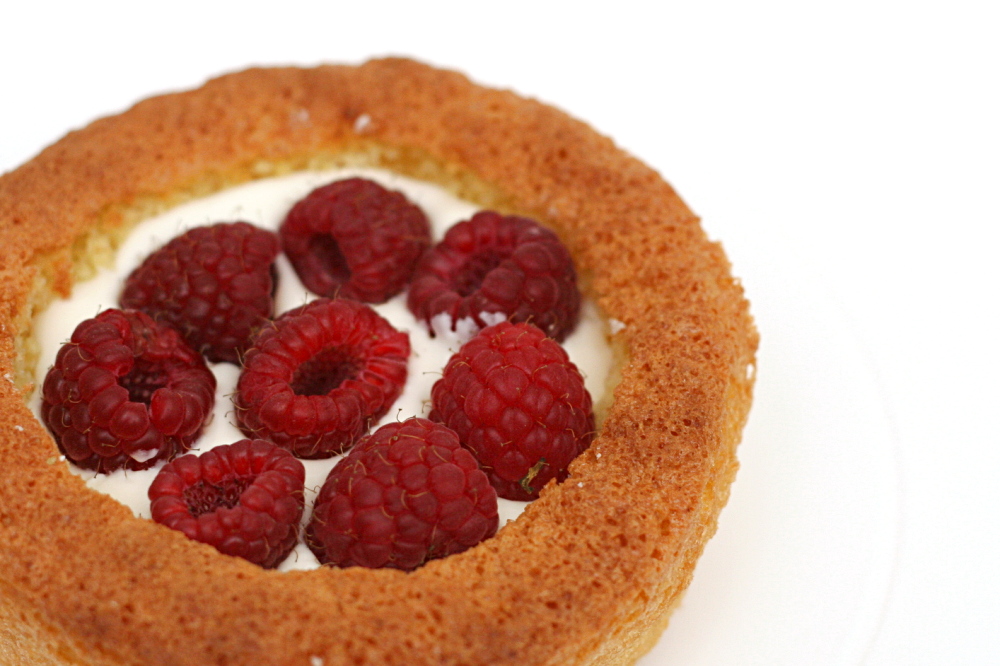
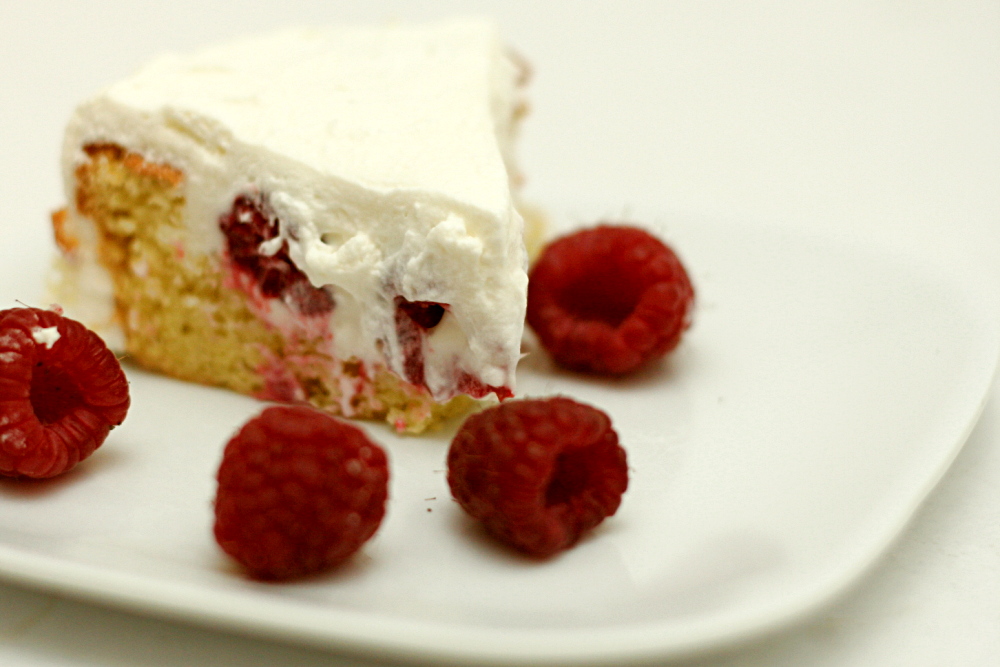
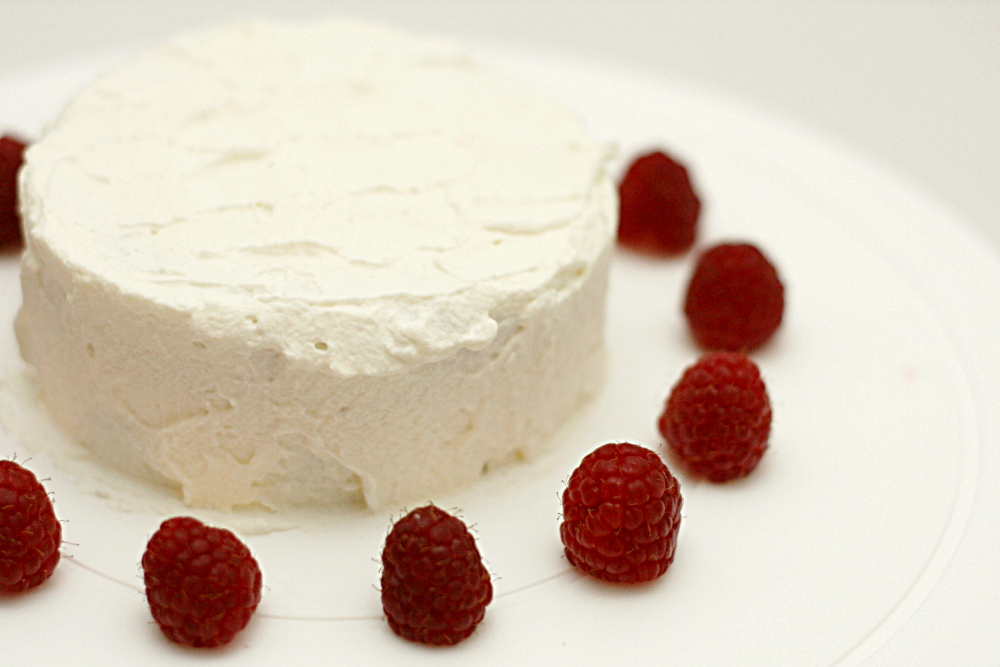
It was no matter though, since we were hollowing out the cake anyway. Dorie’s instructions are to slice off the top of the cake, make a nest in the middle, fill the nest with berries and cream, then put the top of the cake back on. Because the sides of my cake were nice and high, I was able to do all of that except I didn’t have a “lid” to cover the filling with. I just spread the whipped cream topping right over the filling.

copy-of-img_1485

The other issue people had with the recipe was the filling, which is a combination of cream cheese, sugar, vanilla, and cream. So basically cheesecake batter, which I absolutely love. Dorie then whips up more heavy cream and mixes that with the cream cheese ingredients, but a lot of people were saying that the filling ended up bland, so I skipped the extra whipped cream.

copy-of-img_1522

There were things I loved about this recipe – the cream cheese filling, raspberries of course (I lucked out and found good ones for a reasonable price), the whipped cream topping…so basically everything except the sunken cake. To be honest, I’m not sure I’ve ever had a genoise I loved. When I make this again, which will be soon if Dave has any say in the matter, I’ll just use a different vanilla cake recipe.

Mary Ann has posted the recipe.

One year ago: Maple Walnut Cupcakes

copy-of-img_1492

german apple pancake

copy-of-img_0498

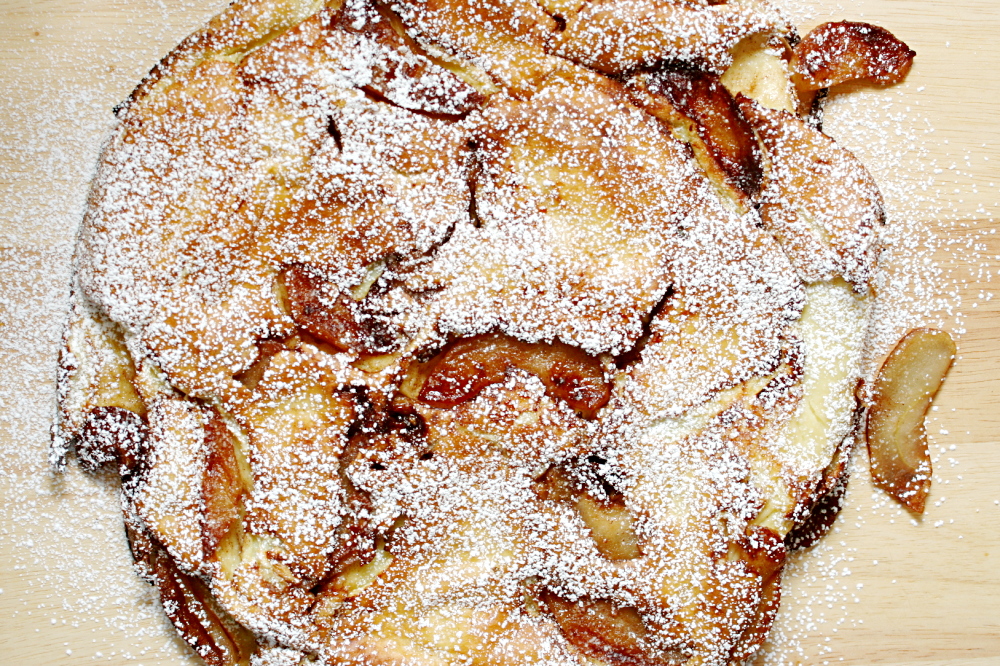
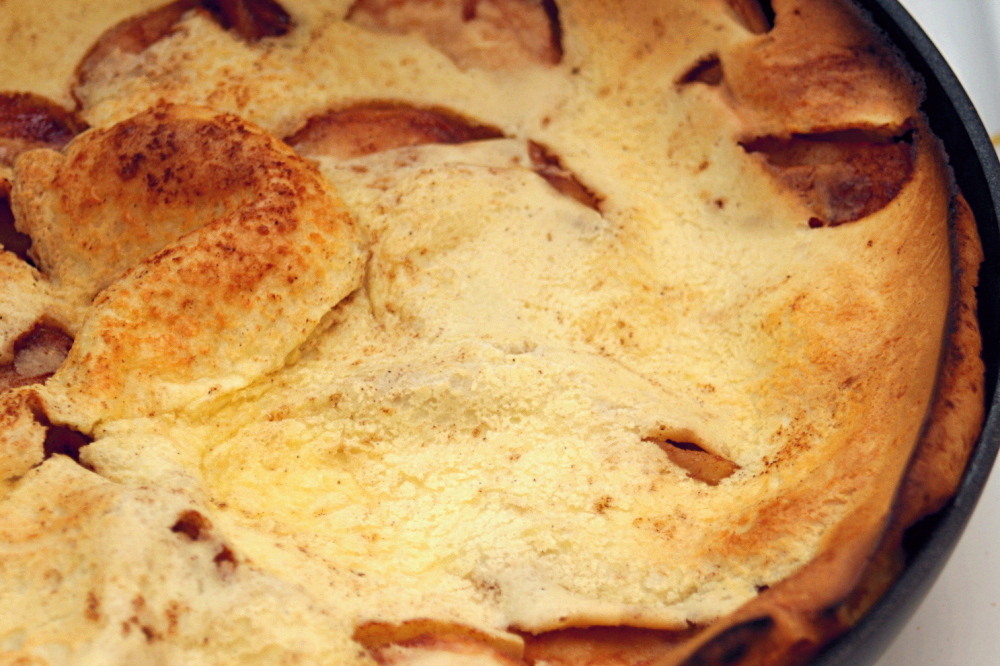
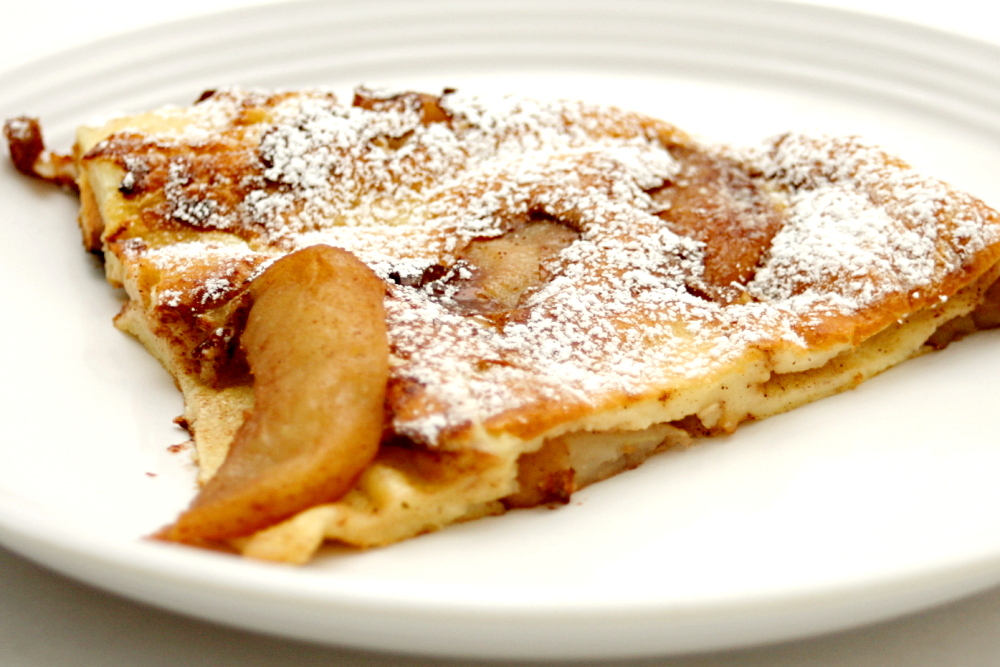
This is the third time I’ve tried to photograph this so I could blog about it. The first time was over a year ago when I didn’t know how to use my hand-me-down point-and-shoot camera. The photos are either yellow or they’re unevenly lit, and there’s a bunch of distracting stuff in the background. The next set has good lighting, but it just looks like powdered sugar dusted over…something. Who knew that a German apple pancake would be so hard to photograph?

copy-of-img_0476

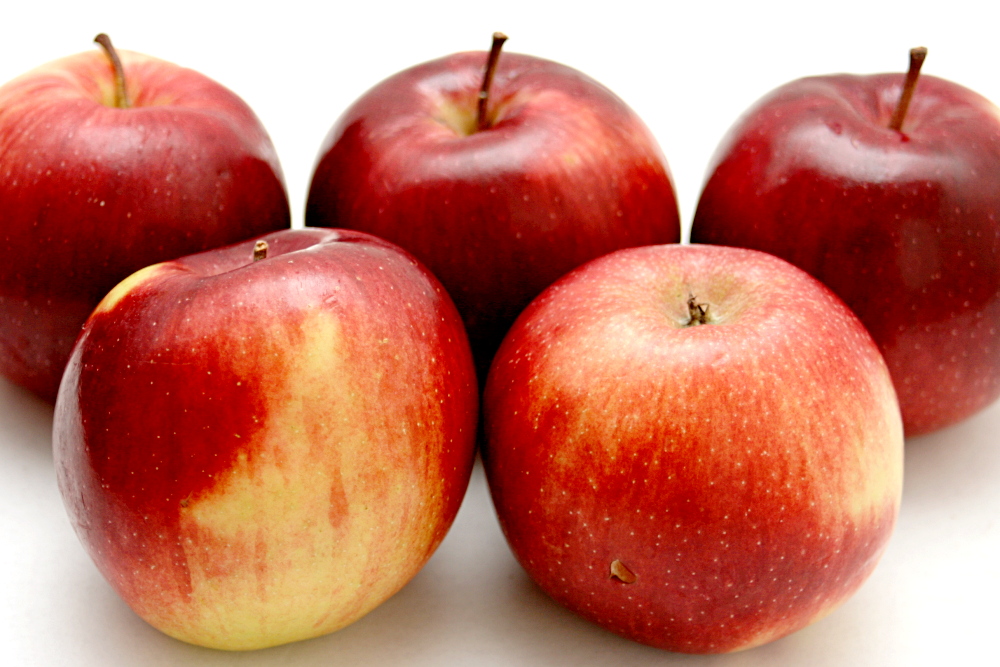
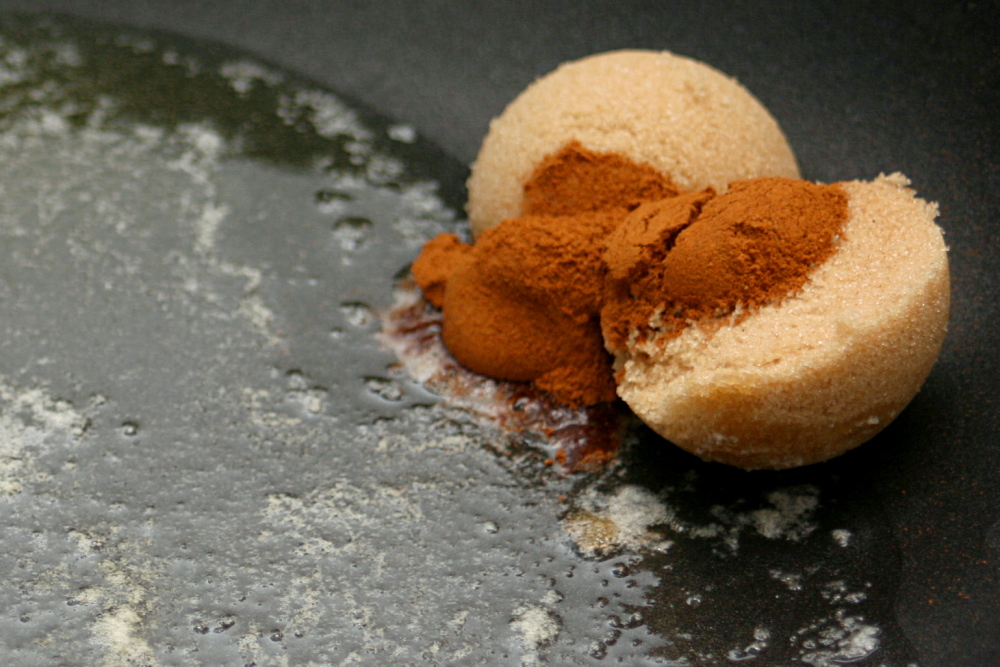
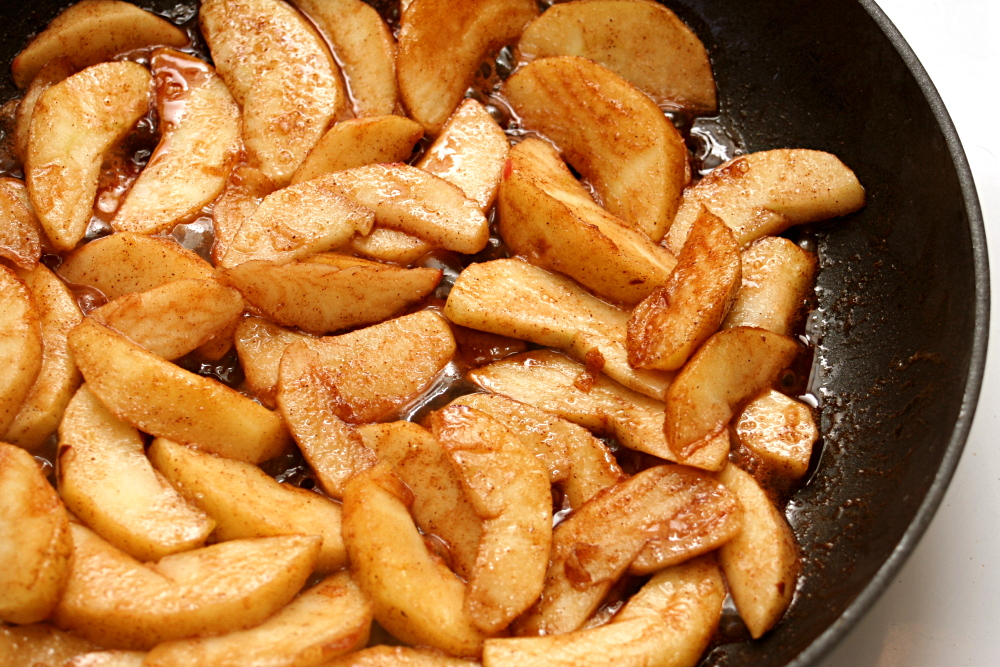
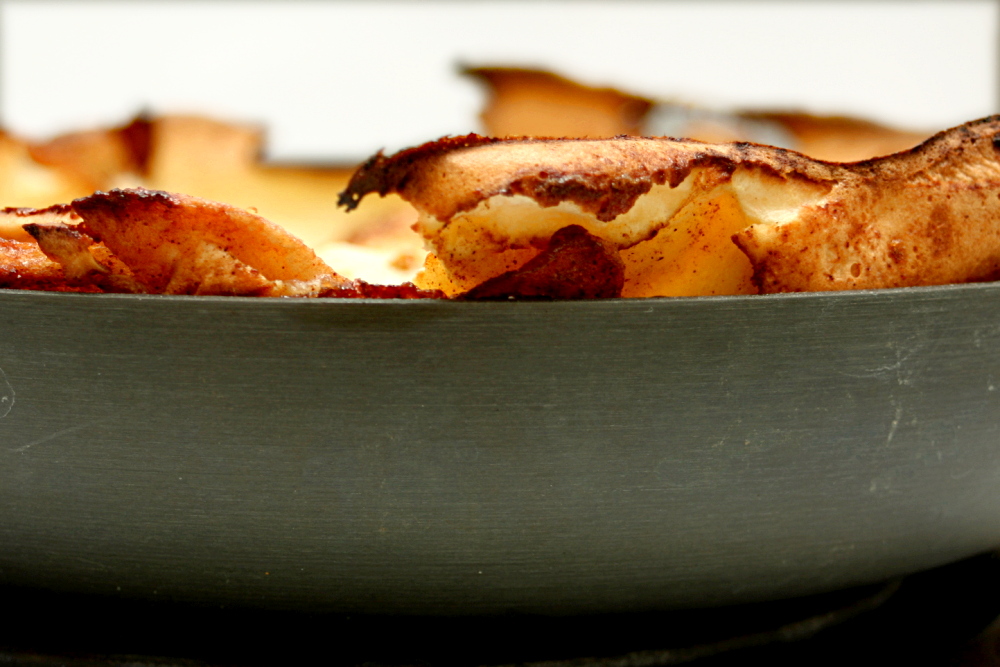
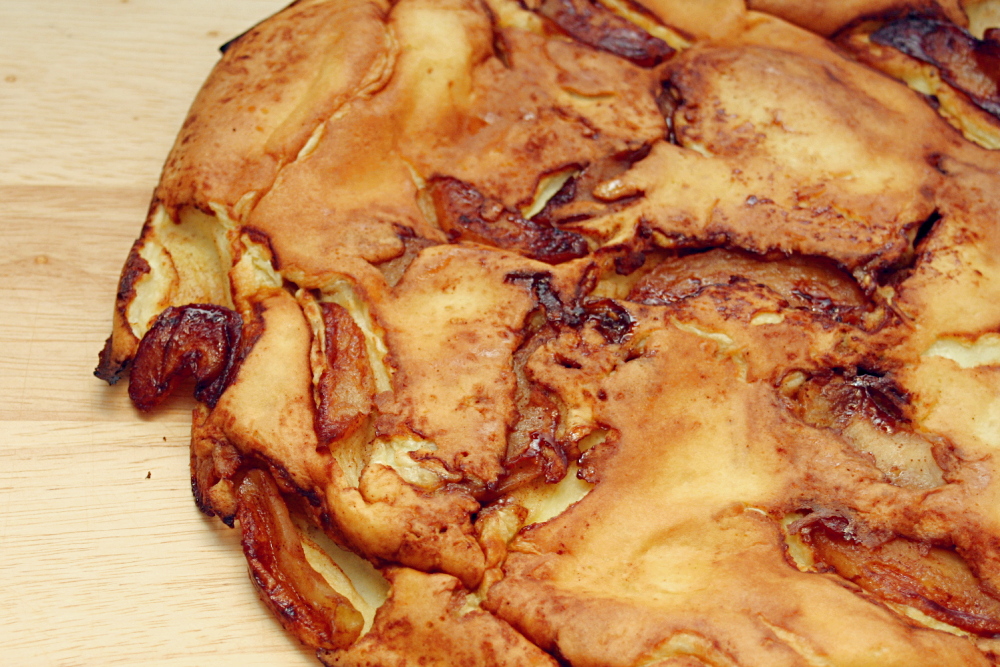
I used to order this in restaurants, back before I knew how easy it was to make at home. There’s nothing more to it than sautéing apples with sugar and cinnamon, pouring batter into the pan, and baking everything. The only challenge is inverting the whole thing onto a platter, but I just aim for “rustic” so I don’t have to worry about it looking perfect.

copy-of-img_0480

I’ve combined my favorite parts of two recipes to get one that was perfect for me. My mom gave me a recipe a few years ago, that, as is typical for recipes I get from my mom, is missing an important ingredient from the ingredient list – apples. Regardless, it is the apple portion that I like best from her recipe. There’s enough butter so that they’re not sticky, but not so much that they’re greasy.

copy-of-img_0484

For the batter, my mom’s recipe calls for the eggs to be separated and the whites to be beaten to stiff peaks, then folded into the remaining ingredients. I don’t really like the resulting spongy texture. Instead, I mix all of the ingredients in the blender. The resulting pancake is dense and even-textured, with enough flavor to support the apples without overpowering them.

copy-of-img_0488

When my mom makes her recipe, she arranges the cooked apple slices in a pretty pattern in the skillet before topping them with the batter. When she inverts the cooked pancake, the pattern is retained. I tried it once, but I couldn’t see the arrangement of apple slices, especially after a dusting of powdered sugar, I guess because of the different batter I use, so I don’t bother arranging them now.

copy-of-img_0491

So maybe this isn’t the most impressive-looking breakfast ever. But believe me that the taste makes up for the looks entirely. It’s sweet but not overbearing, and the batter supports the apple filling perfectly. Plus, there’s an apple per person, so I like to convince myself that it’s sort of healthy.

copy-of-img_0493

One year ago: Macaroni and Cheese – Yum.  Love this stuff.

German Apple Pancake

Serves 2

I don’t worry too much about what kind of apple I use for this. McIntosh is probably a bad choice, since they’re so soft, but anything else seems like it would be okay. I usually use Empire.

I was a little uncertain about putting a nonstick skillet in the oven at first. But, I took the plunge and haven’t had any problems. You could try wrapping the handle (that’s the part that is least likely to be heat safe) in foil, or, if you’re very concerned, transfer the apple mixture to a greased pie pan before adding the batter and baking everything.

2 tablespoons unsalted butter
2 tablespoon brown sugar
1 teaspoon cinnamon
2 apples, peeled, cored and sliced (see note)
2 large eggs
¾ cup whole milk
1 teaspoon vanilla extract
½ teaspoon salt, plus a pinch
½ cup (2½ ounces) flour
powdered sugar

1. Heat oven to 400C.

2. Melt butter in a medium nonstick skillet over medium heat. Add brown sugar, cinnamon and a pinch of salt; stir. Once the dry ingredients are incorporated in the butter, add the apples and spread them into a single later. Cook without stirring until the apples begin to brown, about 5 minutes. Cook for another 5 minutes, stirring occasionally, until the apples are completely soft and maybe even a little caramelized.

3. Meanwhile, place all remaining ingredients except flour in blender and process until mixed, about 15 seconds, wiping down sides if necessary. Add flour and continue processing until it’s incorporated and the mixture is smooth.

4. Pour the batter evenly over the apples. Place the skillet in the oven and bake until pancake is firm and puffed, about 10 minutes. Invert onto plate, dust with powdered sugar, and serve.

copy-of-img_0501

french pear tart

copy-of-img_1195

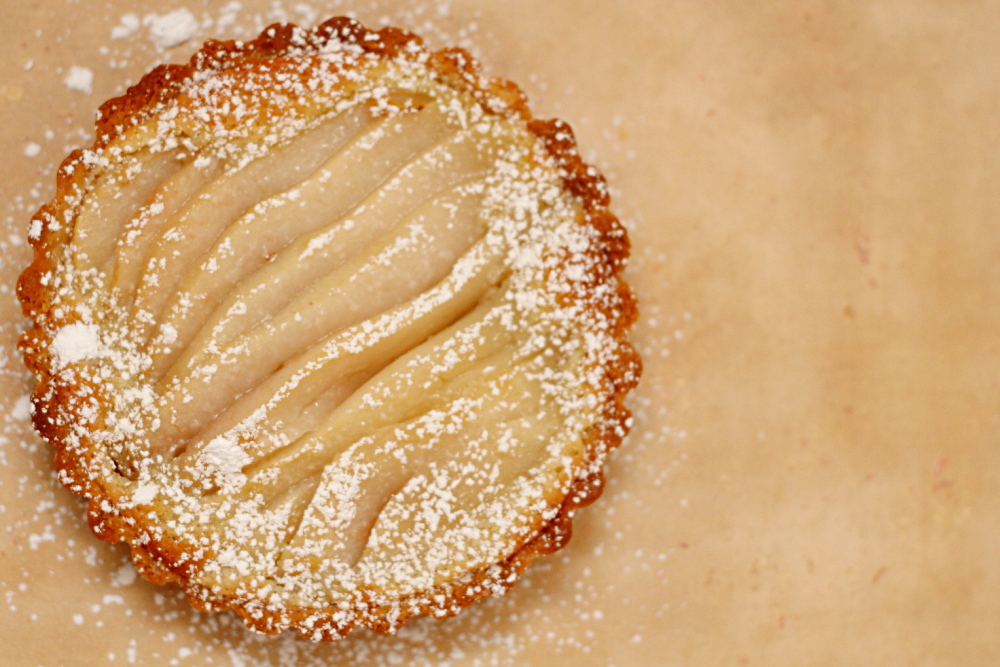
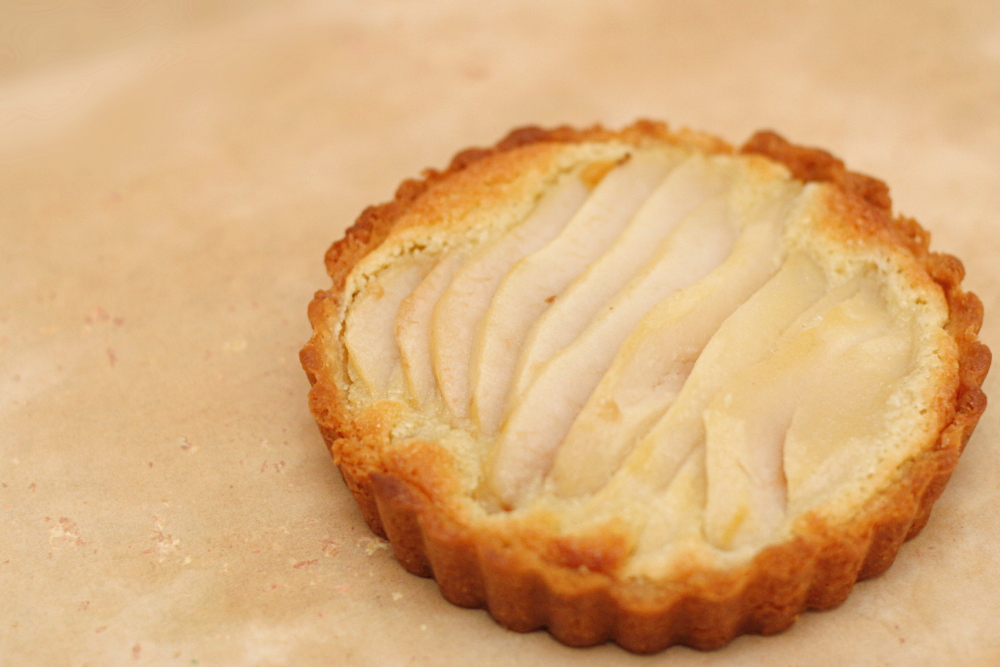
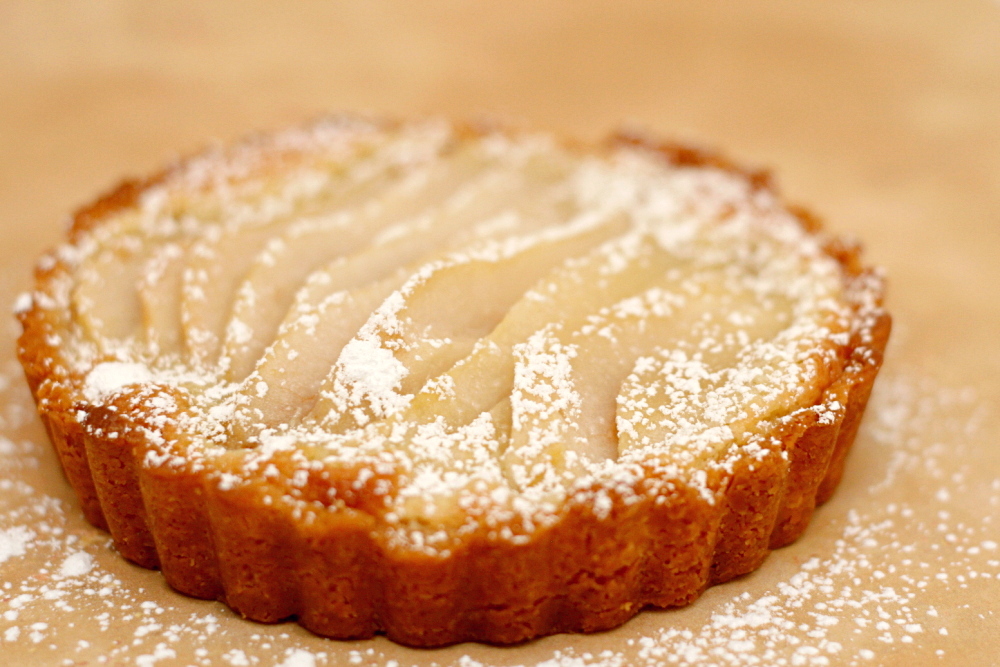
This tart had everything going against it. For one thing, I wasn’t in the mood to make a three-part dessert. For another, Dorie says that it’s supposed to be eaten the day it’s assembled, and I had my doubts that Dave and I would be eating the whole thing in one day. But that worked out – I made a third of the recipe, which I divided between two mini-tart pans. I prepared the ingredients, but didn’t layer them or bake each tart until the day I planned to eat it.

copy-of-copy-of-img_1189

I was too tired to take photos of the finished tart the first night we ate it. But the second night was even worse – Dave had very attentively refilled my wineglass throughout the evening, and I was hard-pressed to find the motivation to take photos of food. Plus the second tart (the drunk one) wasn’t as pretty as the first tart (the tired one). Imagine that.

copy-of-img_1180

But all’s well that ends well, because the tart was delicious. The crust was crisp but not tough, and the almond cream complimented the pears nicely. The dessert was pretty sweet and I could have used some more salt somewhere, but I say that every week. I had never eaten anything like this, so I’m really glad I tried it.

copy-of-img_1192

Dorie actually chose the recipe for us this week, and the recipe is posted on her blog.  Dorie has been fantastically supportive of Tuesdays with Dorie from the beginning of the group. She regularly answers questions, she’s posted about the group multiple times on her own blog, and this week she took the time to answer a number of interview-type questions that TWD members have wondered about for the past few months. I love baking along with a group and I enjoy the recipes from the book, and having Dorie interact with TWD so closely is the icing on the cake.

One year ago: Oatmeal.  We just had this last weekend – I love it during the winter.

copy-of-img_1196

white chocolate lemon truffles

copy-of-img_0672

A few years ago, I spent a couple of weeks working in Davis, California. I loved Davis. I stayed in a bed and breakfast near the university, right near Davis’ cute little downtown. There were all kinds of great restaurants nearby, including Ciocolat, a dessert café. I made a point to stop by there almost every day. And with minimal guilt, because I spent several hours every day walking around UC-Davis’s beautiful arboretum.

copy-of-img_0564

Ciocolat seems to specialize in truffles, which aren’t really my thing. I’d much rather eat chocolate once it’s mixed with eggs and butter and some flour and then baked. But I did love their lemon truffles. Smooth, creamy, not too sweet, and intensely lemony, I’ve been wanting to re-create them since, but I haven’t been able to find a recipe that seemed similar.

copy-of-img_0565

The only recipes I’ve found for lemon truffles include white chocolate, which I don’t remember the Ciocolat’s lemon truffle having. It recently occurred to me to look at their menu online, where I saw that it did include white chocolate. Perhaps a white chocolate lemon truffle recipe was exactly what I needed then.

copy-of-img_0571

The one I tried wasn’t difficult or too time-consuming. The only challenge is working with the white chocolate. I always seem to have problems with it, even when I follow the basic white chocolate rules of using a good brand (Callebaut in this case) and not overheating it. I took the white chocolate off of the heat when it was about half melted and stirred until the rest melted, and it still showed signs of breaking.

copy-of-img_0586

It seemed to work out in the end though. The only problem is that they’re not near as lemony as I’d like. The dominant flavor is definitely white chocolate. I’m not sure how to get more lemon flavor in them. Steep the zest in the cream longer? Use more zest? I considered adding more lemon juice, but I’m worried that would affect the texture too much. Substitute butter for some of the white chocolate? I’m thinking there might be some relevant tricks in Dorie Greenspan’s Lemon Cream Tart recipe, but I don’t have any specific ideas.

copy-of-img_0590

One year ago: Risotto with Peas

White Chocolate Lemon Truffles (adapted from Global Gourmet)

Makes 2-3 dozen

⅓ cup plus 1 tablespoon heavy cream
grated zest of 1 lemon
9 ounces best-quality white chocolate, very finely chopped
pinch salt
4 tablespoons (½ stick) unsalted butter, cut into ¼-inch cubes
2 teaspoons lemon juice
½ cup granulated sugar

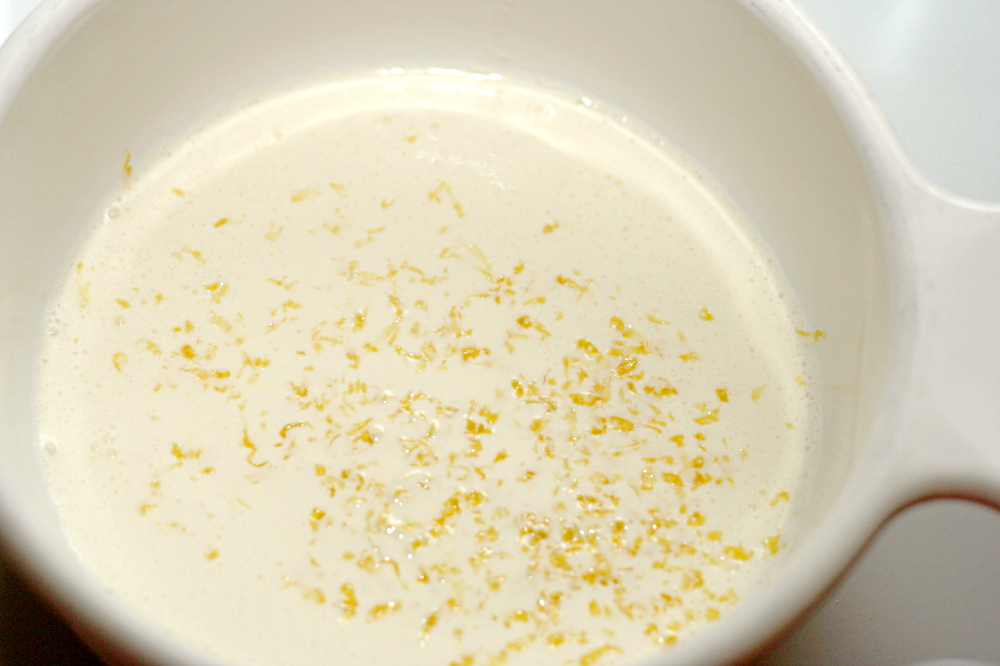
1. In a small, heavy, nonaluminum saucepan, combine heavy cream and lemon zest. Heat on medium heat until cream comes to a simmer, stirring occasionally. Remove from heat. Cover tightly and allow to stand 20 minutes at room temperature.

2. Meanwhile, combine white chocolate, salt, and butter in a medium heatproof bowl. When cream has stood 20 minutes, remove cover. Reheat the cream mixture over medium heat, stirring occasionally, until it reaches a simmer again. Strain cream through a fine-meshed strainer into the white chocolate mixture. Press down on the lemon zest left in the strainer to extract all of the liquid from it.

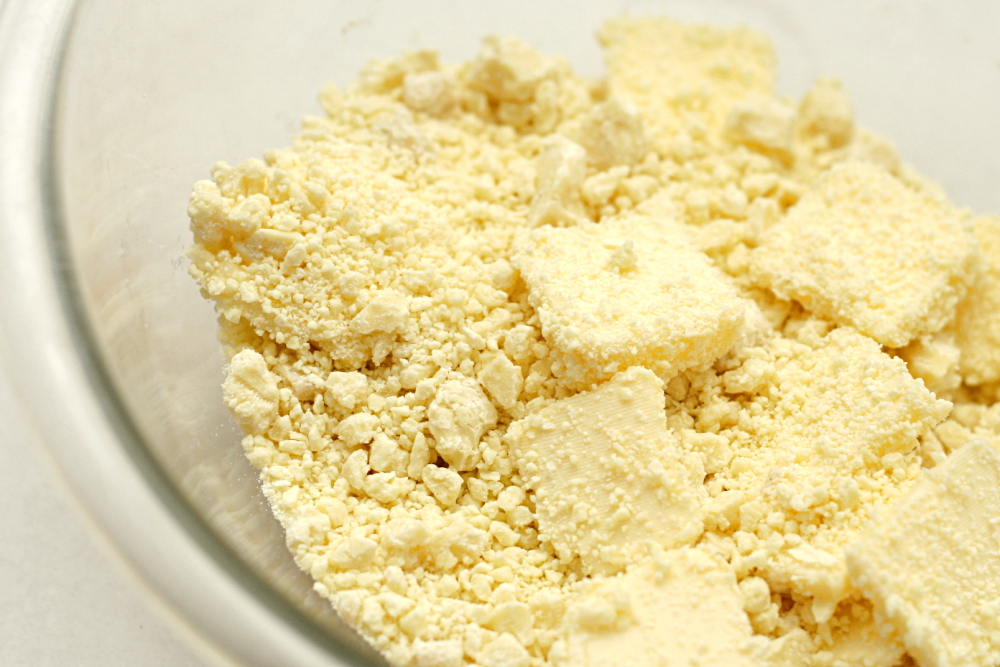
3. Melt the chocolate mixture in a large heatproof bowl set over a saucepan of almost-simmering water, stirring frequently, until just it’s just over half melted. Remove it from the heat and the hot water. Continue stirring until the mixture is completely melted and smooth. (Note: White chocolate, even of excellent quality, can be stubborn about melting. If there are small lumps of white chocolate in your truffle base, transfer the truffle base to a food processor fitted with a steel blade; process at high speed just until smooth.) Stir in lemon juice. Chill at least 4 hours.

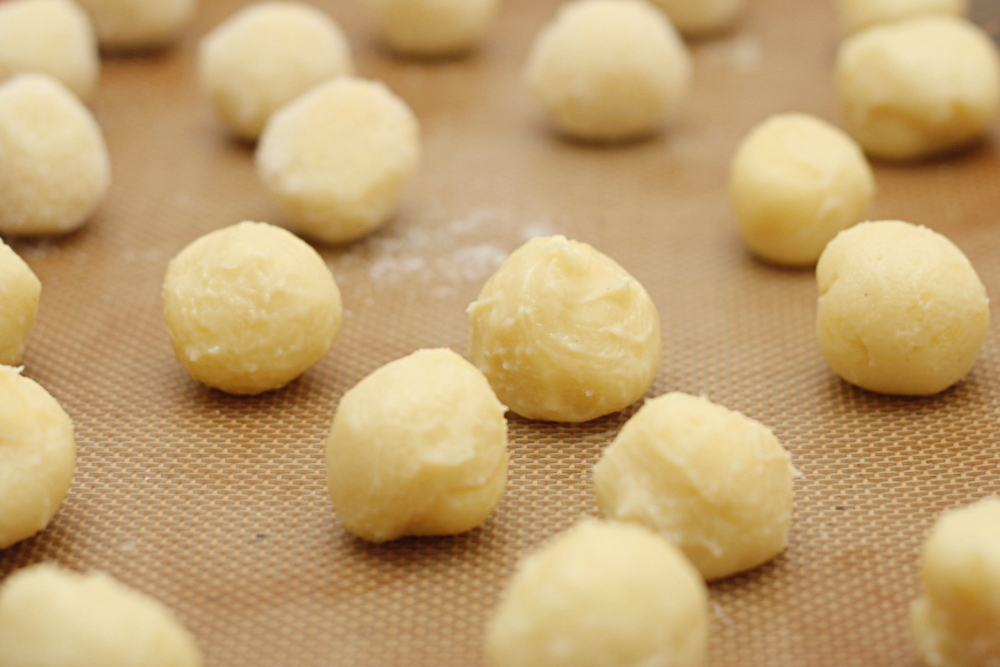
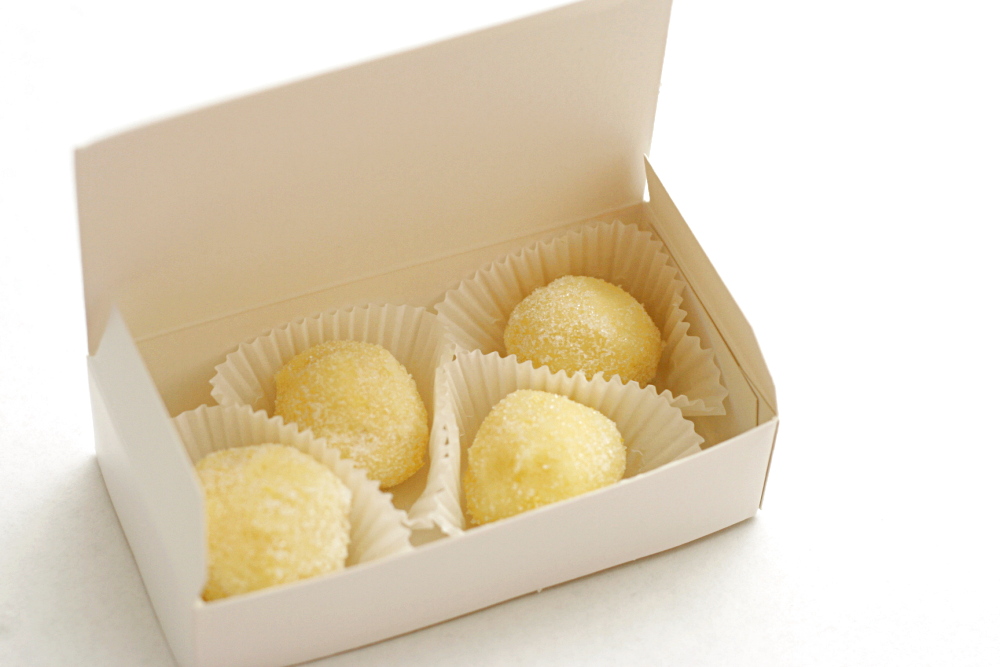
4. Using a small cookie scoop or a spoon, form balls of about 1 inch diameter from the cold truffle base. Roll in granulated sugar until well-coated. Continue until all base is used.

5. Store truffles airtight in refrigerator for up to one week; freeze for longer storage. To serve, remove from refrigerator 15 to 20 minutes prior to serving time.

copy-of-img_0661a

candied orange peel

copy-of-img_0648

I don’t usually do much baking around the holidays. I bake so much anyway, what would I possibly do with more treats? So I’m not sure what possessed me to make five types of candy (in one day!) this year. I’m blaming Jen and all of her flawless confections.

copy-of-img_0544

This candied orange peel is her recipe. I’ve made candied orange peel once before. It didn’t knock my socks off, and I kicked myself for not using Jen’s recipe.

copy-of-img_0552
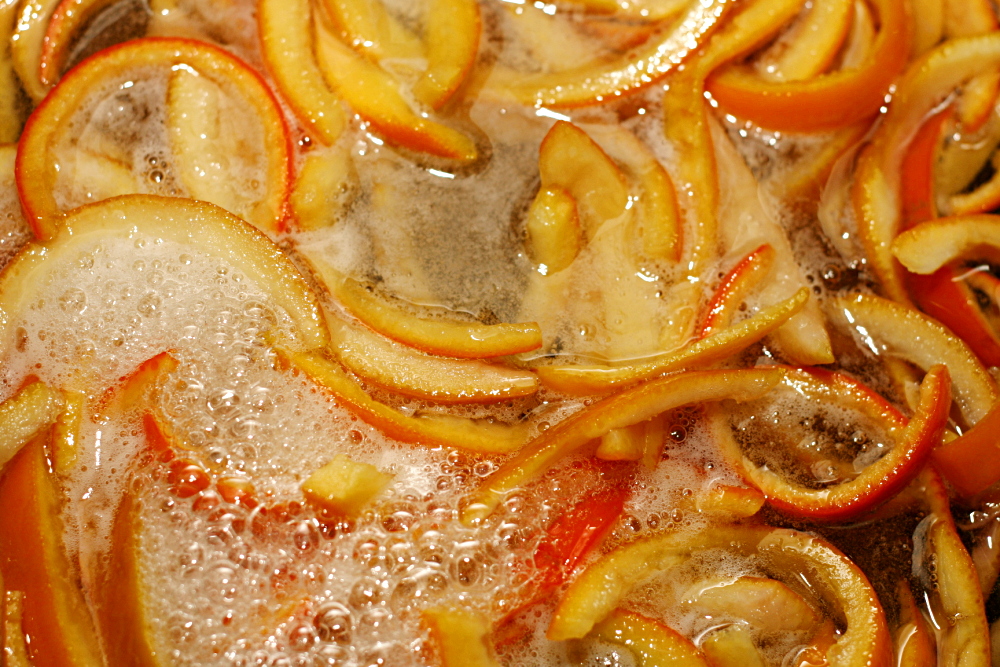
Candied orange peel, like most of the candy recipes I made yesterday, seems easy in theory but ends up involving a significant investment of time. (Or maybe it just seems that way when you wait until the last minute and have to make all of your candy recipes in one day.) Boiling the orange peel three times is no big deal, and simmering them in sugar syrup doesn’t take any effort. But juicing, cleaning, and slicing the oranges took more time and made a bigger mess than I had counted on.

copy-of-img_0553

I dipped about half of my orange peels in chocolate. The others I packaged into gift bags with some granulated sugar to (hopefully) keep them from sticking together.

copy-of-img_0595

I liked the peels far more than I was expecting. In fact, I thought at first that I was making them just for fun. I tried not to let it bother me than no one might actually eat them. But they might be my favorite of the candy recipes I made. I’m especially happy with the chocolate dipped ones. The bittersweet chocolate counters the sweetened peel so nicely. I think I’m going to go grab just one more…

copy-of-img_0600

Candied Orange (Citrus) Peel (slightly reworded from Use Real Butter)

4 oranges, peel of (or any thick skinned orange)
3 cups (21 ounces) sugar
1 cup water

1 cup (7 ounces) sugar for rolling
or
8 ounces chocolate for dipping

1. Cut the oranges in half across their equators and juice them. Cut each half in half again and take a spoon to scrape the pulp out, living a clean pith. You can remove some of the pith if you want, but it isn’t necessary because the candying process with remove (or at least overpower) the bitterness. Cut the peels into ⅛ to ¼ inch strips.

2. Place peels in a large saucepan and cover with cold water. Heat on high until water comes to a boil. Drain. Repeat heating and draining twice more.

3. Combine sugar and water in the saucepan and boil over high heat until temperature reaches 230F. Add the peels and reduce the heat to a simmer, about medium-low. Simmer until peels are translucent (30 minutes or longer).

4. Remove peels from syrup and roll in sugar if desired, and set on rack to dry for several hours. Once the peel is dry, you can dip in dark chocolate – shake off excess, and place on foil, wax paper, or baking sheet to dry. Store in a tupperware, or if not chocolate dipped, store in sugar.

copy-of-img_0623

sausage apple hash

copy-of-img_0473

I’m not the most creative cook ever. You may have noticed that most recipes on my blog are from some other source – very few are my own creations, and even those are pretty much just heavily adapted versions of ideas I got somewhere else. So when I am actually creative, I’m very proud of myself.

copy-of-img_0460

I saw this sausage apple hash on Mark’s blog last summer, and put off making it until apple season. I decided to add potatoes to Mark’s recipe – that would make this a complete meal, and potatoes just seemed to make good sense here. I was pleased with my mild creativity.

Oh, except when I read the recipe closer, I saw that it originally included potatoes, and Mark just left them out for convenience. Phooey. So much for it being my own idea.

copy-of-img_0465

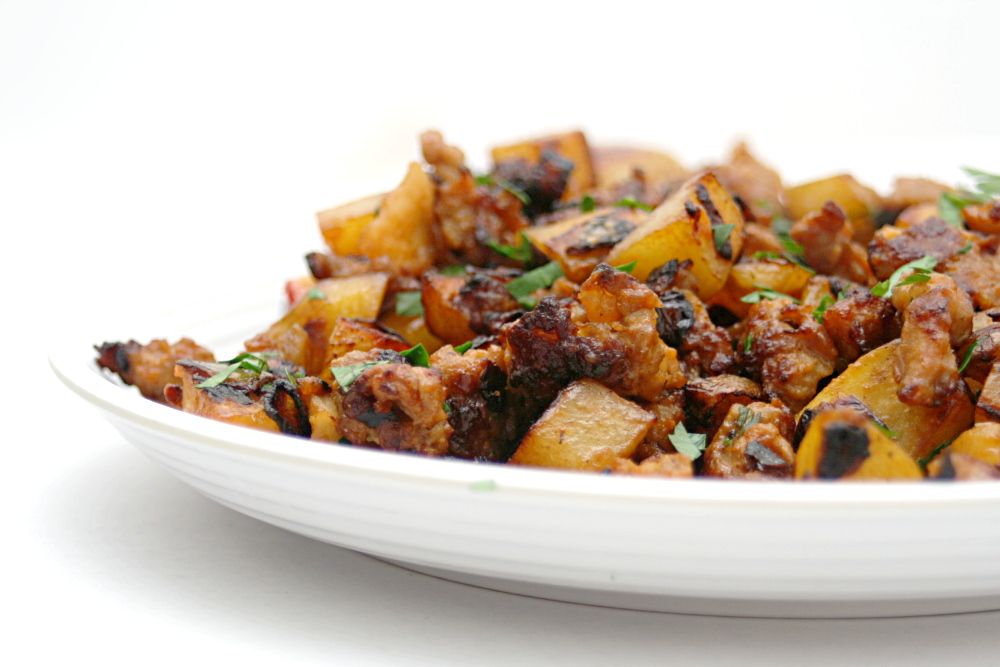
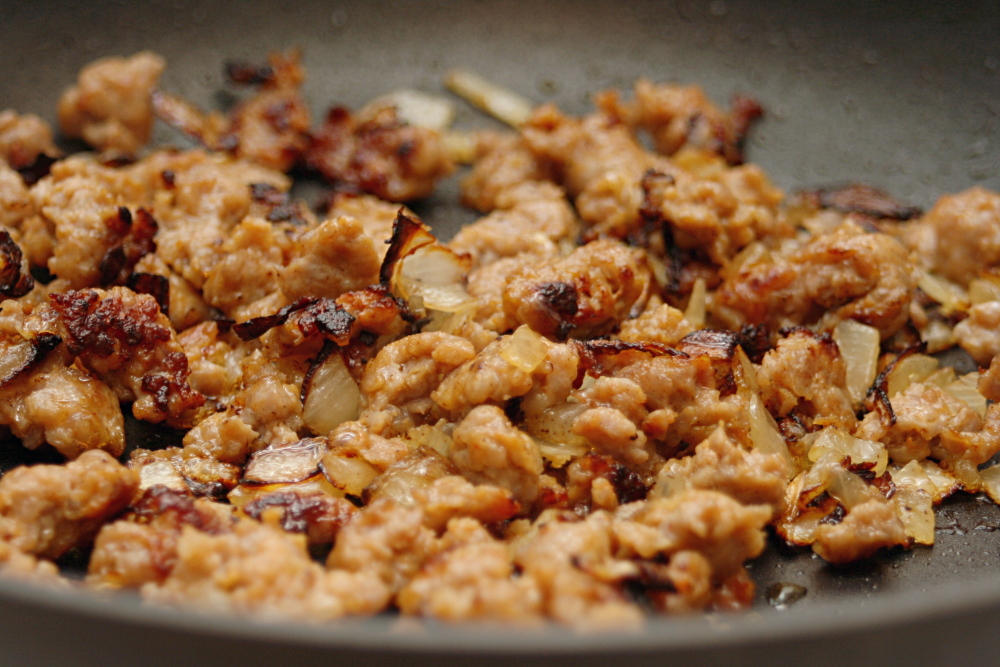
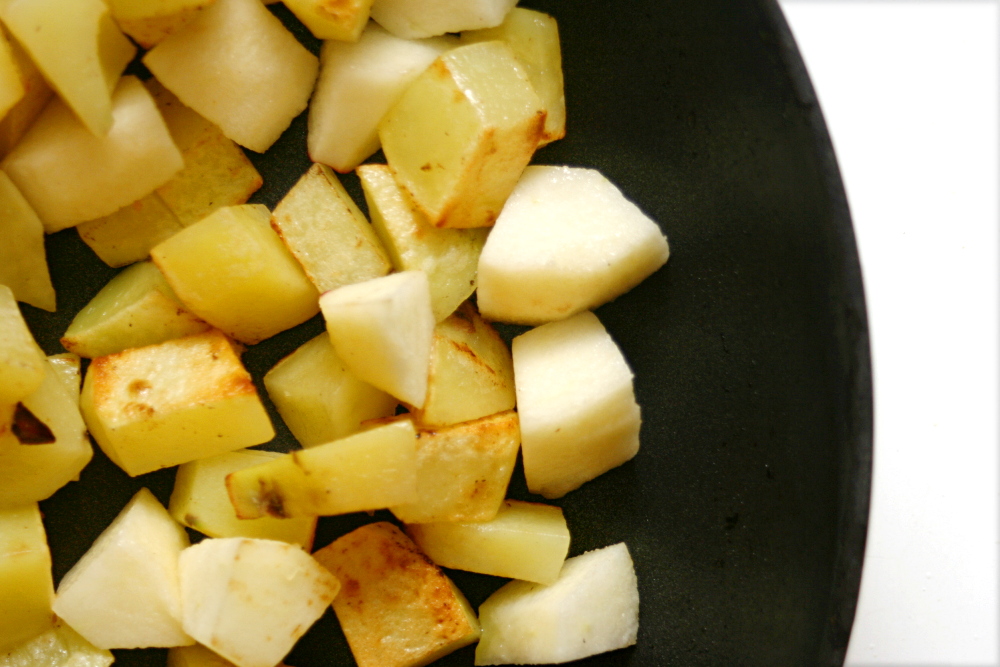
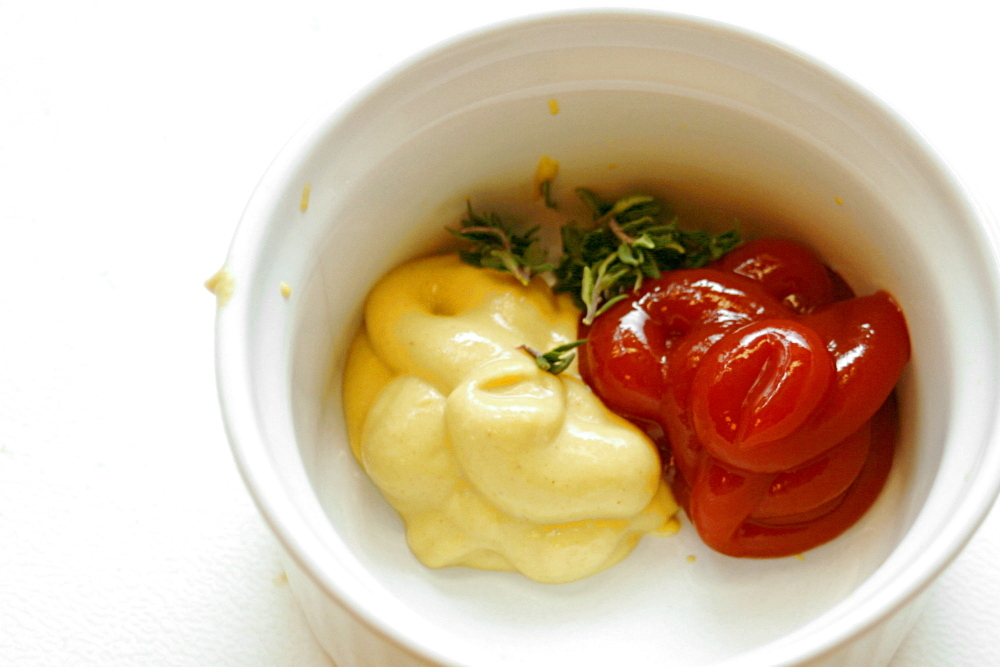
Oh well, at least I was right that potatoes were a good fit for this. The sausage and onion are sautéed together until browned (or until the onions are black if you’re me and Mark), then the potatoes and apples are sautéed until browned and cooked through. Then everything is mixed and a simple sauce of ketchup, mustard, and thyme is stirred in. I raised my eyebrows at the ketchup and mustard, but they gave the hash nice tang and spice.

copy-of-img_0468

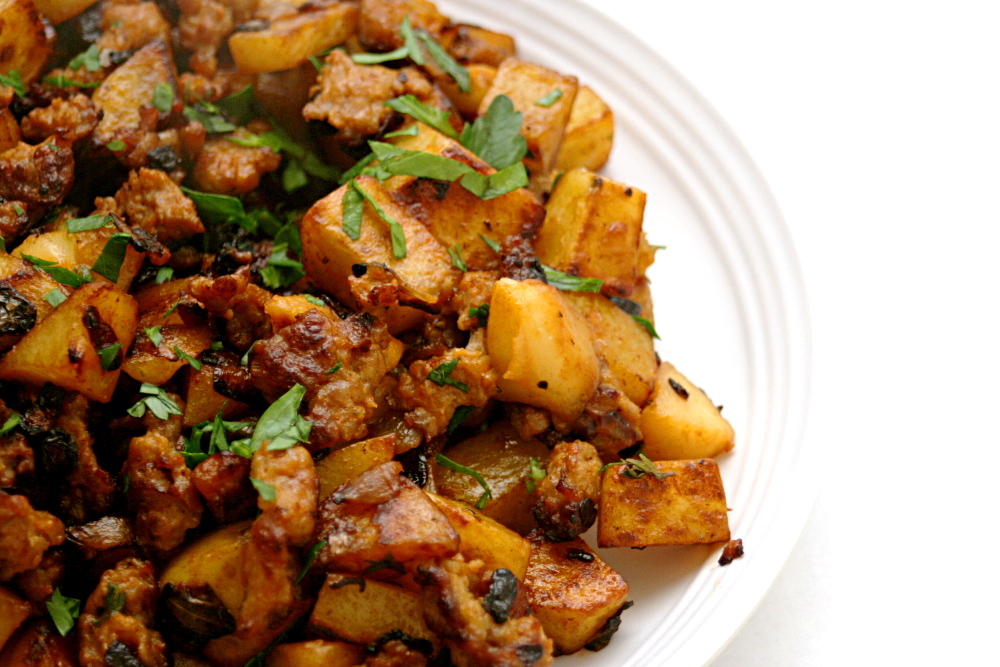
The whole thing was very good, and pretty easy. I think there’s a lot of room for adaptations too, if you do happen to be the creative type. I was thinking that squash would be a nice addition, or maybe a poached egg served on top.  Or bacon instead of sausage.  Things to think about for next time.

copy-of-img_0472

One year ago: Lemon Squares

Sausage and Apple Hash (from Mark’s No Special Effects)

2 tablespoons extra-virgin olive oil
1 large yellow onion, chopped
1 pound Italian sausage (bulk, or links with casings removed)
1½ pounds russet potatoes, cubed
1 large apple, such as Rome or Braeburn, peeled and cut into 1/2-inch dice
2 tablespoons tomato ketchup
2 tablespoon Dijon mustard
2 tablespoons water
½ teaspoon dried thyme
2 tablespoons chopped fresh flat-leaf parsley

Heat half the oil in a large skillet over medium-high heat. When the oil is hot, add the sausage and onion and cook, breaking up the sausage, until the sausage is golden brown, about 8-10 minutes. Park the sausage and onions into a separate dish.

Add the remaining oil in the skillet, then add the apples and potatoes. Cook until the apples are golden brown, about 10-12 minutes. (I covered the pan for a bit in the beginning because I was worried about the potatoes cooking through.) Meanwhile, mix the ketchup, mustard, thyme, parsley, and water in a small bowl. Return the sausage and onions to the skillet and stir in the ketchup mixture. Cook until the hash has browned nicely, about another 5 minutes. Season to taste with more salt and pepper before serving.

cranberry orange muffins

copy-of-img_9788

Didn’t I just make muffins? And wasn’t I talking about how I was still on pumpkin? While it’s true that I haven’t moved past pumpkin, I’m definitely excited about cranberries too. Especially cranberry and orange together.

copy-of-img_9771

Seven or eight years ago, I went through a health nut phase where I pretty much eschewed white flour. (You can imagine that that lasted for, like, a week.) I at least substituted half whole wheat flour in most recipes, especially quick breads. I’ve apparently reached a complete turnaround. This recipe calls for 100% whole wheat flour, and I came very close to substituting half of that with white flour.

copy-of-img_9772

But I stuck to the recipe, and I am so glad I did. These muffins rocked, even though I didn’t have quite the right amount of egg (long story), I used traditional instead of quick-cooking oats, and I skipped the glaze. I’m not a huge fan of glaze on muffins – they don’t take to freezing as well, plus it seems too cupcake-like. I also changed the order that the ingredients were added, just like I did with the pumpkin muffins. I added the sugar with the wet ingredients and the zest with the dry ingredients.

copy-of-img_9778

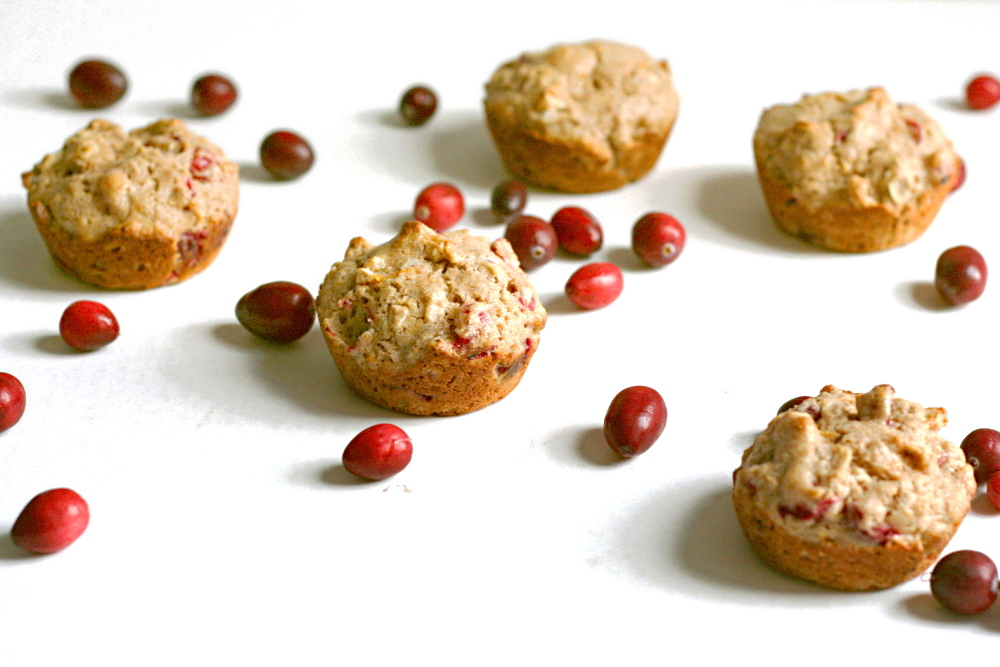
The muffins were nice and light, not at all heavy from the whole wheat flour. The orange flavor was pronounced, which I liked, and the bits of cranberry were perfectly tart and even juicy. All that using 100% whole wheat flour. 2001-me would have been so proud.

copy-of-img_9780

Cranberry Orange Muffins (adapted from King Arthur Flour)

I used traditional oats and didn’t notice any problems, but I could see how quick-cooking oats would incorporate into the dough better. I skipped the nuts because I didn’t have any. I used butter instead of oil. I also skipped the glaze.

Makes 12 muffins

1½ cups whole wheat flour
¾ cup quick-cooking rolled oats
¼ cup buttermilk powder or nonfat dry milk
2 teaspoons baking powder
1 tablespoon orange zest (finely grated orange peel)
½ teaspoon salt
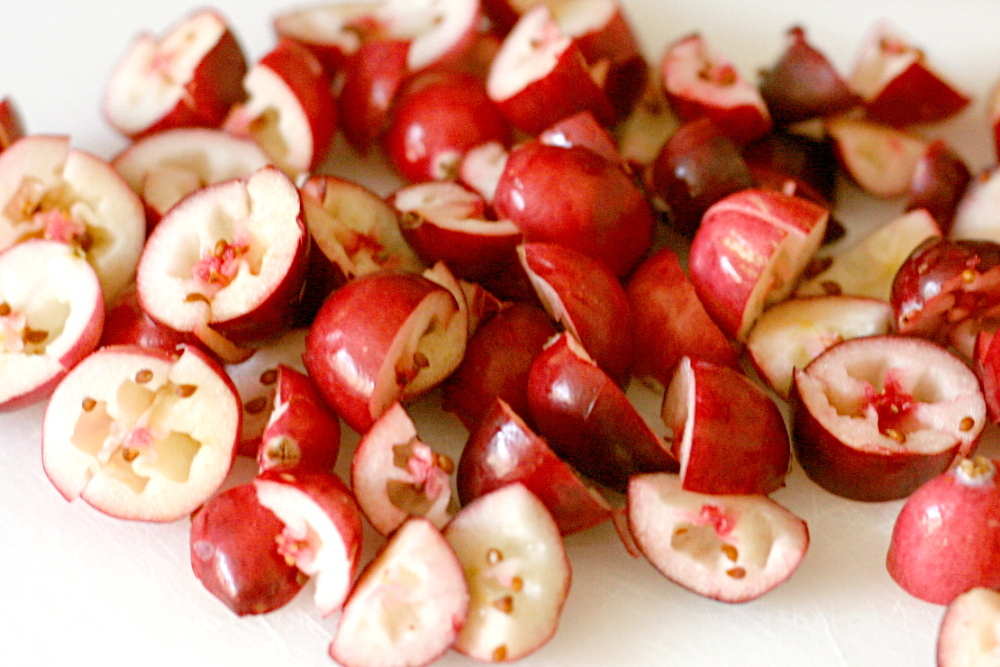
1 cup fresh or frozen cranberries, chopped
½ cup chopped pecans or walnuts (optional)
2 large eggs
⅔ cup (4.67 ounces) sugar
¾ cup milk
⅓ cup melted butter or vegetable oil

Glaze
2 tablespoons orange juice
3 tablespoons sugar

1. Adjust oven rack to middle position and heat oven to 350 degrees. Spray standard muffin tin with nonstick vegetable cooking spray.

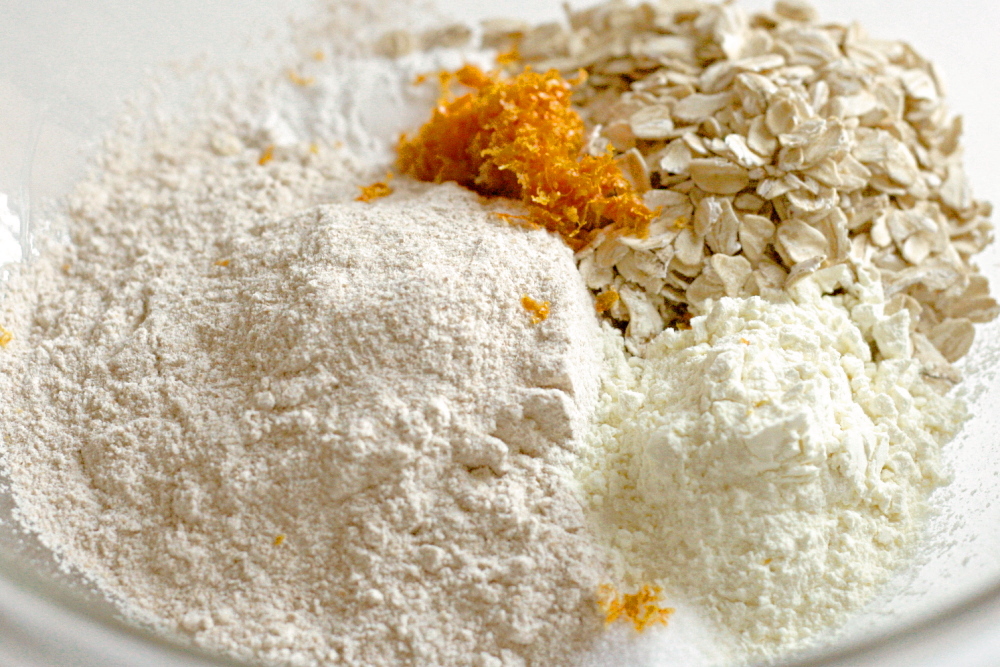
2. Whisk flour, oats, milk powder, baking powder, and orange zest in a large mixing bowl. In a separate mixing bowl, whisk egg until broken up. Add sugar and whisk until combined. Whisk in butter (or oil) and milk.

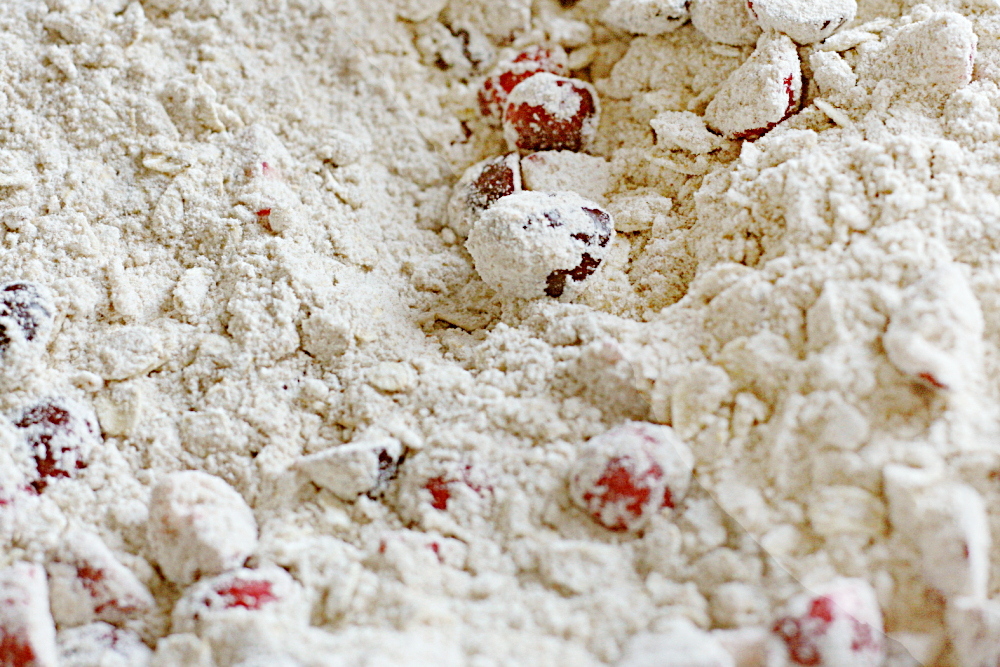
3. Add cranberries and nuts, if using, to dry ingredients and stir to combine. Add milk mixture and fold with rubber spatula until batter comes together. Do not overmix.

4. Divide batter among 12 muffin cups. Bake until toothpick inserted into center of muffin comes out clean, 18-20 minutes. Cool in pan 5 minutes, then transfer them to a rack.

5. If using glaze: In a small saucepan or the microwave, stir together the glaze ingredients. Bring just to a boil, to dissolve the sugar. Dip the tops of the warm muffins into the glaze.

copy-of-img_9783