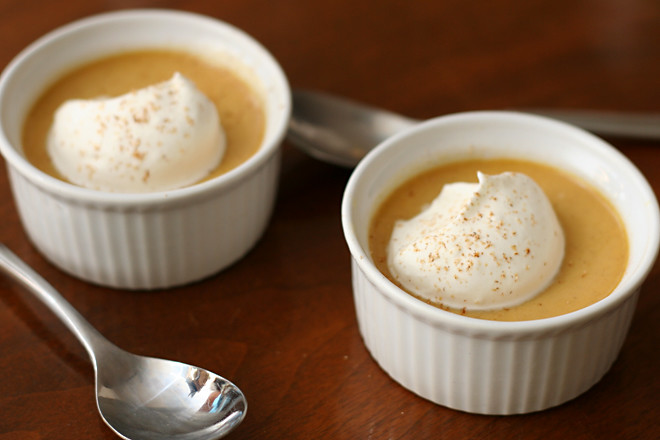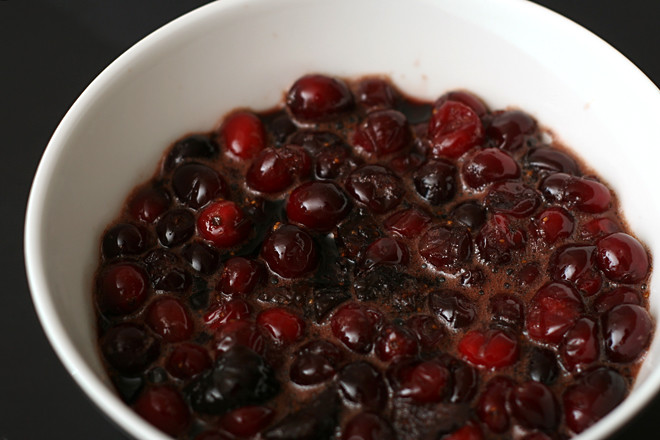
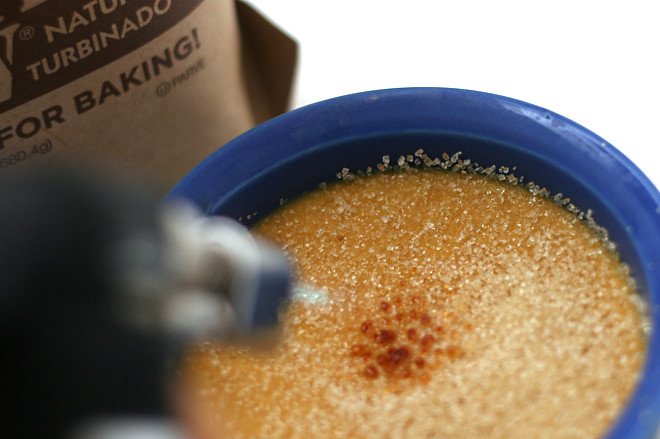
The last few times I’ve made pots de crème, in any flavor, I’ve concluded that crème brûlée in that flavor would be far superior. Because what’s better than a dish full of sinfully rich baked pudding? Sinfully rich baked pudding topped with caramel.
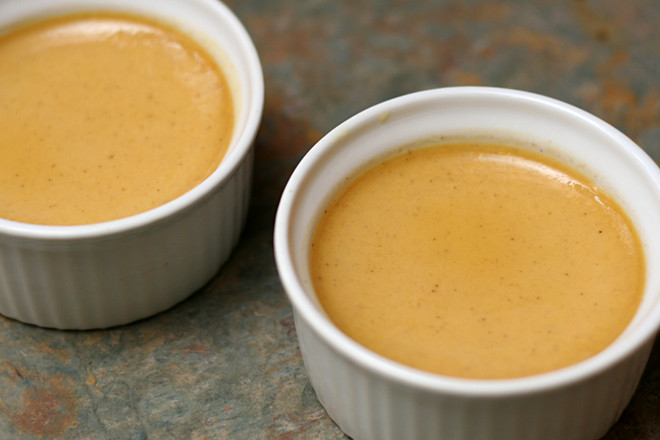
These custards are almost like pumpkin pie without the crust, and come to think of it, while I love flaky pie crusts on summery fruit pies, I think I could do without it for pumpkin pie. I love being able to focus on just the silky custard – or being able to snap through a layer of crackly sugar to the custard.
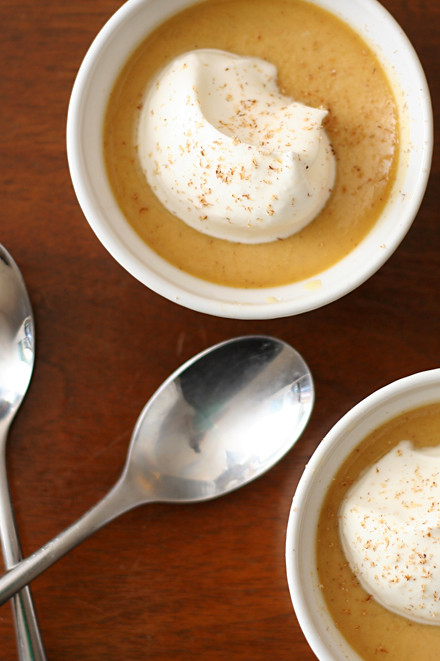
I have a feeling I won’t be able to get away with skipping the crust on everyone’s favorite Thanksgiving dessert, but I wonder how people would feel about me torching the entire top of the pie? It’s tempting, but I suspect brûléeing is usually reserved for individual servings for good reason. Perhaps I’d better stick with whipped cream on top of pie and make individual pumpkin pots de crème when I want a crackly burnt sugar topping.
Two years ago: Vegetarian Lasagna
Three years ago: Stuffed Sandwich Rolls
Printer Friendly Recipe
Maple Pumpkin Pots de Crème (adapted from Gourmet via epicurious)
Serves 6
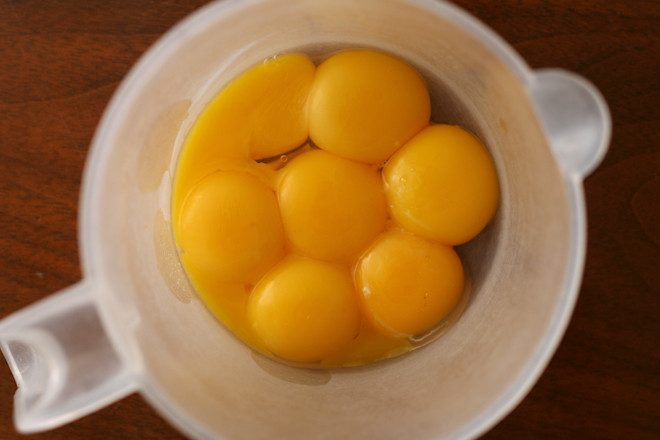
7 large egg yolks
½ teaspoon cinnamon
⅛ teaspoon freshly grated nutmeg
⅛ teaspoon salt
1 cup heavy cream
¾ cup whole milk
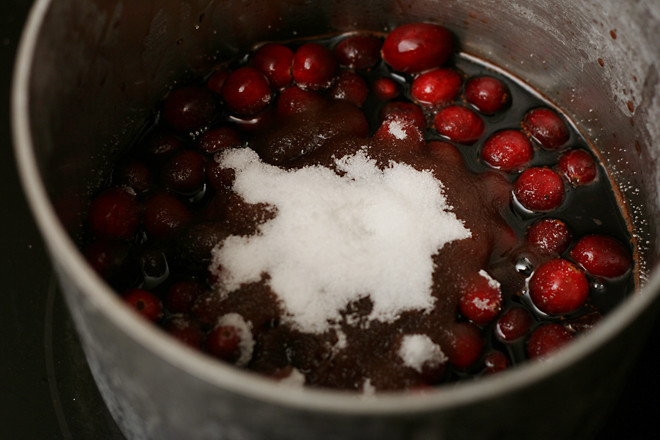
¾ cup pure maple syrup
½ cup canned solid-pack pumpkin
1. Adjust a rack to the middle position and heat the oven to 300 degrees. Line a 9 by 13 inch Pyrex pan with a dish towel. Arrange six 5-ounce ramekins in the pan. Bring about 2 quarts of water to a boil. In a large bowl, whisk together the yolks, cinnamon, nutmeg, and salt.
2. In a heavy saucepan, whisk together the cream, milk, syrup, and pumpkin; bring just to a simmer over moderate heat. Add the hot pumpkin mixture to the yolks in a slow stream, whisking constantly. Pour the custard through a fine-mesh strainer into a large measuring cup, then divide the custard among the ramekins (you may have some custard left over, depending on the size of cups).
3. Pour the boiling water into the towel-lined pan, coming about halfway up the sides of the ramekins and being careful not to splash water into the custards. Transfer the pan to the oven and bake until the custard just barely jiggles when shaken, a knife inserted in center of a custard comes out clean, and an instant-read thermometer registers 170 to 175 degrees from the center of a ramekin, 35 to 40 minutes. Transfer the custards to a rack to cool completely, then chill, covered, until cold, at least 2 hours. Serve with lightly sweetened whipped cream. (To brûlée the pots de creme, pat the custard dry, then top each ramekin with a light coating of demerara, turbinado, or a mixture of brown and granulated sugar. Use a kitchen torch to melt and brown the sugar.)