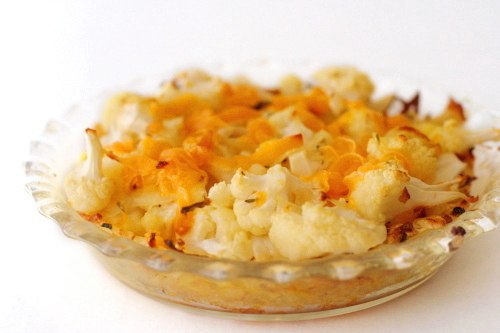
cauliflower cheese pie with grated potato crust

I have a hard time figuring out where I fit on the healthy eating spectrum. Some things are obvious. I eat a lot of fresh fruits, vegetables, and lean proteins: good. I also eat dessert often, although not necessarily a lot of it: still, bad. But everything in between, I’m not so sure.

For example, I love these bran muffins, and I consider them very healthy, as they’re completely whole grain, have a large portion of pure bran, a good dose of dried fruit, and less than 1 teaspoon fat per muffin. But someone commented, “it would be interesting to know the calorie/fat/carb ratios and that way know exactly how healthy these are…” Well, I don’t know; to me, they’re considered healthy. Maybe others disagree based on their versions of what healthy means.

Branny often “brannifies”, as she calls it, recipes by reducing the cheese and other fat, increasing the vegetables, substituting whole grains for refined, using egg whites instead of whole eggs, and choosing less saturated fats than butter. She used many of those tricks when she made this pie, but then when I made it, I…well, I unbrannified it, making the original Moosewood recipe instead of Branny’s healthier adaptation.

I like healthy foods too, and I have no problem decreasing fat and increasing vegetables when it seems reasonable, but by my standards, the original version of this recipe was healthy enough, with just a couple tablespoons of butter in the whole pie and 1 ounce of cheese per main course serving.  Perhaps milk, eggs, and potatoes are all questionable ingredients, but by my standards, they’re all fine in moderation.

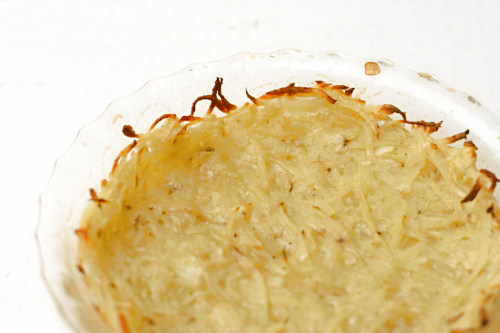
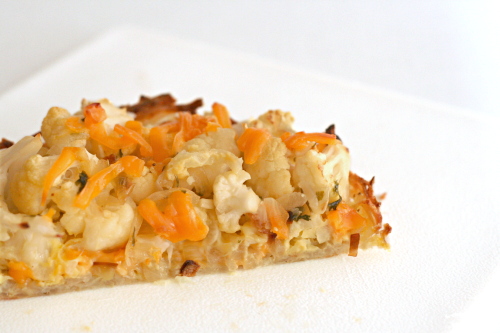
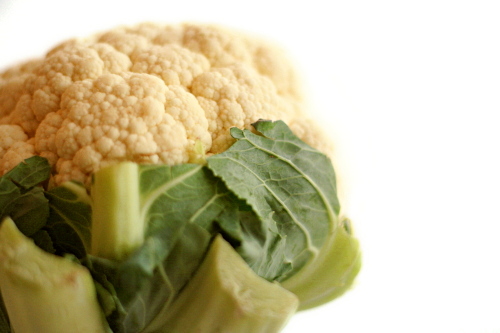
But while we may disagree on just how healthy this is, I think we can all agree that it tastes great. And if you don’t like cauliflower, I think it would be at least as good with broccoli. The crust in particular is a revelation – made of grated potatoes and held together by an egg, there is no butter or oil anywhere. How about that for a flaky delicious pie crust? I can’t wait to use it with a quiche. Because even I know that buttery regular pie crust is decadent.

One year ago: Anadama Bread (another Moosewood recipe)
Two years ago: Sichuan Green Beans (still one of my favorites)

Printer Friendly Recipe
Cauliflower Cheese Pie with Grated Potato Crust (adapted from Moosewood via Branny Boils Over)

Serves 8 as a side dish; 4 as a main course

Looking at online versions of this recipe now, I’m seeing that most call for the shredded potatoes to be salted and drained. I didn’t do this, and in fact, I thought the starch from the potatoes would help form a cohesive crust. I was very happy with how my crust turned out without the draining step.

I recommend using a food processor to shred the potatoes, grate the onion, and shred the cheese.

Crust:
2 cups packed shredded raw potatoes, preferably russet
¼ cup grated onion
½ teaspoon salt
1 egg, beaten

Filling:
2 tablespoons butter
½ onion, diced small
1 garlic clove, minced
1 dash thyme
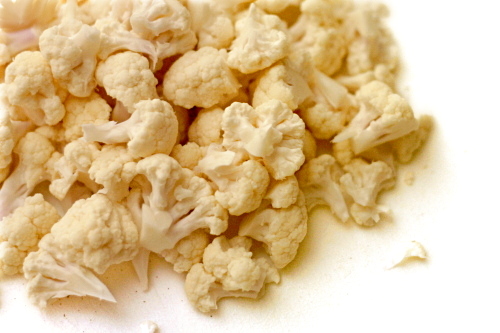
1 medium cauliflower, broken into small florets
1 cup packed grated strong cheddar cheese
½ teaspoon salt
2 eggs
¼ cup milk
black pepper
paprika

1. Adjust a rack to the middle position and heat the oven to 400ºF. Spray a 9-inch pie pan with nonstick spray.

2. Combine the shredded potatoes, onion, salt, and egg. Pat the potato mixture into an even layer over the bottom and up the sides of the prepared pan. Bake for 30 minutes, then give the crust a spritz with nonstick spray. Continue baking for another 10 to 15 minutes, until browned. Lower the oven temperature to 375ºF.

3. Meanwhile, melt the butter in a medium saucepan over medium heat. When the foaming subsides, add the onion and cook just until they start to brown at the edges, about 5 minutes. Add the garlic and cook, stirring constantly, until fragrant, about 30 seconds. Add the thyme, cauliflower, and salt; cover the pan, and cook, stirring occasionally, until the cauliflower is just tender, about 8 minutes.

4. In a small bowl, whisk the eggs, a pinch of salt and another of black pepper, and the milk until evenly colored.

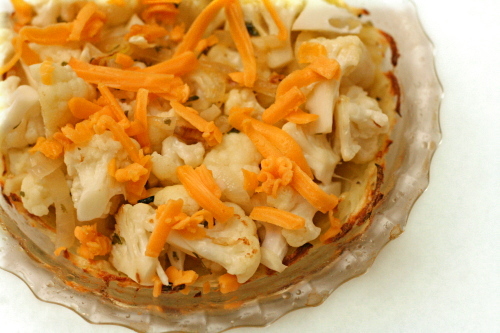
5. Spread half of the cheese on the baked crust. Top with the cauliflower mixture and the rest of the cheese. Pour the egg mixture over the pie. Dust with paprika.

6. Bake the pie until the custard is set and the top is slightly browned, 35 to 40 minutes. Let it cool for about 5 minutes before serving.
bacon-wrapped goat-cheese-and-almond-stuffed dates

Stuffed dates are part of one my favorite days recently – one of those that, for whatever reason, just ended up being particularly awesome. Some great friends visited us in Philadelphia shortly before we moved. After walking around the famous historical sites and before seeing one of my favorite musicians play; before walking up the famous steps to the art museum and much before eating cheesesteaks at 2am, we ate dinner at Alma de Cuba.

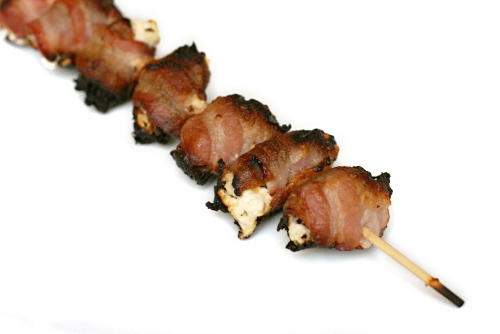
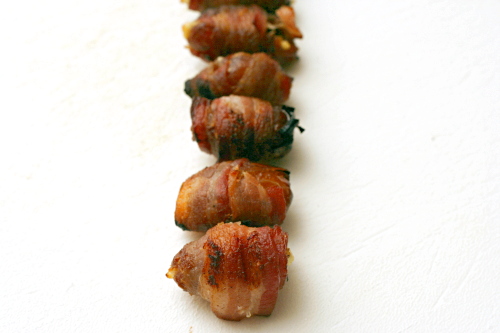
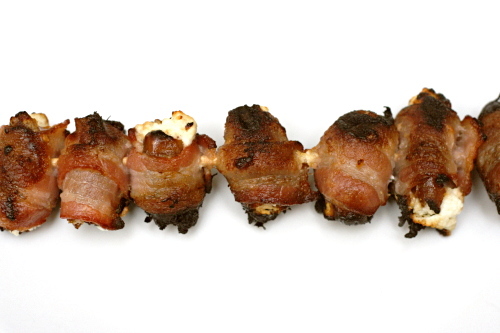
While we all loved our entrees, our drinks, and the ceviche, the star of the show was the bacon-wrapped almond-stuffed dates. Is transcendent too over-the-top a description? It seems appropriate for something that caused each of us to close our eyes and exclaim with every bite.

I had kind of assumed that my bacon-wrapped almond-stuffed date days were behind me when we moved from Philadelphia. I don’t know why it never occurred to me that I could make them myself. I certainly never thought it would be so easy.

And just as good! I mean, it’s missing the friends-visiting, concert-going, downtown-exploring mystique, but it retains other important things – salty bacon, sweet dates, tangy goat cheese, crunchy almonds. And now it isn’t a once in a lifetime treat, like those standout days are.

One year ago: Honey Yogurt Dip
Two years ago: Salmon Cakes with Hashed Brussels Sprouts and Flaky Biscuits

Printer Friendly Recipe
Bacon-Wrapped Goat-Cheese-and-Almond-Stuffed Dates (rewritten from Beantown Baker)

Makes 32 appetizers

32 dates, pitted
4 ounces goat cheese
32 almonds (about ⅓ cup)
16 slices (about 1 pound) bacon, halved lengthwise

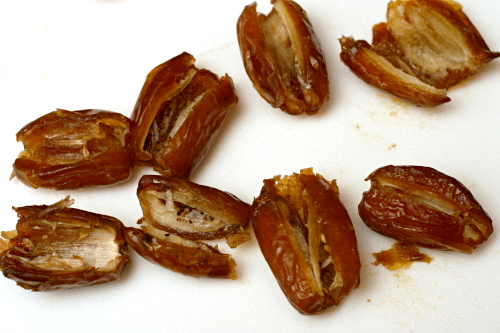
1. With a paring knife, cut through one long edge of each date; unfold the dates to open them up. Use your fingers to stuff both sides of the date with goat cheese. Push an almond into the goat cheese; close up the dates. Wrap each stuffed date with a piece of bacon and secure with a toothpick or skewer.

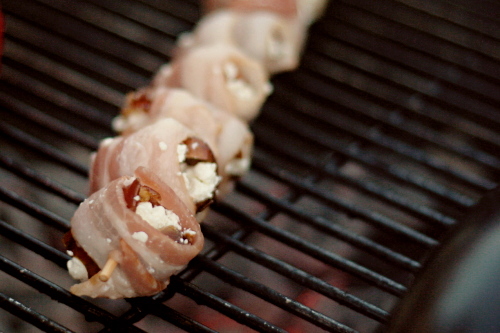
2. If you’re broiling the dates, put them on a rimmed baking sheet. Grill the dates over medium-hot coals or broil them 5 inches from the heating unit until the bacon is cooked through, about 5 minutes per side. Serve immediately or at room temperature.

roasted garlic balsamic white bean dip

No matter how hard I try, I can’t get excited about the Thanksgiving feast. Turkey, stuffing, cranberries – I don’t know, they’re all just fine, but Thanksgiving isn’t the eat-until-you-pop day for me that it is for a lot of people. I do love the idea of a free for all food day though. I also love football, so the Super Bowl tends to be my big overeating event.

But even a day of unapologetic binging requires some vegetables. Besides the ubiquitous salsa and guacamole, that is. Since I was already treating myself, I suppose I could have made a delicious mayonnaise and sour cream based dip, but I wanted to leave plenty of belly space for the brownies, meatball sliders, and that guacamole, so I stuck to a light bean dip for the vegetables.

The problem with bean dip is that it’s always a battle between how healthy it is and how much flavor it has. If you don’t want to add cream cheese or butter or nut butters, it can be difficult to find ingredients to bump up the flavor.

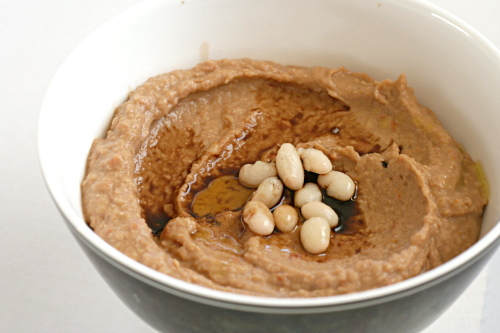
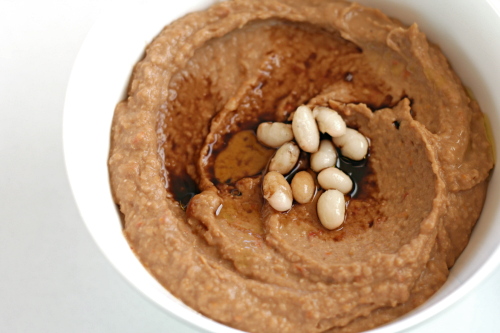
Three strong flavors help make this white bean dip interesting – roasted garlic, sun-dried tomatoes, and balsamic vinegar. The result? A bean dip worth filling up on.

One year ago: Vegetarian Chili
Two years ago: Salmon Pesto Pasta

Printer Friendly Recipe
Roasted Garlic White Bean Balsamic Dip (adapted substantially from Bon Appetit via epicurious)

1 head of garlic, outer papery skin removed
½ teaspoon extra virgin olive oil
4 sun-dried tomatoes packed in oil
¼ teaspoon kosher salt
1 (15-ounce) can white beans (cannellini, navy, great northern), drained and rinsed
pinch black pepper
1 tablespoon balsamic vinegar plus extra for drizzling
1 tablespoon oil from jar of sun-dried tomatoes

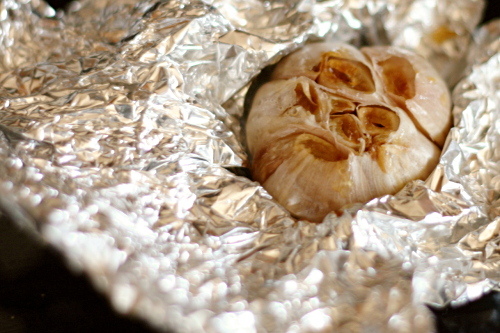
1. Adjust an oven rack to the middle position and heat the oven to 400ºF. Cut ¼-inch off of the top of the bulb of garlic. Place the bulb in an 8-inch square of foil and drizzle with ½ teaspoon of the oil. Wrap the garlic in the foil and roast until soft, about 40 minutes.

2. When the garlic is cool enough to handle, squeeze the cloves from their peels and put them in the bowl of a food processor. Add the tomatoes and salt; process until smooth. Add the beans and pepper and continue processing. With the machine running, pour in the balsamic vinegar and sun-dried tomato oil. Adjust the seasonings if necessary, and serve, drizzling with more balsamic vinegar.
jalapeno-baked fish with roasted tomatoes and potatoes

I need every weekday meal to be exactly like this one.

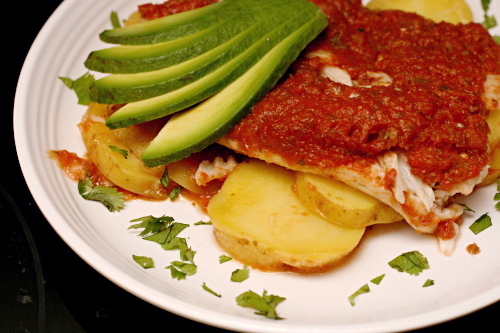
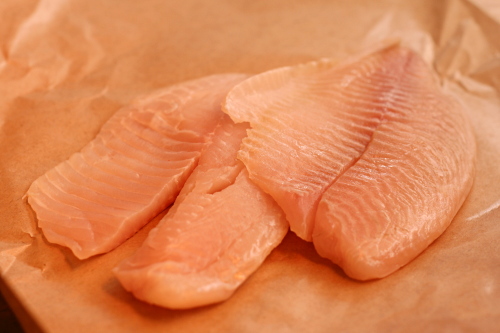
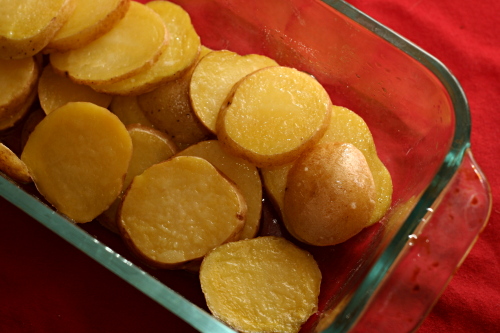
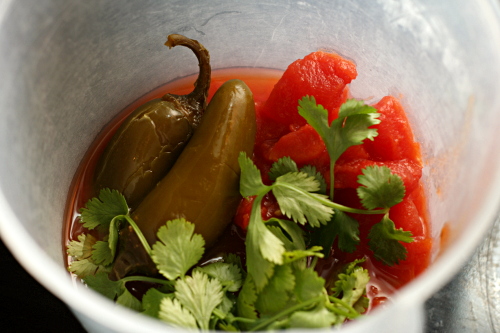
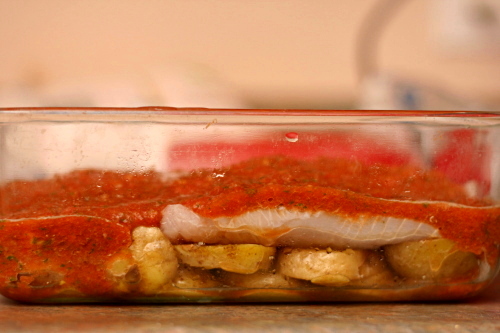
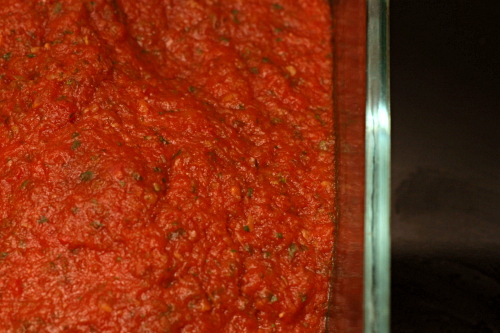
First, it took only 20 minutes of actual effort. Sliced potatoes are softened in the microwave right in the baking dish. Meanwhile, I pureed a few other ingredients, mostly straight from cans, with my immersion blender. Then I laid some fish filets over the potatoes and poured the pureed sauce on top.

Second, it only bakes for 20 minutes. This was the perfect amount of time for me to empty the dishwasher, clean up the kitchen and unpack groceries.

Third, it’s nice and light, with lean white fish, vegetables, and just a small amount of oil to help the potatoes cook.

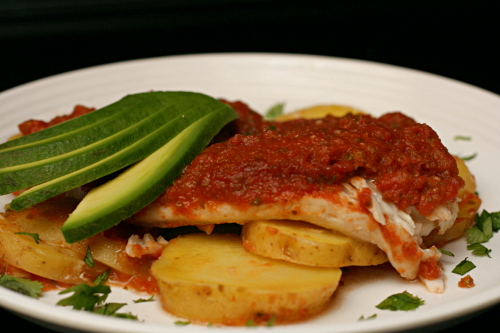
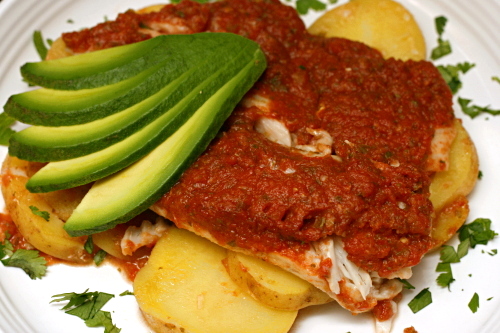
Fourth, and of course the only point that really matters, it was just so good. The fish, potatoes, and sauce were balanced nicely and the spice level was just right.

My favorite meals have all the ingredients jumbled together like this, protein and starch and vegetables. It’s especially nice on a weeknight so I don’t have to make side dishes as well. I haven’t found many fish recipes like that, so this is perfect – in every way, really.

One year ago: Red Velvet Cake comparison
Two years ago: Olive Oil Bread

Printer Friendly Recipe
Jalapeno-Baked Fish with Roasted Tomatoes and Potatoes
(from Rick Bayless’s Mexican Everyday via Dinner and Dessert)

Serves 4

4 medium (1 pound total) red-skin boiling or Yukon Gold potatoes, sliced 1/8-inch thick
1 tablespoon vegetable or olive oil
Salt
1 (15-ounce) can diced tomatoes in juice
1 large garlic clove, peeled and cut in half
⅓ cup (loosely packed) coarsely chopped cilantro, plus extra for garnish
About ¼ cup sliced canned pickled jalapenos
1 tablespoon jalapeno pickling juice
Four 4- to 5-ounce (1 to 1¼ pounds total) skinless fish fillets, preferably ¾ to 1 inch thick

1. Turn on the oven to 400 degrees. Scoop the sliced potatoes into a microwaveable 8×8-inch baking dish. Drizzle on the oil and sprinkle with ½ teaspoon salt. Toss to coat, then spread the potatoes in an even layer. Cover with plastic wrap and poke a couple of holes in the top. Microwave on high until the potatoes are nearly tender, about 4 to 5 minutes.

2. Meanwhile, in a food processor or blender, combine the tomatoes with their juice, garlic, cilantro, jalapenos, and pickling juice. Process to a puree, leaving just a little texture.

3. Lay the fish fillets in a single layer over the potatoes. Pour the tomato mixture evenly over the fish and potatoes.

4. Slide the baking dish into the oven. Bake for 20 minutes, until the fish flakes when pressed firmly.

5. Scoop a portion of the fish-potato-sauce onto each dinner plate, sprinkle with cilantro, and serve right away.

lamb stew

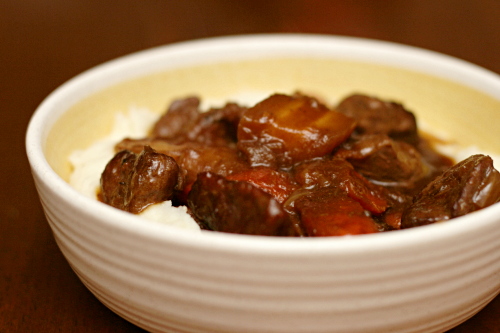
Whenever I eat lamb, my first whiff of it always seems a little…off. Is lamb like feety cheese – stinky, but in a good way? Or am I just attuned to beef, and I’m surprised when the lamb smells different? Whatever, I’ve decided that I officially like lamb. Stinky or not.

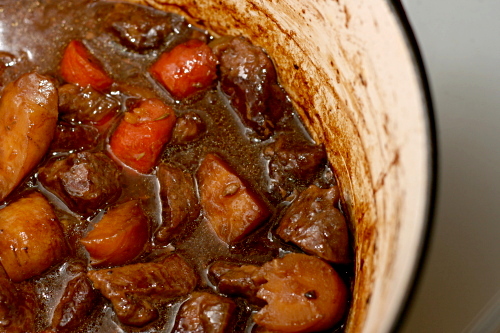
This stew is not any sort of authentic ethnic lamb stew – not Morrocon or Irish or whatever. It’s just lamb stew. It’s what I was in the mood for at the time – chunks of lamb, onions, root vegetables, thyme, and dark rich beer.

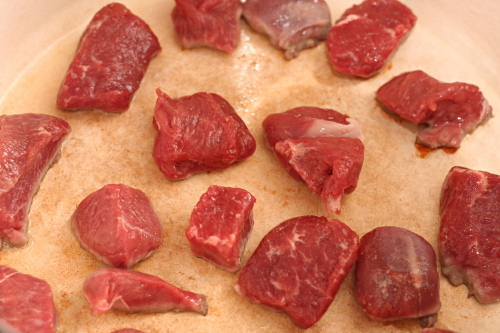
My only uncertainty was which type of lamb meat to use. I usually use beef chuck roast for stew, but what is that equivalent to for lamb? Certainly not sirloin, which was one of my few options. I also didn’t want to use expensive rib chops. Leg? Too big. Shanks? Dur…I don’t know. I went with a combination of sirloin meat and loin chops. I think blade chops would be a great option, but my store didn’t have them.

Whatever I did must have worked though, because the stew was just great. So rich and hearty and comforting. And distinctively…lamby. Which is a good thing.
One year ago: German Apple Pancake

Printer Friendly Recipe
Lamb Stew

The type of lamb to use is ill-defined, because a variety of lamb cuts might not be available and a number of different cuts will work. If you can find them, go for blade chops. I used a combination of loin chops and a sirloin steak, and it worked out very well. If the cut you use contains bones, use the higher amount of meat (around 3 pounds); otherwise, use around 2 pounds of meat.
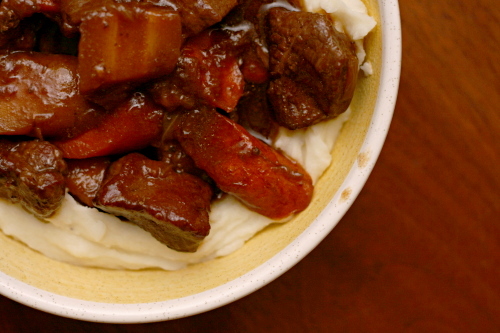
I served this over mashed potatoes, which I really enjoyed. You can also replace the parsnips with potatoes if you want something a little more like traditional stew.

Serves 6

3 tablespoon vegetable oil
2-3 pounds lamb meat, fat trimmed and cut into 1-inch chunks, bones reserved (see note)
salt
3 onions, chopped course
1 (12-ounce) bottle of stout
2 cups water
½ teaspoon black pepper
1 teaspoon dried thyme (or 2 sprigs fresh)
12 ounces carrots, halved lengthwise and sliced on a slight bias about ½ inch thick
12 ounces parsnips, halved lengthwise and sliced on a slight bias about ½ inch thick
¼ cup minced parsley

1. Adjust a rack to the lower-middle position and heat the oven to 325 degrees. Heat 1 tablespoon of the oil in a 5-quart Dutch oven over medium to medium-high heat. Add half of the meat, with pieces spaced about one inch apart. Cook without stirring for 2-3 minutes, until the first side is dark brown. Turn each piece to another flat side and cook for another 2-3 minutes, until the second side is dark brown. Continue cooking and turning the pieces until all sides are dark brown, about 10 minutes. Remove the lamb from the pot and place it on a plate. Repeat with another tablespoon oil and the remaining lamb. (If you use a 7-quart Dutch oven instead of a 5-quart, you might be able to fit them all in one batch.)

2. Reduce the heat to medium. Add the last tablespoon of oil to the empty, unrinsed pot, then add the onions and a pinch of salt. Sauté the onions, scraping the browned bits from the bottom of the pot and stirring occasionally, for 8-10 minutes, until the onions are softened and browned around the edges.

3. Add the browned meat, lamb bones, beer, water, 1½ teaspoons salt, pepper, and thyme to the pot with the onions. Bring to a simmer over medium-high heat, then cover the pot and place it in the oven. Cook for one hour, uncovered.

4. Add the carrots and parsnips to the stew and cook for another hour, or until the meat is tender and the vegetables are softened. Remove the lamb bones, stir in the parsley, adjust the salt and pepper if necessary, and serve.

twice-baked potatoes

Copy of IMG_1022

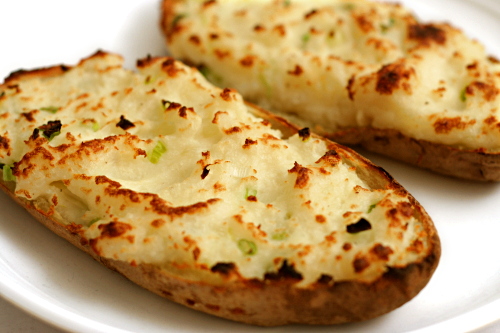
Trust me, you don’t need a recipe for twice-baked potatoes. You know what makes twice-baked potatoes so good? Fat. The more butter and sour cream you add, the better your potatoes will be. The less you add, the better you’ll feel about eating those potatoes.

Copy of IMG_0990

Decide what your goals are – if you want indulgence, you can add all sorts of sour cream, butter, cheese if you want it! If you want to keep it very light, replace the sour cream with buttermilk and reduce the butter to just enough to moisten the potato filling.

Copy of IMG_0999

Because I often serve twice-baked potatoes as part of nice meals, my goal tends to be flavor and not nutrition. In this case, I was making them just for myself and Dave, so I tried not to get carried away with the butter and sour cream. If I was serving them for a bigger occasion, I might add a bit more of each.

Copy of IMG_1005

Hey, don’t look at me like I’m some sort of fat-adding heathen. My mom pushes a small cube of butter into each potato before its second bake, which melts into an inviting pool of decadence; at least I resisted that!

Copy of IMG_1037

One year ago: Candied Orange Peels
Two years ago: Yule Log (Daring Bakers)

Printer Friendly Recipe
Twice-Baked Potatoes

Serves 4

You can certainly add cheese to these if you like that sort of thing; a couple of ounces (½ cup) of something like cheddar would compliment the other flavors nicely. If you want to make the potatoes lighter, replace all or a portion of the sour cream with buttermilk. If you want to make them even more delicious, increase the sour cream by a couple of tablespoons. The flavor of the filling won’t change significantly after its second bake, so feel free to taste and adjust as you go.

24 ounces (approximately) russet potatoes (4 small or 2 large)
4 tablespoons (½ stick) butter, room temperature
¼ cup sour cream
½ teaspoon salt
⅛ teaspoon black pepper
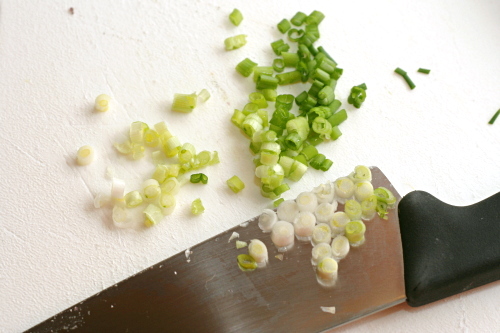
2 scallions, finely chopped

1. Adjust an oven rack to the middle position and heat the oven to 400ºF. Scrub the potatoes and stab each one several times with a fork. Place the potatoes right on the oven rack and bake them until a fork inserted into one meets no resistance, 60-75 minutes. Remove the potatoes from the oven and let them cool slightly. Heat the broiler.

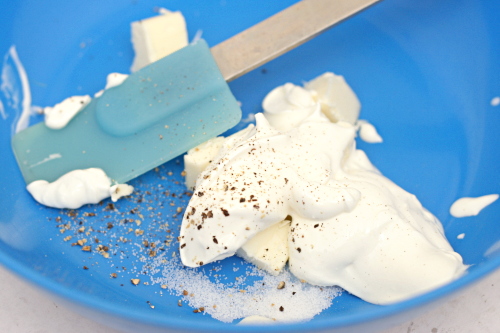
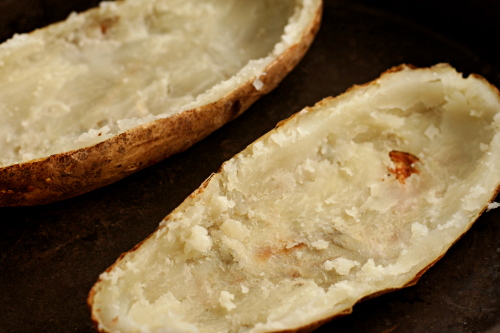
2. In a large bowl, mix the butter, sour cream, salt and pepper. Cut the potatoes in half and use a spoon to scoop out the flesh, leaving behind a thin layer of potato on the skin. Add the potato flesh to the bowl with the sour cream mixture. Using a potato masher, mash the potatoes into the sour cream mixture until it’s combined and there are no large chunks of potato. Fold in the scallions (reserving a few for a garnish, if you’d like).

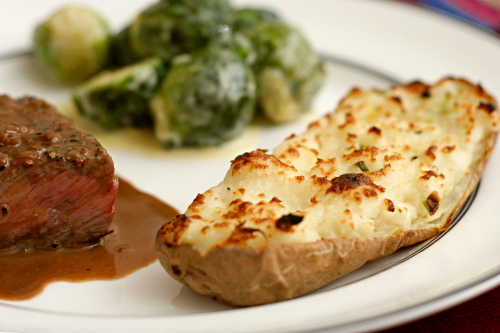
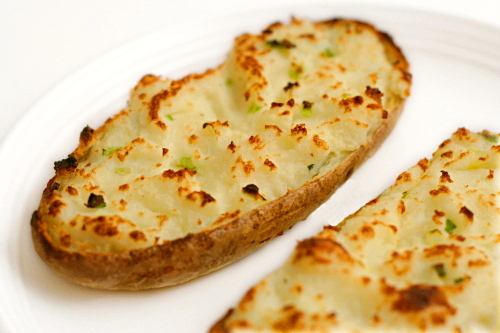
3. Spoon the filling into the potato shells. Place the potatoes on a baking sheet and broil until the tops are crisp and lightly browned. Serve immediately.

Copy of IMG_1023

Suggested menu: Steak au Poivre, Brussels Sprouts Braised in Cream, Twice-Baked Potatoes

steak au poivre

Copy of IMG_1038

The importance of the Go-To Thing was hammered into me recently. I was sitting at home doing basically nothing, unshowered and unchanged from my recent workout, when Dave called me from a bar half an hour away. “Everyone wants you to come hang out!” Uh…will they still want to hang out in an hour or so, when I might actually show up?

Copy of IMG_0982

I didn’t have time to mull over my clothes, so I just chose the same outfit I’ve worn every time I’ve gone out recently. It’s easy, comfortable, cute, warm, and spans a wide range of situations. (Although my silky teal scarf was a little out of place at the Rob Zombie concert we ended up at.)

Copy of IMG_1011

Having a go-to meal for guests has also come in handy.  On December 23rd last year, Dave and I decided to skip the party we’d planned to go to on Christmas Eve so we could hang out with his parents instead. We offered to make them dinner, which meant I needed to come up with something I could make in my mother-in-law’s kitchen that would be quick enough to put together after a 7-hour drive, special enough for a holiday, and accessible enough that my picky stepfather-in-law would enjoy it.

Copy of IMG_1015

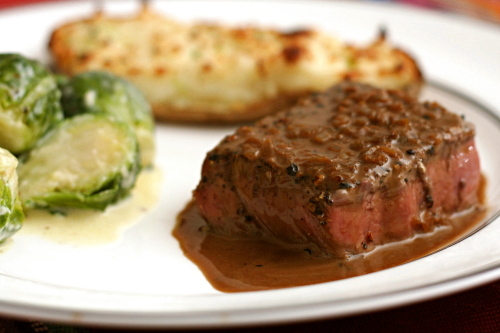
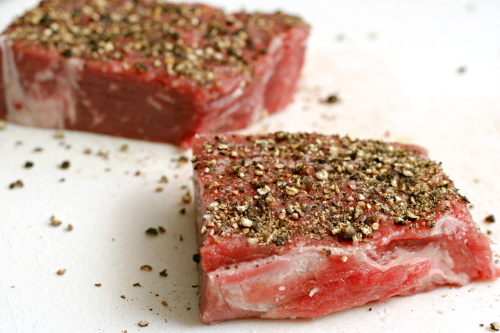
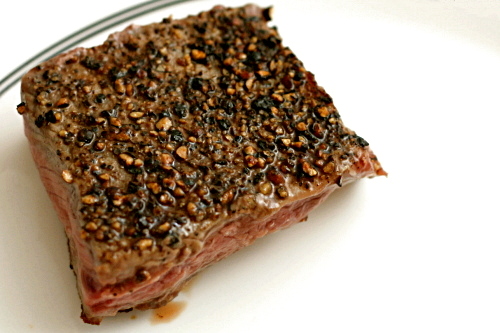
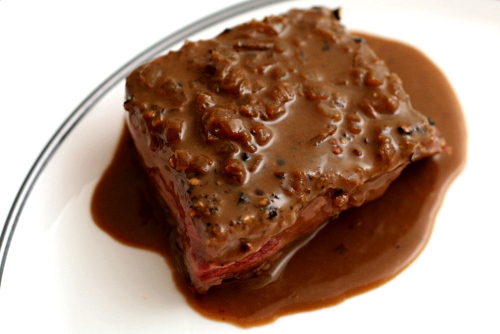
The answer is steak, of course. Steak that has one side coated in black pepper and is dowsed in brandy cream sauce. Served along with twice-baked potatoes and Brussels sprouts braised in cream. Yes, cream sauce, sour cream, braised in cream – it’s a holiday, okay?

Copy of IMG_1029

It’s also delicious. And easy, and most of it can be prepared in advance. The evidence: 1) I finished it at my mother-in-law’s, and her sharpest knife is essentially a butter knife, and 2) my stepfather-in-law not only ate his entire meal, including the Brussels sprouts, but offered something vaguely complimentary. This meal is a success even under the toughest circumstances.

Copy of IMG_1031

One year ago: Red Velvet Whoopie Pies

Printer Friendly Recipe
Steak au Poivre with Brandied Cream Sauce
(from Cooks Illustrated)

Serves 4

Sauce:
4 tablespoons unsalted butter
1 medium shallot, minced
1 cup low-sodium beef broth
¾ cup low-sodium chicken broth
¼ cup heavy cream
¼ cup brandy + 1 tablespoon
1 teaspoon lemon juice or 1 teaspoon champagne vinegar
table salt

Steaks:
4 strip steaks (8 to 10 ounces each), ¾ to 1 inch thick, trimmed of exterior gristle
table salt
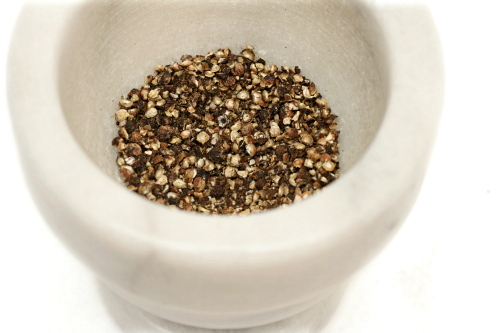
1 tablespoon black peppercorns, crushed

1. Heat 1 tablespoon butter in 12-inch heavy-bottomed skillet over medium heat; when foaming subsides, add shallot and cook, stirring occasionally, until softened, about 2 minutes. Add beef and chicken broths, increase heat to high, and boil until reduced to about ½ cup, about 8 minutes. Set reduced broth mixture aside. Rinse and wipe out skillet.

2. Meanwhile, sprinkle both sides of steaks with salt; rub one side of each steak with 1 teaspoon crushed peppercorns, and, using fingers, press peppercorns into steaks to make them adhere.

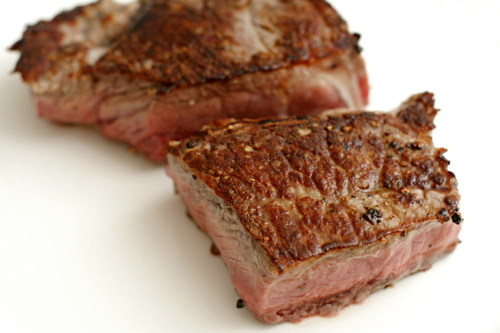
3. Place now-empty skillet over medium heat until hot, about 4 minutes. Lay steaks unpeppered-side down in hot skillet, increase heat to medium-high, firmly press down on steaks with bottom of cake pan (see illustration below), and cook steaks without moving them until well-browned, about 6 minutes. Using tongs, flip steaks, firmly press down on steaks with bottom of cake pan, and cook on peppered side, about 3 minutes longer for rare, about 4 minutes longer for medium-rare, or about 5 minutes longer for medium. Transfer steaks to large plate and tent loosely with foil to keep warm.

4. Pour reduced broth, cream, and ¼ cup brandy into now-empty skillet; increase heat to high and bring to boil, scraping pan bottom with wooden spoon to loosen browned bits. Simmer until deep golden brown and thick enough to heavily coat back of metal tablespoon or soup spoon, about 5 minutes. Off heat, whisk in remaining 3 tablespoons butter, remaining 1 tablespoon brandy, lemon juice or vinegar, and any accumulated meat juices. Adjust seasonings with salt.

5. Set steaks on individual dinner plates, spoon portion of sauce over steaks, and serve immediately.

Copy of IMG_1032

Suggested menu: Steak au Poivre, Brussels Sprouts Braised in Cream, Twice-Baked Potatoes

cafe volcano cookies

Copy of IMG_1796

Hey, have you noticed that I haven’t whined about gaining weight in a while? It turns out that I figured out a system that actually works to avoid weight gain. You’ll never believe this, but it involves getting regular exercise and eating lots of fresh fruits and vegetables, whole grains, and lean proteins. Revolutionary.

Copy of IMG_1768

It doesn’t really involve baking three desserts one after another, but I had to squeeze almost all of December’s Tuesdays with Dorie recipes into one week because of the big cross-country move. So I was pleased to see that at least one of the recipes was sorta kinda a little healthy-ish.

Copy of IMG_1773

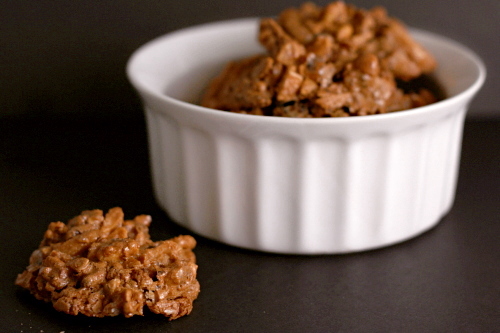
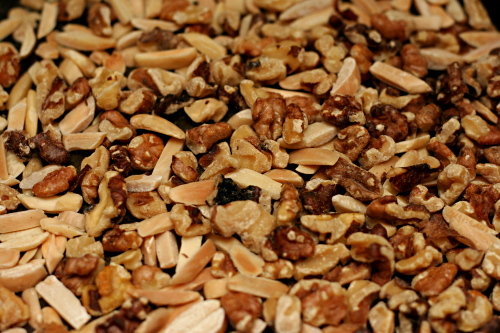
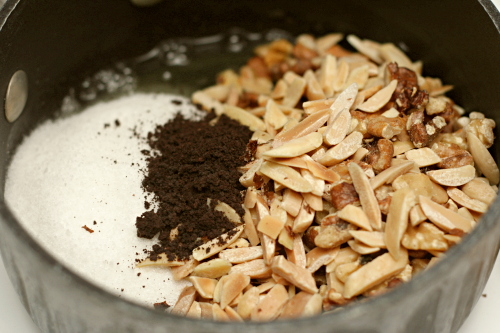
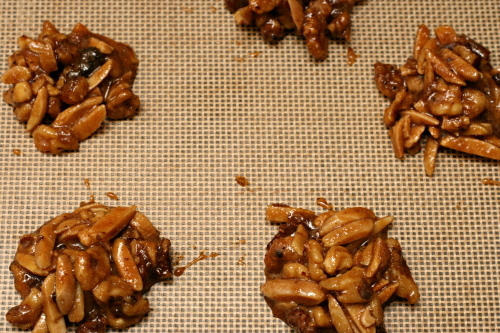
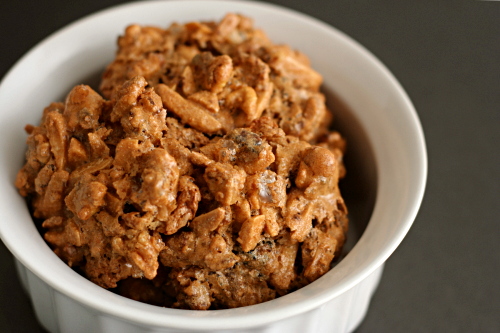
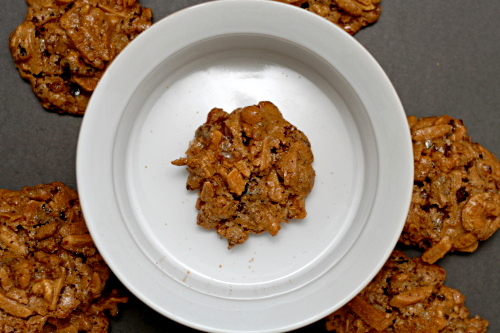
Also, weird. I bake a lot (you might have noticed?), but this technique was new enough to me that I had to send out a call for reassurance before diving in. Sure enough, the recipe is just toasted nuts mixed with egg whites, sugar and espresso powder, heated in a saucepan just enough to dissolve the sugar and espresso, then spooned onto a baking sheet in something vaguely cookie-shaped.

Copy of IMG_1782

They were…good. Not “savor with a mug of tea after dinner” good, but definitely “healthier than a sablé on a weekend morning while waiting for Dave to wake up” good.

Copy of IMG_1793

Macduff has the recipe posted.

One year ago: Buttery Jam Cookies

Copy of IMG_1818

thai-style chicken soup (tom kha gai)

Copy of IMG_1760

Cooking and eating, I think I manage to do ambitiously. I just really like food, and I want to enjoy it as much as absolutely possible. That means I need to eat whatever is offered to me with an open mind. My desire to try new foods is driven by curiosity, but my desire to cook new recipes is about challenging myself. How much can I learn? How good can I be?

Copy of IMG_1703

But I have a weakness when it comes to food, and that is in the shopping. I go to the store with a plan and a list. Occasionally the store will have some seasonal item – long beans, meyer lemons, kaffir lime leaves – but I never buy it. Because what would I make with it? What other ingredients would I need to use it? I never know, and I’m not willing to make more grocery store trips than necessary, so I miss a lot of opportunities to try new ingredients.

Copy of IMG_1704

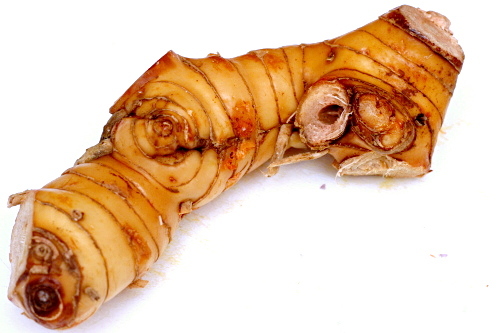
Finally I decided there was at least one produce item that there was no excuse not to try, and that is galangal. It’s often compared to ginger. Ginger has a long shelf life, so I assumed that galangal did too. I could buy it one of those rare times when it was available and ignore it for a week or two until I found a recipe to use it in.

Copy of IMG_1708

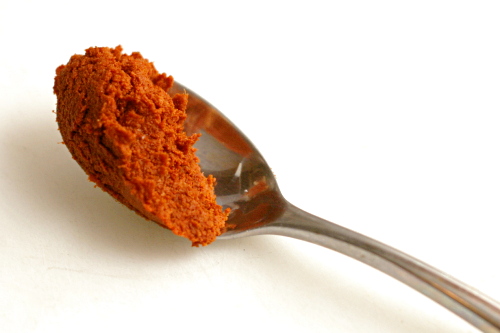
In the end, I used it in a recipe that doesn’t even require galangal. Cooks Illustrated’s Thai-style chicken soup (their version of tom kha gai) bypasses the need for ingredients that are difficult to find – like galangal – by designing the recipe around readily available prepared red curry paste.

Copy of IMG_1748

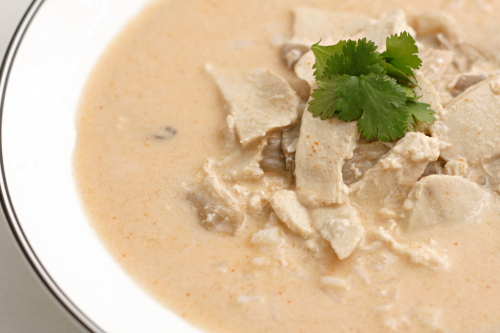
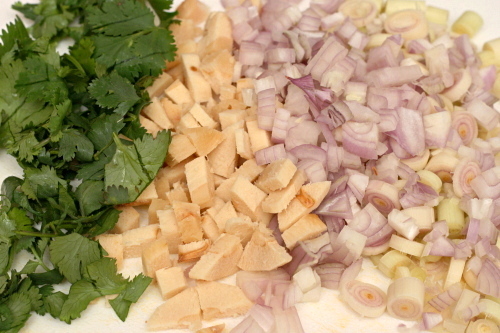
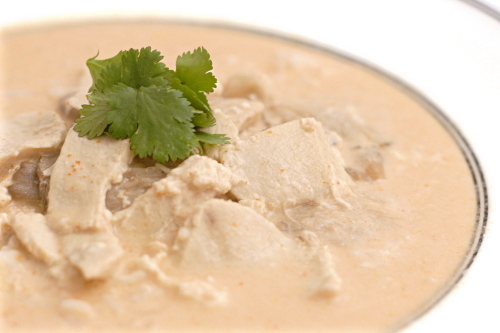
The curry paste already has galangal in it, but I figured it couldn’t hurt to sweat fresh galangal with the lemongrass, cilantro, shallots and fish sauce. Coconut milk and chicken broth are steeped in the vegetables, and then they’re strained out, leaving you with a sweet, deeply flavored coconut broth, in which thinly sliced mushrooms and chicken are briefly cooked.

Copy of IMG_1753

I’ve made this soup for years, and it is good. Really, exceptionally good. The kind of good where I spend the whole meal saying “oh my gosh this is so good!” (which I’m sure is just as annoying as you’d expect). I don’t think adding fresh galangal made a significant difference in the end product, but that’s okay – I got to play around with a new ingredient, and that makes me almost as happy as this soup does.

Copy of IMG_1762

Printer Friendly Recipe
Thai-Style Chicken Soup (from Cooks Illustrated)

6-8 as an appetizer, 4 as a main course

I like to skip the serrano chile garnish (and a rarely bother with the scallion and lime garnishes) and add just one chile to the vegetables in step 1. It makes the soup a bit spicy.

This is great as a first course with pad Thai served afterward, or as a simple main dish served over rice.

Cooks Illustrated recommends Chaokoh coconut milk, which is what I’ve always used. For a lighter option, they like A Taste of Thai’s Lite Coconut Milk, but I’ve never been able to find it.

1 teaspoon vegetable oil
3 stalks lemon grass, tough outer leaves removed, bottom 5 inches halved lengthwise and sliced thin crosswise
3 large shallots, chopped
8 sprigs fresh cilantro leaves, chopped coarse
3 tablespoons fish sauce
4 cups low-sodium chicken broth
2 (14-ounce) cans coconut milk, well-shaken
1 tablespoon sugar
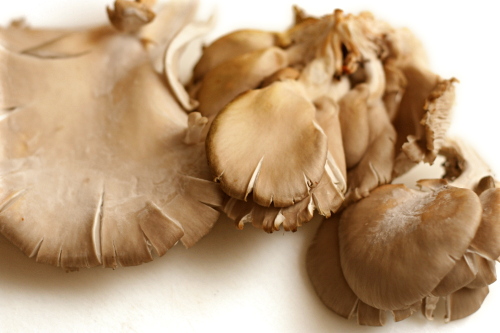
½ pound white mushrooms, cleaned, stems trimmed, cut into ¼-inch slices
1 pound boneless, skinless chicken breasts, halved lengthwise and sliced on bias into ⅛-inch-thick pieces
3 tablespoons fresh lime juice from 2 to 3 limes
2 teaspoons red curry paste (Thai)

Garnish:
½ cup fresh cilantro leaves
2 serrano chiles, sliced thin
2 scallions, sliced thin on bias
1 lime, cut into wedges

1. Heat the oil in a large saucepan over medium heat until just shimmering. Add the lemon grass, shallots, cilantro, and 1 tablespoon fish sauce; cook, stirring frequently, until the vegetables are just softened, 2 to 5 minutes (vegetables should not brown). Stir in the chicken broth and 1 can of the coconut milk; bring to a simmer over high heat. Cover, reduce the heat to low, and simmer until the flavors have blended, 10 minutes. Pour the broth through a fine-mesh strainer and discard the solids in the strainer. Rinse the saucepan and return the broth mixture to the pan.

2. Return the pan to medium-high heat. Stir the remaining can of coconut milk and sugar into the broth mixture and bring to a simmer. Reduce heat to medium, add mushrooms, and cook until just tender, 2 to 3 minutes. Add chicken and cook, stirring constantly, until no longer pink, 1 to 3 minutes. Remove soup from heat.

3. Combine lime juice, curry paste, and remaining 2 tablespoons fish sauce in small bowl; stir into soup. Ladle soup into bowls and garnish with cilantro, chiles, and scallions. Serve immediately with lime wedges.

Copy of IMG_1757

soft and sexy grits

Copy of IMG_0732

The hardest part of blogging for me is the writing. The cooking I do naturally and the photography, even if it frustrates me sometimes, I’m always confident that I can do at least passably. But sitting down and trying to come up with something creative to say is a challenge for me more often than not.

Copy of IMG_0719

And that’s why posting every day for a month, although difficult, is a valuable exercise for me. It’s like drilling. Anything I want to master, I have to repeat over and over again. It’s that way for dancing, music, even math. NaBloPoMo is just drilling for bloggers.

Copy of IMG_0721

There is an entry or two in the last month that I’m not perfectly happy with, that I would have spent more time on if I hadn’t had to publish something that day. I’m not proud of that entry, but I am proud of the entire month of entries – for finishing it without what I thought was a significant loss of quality. I’m a better blogger for it, and hopefully a better writer.

Copy of IMG_0728

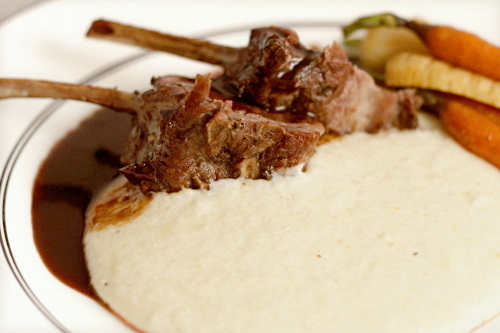
Something else I like about blogging every day is that it’s easier to complete little series of posts – the three scone recipes in a row, some New Mexican food, and now this fantastic accompaniment to yesterday’s equally fantastic lamb.

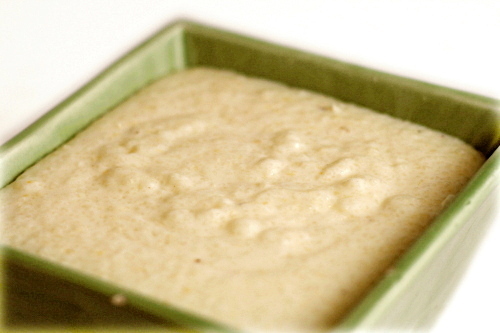
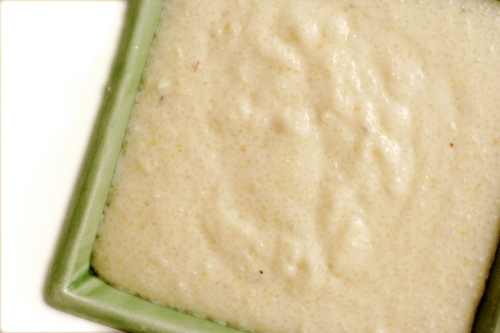
These grits themselves are lovely and rich. But that soft texture and basic flavor means they lend themselves perfectly to soaking up a heady sauce like the lamb’s red wine sauce. The lamb was the star of the show, but it needed these grits singing backup to really shine.

Copy of IMG_0738

One year ago: Chocolate Truffles
Two years ago: Crockpot Rice and Beans

Printer Friendly Recipe
Soft and Sexy Grits (from Cooks Illustrated’s Restaurant Favorites at Home)

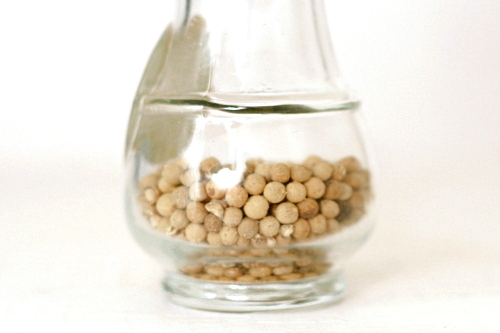
Because ground pepper loses its flavor so fast and I don’t use white pepper enough to have a dedicated pepper mill for it, I buy it in a container that has its own built-in grinder.

2 tablespoons butter
2 garlic cloves, minced or pressed through a garlic press
4 cups low-sodium chicken broth
2 cups whole milk
2 cups heavy cream
2 cups quick grits
hot pepper sauce, such as Tabasco
Salt and ground white pepper

1. Melt the butter in a large saucepan over medium heat. Add the garlic and cook until softened and fragrant, about 30 seconds. Increase the heat to medium-high, add the broth, milk, and cream, and bring just to a boil.

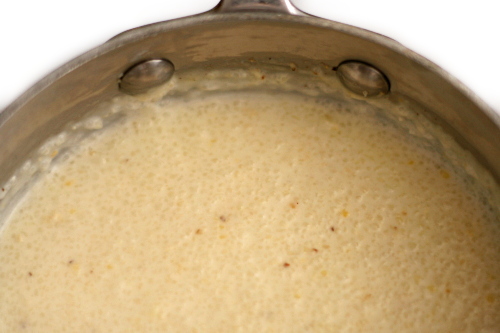
2. Reduce the heat to low and, stirring constantly with a wooden spoon, slowly add the grits. Simmer, stirring occasionally, until the grits are smooth and creamy, 8 to 10 minutes. Season with Tabasco and salt and pepper to taste. Serve immediately, or cover the pan to keep the grits warm and serve within 15 minutes. (You should not need to add any more liquid.)

Copy of IMG_0737