split-level pudding

Copy of IMG_9800

Have you ever had a recipe go haywire and just not be able to figure out for the life of you what went wrong?  You review the recipe again and again, thinking, “well, it certainly looks like I did exactly what I was supposed to…”

One of the best parts of Tuesdays with Dorie is the discussion of the weekly recipe, where people can voice concerns, provide tips, and compare results.  If a bunch of us have the same issue, I feel pretty safe saying that the recipe has a finicky step.  We didn’t all follow the directions incorrectly, after all.  (But usually only a portion of us have problems, and I swear, I am always in that portion.)

Copy of IMG_9788

My pudding didn’t set up quite right.  It seemed perfect right off the stove, but then Dorie likes to give pudding a whirl in a food processor or blender before she chills it, just to make sure it’s lump free.  My smooth, thickened pudding turned right back to liquid after its time in the blender.  After it set up in the fridge, it was kind of…weird and lumpy.  And I wasn’t the only one with this problem.  No more blender/food processor step for me!  A fine-mesh strainer will do from here on out.

Copy of IMG_9791

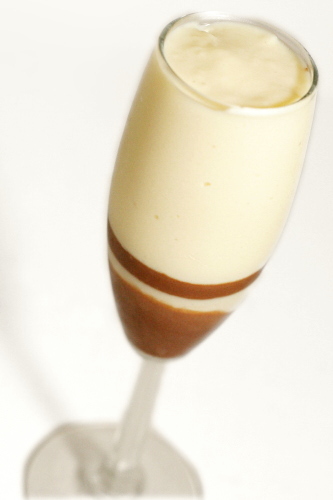
Other that a slightly odd texture, what’s not to like about this?  Soothing, fresh vanilla paired with rich, comforting chocolate.  It’s a classic flavor combination for a reason.  Remind me in the future how good vanilla pudding is when a simple ganache is added.  That’s probably true for most things, though, right?

Copy of IMG_9809

Garrett should have the recipe posted.  As I said, in the future I’ll skip the food processor steps in favor of using a whisk and a fine-mesh strainer.  I might also add a little more cream (or less chocolate) to the ganache, because it was quite a bit more solid than the pudding.

One year ago: Caramel Peanut-Topped Brownie Cake
Copy of IMG_9811

goat cheese, pesto, and sun-dried tomato terrine

Copy of IMG_9428

Dave is, it should come as no surprise to me by now, quite a good match for me. I used to wish that he was as excited about food as I was. I’d ask him for meal ideas, I’d demand feedback after trying a new recipe, and I wished he’d cook with me. Invariably, his replies were, respectively, “salmon pesto pasta”, “good”, and “sure, someday.”

Which, actually – is fine by me. Do I really need someone picking apart each dish I make? Or adding even more ideas to an already overstuffed recipes-to-try folder? Or taking up valuable cooking opportunities?

Copy of IMG_9404

No, his uncritical, always-appreciative, open-minded attitude toward food is perfect. And when he does get excited by a dish, I know to take note, like when he came home from a work party raving about a goat cheese pesto spread someone had brought.
Copy of IMG_9406

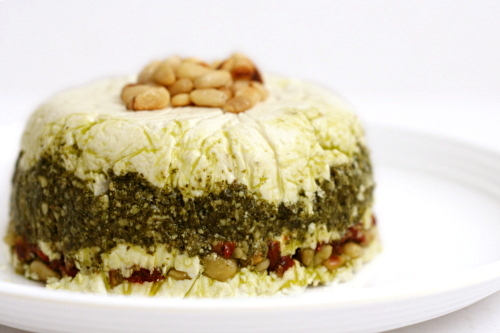
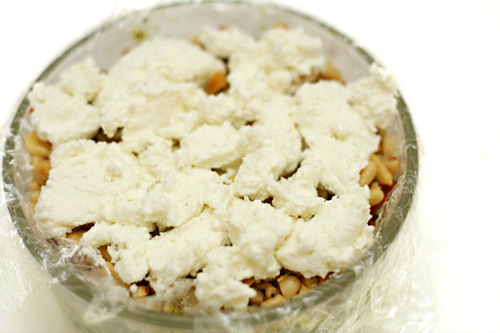
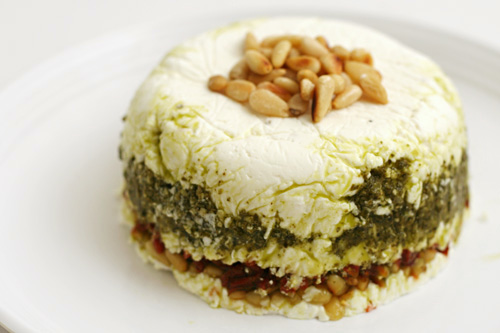
What you do is line a bowl with plastic wrap, then spread some softened goat cheese in the bottom. You’re supposed to make the goat cheese spreadable by adding cream, but I used milk and it worked just fine. Over the first layer of goat cheese, you add some pesto, then more goat cheese, then minced sun-dried tomatoes and chopped toasted pine nuts, then more goat cheese. After chilling for a few hours, it inverts nicely, and you pull the plastic wrap off to reveal nice layers.

Copy of IMG_9411

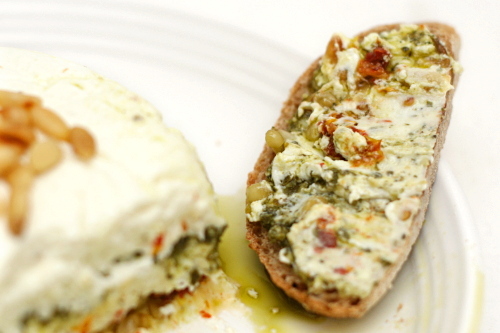
Wow, what a great combination of ingredients. The sweetness of the sun-dried tomatoes balances the tart goat cheese, and pesto is always delicious.  I served it with a whole wheat baguette, and we ate, um, a lot of it. It was completely irresistible.

Copy of IMG_9433

One year ago: Lavash Crackers and Pesto Goat Cheese Spread (Hi! I like pesto! And goat cheese!)

Printer Friendly Recipe
Goat Cheese, Pesto, and Sun-Dried Tomato Terrine
(from Fine Cooking)

Dave did tell me, too late, that his coworker had advised that one of the tricks to making the terrine look neat was to not overfill the intervening layers. That would have been nice to know before I spooned in a bunch of extra pesto.

My personal preference would have been for one more tomato. Dave didn’t agree.

10 ounces goat cheese
¼ to ½ cup heavy cream
Kosher salt and freshly ground black pepper
3 tablespoons basil pesto (homemade or store-bought)
5 oil-packed sun-dried tomatoes, drained and finely chopped
¼ cup pine nuts, toasted and coarsely chopped
Extra-virgin olive oil for drizzling

1. Line the inside of a 2-cup sharply sloping bowl (about 4 inches across the top) with plastic; let the ends extend over the sides a few inches. In a mixing bowl, mash the goat cheese and ¼ cup of the cream with a fork and season with ¼ teaspoon salt and a few grinds of pepper; add more cream if the cheese hasn’t softened.

2. Spoon about one-third of the cheese into the lined bowl and pack it into an even layer. Spread the pesto almost completely to the sides of the first layer of cheese. Top with another third of the cheese, the sun-dried tomatoes, and all but ½ tablespoon of the pine nuts. Top with the remaining cheese. Pack down, fold the plastic over, and refrigerate for at least 30 minutes.

3. Half an hour before serving, take the bowl out of the refrigerator. Pull on the edges of the plastic to loosen the terrine from the bowl. Invert the terrine onto a plate, drizzle with a little olive oil, and let sit for ½ hour to warm up. Sprinkle with the remaining pine nuts, season liberally with pepper, and serve.

Copy of IMG_9427

twice-baked potato cups

Copy of IMG_4842

Bad habit: I cook new recipes at a much faster rate than I get around to writing about them here.  By the time I’m ready to put them in the blog, I can’t remember what motivated me to make them in the first place.  So instead of including some sort of personalized story that hopefully makes blog a little interesting, I end up writing about something lame like how I have nothing to say.  Um.

Copy of Copy of IMG_4788

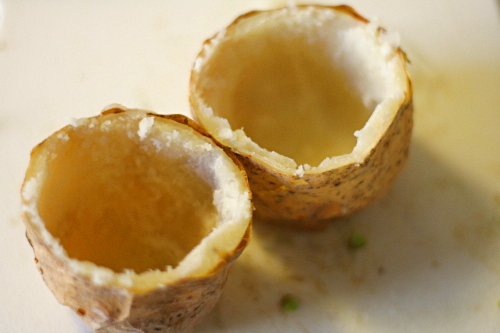
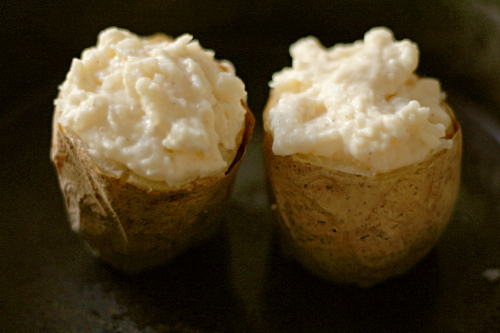
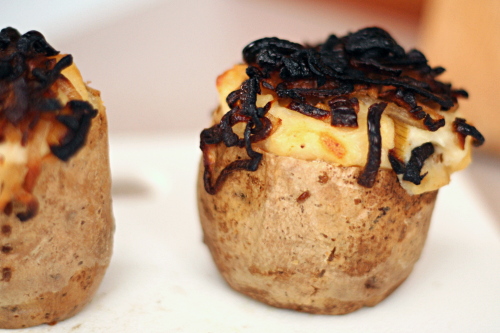
Anyway, twice baked potatoes!  You can’t go wrong, you know?  But these are way cuter than regular ones, because they stand up on their small sides and form little cups.  Love!

Copy of IMG_4815

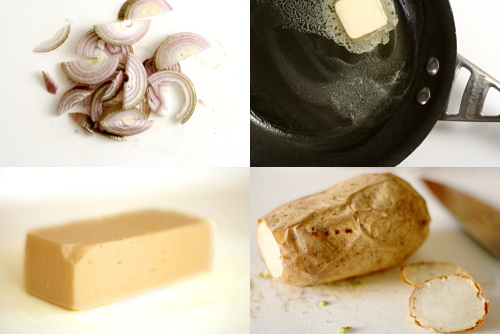
Also, shallots – so good.  So sweet and flavorful.  And charred, in this case, so watch out for that.

Harvati isn’t a cheese I’m too familiar with, but mmm, it was good.  Tasted a bit like a good cheddar, but it was softer and smoother.

Copy of IMG_4822

These were exactly as good as you’d expect based on the ingredients.  They’re also as good as any other twice baked potatoes, but they’re more interesting, not just in their shape, but with a nontraditional cheese choice and wonderful caramelized shallots.  Maybe something as good as this doesn’t need a personalized story.

Copy of IMG_4839

One year ago: Banana and Peanut Butter Stuffed French Toast

Printer Friendly Recipe
Twice-Baked Potato Cups with Caramelized Shallots
(from epicurious.com)

Serves 4 generously

I skipped the vegetable oil.  Also, I think you could substitute buttermilk for some or all of the sour cream.

4 12-ounce russet potatoes, scrubbed
Vegetable oil
1 cup coarsely grated Havarti cheese (about 4 ounces)
½ cup sour cream
¼ cup whole milk
¼ teaspoon cayenne pepper
3 tablespoons butter
1½ cups thinly sliced shallots (about 8 ounces)
1 tablespoon chopped fresh Italian parsley

1. Preheat oven to 400°F. Pierce potatoes in several places with fork, then brush lightly with oil. Place potatoes directly on oven rack and bake until tender when pierced with fork, about 55 minutes. Cool potatoes slightly.

2. Cut off thin slice from both short ends of each potato and discard. Cut each potato crosswise in half; stand each half on its small flat end. Using teaspoon, scoop out cooked potato pulp from each half, leaving ⅓-inch-thick shell and forming potato cup. Place potato cups in 13x9x2-inch glass baking dish. Place potato pulp in medium bowl; add cheese, sour cream, milk, and cayenne. Using potato masher or fork, mash until well blended and almost smooth. Season to taste with salt and pepper. Mound mashed potato mixture in potato cups.

3. Melt butter in heavy medium skillet over medium heat. Add shallots and sauté until tender and deep brown, about 12 minutes. Top potato cups with shallots. (Can be made 1 day ahead. Cover and chill.)

4. Preheat oven to 350°F. Bake potato cups until heated through, about 20 minutes. Sprinkle with parsley and serve.

Copy of IMG_4845

risotto with swiss chard

Copy of IMG_6075

Although I think that adding green pepper is the easiest way to ruin otherwise perfectly good pizza, I’m not in general a picky eater. There are no common ingredients that I refuse to eat, I’m game to try just about anything, and I think even green pepper has its place. (Caveat: margarine and the like – gross. But that stuff doesn’t count.)

On the other hand, sometimes I do have problems wrapping my mind around certain things. For example, I love sushi, love it, and make an opportunity to eat it once every week or two, but somewhere, in the back of my mind, when I eat tuna sashimi, I’m still thinking “ew, raw fish.”

Copy of IMG_6060

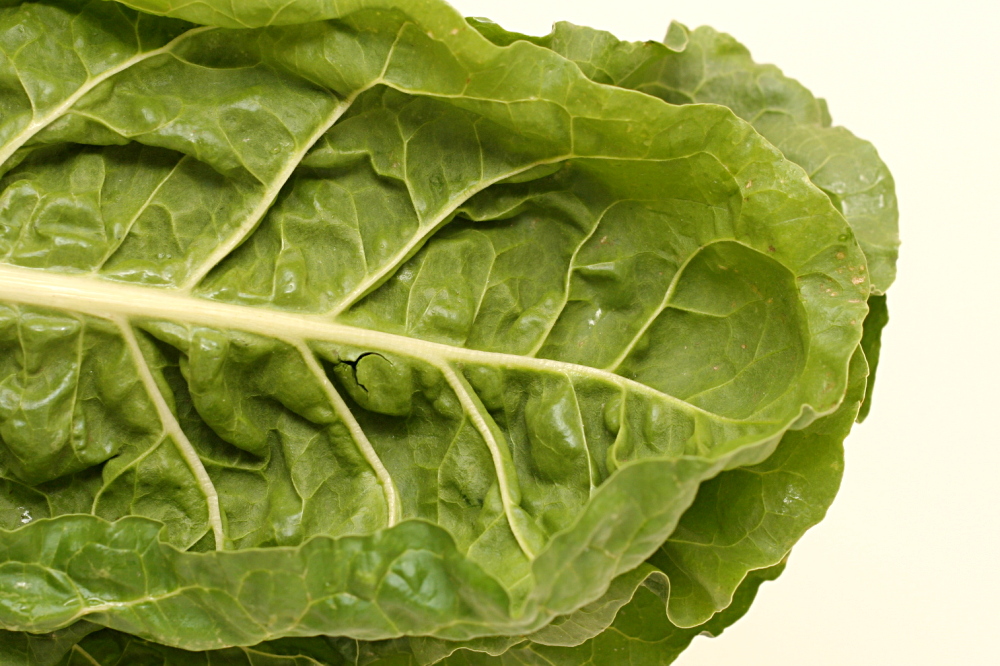
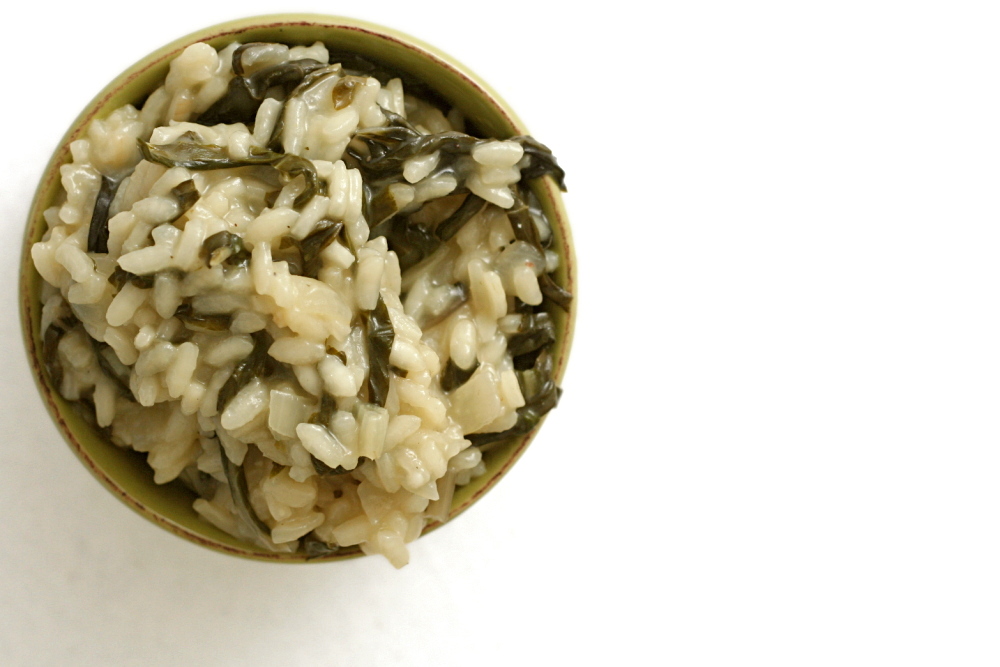
A year or two ago, I realized that I really like kale, and you might think that would lead me to believe I’d also enjoy other hearty greens, like swiss chard. But I had it in my head that swiss chard would be bitter and mushy. It took me a long time to convince myself to try it.

Risotto is a really good way to introduce new vegetables. For one thing, it’s so freakin’ good on its own, and the flavors go with a lot of different ingredients. For another, it makes a convenient side dish to a nice piece of meat, because it often incorporates both a starch and vegetables, so you only need to make one side instead of two.

Copy of IMG_6064

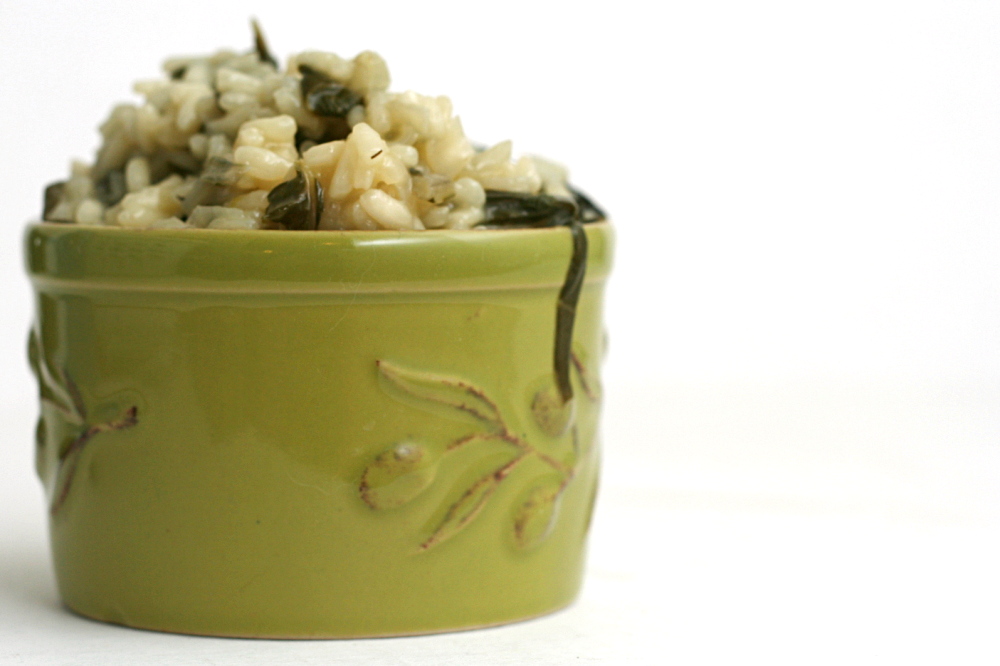
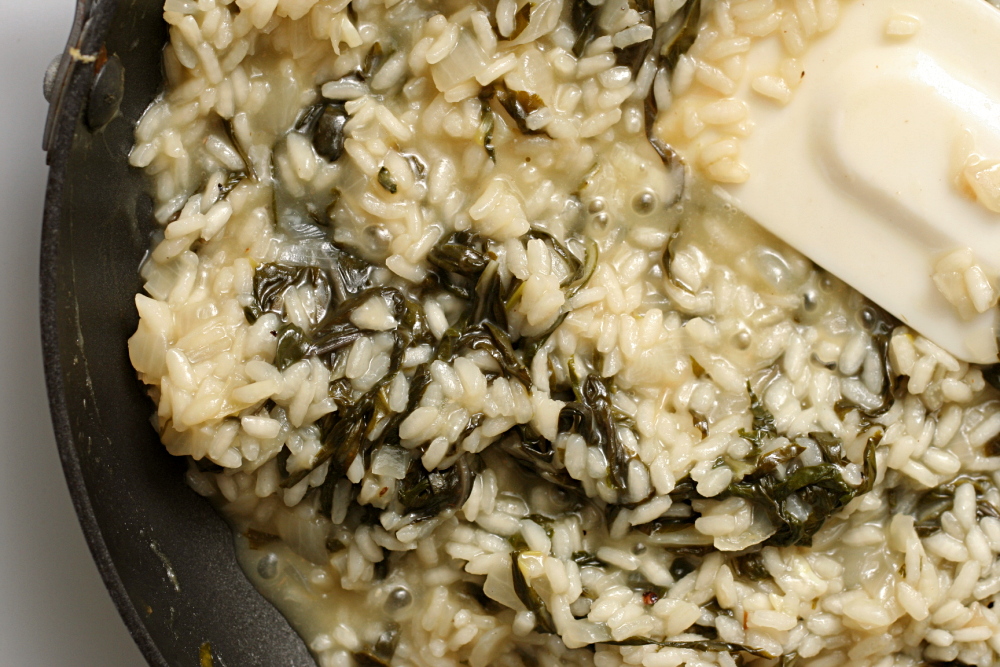
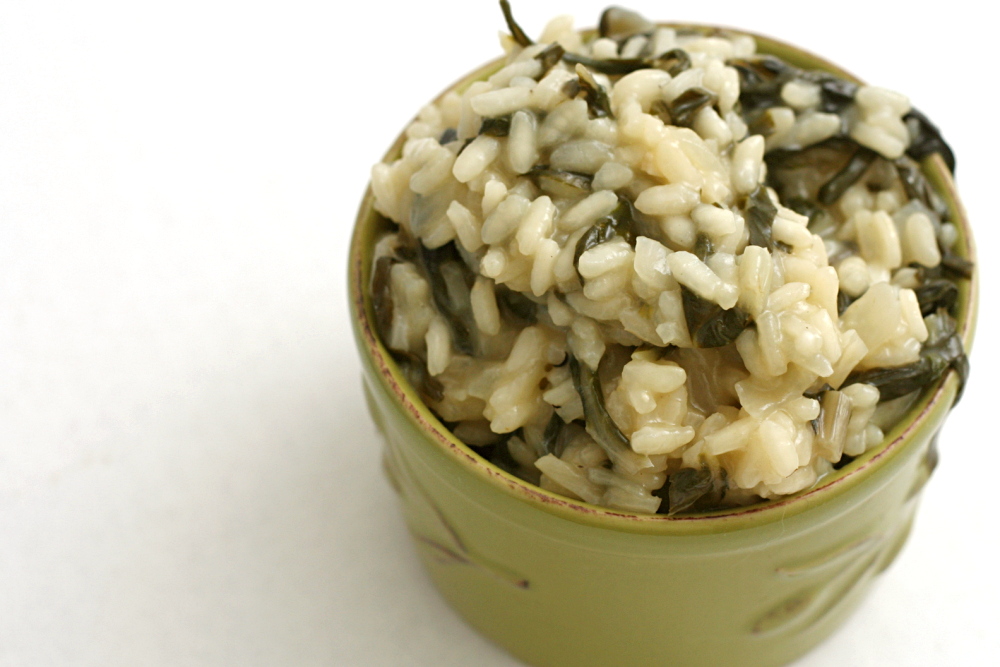
I did look at a recipe for risotto with swiss chard, but ultimately decided to just add chard to my standard risotto recipe. I tried adding it with the rice at first, but I was worried that it was overcooking, and even though the final result was actually very good, I had hoped to hold on to the bright green color that the chard turns midway through cooking. I tried again, this time adding the greens later, with the broth. And it made no difference that I could tell. Once cooked, chard turns a dark olive green, and there’s no getting around it.

Copy of IMG_6074

The earthiness of swiss chard goes really well with risotto. And one thing that’s satisfying about eating hearty greens like this is that they lose so much volume during cooking that I feel like it’s easy to eat a whole lot of greens! As usual, I’m glad I tried and managed to accept a new ingredient. Maybe raw oysters will be next?

Copy of IMG_6080

One year ago: Gazpacho

Printer Friendly Recipe
Risotto with Swiss Chard

6 servings

3½ cups low-sodium chicken broth
3 cups water
2 tablespoons olive oil
1 medium onion, diced fine
2 cloves garlic, minced
salt
2 cups Arborio rice
1 large bunch swiss chard, coarsely chopped (4-5 cups)
1 cup dry white wine
2 ounces (1 cup) parmesan cheese
pepper

1. Bring the broth and water to a simmer in a medium saucepan over medium-high heat. Cover; turn the burner off but keep the pot on the burner.

2. Heat the olive oil over medium heat until the foaming subsides. Add the onion and sauté until softened, about 5 minutes. Add the garlic and cook until fragrant, about 30 seconds. Add the rice, chard, and 1 teaspoon salt and cook, stirring constantly, until the rice is opaque, about 2 minutes. Add the wine and cook, stirring until the rice nearly completely absorbs all the liquid, about 1 minute.

3. Add 2 cups of the hot stock and stir occasionally until it’s mostly absorbed (the spoon will leave a trail on the bottom of the pan), about 6 minutes. Continue to add stock, 1 cup at a time, stirring frequently, until each addition is absorbed. Cook until rice is creamy but still somewhat firm in center (add more water in ½ cup increments if broth/water mixture runs out), 10 to 12 minutes longer.

4. Stir in the cheese. Season with salt and pepper, if necessary. Serve.

Copy of IMG_6079

chocolate souffle

Copy of IMG_8302

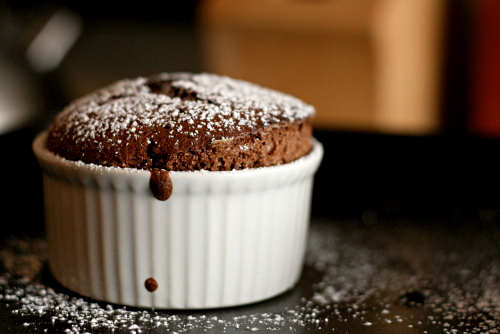
I’ve noticed lately that some of the fanciest desserts are actually the easiest to make. Crème brulée? Mousse? Molten chocolate cake? There’s nothing difficult about any of them, and the same can be said of chocolate soufflé.

Copy of IMG_8292

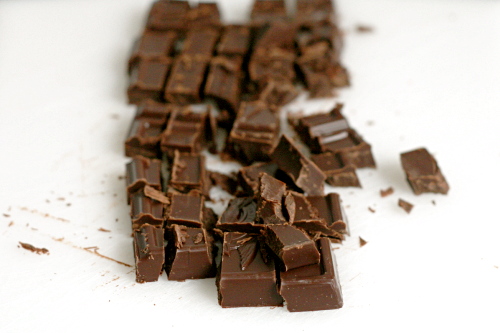
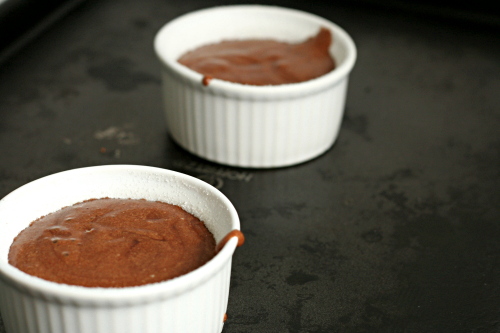
You really just melt chocolate with sugar, then stir in milk and egg yolks. Whip some egg whites and fold them into the chocolate mixture. Bake. That’s all there is to it.

Copy of IMG_8297

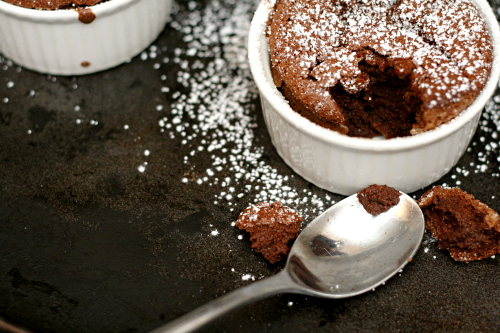
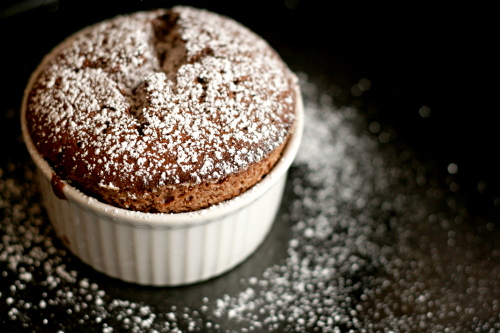
Maybe the trickiest part is knowing when they’re done. I’ve underbaked, overbaked and perfectly baked soufflés, and I recommend erring on the side of less baked. I think I overbaked these, because they seemed too dry.

Copy of IMG_8298

They were also really really sweet, and I’m not sure if that was related to overbaking them, or the type of chocolate I used (Ghirardelli bittersweet), or something else. But even too sweet and too dry, it’s still chocolate soufflé, so no complaints. Especially considering how easy it was to make!

Copy of IMG_8309

Susan chose this for Tuesdays with Dorie, and she has the recipe posted.

One year ago: Chocolate Whopper Malted Drops

Copy of IMG_8303

pickled coleslaw

Copy of IMG_6584

Salads can be tricky, because if I’m eating a big bowl of vegetables, it better be healthy, you know? But there’s the whole salad dressing issue. Vinaigrette is the standard lighter option, but even it’s usually based on olive oil.

Coleslaw is no exception to the salad dressing problem. Many coleslaws are simply cabbage, mayonnaise and seasoning. Not only is this a little plain for my taste, but it turns coleslaw into a full-on indulgence. Even my favorite buttermilk coleslaw recipe includes a bit of mayonnaise and sour cream (which could probably be replaced by plain yogurt), although the base of the dressing is lowfat buttermilk.

Copy of IMG_6553

A lot of people don’t even like creamy coleslaws, preferring vinegar-based slaws instead. I like both types, and at first I thought these vinegar dressings were the no-fat answer for coleslaw, until I found out that most involve oil, like a typical vinaigrette does.

Copy of IMG_6547

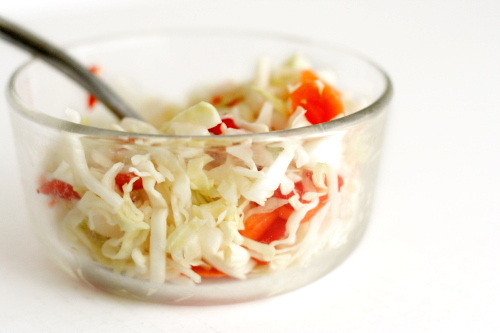
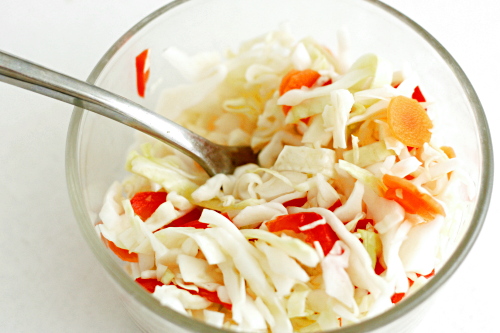
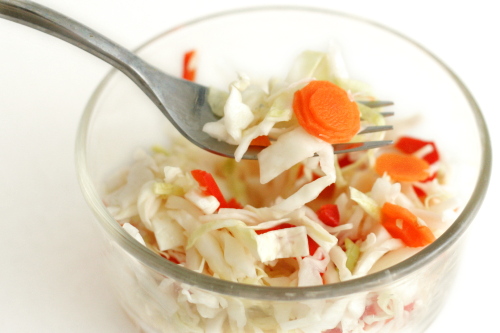
The solution, it turns out, is pickled coleslaw. The cabbage here is mixed with nothing but vinegar, water, sugar and salt. Those ingredients have to be heated to dissolve the sugar, then cooled so they don’t wilt the cabbage. Then they’re mixed with the shredded cabbage and a few other vegetables (sadly, I didn’t have a cucumber around when I made this, so I had to skip it), and refrigerated overnight – or for longer, if need be.

Copy of IMG_6556

What a great way to eat a big bowl of vegetables. Since I’m not worried by a wee bit of sugar, there’s nothing for me to feel guilty about here. And it isn’t just about being healthy – it tastes great too. It’s tart without being too sour and has a wonderful crunch. Even Dave, pickle-hater that he is, enjoyed it. Gotta love a salad without compromise.

Copy of IMG_6583

One year ago: Mashed Potatoes with Kale

Pickled Coleslaw (from Deb Perelman for NPR)

Makes 8 to 10 servings

Brine:
1½ cups distilled white vinegar
1½ cups water
⅓ (2.33 ounces) cup sugar
2½ tablespoons kosher salt

Slaw:
1 small head green cabbage
1 red bell pepper, cored, seeded and thinly sliced into 1- to 2-inch pieces
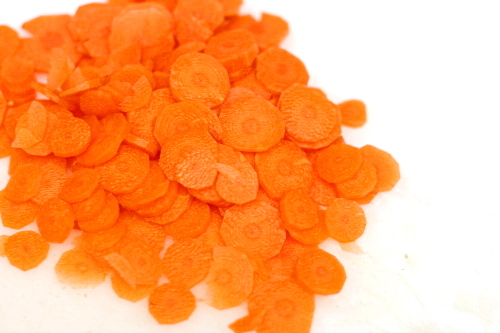
1 carrot, peeled and very thinly sliced
1 kirby cucumber, thinly sliced

Bring brine ingredients to a boil in a 2-quart nonreactive saucepan over moderate heat, stirring until sugar is dissolved. (Use a pan of stainless steel, glass and enameled cast iron; avoid pure aluminum and uncoated iron, which can impart an unpleasant taste to recipes with acidic ingredients) Transfer to a 3- to 4-quart nonreactive bowl and cool completely. To speed this process up, you can set the bowl over a second bowl of ice water, and stir, which will quickly chill the brine.

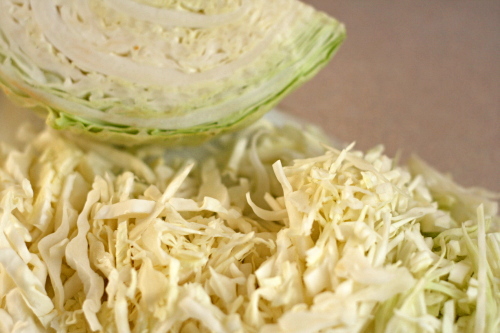
Halve, core and halve again the head of cabbage, then finely slice it with a knife, or run the quarters through a food processor fitted with a slicing blade.

Toss sliced cabbage, bell pepper, carrot and cucumber in bowl with brine. Cover with lid or plastic wrap, and refrigerate, tossing the ingredients once or twice in a 24-hour period. After one day in the brine, the coleslaw is ready to serve. It keeps for up to 1 week, chilled.

Copy of IMG_6586

potato tomato tart

Copy of IMG_8028

Dave and I have this conversation nearly once a week:

Me (whining, after baking all day): I’ve been cooking all day and I’m tired and I haven’t even stupid started dinner. Stupid stupid stupid.

Dave: Okay. We’ll order pizza.

Me: We can’t order pizza! I bought ingredients for dinner! If we don’t use them tonight, they’ll go to waste!

Copy of IMG_8007

Once the week’s menu is set, it does not change.

But last week something went haywire, and I needed to come up with an extra meal on short notice.

Copy of IMG_8012

I had two potatoes that I’d bought and never got around to using (see! they almost went to waste!) and there was a pile of tomatoes leftover from tomato picking. But I couldn’t find any recipes that fit all of my requirements – used plenty of both tomatoes and potatoes, didn’t require any ingredients I didn’t have, and actually sounded good. So I <gasp> came up with something on my own.

Copy of IMG_8020

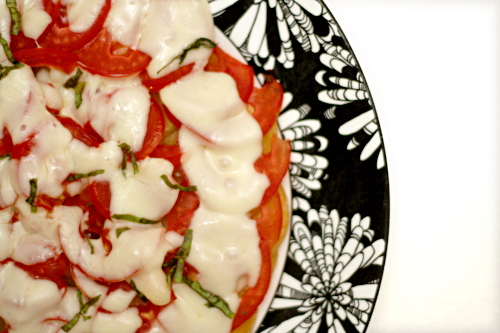
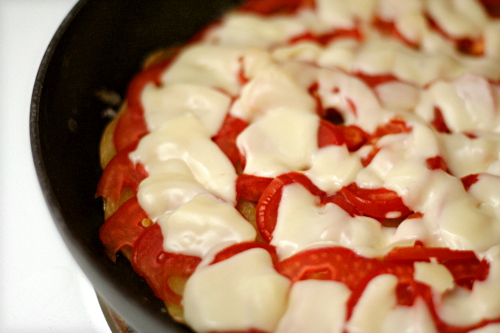
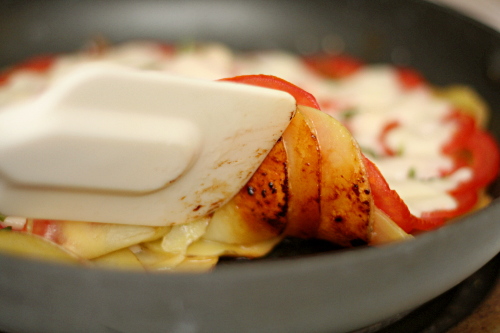
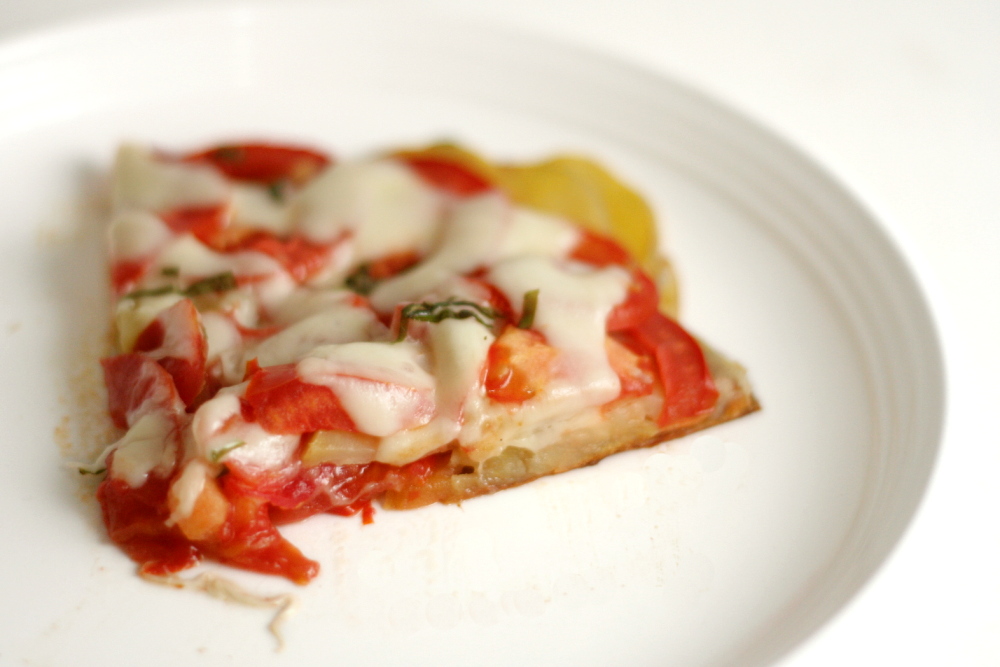
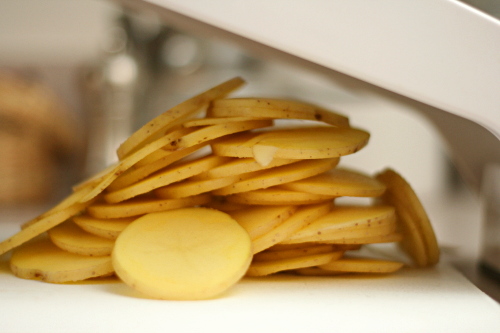
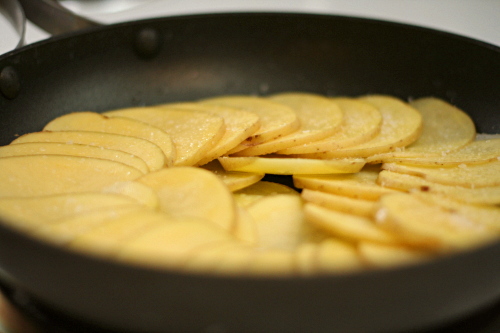
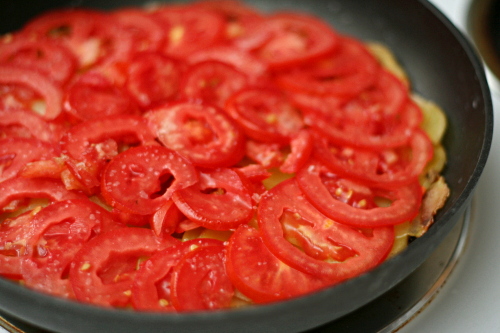
I sliced the potatoes thin and arranged them in a skillet. Once they were crisped on the bottom and mostly cooked through, I arranged sliced tomatoes over the top. Once those were softened, I arranged sliced mozzarella on top of that. It melted almost immediately, so I quickly picked a few leaves from my pathetic sun-starved basil plant, and sprinkled them over the tart.

Copy of IMG_8023

It was pizza-like, which is always a plus. The potatoes were browned and crisp on the bottom.  It was pretty. It was easy. It was tasty. It used up ingredients I didn’t know what else to do with. Perfect.

Copy of IMG_8027

One year ago: Banana Coconut Muffins

Potato Tomato Tart

Serves 2 for a light meal

I used a mandoline set at 1/8-inch to slice the potatoes and tomatoes.

1 tablespoon olive oil
2 medium Yukon gold potatoes, sliced thin
salt and pepper
2 large (or maybe 3 small) plum tomatoes, sliced thin
2½ ounces mozzarella cheese, sliced thin (or just over ½ cup shredded)
3-4 basil leaves, sliced thin

1. Heat the oil in a medium nonstick skillet over medium heat. Arrange the potatoes in one layer on the bottom of the skillet, overlapping each slice. Season with pepper and a generous pinch of salt. Cover the pan, reduce the heat to medium-low, and cook for 20 minutes, until the potatoes are almost tender and are lightly browned on the bottom.

2. Arrange the tomatoes in one layer of overlapping slices over the potatoes. Cover and cook for 5 minutes, until the tomatoes are slightly softened. Evenly disperse the mozzarella over the tomatoes and cook a few minutes, until it’s melty. Sprinkle the top of the tart with basil.

3. Serve. I was able to move the tart once, by sliding it from the pan to a serving plate. Then I realized it would be easier to cut the tart if it was on a cutting board, but moving it from the serving plate wasn’t nearly as easy as moving it from the pan. By which I mean that the whole thing mostly fell apart. So don’t try to move it around too much.

Copy of IMG_8030

vegetable curry

Copy of IMG_7904

I’m particular about cookbooks. I’ve gotten into the habit of buying one hopefully comprehensive cookbook per cuisine. It started with Julia Child’s Mastering the Art of French Cooking and Marcella Hazen’s Essentials of Classic Italian Cooking, then it was Corinne Trang’s Essentials of Asian Cooking, and most recently, Julie Sahni’s Classic Indian Cooking.

Copy of IMG_7885

The thing is, I’ve hardly made anything from any of these. I’ve barely even opened Indian Cooking since I got it for Christmas this year, and to be honest, I’m really not bothered by this. It makes me happy just knowing that I have them, and that someday, hopefully sooner rather than later, I’ll find the time and discipline to learn what I can from each one.

Copy of IMG_7889

In fact, I’ve only made a couple of Indian dishes ever, but that was all I needed to be convinced that I’ll love it; I enjoy the basic flavors and ingredients so much. One of my favorites is a vegetable curry dish from Cooks Illustrated, but every time I made it, I was surprised by how long it took. I wanted something simpler that I could reasonably make on a weeknight.

Copy of IMG_7892

Then I found a recipe for Aloo Gobi that had a lot of the same ingredients, except less of them, plus a simpler cooking method. It has potatoes in it, as does the CI recipe, but since I wanted to serve my curry mixture over rice, I decided that I could eliminate the potatoes. I also wanted this to be a one-dish meal, but the original didn’t have any protein. Exchanging the potatoes for chickpeas killed two birds with one stone.

Copy of IMG_7898

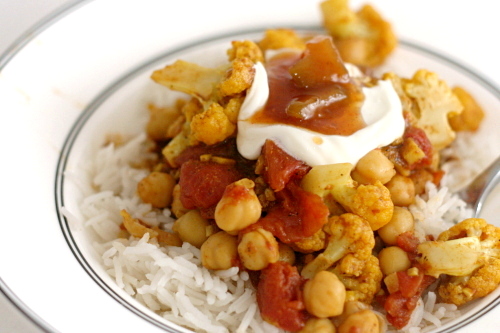
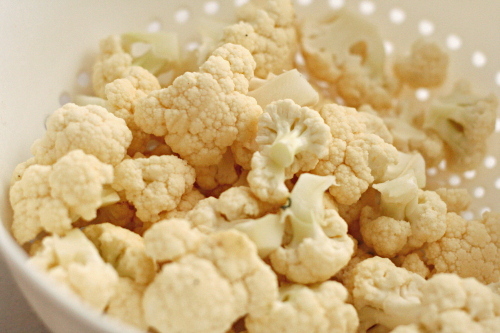
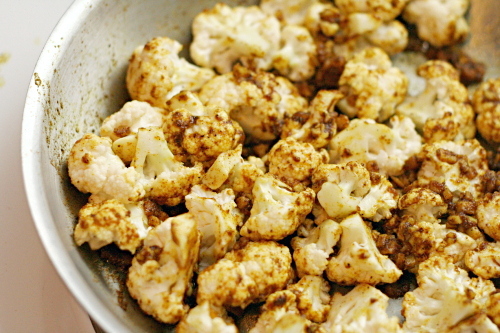
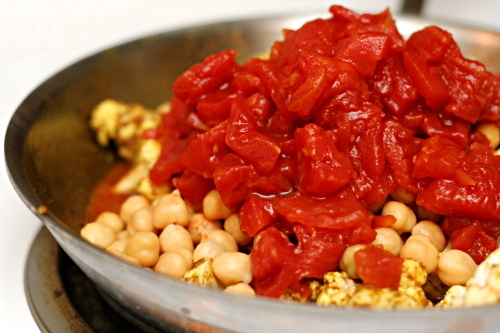
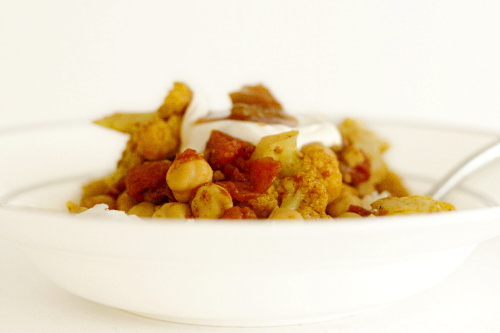
The recipe starts out with sautéing all sorts of delicious aromatics – garlic and ginger of course, but also spices, including curry powder and garam masala. Garam masala is seriously delicious stuff. It’s a blend, so brands will vary, but I’ve been perfectly happy with McCormick’s. Then I added cauliflower, which is my favorite vegetable, and then tomatoes and chickpeas. One ingredient I love after another. At the end, peas are stirred in.

Copy of IMG_7900

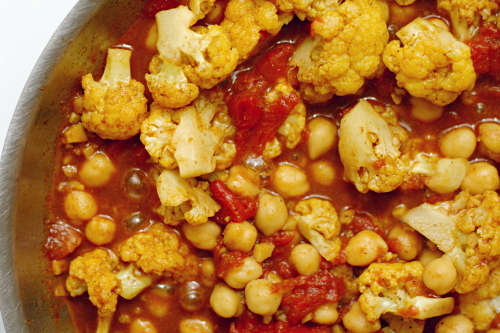
This was exactly what I was looking for. It has similar ingredients to the Cooks Illustrated recipe that I enjoyed so much, but it’s easy enough to make on a weeknight. Aloo gobi  has similar flavors, but this version has the right nutritional balance for a one-pot meal. I wonder how many more great Indian dishes I can discover by actually looking through a cookbook?

Copy of IMG_7905

One year ago: Grits, Onion, and Cheese Souffles

Printer Friendly Recipe
Vegetable Curry

Serves 3-4

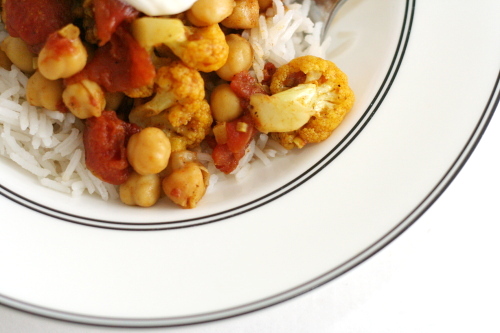
I love this over basmati rice (I like to put a cinnamon stick and some cloves in the pot with the rice cooks) and topped with mango chutney and plain yogurt.

I didn’t have peas when I photographed this. Also, I used too much of the spices; the recipe below calls for less than I used, so if yours looks a little different from the pictures, that may be the reason.

1 tablespoon canola oil
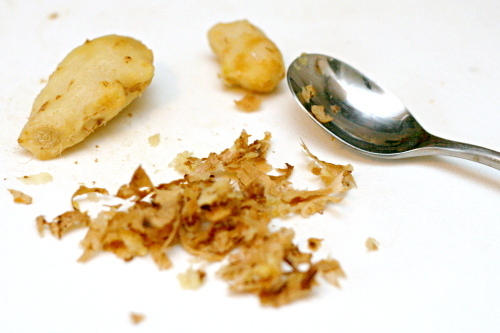
1 tablespoon minced or grated ginger
3 large garlic cloves, finely chopped
1 teaspoons garam masala
2 teaspoons curry powder
Salt
½ medium head cauliflower, cut into small-medium sized florets
1 (15-ounce) can diced tomatoes
1 (15-ounce) can chickpeas, drained and rinsed
4 ounces (about ¾ cup) frozen peas

1. In a large skillet, heat the canola oil over medium heat. Add the garlic, ginger, garam masala, and curry powder. Cook until fragrant, 1-2 minutes, stirring constantly.

2. Add the cauliflower and toss to incorporate with the spices, then stir in ½ teaspoon salt, the chickpeas, and the tomatoes with their liquid. Cover the pan and simmer over medium heat for 10 to 15 minutes, until the cauliflower is tender, stirring occasionally. Stir in the peas, cover again, and continue simmering for 2-3 minutes, until the peas are heated through. Serve over rice, topped with plain yogurt and mango chutney, if desired.

Copy of IMG_7902

farmer’s market salad with spiced goat cheese rounds

Copy of IMG_7094

This is a bit of a misnomer for me, as I haven’t found a convenient farmers market since we moved to Pennsylvania last January. We drove half an hour to one last year and bought some nice eggs, but it didn’t have much in the way of produce. I hear there’s another, 30 minutes in the opposite direction, but honestly, my grocery store sells local produce and I’m lazy.

Copy of IMG_6535

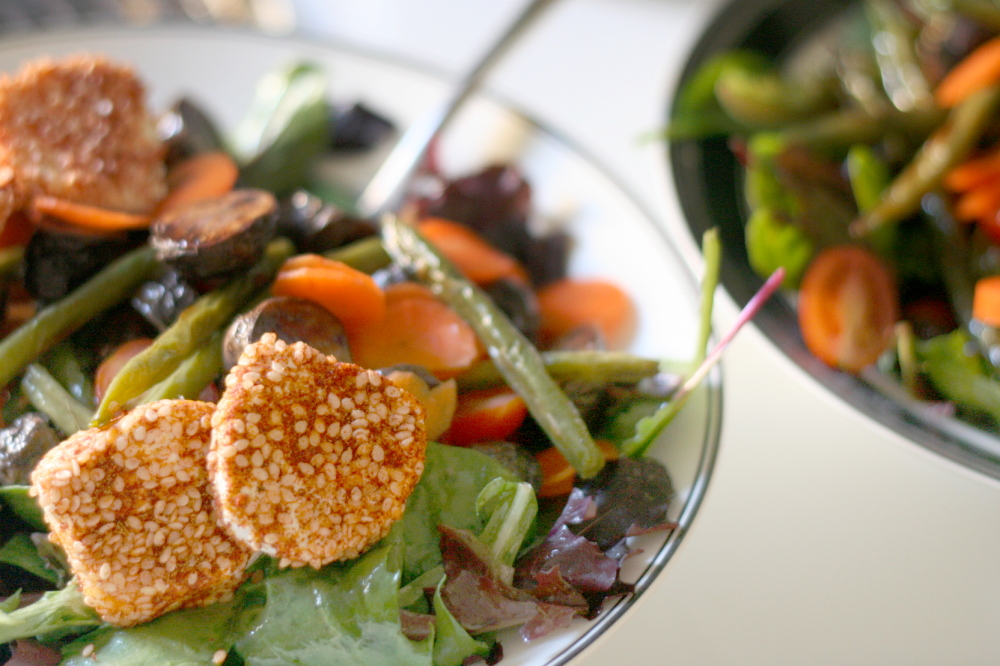
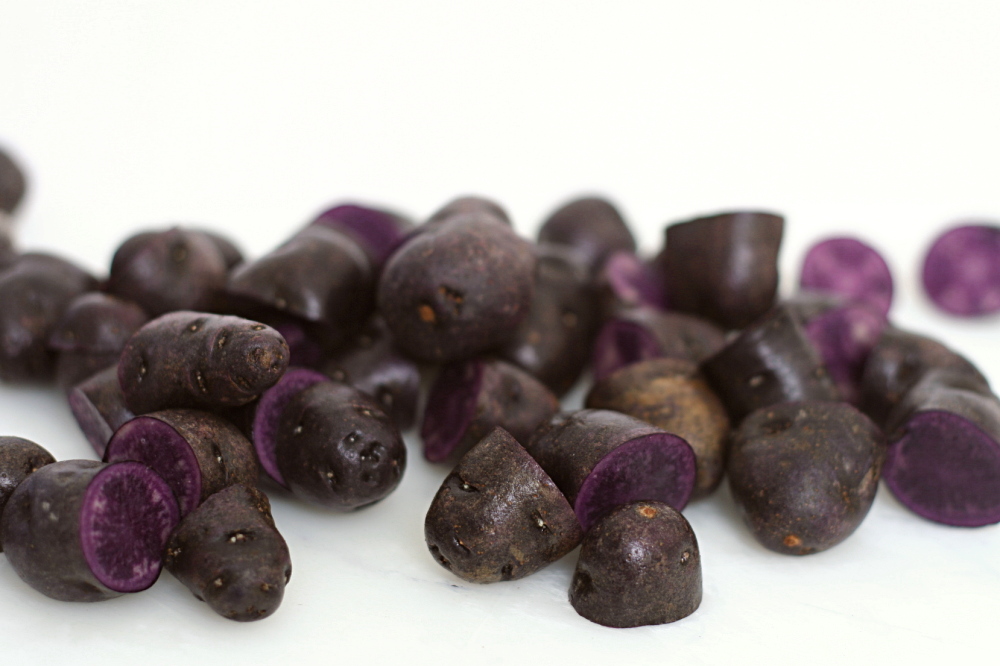
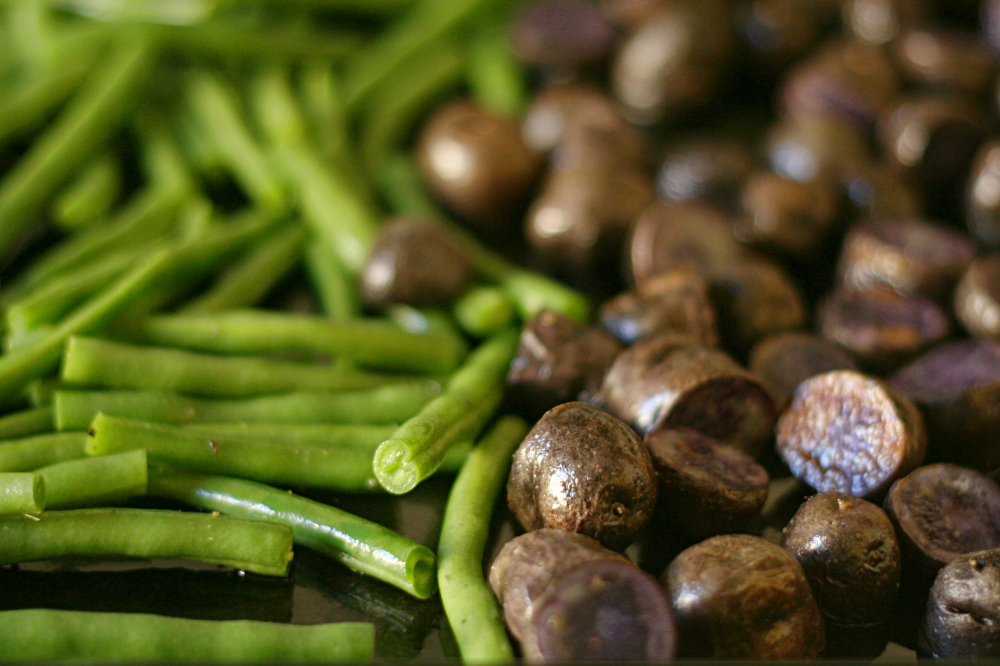
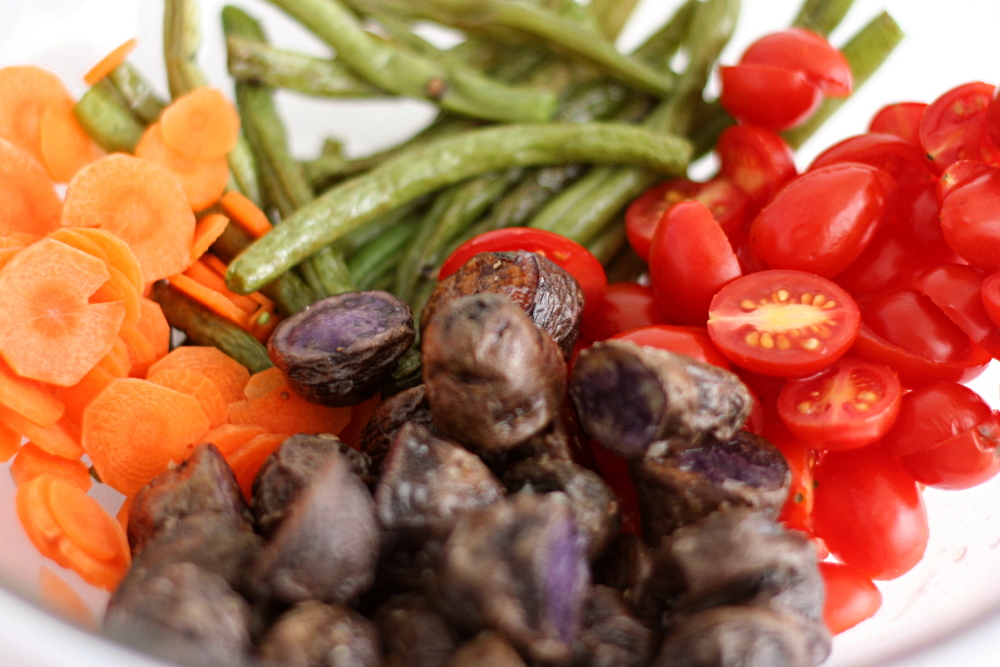
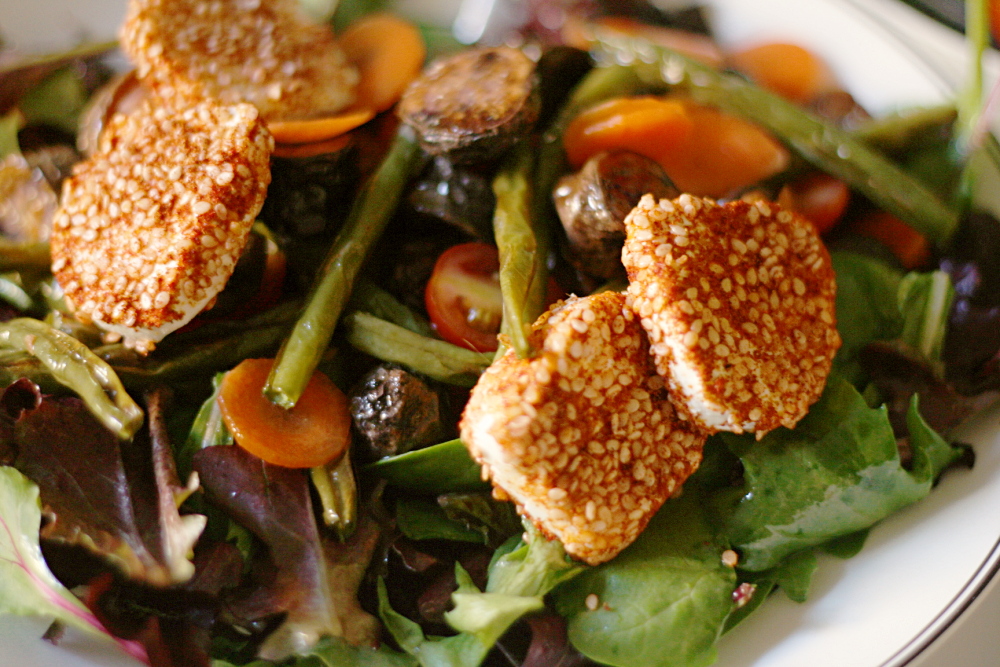
Whether you buy your ingredients at a farmers market or the grocery store, you’ll end up with a delicious salad. We’re talking greens, topped with potatoes, green beans, slivered carrots, tomatoes, and, mmm, goat cheese. I used purple potatoes and I wanted yellow beans (yellow green beans?) for maximum color impact, but couldn’t find them. The original recipe also has black olives, and I included them the first time I made this salad, but they didn’t seem to fit with the other flavors.

Copy of IMG_7054

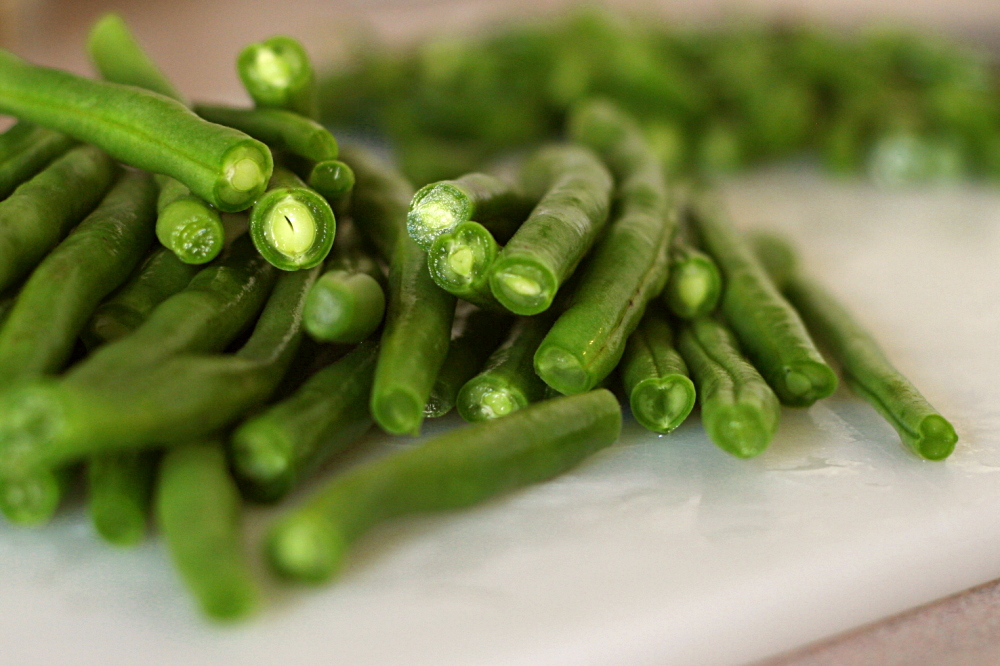
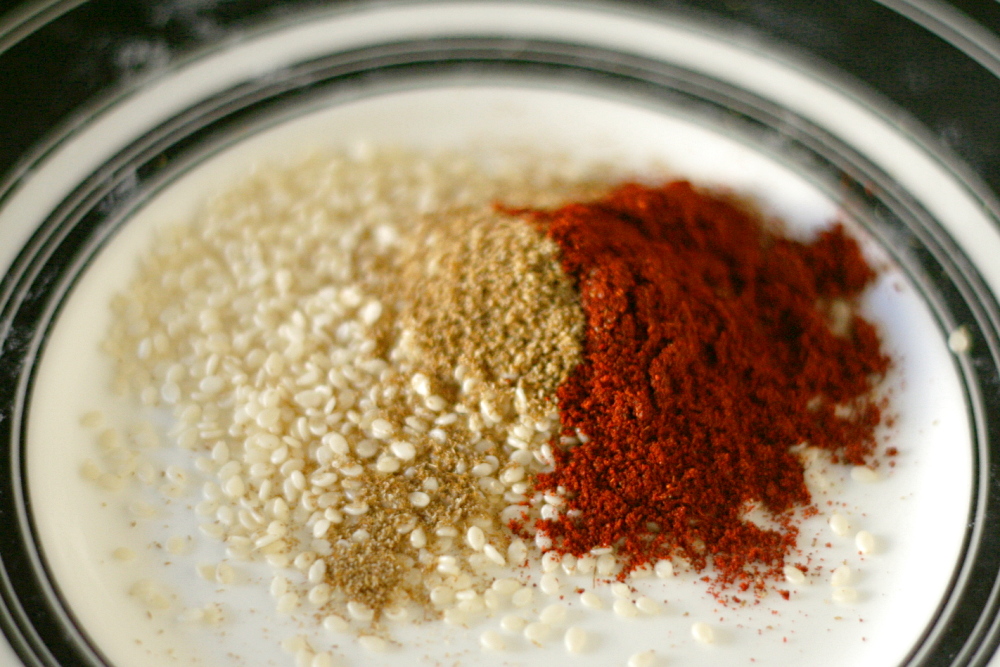
Now let me be honest: I put quite a bit of work into this salad. I roasted the potatoes and the green beans, I cut the carrots into the thinnest of coins, and I dutifully rolled discs of goat cheese in a colorful spice mixture. (Oh, and I unceremoniously dumped a pre-washed bag of mixed greens into a bowl.)

Copy of IMG_7061

Some of this is nice for maximum potential, but not strictly necessarily. The tomatoes? Expendable; I’m not sure they matched the rest of the ingredients anyway. The spices? Couldn’t taste ‘em. And it’s not like you’re really going to improve on goat cheese anyway. The shallot in the dressing? Nah. You could spend half the time, focusing on just the key components of this salad – the greens, dressing, potatoes, beans, and did I mention how much I love goat cheese? – and get a very similar result.

Copy of IMG_7075

On the other hand, if you do you have access to one of those colorful outside markets where the farmers are friendly and the produce is varied, mix it up! It’s a salad, and you’re not going to ruin it by making it your own.

Copy of IMG_6559

One year ago: Filbert Gateau with Praline Buttercream

Farmers Market Salad with Spiced Goat Cheese Rounds (adapted from epicurious)

Makes 4 main-course servings

Goat cheese rounds:
2 tablespoons sesame seeds
2 teaspoons ground cumin
1½ teaspoons paprika
1 teaspoon finely chopped fresh thyme
¼ teaspoon coarse kosher salt
⅛ teaspoon ground black pepper
16 (½-inch-thick) rounds chilled soft fresh goat cheese (from one 11-ounce log)

Vinaigrette:
2 tablespoons red wine vinegar
1 shallot, minced
1 teaspoon chopped fresh thyme
1 teaspoon Dijon mustard
5 tablespoons extra-virgin olive oil
Coarse kosher salt

Salad:
1 pound baby new potatoes (such as Dutch yellow baby potatoes), halved
1 pound green beans (or mix of green and yellow), trimmed
8 cups (loosely packed) mixed salad greens
12 ounces assorted small tomatoes (such as cherry, grape, and teardrop; preferably mix of red and yellow)

For goat cheese rounds:
Line baking sheet with waxed paper or parchment paper. Mix first 6 ingredients in shallow bowl. Dip cut sides of goat cheese rounds into spice mixture to coat. Place on prepared baking sheet. Chill until ready to serve. DO AHEAD Can be made 1 day ahead. Cover and chill. Bring to room temperature before serving.

For vinaigrette:
Whisk first 4 ingredients in small bowl. Gradually whisk in olive oil. Season with coarse salt and pepper. (Can be made 1 day ahead. Cover and refrigerate. Rewhisk before using.)

For salad:
Steam potatoes until just tender, about 10 minutes. Transfer to plate; cool. Steam green beans until crisp-tender, about 5 minutes. Rinse under cold water; drain. Pat dry with paper towels. ( Potatoes and green beans can be made 6 hours ahead. Wrap separately in paper towels. Place in resealable plastic bag; chill.)

Combine greens and basil in large bowl. Add enough vinaigrette to coat lightly; toss. Arrange on large platter. Add potatoes and green beans to same large bowl; add remaining dressing and toss. Arrange potatoes and beans atop greens. Scatter tomatoes and olives over. Surround with goat cheese rounds.

Copy of IMG_7083

vanilla ice cream

Copy 2 of IMG_7554

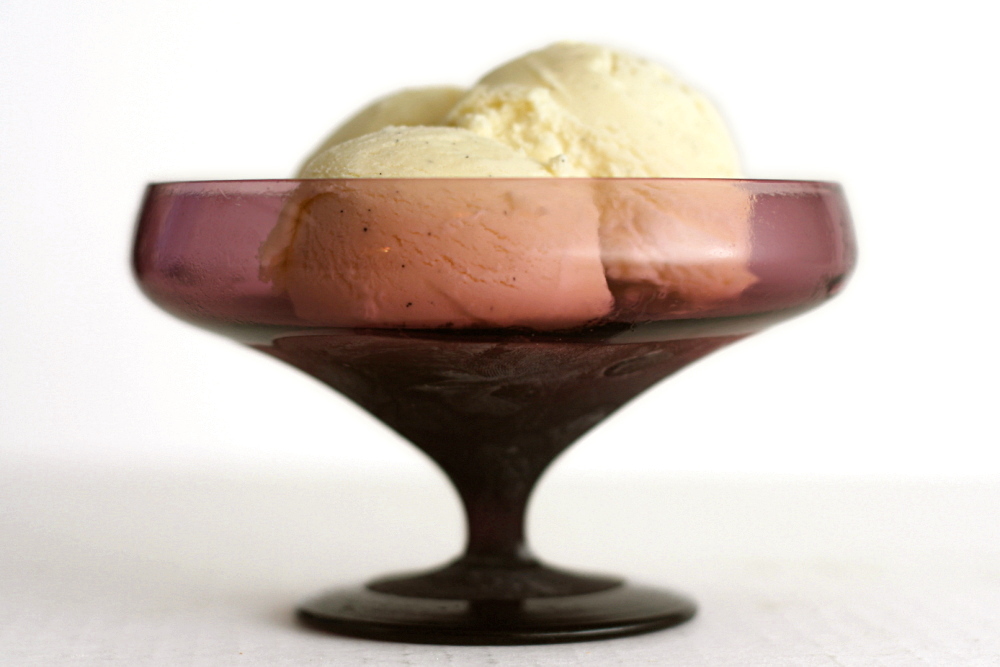
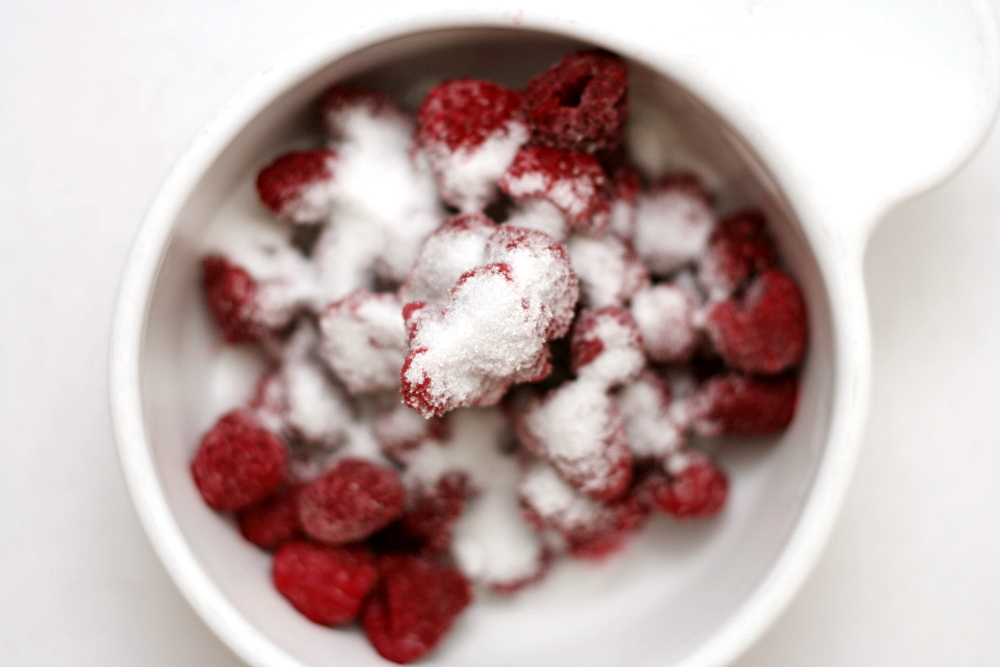
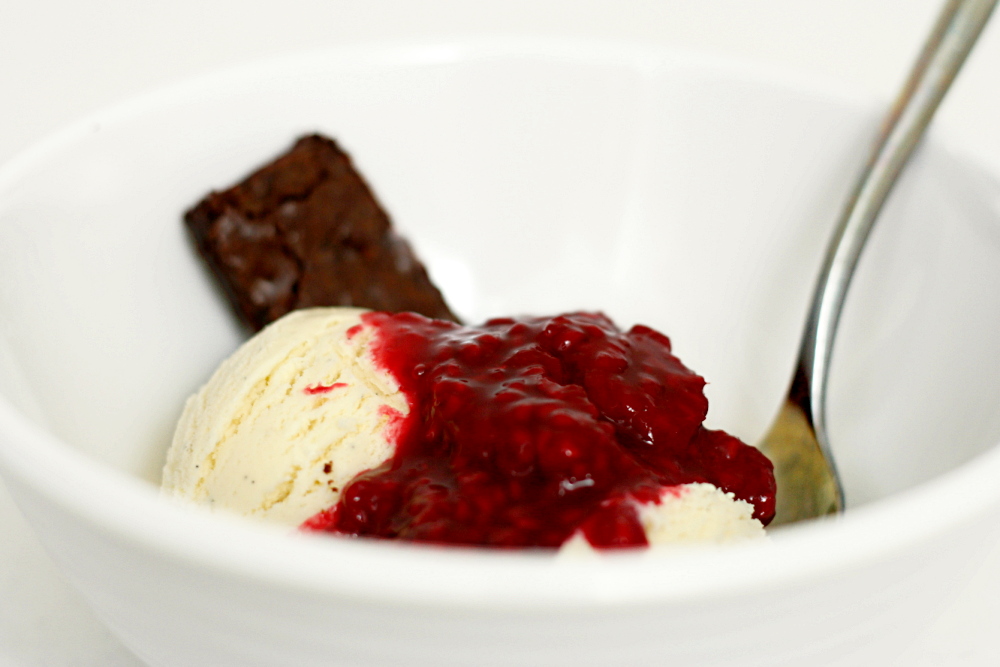
I haven’t been as interested in ice cream the last few years (I demand butter and flour and the stand mixer and the oven!), but that wasn’t always the case. When Dave and I started dating, we lived near a great frozen custard place. We’d go probably once a week, normally just for a single scoop in a sugar cone, but when I was feeling indulgent, I’d get the brownie sundae – vanilla custard, a brownie, whipped cream, and hot fudge, but I exchanged the hot fudge for raspberry sauce. Mmm…raspberries and chocolate…my favorite.

Copy of IMG_7268

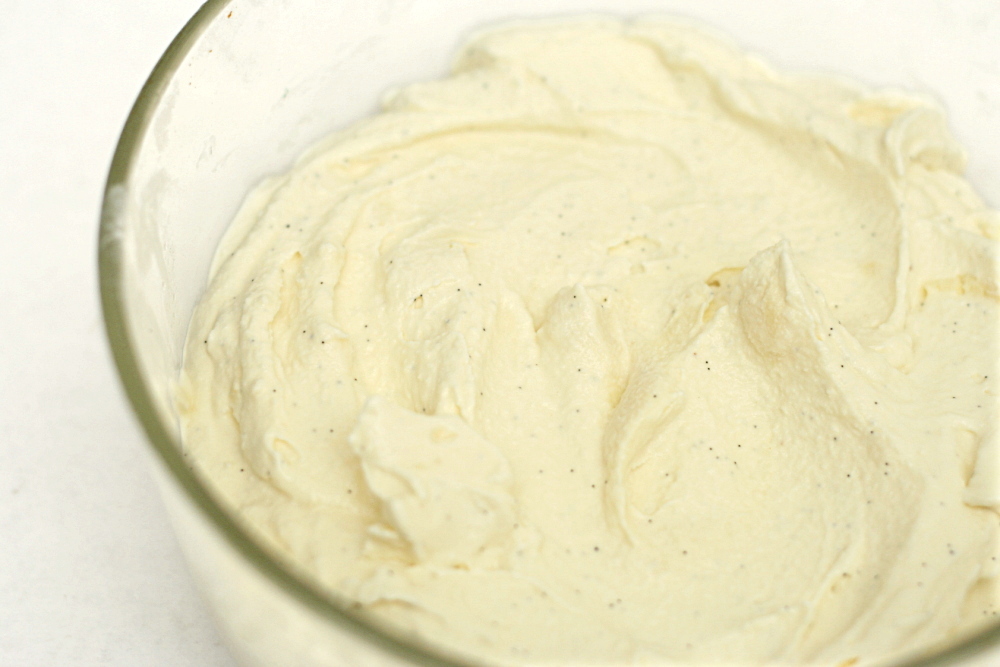
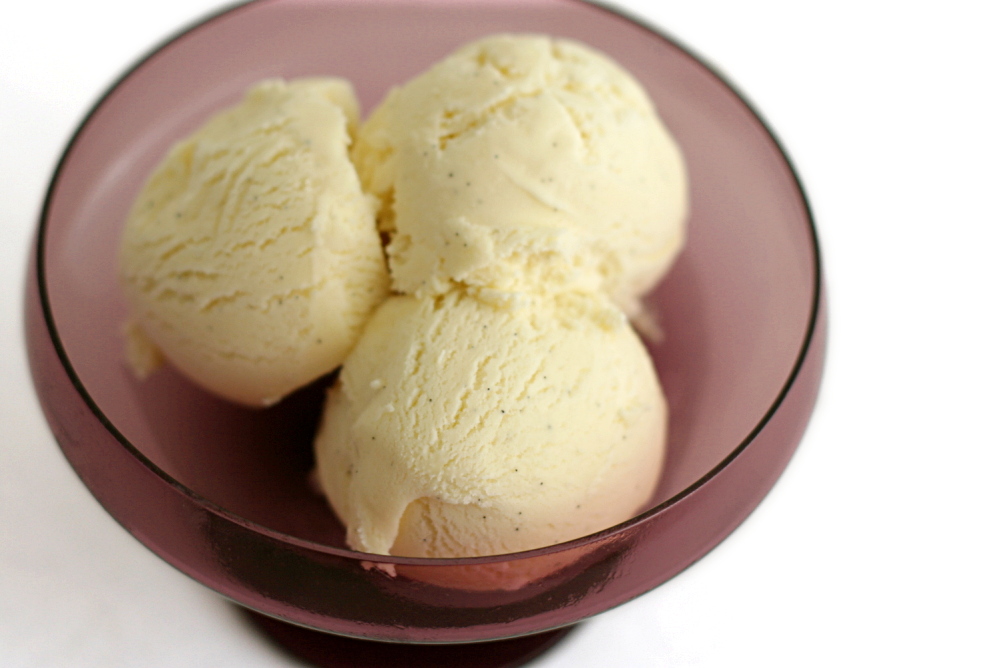
This is something like the fifth vanilla ice cream recipe I’ve tried in the last few years, and most of them are very similar. Egg yolks, cream, milk, sugar, vanilla. Heat the cream and/or milk, temper the egg yolks, heat it up, chill it, churn it. In fact, the only difference between this recipe and David Lebovitz’s recipe, which I made last year, is the ratio of cream to milk.

Copy of IMG_7301

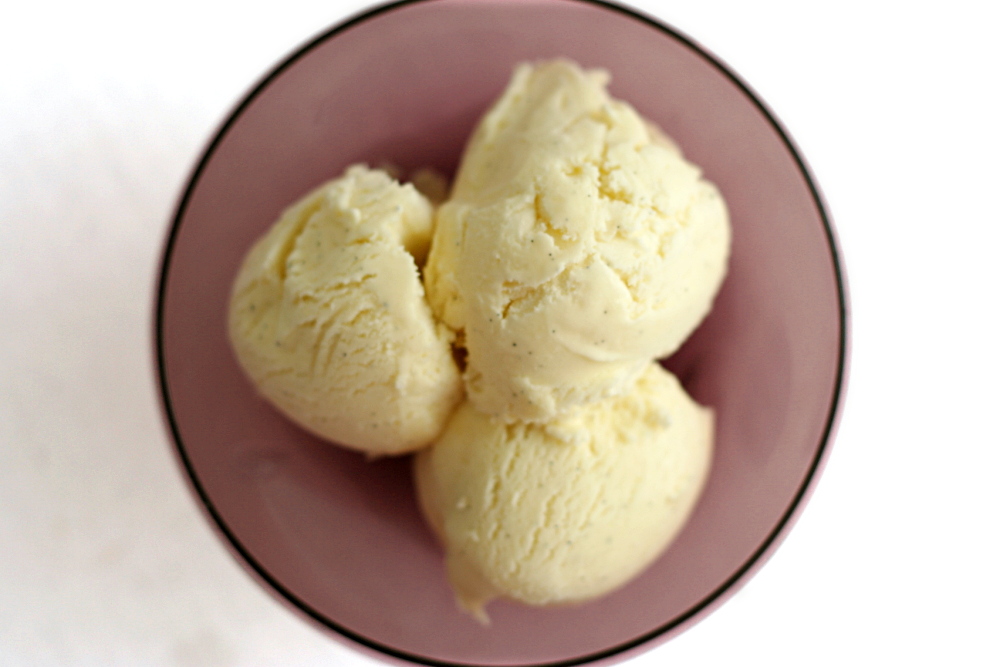
Dorie’s recipe has a 1:1 ratio of cream to milk, while David’s has a 2:1 ratio of cream to milk. Guess which one I liked more? Yes, the fattier one. It’s smoother, richer, creamier.

Copy of IMG_7557

Not that Dorie’s recipe is low fat, and, as a result, it is also smooth, rich and creamy. If you care about fat content and calories and such, then don’t eat ice cream definitely go with Dorie’s. If you want just a bit of extra ice cream perfection, treat yourself to David’s. And definitely top it with a brownie and raspberry sauce.

Copy of IMG_7345

Lynne chose this recipe for Tuesdays with Dorie this week and has the recipe posted.

One year ago: Summer Fruit Galette

Copy of IMG_7555