basic lentil soup

copy-of-img_5478

I recently had a friend visit, and somehow, her week-long trip turned into a wine and cheese fest. The wine part of the trip started immediately. We didn’t start hitting the cheese until the third day, but once we’d started, it quickly escalated. On her last night, for a grand finale, we made macaroni and cheese for dinner. We had cheese and crackers for an appetizer. We had chocolate fondue for dessert, and one of the dippers was cheesecake. We also had a lot of wine. It was glorious.
copy-of-img_5455

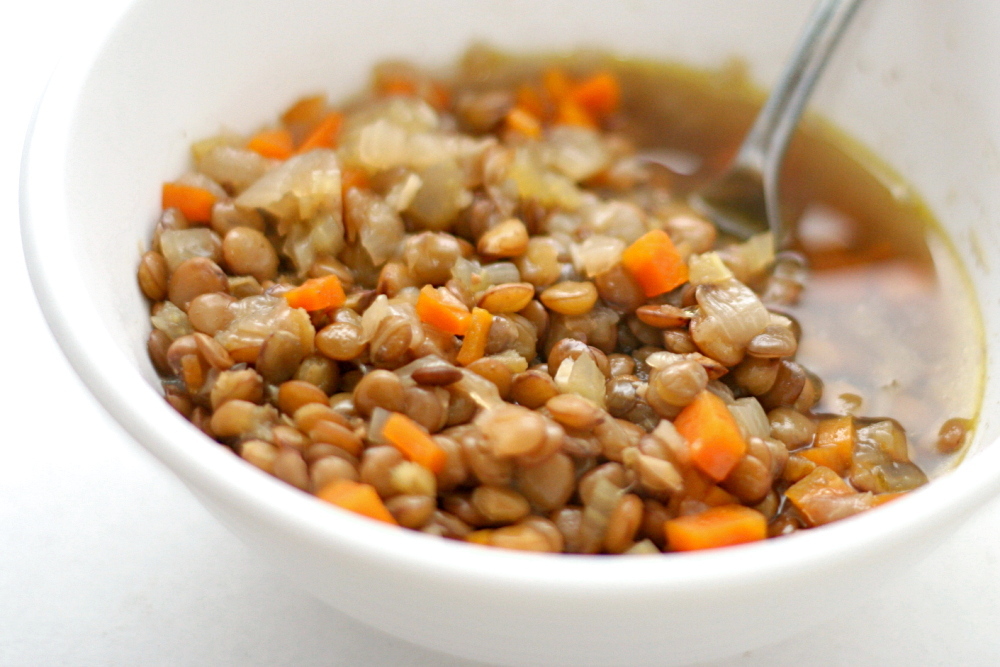
The next day, however, not so much. Poor Ramie was stuck on planes all day, but after dropping her off at the airport, I came home and immediately worked out. Then I considered what to make for dinner – something healthy(!) and easy that didn’t require a trip to the store. I didn’t have salad ingredients and the weather was rainy and cold, so lentil soup was exactly what I wanted.
copy-of-img_5449

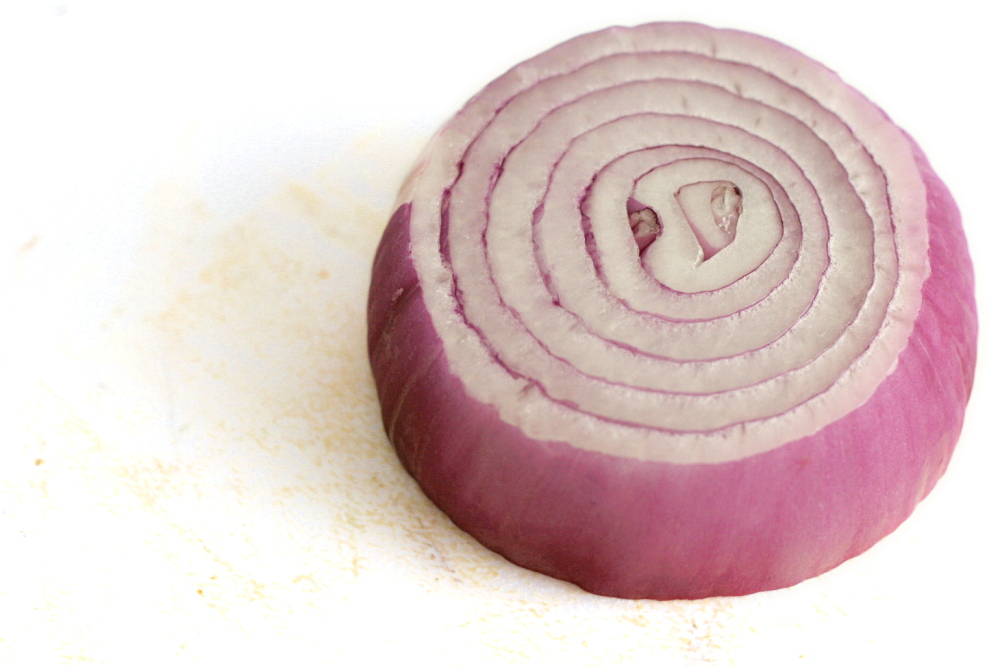
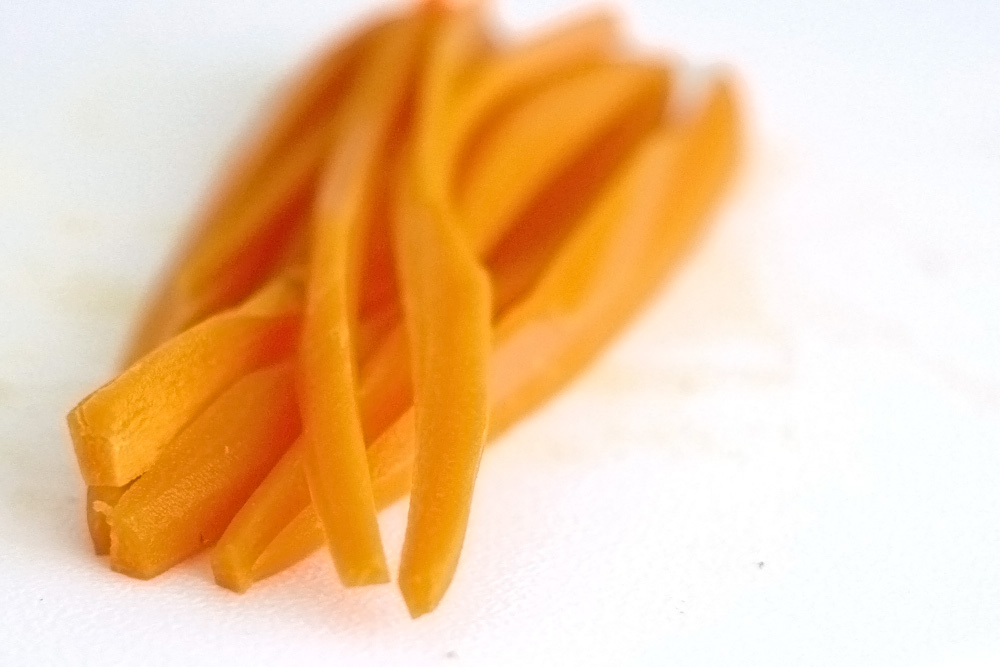
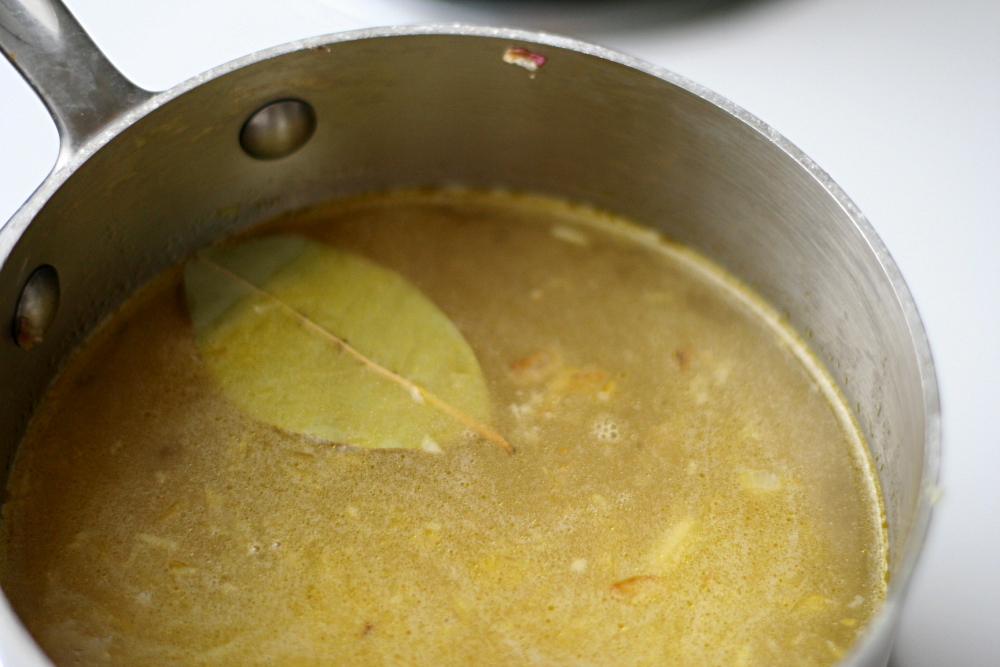
Mark Bittman has a simple recipe in his How to Cook Everything Vegetarian that calls for lentils, carrots and celery to be cooked in broth. An onion is supposed to be sautéed separately and then stirred into the cooked lentils. What is that about? Why am I using an extra dish, skipping any sort of caramelization of the carrots and celery, and denying my broth of soaking up onion flavor as it simmers? With no explanation for such an unusual method, I chose to cook this in a more traditional order, sautéing all of the aromatics together before adding the broth and lentils. I also decreased the oil and increased the amount of vegetables, because, you know, the cheese and wine detox.
copy-of-img_5468

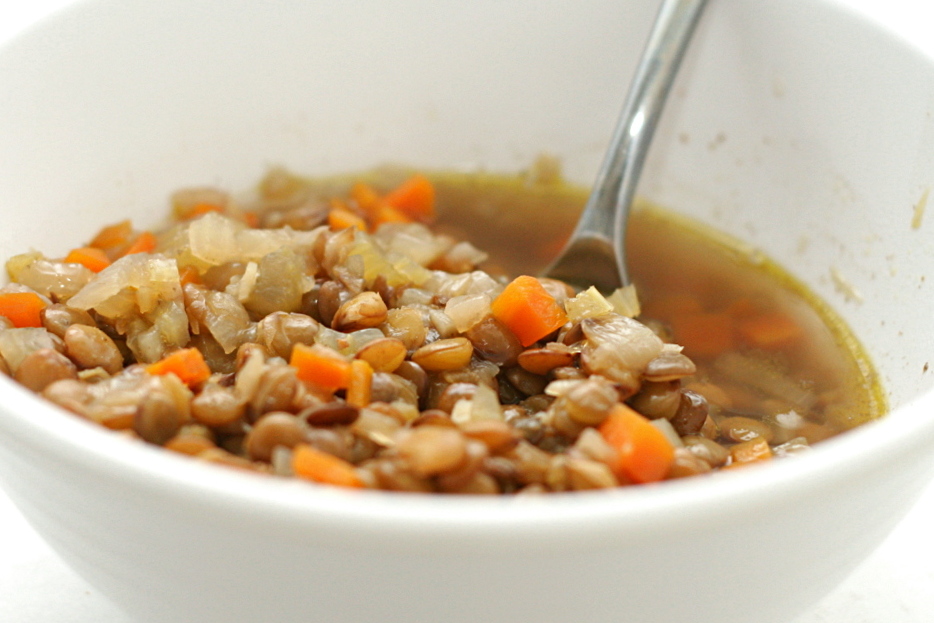
The soup was just perfect. It was simple, it was filling, it was healthy, and it was delicious. The lentils were tender but not mushy, and the broth was perfect with some rustic whole wheat bread. It goes to show that healthy food can be just as tasty as something more indulgent. Of course, the next day we had pizza for dinner. I don’t want to go too crazy with taking a break from cheese.
copy-of-img_5472

One year ago: Florida Pie

Basic Lentil Soup (adapted from Mark Bittman’s How to Cook Everything Vegetarian)

Obviously, Bittman calls for vegetable broth (or water) in his Vegetarian cookbook, but since I’m not actually a vegetarian, I usually use chicken broth. How much salt you need to add will depend a lot on your broth.

2-3 main dish servings

1 tablespoon olive oil
1 carrot, diced small
1 celery stalks, diced small
1 onion, diced small
2 cloves garlic, minced
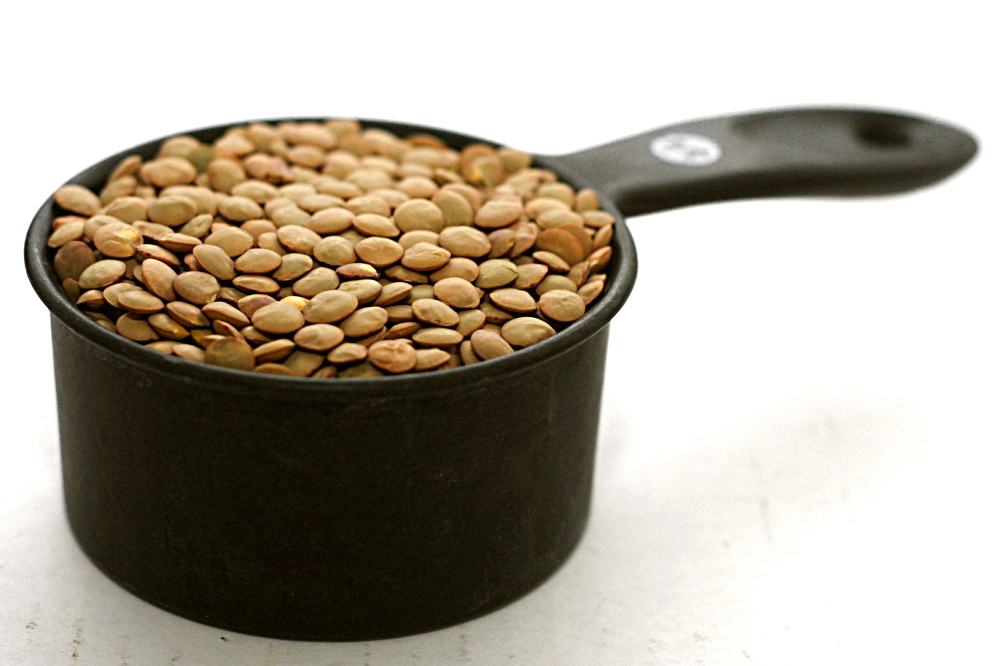
¾ cup lentils, washed and picked over
4 cups chicken broth
1 bay leaf
freshly ground black pepper
salt to taste

1. Heat the oil in a medium saucepan over medium heat. Add the carrots, celery, and onions and cook until just brown around the edges, about 8 minutes, stirring occasionally. Add the garlic; cook, stirring constantly, until fragrant, about 1 minute. Stir in the lentils, broth, bay leaf, and black pepper, increase the heat to medium-high, and bring to a boil. Once the mixture boils, reduce the heat to medium-low, cover, and simmer until the lentils are tender, about 30 minutes. Adjust the heat as necessary to keep the soup at a simmer.

2. Once the lentils are tender, remove the bay leaf and adjust the seasonings as necessary. Serve. The soup can be made a few days in advance and refrigerated.
copy-of-img_5481

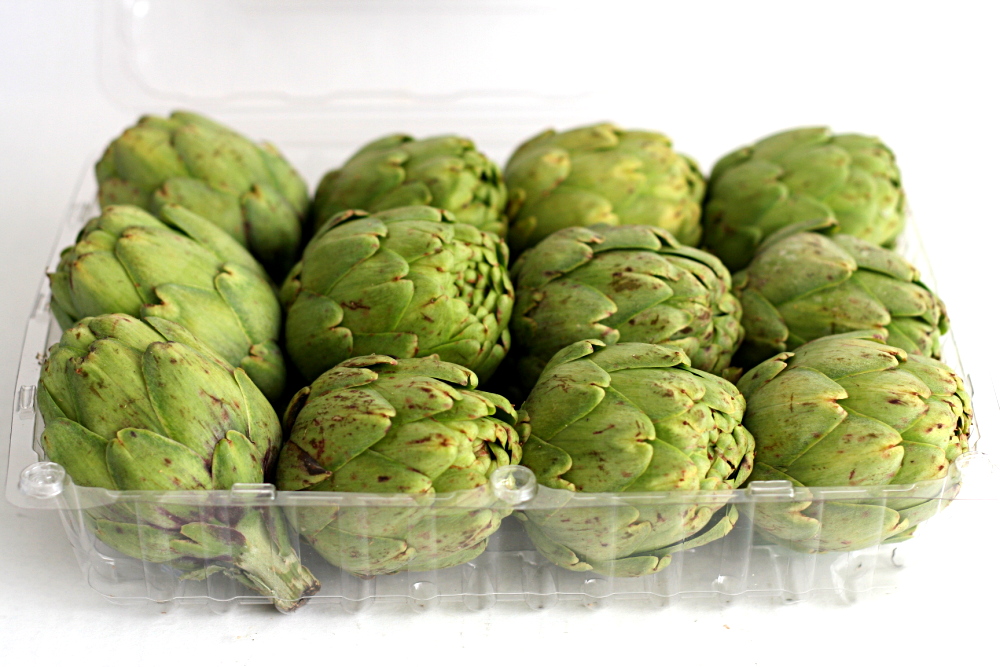
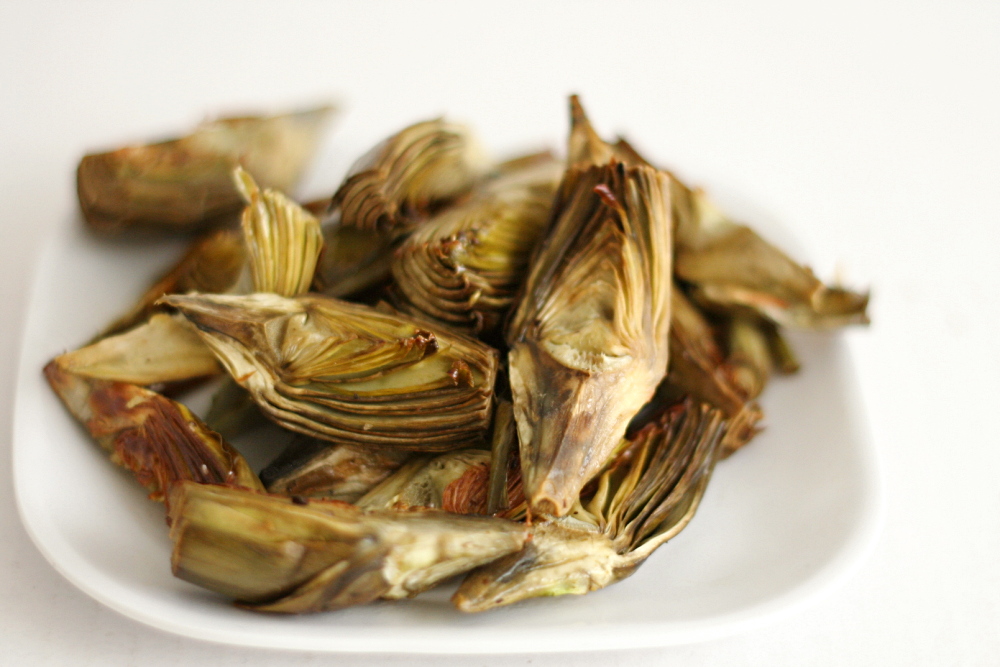
roasted baby artichokes

copy-of-img_4919

Dave and I have gotten into the habit of choosing a nice bottle of wine to open on Saturday, and then I plan a meal around it. The last two times, I’ve scheduled ambitious main dishes and starches, and then planned to get whatever vegetable looked good at the store that would be easy to cook while I focused on the rest of the meal.

copy-of-img_4810

And then I’ve come home with artichokes, which are certainly not known for being low-maintenance. But now that I’ve cooked artichokes a few times, I’m not nearly as intimidated by them. I especially love roasting these baby artichokes, which is the easiest and definitely the best way I’ve ever prepared artichokes.

copy-of-copy-of-img_4898

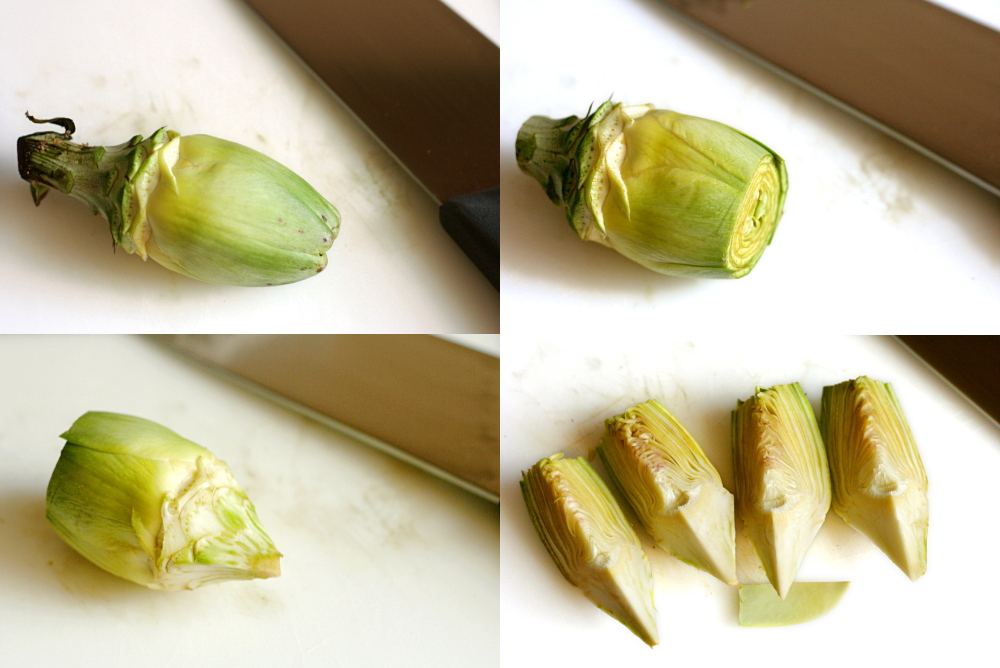
A lot of fuss is made about prepping artichokes, but now that I’m familiar with the process, it isn’t so bad. And the baby artichokes are quite a bit easier, because the fuzzy inedible choke inside the artichoke isn’t developed. There are basically three steps. 1) Pop off the leaves that are mostly green. 2) Cut off the top of the leaves and the bottom of the stem. 3) Trim off the dark green remnants of the leaves near the top of the stem. It really only takes maybe a minute per artichoke.

copy-of-img_4907

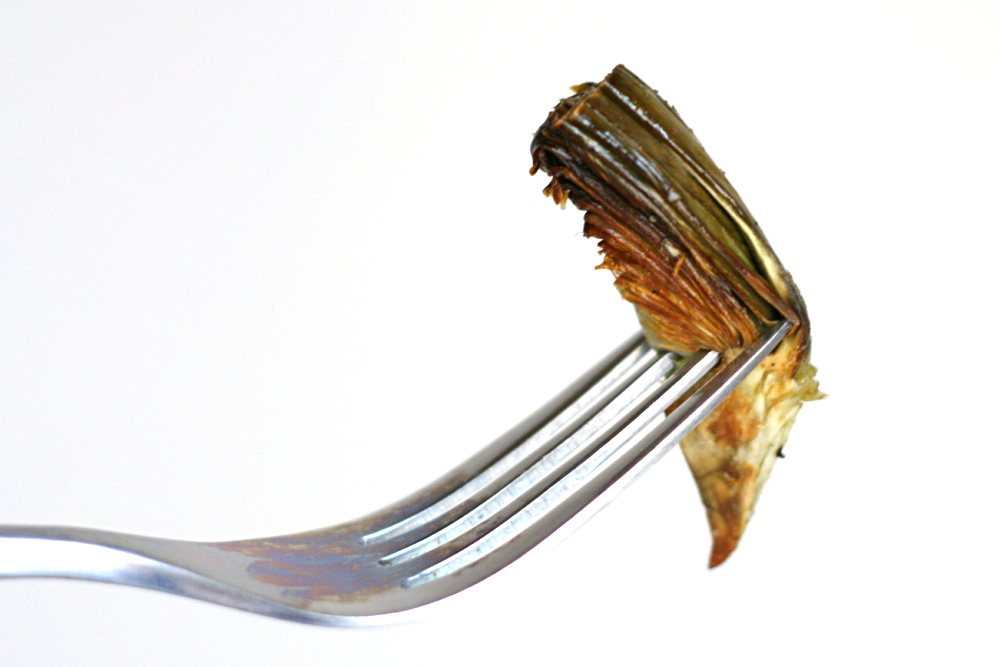
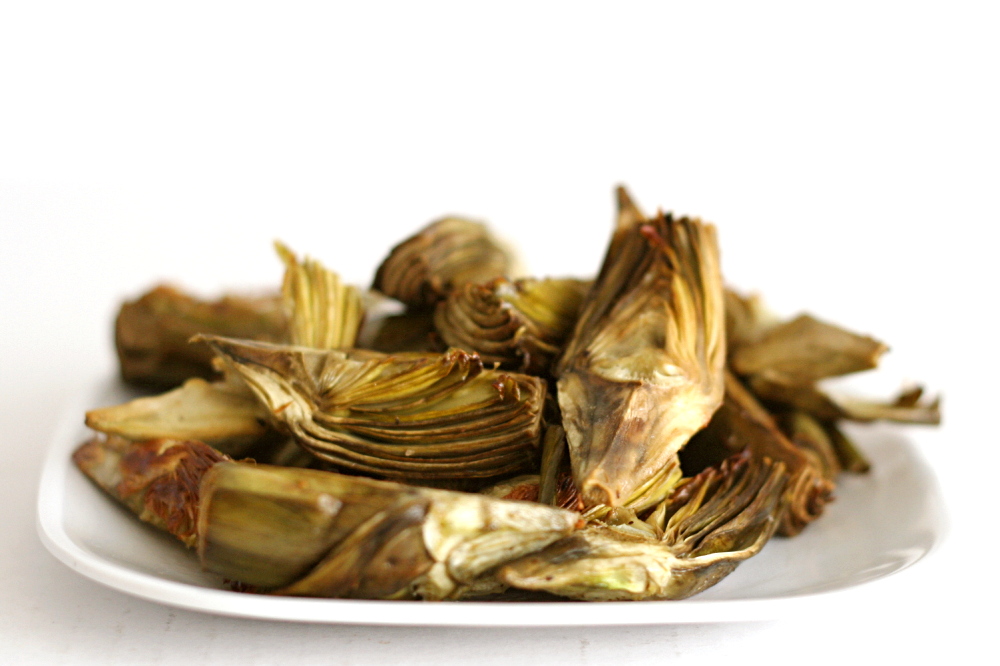
And then it’s just like roasting any other vegetable. I quartered the artichokes, seasoned them and sprinkled a bit of olive oil over them, then roasted them until they were browned and tender.

What I love about this method, besides how easy it is, is that there’s really nothing to taste except for the artichoke. It’s the most artichokey way that I’ve eaten artichokes. And they do have a great flavor on their own, with no need for marinades or gussied-up mayonnaise or whatever else. It’s the fanciest plain vegetable I’ve ever served.

copy-of-img_4916

One year ago: Cheesecake Pops (these were a huge mess) and Fluted Polenta and Ricotta Cake

Roasted Baby Artichokes

I’ve seen recipes that require the artichokes to be boiled or steamed before roasting. This may be necessary with large ‘chokes, but I had no problem with the little guys getting tender just from roasting.

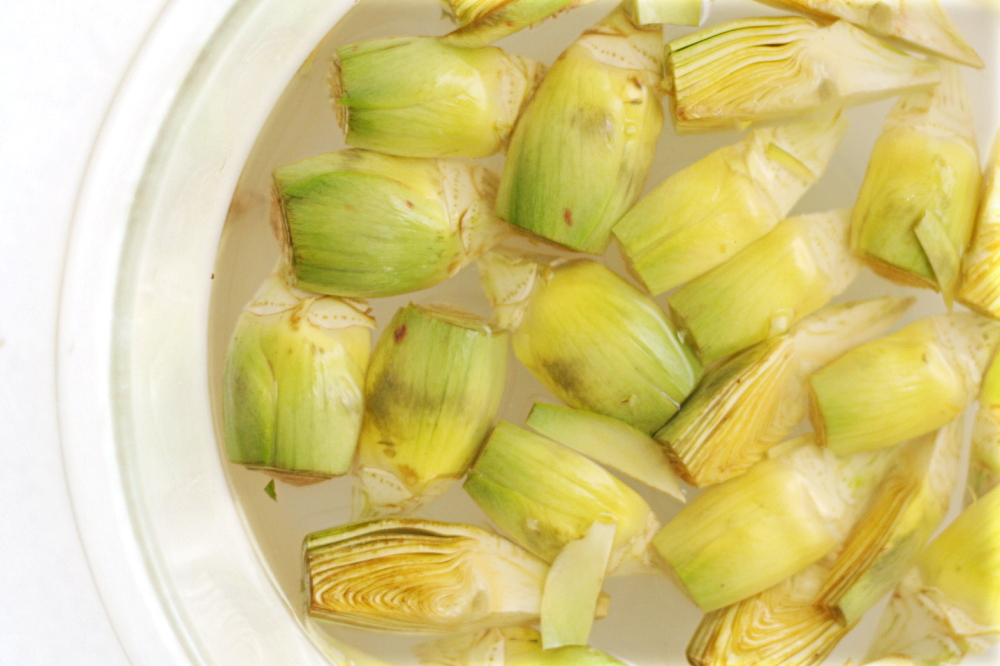
This is probably very anti-foodie of me, but I just squirted a bunch of bottled lemon juice into a bowl of water to make acidulated water. I didn’t have lemons.   I considered skipping the acidulated water entirely, but the artichokes pretty much immediately started turning an unappetizing shade of brown.

3-4 servings

juice of one lemon
12 baby artichokes
1½ tablespoon olive oil
½ teaspoon salt
pinch pepper
½ teaspoon lemon juice

1. Preheat the oven to 425 degrees.

2. Trim the artichokes: Put the lemon juice into a bowl with 2-3 quarts of water. Working with one artichoke at a time, pop off the outer leaves until you reach the inner yellowish leaves. Cut off the top ½-inch of the leaves and all but ½-inch of the stem. Trim away the darker green leaf remnants around the base of the stem. Quarter the artichoke and place in the bowl of water. Repeat with the remaining artichokes.

3. Put the oil, salt and pepper on a baking sheet. Dry the artichokes, place them on the baking sheet with the oil and seasoning, and stir to coat with oil.

4. Roast for 20-30 minutes, stirring once or twice, until tender and browned on the outside. (I usually just eat one to see if they’re done.) Remove the pan from the oven, drizzle the lemon juice over the artichokes, and serve.

copy-of-img_4917

pan-roasted asparagus

copy-of-img_3654

Asparagus was part of one of my worst eating experiences. I was spending a few weeks traveling, working with one of the top researchers in my field. She’s an intimidating woman, known for her arrogance and her temper. Fortunately, what little contact I had with her was generally pleasant. She even invited me to her house for dinner a couple times.

copy-of-img_3646

The first time, she served chicken, asparagus and rustic bread she’d bought at a bakery. The asparagus was horrendous. It was grossly overcooked, plus too little of the woody barely chewable ends had been trimmed. It was all I could do to eat it without gagging, but I had to be polite, especially since I was sort of scared of my host.

copy-of-img_3648

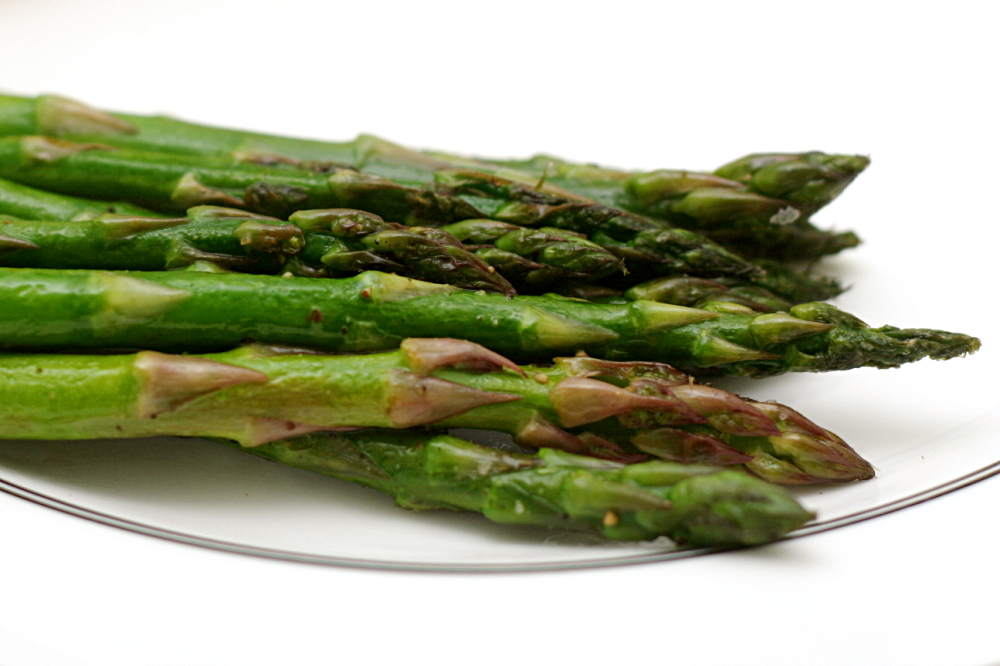
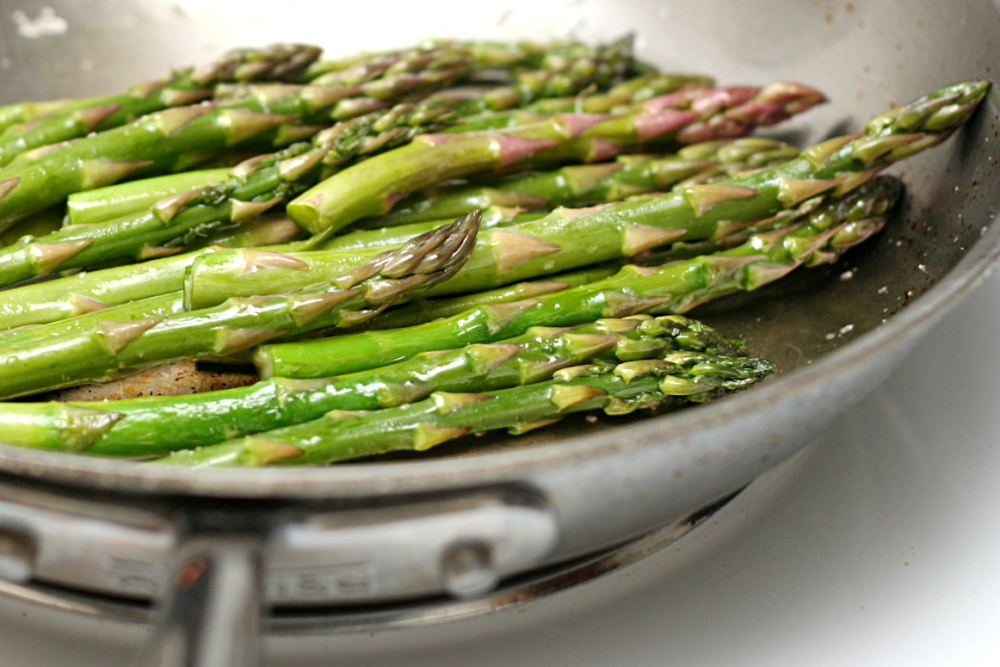
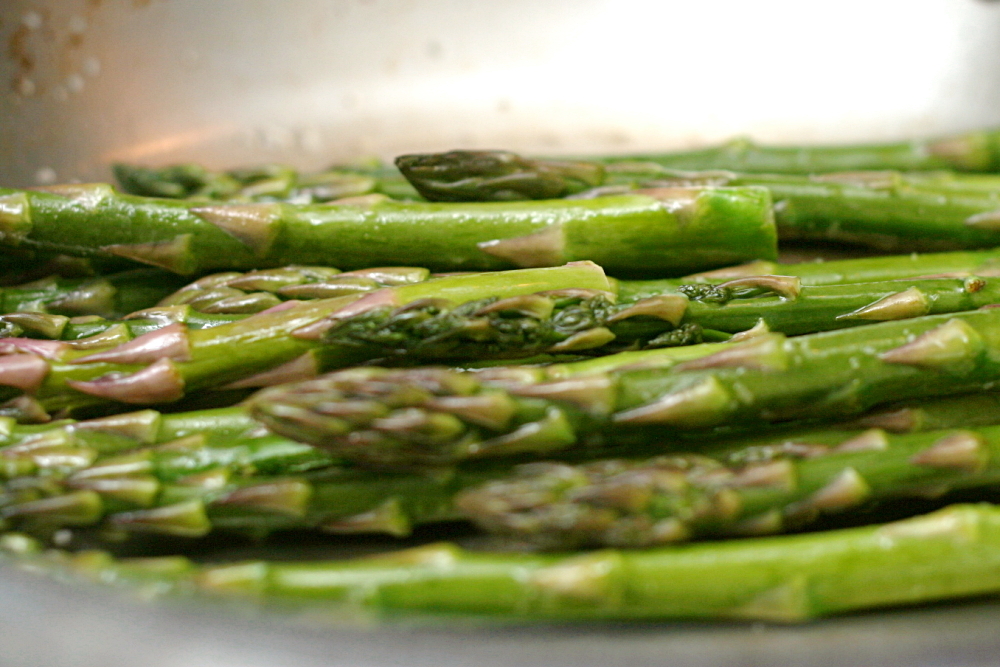
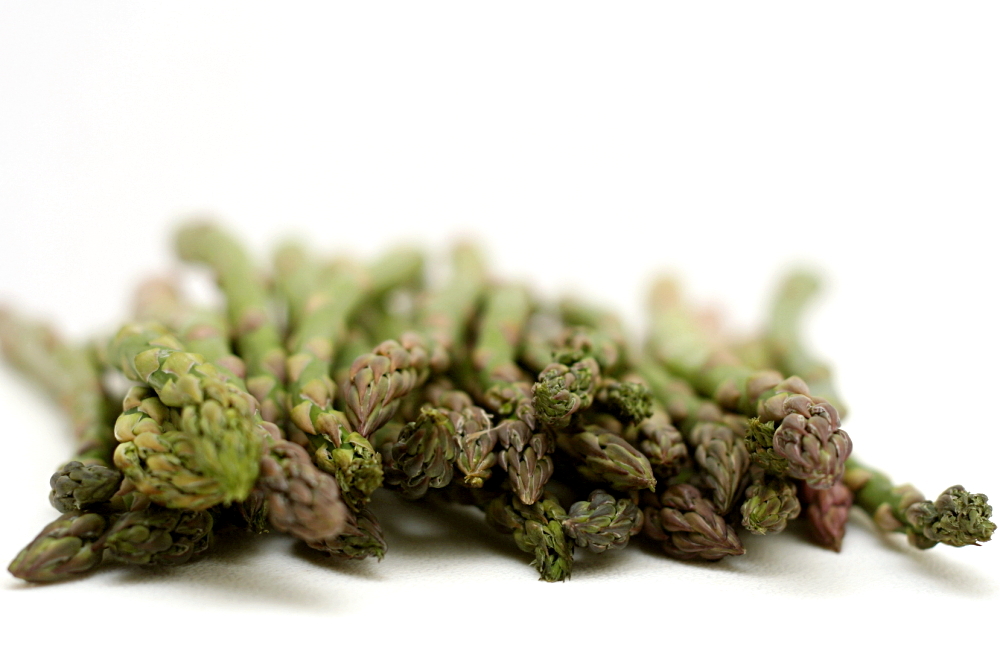
This is not that asparagus. This is lightly browned, tender but still crisp at the center. It’s also easy – just put the asparagus and some salt in a lightly oiled, hot, not nonstick pan, and cook it for a few minutes, giving the pan an occasional shake. Squeeze on some lemon juice, grind a bit of black pepper over the top, and try to erase all of your bad vegetable memories.

copy-of-img_3650

One year ago: Sichuan Green Beans

Pan-Roasted Asparagus

Serves 2

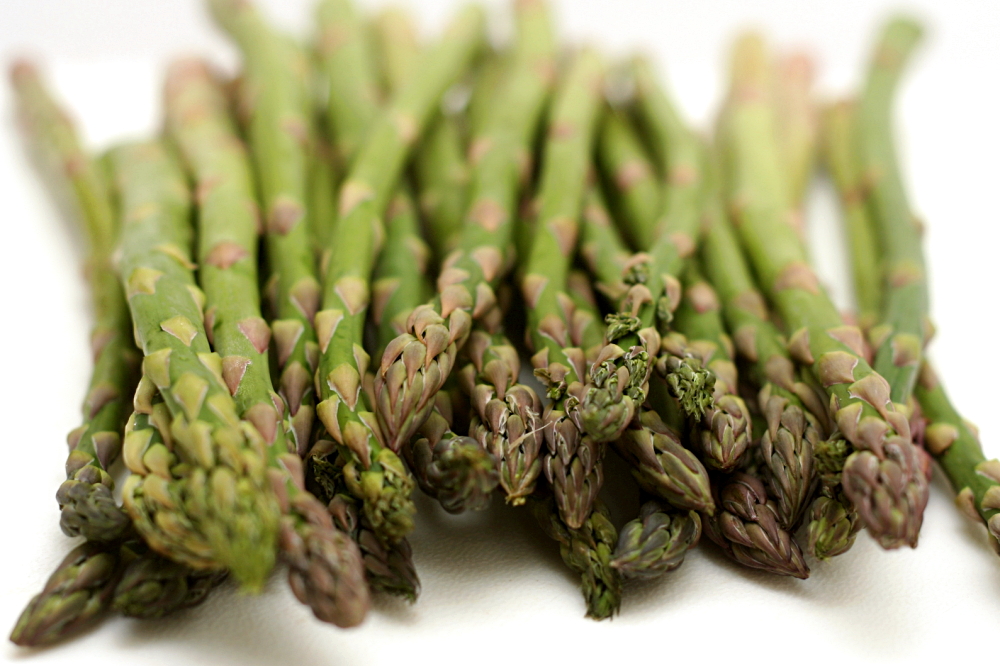
Note: Choose thin (less than ½-inch in diameter) asparagus for this recipe, as the thicker stalks won’t cook through evenly. Trim the asparagus by bending each stalk until it snaps. To double the recipe, use a 12-inch skillet.

1 teaspoon olive oil
8 ounces asparagus, washed and trimmed (see Note)
generous pinch salt
1 teaspoon lemon juice
freshly ground black pepper

Heat the oil in a medium not nonstick skillet over medium heat until it’s hot. (I judge based on the viscosity of the oil – the thinner, the hotter.) Add the asparagus in a single layer and stir or shake to coat with oil. Continue to cook the asparagus until it’s crisp-tender, 5-8 minutes.

copy-of-img_3644

chocolate amaretti torte

copy-of-img_3813

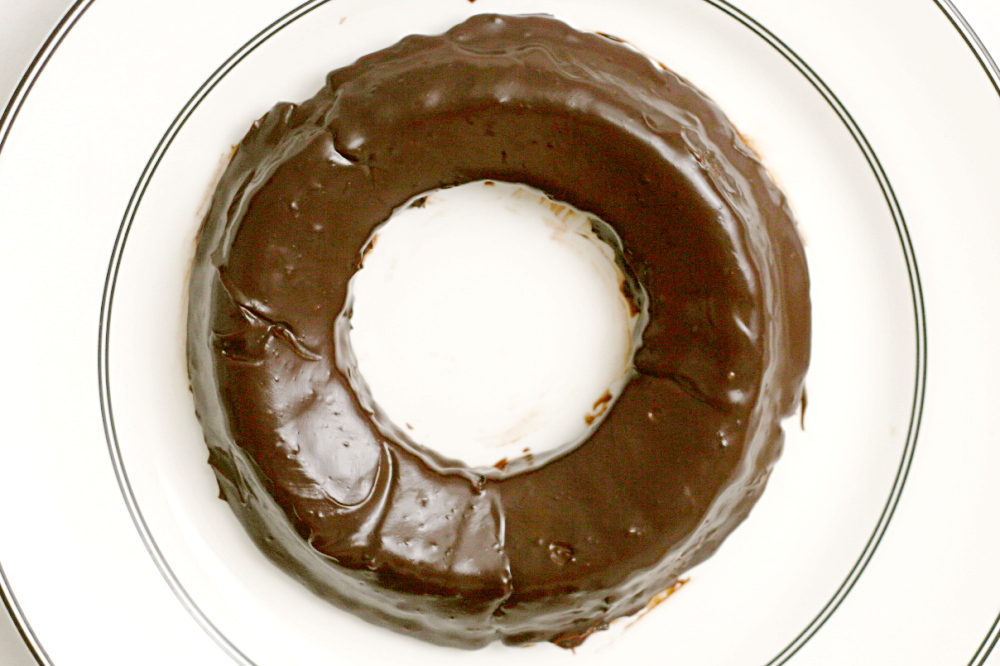
My cake is ring-shaped! Because I’m creative! Because I have a plethora of interesting-shaped pans to choose from! Because, um.

It’s actually because I totally botched this week’s recipe.

copy-of-img_3778

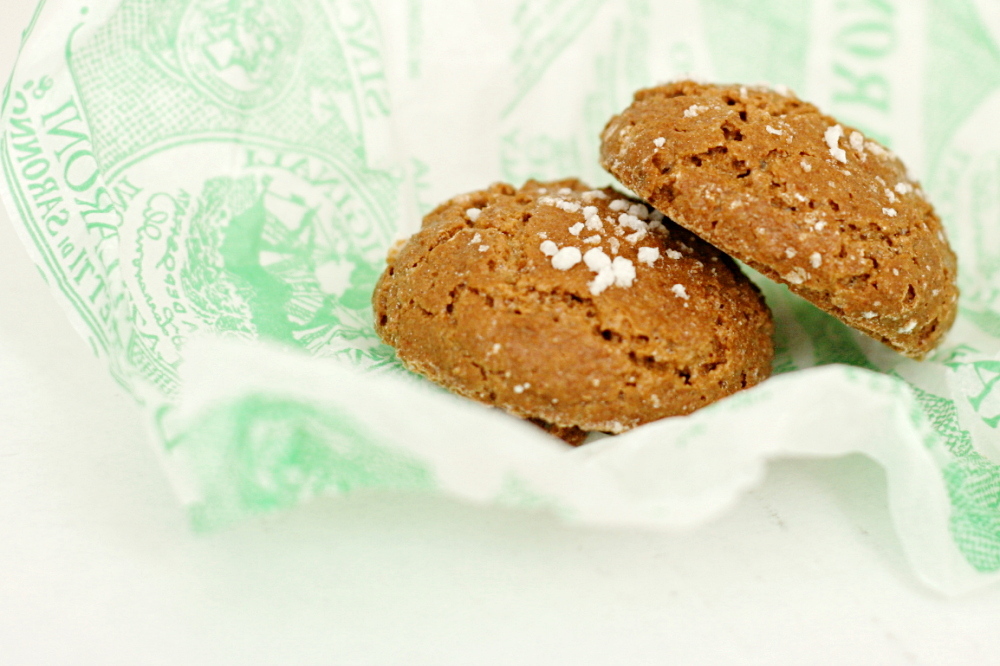
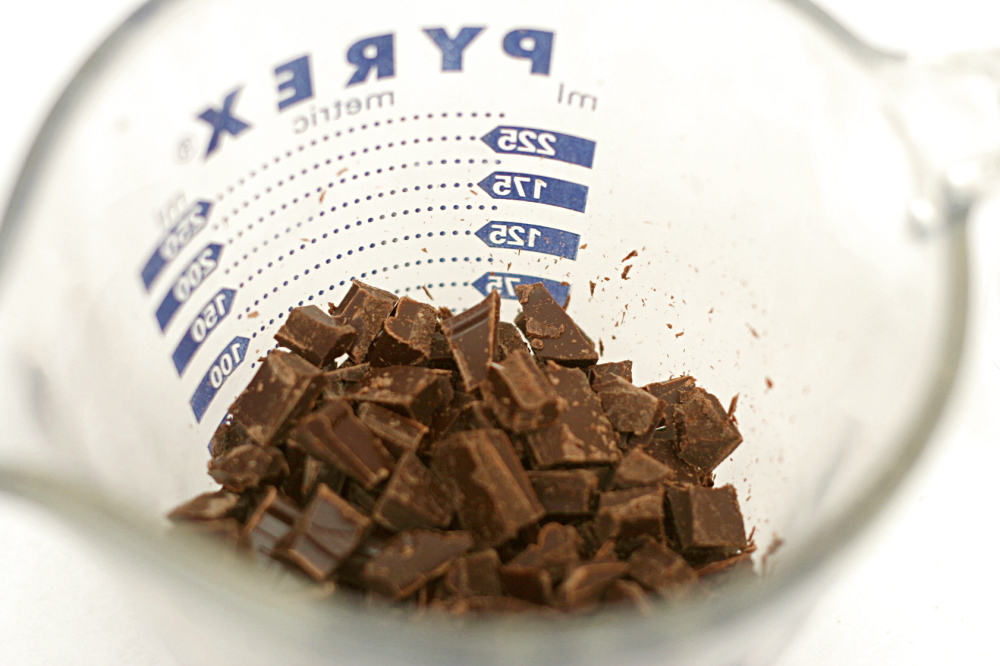
The torte is made by grinding store-bought Italian amaretti cookies with almonds in a food processor. Then butter, sugar, eggs, and chocolate are blended in the food processor and the ground cookies and almonds are mixed in. Then you bake it.

copy-of-img_3789

Which is where I messed up. First, I made 2/3 of the recipe in a pan just about 2/3 the size that the original recipe calls for. So I thought it would take less time to bake than the full recipe. Second, I used a Pyrex pan, and the last several times I’ve baked in Pyrex, my dessert has overcooked. So I lowered the oven temperature by 25 degrees.

copy-of-img_3794

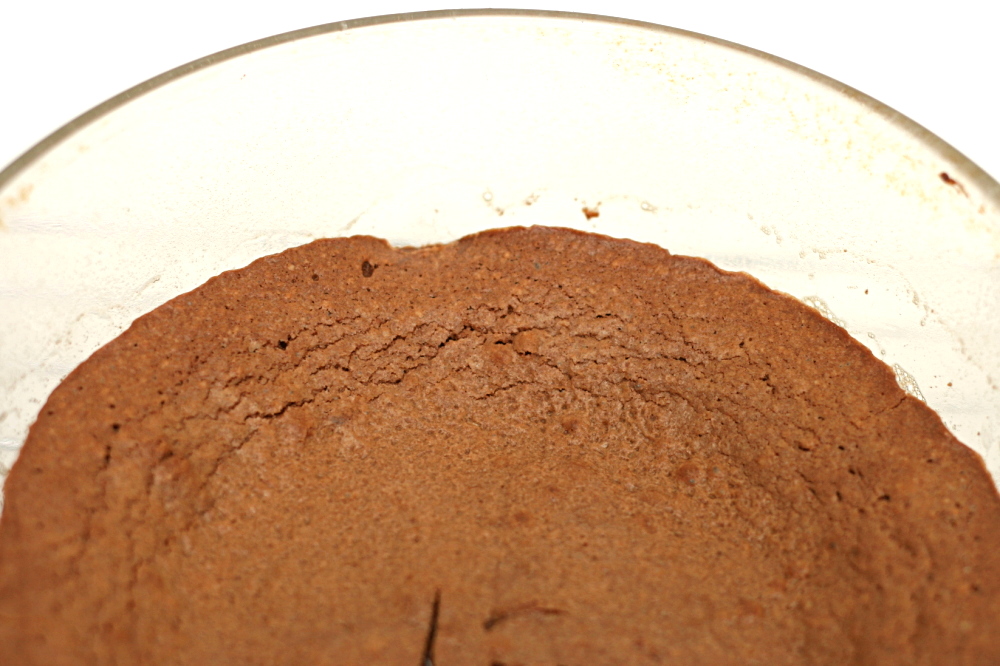
I baked my (6-inch round) torte for 25 minutes, which is the lower end of the range for a full (8-inch round) recipe, and the same amount of time that Dorie recommends for 4-inch mini-tortes. I tested it with a knife, which came out cleanish (Dorie says it should be streaky, not quite dry). I took the torte out of the oven and let it set in the pan for 15 minutes or so.

copy-of-img_3795

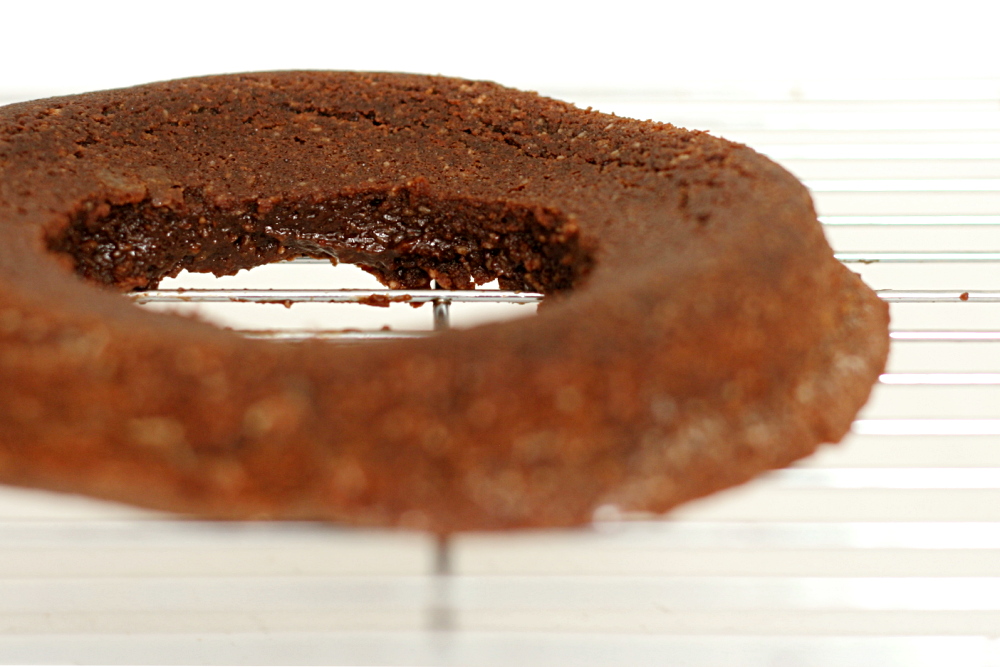
I inverted the cake onto a cooling rack. And then the middle inch or two dripped through the cooling rack onto the counter. Then another inch, and another, until I was left with just a thin ring – a ring that was delicate and broke in several places when I moved it. Yeesh.

copy-of-img_3802

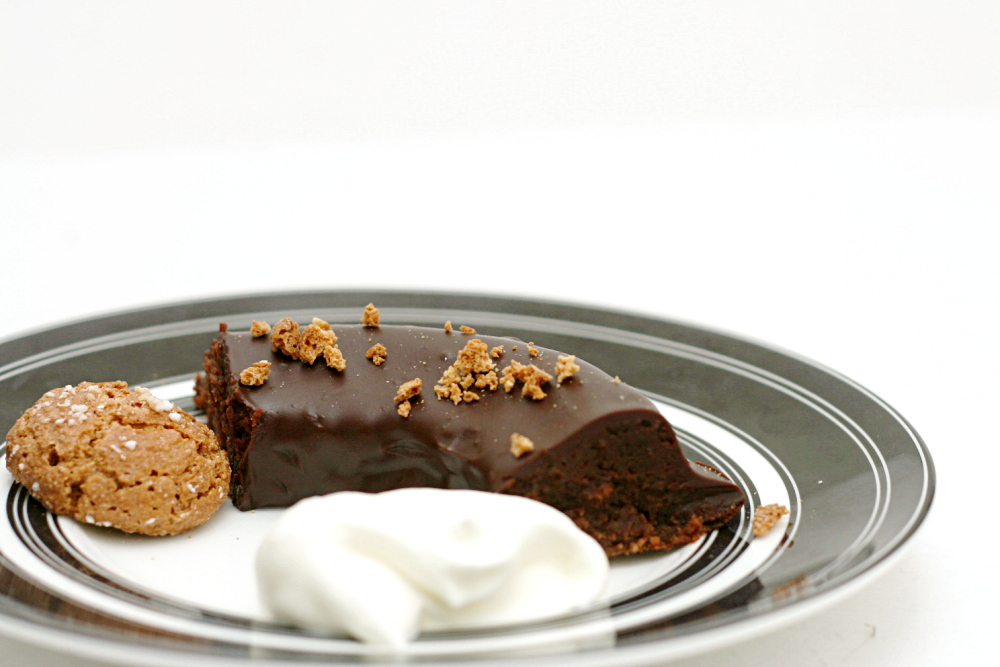
Thank goodness for the ganache coating. And the fact that the torte was so tasty that it could stand up to all the abuse.

Holly chose this recipe for Tuesdays with Dorie and has it posted on her site.

One year ago: Lemon Cream Tart

copy-of-img_3924

lemon cup custard

copy-of-img_2420

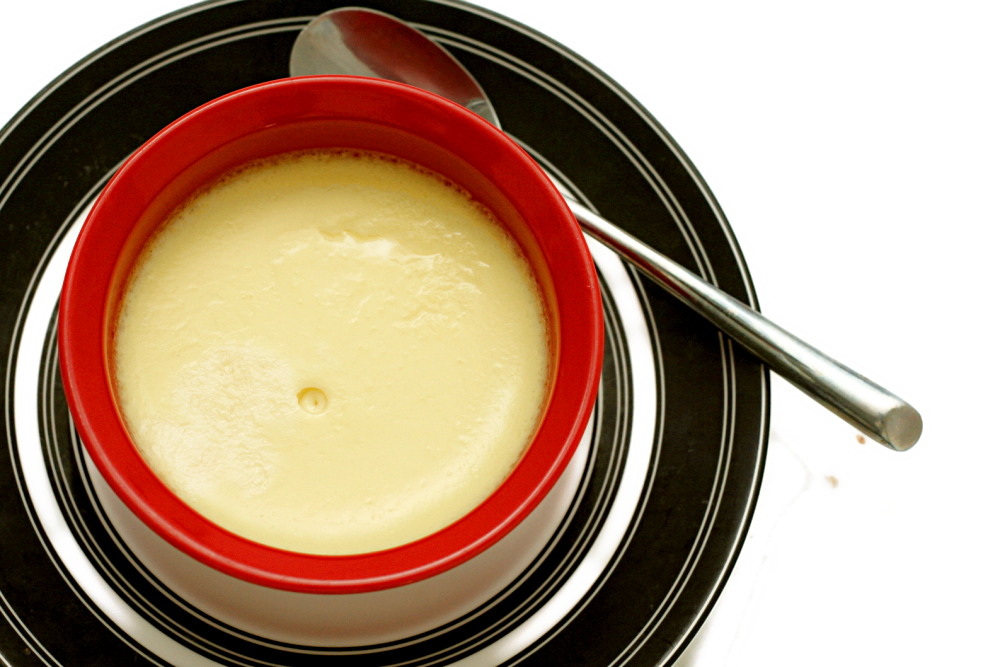
Well, I didn’t intend to choose an unpopular dessert for Tuesdays with Dorie this week. I was picturing a satiny, lemony pots de crème-type custard. Obviously I didn’t pay enough attention to the ingredients, which, with just milk, whole eggs, lemon zest, and sugar, in no way indicate that this custard would be rich. Sorry, custard-haters!

copy-of-img_2431

Hey, at least it was easy and didn’t use many ingredients. After the milk is steeped with lemon zest, it’s mixed into sugar and eggs, then baked in a water bath. I added a drop of lemon extract to half of my custards.

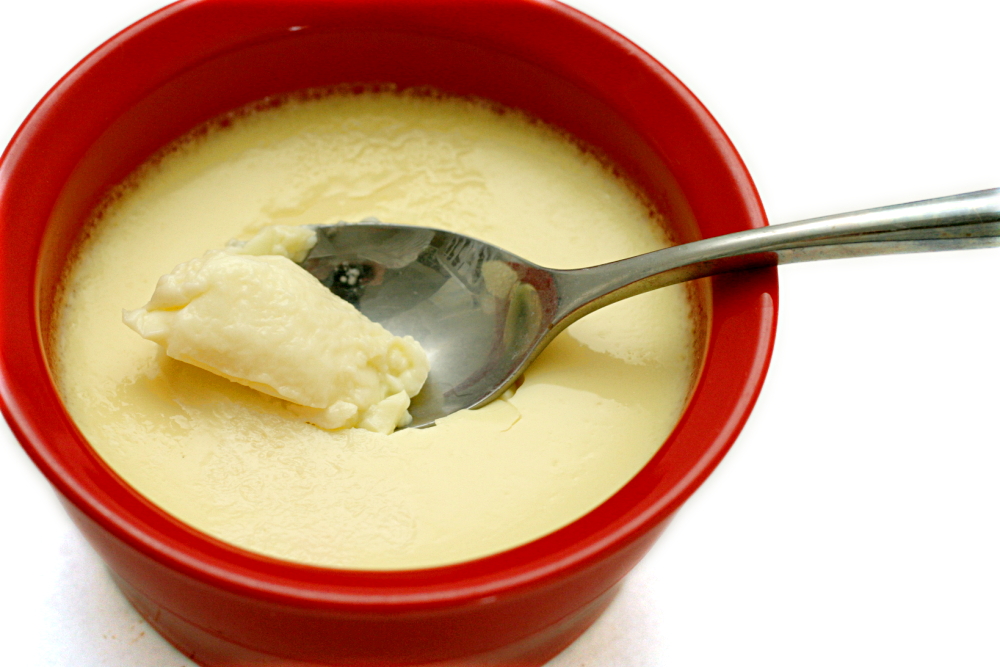
The lemon flavor was pretty tame, although it was noticeably stronger with the extract. The texture was certainly more eggy than I expected. I don’t mind the texture of classic baked custard, but I know it isn’t popular with a lot of people.

copy-of-img_2390

Overall, I thought the custard was light and refreshing, especially with the bit of lemon extract. It’s even a relatively healthy dessert – no butter, believe it or not! Not only that, but it was easy. So at least it was a winner in my book!

copy-of-img_2422

Lemon Cup Custard (from Baking: From my Home to Yours, by Dorie Greenspan)

Mine seemed to cook a little faster than Dorie indicates, so you might want to check them early.

Makes 6 servings

2¼ cups whole milk
grated zest of 1 lemon
4 large eggs
½ cup sugar
pure lemon oil or extract (optional)

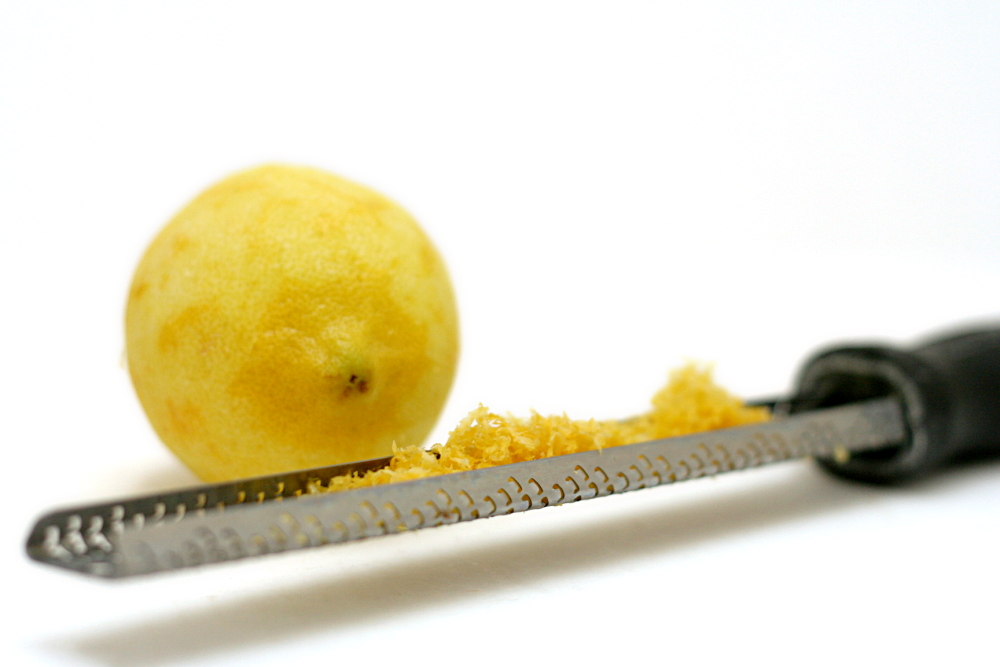
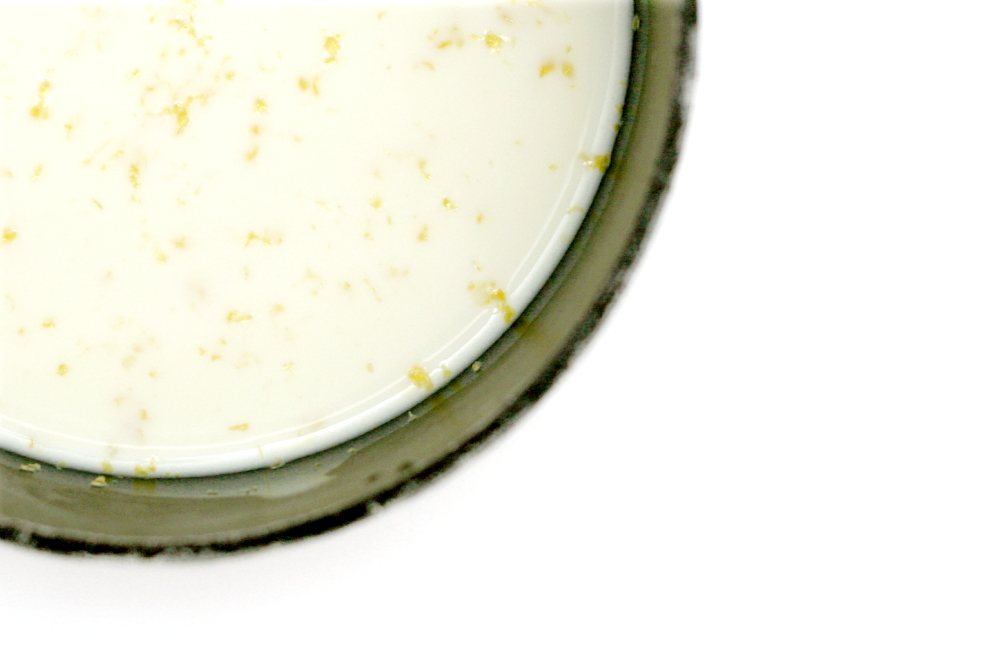
Getting ready: Have six (6-ounce; ¾-cup) custard or coffee cups at hand. Put the milk and zest in a saucepan and bring just to a boil. Remove the pan from the heat, cover and set aside for 30 minutes so the zest can infuse the milk with its flavor. Reheat the milk before mixing the custard.

Getting ready to bake: Center a rack in the oven and preheat the oven to 325F. Line a roasting pan with a double thickness of paper towels and put the custard or coffee cups in the pan. Have a fine-mesh strainer at hand. Fill a teakettle with water and put it on to boil; when the water boils, turn off the heat.

In a 1-quart glass measuring cup or a heatproof bowl, whisk the eggs and sugar together until well blended. Still whisking, strain in about ¼ cup of the hot milk little by little – this will temper, or warm, the eggs so they won’t curdle. Whisking all the while, slowly strain in the remaining milk. Discard the zest remaining in the strainer. If you’d like a stronger lemon flavor – Dorie usually does – stir a few drops of lemon oil or extract into the custards. (Don’t go overboard – ⅛ teaspoon extract, less if you’re using oil, is about the most you’ll need.)

With a spoon, skim the foam off the top of the custard, then pour the custard into the cups. Very carefully slide the roasting pan into the oven, then pour enough hot water from the teakettle into the roasting pan to come halfway up the sides of the cups.

Bake the custards for 40 to 50 minutes, or until they jiggle only in the center when you tap the cups lightly. Transfer the cups to a rack and cool to room temperature, then cover and refrigerate for at least 2 hours before serving.

Serving: Serve just as is.

Storing: Well covered and away from foods with strong odors, the custards will keep in the refrigerator for up to 2 days.

Playing around:
Vanilla Cup Custard: Omit the lemon zest and oil or extract, and after the hot milk has been blended into the eggs, add 2½ teaspoons pure vanilla extract. (Dorie often adds ⅛ teaspoon pure almond extract too.) Alternatively, you can steep the milk with 1 split and scraped vanilla bean instead of using extract.

Lemon-Clove Cup Custard: Add 4 whole cloves to the milk along with the lemon zest.

Orange-Star Anise Cup Custard: Omit the lemon zest and oil or extract and add the grated zest of 1 orange and 3 points from a star anise to the milk before heating it.

Espresso-Cinnamon Cup Custard: Omit the lemon zest and oil or extract and add a cinnamon stick to the milk before heating it. Whisk 2 teaspoons instant espresso powder into the egg-sugar mixture.

copy-of-img_2408

roasted kale

copy-of-img_2179

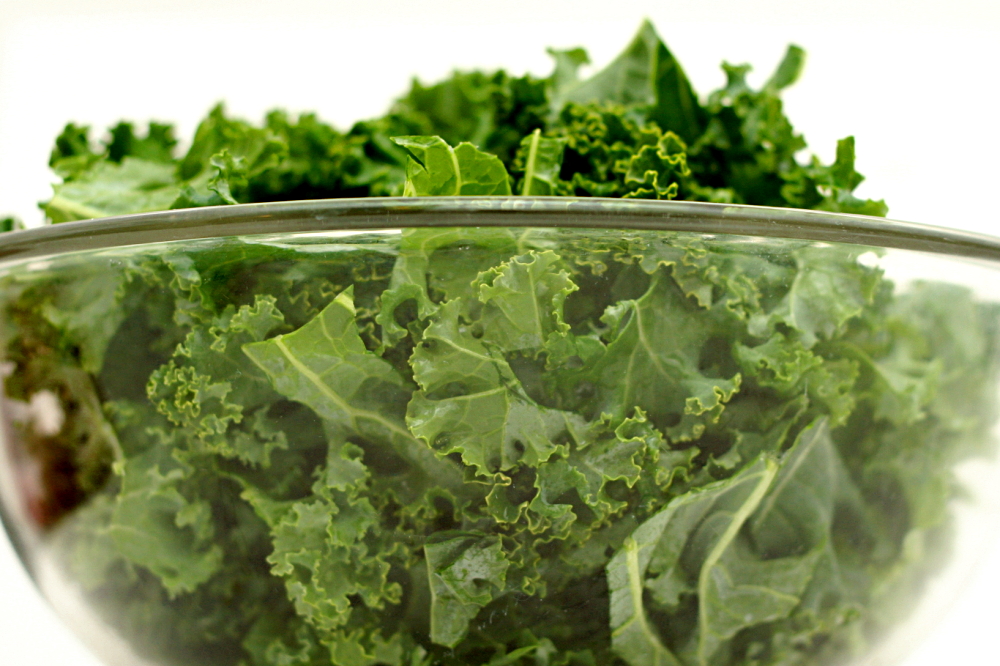
I would not have predicted a couple years ago that kale would become one of my favorite vegetables. Or that one of my favorite ways to eat it would be topped with an egg.

copy-of-img_2164

I recognize that the dark olive green color of cooked kale may appear unappetizing. Furthermore, it’s a leafy green vegetable, which we’re trained from childhood to distrust. To be honest, I still don’t even like cooked spinach – too mushy, if not in reality, then certainly in my mind.

copy-of-img_2171

Kale, though, retains a nice crunch after it’s cooked, because it’s much heartier than spinach. It has an earthy flavor, which I know makes it sound like it tastes like dirt, but to me, it’s more of an umami-type meaty flavor.

The problem is that the only way I had prepared kale before this was by braising it, which, although delicious, takes at least half an hour. This roasted method takes, I kid you not, only ten minutes in the oven, and the kale is just as tasty.

copy-of-img_2171

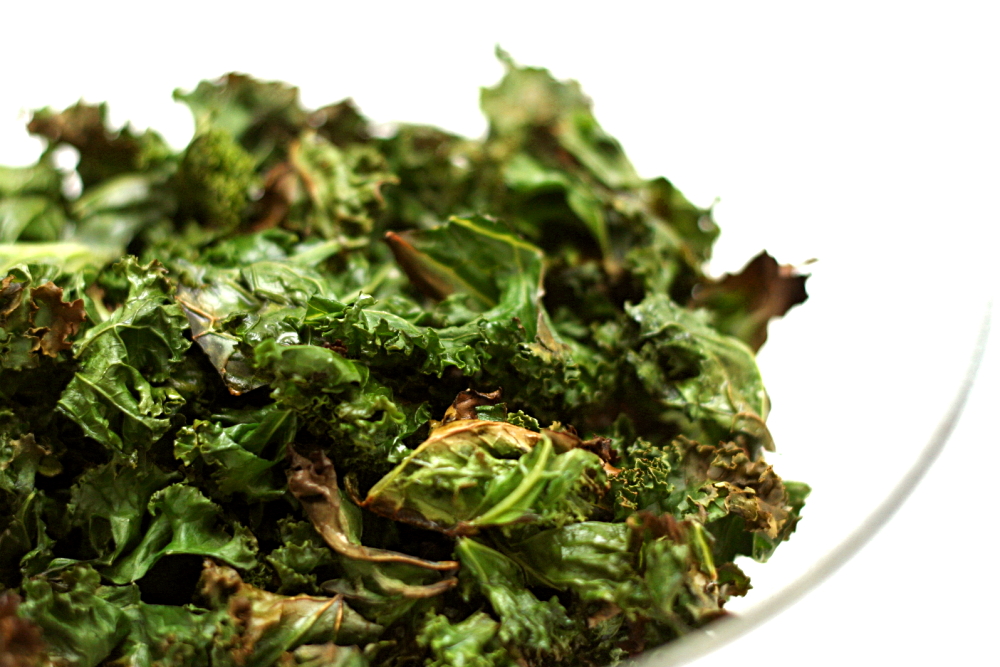
The texture of roasted kale is a little different from braised. Some of the leaves, those on the edges of the baking pan I suppose, were a little crispy, while some of the kale was more moist. Both textures were fine by me.

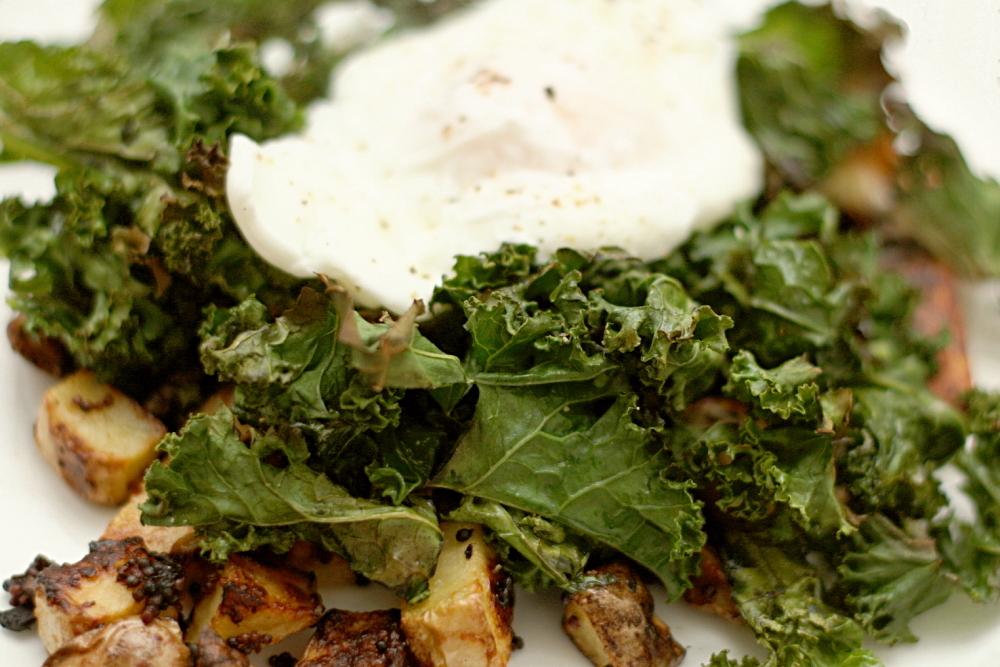
With a lovely poached egg on top, and some mustardy roasted potatoes, kale makes a delicious, hearty, easy, and healthy meal.

copy-of-img_2174

One year ago: Banana Walnut Pancakes

Roasted Kale (slightly reworded from Tuesday Recipe)

Serves 2, generously

1 bunch kale (about ½ pound)
extra-virgin olive oil
sea salt or kosher salt
sherry vinegar or red wine vinegar

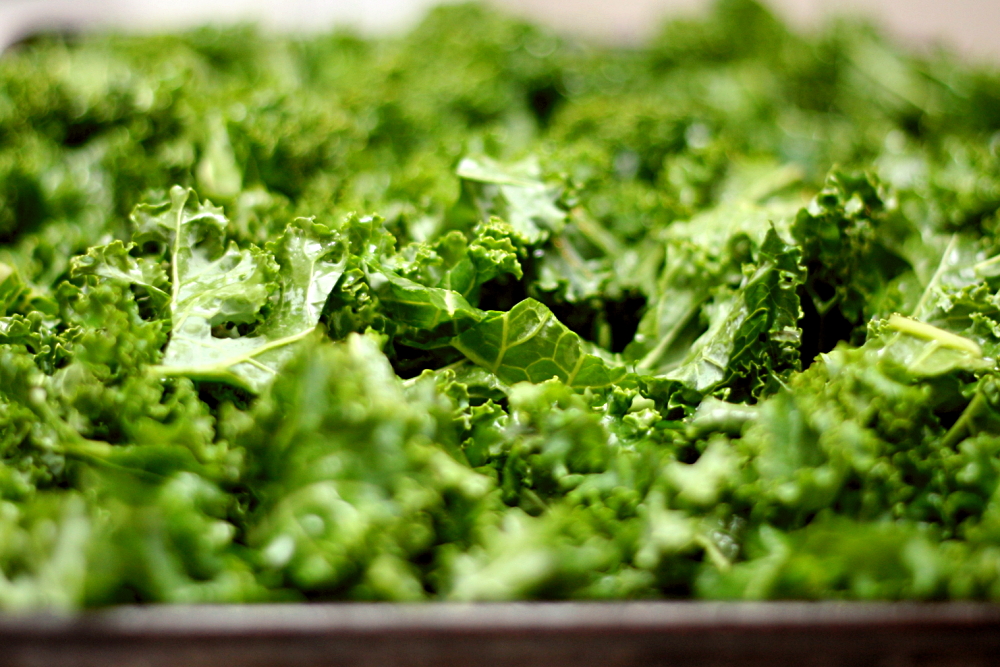
1. Preheat the oven to 425F. Cut the stems off the kale and discard; rinse and shake the leaves dry. Stack the leaves and cut them crosswise into strips about 1 inch wide. Put the kale in a big bowl and drizzle with enough olive oil to coat well (about 2 tablespoons). Sprinkle with a generous pinch of salt, then gently toss the leaves. Spread the kale on a large rimmed baking sheet and pop it in the oven. Set the bowl aside without washing it.

2. Roast the kale until some of the leaves are tinged with brown, about 7 minutes. Remove baking sheet and stir the kale around, then put it back in the oven for another 3 minutes or so until all the leaves are starting to crisp. Immediately put the leaves back in the bowl you first tossed them in, then drizzle with another tablespoon of oil and a few splashes of vinegar. Toss kale with the tongs, taste, and add more oil, vinegar, or salt as needed. Toss again and serve right away.

copy-of-img_2176

honey yogurt dip

copy-of-img_1756

Dave and I, for better or worse, don’t have the types of jobs that we can just forget about when we leave work at the end of the day. As a result, we often have to work on weekends. One particularly stressful weekend, I decided that we should make weekend working an event, where we set aside a few hours to sit down at the table together and get our work done. And what I really mean when I say ‘event’ is that I want snacks.

copy-of-img_1653

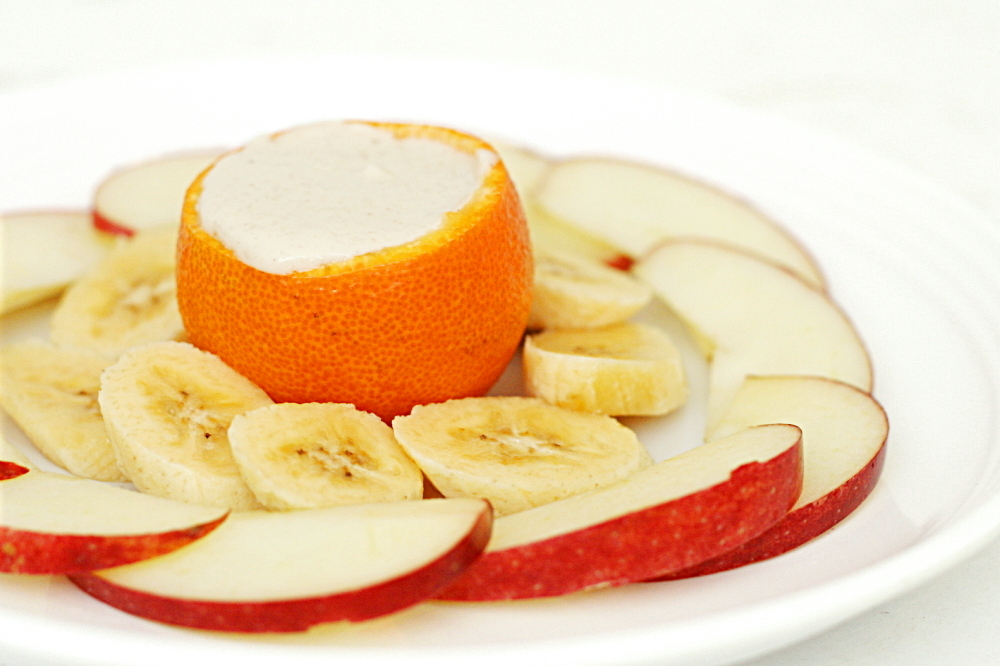
Since we were being industrious and working, it made sense to keep the snacks on the healthy side. Plus they were replacing dinner, so they needed to be nutritionally well-rounded. This fruit dip was exactly what I was looking for – easy, healthy(ish), and finger-food friendly.

copy-of-img_1644

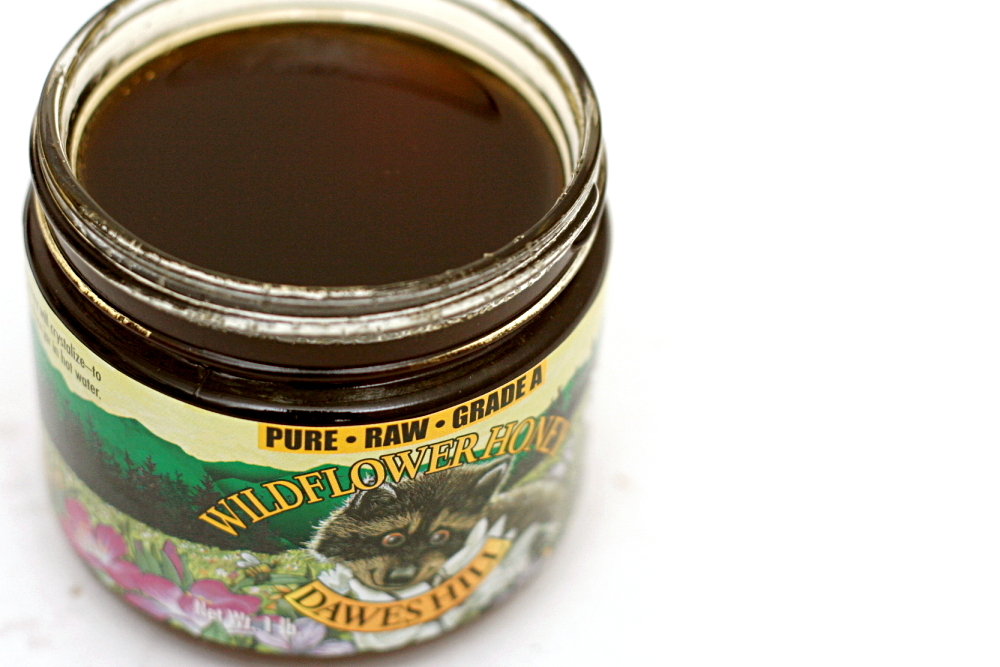
Calling this a recipe may be overstating things a bit – it’s really just yogurt sweetened with honey and enhanced with a pinch of cinnamon. The original recipe recommended vanilla yogurt, but a number of the reviewers indicated that the result was too sweet. Another common complaint was that the dip was too thin. I thought using Greek yogurt would solve both problems at once.

copy-of-img_1651

It was a good change apparently, because the dip was perfect – fresh and light, plus just a little spicy from the cinnamon. It enhanced our fruit without overpowering it. Unfortunately, the dip was a lot more successful than working was for me that weekend – I found myself all too easily distracted. But at least I was eating fruit, right?

copy-of-img_1750

One year ago: Green Chile Chicken Enchiladas

Yogurt Honey Dip (adapted from Bon Apetit July 1998, but really epicurious.com)

Makes about 1 cup, or 4 servings

I have to admit that I didn’t measure anything when I made this. It’s pretty much a to-taste thing anyway, just keep in mind that the flavor of the cinnamon didn’t really come through until the dip had been chilled for a few hours.

1 (7-ounce) container plain Greek yogurt
3-4 tablespoons honey
1/8-¼ teaspoon ground cinnamon

Mix the ingredients together. Cover and chill for at least 2 hours or up to 2 days. Serve with fresh fruit.

copy-of-img_1751

vegetarian chili

copy-of-img_1785

When my sister plans meals for once-a-month freezer cooking, she usually tests a small batch of a recipe before making a larger batch to freeze. This is good practice, I recently learned. A few months ago, I made vegetarian chili to bring on a camping trip, and even though I was experimenting with the recipe, I was confident enough that it would turn out great that I made a huge batch and froze half. Mistake!

copy-of-img_1768

There are a lot of recipes where I think ground meat is just extraneous, and chili is a great example. There are so many other flavorings in chili that it doesn’t usually taste beefy, and the beans provide plenty of protein, so the meat isn’t nutritionally required either. It’s just filler, and expensive, sort of unhealthy filler at that.

When I noticed that my favorite vegetarian chili recipe was very similar to my favorite beef chili recipe, except for the beef, I decided to combine parts of each that I liked. Where I screwed up the first time was in not taking into account that with less filler, I’d need less tomatoes as well. The result was (a huge pot of) chili-flavored spaghetti sauce (that I had to share with friends on the camping trip – sorry guys!).

copy-of-img_1787

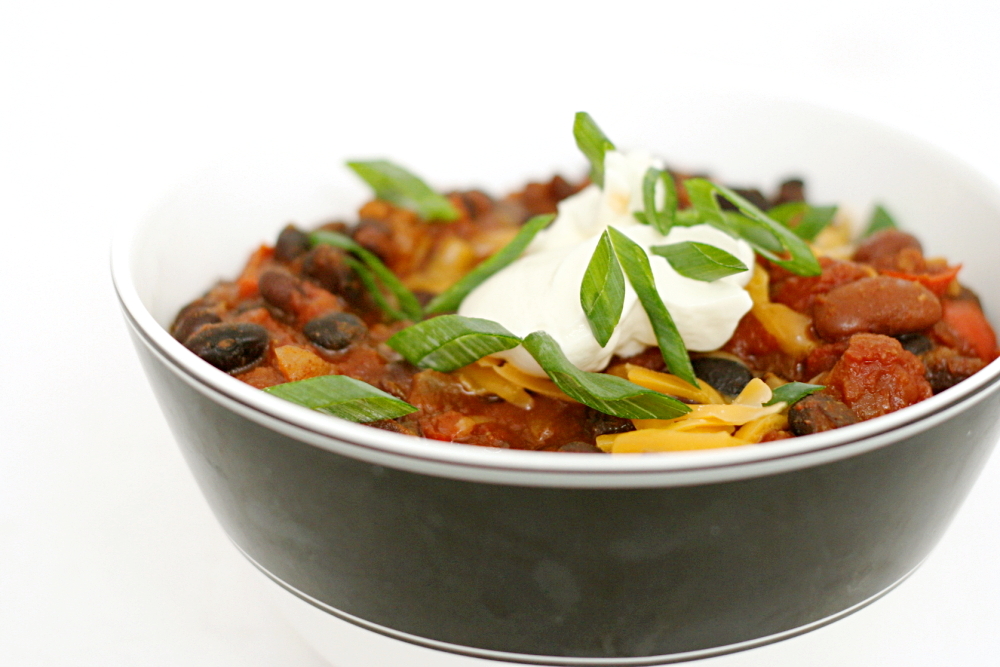
And before I could give it another try, I had to finish all of the frozen way-too-tomatoey stuff in the freezer. When I did finally make vegetarian chili again, I knew exactly what changes I wanted to make. I made a smaller batch this time, just in case, but wouldn’t you know it that I totally nailed it this time with a rich, spicy, meaty-even-without-meat bowl of chili that gets even better when topped with an assortment of garnishes.

copy-of-copy-of-img_1786

One year ago: Salmon Cakes, Flaky Biscuits, Hashed Brussels Sprouts – I made almost this exact same meal again recently (different biscuits though), and it’s just so good.  Restaurant quality food for sure.

Vegetarian Chili (adapted substantially from Jeanne Lemlin’s Vegetarian Classics and Cooks Illustrated’s The New Best Recipe)

I like to chop up the tomatoes a bit before adding them to the chili. I usually just stick a pair of kitchen shears into the can of tomatoes and start snipping.

I’ve never actually added the butter, in an effort to reduce the fat in the recipe. However, I’m guessing it helps mimic the richness that beef would provide.

2 tablespoons olive (or vegetable) oil
2 medium onions, diced
1 medium red bell pepper, cored, seeded, and finely diced
6 garlic cloves, minced or pressed through a garlic press
3 tablespoons chili powder
1 tablespoon ground cumin
1½ teaspoons ground coriander
¾ teaspoon red pepper flakes
1 teaspoon dried oregano
⅛ teaspoon cayenne pepper
1 (28-ounce) can diced tomatoes, undrained
2 (15-ounce) cans kidney beans, drained and rinsed
1 (15-ounce) can black beans, drained and rinsed
½ teaspoon salt
1 tablespoon soy sauce
1 tablespoon butter (optional)
Garnishes: lime wedges, sour cream, cheddar cheese, scallions, red onion, cilantro

1. Heat the oil in a large Dutch oven over medium heat. Stir in the onions, bell pepper, garlic, and spices and sauté, stirring occasionally, until the vegetables are softened and beginning to brown, about 10 minutes.

2. Add the tomatoes, beans, salt, and soy sauce. Increase the heat to medium-high and bring the chili to a boil, then reduce the heat to low. Cook, covered, at a low simmer for one hour, stirring occasionally. If the chili is too thin, cook uncovered until it’s your preferred consistency. Stir in the butter and serve with the garnishes.

pot roast

copy-of-img_1993
Dave and I don’t eat a lot of beef; in fact, this is only the fourth beef recipe on my site. To us, there are environmental factors to consider with eating beef, as well as humanitarian, health, and cost issues. Plus we just plain like vegetarian food. So when we had pot roast in some form or another for dinner three out of four days last week, Dave was starting to question me. I blamed Kevin, who not only made a delicious-looking pot roast recently, but then made sandwiches and soup out of the leftovers, both of which I wanted to try.

copy-of-img_1933

I got the pot roast recipe from Cooks Illustrated. I hadn’t made one of their recipes in a while, and I found that I missed pulling out their huge cookbook and turning the pictureless pages full of recipes that promise to teach me something as well as taste wonderful.

copy-of-img_1938

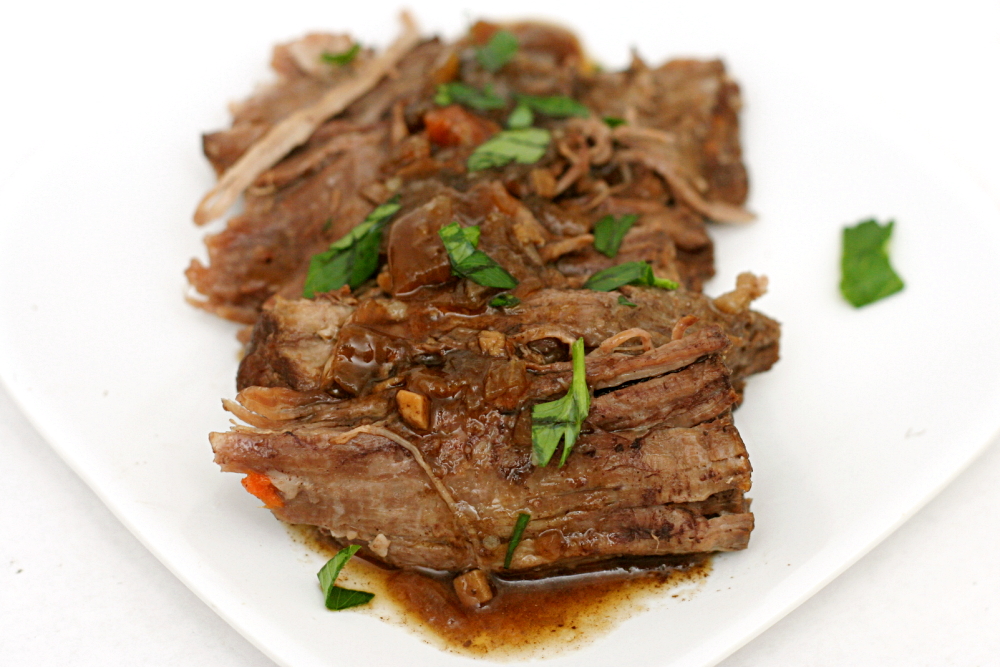
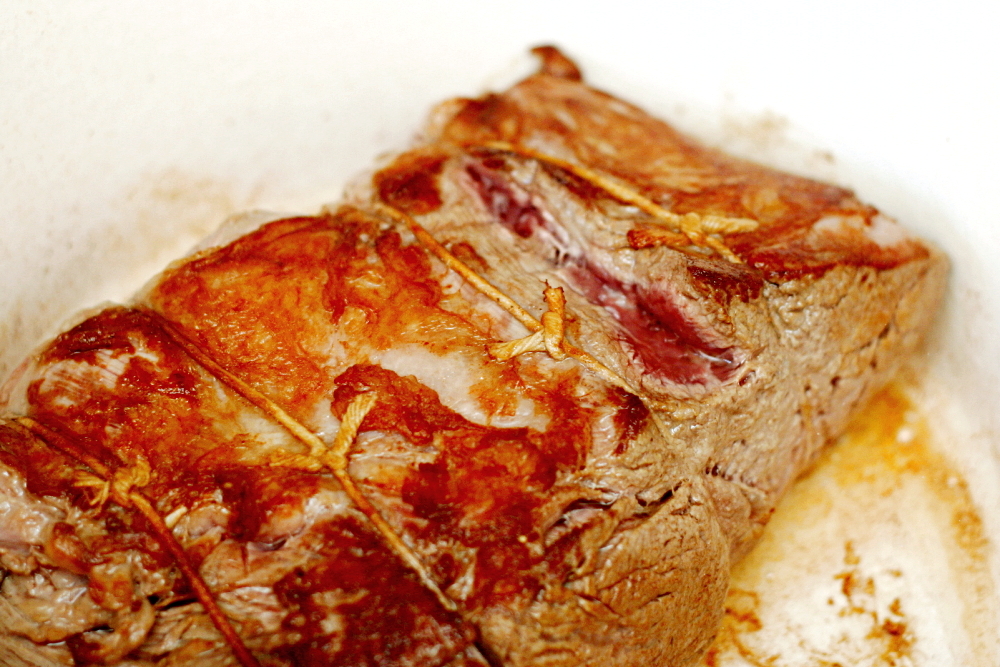
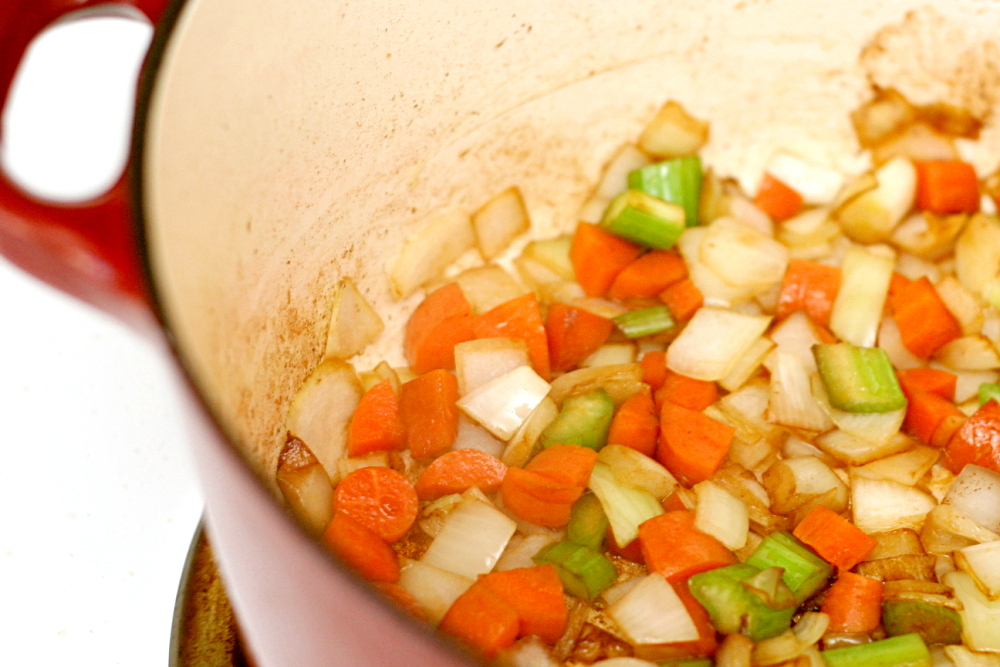
For their pot roast, they brown the meat in a very hot Dutch oven, then sauté some vegetables and use broth to deglaze the pan. Then everything is cooked in the oven for four hours. They mention in their discussion about the development of the recipe that they tried adding red wine with the broth and found that it was good, but it wasn’t really pot roast. True – it’s beef in Barolo (or it would be if you were to use Barolo, which I never would because it’s too expensive), which I happen to love. So I added some red wine with the broth. When the roast is so soft it’s falling apart, it’s removed from the pot and the remaining liquid is boiled down to a sauce.

copy-of-img_1988

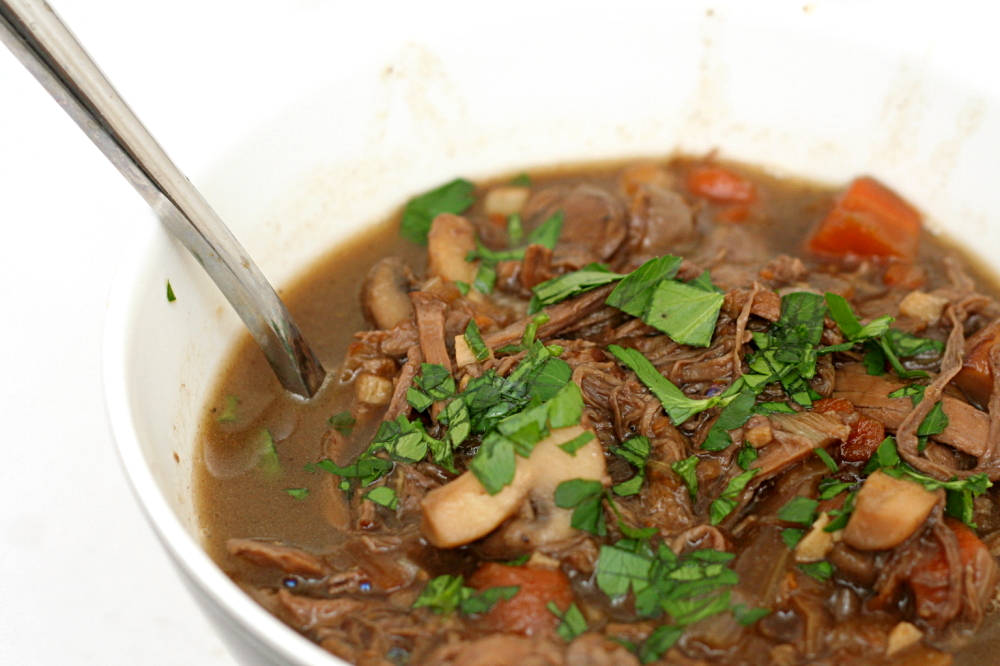
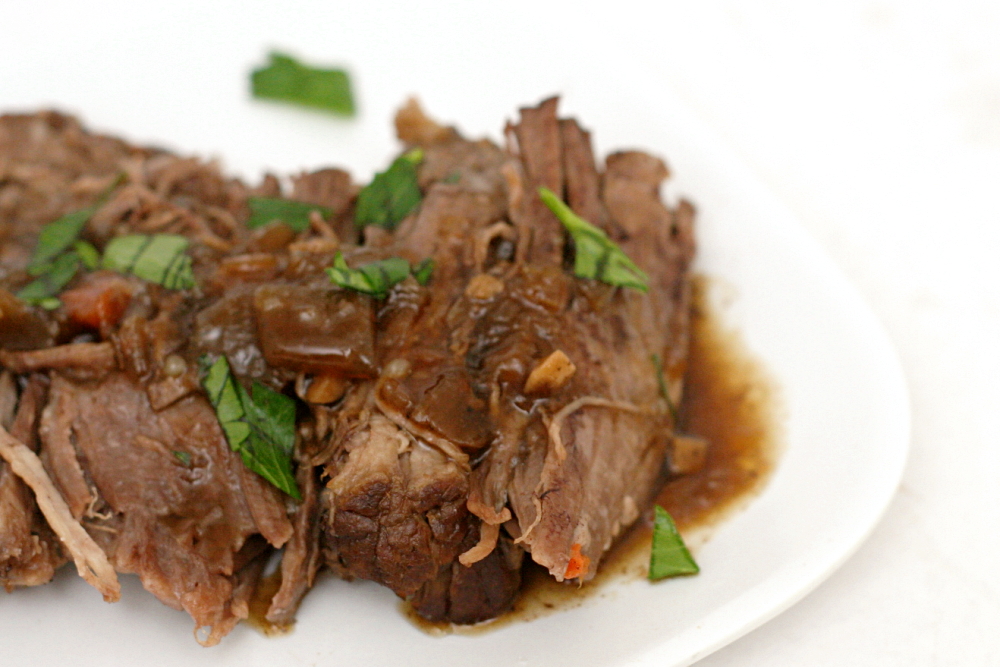
Oh my gosh, it was so good. I served it with boiled new potatoes and glazed carrots, and it was a meal that I couldn’t get enough of. Two days later, I put the meat and some sauce on pain a l’ancienne with swiss cheese and horseradish to make great sandwiches. The day after that, I added it, along with the rest of the sauce and some diluted chicken broth, to a pan of sautéed onions and mushrooms for a really good pot roast soup.

Because we don’t eat beef often, when we do, we like it to be a treat. This certainly was.

copy-of-img_2000

One year ago: Salmon Pesto Pasta

Pot Roast (from Cooks Illustrated)

Serves 6-8

Cooks Illustrated recommends a chuck-eye roast, which is what I used. I’ve found that it can be difficult to find though.

I added about 1/4 cup red wine with the broths.

1 boneless chuck roast (about 3½ pounds)
salt and pepper
2 tablespoons vegetable oil
1 medium onion, chopped
1 small carrot, chopped
1 small celery rib, chopped
2 cloves garlic, minced
2 teaspoons sugar
1 cup canned low sodium beef broth
1 cup low-sodium chicken stock
1 sprig fresh thyme
¼ cup dry red wine

1. Adjust an oven rack to the middle position and heat oven to 300F. Thoroughly pat the roast dry with paper towels; sprinkle generously with salt and pepper.

2. Heat the oil in a large heavy-bottomed Dutch oven over medium-high heat until shimmering but not smoking. Brown roast thoroughly on all sides, reducing heat if fat begins to smoke, 8-10 minutes. Transfer the roast to a large plate; set aside.

3. Reduce the heat to medium; add onions, carrots, and celery to pot and cook, stirring occasionally, until beginning to brown, 6-8 minutes. Add the garlic and sugar; cook until fragrant, about 30 seconds. Add the chicken and beef broths and thyme, scraping the bottom of the pan with a wooden spoon to loosen the browned bits. Return the roast and any accumulated juices to the pot; add enough water to come halfway up the sides of the roast. Bring the liquid to a simmer over medium heat, then cover tightly and transfer the pot to oven.

4. Cook, turning the roast every 30 minutes, until fully tender and a meat fork slips in and out of meat very easily (3½-4 hours). Transfer the roast to a carving board and tent with foil to keep warm.

5. Allow the liquid in the pot to settle about 5 minutes, then use a wide spoon to skim fat off the surface; discard thyme sprig. Boil over high heat until reduced to about 1½ cups, about 8 minutes. Add the red wine and reduce again to 1½ cups, about 2 minutes. Season to taste with salt and pepper.

6. Cut the meat into ½-inch slices, or pull apart in pieces; transfer the meat to a warmed serving platter and pour about ½ cup sauce over the meat. Serve, passing remaining sauce.

copy-of-img_1991

floating islands

copy-of-img_1962

When you make a commitment to bake a recipe every single week, some of those weeks are by necessity going to be half-assed. It’s not that I’m any less interested in floating islands than any other dessert – it sounds tasty, and it’s definitely not something I have experience with – it just happens that this week I have another dessert project that dominating my attention right now.

copy-of-img_1946

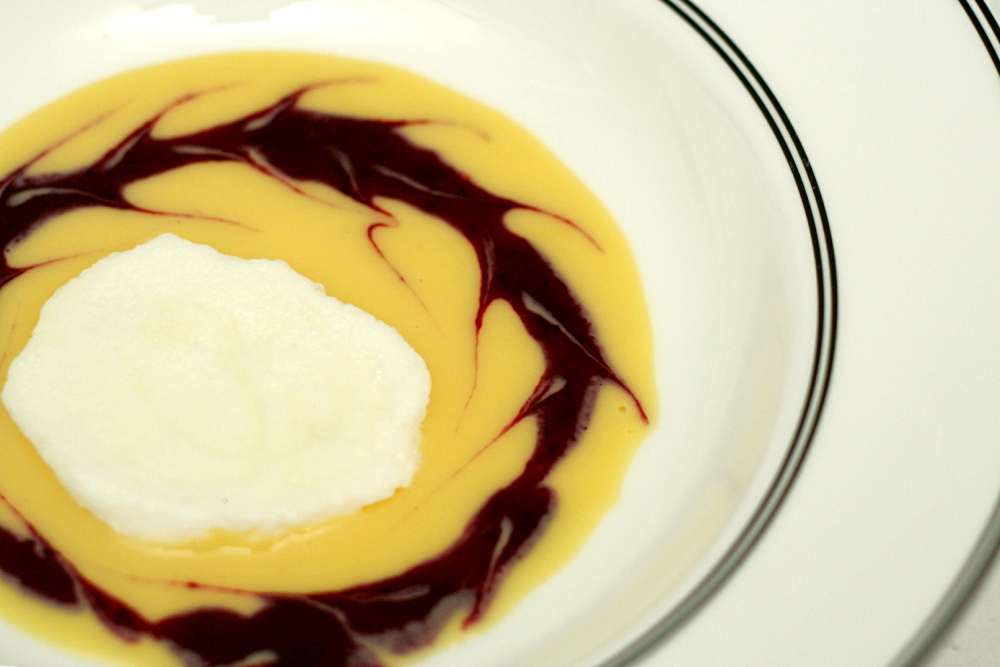
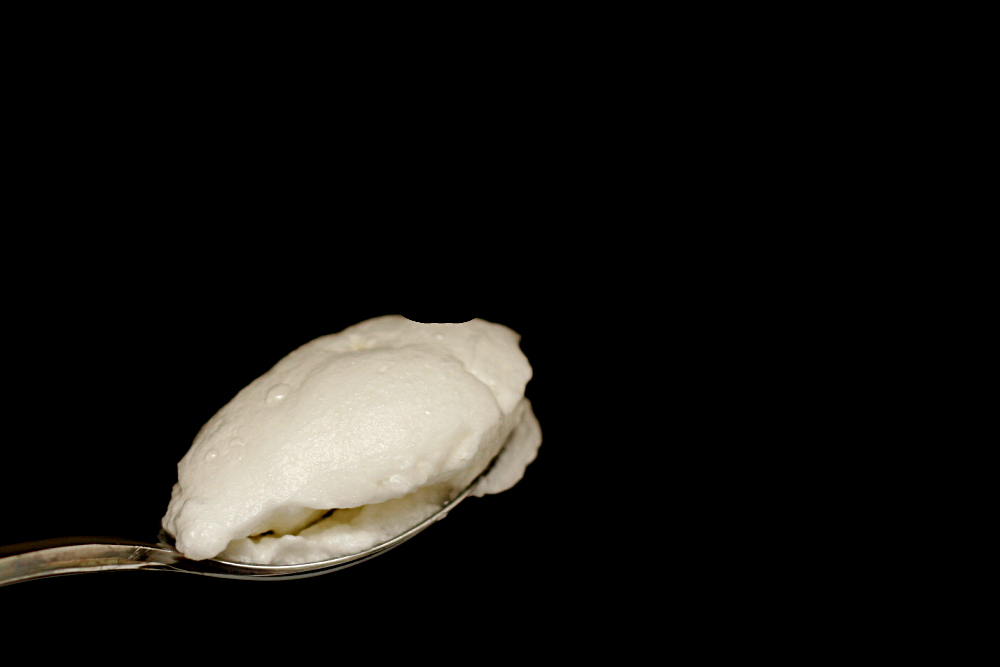
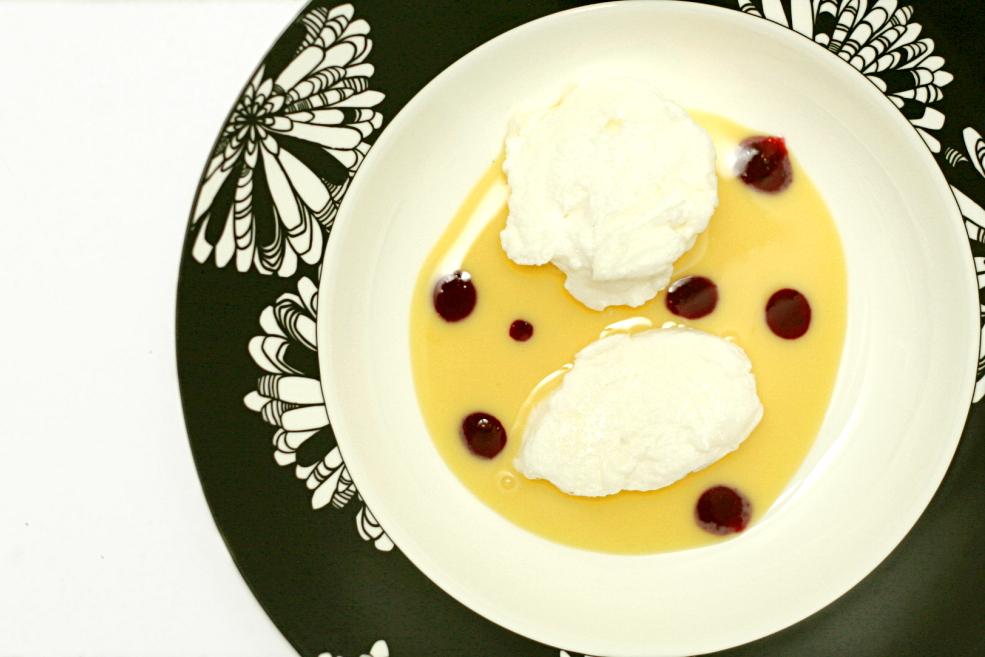
Floating islands are meringues that have been poached in milk and are served with crème anglaise. It wasn’t that I skimped too much on the effort involved; it’s just that I decided to use only one egg. That means I made a quarter of the meringue recipe and one sixth of the crème anglaise.

copy-of-img_1955

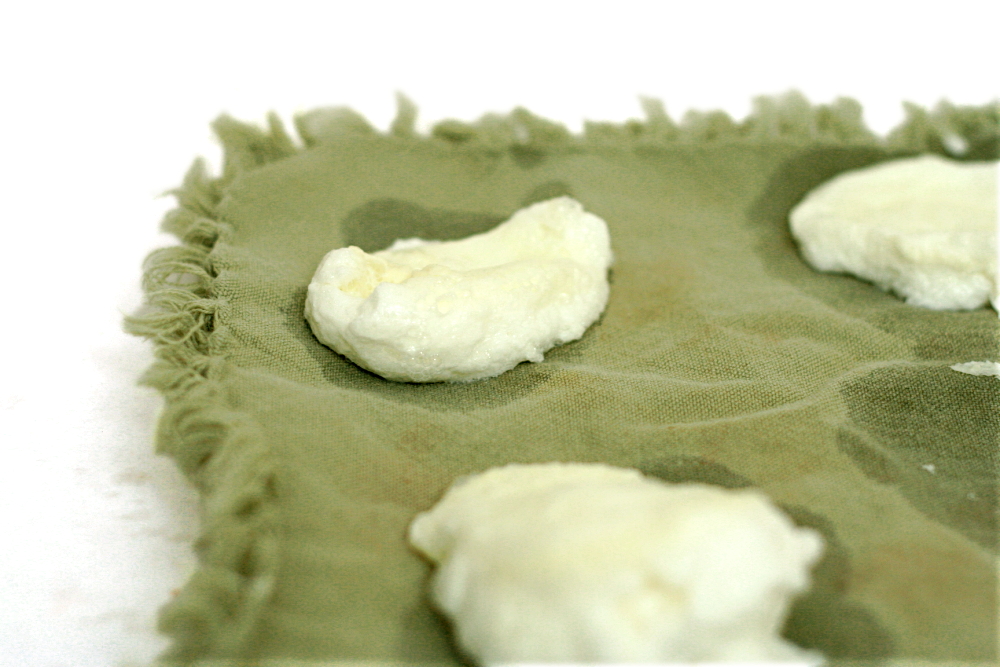
None of this recipe was very difficult, although the work involved with multi-component desserts always seems to add up. The only portion I had any problem with was the poaching, and most of that was because I didn’t carefully read the instructions that warn you that the meringues will deflate after poaching. I thought I had screwed them up, so I ate one while I poached the rest.

I served the floating islands with berry coulis. Dave and I both thought that the dessert was really good. It would be even better with some fresh berries. I’ll have to try that next time. Shari has the recipe posted.

copy-of-img_1957