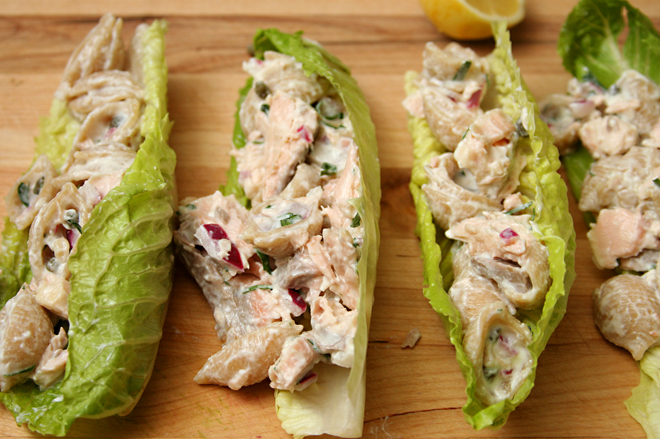
It never fails that I plan lettuce-based salads for dinner on nights when I want something light and quick, forgetting, every time, that the time-consuming part of cooking isn’t waiting for onions to sauté or sauces to simmer, it’s preparing your ingredients. And the process of making salad is almost entirely chopping. And if you’re like me and you like your main dish salads with a lot of components, the time it takes to prepare each one can really add up.
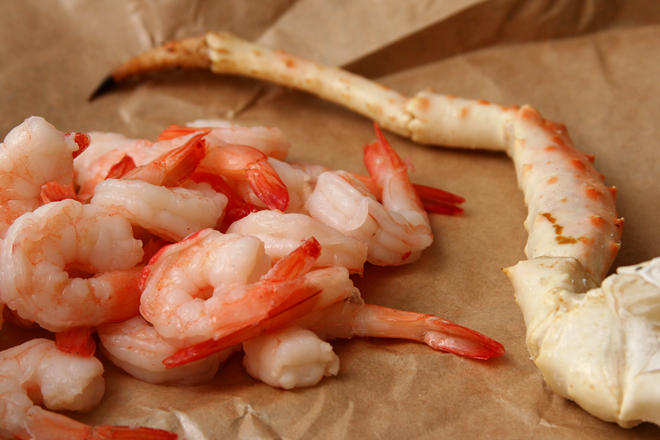
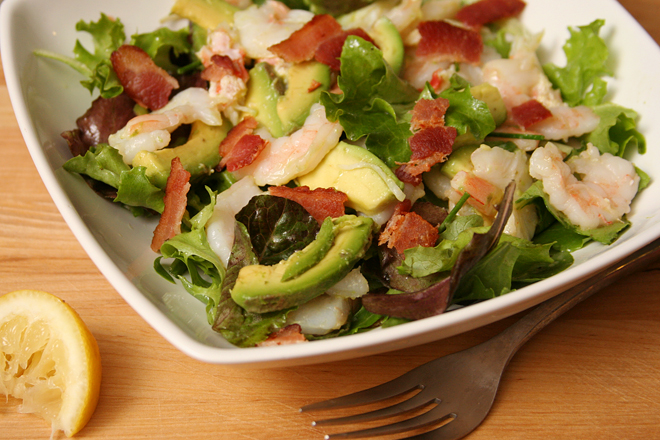
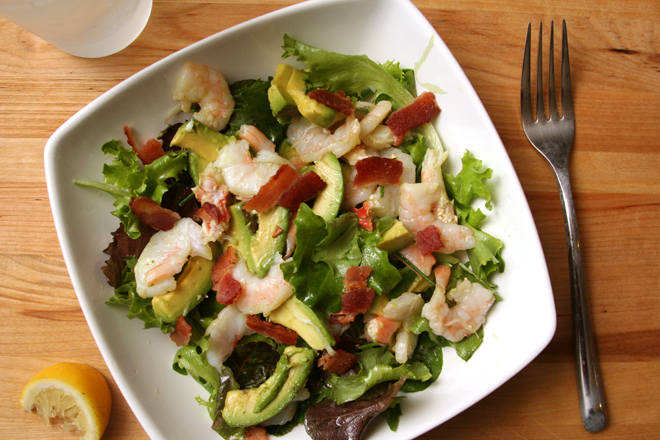
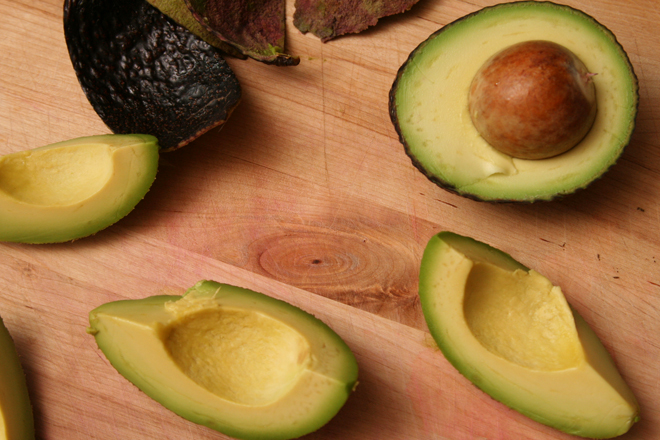
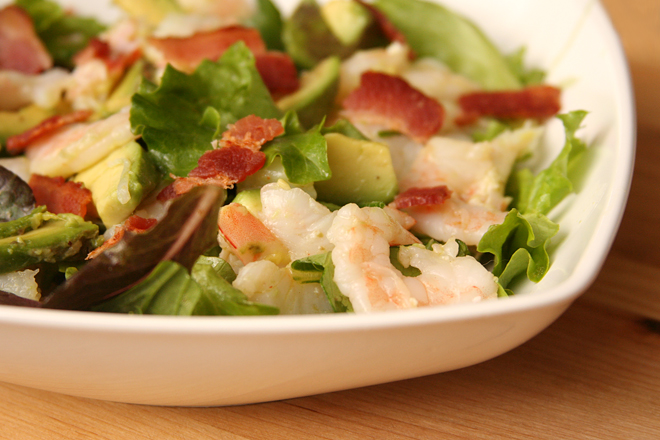
This salad required slicing shrimp in half lengthwise (I’m not sure why I bothered with this and I don’t recommend that you do), dicing avocado, picking crab out of its shell, and mixing up the dressing. And then cooking bacon at the last minute because I forgot about it earlier (I don’t recommend you do this either). It doesn’t sound like much when I say it that way, but it sure felt like a lot after an early morning run, a full workday, and a big grocery shopping trip.
You must already know that it was worth the effort or I wouldn’t tell you about it. Truly, I loved this salad and will certainly make it again – but only when I have plenty of time, or at least energy, to spare.
One year ago: Creamy Taco Mac
Two years ago: Pasta with Goat Cheese and Asparagus
Three years ago: Honey Peach Ice Cream
Four years ago: Croque Madame
Printer Friendly Recipe
Shrimp and Crab Avocado Salad (adapted from Maggiano’s)
Serves 2
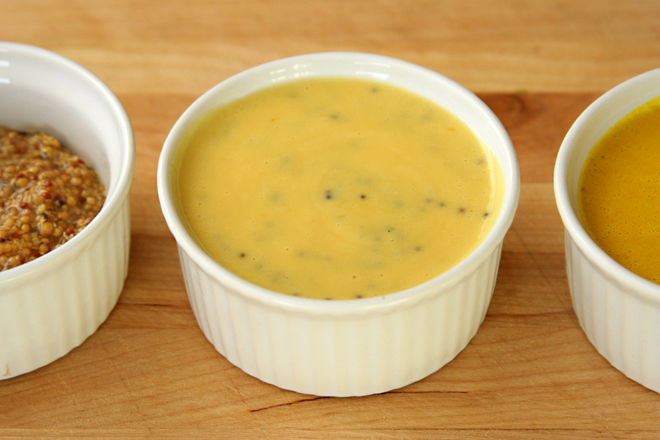
Dressing:
2 tablespoons lemon juice
1 teaspoon mayonnaise
½ teaspoon mustard
¼ teaspoon salt
pinch pepper
2-3 tablespoons extra virgin olive oil
Salad:
2 slices bacon
½ pound cooked, peeled shrimp
1 cooked king crab leg, shelled
1 avocado, peeled and diced
4 cups lettuce (about 8 ounces), torn into bite-size pieces
1. In a small bowl, whisk the lemon juice, mayonnaise, mustard, salt, and pepper. Slowly pour in 2 tablespoons of olive oil, whisking continuously. Taste the dressing by dipping a bite-size piece of lettuce into it, then add more oil to taste, if desired.
2. In a small skillet, cook the bacon over medium heat until crisp. Remove from the pan and break into small pieces.
3. Combine the shrimp, crab, and avocado in a medium bowl. Add 1 tablespoon of the dressing; toss to coat. Transfer the lettuce to a separate large bowl (or in individual serving bowls); mix with the remaining dressing. Top the lettuce with the shrimp mixture and distribute the bacon over the salad. Serve immediately.