roasted kale

copy-of-img_2179

I would not have predicted a couple years ago that kale would become one of my favorite vegetables. Or that one of my favorite ways to eat it would be topped with an egg.
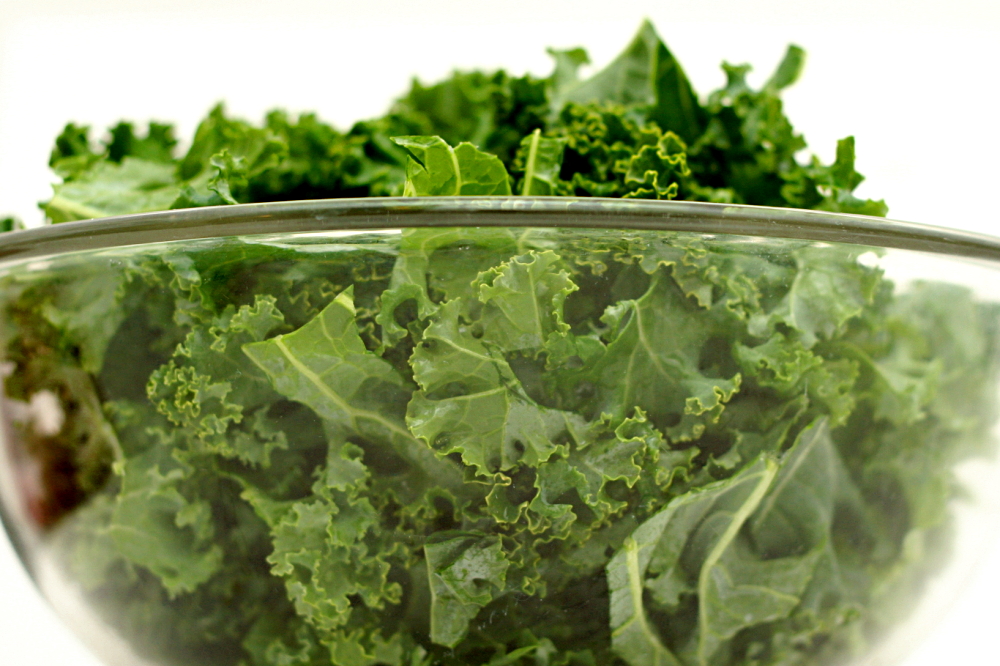
copy-of-img_2164

I recognize that the dark olive green color of cooked kale may appear unappetizing. Furthermore, it’s a leafy green vegetable, which we’re trained from childhood to distrust. To be honest, I still don’t even like cooked spinach – too mushy, if not in reality, then certainly in my mind.
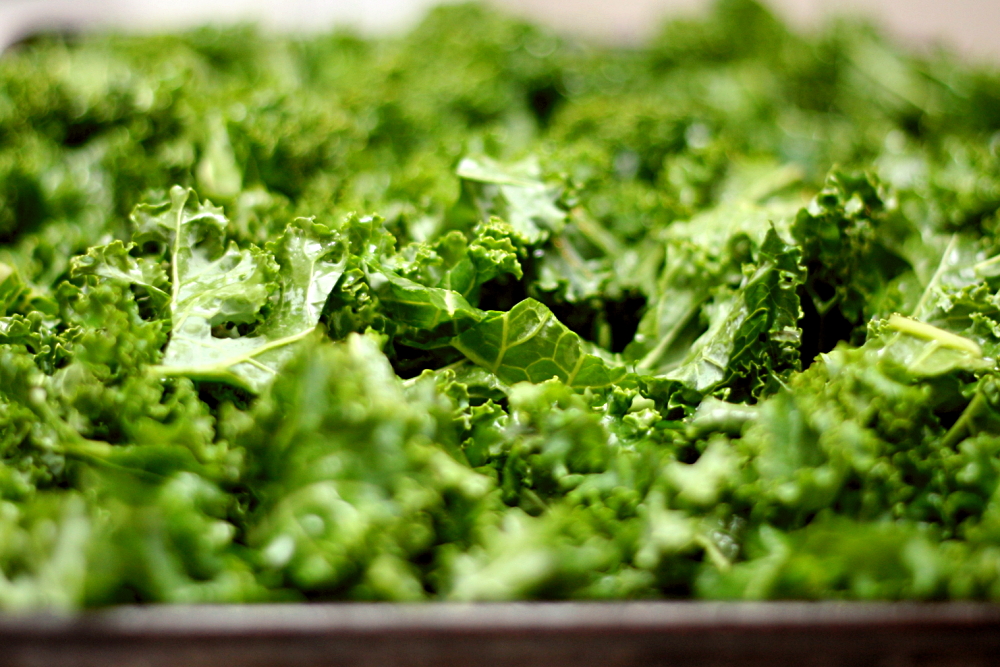
copy-of-img_2171

Kale, though, retains a nice crunch after it’s cooked, because it’s much heartier than spinach. It has an earthy flavor, which I know makes it sound like it tastes like dirt, but to me, it’s more of an umami-type meaty flavor.

The problem is that the only way I had prepared kale before this was by braising it, which, although delicious, takes at least half an hour. This roasted method takes, I kid you not, only ten minutes in the oven, and the kale is just as tasty.

copy-of-img_2171

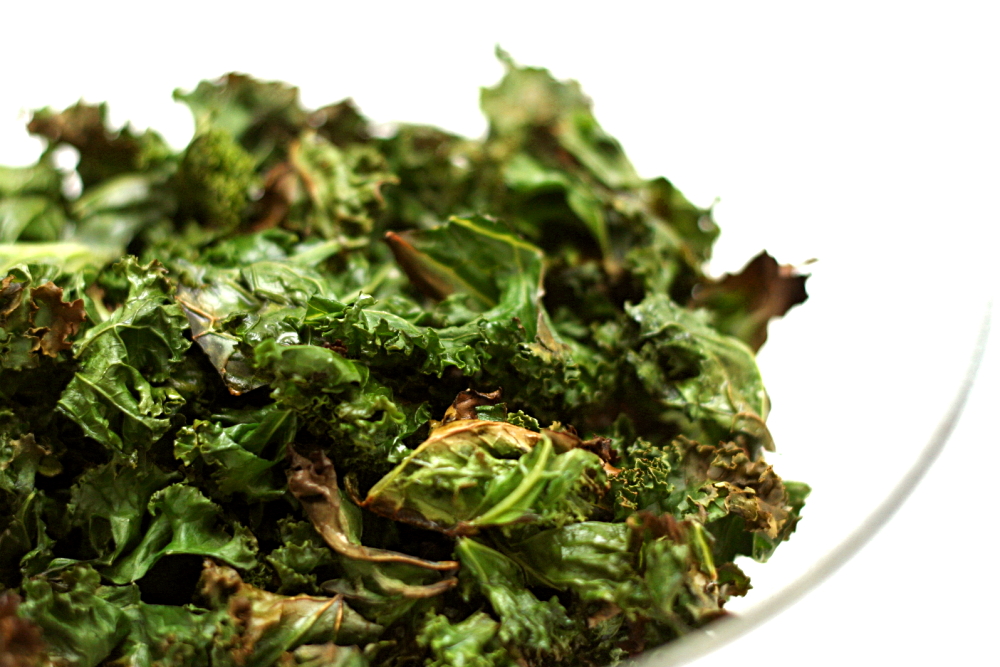
The texture of roasted kale is a little different from braised. Some of the leaves, those on the edges of the baking pan I suppose, were a little crispy, while some of the kale was more moist. Both textures were fine by me.

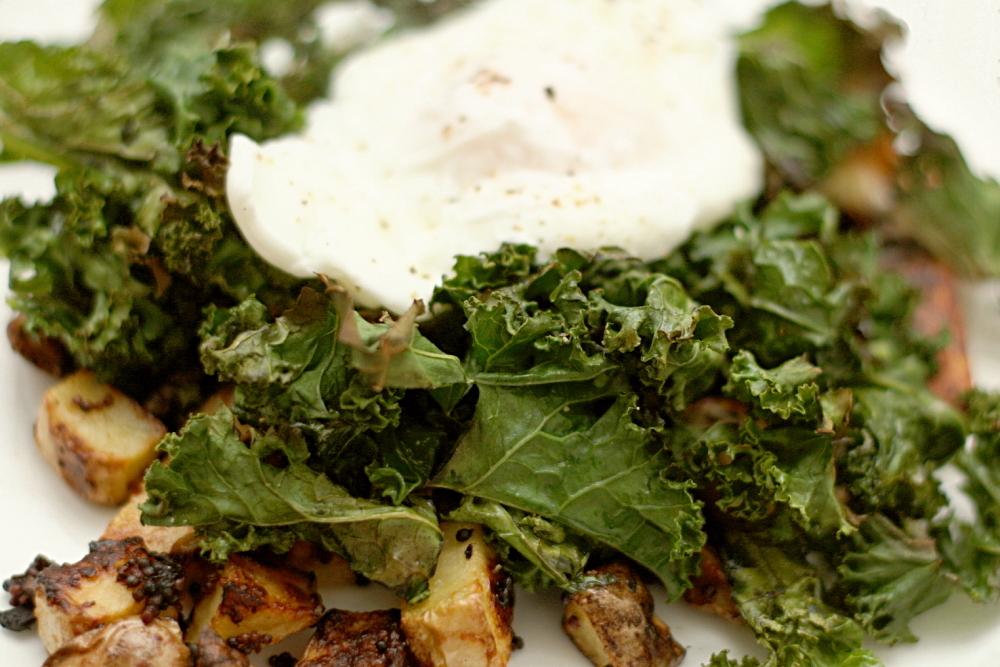
With a lovely poached egg on top, and some mustardy roasted potatoes, kale makes a delicious, hearty, easy, and healthy meal.
copy-of-img_2174

One year ago: Banana Walnut Pancakes

Roasted Kale (slightly reworded from Tuesday Recipe)

Serves 2, generously

1 bunch kale (about ½ pound)
extra-virgin olive oil
sea salt or kosher salt
sherry vinegar or red wine vinegar

1. Preheat the oven to 425F. Cut the stems off the kale and discard; rinse and shake the leaves dry. Stack the leaves and cut them crosswise into strips about 1 inch wide. Put the kale in a big bowl and drizzle with enough olive oil to coat well (about 2 tablespoons). Sprinkle with a generous pinch of salt, then gently toss the leaves. Spread the kale on a large rimmed baking sheet and pop it in the oven. Set the bowl aside without washing it.

2. Roast the kale until some of the leaves are tinged with brown, about 7 minutes. Remove baking sheet and stir the kale around, then put it back in the oven for another 3 minutes or so until all the leaves are starting to crisp. Immediately put the leaves back in the bowl you first tossed them in, then drizzle with another tablespoon of oil and a few splashes of vinegar. Toss kale with the tongs, taste, and add more oil, vinegar, or salt as needed. Toss again and serve right away.
copy-of-img_2176

honey yogurt dip

copy-of-img_1756

Dave and I, for better or worse, don’t have the types of jobs that we can just forget about when we leave work at the end of the day. As a result, we often have to work on weekends. One particularly stressful weekend, I decided that we should make weekend working an event, where we set aside a few hours to sit down at the table together and get our work done. And what I really mean when I say ‘event’ is that I want snacks.

copy-of-img_1653

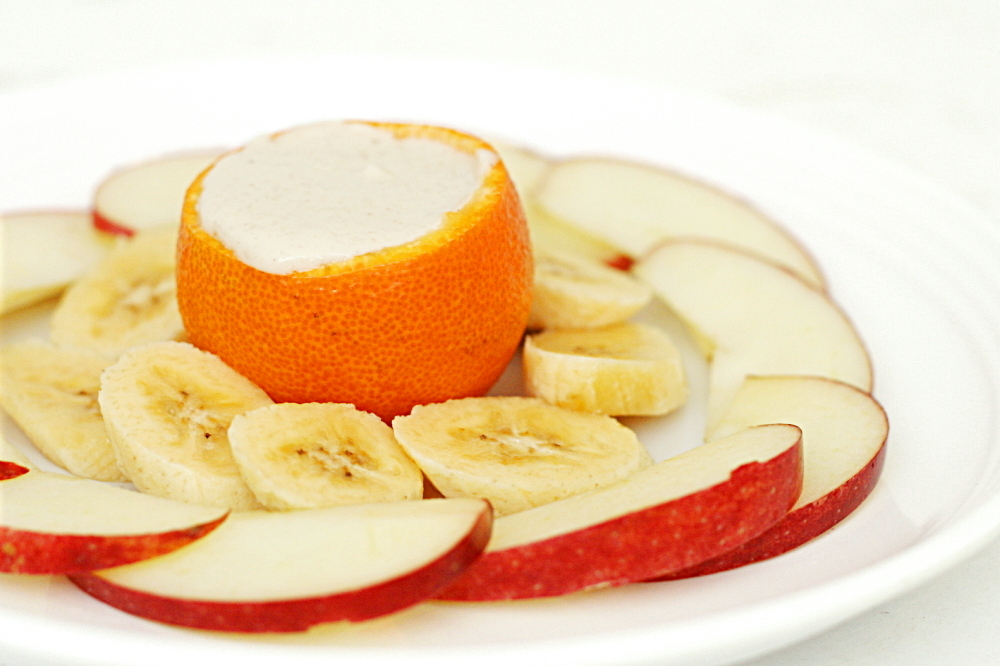
Since we were being industrious and working, it made sense to keep the snacks on the healthy side. Plus they were replacing dinner, so they needed to be nutritionally well-rounded. This fruit dip was exactly what I was looking for – easy, healthy(ish), and finger-food friendly.
copy-of-img_1644

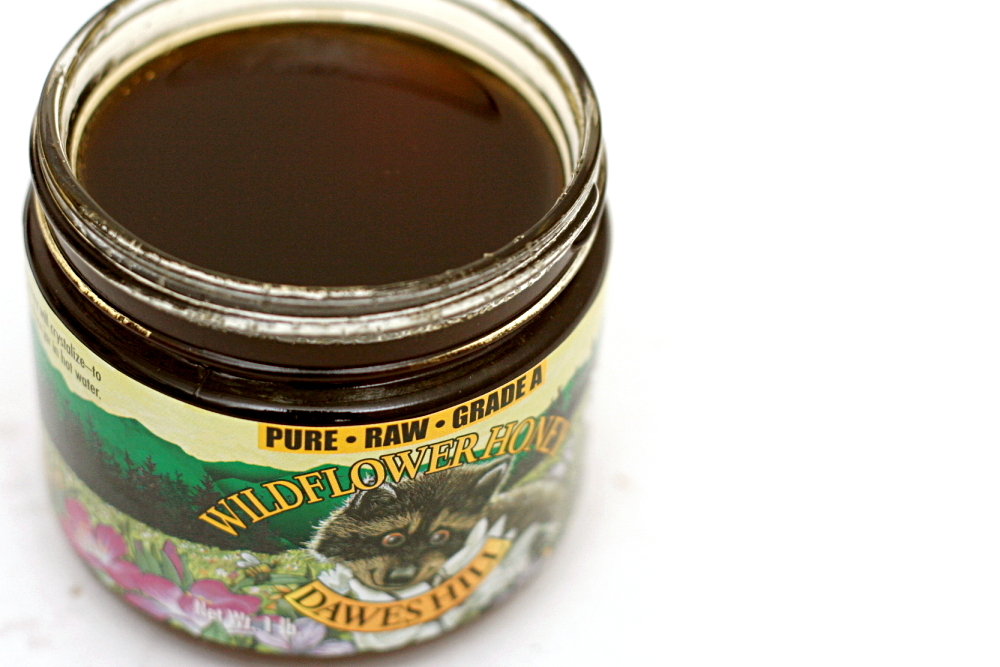
Calling this a recipe may be overstating things a bit – it’s really just yogurt sweetened with honey and enhanced with a pinch of cinnamon. The original recipe recommended vanilla yogurt, but a number of the reviewers indicated that the result was too sweet. Another common complaint was that the dip was too thin. I thought using Greek yogurt would solve both problems at once.

copy-of-img_1651

It was a good change apparently, because the dip was perfect – fresh and light, plus just a little spicy from the cinnamon. It enhanced our fruit without overpowering it. Unfortunately, the dip was a lot more successful than working was for me that weekend – I found myself all too easily distracted. But at least I was eating fruit, right?

copy-of-img_1750

One year ago: Green Chile Chicken Enchiladas

Yogurt Honey Dip (adapted from Bon Apetit July 1998, but really epicurious.com)

Makes about 1 cup, or 4 servings

I have to admit that I didn’t measure anything when I made this. It’s pretty much a to-taste thing anyway, just keep in mind that the flavor of the cinnamon didn’t really come through until the dip had been chilled for a few hours.

1 (7-ounce) container plain Greek yogurt
3-4 tablespoons honey
1/8-¼ teaspoon ground cinnamon

Mix the ingredients together. Cover and chill for at least 2 hours or up to 2 days. Serve with fresh fruit.

copy-of-img_1751

vegetarian chili

copy-of-img_1785

When my sister plans meals for once-a-month freezer cooking, she usually tests a small batch of a recipe before making a larger batch to freeze. This is good practice, I recently learned. A few months ago, I made vegetarian chili to bring on a camping trip, and even though I was experimenting with the recipe, I was confident enough that it would turn out great that I made a huge batch and froze half. Mistake!

copy-of-img_1768

There are a lot of recipes where I think ground meat is just extraneous, and chili is a great example. There are so many other flavorings in chili that it doesn’t usually taste beefy, and the beans provide plenty of protein, so the meat isn’t nutritionally required either. It’s just filler, and expensive, sort of unhealthy filler at that.

When I noticed that my favorite vegetarian chili recipe was very similar to my favorite beef chili recipe, except for the beef, I decided to combine parts of each that I liked. Where I screwed up the first time was in not taking into account that with less filler, I’d need less tomatoes as well. The result was (a huge pot of) chili-flavored spaghetti sauce (that I had to share with friends on the camping trip – sorry guys!).

copy-of-img_1787

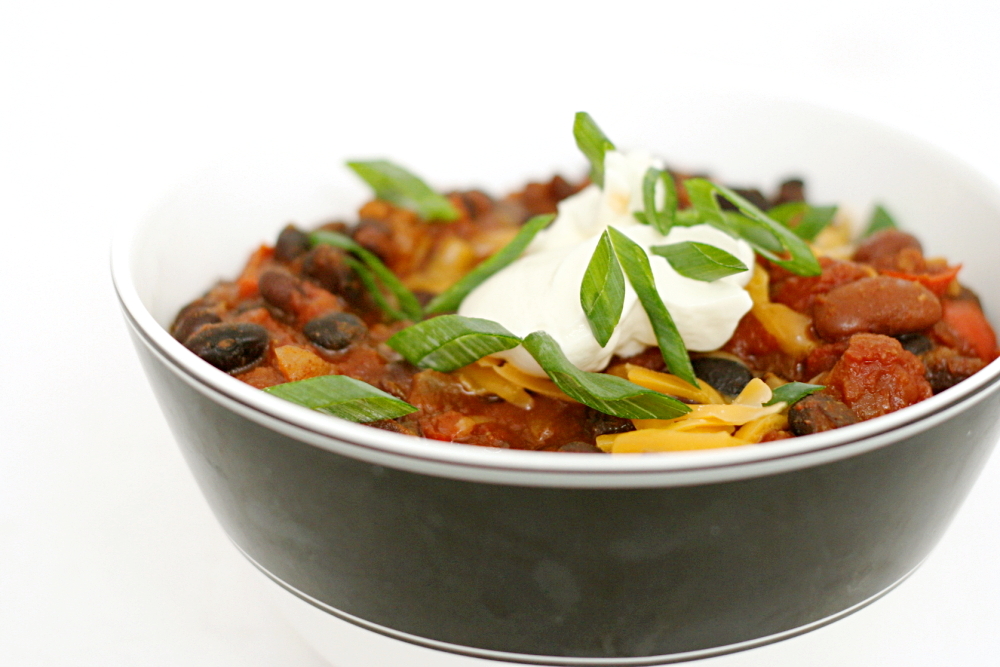
And before I could give it another try, I had to finish all of the frozen way-too-tomatoey stuff in the freezer. When I did finally make vegetarian chili again, I knew exactly what changes I wanted to make. I made a smaller batch this time, just in case, but wouldn’t you know it that I totally nailed it this time with a rich, spicy, meaty-even-without-meat bowl of chili that gets even better when topped with an assortment of garnishes.

copy-of-copy-of-img_1786

One year ago: Salmon Cakes, Flaky Biscuits, Hashed Brussels Sprouts – I made almost this exact same meal again recently (different biscuits though), and it’s just so good.  Restaurant quality food for sure.

Vegetarian Chili (adapted substantially from Jeanne Lemlin’s Vegetarian Classics and Cooks Illustrated’s The New Best Recipe)

I like to chop up the tomatoes a bit before adding them to the chili. I usually just stick a pair of kitchen shears into the can of tomatoes and start snipping.

I’ve never actually added the butter, in an effort to reduce the fat in the recipe. However, I’m guessing it helps mimic the richness that beef would provide.

2 tablespoons olive (or vegetable) oil
2 medium onions, diced
1 medium red bell pepper, cored, seeded, and finely diced
6 garlic cloves, minced or pressed through a garlic press
3 tablespoons chili powder
1 tablespoon ground cumin
1½ teaspoons ground coriander
¾ teaspoon red pepper flakes
1 teaspoon dried oregano
⅛ teaspoon cayenne pepper
1 (28-ounce) can diced tomatoes, undrained
2 (15-ounce) cans kidney beans, drained and rinsed
1 (15-ounce) can black beans, drained and rinsed
½ teaspoon salt
1 tablespoon soy sauce
1 tablespoon butter (optional)
Garnishes: lime wedges, sour cream, cheddar cheese, scallions, red onion, cilantro

1. Heat the oil in a large Dutch oven over medium heat. Stir in the onions, bell pepper, garlic, and spices and sauté, stirring occasionally, until the vegetables are softened and beginning to brown, about 10 minutes.

2. Add the tomatoes, beans, salt, and soy sauce. Increase the heat to medium-high and bring the chili to a boil, then reduce the heat to low. Cook, covered, at a low simmer for one hour, stirring occasionally. If the chili is too thin, cook uncovered until it’s your preferred consistency. Stir in the butter and serve with the garnishes.

tofu croutons

copy-of-img_1469

Let me give you some insight into what kind of person my husband is. For his birthday a few weeks ago, I offered to make whatever he wanted for dinner, for an entire weekend. The first two meals he chose, salmon pesto pasta and sushi, were predictable. The last one is what made me roll my eyes – he requested salad. When questioned about specifics, all he could come up with “lots of different kinds of lettuce is always nice.”

copy-of-img_1421

Really? Who requests leafy green salad for a birthday dinner? I like salad, but I don’t consider it a treat.

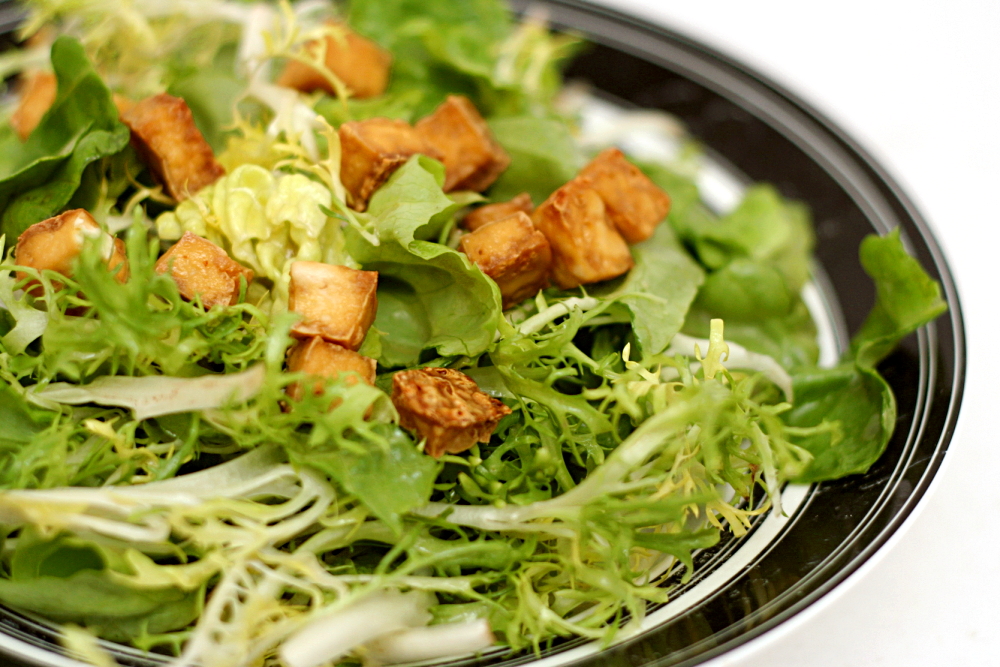
Fortunately, other than that general guideline, I could do whatever I wanted with it. I thought these tofu croutons would be a good protein source, and then I could serve the salad with tasty homemade garlic bread.

copy-of-img_1467

My first run-through with these croutons wasn’t absolutely successful. I followed the recipe exactly, but from the beginning, there were two things that I was uncertain about. One was the lack of salt. It’s not like tofu has so much flavor on its own that it can pass without anything extra to give it a boost. The other was the size that the tofu cubes were supposed to be cut into. They seemed big, but I wasn’t sure how much they would shrink after baking, so I kept them at the 1-inch cubes the recipe recommended.

copy-of-img_1439

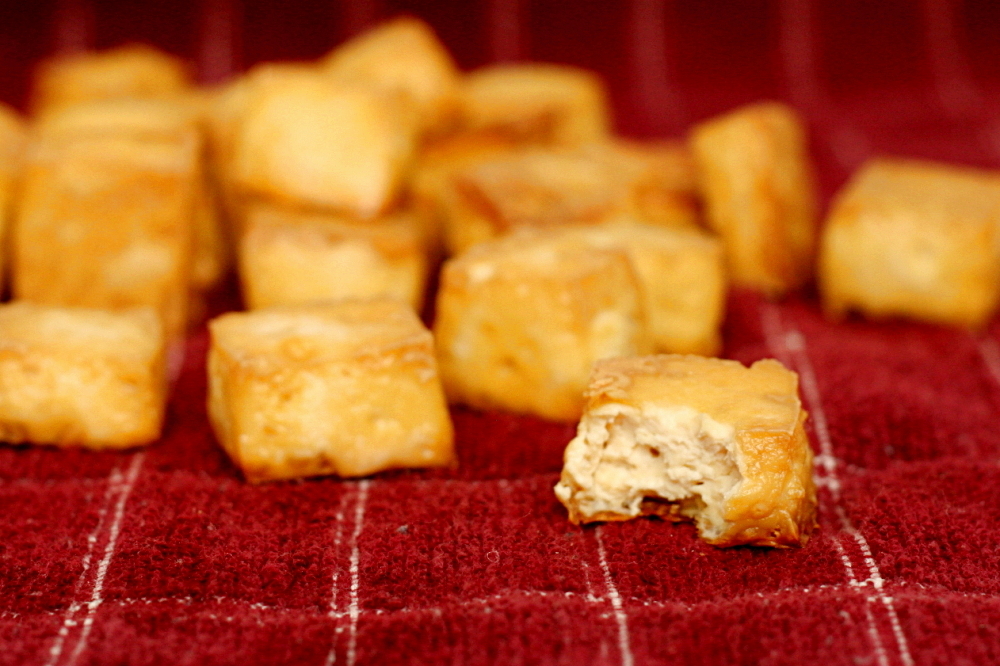
The results were, sure enough, too big and too bland. The second time I made them, I cut the tofu into half-inch cubes and sprinkled some kosher salt over them before baking, and I liked them a lot more. The outsides are crispy, the insides are meaty, and the overall flavor is nutty. Their taste, texture, and nutrition make them a really great addition to salad.

copy-of-img_1468

One year ago: Potstickers

Tofu Croutons (adapted from Mark Bittman’s How to Cook Everything Vegetarian)

Enough croutons for 2-3 salad servings

I didn’t actually measure the salt when I sprinkled it on. I know I used too much, and I really don’t think you need much.

I only recently figured out that there’s two kinds of tofu – regular (or brick or Chinese) and silken (or Japanese). Regular is packed in water, not sold in the aseptic boxes. That’s what I used here. It has a chewier, “meatier” texture.

14 ounces firm tofu
¼ teaspoon kosher salt
1 tablespoon olive oil

1. Adjust an oven rack to the middle position and heat the oven to 400F.

2. Cut the block of tofu in half lengthwise (so from a rectangle into two flatter rectangles). Use a kitchen towel to press the tofu dry (or dry-ish – you don’t need to put tons of effort into this).

3. Cut the slices into ½-inch cubes. Put the cubes on a parchment-lined baking mat and sprinkle with the salt and drizzle with the oil. Toss gently to coat.

4. Bake at 400F for about an hour, until evenly browned. There’s no need to rotate them; they’ll brown evenly. Leftovers can be stored in the refrigerator for up to 3 days. Bring to room temperature before using.

herbed lima bean hummus

copy-of-img_1461

I don’t blame Tuesdays with Dorie for my pants being too tight to button by the end of 2008.  I blame unemployment.   Instead of grabbing my standard healthy snacks and eating them at work because they were the only food available, I would pass over the bananas and carrots at home and fill up on cookie dough instead.

copy-of-img_1214

So one of my goals for 2009, since I’m still working at home a few days per week, is to make those healthy snacks more enticing. For bananas, it’s as simple as eating them with peanut butter or Nutella. The carrots, or whatever other raw vegetable I end up eating, cry out for some sort of dip. But anything based on mayonnaise and/or sour cream just defeats the purpose.

copy-of-img_1217

Fortunately, there’s plenty of bean dips out there to explore. This one, which isn’t like traditional hummus at all, is based on lima beans, a bean that I don’t have much experience with. The cooked lima beans are pureed along with aromatics, herbs and seasonings.

copy-of-img_1219

The original recipe called for the onion and garlic to be boiled along with the beans, but who wants boiled onion? Yuck. I took many of the recipe reviewers’ recommendations to sauté the onions and garlic instead. The recipe also calls for mint and dill, but I didn’t have any and didn’t miss it. Finally, I reduced the olive oil just a bit, since the whole point here is to make a healthy snack.

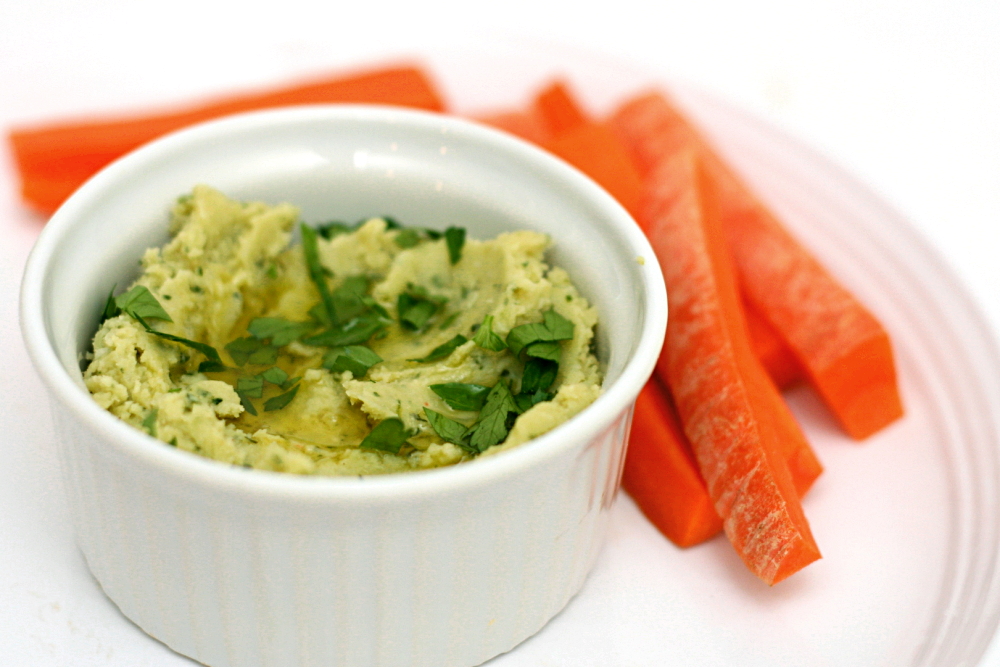
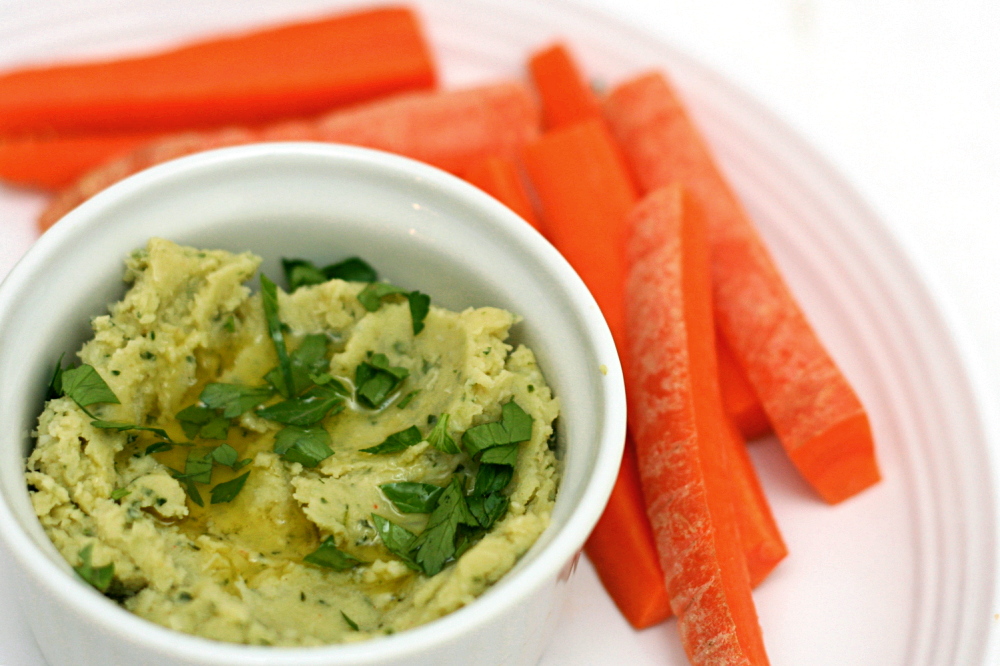
The resulting dip is a pretty green color with a very nice, sort of sweet, flavor. It made my daily carrot, which I guarantee wouldn’t have gotten eaten otherwise, much more enjoyable, but no less healthy.

copy-of-img_1463

One year ago:  Moo shu

Herbed Lima Bean Hummus (adapted substantially from Gourmet, via epicurious)

Makes about 2 cups

1-2 tablespoons extra-virgin olive oil, plus more for serving, if desired
½ large onion, chopped
3 garlic cloves, smashed with side of a large knife
½ teaspoon salt
1 (10-oz) packages frozen baby lima beans
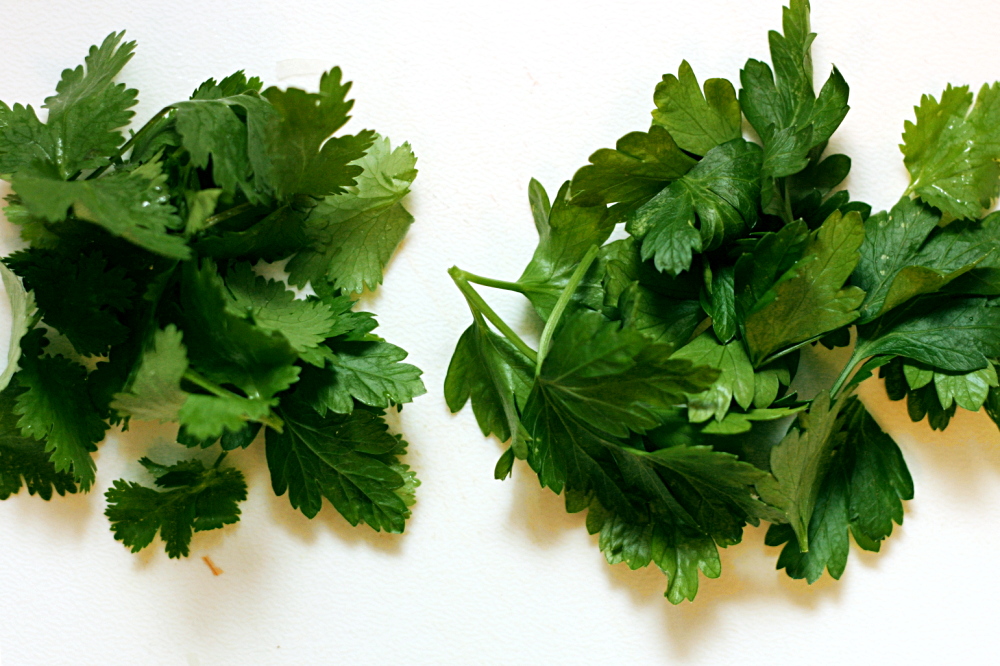
2 tablespoons chopped fresh cilantro
2 tablespoons chopped fresh flat-leaf parsley
½ teaspoon ground cumin
⅛ teaspoon cayenne, or to taste
2 tablespoons fresh lemon juice

1. Over medium heat, heat 1 tablespoon oil in medium skillet. Add onions and cook, stirring occasionally, until they’re just starting to brown around the edges. Add the garlic and salt, stir, then remove from the heat.

2. Meanwhile, in a medium saucepan, bring lima beans and 1 cup water to a boil over high heat. Cover, lower heat, and simmer for 6-8 minutes, until tender. Drain.

3. Add onion mixture, beans, and all remaining ingredients to a food processor and process until smooth. Add more oil if the dip seems too thick.

4. Transfer dip to a serving bowl and drizzle with remaining tablespoon oil, if desired. Serve with crudité or toasted pita wedges. (Dip can be covered and stored in refrigerator for up to 3 days.)

chopped salad

copy-of-img_1243

Last month, I was looking at pictures with my 2-year-old nephew, and when we came to a picture of my sister when she was six months pregnant, he pointed to her and said, “That’s Aunt Bridget!” Wow, thanks buddy. I know my pants fit kind of tight lately, but at least they’re size-six pants!

copy-of-img_1228

So I’m thinking I should eat more salads. Okay, that isn’t the reason – mostly, I just like salads. I like salads served either as the main dish or before the rest of the meal. Too often salads are an afterthought pieced together from iceberg lettuce, out-of-season tomatoes, and bottled dressing, and they’re served alongside a meal that they don’t compliment.

copy-of-img_1231

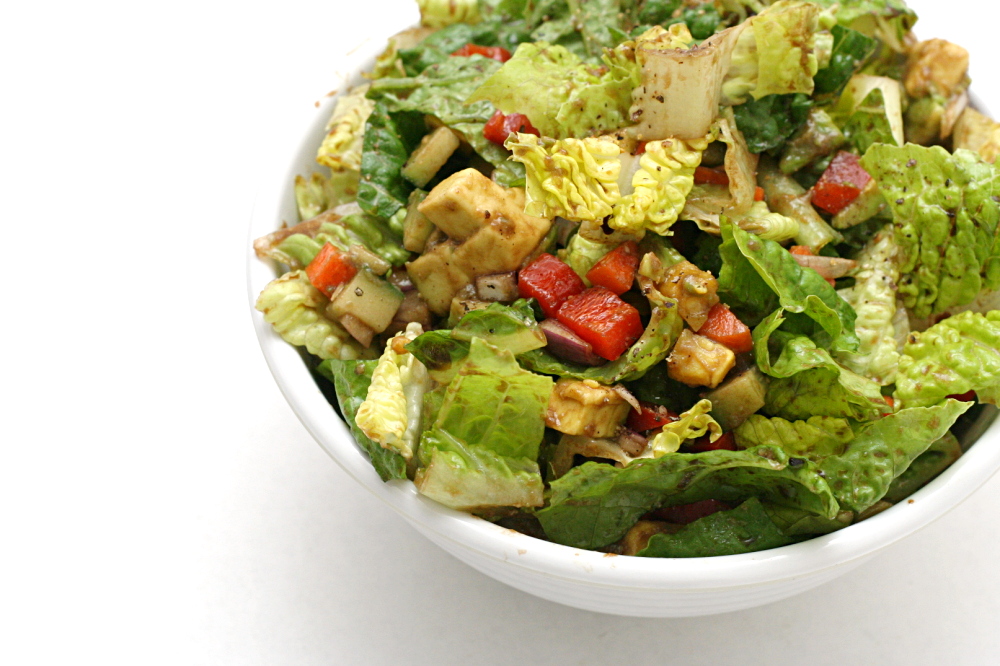
I know chopped salad hardly needs a recipe – just take your favorite vegetables and serve them over lettuce. I’m just excited about this particular combination – in about a week, I had it for dinner twice and lunch once.

copy-of-img_1236

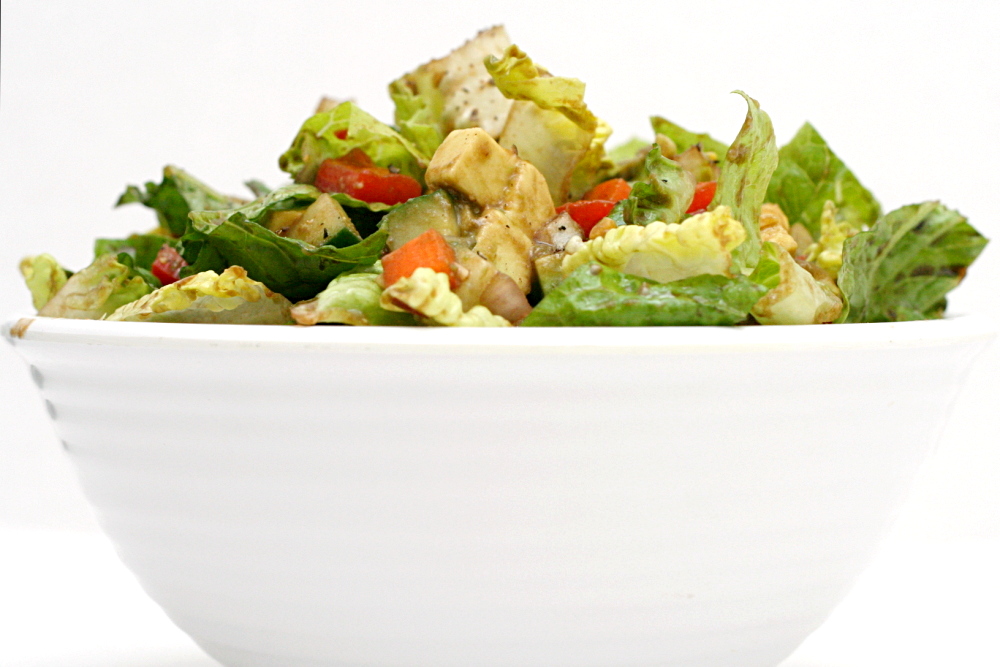
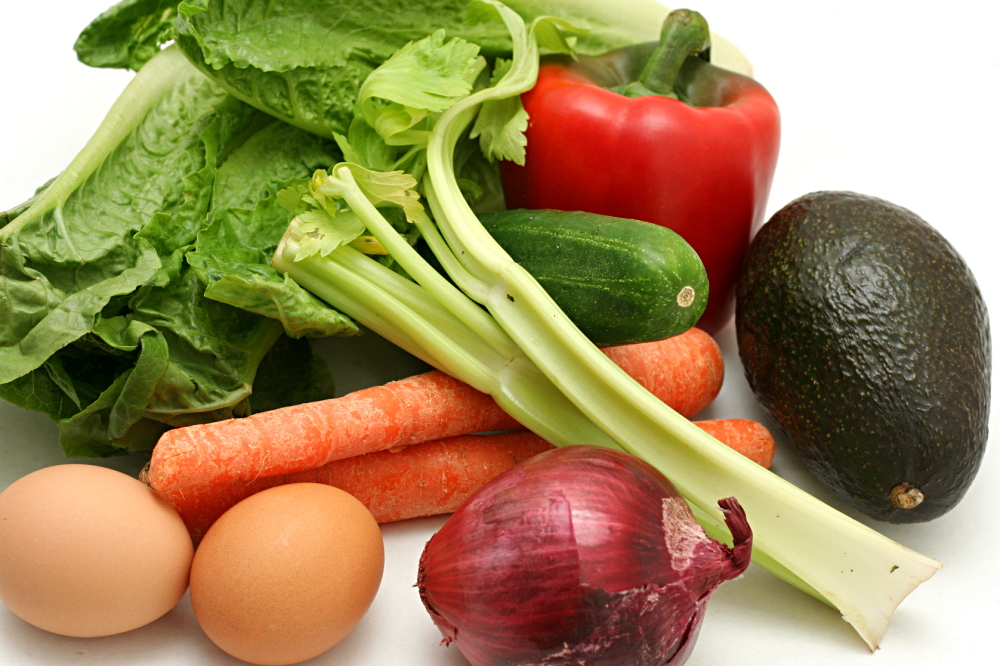
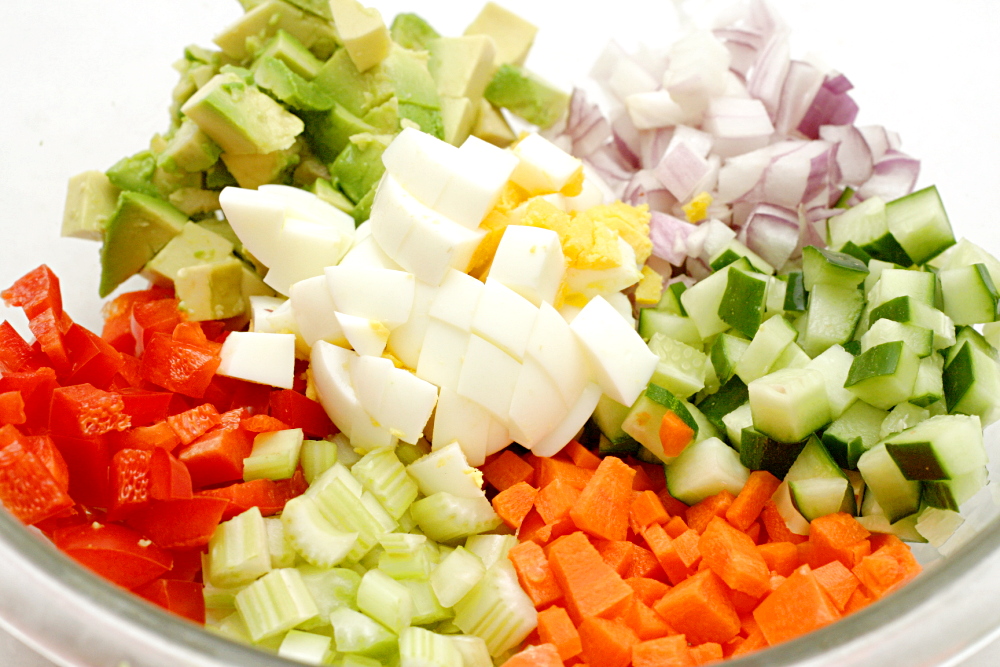
My salad includes romaine lettuce, along with carrots, cucumbers, celery, red pepper and red onion. I added hard-boiled eggs for protein and avocado to mellow the tartness of the vinaigrette. I chopped everything except the lettuce into about ¼-inch cubes, which made them easy to scoop up with a fork. There’s just enough lettuce to get maybe one small piece with each forkful of chopped vegetables.

Nothing makes me feel healthier than eating a big bowl of salad for dinner. And that makes me look forward to dessert that much more.

copy-of-img_1241

Chopped Salad (adapted slightly from Mark Bittman’s How to Cook Everything Vegetarian)

Serves 4

Vinaigrette:
2 tablespoons vinegar – good choices include balsamic, sherry, red wine, white wine
¼ teaspoon salt
pinch black pepper
4 tablespoons extra virgin olive oil

2 medium carrots, peeled
4 stalks celery stalks, preferably from the heart, washed
1 medium red onion
1 medium red bell pepper, washed
1 regular-sized cucumber or 2 english cucumbers, washed
1 avocado, halved, seed removed, flesh scooped from skin
2 hardboiled eggs, peeled
2 romaine hearts, washed and dried

1. For the vinaigrette: Combine all ingredients in a jar with a tightfitting lid and shake until combined.

2. For the salad: Chop all ingredients except romaine into ⅛- to ¼-inch cubes and place in large bowl. Cut romaine into approximately 1-inch pieces and add to bowl.

3. Add vinaigrette to salad ingredients and mix thoroughly. Serve.

pasta with broccoli, sausage, and roasted red peppers

copy-of-img_0657

Wow, New Years Resolutions are seriously unpopular this year. While I understand that January 1st isn’t a magical date where you get to start over with a clean slate, and it isn’t the only day of the year where you’re allowed to resolve to better yourself, I do think that it’s a good date to start thinking about new goals. For one thing, there is something to having a fresh new year to focus on. For another, it’s the official end of the holiday season, during which it can be difficult to focus on new goals because of travel and parties and other things that disrupt normal routines.

copy-of-img_0652

This isn’t to say that I’ve always been a hard-core New Year’s resolver. I don’t usually bother, and last year I kept it very simple with the intention to start flossing regularly. This year, however, I have a categorized list of goals. 2008 wasn’t my best year, and I’m eager to make up for it in 2009.

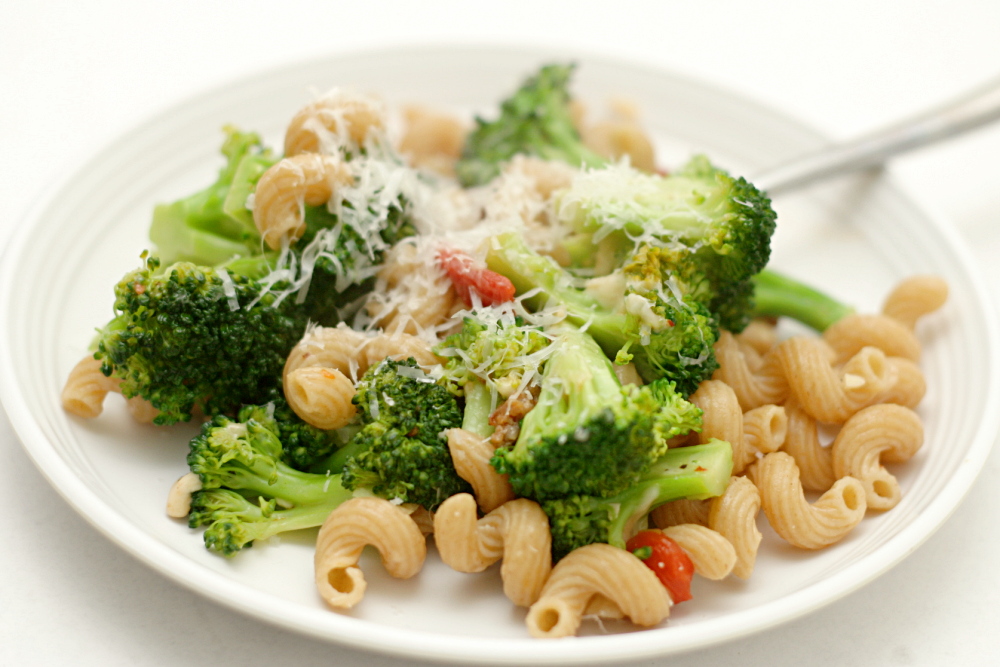
One of my resolutions is actually to cook less, or at least to be more reasonable about cooking, by focusing on quick weeknight meals and making enough for leftovers. This pasta fits in perfectly with that mindset, because it can be made in the time it takes to boil water and cook pasta and uses only a few ingredients.

copy-of-img_0654

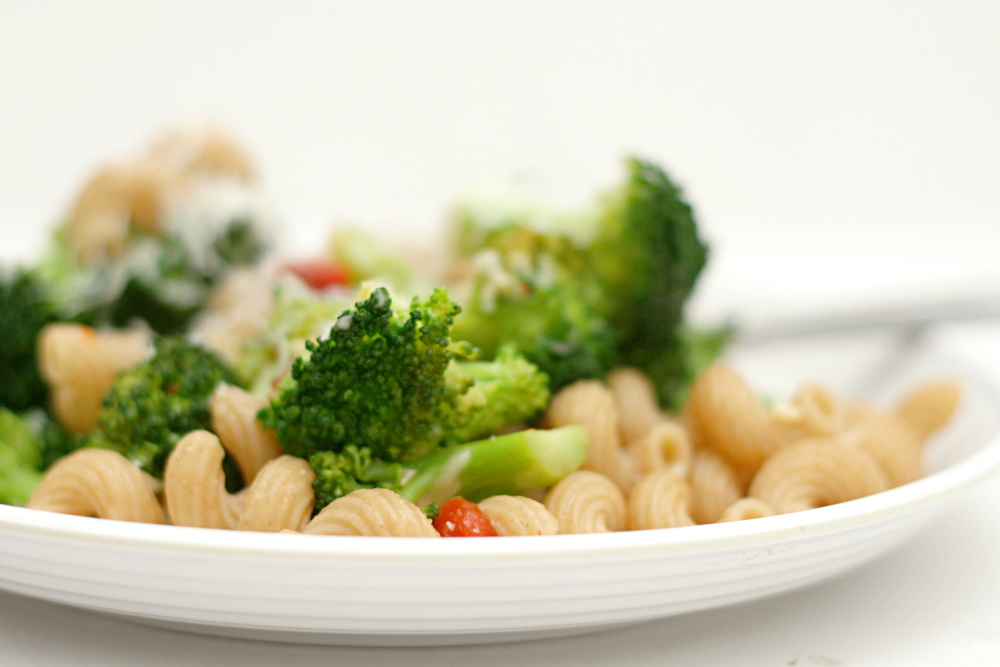
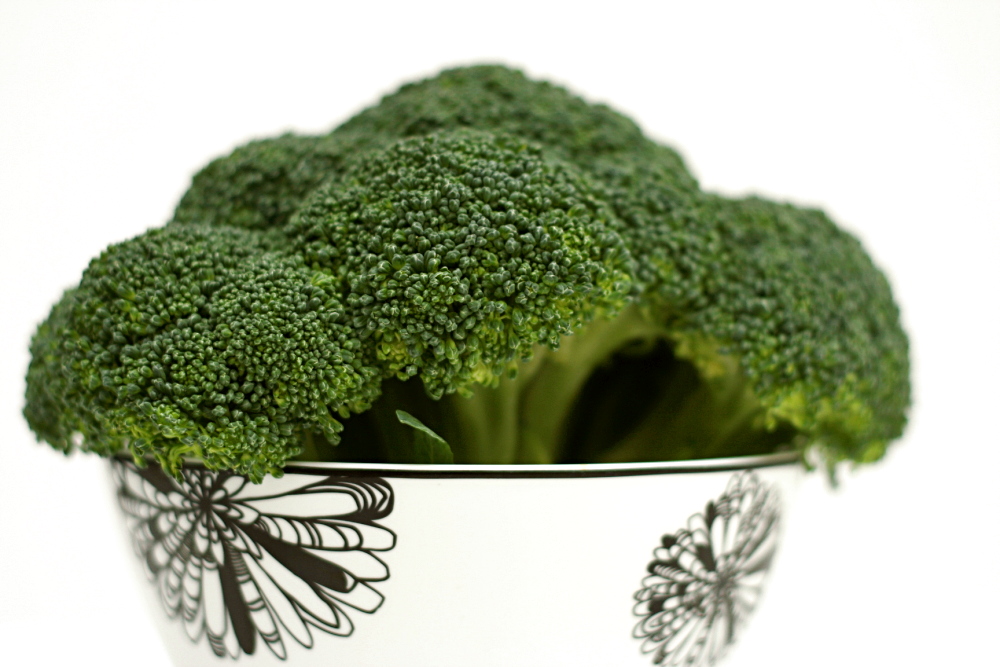
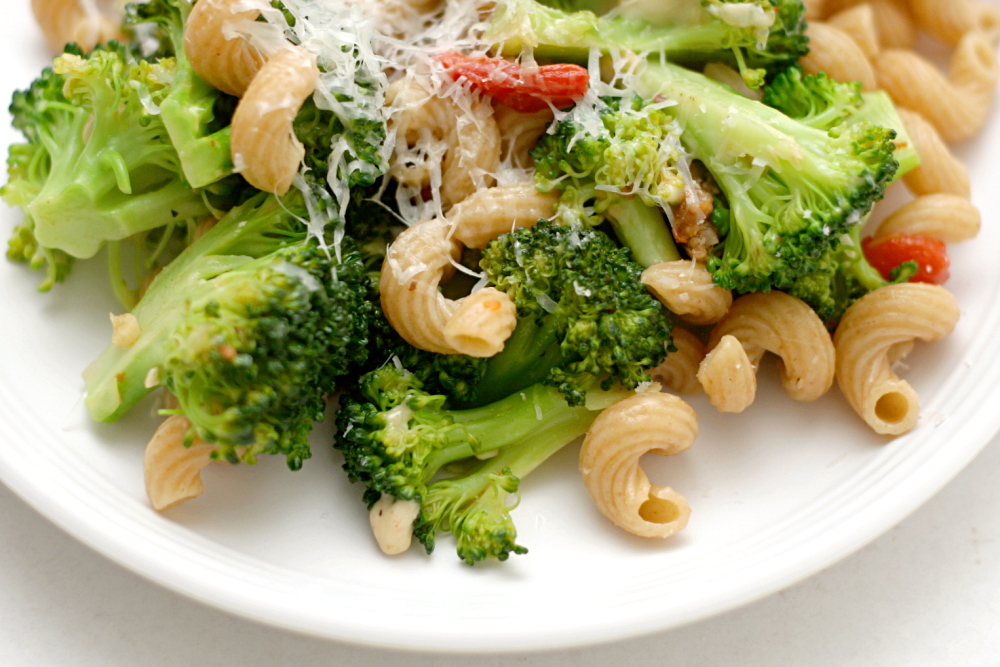
There’s nothing complicated about this recipe. Brown some sausage, stir in garlic and roasted red pepper, and then add broccoli with some water to help it cook. Mix all that with pasta, add some cheese, and there’s dinner – you have starch, protein, and vegetables, all in one very easy recipe. And there’s the added bonus that both broccoli and garlic are even more nutritious than your average vegetable.

copy-of-copy-of-img_0655

The recipe recommends orechiette (an ear-shaped pasta), but I don’t generally get hung up on pasta shapes. My favorite brand of pasta doesn’t come in orechiette, so I tend to use whatever short tubularish pasta I happen to have. Also, this time I used Cento jarred roasted red peppers, and I hated them. They were so soft and slimy. Cooks Illustrated recommends them, so I don’t know if I got a bag batch or I’m a bad judge of roasted red peppers or what. Since roasting my own peppers complicates this simple meal, I might just sauté some fresh red peppers with the sausage in the future.

I find that I often like recipes with quite a bit less pasta than the original version calls for, and this recipe is no exception. I reduced the pasta to 12 ounces, plus I wouldn’t have minded more sausage and red peppers. Either way you prefer it, this meal is quick, tasty, and healthy.

copy-of-img_0656

One year ago: Pad Thai – one of my favorite meals

Orecchiette with Broccoli, Sausage, and Roasted Peppers (from Cooks Illustrated)

Serves 4 to 6 as a main dish

CI note: In this recipe, begin cooking the broccoli immediately after putting the pasta into boiling water. When cut into small pieces, the broccoli takes only a few minutes to cook through.

Bridget note: I reduce the pasta to 12 ounces (¾ pound), and I’ll probably add more peppers in the future. More sausage couldn’t hurt either.

table salt
1 pound orecchiette
4 ounces sweet Italian sausage, casing removed
9 medium cloves garlic, pressed through garlic press or minced (3 tablespoons)
1 cup roasted red peppers (8 ounces), cut into ½-inch squares
½ teaspoon ground black pepper
2 pounds broccoli, florets cut into bite-sized 1-inch pieces, stalks peeled, halved lengthwise, and cut into ¼-inch thick pieces
1 tablespoon extra-virgin olive oil
1 cup grated Pecorino Romano cheese (2 ounces)

1. Bring 4 quarts water to rolling boil, covered, in stockpot. Add 1 tablespoon salt and pasta, stir to separate, and cook until al dente. Drain and return to stockpot.

2. While pasta is cooking, cook sausage in 12-inch nonstick skillet over medium-high heat, breaking it into small pieces with spoon, until browned, about 5 minutes. Stir in garlic, roasted peppers, ½ teaspoon salt, and pepper; cook, stirring constantly, until fragrant, about 2 minutes. Increase heat to high; add broccoli and ½ cup water, then cover and cook until broccoli begins to turn bright green, 1 to 2 minutes. Uncover and cook, stirring frequently, until water has evaporated and broccoli is tender, 3 to 5 minutes longer. Add broccoli mixture, oil, and cheese to pasta in stockpot; toss to combine. Serve immediately.

copy-of-img_0658

cranberry orange muffins

copy-of-img_9788

Didn’t I just make muffins? And wasn’t I talking about how I was still on pumpkin? While it’s true that I haven’t moved past pumpkin, I’m definitely excited about cranberries too. Especially cranberry and orange together.

copy-of-img_9771

Seven or eight years ago, I went through a health nut phase where I pretty much eschewed white flour. (You can imagine that that lasted for, like, a week.) I at least substituted half whole wheat flour in most recipes, especially quick breads. I’ve apparently reached a complete turnaround. This recipe calls for 100% whole wheat flour, and I came very close to substituting half of that with white flour.

copy-of-img_9772

But I stuck to the recipe, and I am so glad I did. These muffins rocked, even though I didn’t have quite the right amount of egg (long story), I used traditional instead of quick-cooking oats, and I skipped the glaze. I’m not a huge fan of glaze on muffins – they don’t take to freezing as well, plus it seems too cupcake-like. I also changed the order that the ingredients were added, just like I did with the pumpkin muffins. I added the sugar with the wet ingredients and the zest with the dry ingredients.

copy-of-img_9778

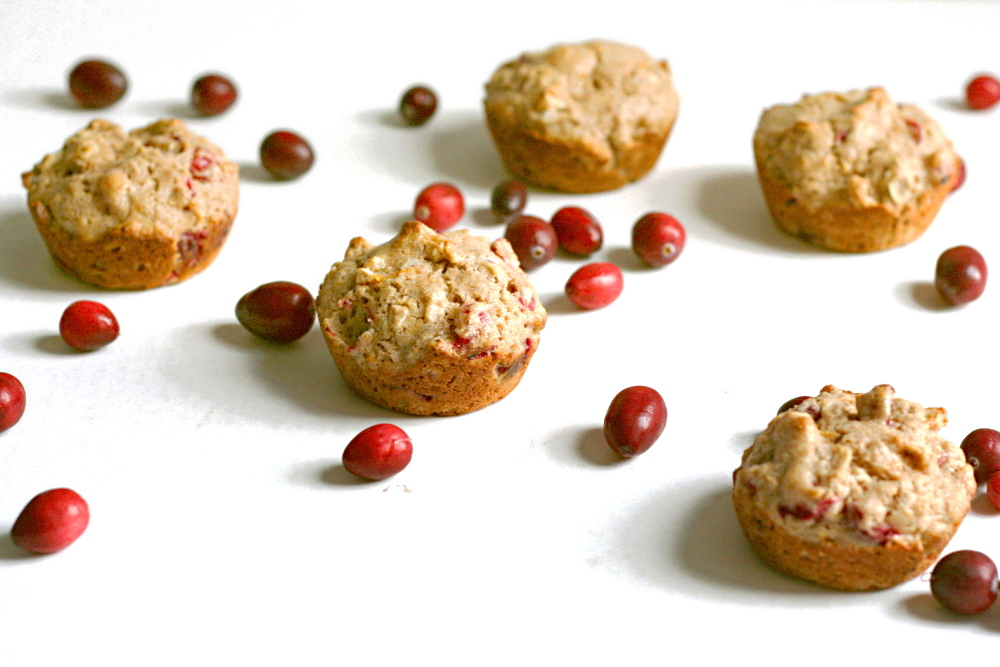
The muffins were nice and light, not at all heavy from the whole wheat flour. The orange flavor was pronounced, which I liked, and the bits of cranberry were perfectly tart and even juicy. All that using 100% whole wheat flour. 2001-me would have been so proud.

copy-of-img_9780

Cranberry Orange Muffins (adapted from King Arthur Flour)

I used traditional oats and didn’t notice any problems, but I could see how quick-cooking oats would incorporate into the dough better. I skipped the nuts because I didn’t have any. I used butter instead of oil. I also skipped the glaze.

Makes 12 muffins

1½ cups whole wheat flour
¾ cup quick-cooking rolled oats
¼ cup buttermilk powder or nonfat dry milk
2 teaspoons baking powder
1 tablespoon orange zest (finely grated orange peel)
½ teaspoon salt
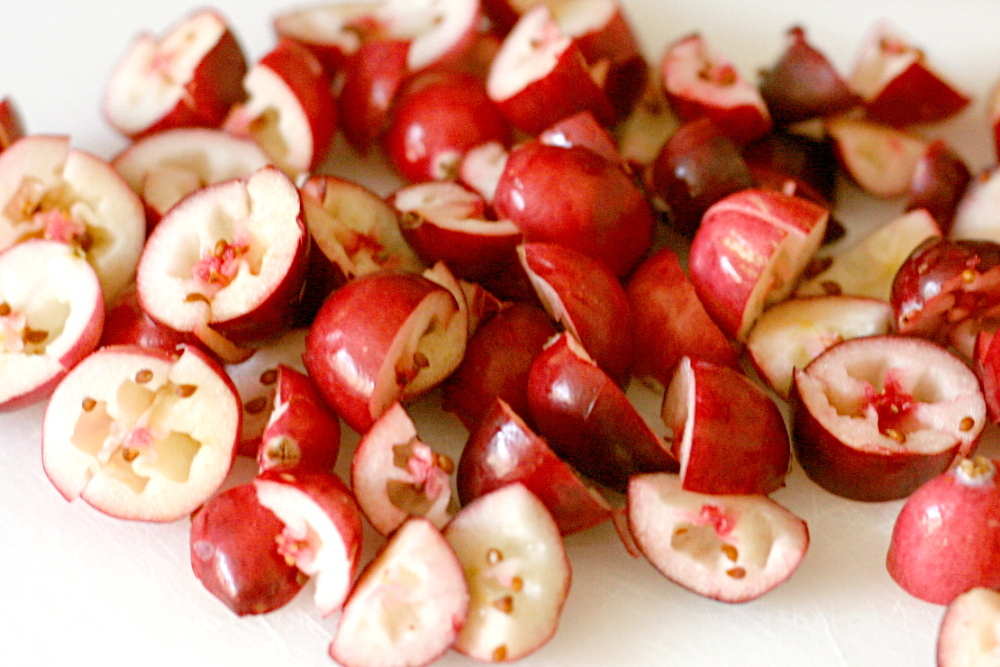
1 cup fresh or frozen cranberries, chopped
½ cup chopped pecans or walnuts (optional)
2 large eggs
⅔ cup (4.67 ounces) sugar
¾ cup milk
⅓ cup melted butter or vegetable oil

Glaze
2 tablespoons orange juice
3 tablespoons sugar

1. Adjust oven rack to middle position and heat oven to 350 degrees. Spray standard muffin tin with nonstick vegetable cooking spray.

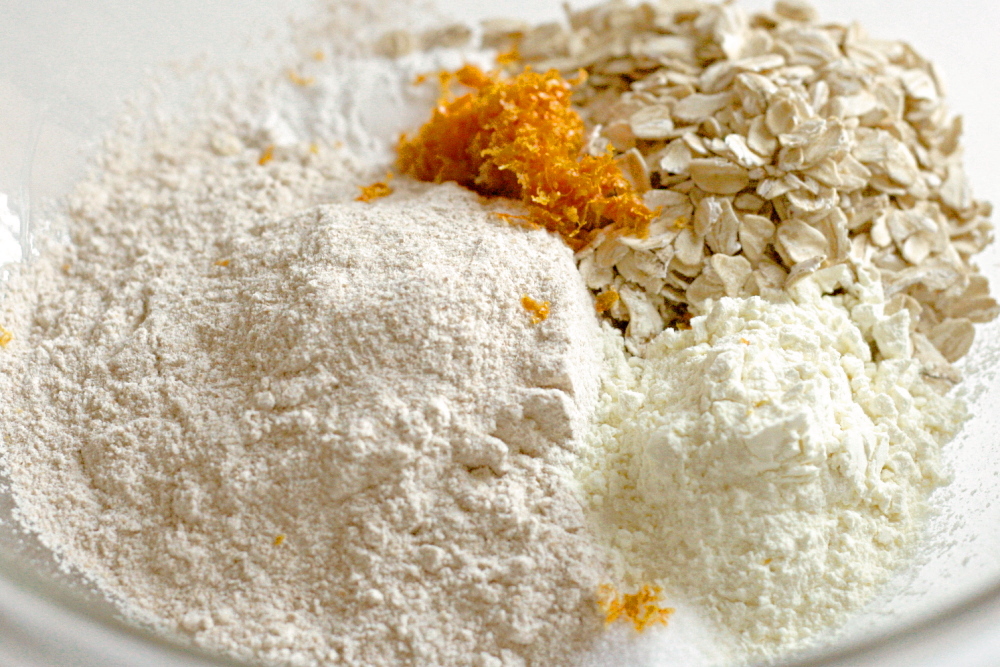
2. Whisk flour, oats, milk powder, baking powder, and orange zest in a large mixing bowl. In a separate mixing bowl, whisk egg until broken up. Add sugar and whisk until combined. Whisk in butter (or oil) and milk.

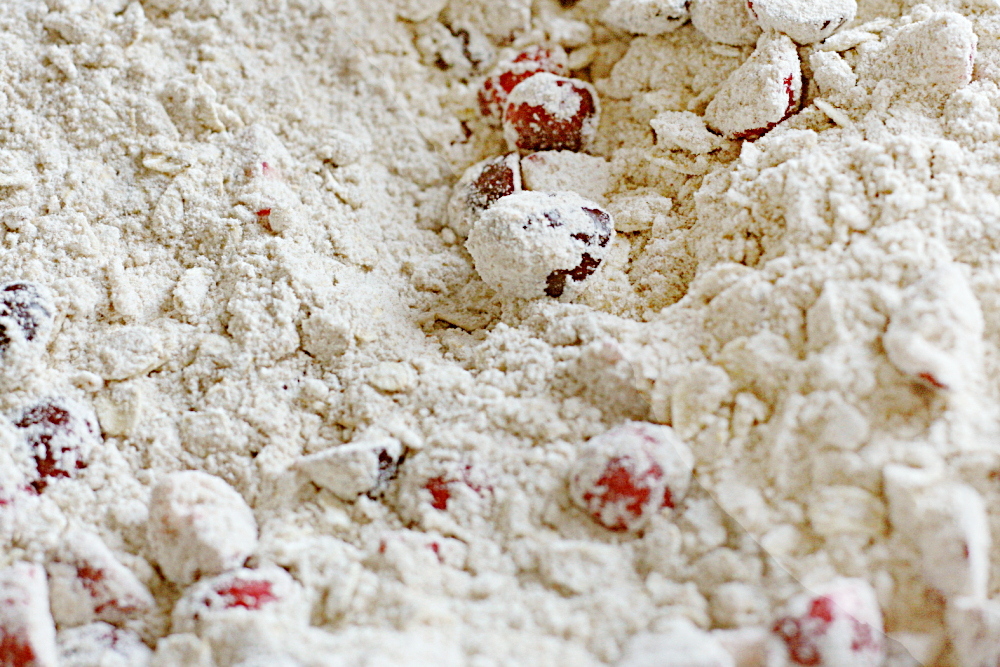
3. Add cranberries and nuts, if using, to dry ingredients and stir to combine. Add milk mixture and fold with rubber spatula until batter comes together. Do not overmix.

4. Divide batter among 12 muffin cups. Bake until toothpick inserted into center of muffin comes out clean, 18-20 minutes. Cool in pan 5 minutes, then transfer them to a rack.

5. If using glaze: In a small saucepan or the microwave, stir together the glaze ingredients. Bring just to a boil, to dissolve the sugar. Dip the tops of the warm muffins into the glaze.

copy-of-img_9783

chanterelle salad with speck and poached eggs

copy-of-img_9413

I don’t know if there could be a less appetizing name for a more delicious food than there is for Speck. When I hear Speck, I think of Star Trek or maybe dust particles – I do not think of spicy smoked ham.

copy-of-img_9404

I almost dismissed the Speck in this recipe entirely. I figured that proscuitto or pancetta, both of which I can get at my regular grocery store, would make a convenient substitute. But then I was right near an Italian butcher, and it was no big thing to go in and grab some Speck. I’m glad I did, because I love the stuff. I wish I’d had some proscuitto to taste alongside it, because I feel like I liked the Speck more than I normally do proscuitto, but I haven’t eaten enough proscuitto to really remember.

copy-of-img_9390

After my first uncertain egg on salad experience, I seem to have become somewhat enamored with the idea. In this salad, I really enjoyed the warm savory egg on the tart dressed greens. The Speck, sautéed until crispy, was of course delicious. I wasn’t crazy about the cooked chanterelles in the salad – they seemed a little too chewy to fit in with the other ingredients. Dave really liked them though.

copy-of-img_9393

I didn’t follow the recipe exactly – I had just made fresh bread, so I skipped the toasting step. I also made a different dressing. As if one hard-to-find ingredient in the recipe wasn’t enough, you’re also supposed to reduce Vin Santo, an Italian dessert wine, for the vinaigrette, and mix it with walnut oil. I made a simple balsamic vinaigrette and was happy with it.

copy-of-img_9409

Notwithstanding the chewy mushrooms, this salad was very good. This was a nice, light meal that left me plenty of room to eat some of the chocolate chip cookies that I have coming out the wazoo.

copy-of-img_9411

Warm Chanterelle Salad with Speck and Poached Eggs (from Bon Apetit December 2008 )

6 tablespoons olive oil, divided
4 fresh thyme sprigs
3 garlic cloves, divided
1 pound fresh chanterelles, cleaned, cut into ⅓-inch thick slices
nonstick cooking spray
4 ounces ⅛-inch-thick slices Speck, rind trimmed
6 ¾-inch-thick slices ciabatta or pain rustique
½ teaspoon salt
6 large eggs
2 small heads butter lettuce, coarsely torn (about 11 cups)
6 cups mâche or arugula (3½ ounces)
Vinaigrette

Preheat oven to 500F. Combine 4 tablespoons oil and thyme in large bowl. Press 2 garlic cloves into oil with garlic press; whisk to blend. Add chanterelles and toss to coat. Sprinkle with salt and pepper.

Spray rimmed baking sheet with nonstick spray. Spread mushroom mixture on sheet. Roast mushrooms until tender, stirring occasionally, about 6 minutes.

Cut Speck crosswise into ¼-inch-thick strips. Heat 1 tablespoon oil in small skillet over medium-high heat. Add Speck; sauté until crisp, 4 minutes. Drain on paper towels.

Toast ciabatta slices until golden; rub with remaining garlic clove. Drizzle with 1 tablespoon oil. Halve each slice lengthwise.

Fill large skillet with water and bring to boil. Add ½ teaspoon salt. Crack eggs, 1 at a time, into custard cup, then slide egg from cup into water; reduce heat to low. Poach eggs until whites are set and yolks are softly set, 3 to 4 minutes.

Meanwhile, toss lettuce and mâche with enough vinaigrette to coat. Mound salad on 6 plates. Using slotted spoon, remove eggs from water, dab with paper towels to absorb excess liquid, and place atop salads. Garnish with mushrooms and Speck. Place ciabatta fingers around salad and serve immediately.

Balsamic Vinaigrette (from Cooks Illustrated)

Serves 4

¼ cup balsamic vinegar
2 tablespoons sherry vinegar , or wine vinegar
½ teaspoon table salt
¼ teaspoon ground black pepper
⅔ cup olive oil

Whisk first 2 ingredients with salt and pepper in a small bowl. Gradually whisk in oil, so the vinaigrette emulsifies. Serve.

chickpea and butternut squash salad

copy-of-img_8391

Do you like squash? It seems like as soon as we were past Labor Day, everyone went squash crazy. I have reservations about squash that I think can be traced back to childhood.

copy-of-img_8381

I remember one Halloween, my mom roasted acorn squash for me and my brother, with brown sugar in the middle. We were less than pleased. I can’t remember any other squash experiences until I was cooking on my own, and I’m not the only one in my family who is inexperienced in squash. A year or two ago, my older sister called me to ask what she was supposed to do with the butternut squash she had bought.

copy-of-img_8386

I do like squash these days, but every time I eat it, I’m surprised I like it. “Wow! This is actually good!” That’s exactly how I felt about this recipe, which I heard about from Deb, but is actually from Molly. Both tend to recommend recipes that are right up my alley, so that made this recipe worth trying even with the less than familiar squash.  (This is only the third recipe I’ve ever used winter squash in.)

copy-of-img_8390

My doubts did go beyond just the squash issue. I wasn’t so sure about combining sweet squash with hummus ingredients – chickpeas and tahini, lemon juice and cilantro. And then I was worried that the sauce wouldn’t come together and be smooth (somehow it did) and that there would be too much sauce (I ended up adding it all).

copy-of-img_8383

The recipe was easy, aside from my snail-like squash peeling and cutting pace. And I was, yes, surprised by how much I liked it. The sweet squash was balanced so well by the bitter tahini and sour citrus. What a great combination.

copy-of-img_8395

Butternut and Chickpea Salad with Tahini (reworded slightly from Orangette, who adapted it from Casa Moro)

Thoughts: I’m anti raw garlic lately, so I threw the garlic in the oven with the squash for a few minutes, just to tame its sharpness a little before adding it to the sauce.

For salad:
1 medium butternut squash (about 2 to 2½ pounds, seeded, and cut into 1½-inch pieces)
1 medium garlic clove, minced or pressed
½ teaspoon ground allspice
2 tablespoons olive oil
Salt
1 (15-ounce) can chickpeas, drained and rinsed
¼ medium red onion, finely chopped
¼ cup coarsely chopped cilantro leaves

For tahini sauce:
1 medium garlic clove, finely minced with a pinch of salt (or shredded on a Microplane)
3½ tablespoons lemon juice
3 tablespoons well-stirred tahini
2 tablespoons water
2 tablespoons olive oil, plus more to taste

Preheat the oven to 425F.

In a large bowl, combine the butternut squash, garlic, allspice, olive oil, and a good pinch or two of salt. Using a large spoon or your hands, toss until the squash pieces are evenly coated. Turn them out onto a baking sheet, and bake for 15 to 25 minutes, or until soft. Remove from the oven and cool.

Meanwhile, make the tahini sauce. In a small bowl, whisk together the garlic and lemon juice. Add the tahini, and whisk to blend. Add the water and olive oil, whisk well, and taste for seasoning. The sauce should have plenty of nutty tahini flavor, but also a little kick of lemon.

To assemble the salad, combine the squash, chickpeas, onion, and cilantro in a mixing bowl. Add tahini sauce to taste, and toss carefully. (Alternatively, you can also serve the salad undressed, with the tahini sauce on the side. That way, each person can use as much or as little as they want, and the individual ingredients taste a little brighter, too.) Serve, with additional salt for sprinkling.

Note: This salad, lightly dressed, keeps beautifully in the fridge. (Hold a little of the tahini sauce on the side, for dressing at the table.) Before serving, warm slightly with quick jolt in the microwave.

copy-of-img_8391