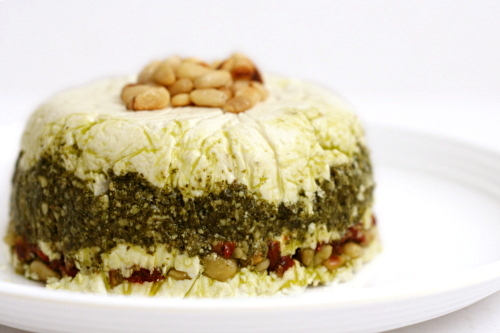
goat cheese, pesto, and sun-dried tomato terrine

Copy of IMG_9428

Dave is, it should come as no surprise to me by now, quite a good match for me. I used to wish that he was as excited about food as I was. I’d ask him for meal ideas, I’d demand feedback after trying a new recipe, and I wished he’d cook with me. Invariably, his replies were, respectively, “salmon pesto pasta”, “good”, and “sure, someday.”

Which, actually – is fine by me. Do I really need someone picking apart each dish I make? Or adding even more ideas to an already overstuffed recipes-to-try folder? Or taking up valuable cooking opportunities?

Copy of IMG_9404

No, his uncritical, always-appreciative, open-minded attitude toward food is perfect. And when he does get excited by a dish, I know to take note, like when he came home from a work party raving about a goat cheese pesto spread someone had brought.

Copy of IMG_9406

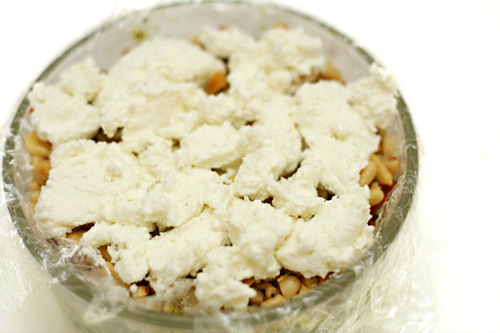
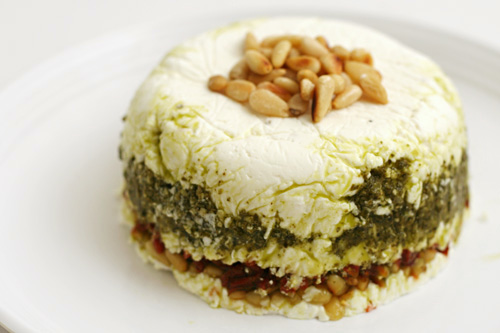
What you do is line a bowl with plastic wrap, then spread some softened goat cheese in the bottom. You’re supposed to make the goat cheese spreadable by adding cream, but I used milk and it worked just fine. Over the first layer of goat cheese, you add some pesto, then more goat cheese, then minced sun-dried tomatoes and chopped toasted pine nuts, then more goat cheese. After chilling for a few hours, it inverts nicely, and you pull the plastic wrap off to reveal nice layers.

Copy of IMG_9411

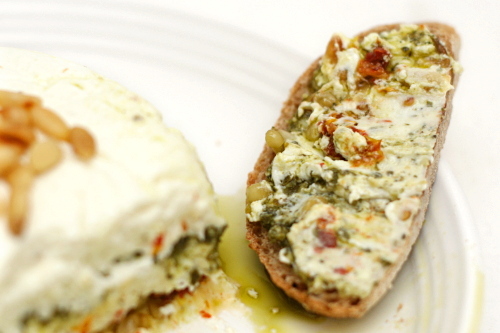
Wow, what a great combination of ingredients. The sweetness of the sun-dried tomatoes balances the tart goat cheese, and pesto is always delicious.  I served it with a whole wheat baguette, and we ate, um, a lot of it. It was completely irresistible.

Copy of IMG_9433

One year ago: Lavash Crackers and Pesto Goat Cheese Spread (Hi! I like pesto! And goat cheese!)

Printer Friendly Recipe
Goat Cheese, Pesto, and Sun-Dried Tomato Terrine
(from Fine Cooking)

Dave did tell me, too late, that his coworker had advised that one of the tricks to making the terrine look neat was to not overfill the intervening layers. That would have been nice to know before I spooned in a bunch of extra pesto.

My personal preference would have been for one more tomato. Dave didn’t agree.

10 ounces goat cheese
¼ to ½ cup heavy cream
Kosher salt and freshly ground black pepper
3 tablespoons basil pesto (homemade or store-bought)
5 oil-packed sun-dried tomatoes, drained and finely chopped
¼ cup pine nuts, toasted and coarsely chopped
Extra-virgin olive oil for drizzling

1. Line the inside of a 2-cup sharply sloping bowl (about 4 inches across the top) with plastic; let the ends extend over the sides a few inches. In a mixing bowl, mash the goat cheese and ¼ cup of the cream with a fork and season with ¼ teaspoon salt and a few grinds of pepper; add more cream if the cheese hasn’t softened.

2. Spoon about one-third of the cheese into the lined bowl and pack it into an even layer. Spread the pesto almost completely to the sides of the first layer of cheese. Top with another third of the cheese, the sun-dried tomatoes, and all but ½ tablespoon of the pine nuts. Top with the remaining cheese. Pack down, fold the plastic over, and refrigerate for at least 30 minutes.

3. Half an hour before serving, take the bowl out of the refrigerator. Pull on the edges of the plastic to loosen the terrine from the bowl. Invert the terrine onto a plate, drizzle with a little olive oil, and let sit for ½ hour to warm up. Sprinkle with the remaining pine nuts, season liberally with pepper, and serve.
Copy of IMG_9427

zucchini bread

Copy of IMG_8571

You know what always makes me twitchy with envy? Hearing people talk about how they just have sooo many zucchini or tomatoes or whatever from their garden, and they just don’t know what to do with it all.

Shut. Up.

Also: Give them to me.

Copy of IMG_8549

I live in an apartment. There are no raised beds and no compost bins. There isn’t enough sunlight for container plants. I can’t even keep herbs because the cats eat them.

No, I bought these zucchini from the grocery store, although it at least was from the local farm section. But it’s the end of summer, and, damn it, I wanted zucchini bread.

Copy of IMG_8552

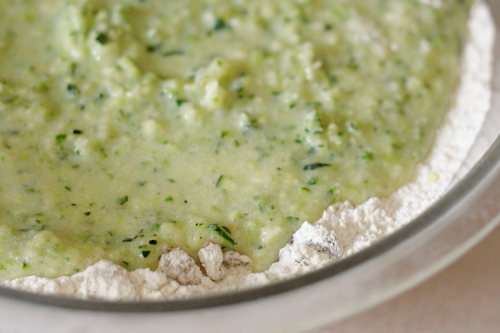
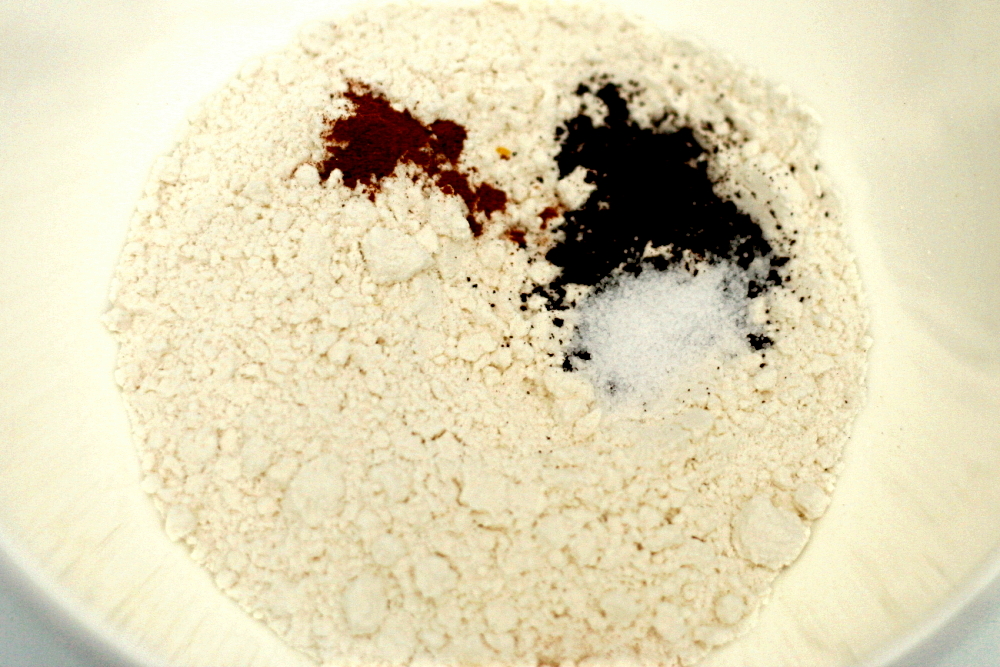
I’m not a big carrot cake fan – vegetables? dessert? they do not belong together – but zucchini bread I can do. It’s a quick bread, a snack; it isn’t masquerading as a fancy cake. Like most quick breads, this one starts with the dry ingredients (flour, salt, leavener, nuts) and the wet ingredients (eggs, butter, sugar, yogurt, a little lemon juice) mixed separately before being folding together.

Copy of IMG_8557

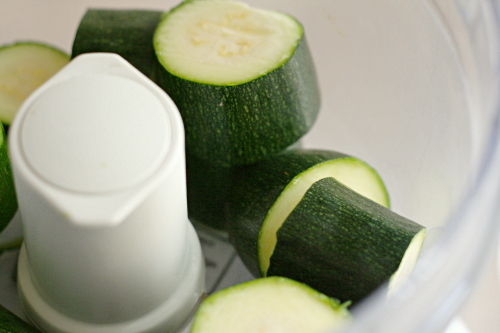
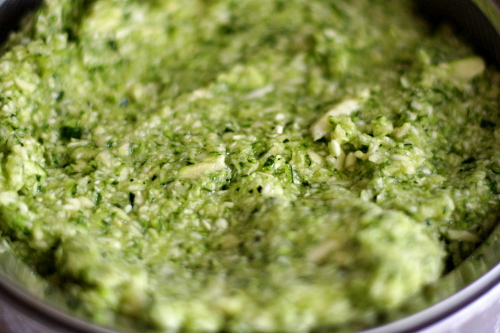
What I like about this recipe is how it treats the zucchini. Zucchini is full of water, and think about it – when did you last add water to a quick bread? You don’t, because it makes baked foods wet and gummy. So you have to remove the water from the zucchini. After the zucchini is shredded, mix it with a couple tablespoons of sugar, and let it sit and drain in a strainer while you prepare the rest of the ingredients. By the time you’re ready to move on with the recipe, the zucchini will have given up something like a half-cup of (bright green) water. What’s even better about this method is that you end up using more zucchini than you could if you had to keep all of the water in the dough.

Copy of IMG_8562

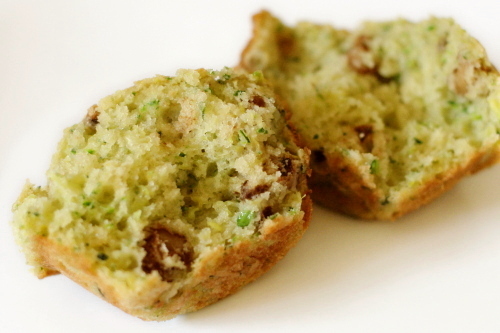
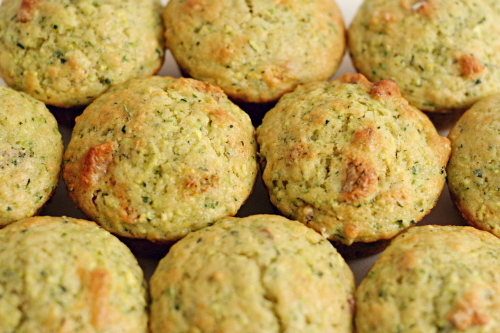
Ooh, I loved these. Loved them. So soft, so tender, so pretty and green. They don’t taste at all vegetal, and they’re just sweet enough. Someday I’ll have a house and a vegetable garden, and I will turn so much zucchini into beautiful bread. Until then, I’ll be grateful that zucchini is available year-round from the grocery store.

Copy of IMG_8568

One year ago: Sausage and Red Pepper Hash

Zucchini Bread (from Cooks Illustrated)

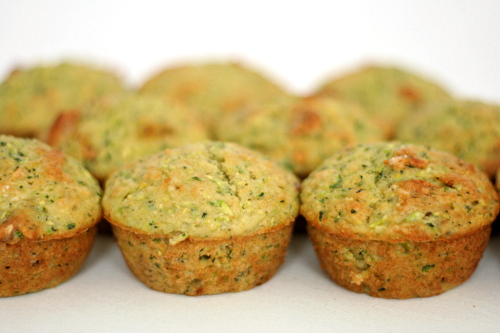
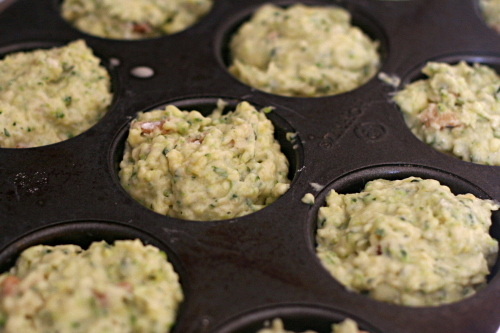
To make muffins instead of a loaf, divide the batter between 12 greased and floured muffin cups. Bake at 375 degrees for 18-25 minutes.

2 cups (10 ounces) all-purpose flour, plus more for dusting
1 pound zucchini, washed and dried, ends and stems removed, cut in half lengthwise and seeded if using large zucchini, each half cut into 1-inch pieces
¾ cups (5¼ ounces) sugar
½ cup pecans or walnuts, chopped coarse
1 teaspoon baking soda
1 teaspoon baking powder
½ teaspoon salt
¼ cup plain yogurt
2 large eggs, beaten lightly
1 tablespoon lemon juice
6 tablespoons (¾ stick) butter, melted and cooled

1. Adjust an oven rack to the middle position and heat the oven to 375 degrees. Grease the bottom and sides of a 9 by 5-inch loaf pan; dust with flour, tapping out the excess.

2. In the bowl of a food processor fitted with the metal blade, process the zucchini and 2 tablespoons of the sugar until the zucchini is coarsely shredded, twelve to fifteen 1-second pulses. Transfer the mixture to a fine-mesh strainer set at least 2 inches over a bowl and allow to drain for 30 minutes. Alternatively, you can shred the halved zucchini (don’t cut into 1-inch pieces) on the large holes of a box grater, toss with the 2 tablespoons of sugar, and drain.

3. Meanwhile, spread the nuts on a baking sheet and toast until fragrant, 5 to 7 minutes. Transfer the nuts to a cooling rack and cool completely. Transfer the nuts to a large bowl; add the flour, baking soda, baking powder, and salt, and whisk until combined. Set aside.

4. Whisk together the remaining ½ cup plus 2 tablespoons of sugar, yogurt, eggs, lemon juice, and melted butter in a 2-cup glass measure until combined. Set aside.

5. After the zucchini has drained, squeeze the zucchini with several layers of paper towels to absorb excess moisture. Stir the zucchini and the yogurt mixture into the flour mixture until just moistened. Scrape the batter into the prepared pan and smooth the surface with a rubber spatula.

6. Bake until the loaf is golden brown and a skewer inserted in the center comes out clean, 55 to 60 minutes, rotating the pan halfway through baking. Cool in the pan for 10 minutes, then transfer to a wire rack and cool for at least one hour before serving. (The bread can be wrapped with plastic wrap and stored at room temperature for up to 3 days.)

Copy of IMG_8579

applesauce spice bars

Copy of IMG_8183

My sister’s kids are very early risers. There are times when they get up so early that their parents have to creep into their room and tell them “It’s still night! Go back to sleep!”

I feel that way in August with food bloggers: It’s still summer! Put away the pumpkin!

Copy of IMG_8172

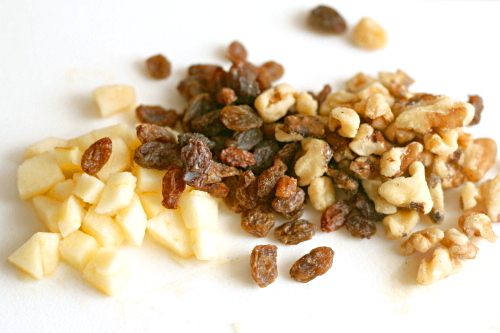
In revolt against making a dessert in August that Dorie recommends serving with mulled cider, I tried my darndest to screw it up. Most of my problems came down to dividing ½ cup by 8, because I made one-eighth of the recipe (again, in revolt). Guess what? It isn’t two tablespoons. It’s one tablespoon. So I added twice as many nuts and raisins, plus twice as much applesauce, which I then tried to scoop out before I mixed it in all the way. I’m a genius. Oh, I also heated the butter and sugar too much before adding the eggs, so the first bit of egg that I added to the mixture cooked immediately, and I had to pick out bits of cooked egg.

Copy of IMG_8178

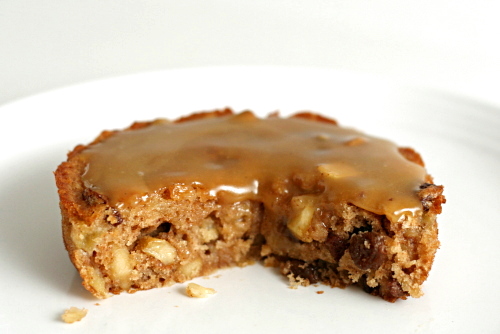
Despite my reluctance to make what’s clearly a fall treat in the middle of August and then my efforts to make it all wrong, the applesauce bars were pretty good. Really soft and tender, not too sweet, with a bit of tartness from (twice the amount of) the raisins. Dave said they made him want turkey and crackling leaves and hikes through crisp fall air. Maybe in a couple months.

Copy of IMG_8180

Karen chose this for Tuesdays with Dorie, and she has the recipe posted.

One year ago: Country Egg Scramble

Copy of IMG_8179

pasta with cauliflower, walnuts, and ricotta salata

copy-of-img_3235

I was recently reminded me of why I unabashedly (okay, maybe a little abashedly) stole Smitten Kitchen’s “one year ago” idea (although all the cool kids are doing it these days it seems). I’ve had this pasta recipe bookmarked since she posted it, and every week when I plan my meals, I consider it, and then pass over it. I didn’t realize I’d been doing this for an entire year until I saw this recipe featured from one year ago.

copy-of-img_3220

Seriously, I love pasta, and we eat it one or twice a week. Also, cauliflower? My favorite vegetable, ever since I was a kid. And quick vegetarian meals are our standard weeknight fare. And, I’ve been meaning to try ricotta salata for ages. I was outrageously overdue for making this recipe.

copy-of-img_3217

But, when I finally made it, I thought it had a lot more potential than it did flavor. The problem is that the recipe’s original author, Alice Waters, took a very easygoing, flexible route with the recipe, providing only approximate ingredient quantities and no recommended cooking times.

copy-of-img_3223

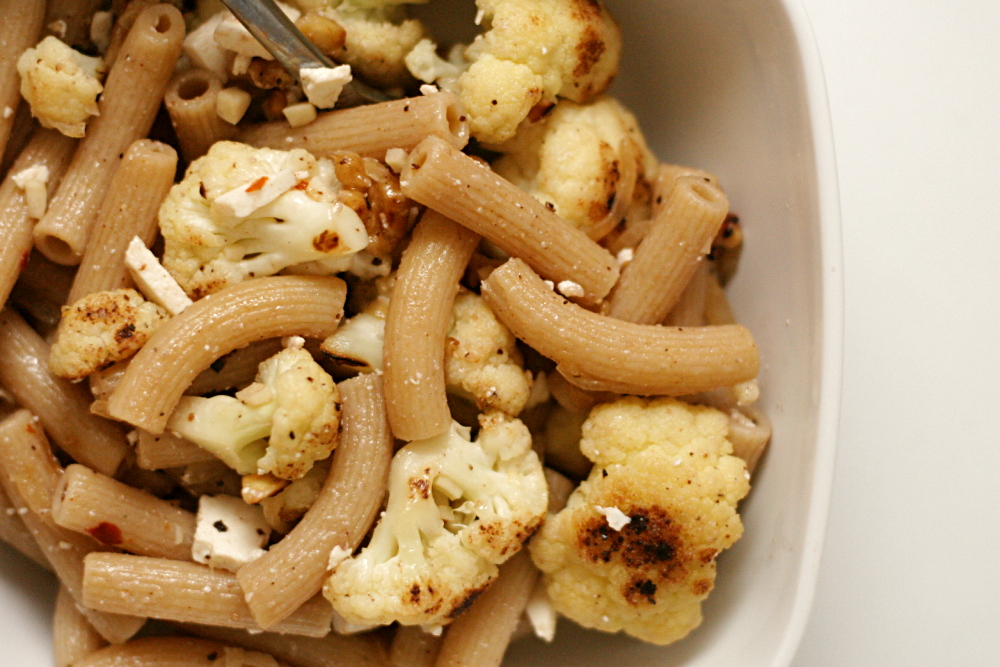
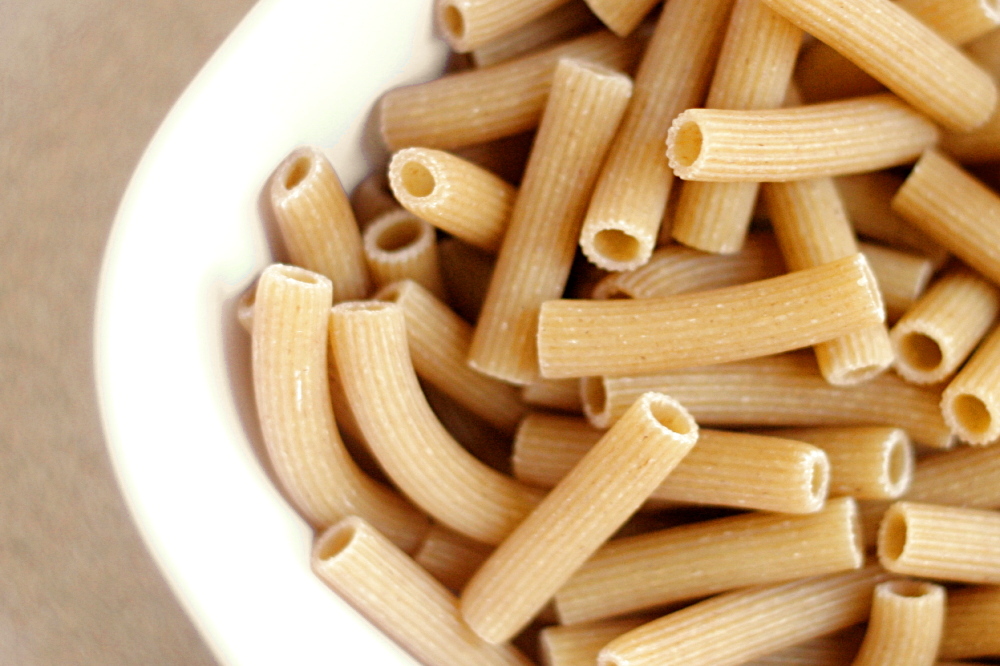
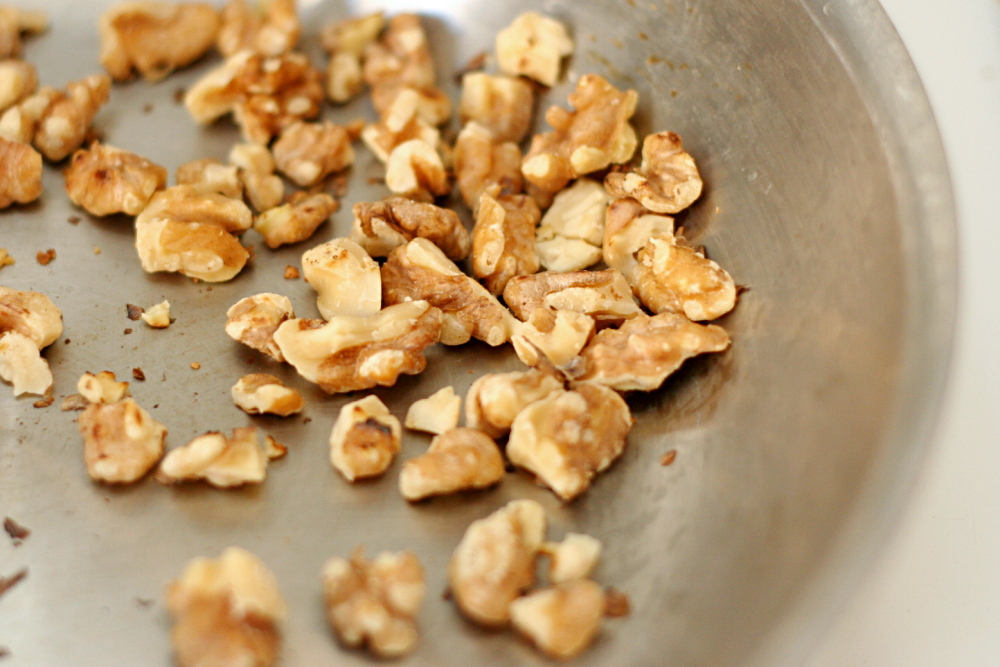
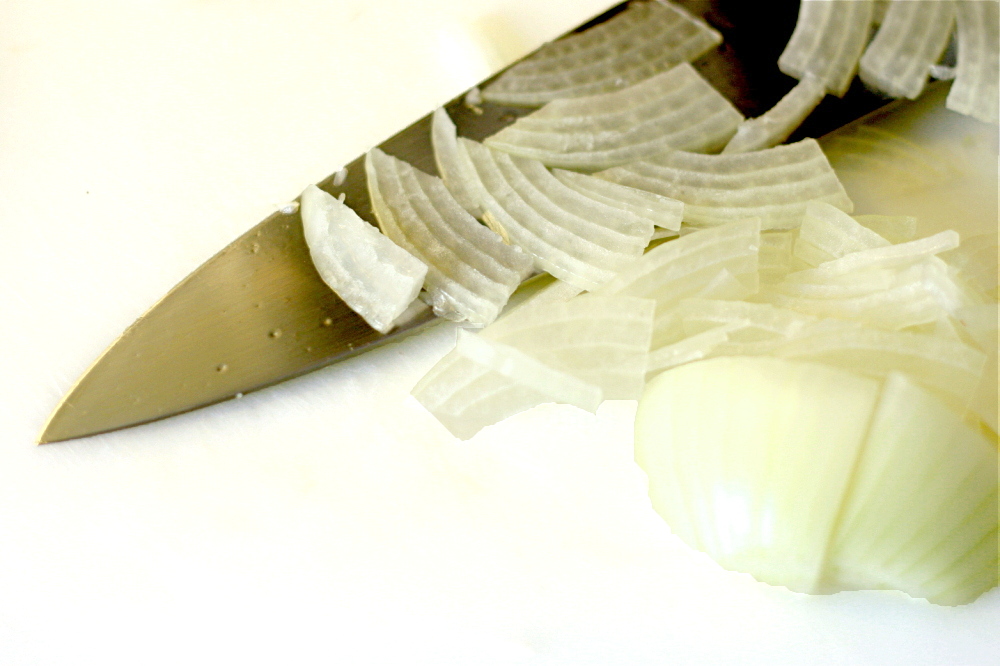
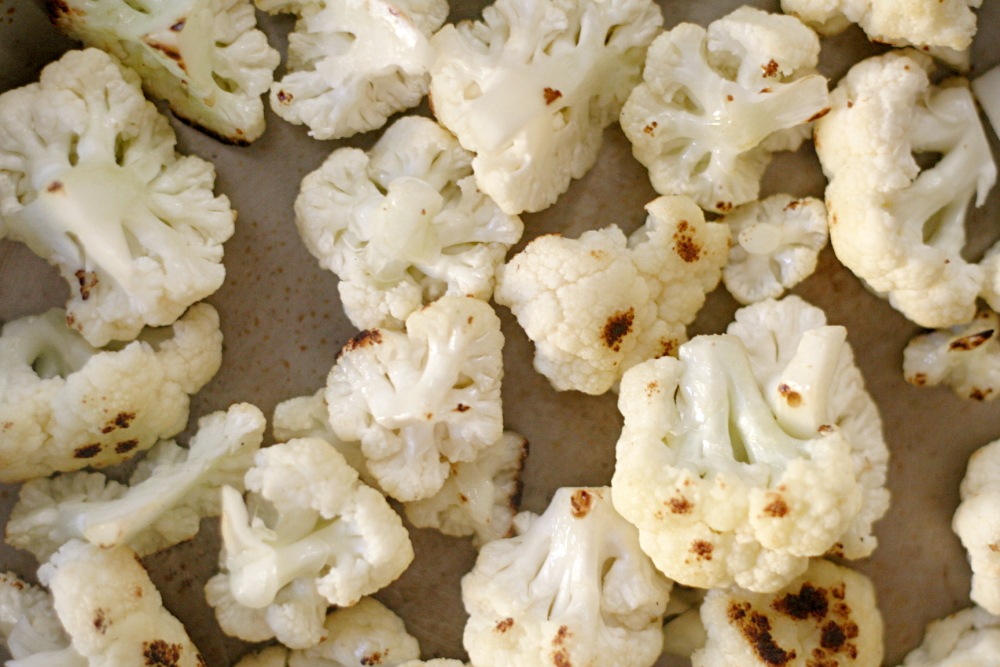
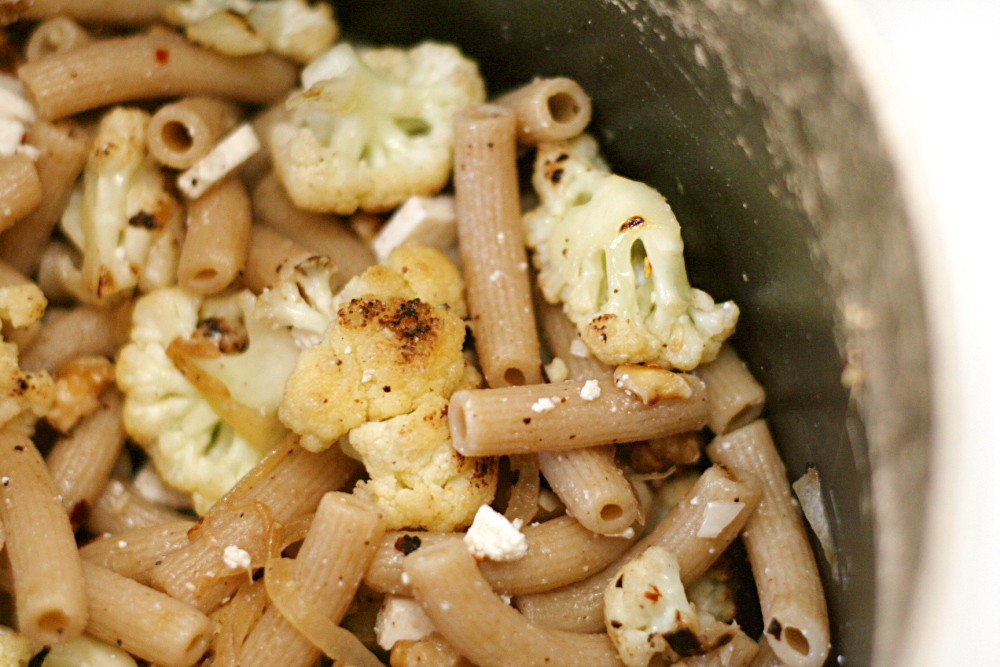
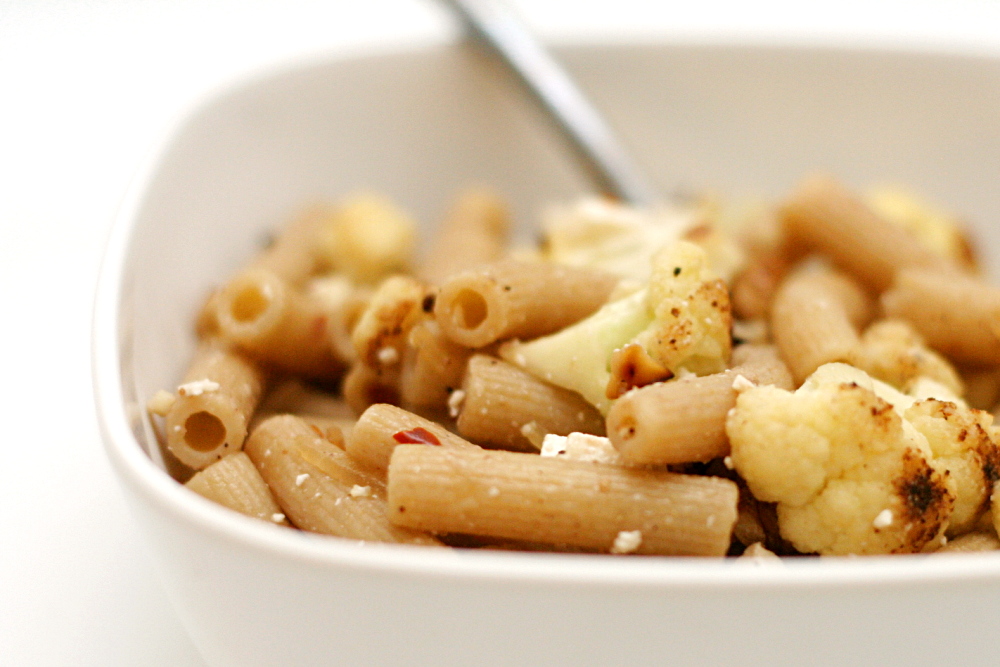
In a nutshell, the cauliflower is pan-roasted, then onions and crushed red pepper are added, then garlic, then lemon juice, white wine vinegar, and toasted walnuts. All of that is mixed with pasta and soft cheese. It’s a nice combination of ingredients and you’d be hard-pressed to make it bad, but ‘not bad’ is generally not my goal for food.

copy-of-img_3225

The next time I made it, in an effort to bump up the flavor, I decreased the pasta significantly. (You could also think of it as increasing the cauliflower, onion, garlic, red pepper flakes, and walnuts.) I’ve also quantified things. Willy-nilly, splash of this, pinch of that recipes drive me crazy and usually end up underseasoned.

Other than the ratio of pasta to everything else, the recipe really isn’t so different from the original. And hopefully it’s reproducible now, so you can have the exact same spicy, fresh flavor from this dish that I enjoyed.

copy-of-img_3228

One year ago: Breakfast Strata with Mushrooms, Sausage, and Monterey Jack

Whole Wheat Pasta with Cauliflower, Walnuts and Ricotta Salata (from Chez Panisse Vegetables via Smitten Kitchen)

Serves 4

10 ounces whole-wheat pasta
½ cup walnuts
1 tablespoon olive oil (not extra virgin)
2 small heads cauliflower, cut into 1.5-inch florets
1 large or 2 small onions, sliced very thin
4 cloves garlic, minced
½ teaspoon salt, plus more for the pasta cooking water
¼ teaspoon black pepper
½ teaspoon crushed red pepper
1 tablespoon lemon juice
4 ounces ricotta salata, chopped
extra virgin olive oil, for serving (optional)

1. Bring 3 to 4 quarts water to a rapid boil over high heat. Add 1 tablespoon salt and the pasta. Cook according to package instructions. Before draining the cooked pasta, put about 1 cup pasta cooking water in a separate bowl and set aside. After draining the pasta, return it to the cooking pot.

2. Meanwhile, toast the walnuts in a large, not nonstick pan over medium heat until fragrant. Put the walnuts in a small bowl and set aside.

3. Heat 1 tablespoon olive oil in the same pan over medium heat. When hot, add cauliflower and cook, stirring occasionally, until softened, 4-5 minutes. Add onions, red pepper, salt, and black pepper. Continue cooking and stirring until the onions are softened and the cauliflower is crisp-tender. Stir in the garlic, then immediately remove the pan from the heat. Add the lemon juice, walnuts, and cheese.

4. Stir the cauliflower mixture into the pasta. Add enough of the reserved pasta cooking water to moisten the mixture. Adjust the seasonings to taste and serve, garnishing each plate with a drizzle of extra virgin olive oil, if desired.

copy-of-img_3233

chocolate amaretti torte

copy-of-img_3813

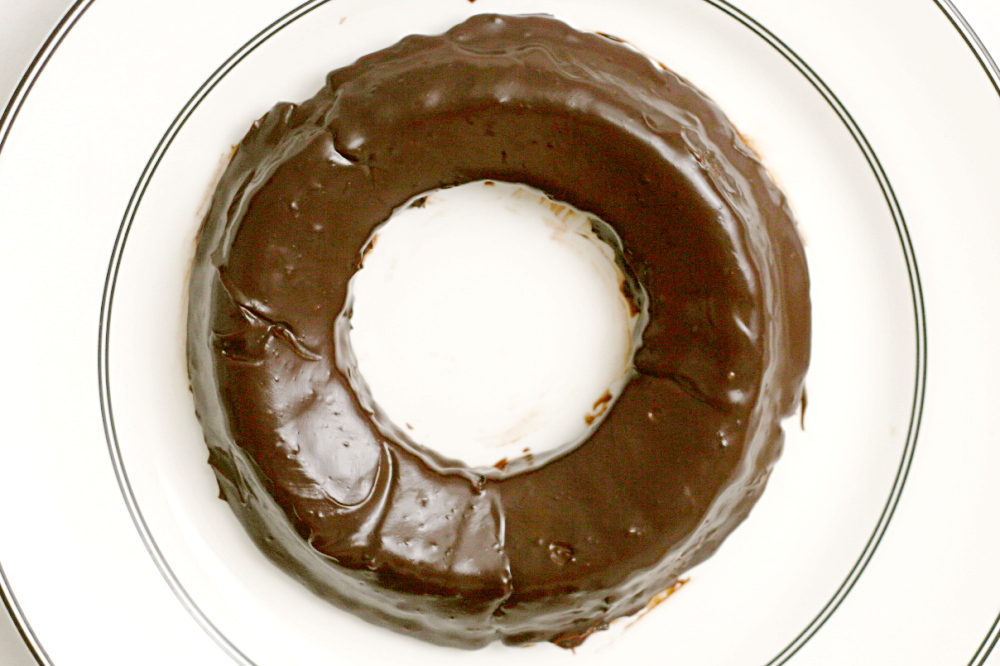
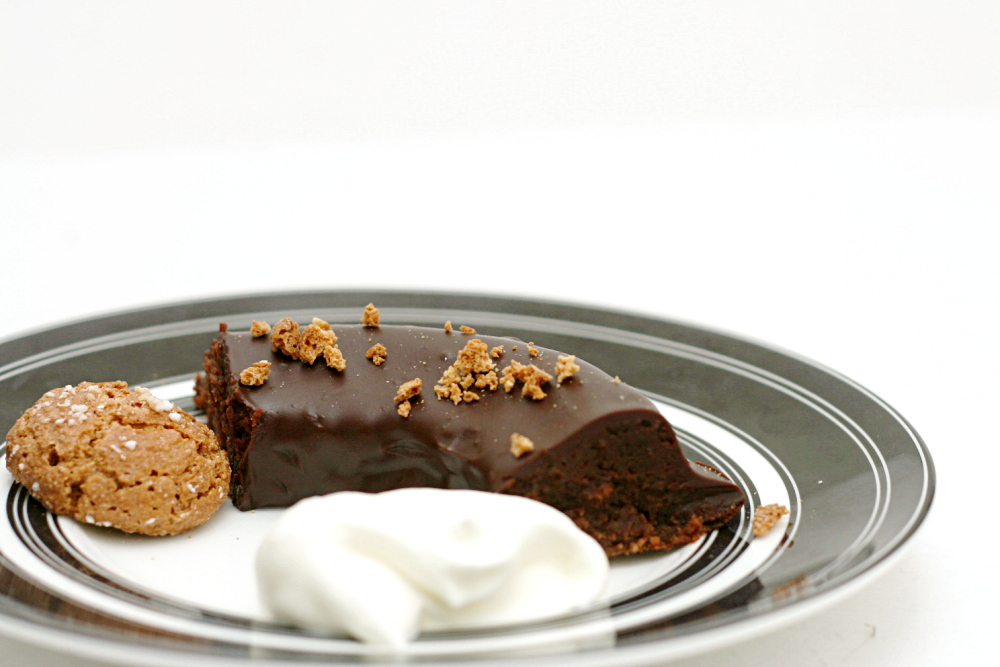
My cake is ring-shaped! Because I’m creative! Because I have a plethora of interesting-shaped pans to choose from! Because, um.

It’s actually because I totally botched this week’s recipe.

copy-of-img_3778

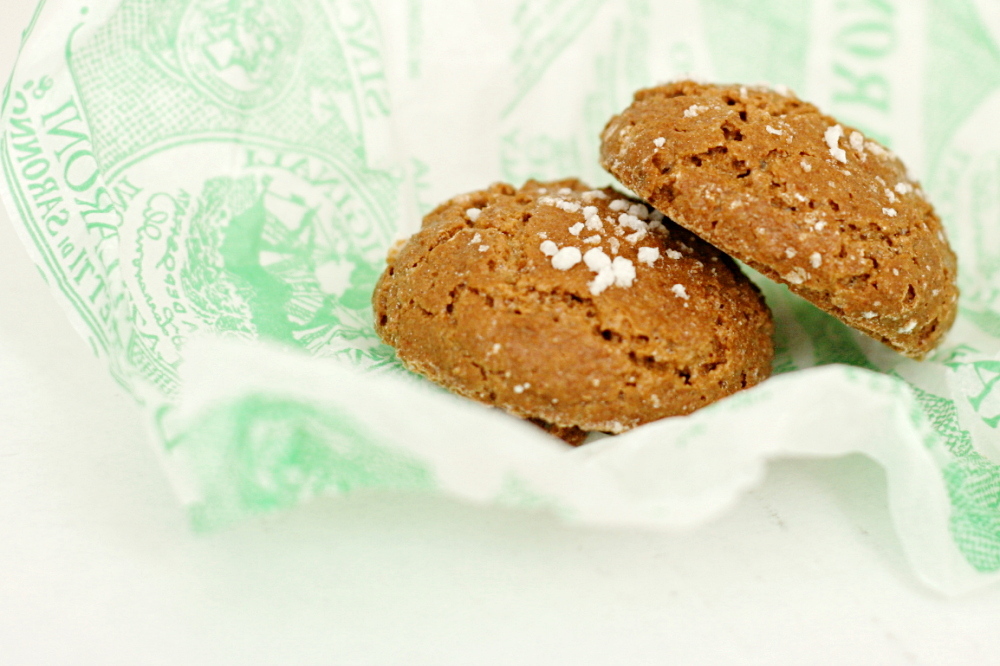
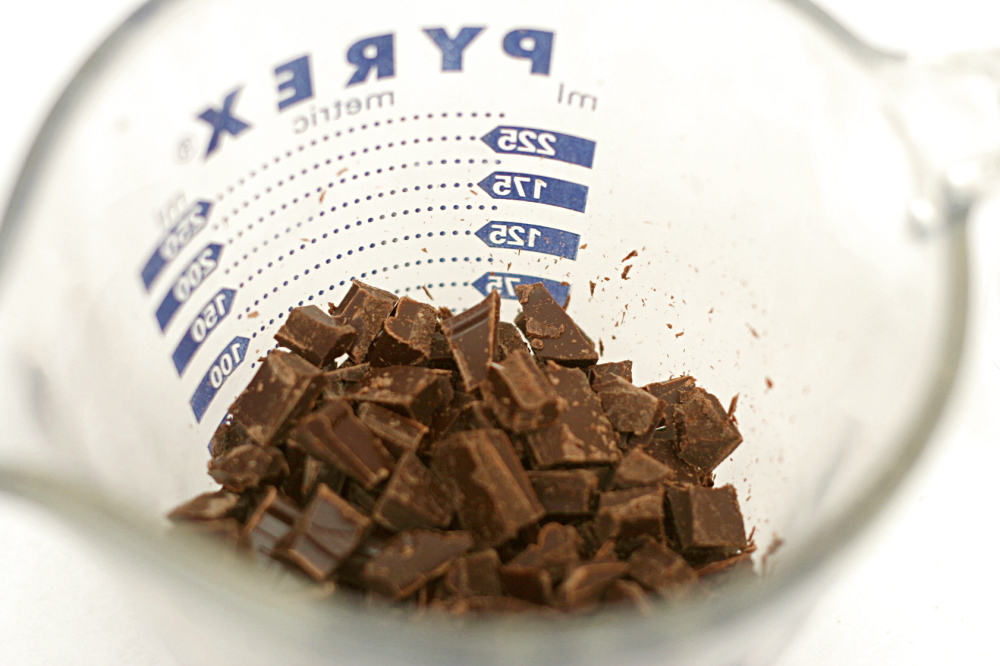
The torte is made by grinding store-bought Italian amaretti cookies with almonds in a food processor. Then butter, sugar, eggs, and chocolate are blended in the food processor and the ground cookies and almonds are mixed in. Then you bake it.

copy-of-img_3789

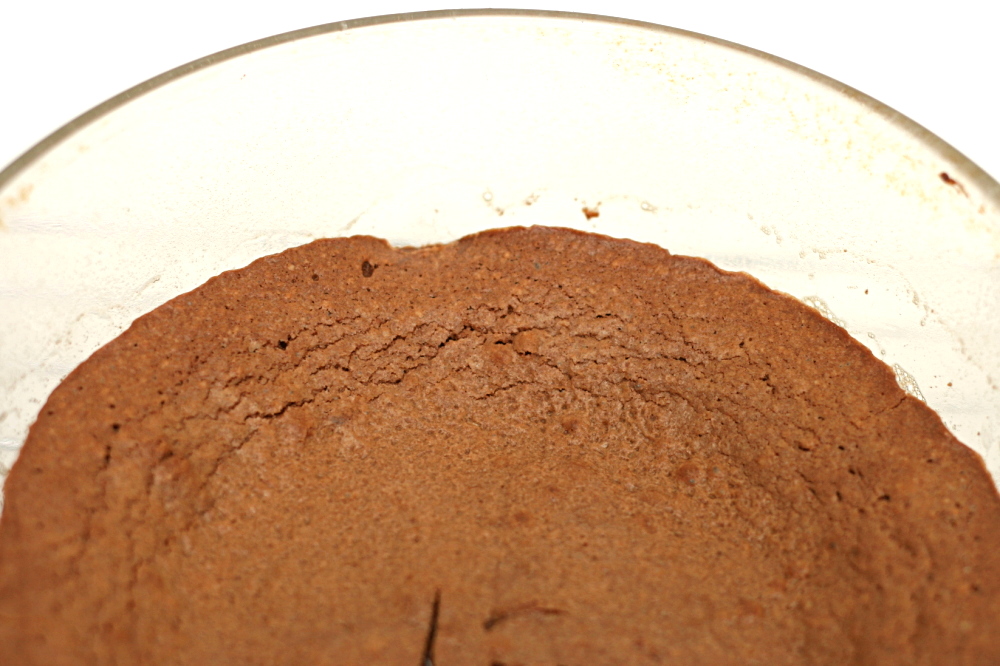
Which is where I messed up. First, I made 2/3 of the recipe in a pan just about 2/3 the size that the original recipe calls for. So I thought it would take less time to bake than the full recipe. Second, I used a Pyrex pan, and the last several times I’ve baked in Pyrex, my dessert has overcooked. So I lowered the oven temperature by 25 degrees.

copy-of-img_3794

I baked my (6-inch round) torte for 25 minutes, which is the lower end of the range for a full (8-inch round) recipe, and the same amount of time that Dorie recommends for 4-inch mini-tortes. I tested it with a knife, which came out cleanish (Dorie says it should be streaky, not quite dry). I took the torte out of the oven and let it set in the pan for 15 minutes or so.

copy-of-img_3795

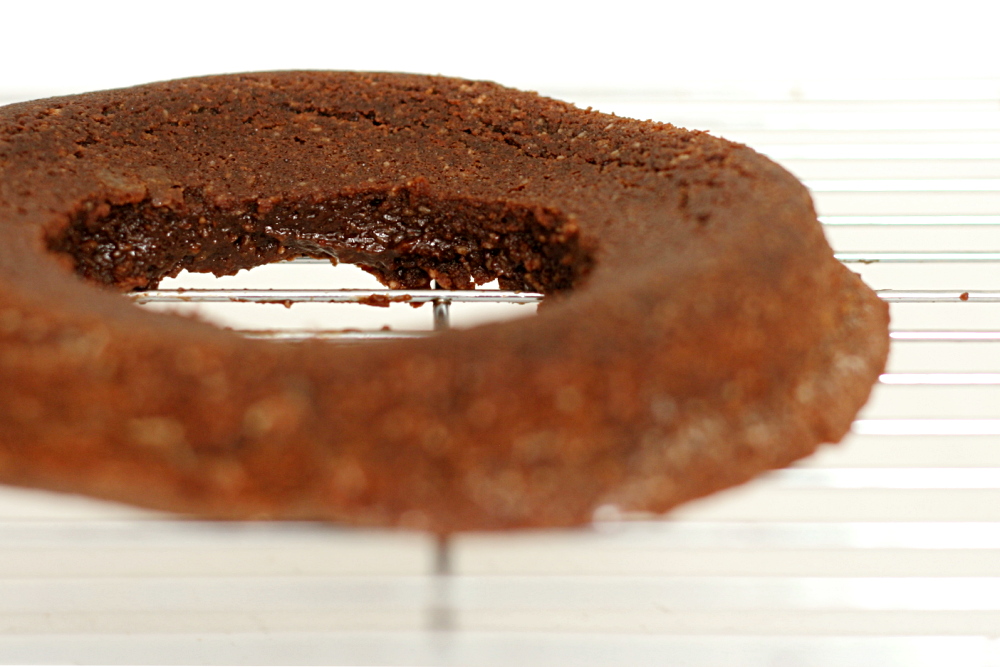
I inverted the cake onto a cooling rack. And then the middle inch or two dripped through the cooling rack onto the counter. Then another inch, and another, until I was left with just a thin ring – a ring that was delicate and broke in several places when I moved it. Yeesh.

copy-of-img_3802

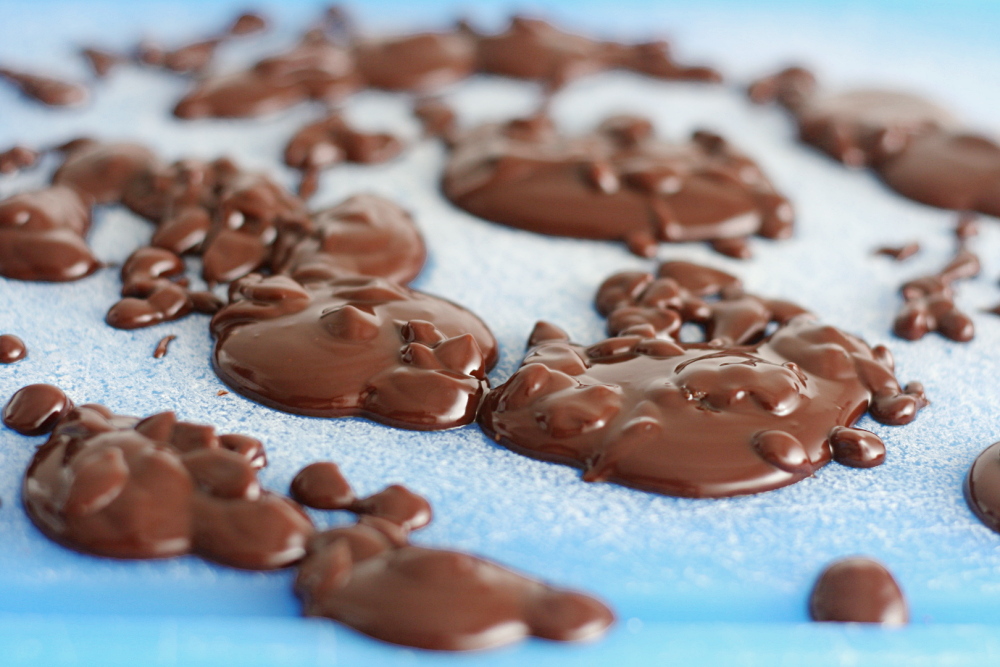
Thank goodness for the ganache coating. And the fact that the torte was so tasty that it could stand up to all the abuse.

Holly chose this recipe for Tuesdays with Dorie and has it posted on her site.

One year ago: Lemon Cream Tart

copy-of-img_3924

pecan sour cream biscuits

copy-of-img_2095

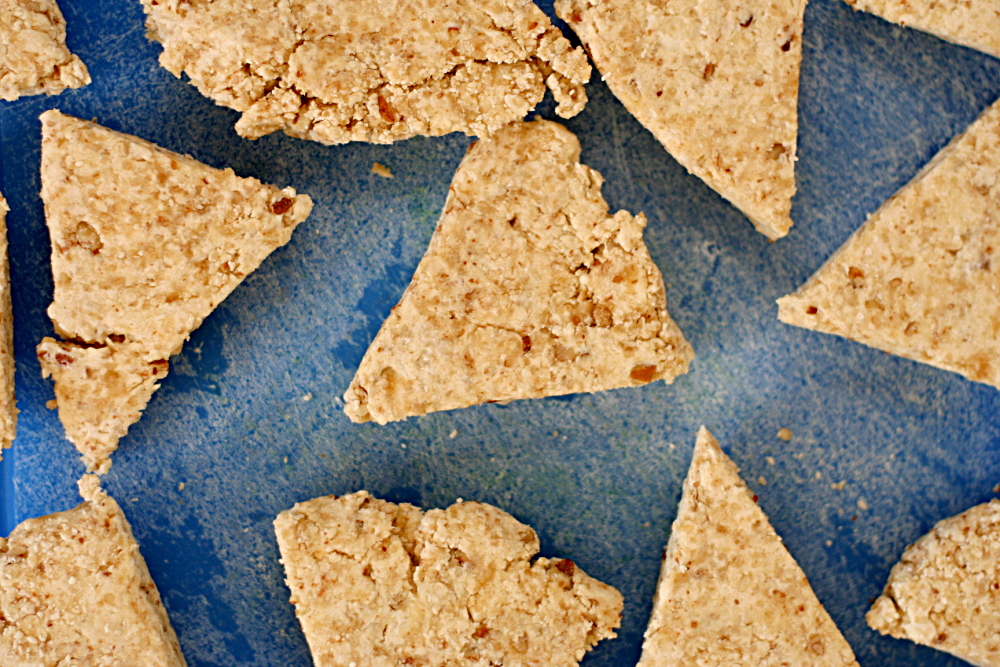
So what exactly is the difference between a biscuit and a scone? It seems to me that scones are just sweet biscuits. I’ve been going through a scone phase the last few months, making batches and freezing them unbaked. It makes for a great weekend breakfast, because there’s basically no work to do. Plus I love scones with coffee and I only drink coffee on the weekends. I know that technically, these aren’t scones. The name says biscuits, but I thought they’d fit right in with the theme.

copy-of-img_2080

They’re made just like any other biscuit (or scone) – mix the dry ingredients, cut (or rub) in the butter, stir in some liquid. In this case, the liquid includes sour cream, which seemed promising because I really like the tenderness of scones made with cream, and sour cream has that same richness.

copy-of-img_2082

The biscuits were just as good as I had hoped. Not only were they light and tender, but I love the flavor of the nuts. I only put jam on my biscuit for the sake of the photograph, but then I decided that it was a great compliment. I’m so glad that I have a few more of these in the freezer, stocked up for a lazy weekend morning.

copy-of-img_2091

One year ago: Chocolate Cream Pie

Pecan Sour Cream Biscuits (from Dorie Greenspan’s Baking: From My Home to Yours)

2 cups (9.6 ounces) all-purpose flour (or 1¾ cups all-purpose flour and ⅓ cup cake flour)
1 tbsp baking powder
½ tsp salt
¼ tsp baking soda
¼ cup (packed) (1.74 ounces) light brown sugar
5 tbsp cold unsalted butter, cut into 10 pieces*
½ cup cold sour cream
¼ cup cold whole milk
⅓ cup finely chopped pecans, preferably toasted

Center a rack in the oven and preheat the oven to 425F. Get out a sharp 2-inch-diameter biscuit cutter, and line a baking sheet with parchment or a silicone mat.

Whisk the flour(s), baking powder, salt and baking soda together in a bowl. Stir in the brown sugar, making certain there are no lumps. Drop in the butter and, using your fingers, toss to coat the pieces of butter with flour. Quickly, working with your fingertips or a pastry blender, cut and rub the butter into the dry ingredients until the mixture is pebbly. You’ll have pea-size pieces, pieces the size of oatmeal flakes and pieces the size of everything in between – and that’s just right.

Stir the sour cream and milk together and pour over the dry ingredients. Grab a fork and gently toss and turn the ingredients together until you’ve got a nice soft dough. Now reach into the bowl with your hands and give the dough a quick, gentle kneading – 3 or 4 turns should be just enough to bring everything together. Toss in the pecans and knead another 2 to 3 times to incorporate them.

Lightly dust a work surface with flour and turn out the dough. Dust the top of the dough very lightly with flour and pat the dough out with your hands or roll it with a pin until it is about ½ inch high. Don’t worry if the dough isn’t completely even – a quick, light touch is more important than accuracy.

Use the biscuit cutter to cut out as many biscuits as you can. Try to the cut the biscuits close to one another so you get the most you can out of this first round. By hand or with a small spatula, transfer the biscuits to the baking sheet. Gather together the scraps, working them as little as possible, pat out to a ½-inch thickness and cut as many additional biscuits as you can; transfer these to the sheet. (The biscuits can be made to this point and frozen on the baking sheet, then wrapped airtight and kept for up to 2 months. Bake without defrosting – just add a couple more minutes to the oven time.)

Bake the biscuits 14 to 18 minutes, or until they are tall, puffed and golden brown. Transfer them to a serving basket.

copy-of-img_2094

caramel crunch bars

copy-of-img_2148

I haven’t missed a Tuesday with Dorie since I joined the group last April. There were a few times, when I was traveling or something, where it was close, but for the most part, it’s been easy. I never really understood what the big deal was with people who only made half the recipes. It’s not like I wouldn’t be baking every chance I got anyway.

copy-of-img_2124

Oh, did I mention that I was unemployed for most of the last year, and had an easy part-time job for the remainder? Yeah, that makes a difference. Everything seems so easy when you don’t have to actually work.

copy-of-img_2127

Now that I have a much more demanding job, I’m getting each TWD recipe done just by the skin of my teeth. I’ve gotten in the habit of finishing the recipes Monday night, and I’m lucky if I can get the blog entry done by the end of Tuesday.

copy-of-img_2130

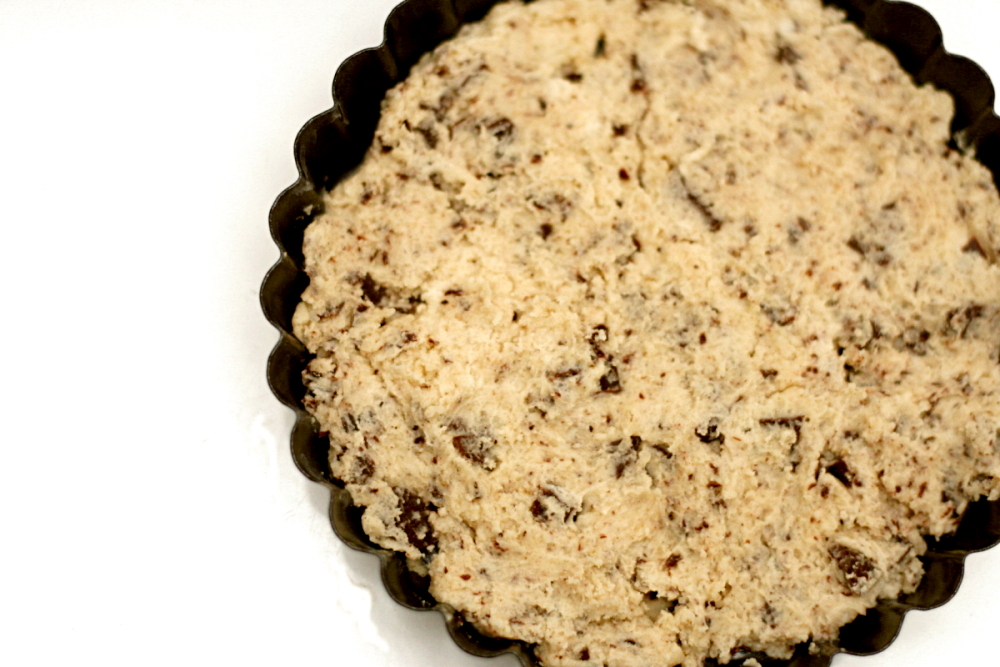
As I’m more rushed to finish each recipe, I find myself diving into the baking before I read it through. I was halfway through making these before I realized that they were basically fancied-up chocolate chip cookies. Woohoo!

copy-of-img_2135

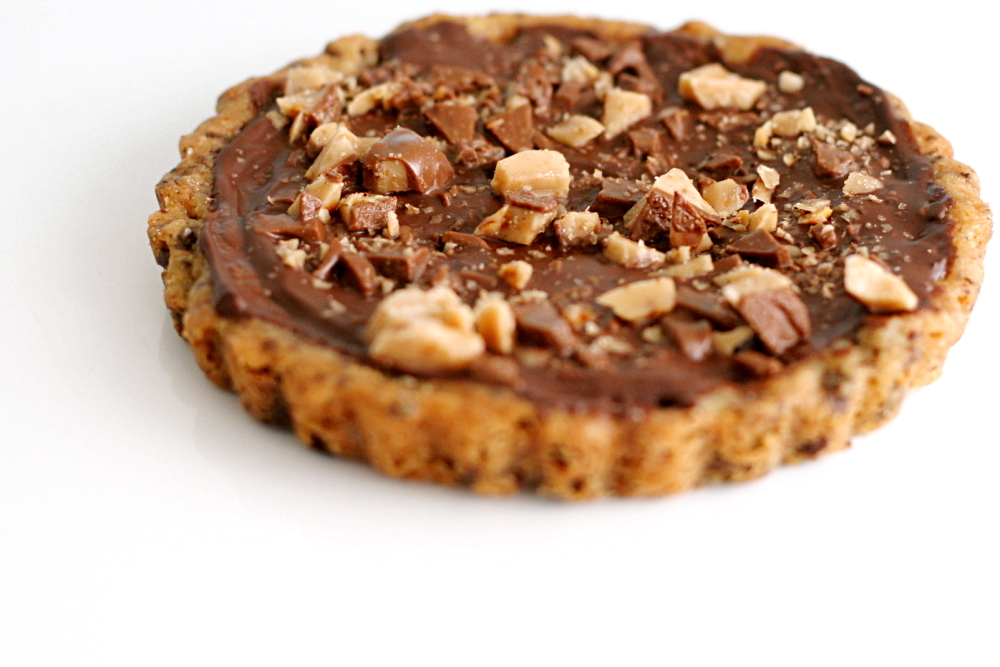
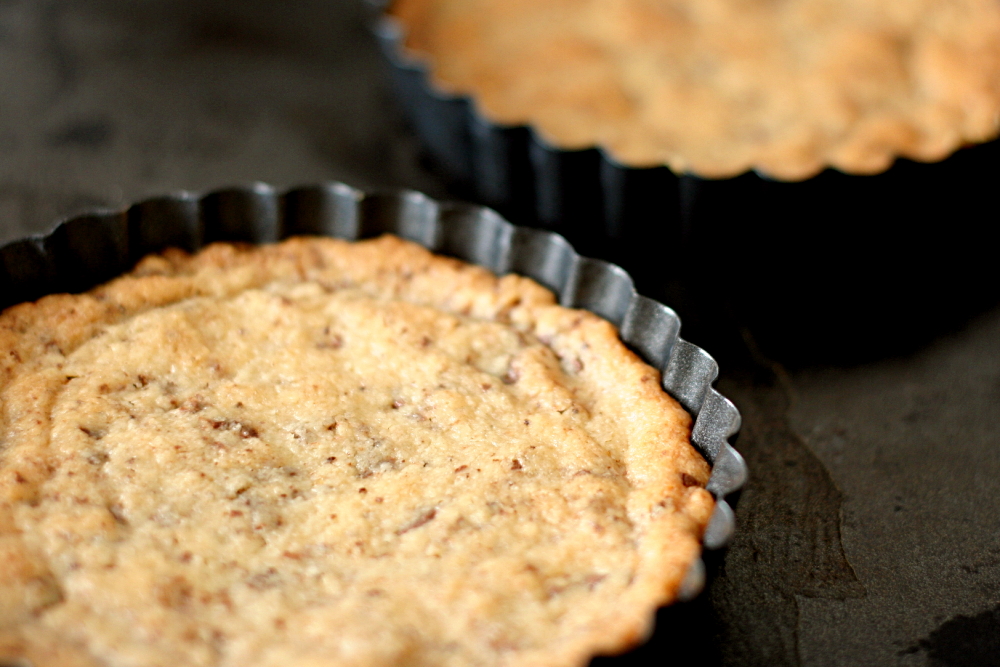
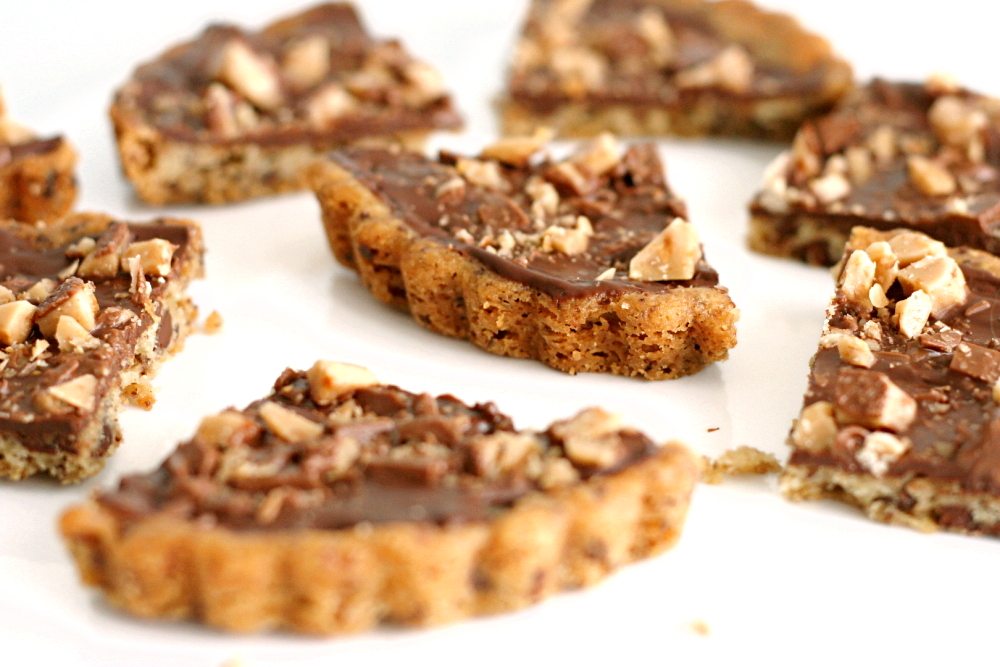
The base is a cinnamon- and espresso-enriched shortbread version of a chocolate chip cookie. Once that’s baked, it’s topped with finely chopped chocolate that quickly melts, then finished off with toffee bits. The cinnamon and espresso were pretty subtle – I couldn’t pick them out, but there was a little spice in the cookie. Overall, I really enjoyed these and wouldn’t change anything next time I make them.

Whitney has the recipe posted.

One year ago: Challah

copy-of-img_2150

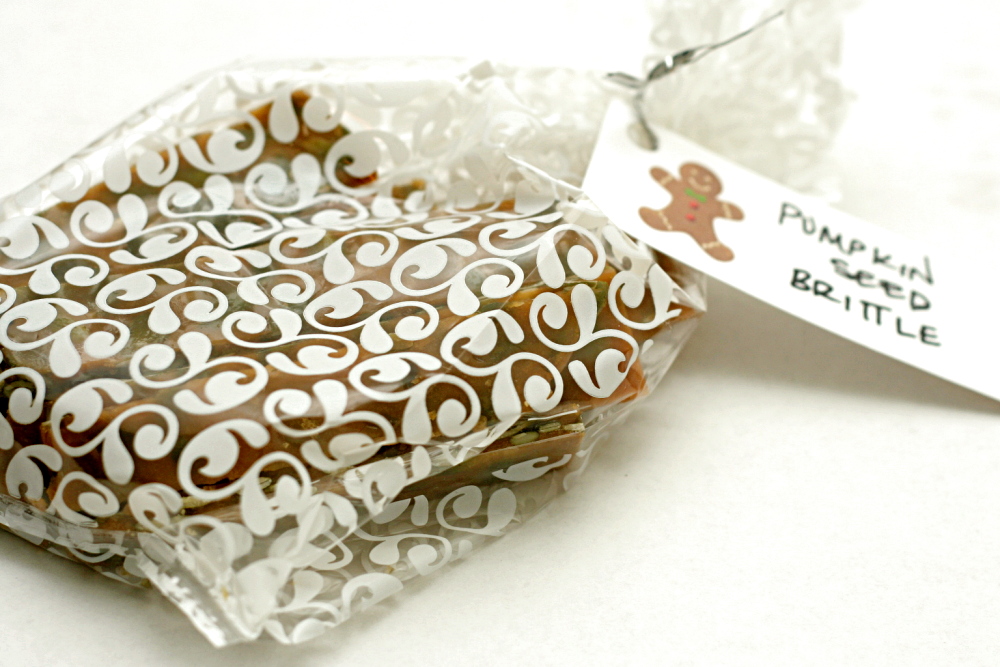
pumpkin seed brittle

copy-of-img_0695

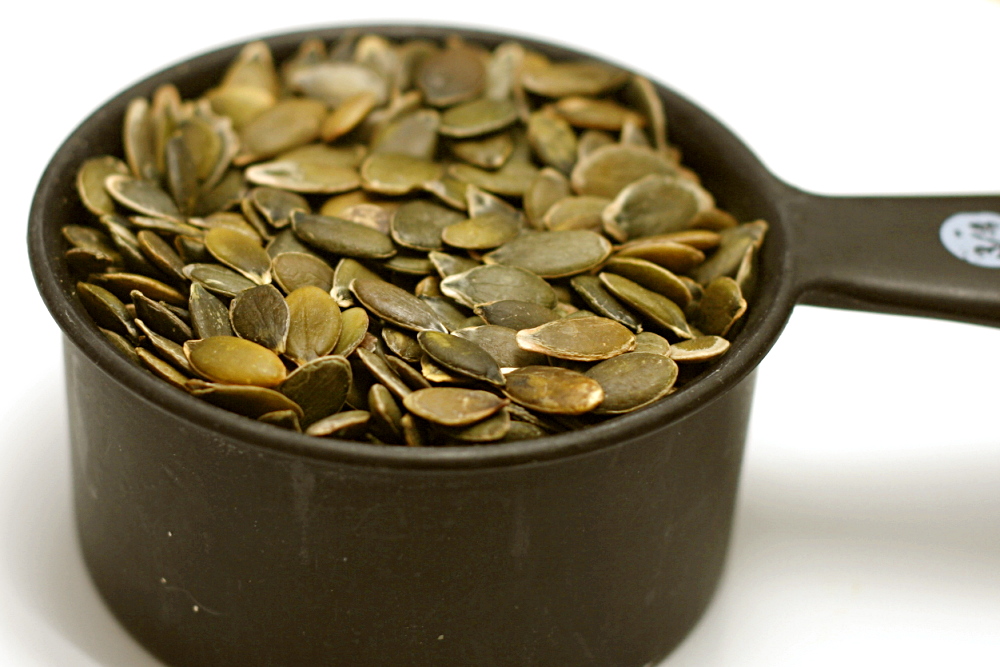
This recipe almost didn’t get made. It was the last one I got to on my day of candy making, and I tried to talk myself out of it. I was tired and there was already plenty of candy around. But I’m not good at changing my plans once they’re set, plus I didn’t know what else to do with all the pumpkin seeds.

copy-of-img_0575

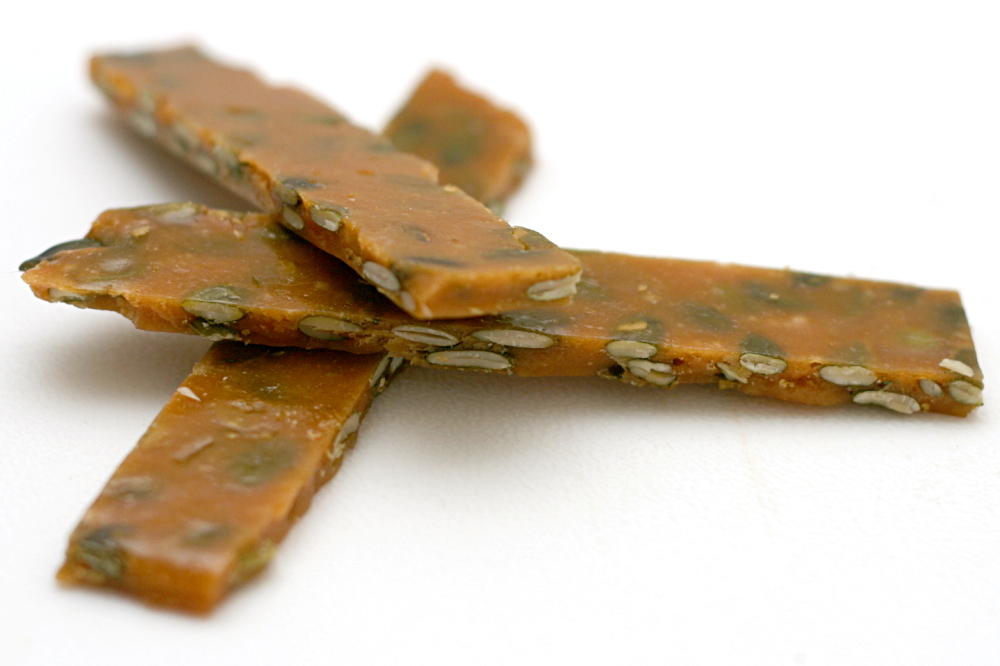
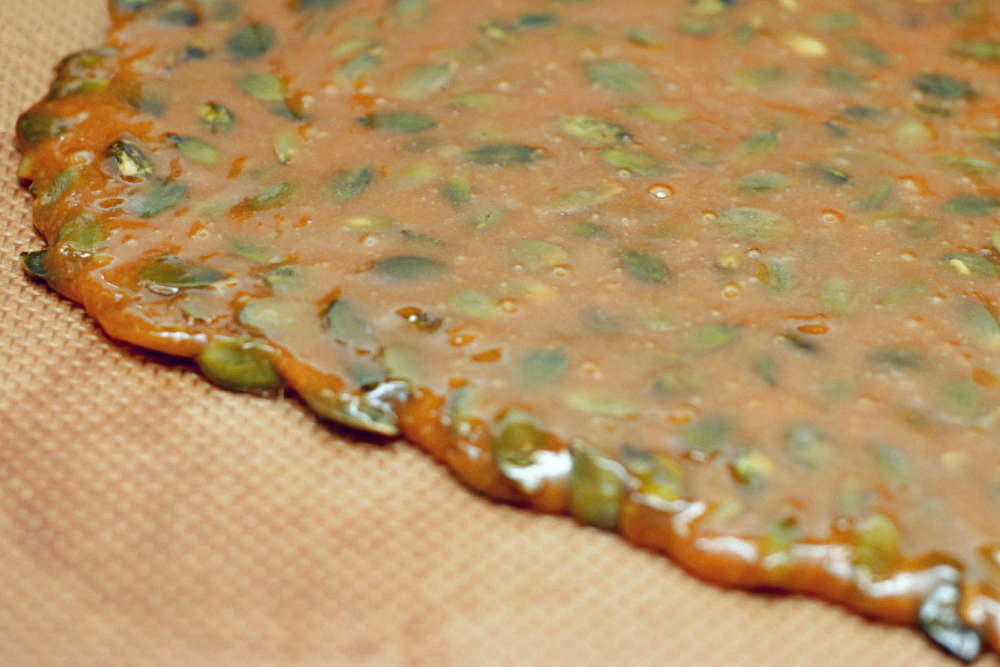
And you know what, I’m glad I made it. This was definitely the easiest of the recipes I made last week. A few ingredients are mixed and then cooked, some other ingredients are added, and then you’re basically done – just pour the mixture out, flatten it, and break off pieces.

copy-of-img_0574

There are a couple of points where my OCDness needed some more instructions. One is the wide range of salt – between 2 and 4.5 teaspoons? And that just depends on whether you use salted or unsalted butter? I have a hard time believing that 1 stick of salted butter has 2.5 teaspoons of salt. I think I used 3 teaspoons (1 tablespoon) salt with unsalted butter, and the brittle is on the salty side, but in a good way. I think it’s perfect.

copy-of-img_0576

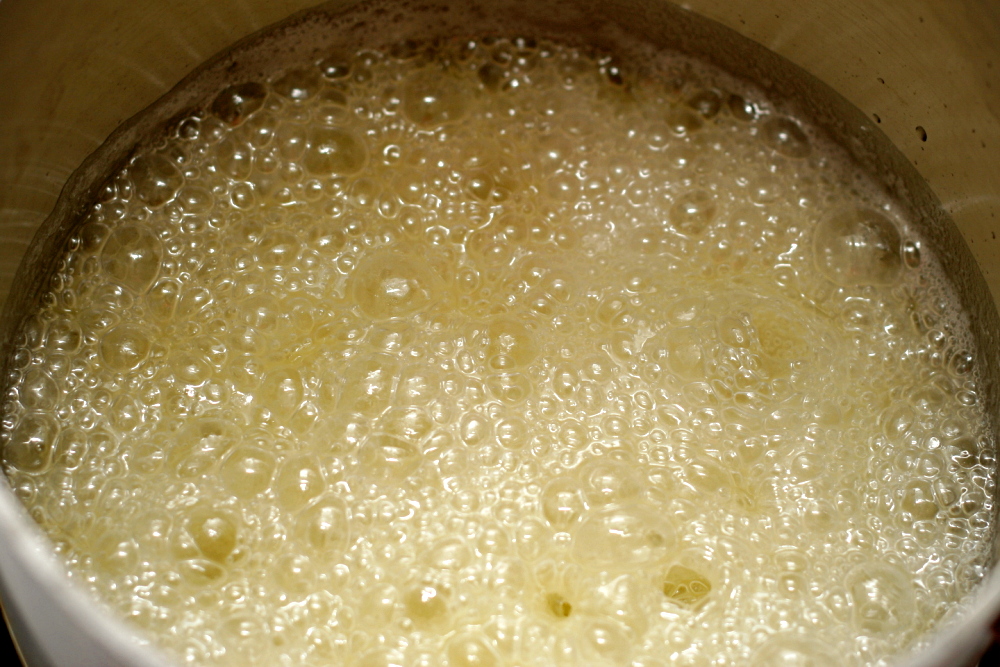
The other issue was how long to cook it. Deb blithely claims that no candy thermometer is necessary – just cook it until it’s medium golden! Um. Yeah. I need to know a temperature. Fortunately, one of her commenters mentioned cooking it to 290 degrees or a little above that, and that worked out perfectly for me.

copy-of-img_0674

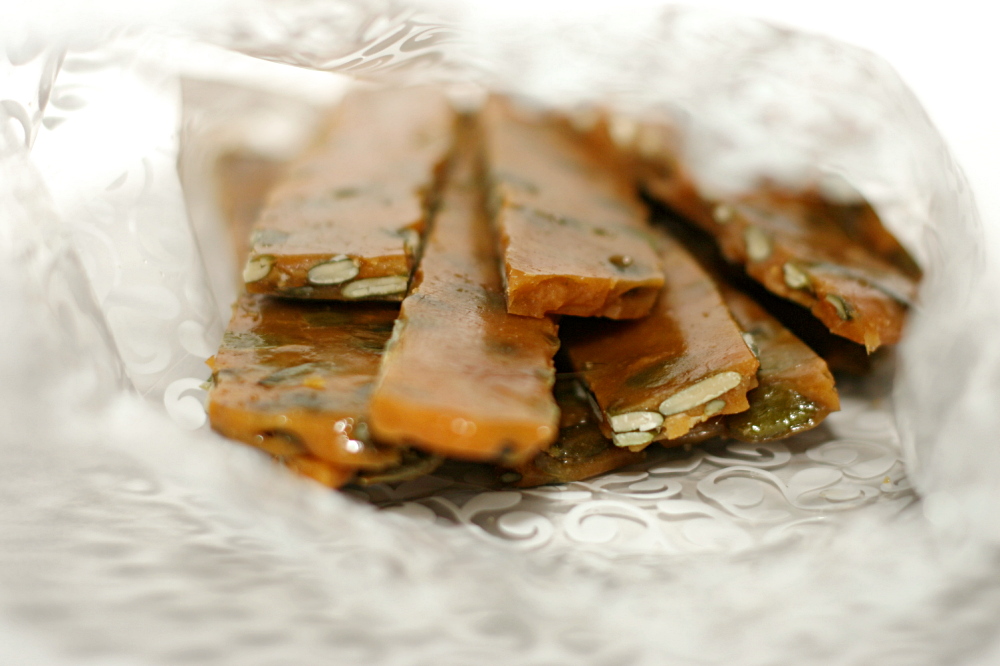
The brittle was very good – sweet, salty, crackly but easy to bite through. All that for just a few minutes of effort. I wish all the candy I made last week had been so easy.

copy-of-img_0624

Pepita Brittle (from Smitten Kitchen, who has all sorts of other sources for it)

Vegetable-oil spray or 1 teaspoon butter, for lining the tray
2 cups sugar
8 tablespoons (1 stick) salted or unsalted butter
1/3 cup light corn syrup
½ teaspoon baking soda
2 teaspoons to 1½ tablespoons coarse or flaky sea salt (use less if you’re using salted butter)
1½ cups of raw, unroasted pepitas (they toast in the syrup) or 12 ounces (¾ pound) roasted, salted nuts, not chopped

1. Line a 12 x 16 x ½-inch sheet baking pan with parchment paper and lightly coat it with vegetable spray or butter.

2. Put the sugar, butter, corn syrup, and ½ cup plus 2 tablespoons water to a large saucepan, and stir together until all the sugar is wet. Cook over high medium-high, but watch it carefully as it will foam up quite a bit and you might need to dial back the heat to medium until it begins to thicken.

3. Once the mixture turns a medium golden (takes at least 10 minutes) immediately remove from the heat, and carefully whisk in the baking soda followed by the salt (taking care, as the caramel will rise in the pan and bubble some more). Switch to a wooden or metal spoon, and fold in the pepitas or nuts.

4. Quickly pour the mixture onto the sheet pan, and spread it out over the pan using the back of the spoon before it starts to harden. Alternately, you can slide the parchment paper out of the baking pan and onto a counter, cover it with another sheet, and use a rolling pin, pressing down hard, to roll it out as flat and thin as you would like.

5. At this point you can either let it cool completely (pulling off the top sheet of parchment, if you use the rolling pin technique) and break it into bite-size pieces with the back of a knife or other blunt object or, while it is still fairly hot and pliable, cut it into a shape of your choice and let the pieces cool, separated on parchment paper. The brittle can be stored at room temperature, in an airtight container, for up to two weeks.

copy-of-img_0693

buckeyes

copy-of-img_0634

To thank our wedding party, Dave and I gave them gift bags of foods from various places where we’d lived. Among other treats, there was wine from the Finger Lakes region, where we were living at the time and where we got married, salsa from New Mexico, where I grew up, and there was supposed to be buckeyes, representing Ohio, where Dave is from. I made the buckeyes a week or so before the wedding, packaged them into treat boxes, and painstakingly wrapped each box with a ribbon. But I stored them incorrectly, and when Dave and I were getting ready for the rehearsal dinner, where we gave the gifts, we found that they were…unfit to eat. Ugh, that sucked.

copy-of-img_0534a

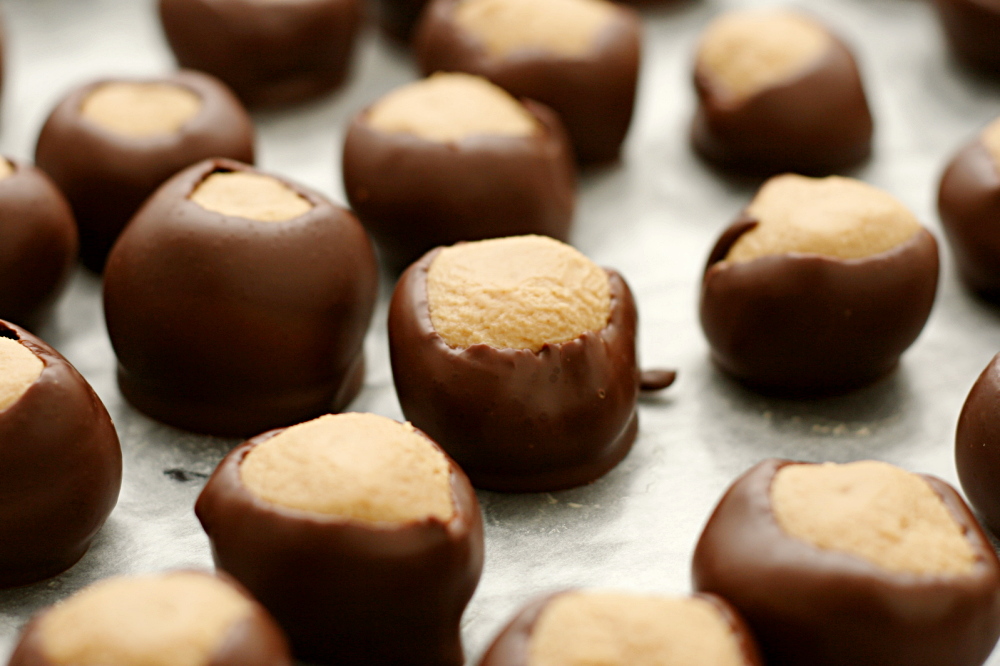
The buckeyes were a pain in the first place, because there was apparently a typo in the recipe I used. Buckeyes are simply peanut butter, butter, powdered sugar, and vanilla, mixed together, rolled into balls, then dipped in chocolate. Unfortunately, the recipe I used calls for twice as much powdered sugar as it should. As a result, I had to scramble and add more peanut butter and butter, and I had twice as many buckeyes as I had intended.

copy-of-img_0535

This time went more smoothly, because I knew how much powdered sugar to add. Actually, it was surprisingly easy and only a little bit tedious. The recipe still makes a good amount of buckeyes, 4 or 5 dozen, depending on how big you roll them.

copy-of-img_0539

These are certainly the most decadent of the candy recipes I made this week. I’ve always been a fan of the peanut butter and chocolate combination, so I find them a little difficult to resist. Hopefully everybody else does too, so I don’t eat them all myself!

copy-of-img_0599

Buckeyes

Makes 4 to 5 dozen

8 tablespoons (1 stick) unsalted butter, softened
1 (16-ounce) jar creamy peanut butter
1 tablespoon vanilla extract
3 cups (12 ounces) powdered sugar
16 ounces seimisweet chocolate, chopped

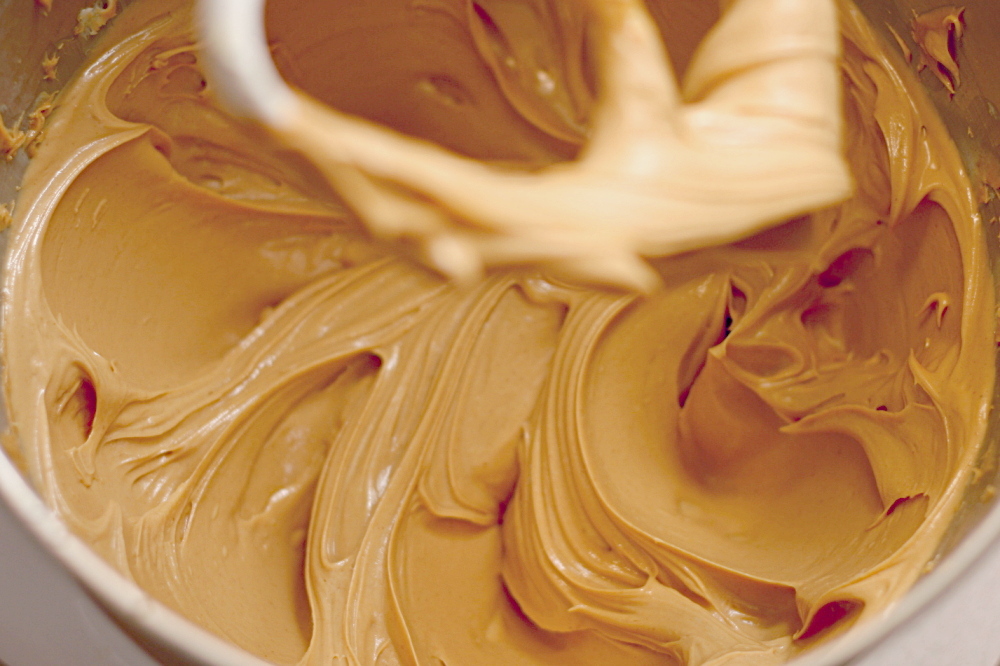
1. In a standing mixer fitted with paddle attachment, beat butter on medium-low speed until creamy. Add peanut butter and continue mixing until fully blended. Blend in vanilla. With the mixer on low speed, gradually add the powdered sugar. Mix on medium-low speed until fully blended. It should have the texture of very thick cookie dough.

2. Roll the peanut butter mixture into 1-inch balls, and place the balls on a parchment- or wax paper-lined baking sheet. Push a toothpick into each ball. Put the peanut butter balls in the freezer and chill until hard, at least 4 hours.

3. Melt the chocolate in a large heatproof bowl set over a saucepan of almost-simmering water, stirring occasionally, until smooth. Using the toothpick as a handle, dip each peanut butter ball in chocolate, leaving a section of peanut butter uncoated. Place chocolate covered balls on parchment or wax paper and remove the toothpick. Once the peanut butter has softened, you can use a finger to smooth over the hole from the toothpick.  Buckeyes can be stored, loosely covered, at room temperature for at least a week.

copy-of-img_0629

asian peanut dip

copy-of-copy-of-img_80881

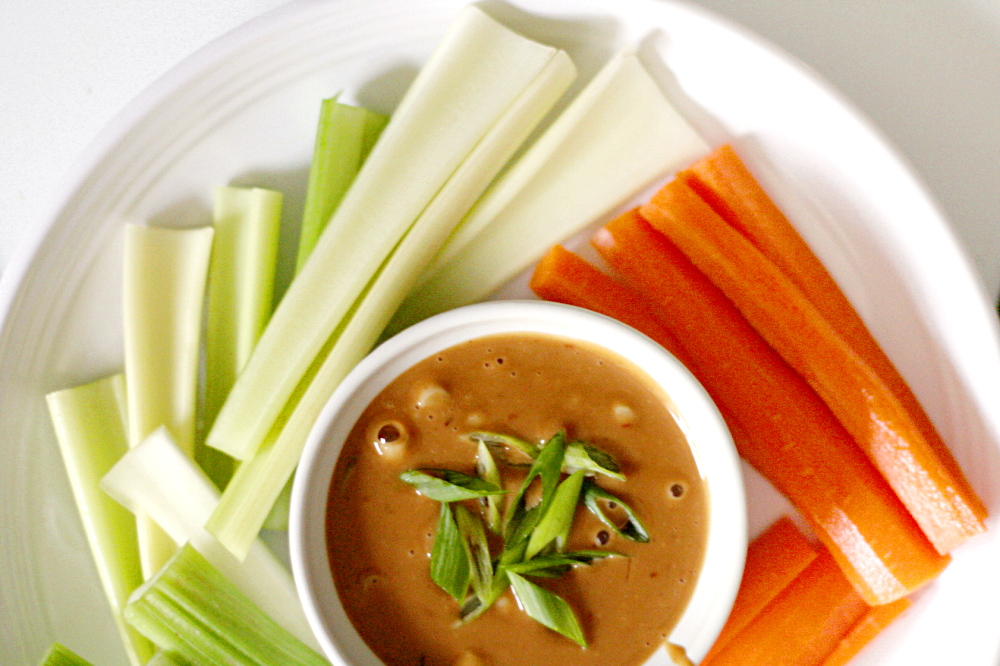
I keep my eye out for vegetables dips that aren’t ridiculously unhealthy. The thing is, when I serve some sort of meat that’s finger food, I don’t like to serve a vegetable that requires silverware. The perfect accompaniment is crudité (snobby way of saying vegetables eaten as a snack) with a dip, but most dips are nothing more than seasoned mayonnaise and sour cream. Not that I don’t love mayonnaise and sour cream, but I don’t always want to think of the dip as a treat.

copy-of-img_8078

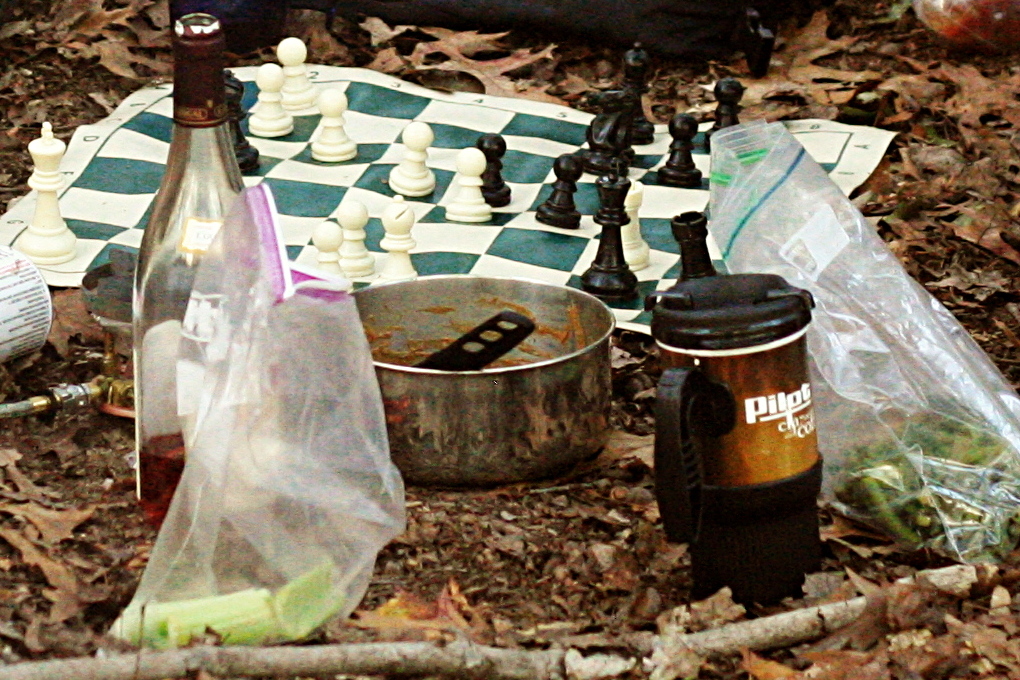
I’ve found one vegetable dip that’s a little healthier, and now I have another one. When struggling to figure out what to serve with the shrimp tempura recipe I was testing for Cooks Illustrated, I remembered that my friend had recently made this great spicy peanut dip on a camping trip. She got the recipe from Backpacker magazine, but when I searched on the internet, I saw that there were many similar recipes, most just as easy as the one we had the on the trip. There were slight variations between each, and I decided to stick with the Backpacker magazine one because it uses rice vinegar instead of lime juice for its acidity, which I’d really enjoyed.

copy-of-img_8020

(Clearly at the time I didn’t realize I’d blog about this at some point, or I would have taken a more flattering/interesting photo.)

The recipe, designed as it is to be made outdoors on a single-burner backpacking stove, is simple. I’ve tweaked the instructions just slightly, to bring the most flavor out of the red pepper and to tame the bite of the garlic. I also increased the seasoning and decreased the amount of red pepper flakes. It seemed far spicier when I made it at home than it did on the trip, maybe because I heated the flakes in oil first. And of course we didn’t add the scallions when we were camping – who brings scallions on a multi-day canoeing trip?

copy-of-img_8080

Usually, we adapt our favorite meals to be appropriate outdoors. I think this is the first time I’ve adapted a backpacking recipe for home, but this is a great recipe to have. I know peanut butter isn’t exactly a low-fat ingredient, but it’s a heck of a lot healthier than mayonnaise or sour cream, and this dip is just as good as more decadent vegetable dips.
copy-of-img_8086

Asian Peanut Dip (adapted from Backpacker Magazine)

Serves 4

1 teaspoon canola or vegetable oil
1 garlic clove, minced
½ teaspoon red pepper flakes
½ cup water
½ cup peanut butter, creamy or chunky
4 tablespoons soy sauce
2 tablespoons rice vinegar
1 scallion, sliced
salt to taste

In a small saucepan over medium heat, heat oil, garlic, and red pepper flakes. Cook, stirring frequently, until garlic is fragrant, 1-2 minutes. Add water, increase heat to high, and bring to boil. When water boils, remove pan from heat and add peanut butter, stirring until smooth. Stir in remaining ingredients (saving some scallion slices for garnish, if desired). Return to heat and continue stirring for 2-4 minutes until mixture is thickened. Serve warm or cold with crackers or crudité.