skillet turkey meatballs with lemony rice

lemon turkey meatballs 5

Maybe we’re getting the hang of things. I’m still depending heavily on my freezer meals, but I can count on being able to cook a few nights per week. Last weekend, I even made salmon cakes, broiled asparagus with shallot-lemon vinaigrette, and biscuits for dinner one night. I prepped it all ahead of time, and then when we put the baby down to sleep, I finished cooking everything, plated it, poured the wine – and the baby woke up. Something else I’m getting the hang of: feeding myself while feeding the baby.

lemon turkey meatballs 3

I made this back when she was just three weeks old, when we definitely did not have the hang of things. But I got ahead of the game by making the meatballs (a double batch, with extra to freeze) in the afternoon. The dish is easy enough that it wasn’t much trouble to finish it up when the baby was sleeping that evening.

lemon turkey meatballs 2

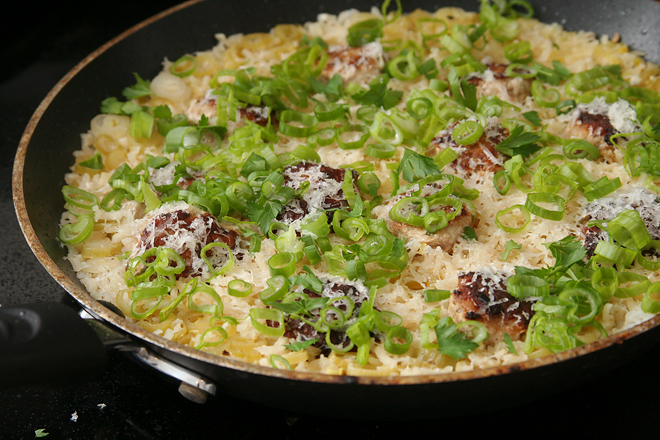
And then she woke up while it was cooking, and I fed her, and since I wasn’t proficient at feeding myself while feeding the baby then, I ate my meatballs and rice lukewarm. Fortunately, this is a meal that tastes just fine at room temperature – lemony and light, but substantial enough to last through a night of baby-feeding. However, it was even better when I made it again a few weeks later and got to eat it hot.

lemon turkey meatballs 4

Skillet Turkey Meatballs with Lemony Rice (adapted from Cook’s Country via Elly Says Opa)

Serves 4

½ cup panko bread crumbs
1 large egg
6 scallions, white and green parts separated, divided
¼ cup freshly chopped parsley, divided
½ teaspoon dried oregano
salt and pepper
1 tablespoon grated lemon zest, divided
1 pound ground turkey
2 tablespoons olive oil
1 cup white rice
3 cloves garlic, minced
2¼ cups chicken broth
2 tablespoons lemon juice
½ cup (1 ounce) grated parmesan cheese
lemon wedges for serving

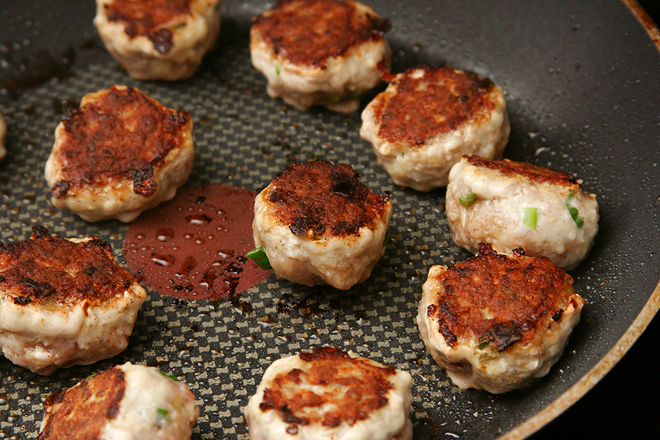
1. In a large mixing bowl, combine the panko and egg. Set aside, stirring occasionally, until the panko is moistened, about 15 minutes. Add 2 tablespoons of the scallion greens, 3 tablespoons parsley, the oregano, 1 teaspoon salt, ½ teaspoon pepper, and 1½ teaspoons lemon zest; stir to combine. Add the turkey; mix thoroughly. Form the mixture into balls approximately 1-inch in diameter; you should have about 24 meatballs.

2. In a 12-inch nonstick skillet over medium-high heat, heat the oil until it flows like water when the pan is tilted. Arrange the meatballs in the pan with space between them. Cook without stirring until the bottom sides are brown, about 2 minutes. Flip and brown the opposite side. Transfer the browned meatballs to a plate.

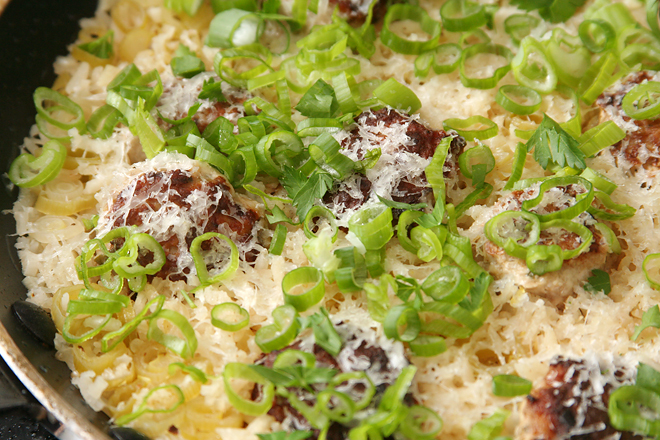
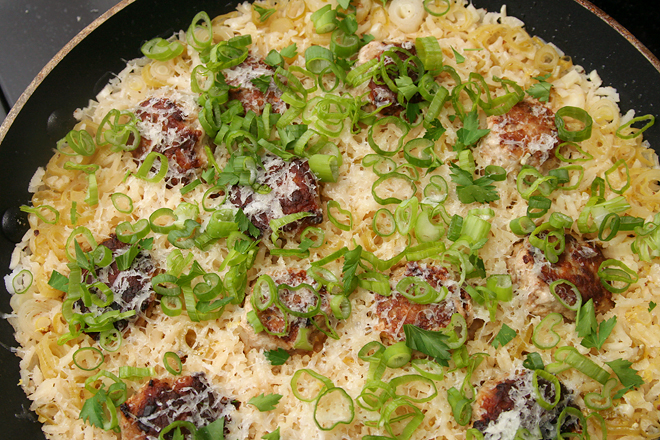
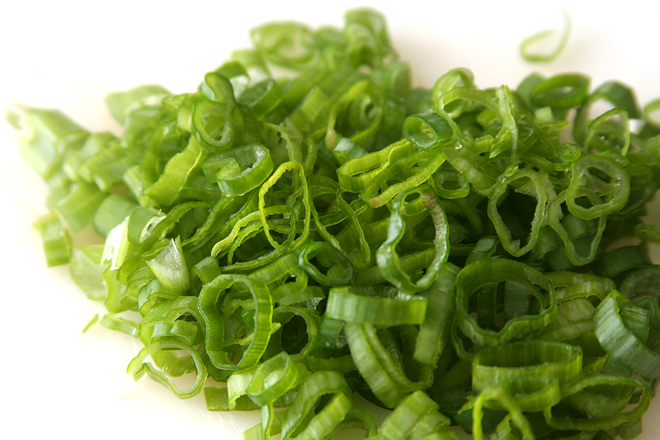
3. Leaving the remaining fat in the skillet, add the rice. Cook, stirring constantly, until the grains are translucent at the edges, 1-2 minutes. Add the garlic and scallion whites and cook, stirring constantly, until fragrant, about 30 seconds. Add the chicken broth, lemon juice, and 1½ teaspoons lemon zest; stir to combine, then arrange the meatballs in the rice. Bring to a simmer, then reduce the heat to low, cover, and cook until the rice is tender and the meatballs are cooked through, about 20 minutes. Remove from the heat and let set, covered, for an additional 5 minutes. Uncover and top with the parmesan cheese, remaining scallion greens, and remaining parsley; serve, with additional lemon wedges.
lemon turkey meatballs 6

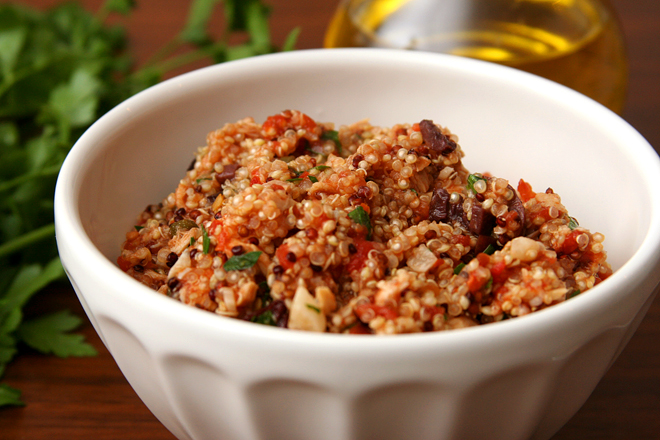
quinoa puttanesca

quinoa puttanesca 1

Based on whether it leaves a bunch of half-used ingredients leftover, this may not be the best single-person dinner, but it’s one of my favorite meals for when Dave is out of town anyway. For years, Dave didn’t like anchovies or olives, so those were the things I ate when he traveled. He’s come around to both, but the tradition has stuck, and this has become a treat for myself while he’s gone.

quinoa puttanesca 3

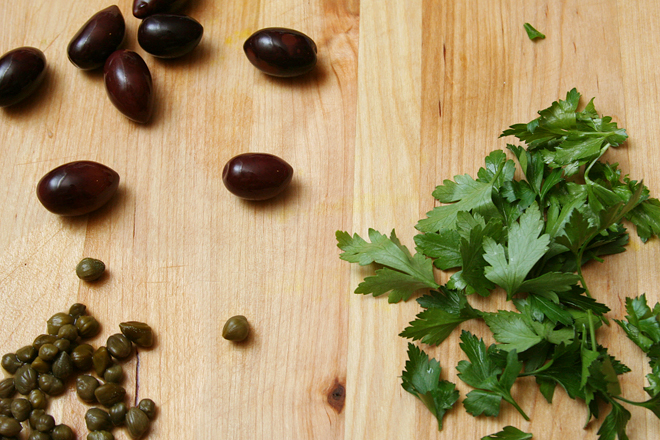
It’s very similar to the pasta version, but I like to think quinoa is a little healthier than pasta. Certainly, quinoa has a stronger, earthier flavor, which required adjustments in the other ingredients. More briny olives, more salty capers, and more bitter parsley were all necessary to stand out next to the quinoa.

quinoa puttanesca 4

Even if it doesn’t fulfill my no-leftover-bits-of-ingredients rule for single-person dinners, it meets the rest of my criteria – easy, healthy, minimal dishes. Fortunately, I like it so much that I’m willing to make it twice in one week while Dave travels, which is the perfect way to use up the half cans of tomatoes and tuna leftover from one serving. That puts this back on the list of great meals for cooking for one.
quinoa puttanesca 2

Printer Friendly Recipe
Quinoa Puttanesca (adapted from Cook’s Illustrated’s Spaghetti Puttanesca)

4 servings

I use the higher amount of anchovies, because I love them, but I understand that not everyone shares that opinion. The tuna is not at all traditional in puttanesca, but it increases the protein of this one-pot dish.

1 tablespoon olive oil
1 teaspoon red pepper flakes
6 cloves garlic, peeled and minced
6-8 anchovies, minced
8 ounces (1⅓ cups) quinoa, rinsed and drained
1 (28-ounce) can whole tomatoes, coarsely diced in the can with scissors
2 (5-ounce) cans solid white tuna in water, drained and flaked into bite-sized pieces (optional)
¼ cup capers, drained
1 cup kalamata olives, finely chopped
¼ cup minced parsley

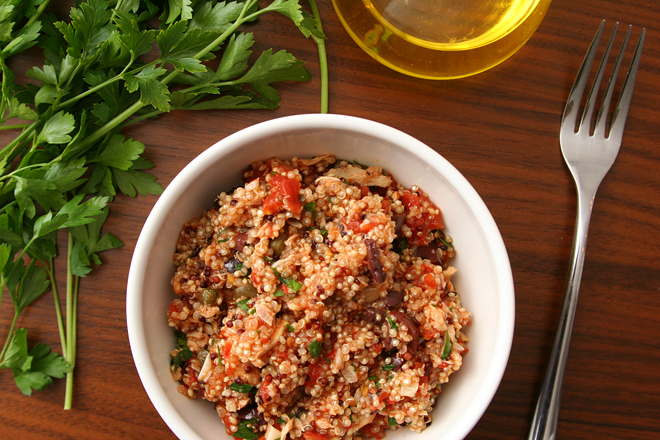
In the medium saucepan over medium heat, heat the olive oil, red pepper flakes, garlic, and anchovies until sizzling and fragrant, 2-3 minutes. Add the quinoa, tomatoes with their juice, and tuna (if using). Increase the heat to medium-high and bring to a simmer. Once the mixture simmers, cover, reduce the heat to low, and simmer for 15 minutes. Stir once, then replace the cover, remove the pot from the heat, and let set for another 15 minutes. Stir in the capers, olives, and parsley; serve immediately.
pan-seared halibut in white wine sauce with green beans and tomato-scallion relish

halibut green beans 5

I have found the perfect single-person dinner. Not because it’s easy, although that’s nice. Not because it only uses one pan to cook, although I’m not complaining about less dishes to wash. Not because it tastes good, because of course it tastes good or why would I be talking about it?

halibut green beans 0

No, the key for bachelor(ette) meals is that they don’t leave you with half a can of tomatoes or beans, or half a cucumber or pepper, or the vast majority of a roast leftover. If you’re cooking for one, this recipe uses one fish filet, one tomato, one scallion, and a handful of green beans.

halibut green beans 1

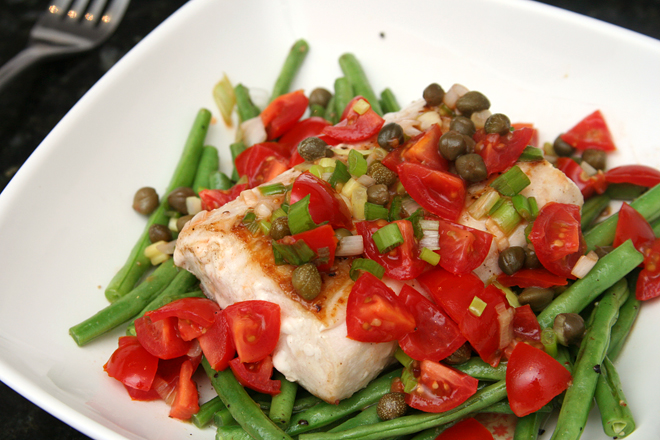
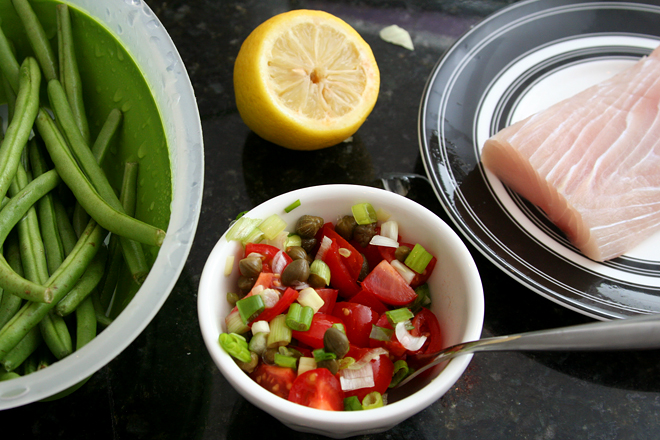
Because I have been cooking for one a lot lately, while Dave travels for work, I’ve been making this dish often. The original recipe instructs that the green beans be steamed in a separate pot, but that seemed like a lot of hassle and dishes just for me, so I saute them quickly in a skillet, then add just a bit of water to cook them through. Any remnant green bean bits are scraped up with a glug of wine. I like to transfer the green beans to a pasta bowl and cover them with a big plate while the fish cooks in the same skillet. The fish gets laid over the green beans, the pan is deglazed with wine again, then a simple relish is heated briefly in the pan before it’s time to eat.

halibut green beans 3

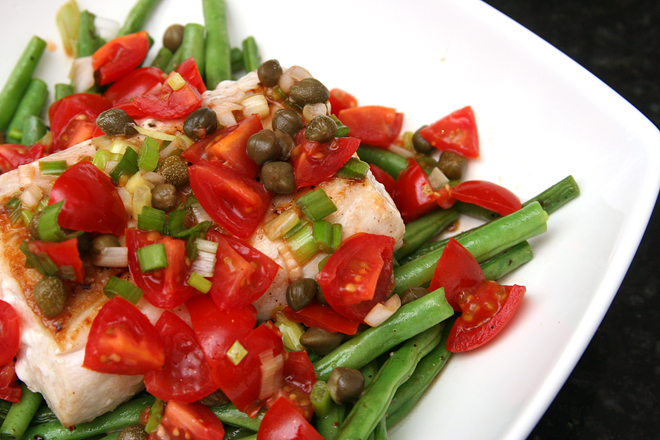
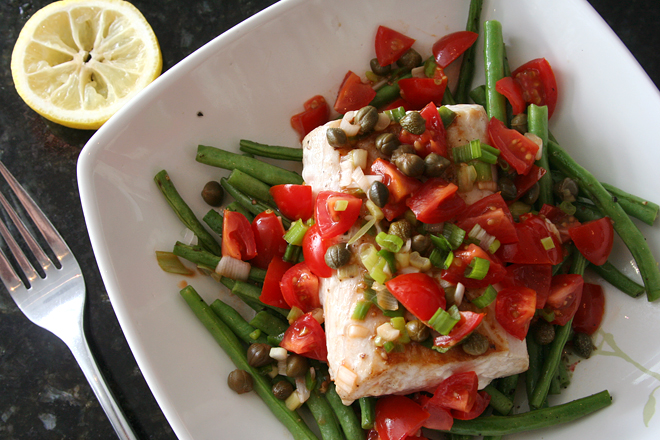
I don’t know if fish served over green beans (although you could put yours on the side if that’s more your thing) sounds weird. The relish really brings everything together, since it’s so bright and flavorful, mixing perfectly with both the beans and the fish. It’s an easy, healthy, one-pan, delicious meal that won’t leave you with a bunch of half-used ingredients, and one of my newest favorites.

halibut green beans 6

Printer Friendly Recipe
Pan-Seared Halibut in White Wine Sauce with Haricots Verts and Tomato-Scallion Relish (adapted from Alfred Portale’s The Twelve Seasons Cookbook via epicurious)

4 servings

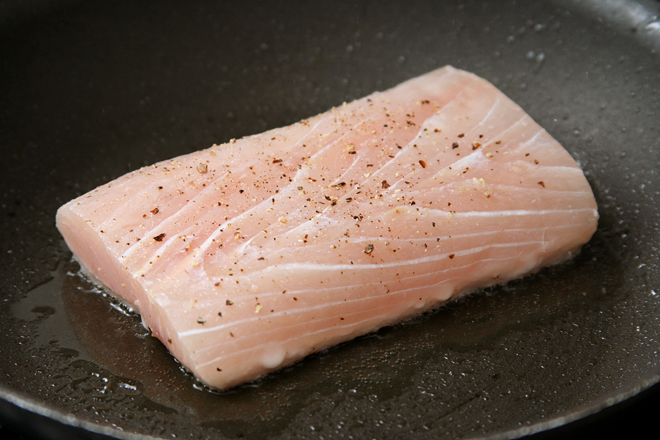
Regular green beans work just as well as haricots verts in this recipe. I’ve also successfully made it with both halibut and mahi-mahi. The pictures show mahi-mahi.

It’s easy to adapt for one person; just divide all of the ingredients by four and use a small skillet.

2 tablespoons olive oil, divided
16 ounces haricots verts or green beans
Coarse salt and freshly ground pepper to taste
¼ cup water
6 tablespoons white wine, divided
4 halibut or mahi-mahi fillets, each approximately 1 inch thick
2 tablespoons fresh lemon juice
2 tablespoons unsalted butter
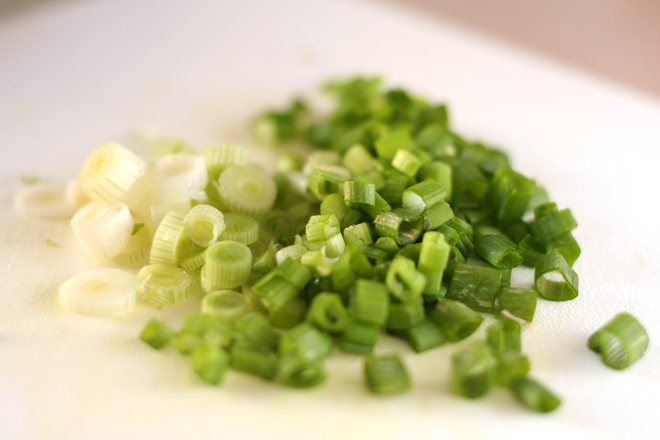
4 scallions, finely sliced
2 tablespoons capers, drained
4 small roma tomatoes, diced fine

1. In a large nonstick skillet, heat 2 teaspoons oil over medium to medium-high heat. Add the beans, 1 teaspoon salt, and a pinch of pepper; cook, stirring occasionally, until the beans are spotty brown, 4 minutes. Add the water, cover, and cook until the beans are bright green and still crisp, about 2 minutes. Remove the cover, increase the heat to high, and cook until the water evaporates, 30 to 60 seconds. Divide the beans between four plates or shallow bowls. Add 2 tablespoons of wine to the pan, swirling it around and scraping the pan with a rubber spatula to dissolve any stickiness on the bottom of the skillet. Transfer to liquid to the dishes with the green beans; cover set aside.

2. Season the halibut on both sides with salt and pepper. In the same skillet, heat the remaining 4 teaspoons of oil over medium-high heat. Cook the fish for about 3 minutes, until lightly browned. Flip the fish, reduce the heat to medium, and cook about 4 minutes longer, until the fish is opaque in the center and browned on both sides. Put the fish over the green beans in the bowl; cover again.

3. Remove the pan from the heat and add the remaining 4 tablespoons wine and the lemon juice to the pan. Deglaze the pan by scraping up any browned bits with a rubber spatula. Stir in the butter. Add the scallions, capers, and tomatoes. Season with salt and pepper if necessary, and pour over the fish in the bowls. Serve immediately.

halibut green beans 4

mussels fra diavolo

mussels fra diavolo 7

Dave took to mussels before I did. They, along with all the other bivalves, weren’t even on my radar when he came home from a dinner with coworkers raving about them. It was one of the first foods he’d tried before I had.

mussels fra diavolo 1

Not long after, we went to a Belgian mussels and beer restaurant, and after that I was hooked. It took me a few bites to get past the slightly boogery texture, but I was sold when I tasted the liquid they were served with. It was buttery and winey and briney, and the housemade ketchup didn’t hold a candle to it as a dip for the crisp French fries served alongside.

mussels fra diavolo 3

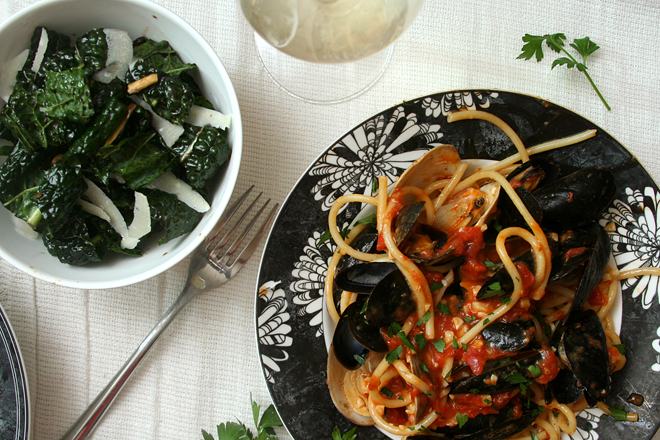
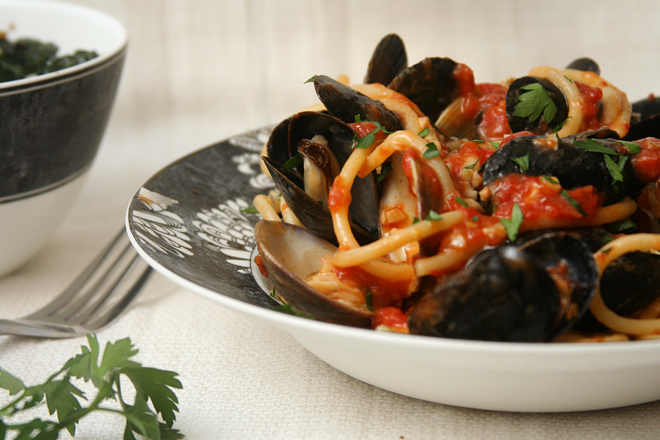
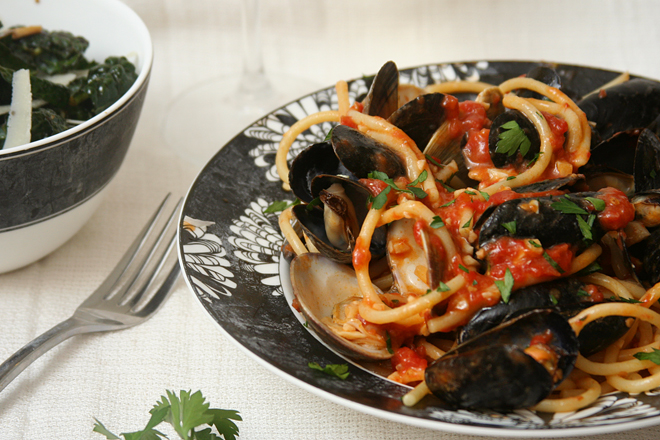
We’ve eaten mussels many, many times since then, but this is our favorite way. It’s garlicky and spicy, and the pasta is the perfect vehicle to mix with the sauce the mussels cook in. And the best part? Dave likes it so much, he’s willing to make dinner. This makes me love mussels at least as much as he does.

mussels fra diavolo 5

One year ago: Normandy Apple Tart
Two years ago: Pumpkin Oatmeal Cookies
Three years ago: Herbed Lamb Chops with Pinot Noir Sauce
Four years ago: Truffles (chocolate brand comparison)

Printer Friendly Recipe
Mussels fra Diavolo (adapted from Cook’s Illustrated’s Shrimp fra Diavolo and Gourmet)

Serves 4

4 tablespoons extra-virgin olive oil, divided
12 cloves garlic, minced or pressed through a garlic press (about ¼ cup), divided
1 (28-ounce) can diced tomatoes, drained
1 cup medium-dry white wine, such as Sauvignon Blanc
salt
¾ to 1 teaspoon red pepper flakes
½ teaspoon sugar
1 pound linguine
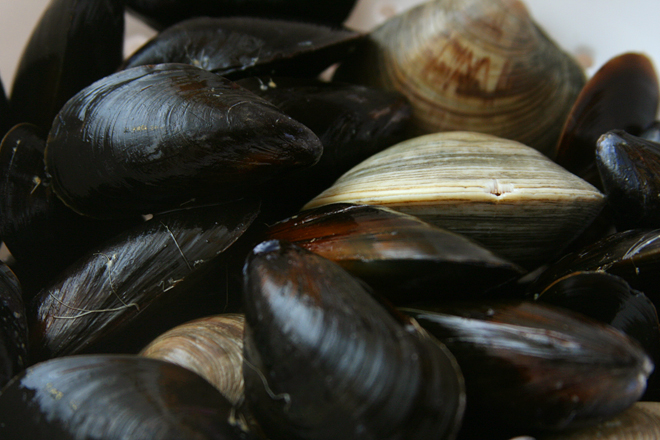
3 pounds mussels, cleaned and debearded
¼ cup minced fresh parsley

1. Bring a large pot of water to boil.

2. Heat a 5-quart Dutch oven over medium-low heat. Add 3 tablespoons of the oil and 9 cloves of garlic. Cook, stirring frequently, until the garlic is sticky and light golden and begins to foam, about 7-10 minutes. Mix in the tomatoes, wine, 1 teaspoon salt, the red pepper flakes, and sugar. Increase the heat to medium-high and simmer until thickened and fragrant, about 8 minutes.

3. While the sauce is simmering, add 1 tablespoon salt and the linguine to the boiling water and cook according to the package directions until al dente. Drain; return the pasta to the now empty pot and add about ½ cup of the sauce. Toss well to coat.

4. Add the mussels to the remaining sauce and cook, covered, until they just open wide, checking frequently after 3 minutes and transferring to a bowl. Discard any mussels that remain unopened after 6 minutes.

5. Stir the remaining garlic and the parsley into the sauce. Stir in the remaining 1 tablespoon oil. Divide the pasta among warmed serving bowls, topping with the mussels and sauce. Serve immediately.

mussels fra diavolo 6

paella

paella 8

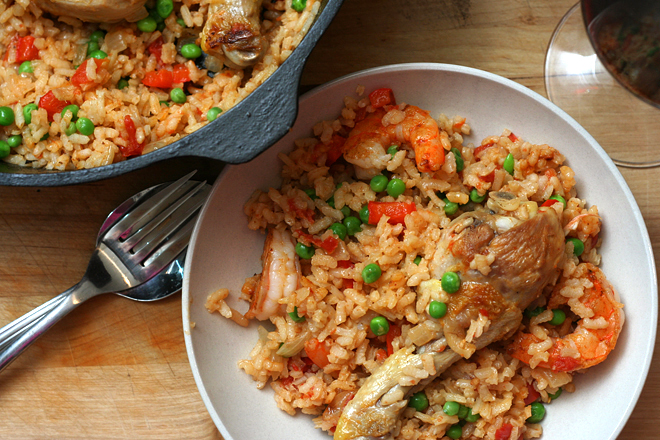
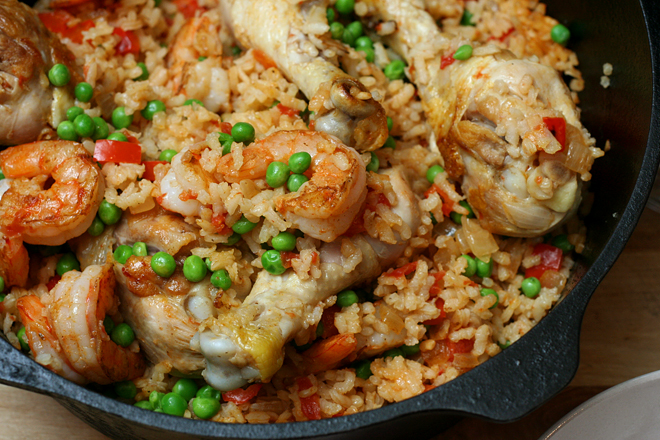
I will always associate paella with the group of friends I hung out with in graduate school. We all enjoyed good food and good drinks, so whenever we got together, everyone would bring food and wine to share. One of my friends was from Spain, and he made paella at several of these get-togethers. Of course, it was fully authentic, cooked in a paella pan set on a tripod over an open flame. The smoked paprika, saffron, roasted red peppers, and rice came directly from Spain, picked up on his latest trip home to visit his parents. Sitting around the fire in my friends’ backyard, drinking good wine and eating paella is one of my most vivid food memories.

paella 1

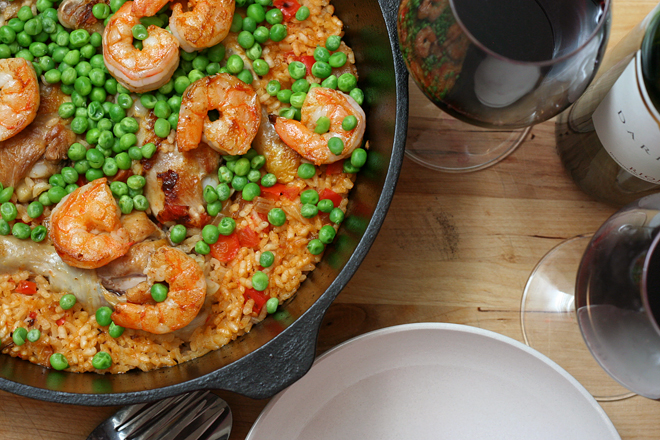
I knew that cooking paella in a Dutch oven on the grill wouldn’t be the same, but I was hoping for just a twinge of that taste, that memory. That’s why I insisted on cooking it outside on the grill instead of using the much easier option of the stove and oven. Maybe it would pick up a hint of smokiness from the coals, but it was more than just the flavor I was after, it was that feeling.

paella 2

I got some of each. With the cast iron Dutch oven, the one Dave and I have taken camping for the last ten years, heated over coals on the grill, I got some of the fun of cooking outdoors. Dave sat outside with me with a glass of wine and let me babble on about different rice dishes in cultures around the world.

paella 3

The food was good, but I need some paella practice before it’ll be up to the standards of what I remember. The biggest mistake I made was preventing the formation of a soccarat, a layer of crusty bits on the bottom of the pan, which is one of the best parts of paella. Letting rice stick to the bottom of the pan goes against years of rice-cooking training, and I ended up adding too much liquid, making a wetter, saucier paella. I also think I’ll leave out the tomatoes next time. They were included in a number of the paella recipes I looked at, but it’s not a flavor I associate with paella.

paella 6

Overall, it was a successful meal, in that I had fun making it and it tasted good. But next time, I’ll use the lessons I learned, like not stirring the rice and leaving out the tomato, and my paella will be that much better. However, I doubt it’ll ever taste as good as one cooked over a fire in a paella pan while enjoying the company of good friends.

paella 10

One year ago: Bruschetta with Chickpea Puree
Two years ago: Grilled Potato and Vegetable Salad
Three years ago: Casatiello
Four years ago: Soba Salad with Feta and Peas

Printer Friendly Recipe
Paella (adapted from Cooks Illustrated, Alton Brown, the New York Times, Leite’s Culinaria, and About.com)

Most of my problems came from not following this method, adding more liquid and stirring more often because I was worried about the rice cooking unevenly. However, it should be noted that the recipe given here has not been perfected.

The recipe specifically refers to charcoal grilling methods, but I think it could be easily adapted to a gas grill.

4 cups water
8 ounces shrimp, peeled, shells reserved
1 onion, half sliced, half diced
2 garlic cloves, 1 sliced, 2 minced
1 small bay leaf
1 large thyme sprig
salt and pepper
1 pounds chicken legs and/or thighs, bone-in, skin-on
2 tablespoons olive oil
1 red pepper, diced
½ teaspoon smoked paprika
¼ teaspoon crumbled saffron
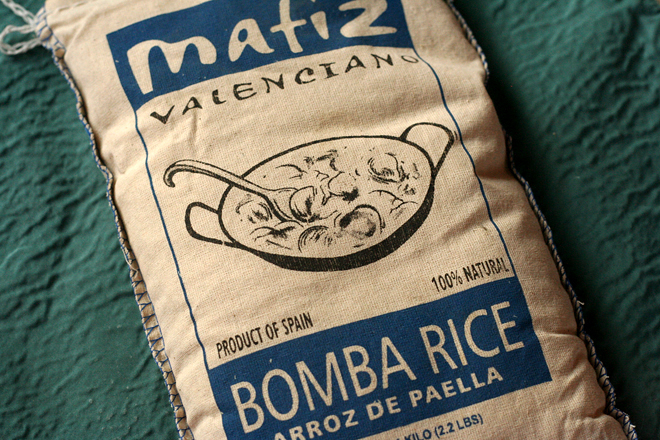
1 cup short-grain rice, preferably Bomba
7 ounces canned diced tomatoes with juice
2 tablespoons white wine
½ cup peas

1. In a medium-size pot over medium-high heat, bring the water, shrimp shells, sliced onion, sliced garlic, bay leaf, thyme sprig and 1 teaspoon salt to a boil. Reduce the heat to medium and simmer for about 30 minutes. Strain, discarding the solids. Return the broth to the saucepan, cover, and keep warm over low heat.

2. Combine the shrimp with 2 teaspoons olive oil, the minced garlic, ¼ teaspoon paprika, and a pinch of teaspoon salt. Mix well to coat with seasonings and let marinate at least 15 minutes or up to 1 hour.

3. Light about 2 quarts of charcoal briquettes; once the briquettes are lightly covered with gray ash, spread them over the bottom grate of the grill, then top with another 2 quarts of unlit coals.

4. Heat a 10-inch cast-iron skillet or Dutch oven directly over the coals. Add the shrimp and cook, without moving, until browned and pink on one side, 30 seconds to a minute. Flip the shrimp to brown the second side. Transfer to a plate.

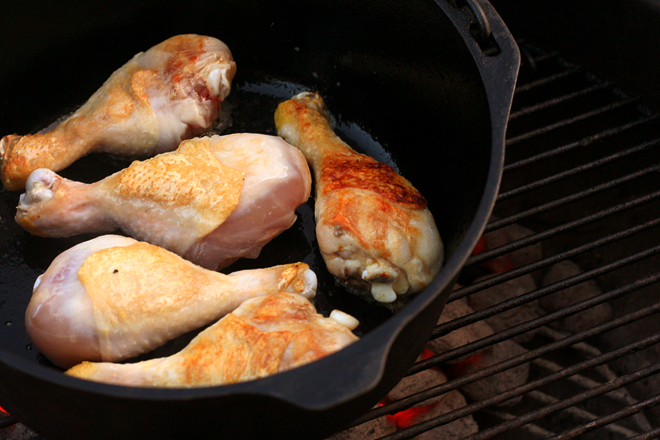
5. Season the chicken generously with salt and ground black pepper. Add 1 tablespoon of olive oil to the hot skillet (or Dutch oven). Add the chicken, skin-side down, and cook with moving until the bottom is deeply browned, 3-4 minutes. Turn each piece of chicken to brown the other side. Transfer the browned chicken to a plate. (Because the chicken is mostly raw and the shrimp is cooked and will only be briefly reheated, don’t put them on the same plate.)

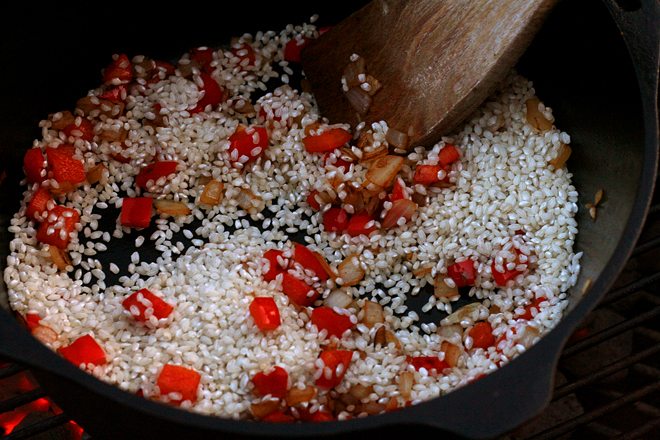
6. Add the diced onion, red pepper, and a pinch of salt to the skillet; sauté, stirring frequently, until softened and lightly browned, 8-10 minutes. Add the saffron and remaining ¼ teaspoon paprika and cook, stirring constantly, until fragrant, about a minute.

7. Add the rice, stirring well to coat with the onion mixture. Add the tomatoes, wine, half of the hot shrimp broth, ½ teaspoon salt, and the browned chicken. Bring to a brisk simmer, stirring once. Simmer, uncovered, until most of the broth has been absorbed, about 10 minutes.

8. Add the remaining broth and cook for an additional 10 minutes. Turn off the heat and arrange the peas and shrimp over the surface of the rice in one layer. Cover the pan with a clean dish cloth. Let the rice rest for 10 minutes before serving.

paella 9

migas

migas 9

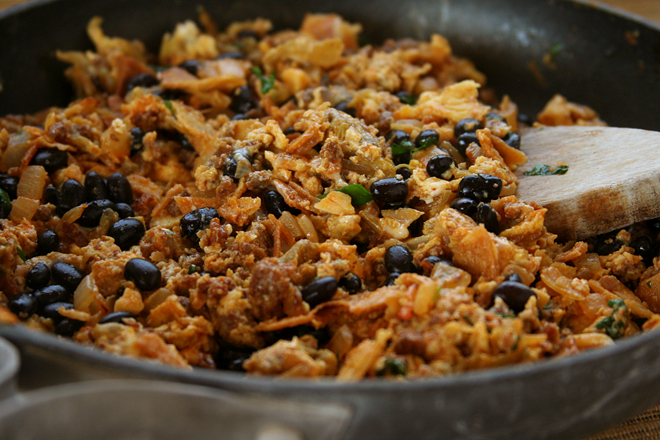
I’ve been raving about migas since the first time I made them, several months ago. They’re such a perfect breakfast for me that I’ve had them almost every weekend since. Somewhere along the way, after I talked my brother into making them, he pointed out that they’re basically just scrambled eggs.

migas 1

Which is true, and in a way, sums up what it is I love about them – their simplicity. Scrambled eggs is not a complicated breakfast, so that must mean that migas are also not a complicated breakfast. And beyond that, it’s healthy and filling and flexible.

migas 3

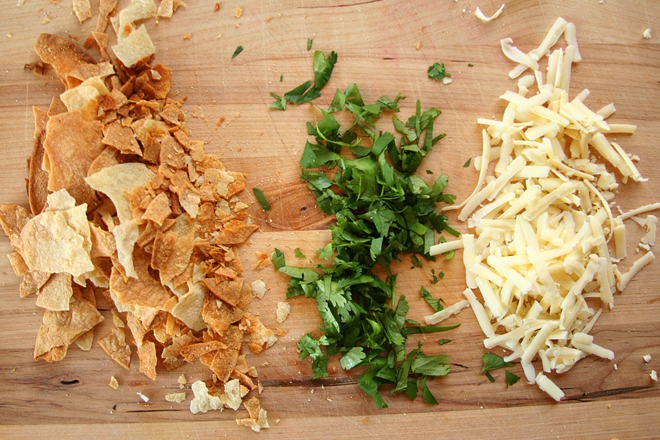
The recipe I’ve given here is one of my favorite ways to make it, and the simplest way I like it. First, I bake lightly oiled corn tortillas until browned. I tried frying them once, but since baking results in crisp tortillas every bit as good as those that are fried, but is healthier, I’m sticking with that. However, it’s not uncommon that I’ll use the crumbs at the bottom of the tortilla chip bag either, when they’re too small to dip in salsa but there’s too many to throw away.

migas 5

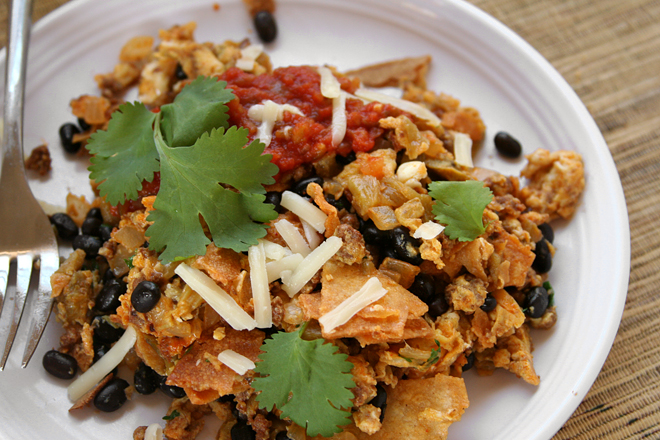
The other ingredients I consider crucial to migas are chiles and cheese. I use roasted and peeled Hatch green chiles, but any chile you like would be fine. I suspect that while beans are a common side, adding them to the migas themselves isn’t traditional, but the sweetness they add to the dish is too good to skip.

migas 2

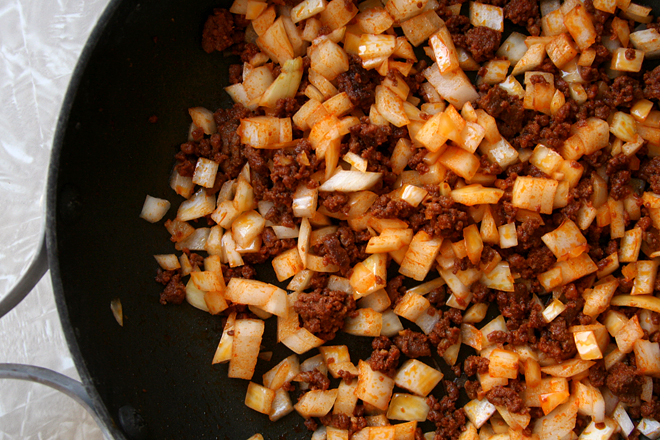
In addition to these standards, I’ve also added chorizo (shown here), spaghetti squash, and random unlabeled spicy tomato stuff I found in the freezer (probably meant for this dish, but who can be sure). It’s not a dish that requires precision or even consistency. Every single time I’ve made it, it’s been different, but it always been delicious – and easy.

migas 6

One year ago: Greek Yogurt Dill Dip
Two years ago: Roasted Red Pepper Pasta Salad
Three years ago: White Cake (comparison of 3 recipes)
Four years ago: Danish Braids (for the Daring Bakers)

Printer Friendly Format
Migas (adapted from Homesick Texan)

4 servings

When I add chorizo, I brown it before adding the cooking the onion, replacing the oil with the fat rendered from the sausage. When I’ve added pre-cooked leftover squash, I add it with the beans and tortillas.  I often add the salsa with the beans too, although the texture of the finished isn’t as firm as when it’s added as a garnish.

8 corn tortillas
8 eggs
salt
4 ounces chopped green chiles
1 tablespoon oil
1 onion, chopped
2 garlic cloves, minced
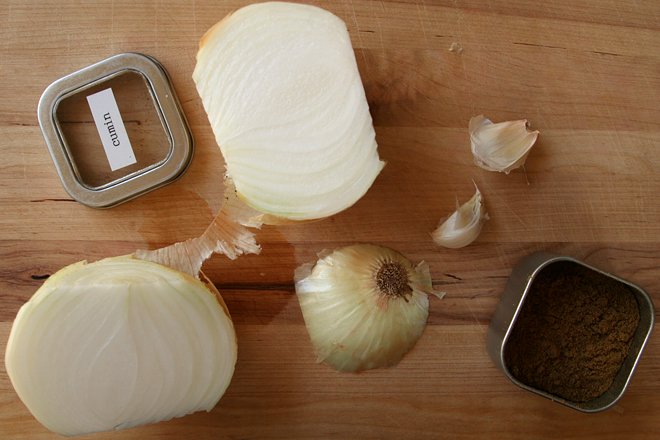
½ teaspoon ground cumin
1 (15-ounce) can black or pinto beans, drained and rinsed
2 ounces (½ cup) shredded cheddar, Monterey jack, or pepper jack
salsa
cilantro

1. Heat the oven to 425 degrees. Arrange an oven-safe cooling rack on a baking sheet. Light spray both sides of the tortillas with nonstick spray; lay them in a single layer on the cooling rack and bake, flipping once, for 12-16 minutes, until browned and crisp. Break into bite-sizes pieces.

2. In a medium bowl, beat the eggs, ¼ teaspoon salt, and green chiles with a whisk until large bubbles start to form around the edges of the bowl.

3. In a large nonstick skillet, heat the oil over medium heat. Add the onions and a pinch of salt; sauté, stirring occasionally, until just browned around the edges, 5-8 minutes. Pour in the egg mixture and cook without stirring for about a minute, then drag a spatula through the eggs a few times to lightly stir them. Let the eggs set for approximately 30 seconds, then stir again. Add the tortilla pieces, beans, and cheese. Cook and stir the eggs until set. Serve immediately, topping each portion with salsa and cilantro.

migas 7

sweet corn hash

sweet corn hash 5

I went to the local farmer’s market for the first time in over a year this morning and was sadly reminded why I hadn’t gone to the local farmer’s market for over a year. Apparently a farmer to the locals is someone who makes little crafts, not someone who grows stuff. The only vegetable for sale was zucchini, and we already have plenty of that.

sweet corn hash 2

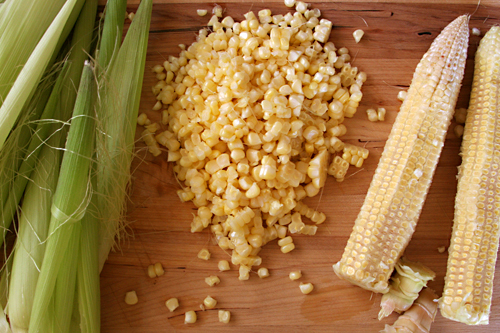
So I’ve been buying my summer corn at the grocery store, which just seems wrong, doesn’t it? Ears of corn should be bought out of the back of a truck on the side of the road. That doesn’t seem to be an option here, but it would be a shame to go the whole summer without eating corn just because I can’t find a local vendor selling it.

sweet corn hash 1

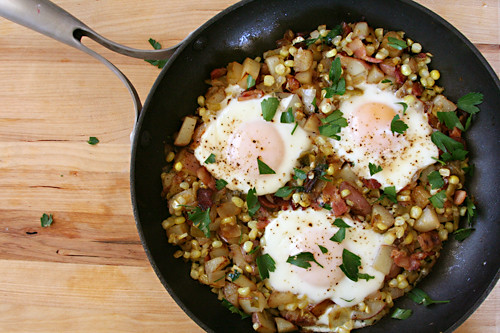
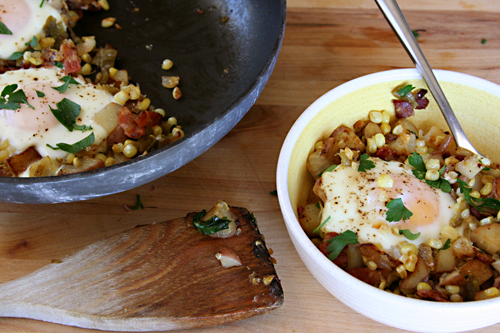
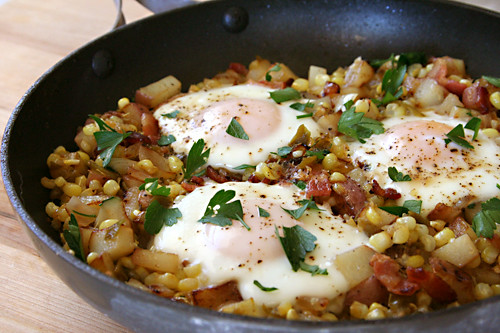
It doesn’t take much more than the word “hash” to get me excited about a recipe. It’s hard to go wrong with a dish based on browned potatoes topped with eggs. Buying corn at the grocery store instead of the farmers market might not feel as satisfying, but it works just fine, especially once the corn is mixed with lightly caramelized onions, browned potatoes, and crisp bacon.

sweet corn hash 7

One year ago: Whole Wheat Challah
Two years ago: Potato Tomato Tart
Three years ago: Fruit Bruschetta

Printer Friendly Recipe
Sweet Corn Hash (adapted from Joy the Baker)

Serves 4

Joy roasted her potatoes, but I thought it would be easier to brown them in the skillet with the rest of the ingredients. She also adds butter at the end to increase the richness of the dish, but I figured a couple slices of bacon would have the same affect, while contributing great flavor of its own.

We also stirred in some chopped roasted green chile, because ‘tis the season.

4 slices bacon, chopped
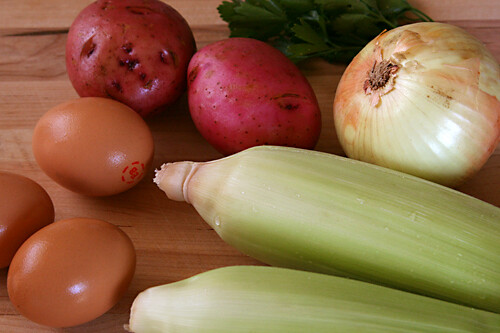
4 medium red potatoes, cubed
1 onion, chopped
4 ears corn, kernels removed
¼ cup parsley, minced
salt and ground black pepper
4 eggs

1. In a large nonstick skillet over medium heat, cook the bacon until almost crisp. While the bacon cooks, put the potatoes in a medium microwave-safe bowl; spoon a couple teaspoons of rendered bacon fat from the skillet into the bowl; stir. Cover the potatoes loosely and microwave on high for 3 minutes, stirring twice.

2. Add the onions and potatoes to the skillet with the bacon; cook, stirring occasionally, until browned, about 8 minutes. Stir in the corn and most of the parsley. Lower the heat to medium-low. Using the back of a spoon, create 4 wells in the hash. Break one egg into each well; season with salt and pepper. Cover the pan and cook, without stirring, until the white is set, about 8 minutes. Garnish with the remaining parsley; serve immediately.

sweet corn hash 6

creamy taco mac

creamy taco mac 6

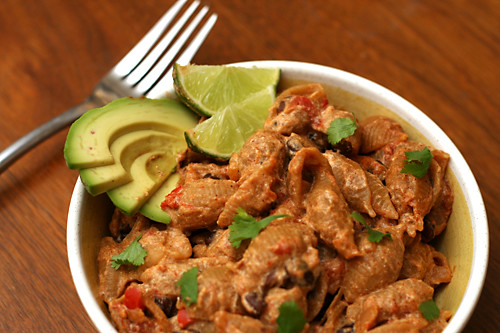
I rarely miss eating meat on weekdays. I was never big on “meat and three” types of meals, so vegetarian food suits me just fine. Besides, it’s usually easy to replace meat with a substitute, and by substitute, I don’t mean fake meat (“smeat”, as my friend calls it). I mean beans, especially black beans.

creamy taco mac 1

Making this recipe vegetarian was no problem, but I was also determined to make it all in the same pot. I’ve made Cooks Illustrated’s Skillet Lasagna many times, in which the pasta is cooked right in the simmering sauce, so I adapted the same cooking method for taco mac. The different ratios of pasta to tomatoes complicated finding the right ratio of liquid to pasta, but after a few tries, I landed on the right amount.

creamy taco mac 2

What really gave me fits was how to make the sauce creamy in a healthy way – and if this was going to be a weeknight dish, it needed to be healthy. First, I tried Cara’s method of stirring in pureed cottage cheese. This worked fine, but I knew I was too lazy to puree cottage cheese for such a simple meal. Both unpureed cottage cheese and ricotta cheese looked curdled and barf-like. In the end, the answer, like it so often is, was Greek yogurt. It perfectly mimics the sour cream called for in the original recipe but with dramatically less fat and more protein.

creamy taco mac 3

Finally then, this fills all my qualifications as a great weeknight dish. It’s vegetarian, it’s healthy, it’s nutritionally balanced – all that and the only dishes you need to dirty are a cutting board, knife, and the cooking pot. With meals as good as this, it’s no wonder I don’t crave meat on weekdays.

creamy taco mac 4

One year ago: Pasta with Asparagus and Goat Cheese
Two years ago: Pork Tenderloin with Rhubarb Sauce
Three years ago: Pigs in a Blanket

Update: I changed the recipe to use ½ more water. Two cups might be enough, but it cuts it close. If your sauce is too liquidy at the end, it’s simple to simmer it down for a few minutes.

Printer Friendly Recipe
Creamy Taco Mac
(adapted from Delish via Annie’s Eats and from Cook’s Illustrated’s Skillet Lasagna recipe)

6 servings

1 tablespoon olive oil
1 medium onion, chopped small
1 red pepper, chopped small
Table salt
3 medium cloves garlic, minced or pressed through a garlic press (about 1 tablespoon)
1 tablespoon ground chili powder
1 teaspoon ground cumin
¼ teaspoon ground cayenne
16 ounces dry pasta
1 (28-ounce) can diced tomatoes
2½ cups water
1 (30-ounce) can black beans, drained
1 (7-ounce) container Greek yogurt
2 tablespoons cilantro
1 avocado, diced (optional)

1. Heat the oil in a large nonstick skillet over medium heat until shimmering. Add the onion, pepper, and ½ teaspoon salt and cook until the onion begins to brown, about 5 minutes. Stir in the garlic and spices and cook until fragrant, about 30 seconds.

2. Add the pasta, diced tomatoes with juices, water, and beans. Cover and bring to a simmer. Reduce the heat to medium-low and simmer, stirring occasionally, until the pasta is tender, about 20 minutes.

3. In a small bowl, stir about half of the simmering pasta mixture into the yogurt. Stir this tempered yogurt into the pasta. Cover and simmer over low heat until heated, 2-3 minutes. Sprinkle with cilantro and avocado, if using. Serve.

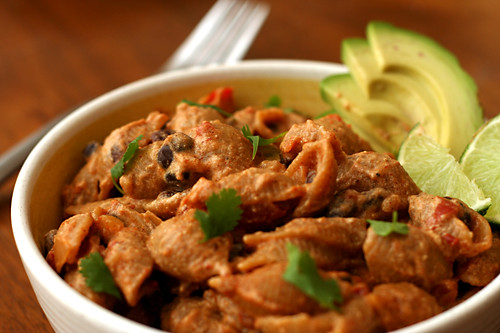
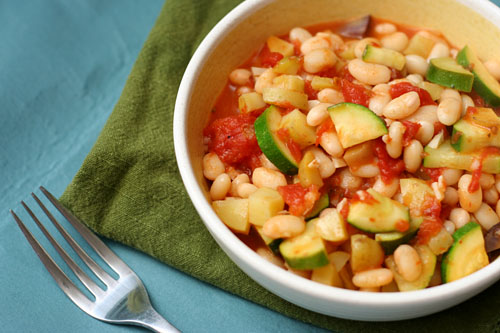
braised white beans with zucchini, tomatoes, and potatoes

Dave tends to have healthier food preferences than me. It was his suggestion that we eat vegetarian or seafood meals on weekdays and save meat for the weekends. My initial efforts to find a vegetarian cookbook that reflected how I liked to cook was years ago, and the pickings then, unlike now, were slim. Back then, most vegetarian cookbooks seemed to tend toward the gourmet end of the spectrum, with lengthy preparations and rare ingredients.

Jeanne Lemlin’s Vegetarian Classics was exactly what I was looking for. Generally, the dishes are quick, based on common ingredients and cooking techniques, and accessible to non-vegetarians. I liked it so much that I bought it for my sister. She’s a busy working mom with no interest in becoming a vegetarian, but I still thought this was a cookbook she’d get a lot of use of.

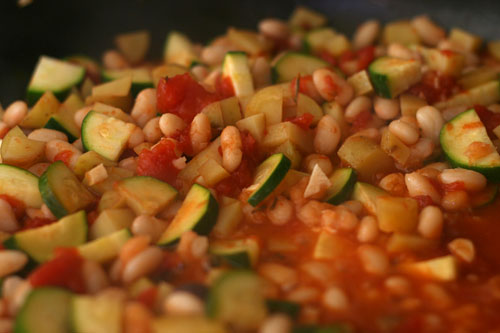
This recipe is one of my favorites from the book. It fulfills that ultimate trifecta – easy, healthy, delicious. It’s the slightest bit spicy from crushed red pepper, the zucchini is just tender, and the beans and potato soak up all of the garlicky tomato juice. And I have Dave to thank; otherwise, I don’t know that I ever would have searched out a vegetarian cookbook.

One year ago: Roasted Garlic Balsamic White Bean Dip
Two years ago: Honey Yogurt Dip
Three years ago: Apple Galette

Printer Friendly Recipe
Braised White Beans with Zucchini, Tomatoes, and Potatoes (adapted from Jeanne Lemlin’s Vegetarian Classics)

Serves 2-3

1 tablespoon extra virgin olive oil
4 garlic cloves, minced
¼ teaspoon crushed red pepper flakes
1 (14-ounce) can diced tomatoes
¼ cup water
¼ teaspoon dried rosemary, crushed
¼ teaspoon salt
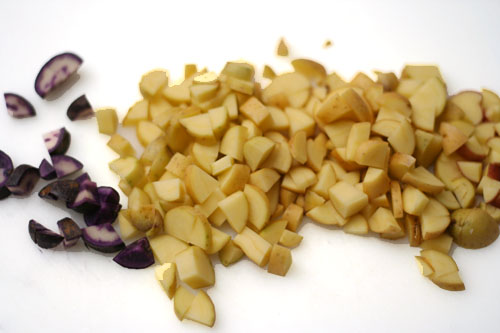
1 medium Yukon gold potato, cut into ¼-inch dice
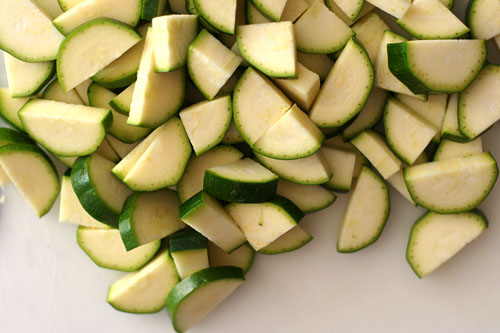
1 zucchini, quartered lengthwise and sliced into ¼-inch slices
1 (14-ounce) can Great Northern beans, rinsed and drained

1. Heat the oil, garlic, and red pepper in a 12-inch nonstick skillet over medium heat. Cook for about 30 seconds after the garlic begins to sizzle. (It should not become at all colored.) Stir in the tomatoes, water, rosemary, salt, and potatoes. Cook, covered, at a lively simmer for 15 minutes, or until the potatoes are almost cooked through.

2. Mix in the zucchini and beans. Cover the pan again and cook, stirring often, 10 minutes more, or until the zucchini and potatoes are tender. At this point check the consistency of the sauce; it should be thick and soupy, not dry or watery. Add a bit of water if the mixture doesn’t have much sauce; cook it uncovered if the juices seem watery. Serve in large pasta bowls, preferably, or on plates.

I have blogged about this recipe before, but I felt that a recipe as good as this one deserved a fresh entry.

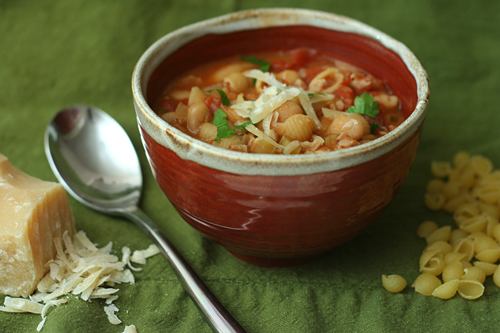
pasta e fagioli

Living in southern New Mexico, I’m out of touch with all of the weather systems the rest of the country gets. The weather here is always the same – sunny, dry, cold at night and warm in the afternoon (hot at night and hotter in the afternoon in the summer), windy in the spring. So even though I know most of you are burned out on cold and snow, I’m very excited right now that we’ve gotten a taste of real winter here.

And, even better, a snow day. A snow day! Not that it takes much snow to get a snow day here, but that’s even better – a snow day with no shoveling to do!

The first time I made this soup was years ago, and it was just as cold that day. I remember that Dave and I went to a political rally in Ithaca, and afterward, we were talking while I made the soup, and I got distracted and added the pepper flakes twice. Sadly, that ruined the soup. It was almost inedibly spicy; so much for the careful balance of flavors I was hoping for.

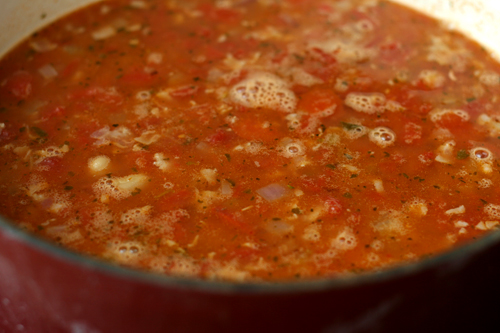
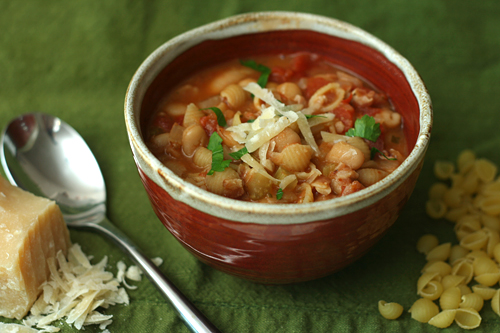
The soup is a whole lot better when you make it correctly. Just a bit spicy, all mixed in with tomatoes and vegetables and beans. A warm hearty bowl of soup is the perfect way to cap off a snow day.

One year ago: Butternut Squash Macaroni and Cheese
Two years ago: Tofu Croutons
Three years ago: Deviled Eggs with Tuna

Printer Friendly Recipe
Pasta e Fagioli (from Cooks Illustrated)

I added 2 cups less water than the recipe calls for. I’m sure the original recipe is fine too; I was just in the mood for something thicker. If you do this, make sure you decrease the salt to ½ teaspoon.

1 tablespoon extra-virgin olive oil, plus more for drizzling
3 ounces pancetta or bacon, chopped fine
1 medium onion, chopped fine
1 celery rib, chopped fine
4 medium garlic cloves, minced or pressed through garlic press
1 teaspoon dried oregano
¼ teaspoon red pepper flakes
3 anchovy fillets, minced to paste
1 (28-ounce) can diced tomatoes with liquid
1 piece Parmesan cheese rind, about 5 inches by 2 inches
2 (15½-ounce) cans cannellini beans, drained and rinsed
3½ cups homemade or low-sodium chicken broth
2½ cups water
salt
8 ounces small pasta
¼ cup chopped fresh parsley leaves
ground black pepper
2 ounces (1 cup) grated Parmesan cheese

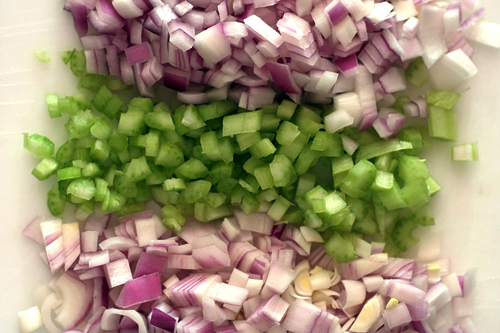
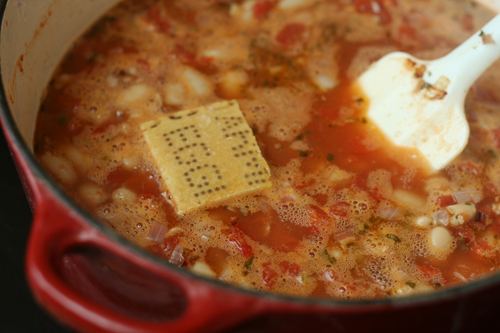
1. Heat the oil in a large Dutch oven over medium-high heat until shimmering but not smoking, about 2 minutes. Add the pancetta and cook, stirring occasionally, until it’s beginning to brown, 3 to 5 minutes. Add the onion and celery; cook, stirring occasionally, until the vegetables are softened, 5 to 7 minutes. Add the garlic, oregano, red pepper flakes and anchovies; cook, stirring constantly, until fragrant, about 1 minute. Add the tomatoes, scraping up any browned bits from bottom of the pan. Add the cheese rind and beans; bring to a boil, then reduce the heat to low and simmer to blend the flavors, 10 minutes.

2. Add chicken the broth, water and 1 teaspoon salt; increase the heat to high and bring to a boil. Add the pasta and cook until tender, about 10 minutes (refer to package instructions to better estimate pasta cooking time).

3. Discard the cheese rind. Off the heat, stir in 3 tablespoons of the parsley; adjust the seasoning with salt and pepper. Ladle the soup into individual bowls; drizzle each serving with olive oil and sprinkle with a portion of the remaining parsley. Serve immediately, passing the grated parmesan separately.