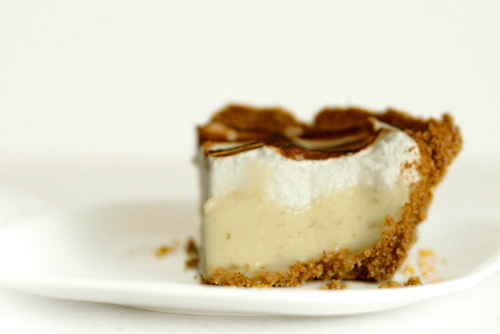
lime cream meringue pie

Copy of IMG_8317

Oh, how times change. I had kind of thought that last year’s lemon cream tart would be my first and last citrus cream experience. Seriously, that is a lot of butter. But apparently, my attitude toward rich foods has slowly evolved from ‘this is way too fattening for me to indulge in more than a few bites at a time’ to ‘well…it’s not like I eat like this all the time…’ except that, these days, I kinda do.

Copy of IMG_8202

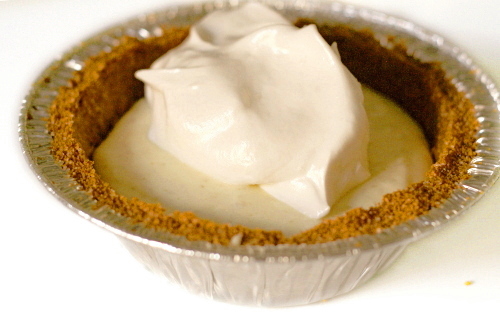
The lime cream is made almost exactly the same as last year’s lemon cream – heat sugar, eggs, zest, and juice, then blend in softened butter – with the only difference a couple teaspoons of cornstarch that is added to the lime version, along with grated fresh ginger. Don’t take me lightly when I say there’s a lot of butter involved – the full pie calls for 2½ sticks (20 tablespoons), and that doesn’t even include the portion in the crust.

Copy of IMG_8204

Fortunately, I was hearing that some Tuesdays with Dorie members were decreasing the butter, sometimes by as much as half. I didn’t make quite such a dramatic change, using 4 tablespoons for the quarter of the recipe I made – so the equivalent of 16 tablespoons (2 sticks) for a whole recipe. It worked really well.

Copy of IMG_8207

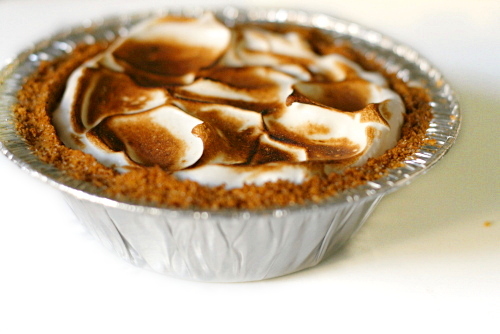
I do like these citrus creams. I’m a big fan of citrus desserts, and of smooth, rich custards, so the combination is wonderful. I also really like meringue and, you know, torching food. So there really wasn’t much not to like for me this week! Except for the tiny portions I forced upon myself. Ah, compromise…
Copy of IMG_8312

Linda has the recipe posted. I decreased the meringue by half, because I happened to have that amount of egg whites leftover from something else.  Also, I didn’t strain out the zest.

One year ago: Black (and Pink) and White Chocolate Cake
Copy of IMG_8326

potato tomato tart

Copy of IMG_8028

Dave and I have this conversation nearly once a week:

Me (whining, after baking all day): I’ve been cooking all day and I’m tired and I haven’t even stupid started dinner. Stupid stupid stupid.

Dave: Okay. We’ll order pizza.

Me: We can’t order pizza! I bought ingredients for dinner! If we don’t use them tonight, they’ll go to waste!

Copy of IMG_8007

Once the week’s menu is set, it does not change.

But last week something went haywire, and I needed to come up with an extra meal on short notice.

Copy of IMG_8012

I had two potatoes that I’d bought and never got around to using (see! they almost went to waste!) and there was a pile of tomatoes leftover from tomato picking. But I couldn’t find any recipes that fit all of my requirements – used plenty of both tomatoes and potatoes, didn’t require any ingredients I didn’t have, and actually sounded good. So I <gasp> came up with something on my own.

Copy of IMG_8020

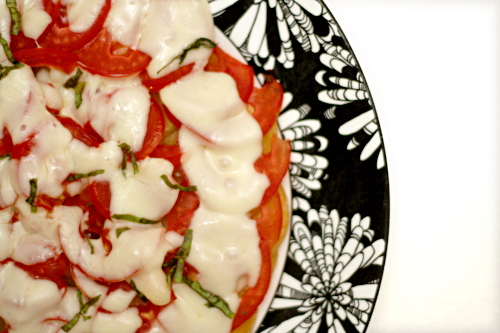
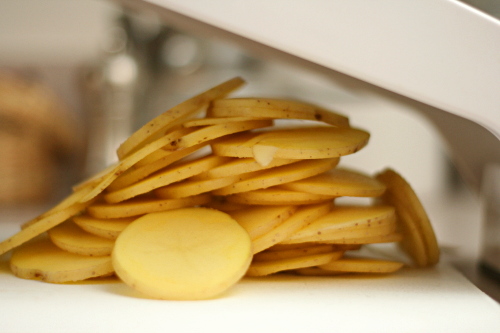
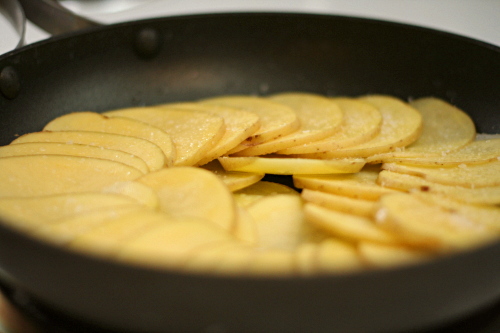
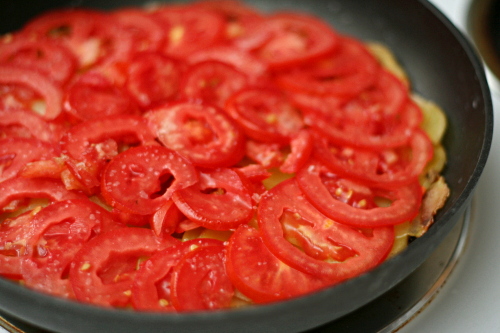
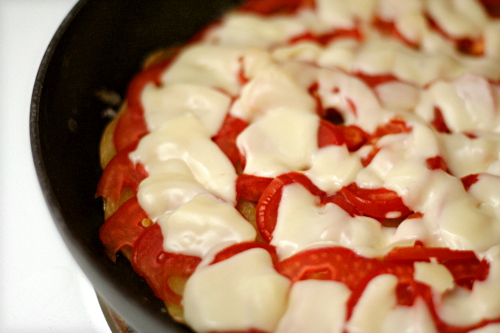
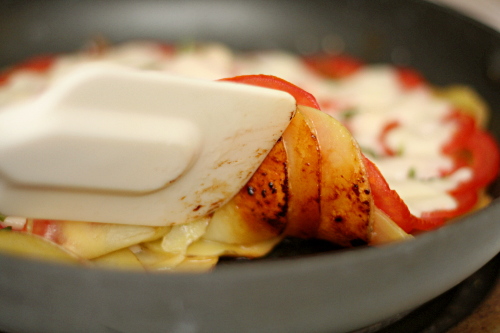
I sliced the potatoes thin and arranged them in a skillet. Once they were crisped on the bottom and mostly cooked through, I arranged sliced tomatoes over the top. Once those were softened, I arranged sliced mozzarella on top of that. It melted almost immediately, so I quickly picked a few leaves from my pathetic sun-starved basil plant, and sprinkled them over the tart.

Copy of IMG_8023

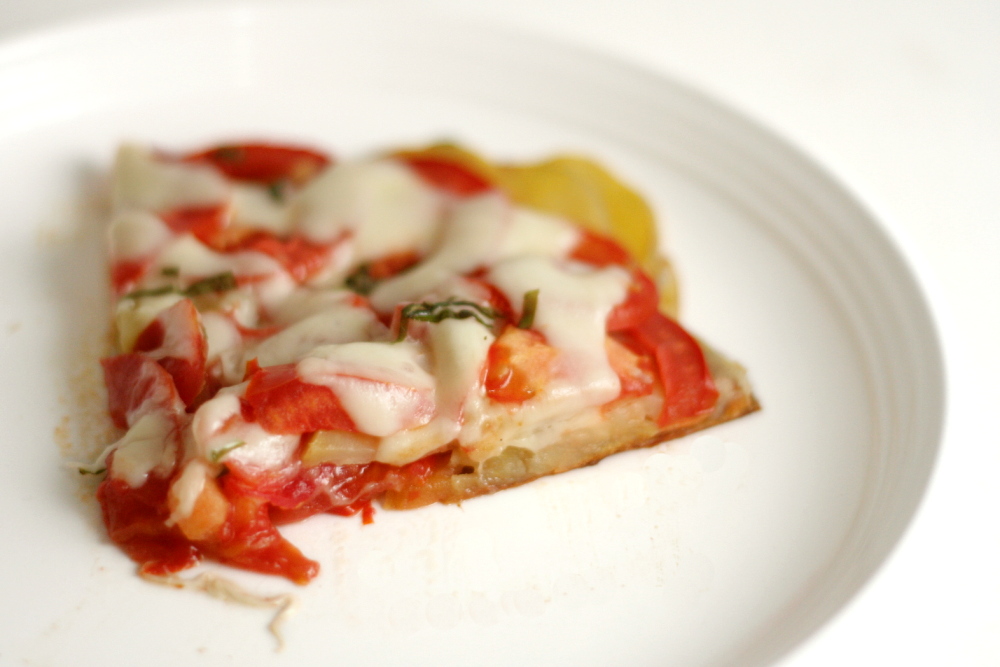
It was pizza-like, which is always a plus. The potatoes were browned and crisp on the bottom.  It was pretty. It was easy. It was tasty. It used up ingredients I didn’t know what else to do with. Perfect.

Copy of IMG_8027

One year ago: Banana Coconut Muffins

Potato Tomato Tart

Serves 2 for a light meal

I used a mandoline set at 1/8-inch to slice the potatoes and tomatoes.

1 tablespoon olive oil
2 medium Yukon gold potatoes, sliced thin
salt and pepper
2 large (or maybe 3 small) plum tomatoes, sliced thin
2½ ounces mozzarella cheese, sliced thin (or just over ½ cup shredded)
3-4 basil leaves, sliced thin

1. Heat the oil in a medium nonstick skillet over medium heat. Arrange the potatoes in one layer on the bottom of the skillet, overlapping each slice. Season with pepper and a generous pinch of salt. Cover the pan, reduce the heat to medium-low, and cook for 20 minutes, until the potatoes are almost tender and are lightly browned on the bottom.

2. Arrange the tomatoes in one layer of overlapping slices over the potatoes. Cover and cook for 5 minutes, until the tomatoes are slightly softened. Evenly disperse the mozzarella over the tomatoes and cook a few minutes, until it’s melty. Sprinkle the top of the tart with basil.

3. Serve. I was able to move the tart once, by sliding it from the pan to a serving plate. Then I realized it would be easier to cut the tart if it was on a cutting board, but moving it from the serving plate wasn’t nearly as easy as moving it from the pan. By which I mean that the whole thing mostly fell apart. So don’t try to move it around too much.

Copy of IMG_8030

strawberries and cream pie

copy-of-img_6404

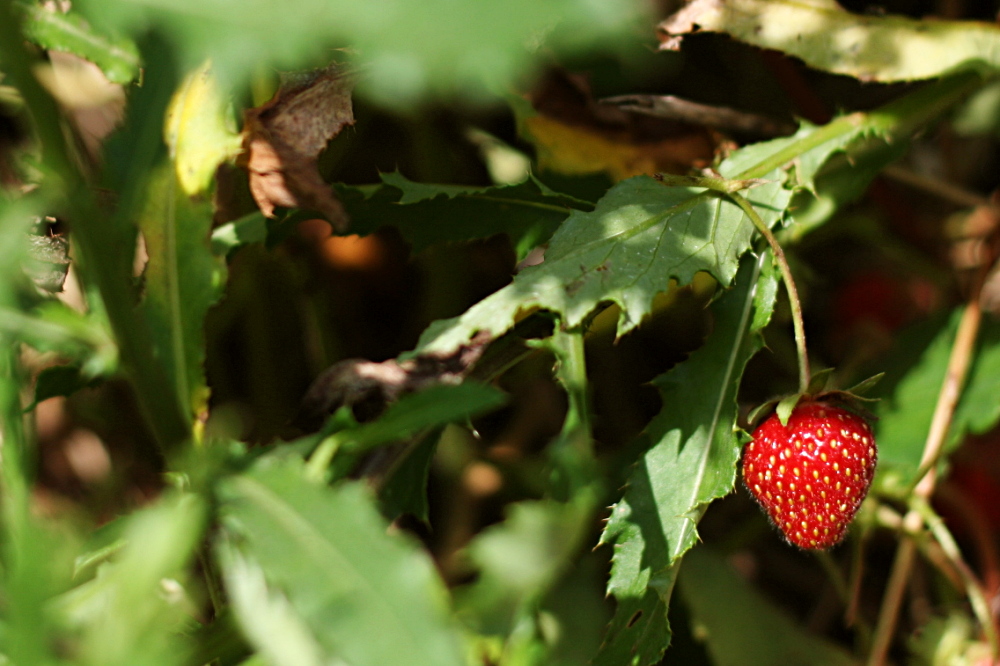
Those U-pick places tend to be better in theory than in practice for me. I do like knowing that my food is picked at its peak ripeness. It makes for some wonderfully sweet strawberries. On the other hand, ew, bugs. And thorns, and rotting berries that you can’t see under all the leaves and you don’t find until you reach under to grab for a nearby berry and squish!

copy-of-img_6327

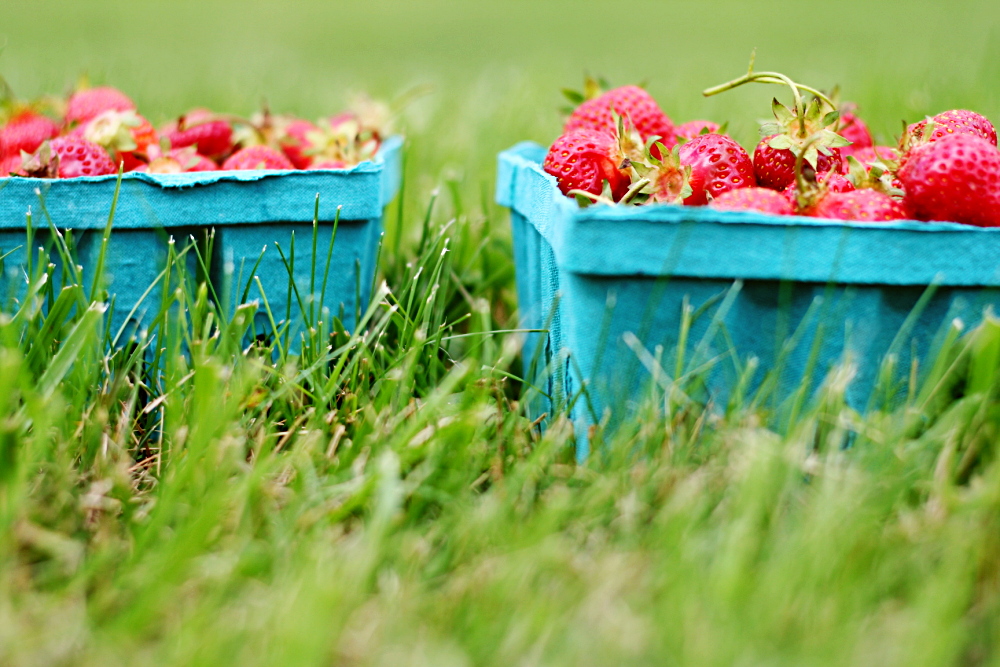
Not that you shouldn’t try it! Or you could just buy the pre-picked cartons in the farm store right nearby.

copy-of-img_6341

It was worth it in the end though, because I love this pie. I’ve managed to make it once each spring since I found the recipe. And Dave and I managed to eat three-quarters of it within 24 hours this year! That’s something to be proud of.
copy-of-img_6393

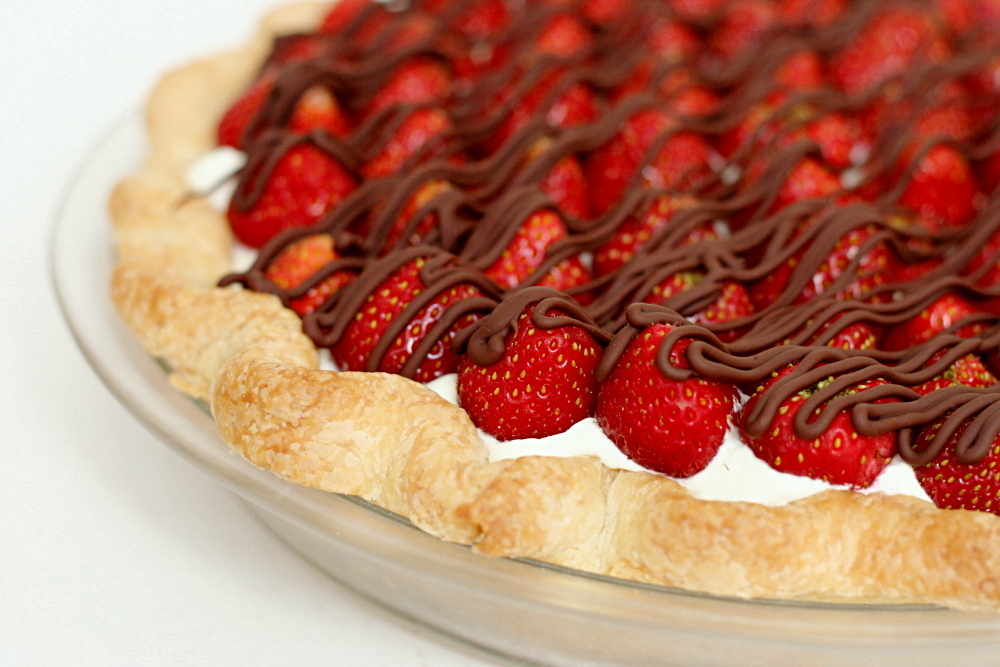
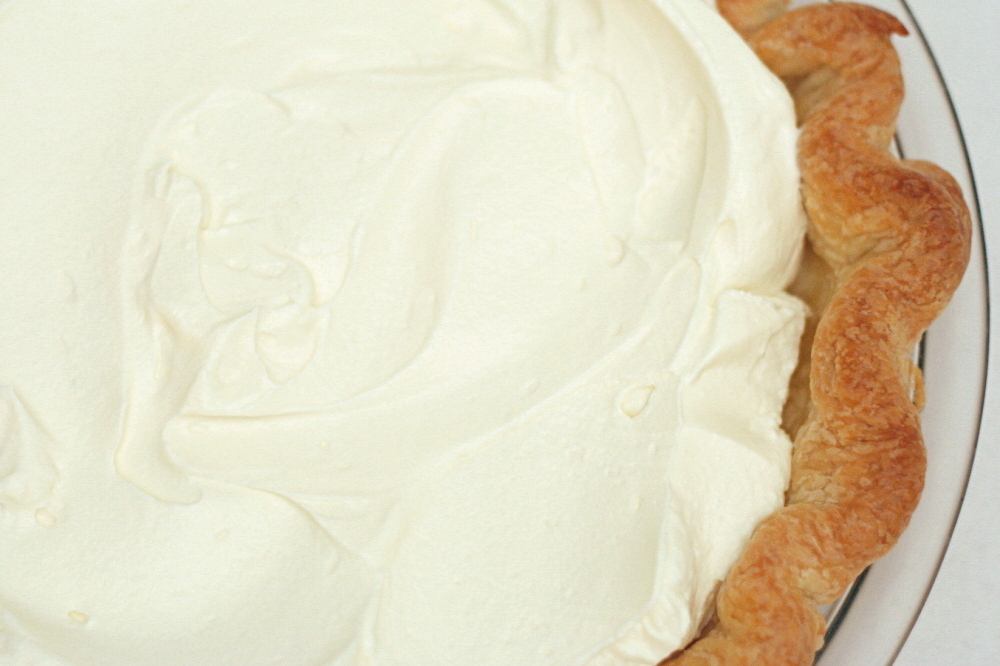
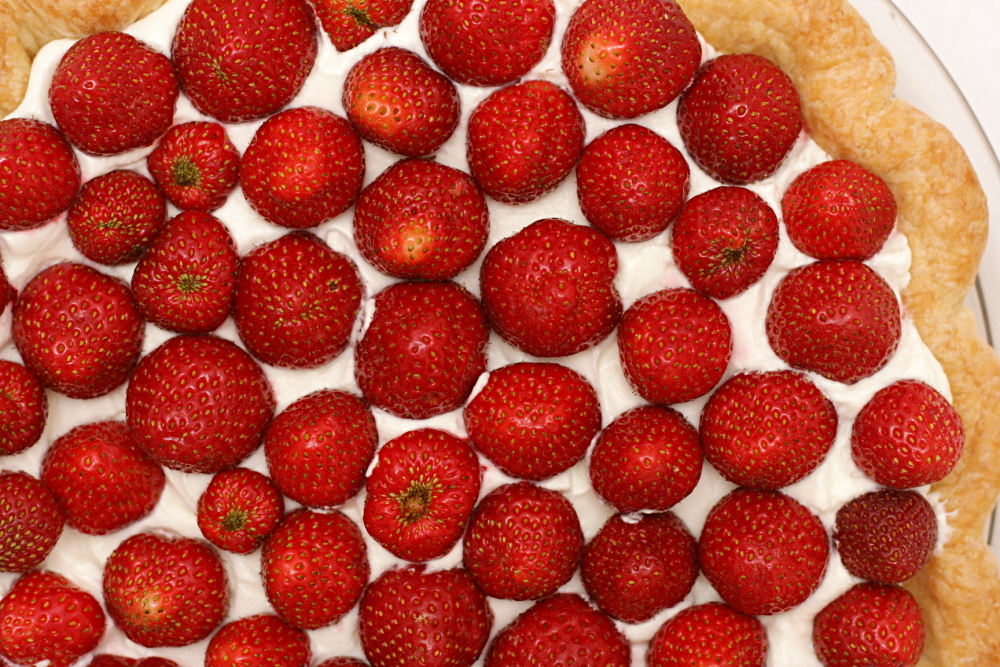
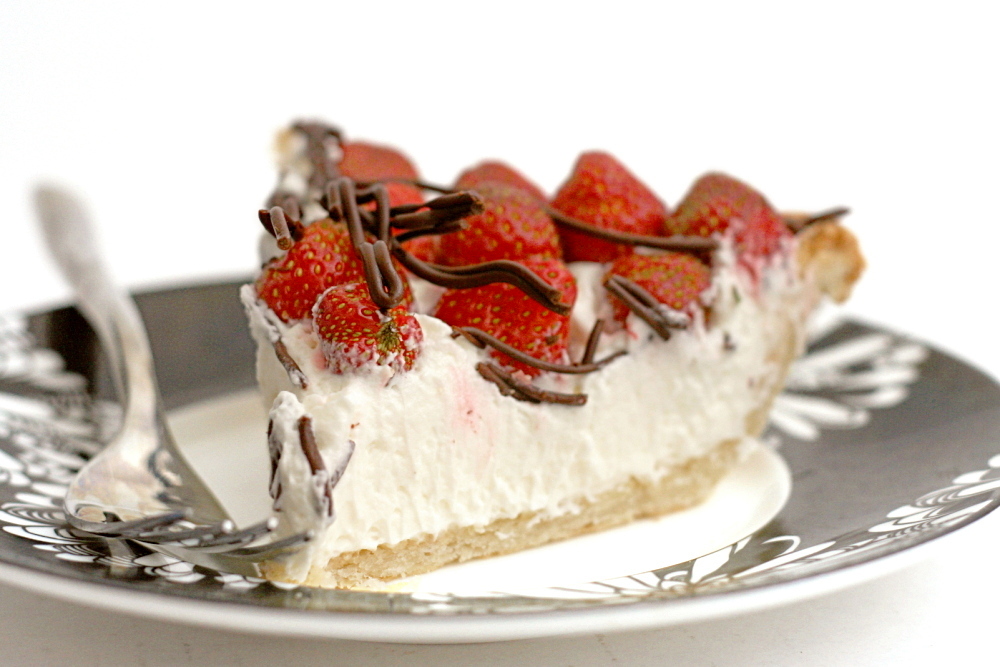
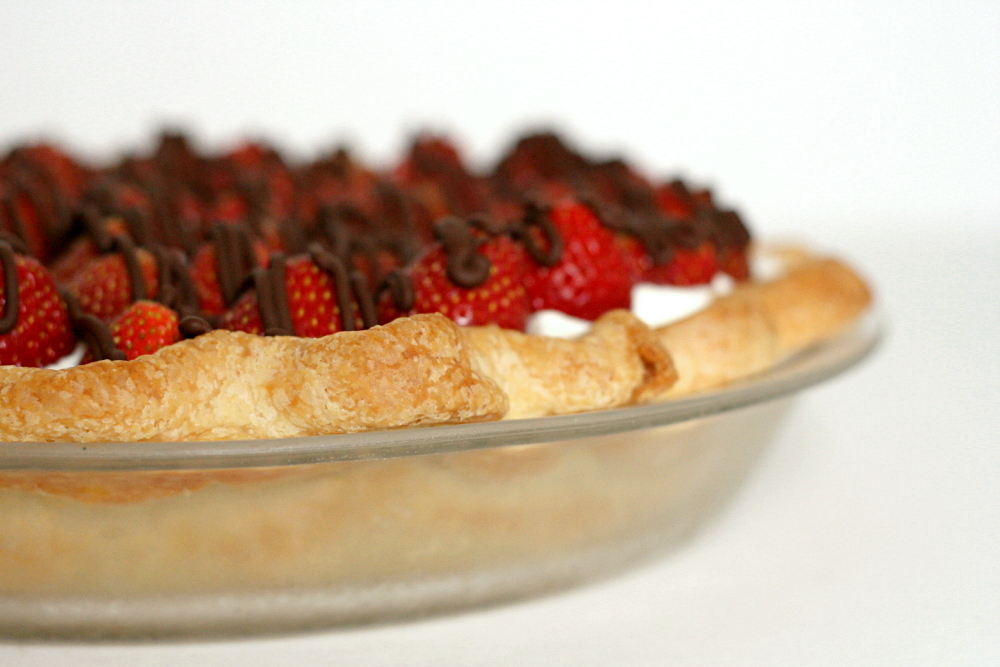
The thing is, I can’t resist cheesecake batter (sugary cream cheese!), and that’s mostly what this pie is. Cream cheese is mixed with sugar and a bit of almond extract, then whipped cream is folded in to lighten it. (I love when heavy cream is used to lighten something.)  The cream filling is topped with strawberries, which are kept whole for maximum visual impact, and then a bit of dark chocolate is drizzled over the top for some contrasting color and flavor.

copy-of-img_6402

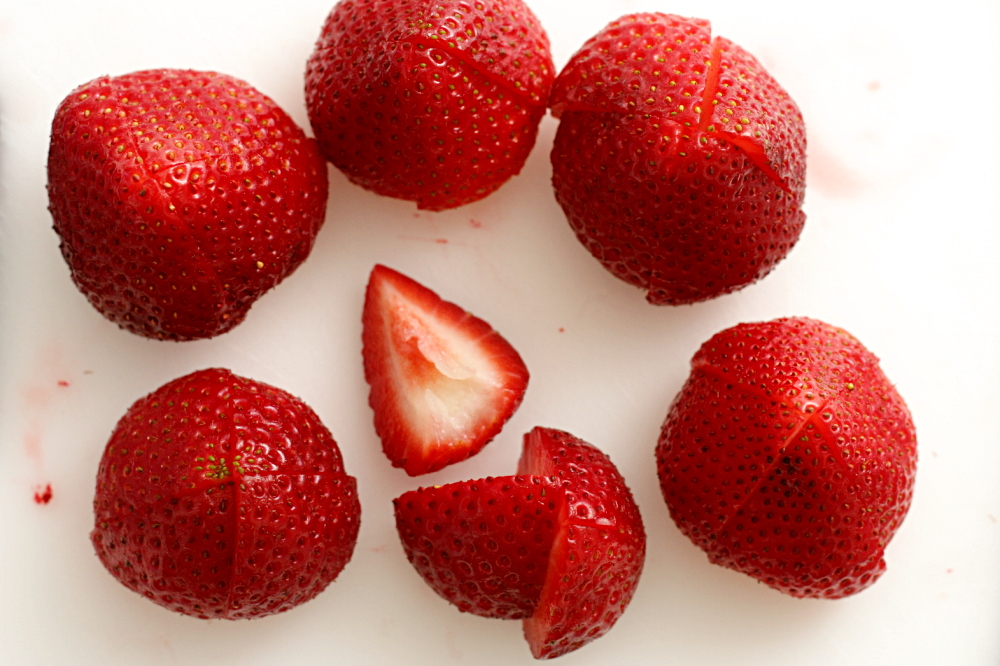
You don’t need fresh-picked strawberries for this pie. The little raspberry-sized berries we picked made it a little easier to cut nice slices, but bigger strawberries require less hulling.  And anyway, it’s hard to mess up this pie, with the sweet, creamy filling topped with slightly tart strawberries and just a bit of bitter chocolate, all supported by flaky pie crust.  This is the only strawberry dessert I make a point to make every single spring.

copy-2-of-img_6419

One year ago: Poached Eggs with Arugula and Polenta Fingers

Strawberries and Cream Pie (adapted from Pillsbury’s Complete Cookbook)

Serves 8-10

You could definitely use the full cup of cream in the filling (which is what the original recipe recommends) if you have more cream around for the chocolate, but I didn’t and I kicked myself for not saving a bit of the 1-cup container of cream I’d brought. I used butter with the chocolate instead, but the chocolate hardened too much when it was cold and broke apart into shards when I cut slices.  Cream will keep it softer.

1 cup cold heavy cream, divided
8 ounces cream cheese, softened
1/3 cup (2.33 ounces) sugar
¼ to ½ teaspoon almond extract
1 pie crust for a 1-crust pie, completely baked and cooled
2 pints fresh whole strawberries, hulled
2 ounces bittersweet chocolate, finely chopped

1. In a medium bowl (or the bowl of a standing mixer fitted with the whisk attachment), beat 1 cup minus 1 tablespoon of the cream on medium speed. When the cream is frothy, increase the speed to high and whip until the cream holds firm peaks.

2. In a separate large bowl (or the bowl of a standing mixer fitted with the paddle attachment), beat the cream cheese on medium speed until it’s soft and creamy. Add the sugar and extract and continue beating until combined.

3. Fold about 1/3 of the whipped cream into the cream cheese to lighten the mixture, then add the remaining cream and continue folding until it’s incorporated. Evenly spread the cream mixture in the pie crust. Arrange the strawberries, pointed side up, over the filling.

4. Melt the chocolate with the remaining 1 tablespoon cream over very low heat, stirring constantly, or in the microwave on medium power, or in a double boiler. Drizzle the chocolate over the strawberries. Refrigerate the pie until set, about 1 hour.

copy-of-img_6413

parisian strawberry tartlets

copy-of-img_6106

Once I started making an effort to eat seasonally, I realized that apples were my best bet for a large part of the year. By the end of winter, I’m impatient for strawberries to kick off the farmer’s market season. I try to avoid apples in the spring and summer, because it’s nice to take a break when I can, and then I get to look forward to them in the fall.

copy-of-img_6090

So I didn’t want to make the apple version of this dessert. Most of the other fruits that Dorie recommends are stone fruits that won’t be in season for a month or so. I thought that strawberry mini-tarts would work though.

copy-of-img_6092

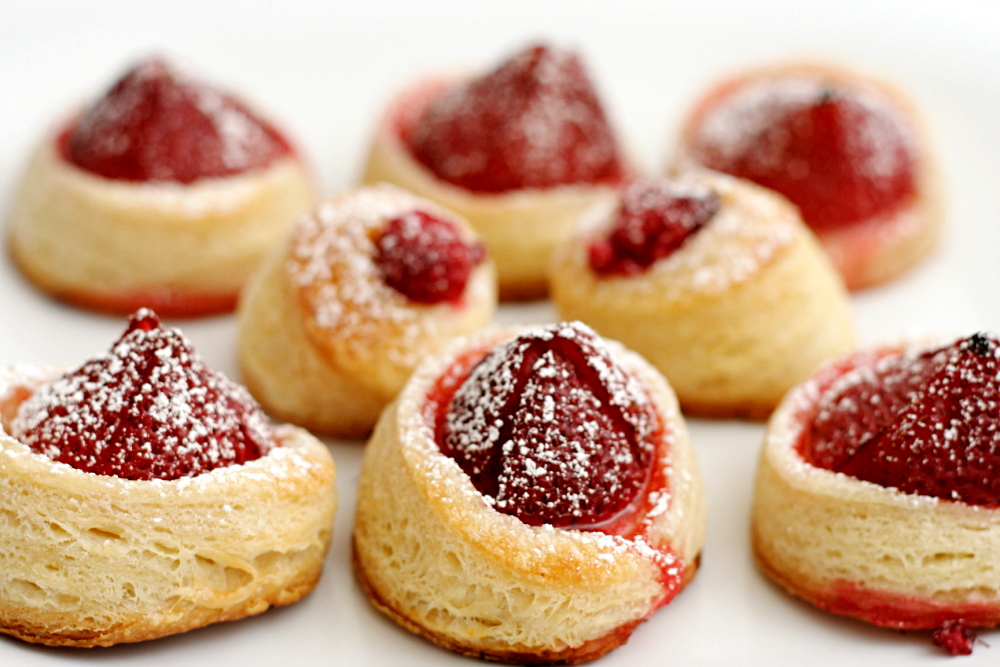
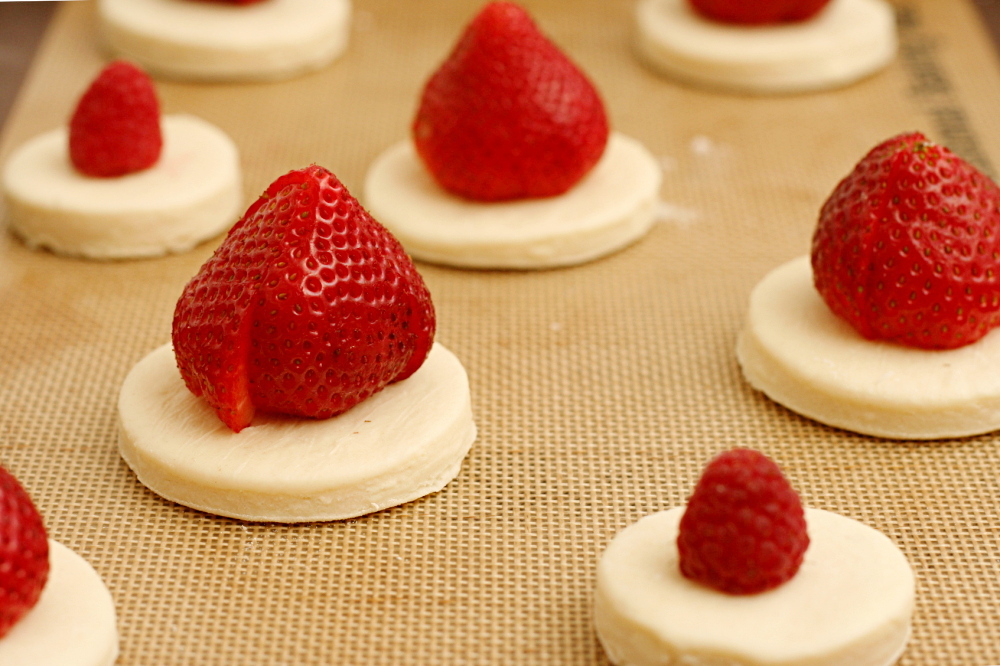
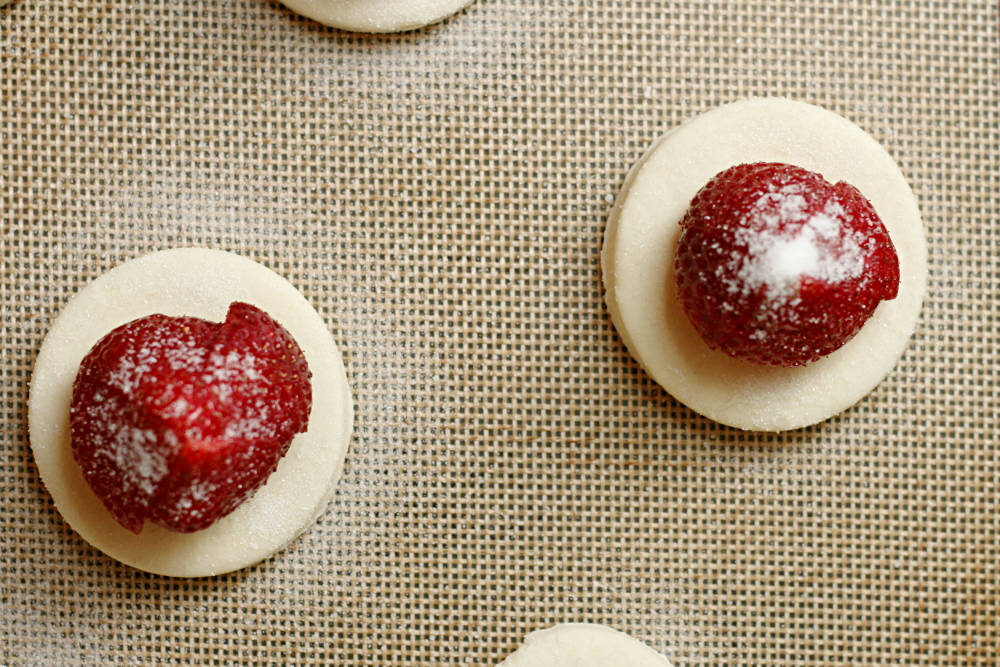
This recipe is very easy. Quartered fruit is positioned in the middle of a round of puff pastry, sprinkled with sugar, dotted with butter, and baked. I skipped the butter and added a pinch of salt.

copy-of-img_6095

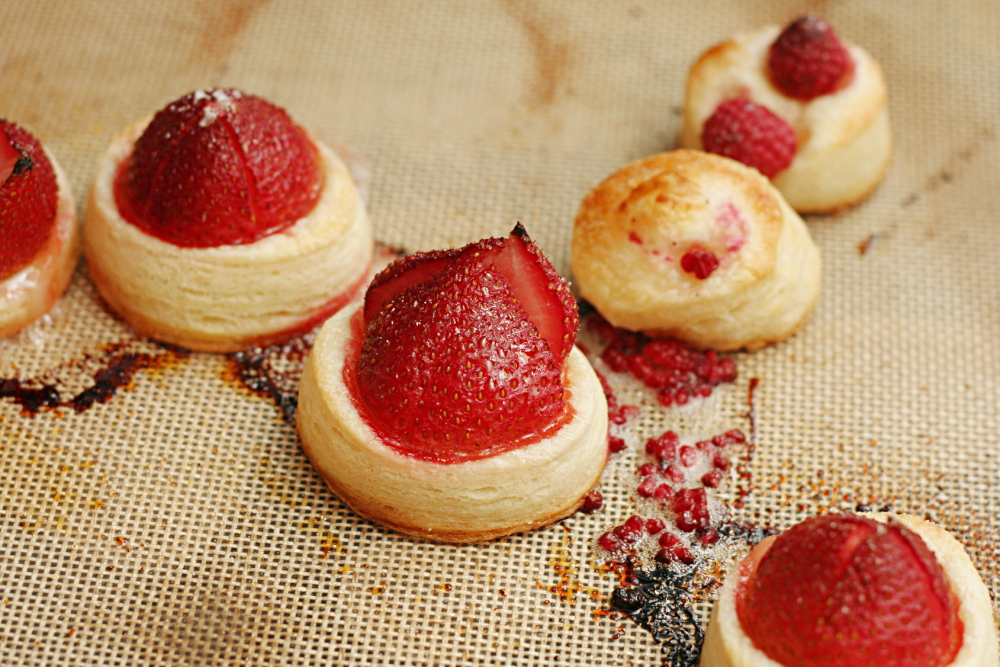
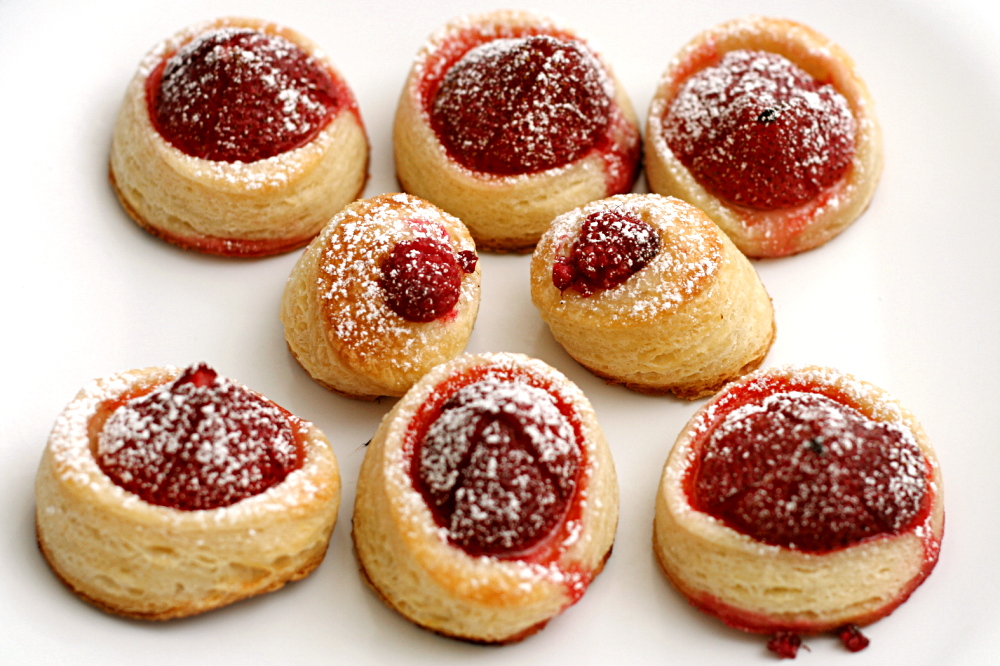
I made even miniaturer tarts too, each topped with a single raspberry, but those didn’t work quite as well. The pastry puffed the berries right off. I sort of balanced the berries back on the pastry after baking, and all was good.

The tarts were great. The flaky, buttery pastry was a great base for the sweet berries.

copy-of-img_6101

Jessica has posted the recipe for this easy, tasty, impressive dessert that she chose for Tuesdays with Dorie.

One year ago: Pita Bread

copy-of-img_6107

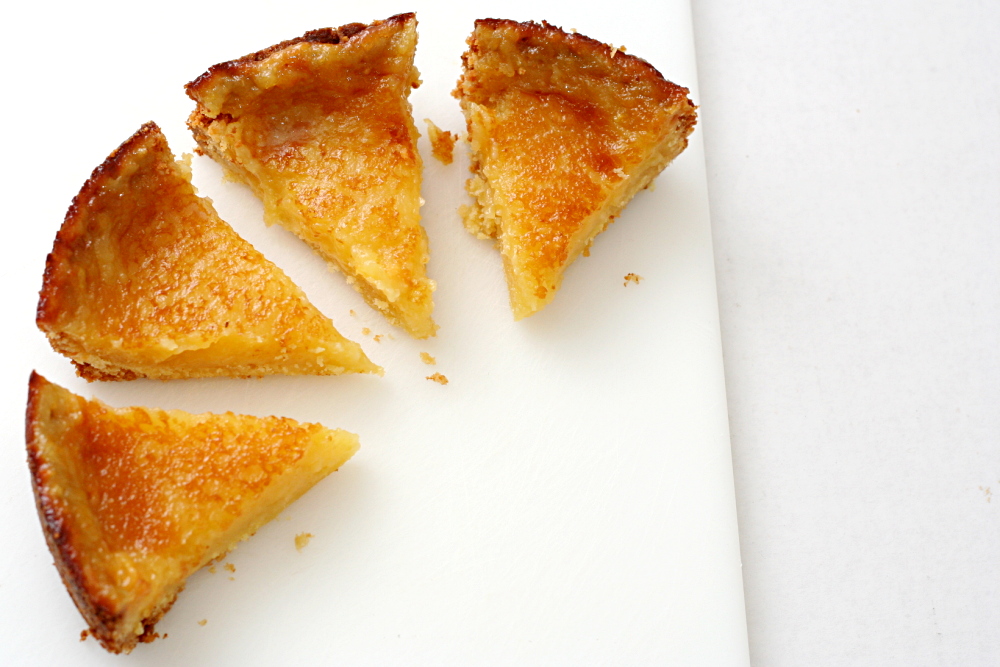
tartest lemon tart

copy-of-img_5171

You know how a lot of citrus recipes warn you to be careful not to get any of the white pith when you zest the fruit, because it’s bitter? Well, guess what?

Bitter is good.

copy-of-img_5149

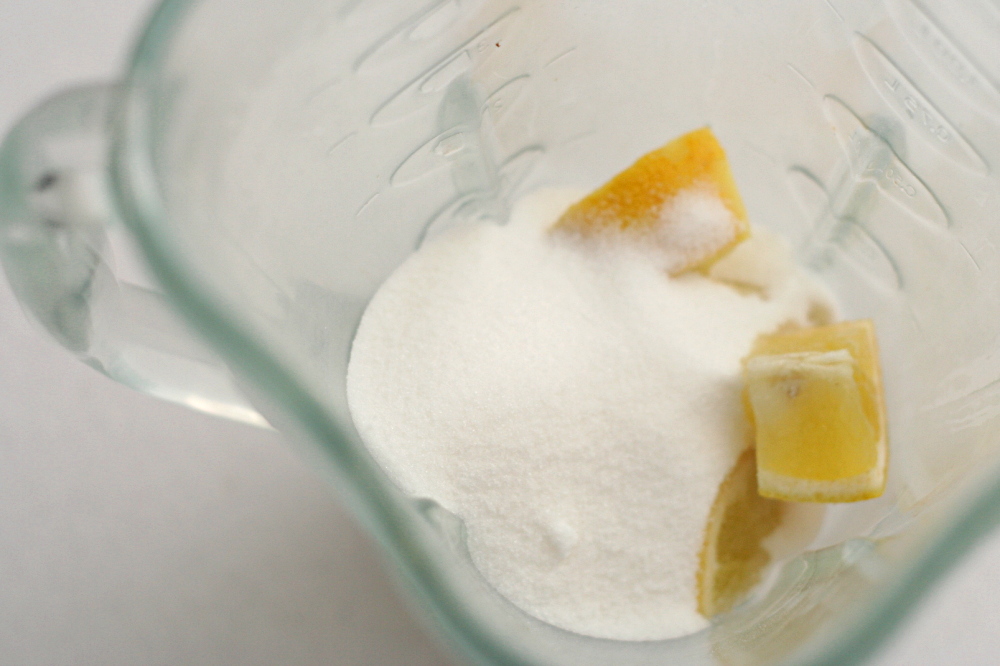
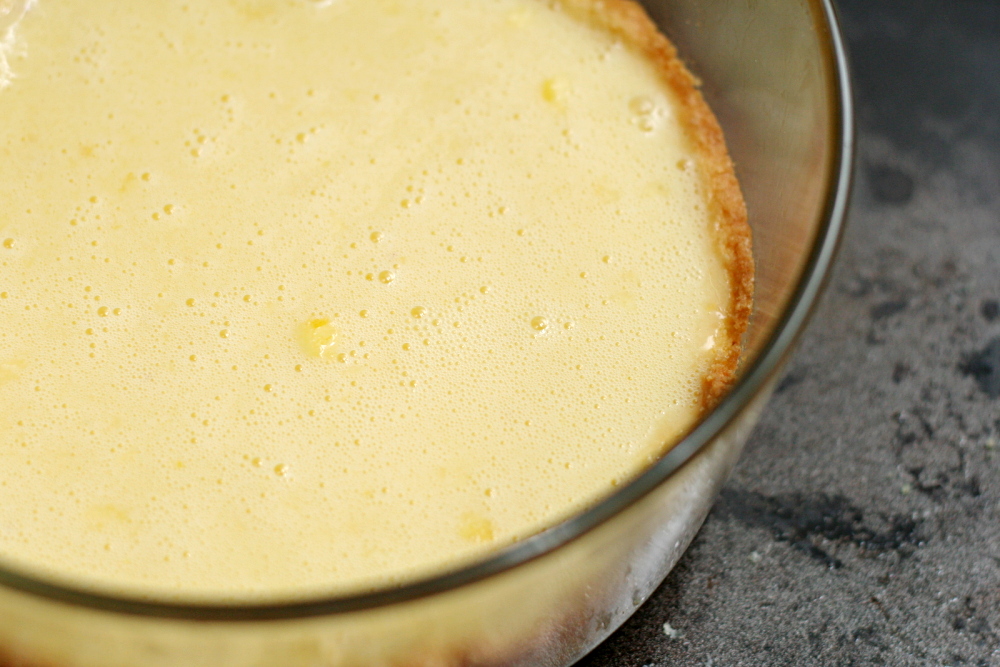
This was my first whole lemon dessert, where everything but the seeds is included. It was simple. Blend sugar and lemons together, then add the rest of the ingredients – eggs and cream, cornstarch and of course butter – to the blender and mix it all together. Then bake it, supposedly until it sets, but it never set for me. The filling boiled instead, until the crust was quite a bit darker than I like and I figured I’d better take the tart out of the oven, bubbling or not.

copy-of-img_5154

It did set up once it cooled, and it was delicious. I loved it. I didn’t think it was exceptionally tart, but it’s possible that I either had a lemon that was on the milder side, or my smallish organic lemons had a very thin layer of pith. It was just the slightest bit bitter, which was perfectly balanced by sour and sweet, adding an extra dimension to the dessert without dominating it.  I am definitely sold on the idea of whole lemon desserts – so much so that I made another one two days later!

copy-of-img_5156

Barb chose this tart for Tuesdays (or Thursdays, if you’ve been ignoring your blog while entertaining a guest) with Dorie, and she has the recipe posted.

One year ago: Caesar Salad and Snickerdoodles

Tartest Lemon Tart (adapted from Dorie Greenspan’s Tartest Lemon Tart recipe found in Baking from My Home to Yours)

Sweet Tart Dough with Nuts:
1¼ cups (6 ounces) all purpose flour
¼ cup ground almonds (or pecans, walnuts or pistachios)
½ cup (2 ounces) confectioners’ sugar
¼ tsp salt
1 stick, plus 1 tbsp (9 tbsp) very cold or frozen unsalted butter, diced
1 large egg yolk, at room temperature

Filling:
1½ lemons, scrubbed and dried
1½ cups (10.5 ounces) sugar
1 large egg, at room temperature
2 large egg yolks, at room temperature
1½ tbsp cornstarch
½ cup heavy cream
½ stick (4 tablespoons) unsalted butter, melted and cooled

1. For the dough: Put the flour, ground almonds, confectioners’ sugar and salt in a food processor, pulsing a few times to combine. Scatter the butter pieces over the dry ingredients and pulse until the butter is coarsely cut in—you should have some pieces the size of oatmeal flakes and some the size of peas. Stir the yolk, just to break it up, and add it a little at a time, pulsing after each addition. When the egg is in, process in long pulses— about 10 seconds each — until the dough, which will look granular soon after the egg is added, forms clumps and curds. Just before you reach this stage, the sound of the machine working the dough will change — heads up. Turn the dough out onto a work surface and, very lightly and sparingly, knead the dough just to incorporate any dry ingredients that might have escaped mixing.

2. To press the dough into the pan: Butter a 9-inch fluted tart pan with a removable bottom. Press the dough evenly over the bottom and up the sides of the pan, using all but one little piece of dough, which you should save in the refrigerator to patch any cracks after the crust is baked. Don’t be too heavy-handed—press the crust in so that the edges of the pieces cling to one another, but not so hard that the crust loses its crumbly texture. Freeze the crust for at least 30 minutes, preferably longer, before baking.

3. To partially bake the crust: Center a rack in the oven and preheat the oven to 375 degrees. Butter the shiny side of a piece of aluminum foil and fit the foil, buttered side down, tightly against the crust. (Since you froze the crust, you can bake it without weights.) Put the tart pan on a baking sheet and bake the crust for 25 minutes. Carefully remove the foil. If the crust has puffed, press it down gently with the back of a spoon. If there are any cracks in the baked crust, patch them with some of the reserved raw dough as soon as you remove the foil. Slice off a thin piece of the dough, place it over the crack, moisten the edges and very gently smooth the edges into the baked crust. If the tart will not be baked again with its filling, bake for another 2 minutes or so, just to take the rawness off the patch. Transfer the crust to a cooling rack (keep it in its pan).

4. For the filling: Center a rack in the oven and preheat the oven to 325 degrees. Place tart pan on baking sheet lined with parchment or silicone mat.

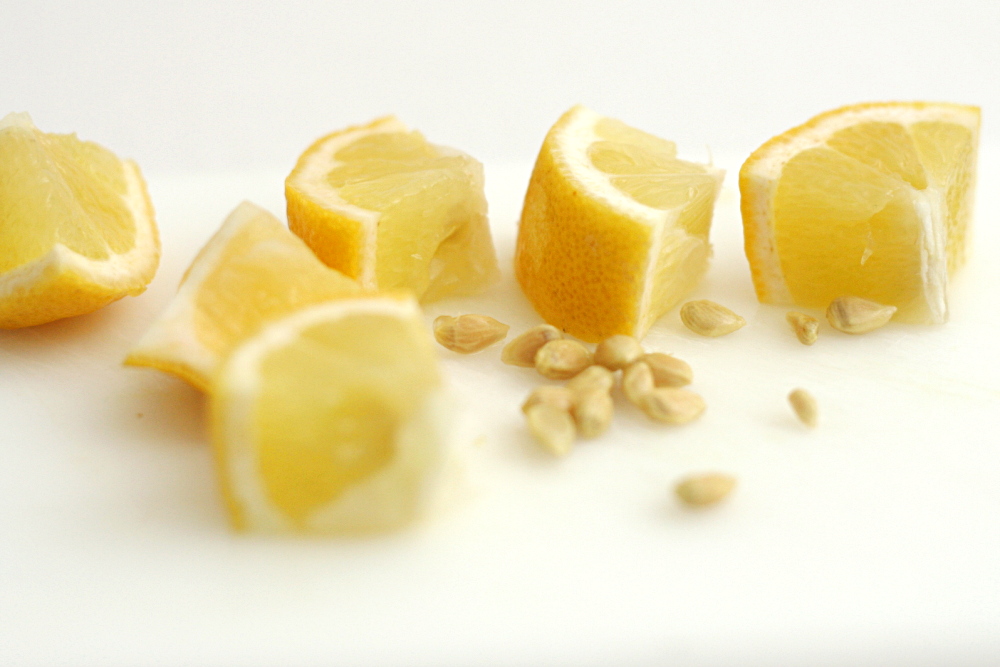
5. Slice whole lemon in half and pull out seeds from it and the half. Then cut lemons into small pieces. The filling is best made in a blender, but you can use a food processor. Put lemons and sugar in the blender or processor and pulse, blending and scraping down the sides until you have smooth mix. Add the remaining filling ingredients and pulse and blend until the filling is homogeneous. Rap bowl on counter several times to de-bubble the filling as much as possible, and pour it into your prepared partially baked crust.

6. Very carefully – tart shell will be full – transfer baking sheet to the oven. Bake 20 minutes, then increase the oven temp to 350 degrees and bake the tart for an additional 25 to 30 minutes. (The total time is 45 to 50 minutes). Don’t be alarmed when the filling starts to bubble up. (It might even bubble over the edge of tart – that’s okay.) When tart is properly baked, it should be set, although perhaps still shaky in center, and most of top will have formed a light sugary crust.

7. Transfer the tart pan to a cooling rack and let cool to room temperature. Chill, if you’d like, before serving with cream or a dusting of confectioners’ sugar.

copy-of-img_5166

banana cream pie

copy-of-img_1410

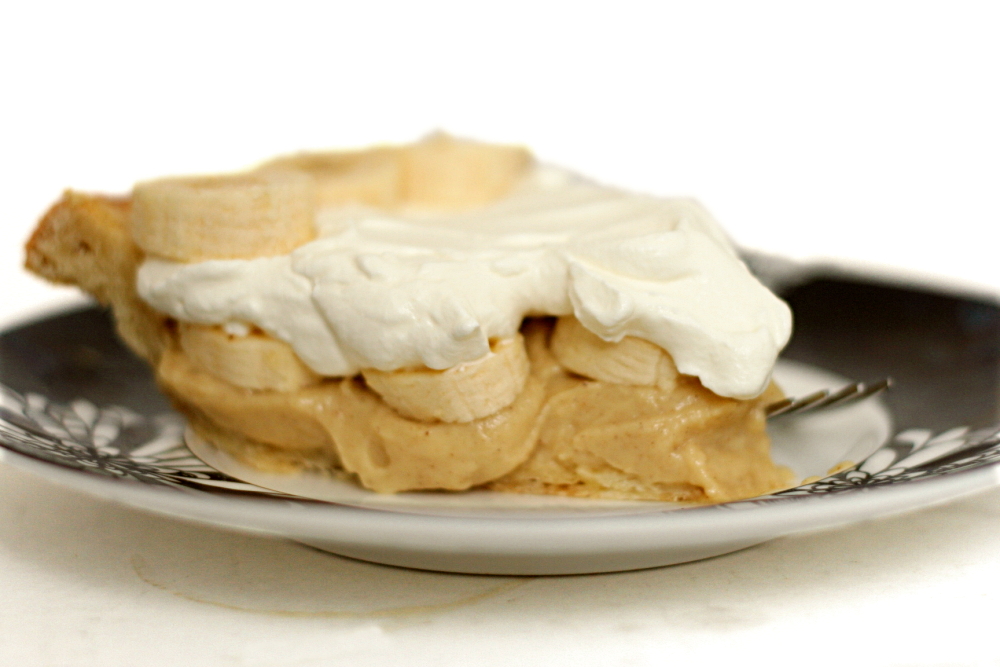
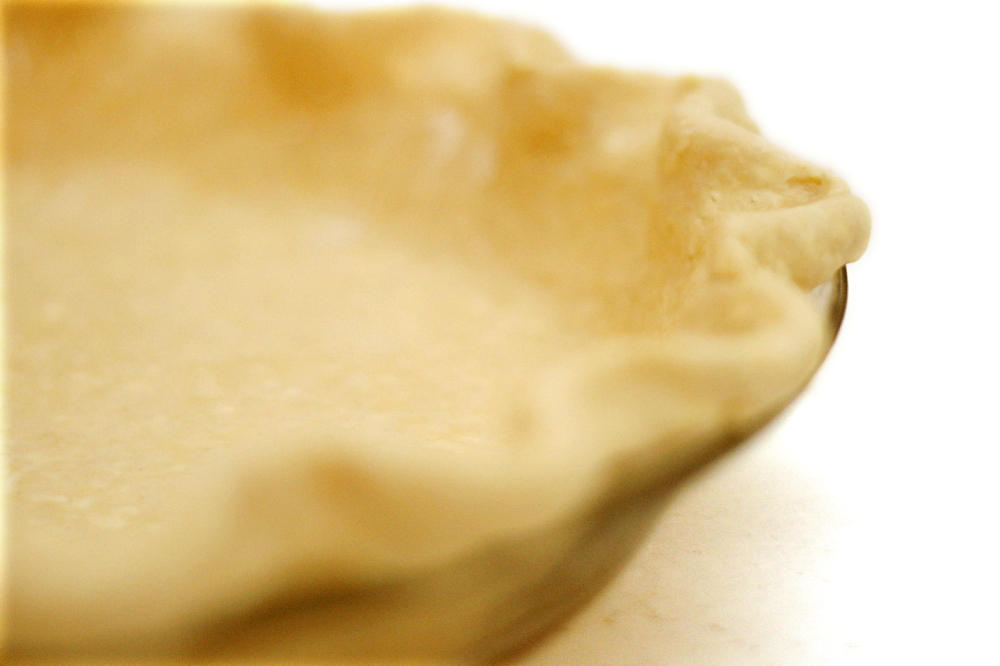
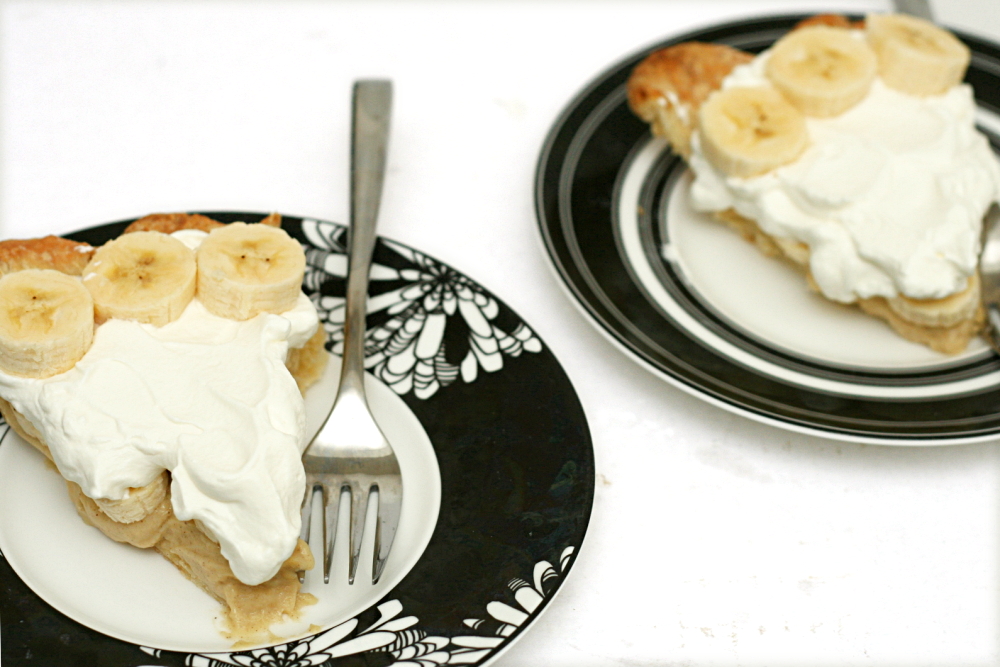
Poor Dave. His favorite dessert is banana cream pie, and I just don’t make it very often. For one thing, it’s kind of a lot of work, what with the crust and the pastry cream and the whipped topping. (Okay, so whipped cream isn’t hard to make. But still.) Plus, it doesn’t have a long shelf life and it isn’t an easy recipe to scale down, so it’s tricky to make for just the two of us. I pretty much only make banana cream pie on his birthday.

copy-of-img_1381

To avoid watery separated whipped cream and old browned bananas, I made and baked the pie crust and spread the pastry cream in it, without adding the bananas and topping. I sliced bananas and whipped cream each time we ate pie, instead of doing it all at once.

copy-of-img_1383

A number of people have said that their pastry cream was too thick, and they added extra milk to thin it. I think I’ll use less cornstarch instead. It seemed like there was a little chalkiness in the pastry cream, which I’m thinking is due to undissolved cornstarch.

copy-of-img_1387

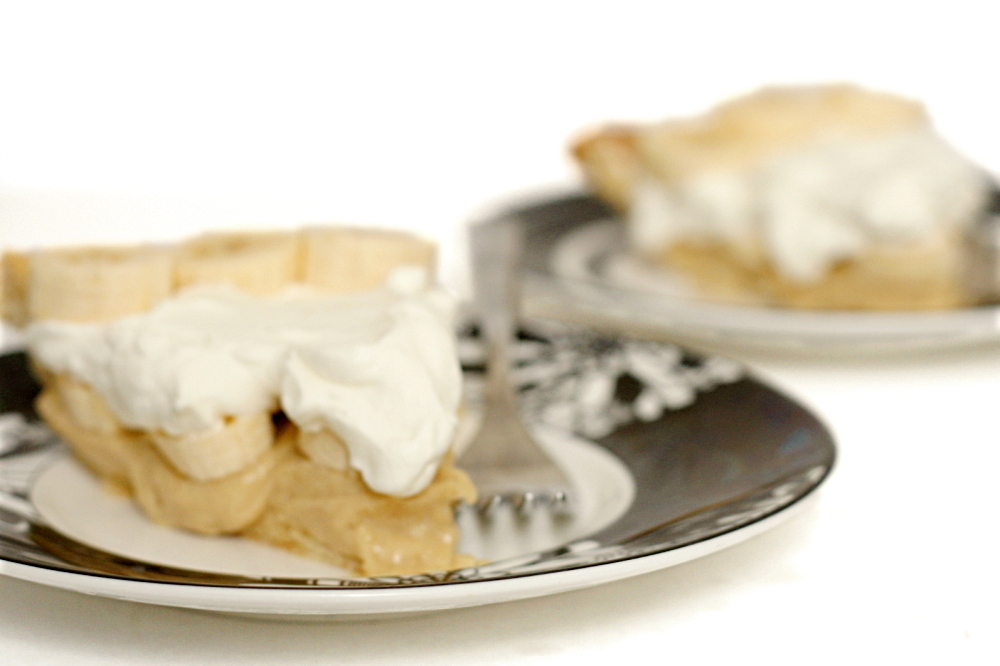
Other than that, I thought the pie was really good. The cinnamon and nutmeg in the pastry cream was subtle; in the future, I think I’ll keep the nutmeg, but maybe not the cinnamon. The small amount of sour cream in the whipped cream added a nice tangy flavor. With just the two of us, it took us, um, less than 2 days to get through the whole pie. Maybe I didn’t need to worry about the pie not storing well after all…

copy-of-img_1417

I’ll be sure to make this again. Next year. For Dave’s birthday.

Amy, who chose this recipe for Tuesdays with Dorie, has the recipe posted.

One year ago: Scotch Eggs

copy-of-img_1416

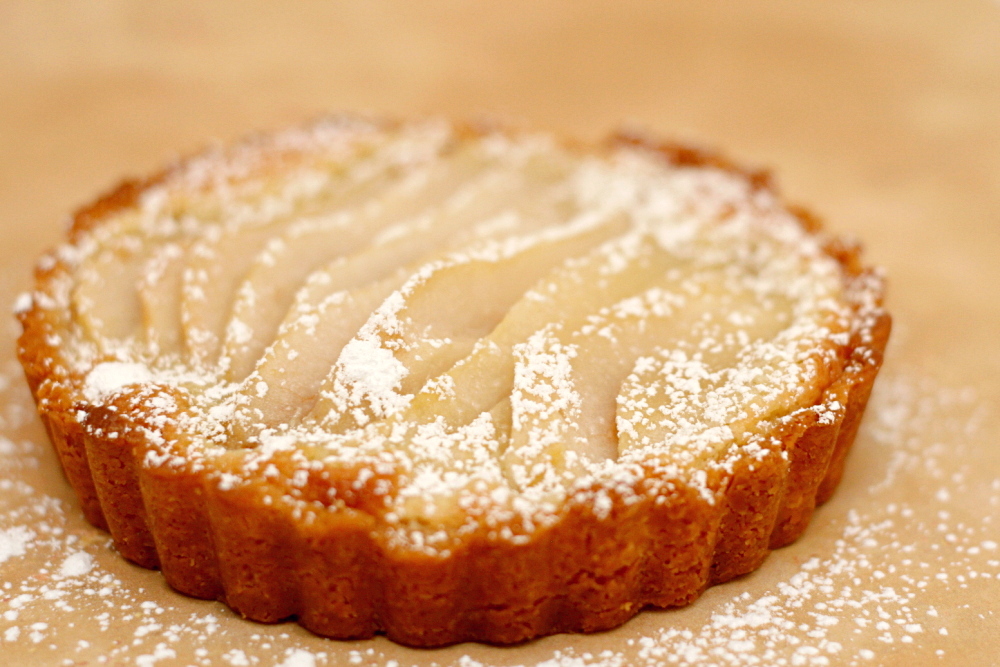
french pear tart

copy-of-img_1195

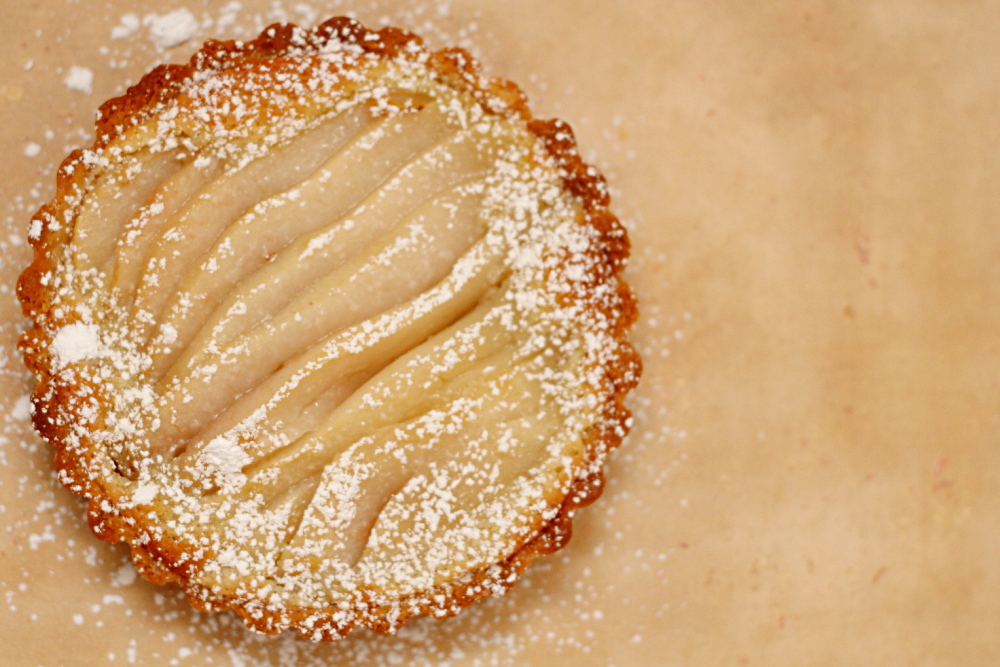
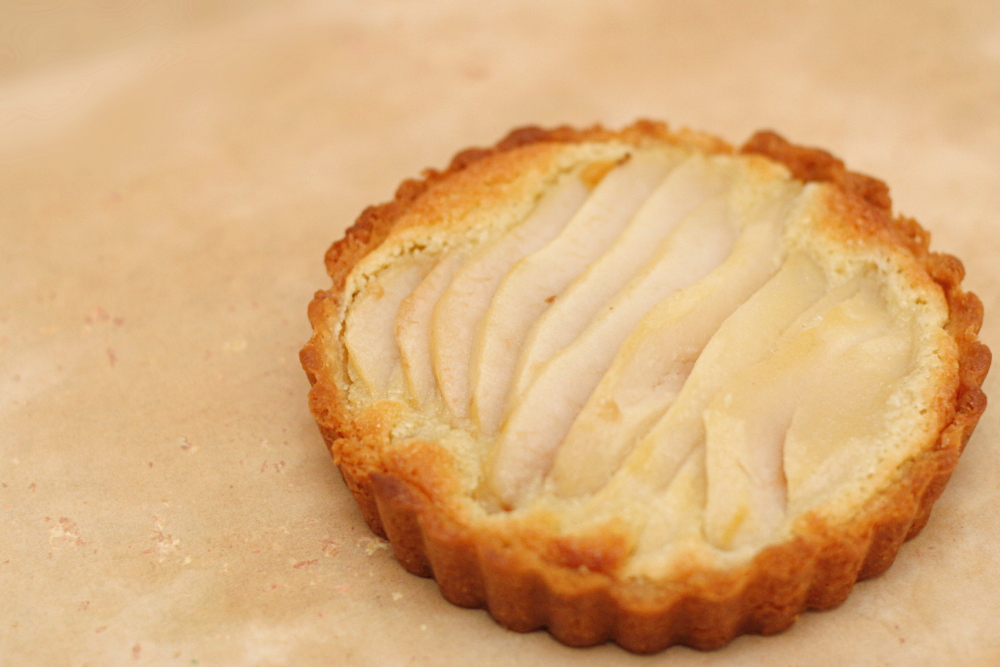
This tart had everything going against it. For one thing, I wasn’t in the mood to make a three-part dessert. For another, Dorie says that it’s supposed to be eaten the day it’s assembled, and I had my doubts that Dave and I would be eating the whole thing in one day. But that worked out – I made a third of the recipe, which I divided between two mini-tart pans. I prepared the ingredients, but didn’t layer them or bake each tart until the day I planned to eat it.

copy-of-copy-of-img_1189

I was too tired to take photos of the finished tart the first night we ate it. But the second night was even worse – Dave had very attentively refilled my wineglass throughout the evening, and I was hard-pressed to find the motivation to take photos of food. Plus the second tart (the drunk one) wasn’t as pretty as the first tart (the tired one). Imagine that.

copy-of-img_1180

But all’s well that ends well, because the tart was delicious. The crust was crisp but not tough, and the almond cream complimented the pears nicely. The dessert was pretty sweet and I could have used some more salt somewhere, but I say that every week. I had never eaten anything like this, so I’m really glad I tried it.

copy-of-img_1192

Dorie actually chose the recipe for us this week, and the recipe is posted on her blog.  Dorie has been fantastically supportive of Tuesdays with Dorie from the beginning of the group. She regularly answers questions, she’s posted about the group multiple times on her own blog, and this week she took the time to answer a number of interview-type questions that TWD members have wondered about for the past few months. I love baking along with a group and I enjoy the recipes from the book, and having Dorie interact with TWD so closely is the icing on the cake.

One year ago: Oatmeal.  We just had this last weekend – I love it during the winter.

copy-of-img_1196

thanksgiving twofer pie

copy-of-img_8894

Laurie, the administrator for TWD, gave us the option of blogging about the Thanksgiving Twofer Pie, a combination of pecan and pumpkin pie, on Thursday instead of Tuesday, under the assumption that some of us would be making it for Thanksgiving. I tried to imagine my family’s reaction if I offered something so untraditional after the turkey. My mom would raise her eyebrows, loudly, if such a thing is possible, and eat maybe half a piece. My dad would eat his portion and proclaim it good but not as good as Libby’s pumpkin pie. My brothers and sister are more easygoing, and they might actually enjoy it for what it is – something different, god forbid.

copy-of-img_8812

I admit to being a little apprehensive about the pie myself, not being a big fan of pecan pie, or even pecans, for that matter. But I’m generally game for something new, so I followed the recipe almost exactly. I did toast the pecans before adding them to the pie, and I ran out of corn syrup and substituted maple syrup for almost half of the corn syrup.  I also used a different pie crust recipe.

copy-of-img_8827

The recipe came together smoothly for me, although I will admit to a twinge of regret when I added the pecans to the wonderfully pure pumpkin pie filling. The only problem I had was that my crust became incredibly difficult to cut through after baking. I am not exaggerating when I say that I ate my pie with a steak knife. I don’t know what happened – my only guess is that the sugary pecan pie filling made its way down to the crust and crystallized. I haven’t seen anyone else mention this problem, but there was nothing unusual about the pie crust I made. Maybe the maple syrup caused the problem?

copy-of-img_8842

I was surprised by how much I really enjoyed this pie. I’m so glad that I added some maple syrup, because that flavor was really noticeable, and it was fantastic. I did think the pie was sort of, um, ugly, once sliced. I wish the layers had stayed separate. That’s okay though, it was still tasty.

copy-of-copy-of-img_8869

Vibi, who’s actually from France and therefore has no interest in Thanksgiving, was kind enough to choose this dessert for all of us American TWD members. The recipe is posted on her blog (in both English and French – just scroll down for the English version).

copy-of-copy-of-img_8896

summer fruit galette (twd)

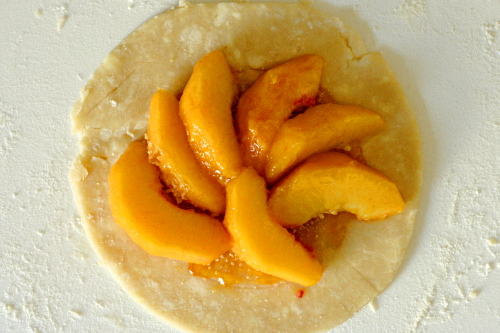
It’s safe to say that this Summer Fruit Galette, chosen for TWD by Michelle, wasn’t my best effort. My baking has gotten really out of control lately – my freezer is full of cupcakes, cookies, muffins, and breads. There’s cookie dough and half a cake in my refrigerator. (But I finally found someone to offload some of this excess onto, so I’m excited about that!) My capacity to bake has far outstripped our capacity to eat. I thought the galette would fit into this pattern perfectly because I could pare down the recipe, which would be tricky with a regular pie.

Last time I made Dorie’s pie crust, I was pretty happy with it, but was put off by the shortening. Mari suggested substituting lard for the shortening, and since the galette uses the same dough as the blueberry pie did, I had that opportunity. I didn’t notice any big differences between the crusts made with shortening and with lard – they seemed equally easy to work with and flavorful. But a few weeks ago, I had noticed two or three TWD members who had problems with the pie crust sort of melting in the oven, and I had a little of that problem this time. In short, I’m going to stick with my old favorite pie crust. They’re both good, but I’ve been using that one for years and I’ve always been happy with it. (I’ll put it on my blog at some point or another – probably the next pie recipe TWD makes.)

The rest of my problems with the galette were my fault. I only made a quarter of the recipe, and I’m afraid that that’s an impractically small fraction. The ratio between the area necessary to hold fillings and the area necessary to pleat the edges gets thrown off, and you end up with far more crust per filling than the recipe intended. And one of the parts of this recipe that I was very interested in was the custard topping that gets poured over the fruit, but again, with so little filling exposed, I was only able to dribble in the slightest amount of custard mix before it overflowed and made a mess.

Despite all of my foibles making this dessert, I still really enjoyed it. I can tell the potential for a really amazing dessert is there. This is another example of how Dorie takes just a few ingredients and shows them off to their best advantage.

The recipe can be found on Melissa’s website.

blueberry pie (twd)

Blueberry season snuck up on me. When I first saw that Amy’s TWD pick this week was blueberry pie, I hadn’t yet seen seasonal blueberries at the store. But when I went just a few days later, blueberries had replaced strawberries in the produce place of honor. Phew. (Then we went camping in the supposed “blueberry capital of the world”, so…yeah, finding blueberries didn’t end up being a problem.)

Like most somewhat experienced bakers, I already have a favorite pie crust recipe. It’s tasty, flaky, easy to work with, and doesn’t require shortening. However, if I stubbornly cling to my old favorites and refuse to try new recipes, I’ll stagnate as a baker and a cook. I was certainly willing to give Dorie’s pie crust recipe a try.

I also have a favorite blueberry pie recipe, but again, with the trying new things…

Dorie’s pie crust knocked my socks off. It was delicious, flaky, tender, and even easier to work with than my other recipe. However, the shortening is actually a deal breaker with me. I’d rather be careful that my pie crust is chilled enough when I’m rolling it out than eat hydrogenated fats. Also, I think Dorie’s recipe needs to be scaled back a bit. It makes about 20% more crust than other recipes I’ve used, and as a result, the pie had a higher crust to fruit ratio than I like, even though I think I like pie crust more than most people. (Depending on the quality of the crust, of course.)

The filling, well, it reminded me that I love blueberry pie. I ate four (small, I swear!) pieces in one day. I reduced the sugar from 1 cup to ¾ cup, and I’m glad I did, I think I used just the right amount of sugar. I also didn’t have the lemon zest that I was supposed to use, so I fudged that with a bit of lemon extract. I still like my other recipe better – it uses cinnamon as a supporting flavor instead of Dorie’s lemon, and the cinnamon is surprisingly perfect with the blueberries.

The recipe calls for bread crumbs to be scattered on the bottom crust before the filling ingredients are added. I’m not putting breadcrumbs in blueberry pie; it’s just not happening. I considered using graham cracker crumbs, but ultimately got lazy and skipped this step entirely. I bake pies on a preheated baking sheet, which I think helps brown the bottom crust and keep it crispy. I had no problems with my crust getting soggy.

The recipe can be found on Amy’s blog.