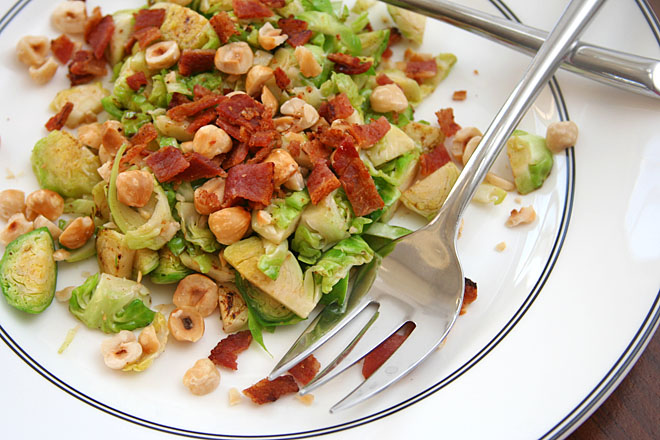
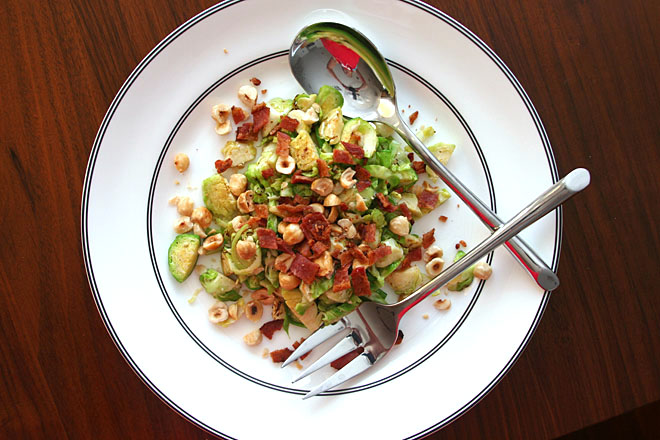
warm brussels sprouts salad with bacon and hazelnuts

brussels sprouts salad 12

The first time I made this was years ago, at a very different time in my life. It was a time in which I would consider individually pulling leaves off of Brussels sprouts, as the original recipe recommends. It was a time in which I expected my opinion of individually pulling leaves off of Brussels sprouts to be: tedious, but not too terribly bad, and ultimately worth it. It was a time before I had kids.

brussels sprouts salad 13

And you know what? Even then, it was too tedious. Even then, I didn’t actually think it was worth it.

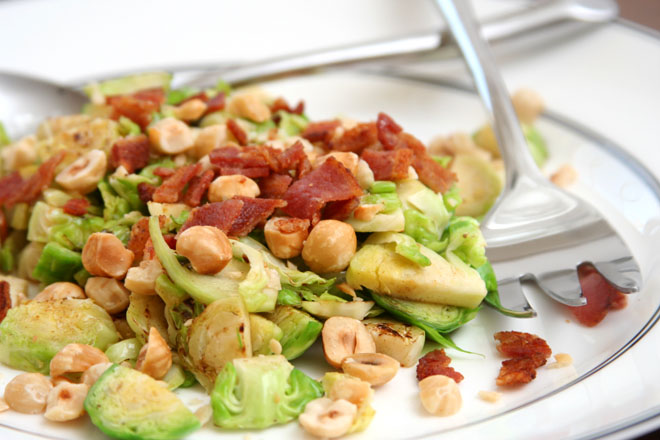
I will admit that it makes a nice presentation, but you know what else makes a nice presentation? Bacon crumbles. Let’s stick with that and just give our sprouts a quick slice. Heck, push them through the slicing blade of your food processor if you want. That salad will taste just as good.

brussels sprouts salad 8

Bacon and Brussels sprouts are a common combination, and for good reason; the rich and flavorful bacon is a nice foil to the green vegetables. The hazelnuts add some crunch, and the dressing is just a bit tart, just a bit sweet from the honey. It might not be worth pulling each leaf off of a bunch of little sprouts, but it’s certainly worth making at any stage in life.

brussels sprouts salad 10

Printer Friendly Recipe
Warm Brussels Sprouts Salad with Bacon and Hazelnuts
(rewritten from Serious Eats)

The original recipe calls for crushing the nuts under a skillet, which I thought was an odd method to call for until I tried using a knife and ended up chasing hazelnuts rolling all over the cutting board and counter. Crushing doesn’t turn them into powder or paste, it just breaks them into smaller pieces.

I prefer using a nonstick skillet for this. A regular skillet works, but you’ll end up leaving lots of flavorful brown bits behind in the pan.

Serves 2

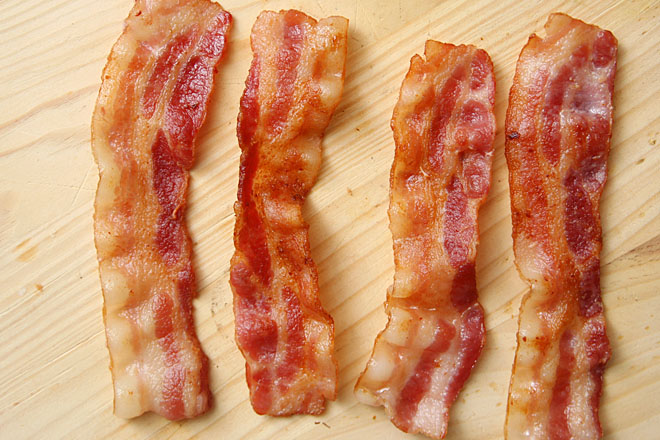
3 ounces bacon (2-3 slices, depending on thickness)
1 small shallot, minced (about 2 tablespoons)
1 tablespoon honey
1 tablespoon sherry (or red wine) vinegar
1 tablespoon extra-virgin olive oil
Kosher salt and freshly ground black pepper
12 ounces Brussels sprouts, halved through the stem and then sliced crosswise
½ cup hazelnuts, toasted, roughly chopped or crushed with a skillet

1. Place the bacon in a medium nonstick skillet over medium heat; cover and cook until it’s browned and crisp, turning occasionally, about 8 minutes. While the bacon cooks, add the shallot, honey, sherry vinegar, oil, ¼ teaspoon salt, and pinch of black pepper to a large bowl. Transfer the cooked bacon to a paper towel-lined plate. Pour 1 tablespoon of bacon fat into the bowl with the dressing ingredients. Leave approximately ½ tablespoon of bacon fat in the skillet; discard the remaining fat. Crumble or coarsely chop the bacon.

2. Heat the skillet with the bacon fat over high heat. Add the Brussels sprouts and cook, stirring constantly, until bright green and slightly wilted, about 2 minutes. Transfer to the bowl with the dressing. Toss the Brussels sprouts with the dressing; top with bacon and hazelnuts. Serve immediately.
brussels sprouts salad 9

pull-apart stuffing knots

pull apart stuffing knots 7

There’s a conflict between the recipes you want to make for Thanksgiving because they’re traditional and the recipes you want to make for Thanksgiving because they’re new and interesting. Every year, magazines have to come up with creative Thanksgiving recipes that no one makes because Thanksgiving only comes once a year, and everyone wants their old favorites.

pull apart stuffing knots 2

Last November was my turn to host my monthly get-together with friends, and I suggested we do a Thanksgiving theme, but not with our standard recipes. I made a turkey roulade with mushroom stuffing, sweet potato meringue pie, and these stuffing rolls. I don’t know where you’d fit stuffing rolls on the normal Thanksgiving menu – would you replace rolls or stuffing or both? But they were perfect for my nontraditional dinner.

pull apart stuffing knots 5

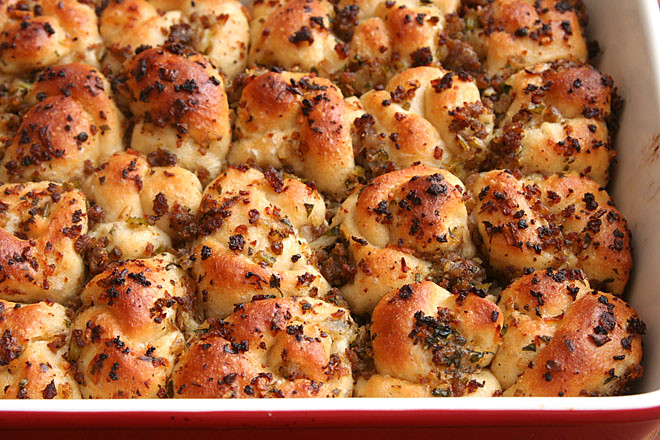
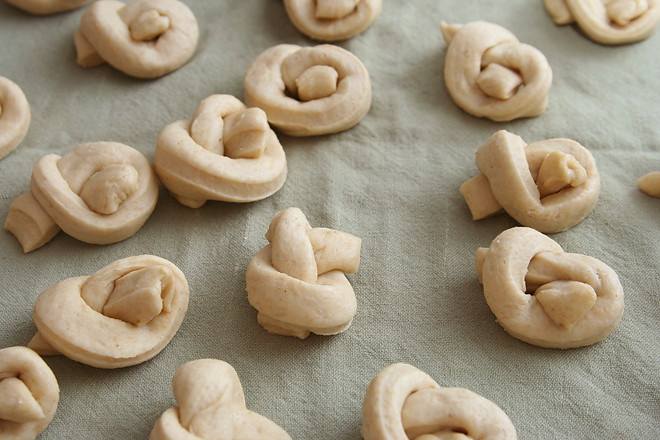
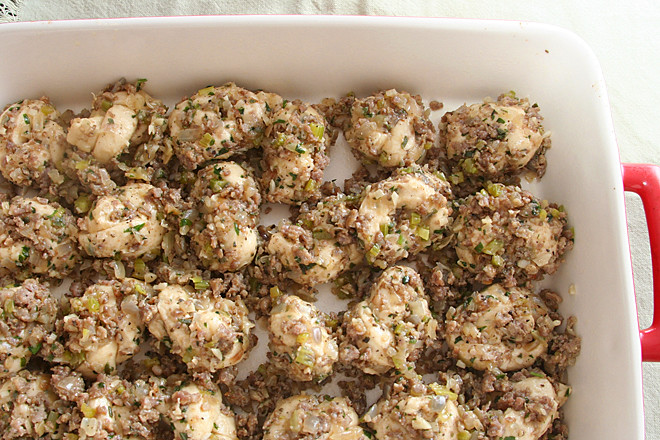
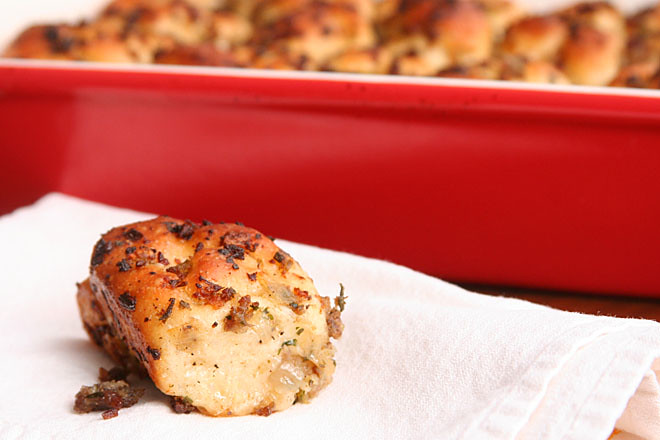
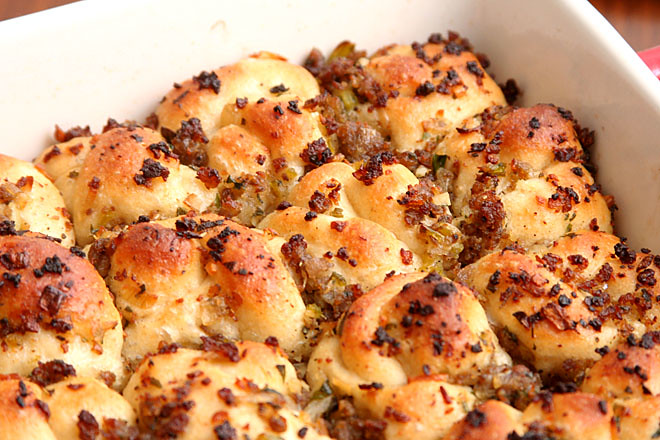
Stuffing rolls are knots – because their irregular shape increases the surface area that can be coated with flavorful ingredients – covered in an herbed sausage and celery mixture. It’s as if you replaced the dried bread cubes in regular stuffing with freshly baked rolls. Wherever you can manage to fit these into your Thanksgiving traditions, they’re worth trying something new.

pull apart stuffing knots 8

Printer Friendly Recipe
Pull-Apart Stuffing Knots (slightly adapted from The Food Lab)

You can use 1 pound of store-bought pizza dough instead of making your own bread dough. You can also replace up to half of the flour with whole wheat flour.

Dough:
11 ounces all-purpose flour
½ cup water
1½ tablespoons oil
1½ tablespoons sugar
1½ teaspoons yeast
¾ teaspoon salt

Rolls:
4 tablespoons butter, divided
8 ounces sage sausage or breakfast sausage, removed from casings
1 small onion, finely chopped (about ¾ cup)
1 stalk celery, finely chopped (about ½ cup)
4 medium cloves garlic, finely chopped
¼ cup minced fresh sage leaves
¼ cup minced fresh parsley leaves
Kosher salt and freshly ground black pepper

1. Mix pre-dough. The next day, mix and knead the dough. Let rise slightly and refrigerate overnight.

2. Melt 2 tablespoons butter in a large skillet over medium-high heat. Add sausage and mash with stiff whisk or potato masher to break up into fine pieces (largest pieces should be no greater than ¼-inch). Cook, stirring frequently until only a few bits of pink remain, about 8 minutes. Add onions, celery, garlic, and sage and cook, stirring frequently, until vegetables are softened, about 10 minutes. Add parsley and season to taste with salt and pepper. Transfer contents to a large bowl and set aside until completely cool.

3. While filling cools, make knots. On a lightly floured surface, divide dough into two even pieces. Working with one piece at a time, roll or stretch into an oblong strip about 8 inches long and 4 inches wide. With a bench scraper or knife, cut crosswise into 12 strips. Repeat with other half of dough.

4. Tie each strip into a knot and transfer to the bowl with sausage mixture. Toss and fold with your hands until every knot is thoroughly coated in the mixture. Grease a 9- by 13-inch casserole pan with 1 tablespoon butter. Transfer the knots to the casserole dish in a single layer. Spray with oil, cover tightly with plastic, and set aside until doubled in size, about 4 hours. Alternatively, refrigerate until doubled in size, 12 to 16 hours.

5. When ready to bake, preheat oven to 425°F and adjust oven rack to center position. Unwrap rolls. Transfer to oven and bake until golden brown and crisp, 25 to 30 minutes.

6. When rolls are almost ready, melt remaining tablespoon butter in the microwave or stovetop. Remove rolls from oven and immediately brush with butter.

pull apart stuffing knots 6

Save

butternut squash and goat cheese ravioli with sage browned butter

goat cheese squash ravioli 7

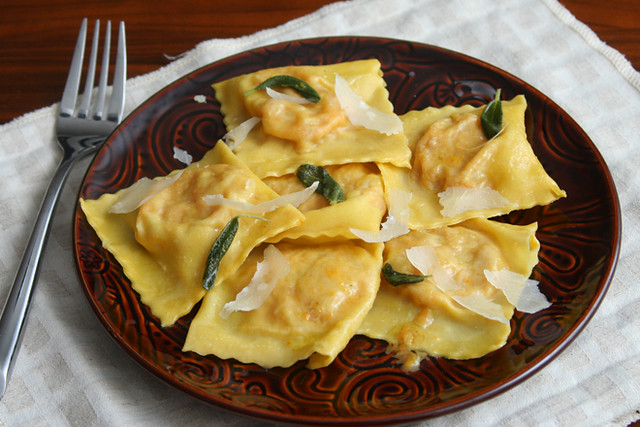
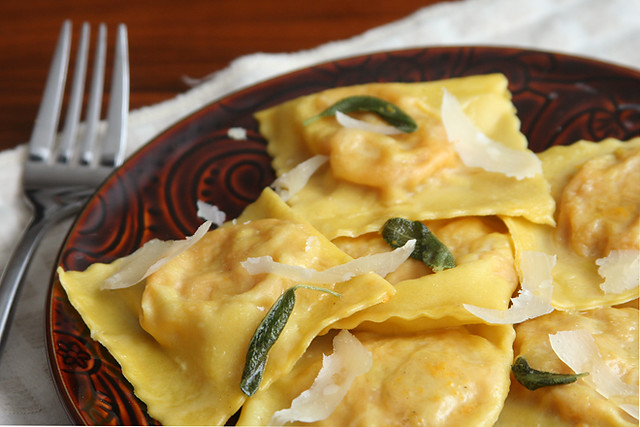
On that fateful homecoming from visiting my in-laws for Thanksgiving, this is what I’d planned to have for dinner. The ravioli were already filled and formed in the freezer, just requiring a quick drop in simmering water and a trip through a skillet of butter. But coming home to disaster made even that seem overwhelming; instead, we ate toppingless chili from the freezer in between shop-vaccing up buckets of water.

goat cheese squash ravioli 2

These are still in the freezer, and at least that’s one advantage of this mess. Actually, my freezer is stuffed to the brim now. In the absence of any other outlet for that stereotypical late pregnancy nesting urge, I cooked. I cooked until the freezer in the rental house was overflowing, then I transferred some meals to our home freezer, and cooked some more.

goat cheese squash ravioli 3

We’ve moved back home now, but there’s plenty of work to do before the house is back to normal. I have a feeling I’ll be very, very grateful to have a freezer full of food once I have a newborn on top of a million house chores. This meal, combining some of my favorite ingredients, will be saved for something special – maybe the day we get doors installed.

goat cheese squash ravioli 5

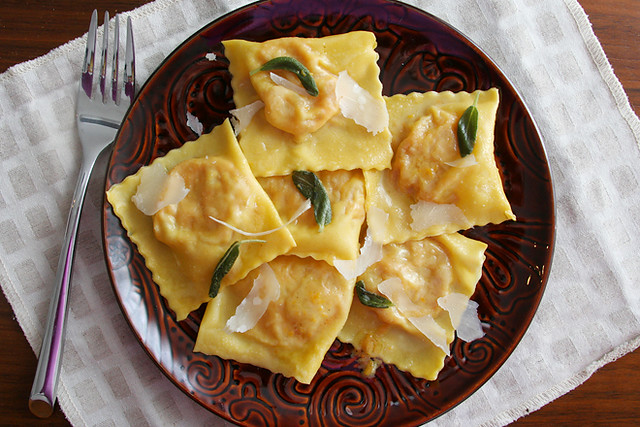
Butternut Squash, Goat Cheese, and Pancetta Ravioli with Sage Browned Butter

Serves 8 as a first course or 4 as a main course

I made my pasta using this method and the following ingredients: 5 ounces flour, pinch salt, 1 egg, 2 egg yolks, and ½ teaspoon olive oil.

6 ounces pancetta, diced into ¼-inch cubes
1 onion, diced fine
salt
1 small butternut squash, peeled, diced into ½-inch cubes
1 teaspoon fresh thyme leaves, minced
5 ounces goat cheese
pinch nutmeg
2 ounces (1 cup) grated parmesan
8 ounces fresh pasta, rolled to the second-to-last setting on a pasta roller
6 tablespoons unsalted butter, melted
12 sage leaves, sliced

1. In a 12-inch nonstick skillet over medium heat, cook the pancetta until crisp, about 8 minutes. Using a slotted spoon, transfer the pancetta to a large bowl. Drain the fat in the pan into a small bowl. Transfer 1 tablespoon of fat back to the pan and add the onions. Cook, stirring occasionally, until the onions are lightly browned around the edges, about 8 minutes. Transfer the onions to the bowl with the pancetta. Add another 1 tablespoon reserved pancetta fat to the pan; add the squash. Cover the pan and cook, stirring occasionally, until the squash is browned and tender, about 15 minutes. Use a potato masher to lightly mash the squash, then transfer it to the bowl with the onions and pancetta. Add the thyme, goat cheese, nutmeg, parmesan, and additional salt to taste to the bowl; stir to combine.

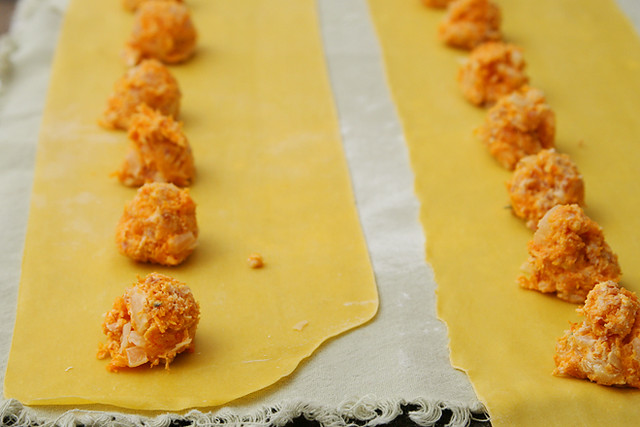
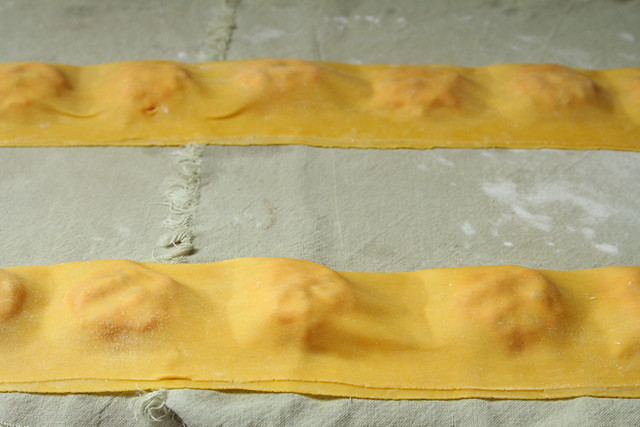
2. Place one rounded tablespoon of filling every 2 inches along the length of a pasta sheet. Use a pastry brush dipped in water to wet the pasta along the long edges and between the filling. Fold the pasta sheet lengthwise over the filling, pressing around each ball of filling to seal the two layers of pasta together. Use a pizza cutter to cut between the filling to form squares of ravioli. Store the ravioli on a dry dish towel. Repeat with the remaining dough and filling. (Ravioli can be formed several hours in advance and covered and refrigerated or can be flash-frozen, then transferred to freezer bags and frozen for several weeks. Do not defrost before cooking.)

3. In a large skillet, brown the butter with sage and a generous pinch of salt. Bring a large pot of water to a boil; add a tablespoon of salt and lower the heat until the water is at a lively simmer. Boil the ravioli in small batches for about 2 minutes. Use a slotted spoon to transfer the ravioli from the cooking water to the butter; simmer and shake over medium-high heat until the ravioli are evenly coated. Serve immediately, with additional parmesan if desired.

goat cheese squash ravioli 6

arugula salad with prosciutto, figs, walnuts, and parmesan

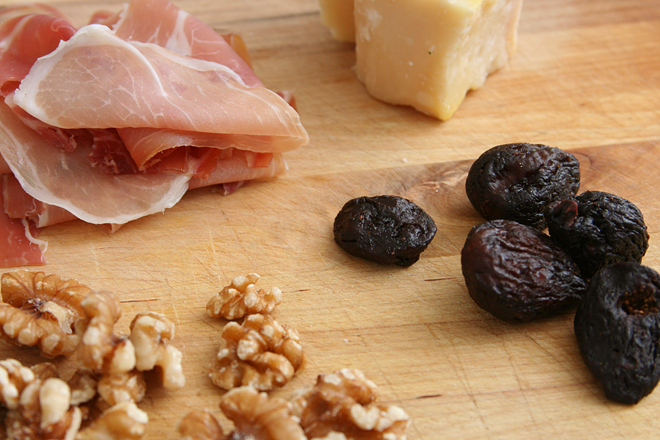
arugula salad figs prosciutto 3

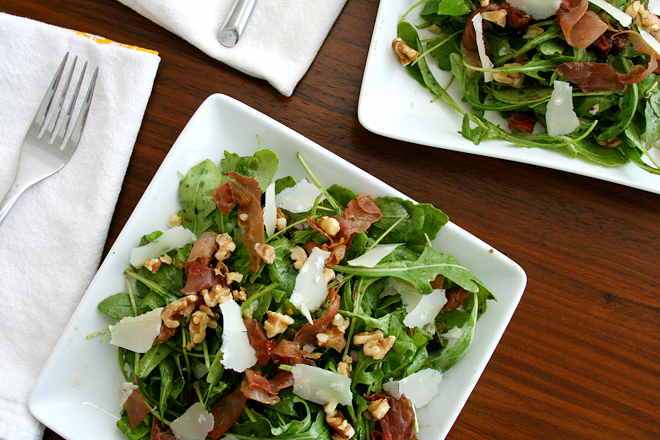
This is my salad of the season. It seems like there’s always one, something I make every time we have a big meal (i.e., every Saturday night). This one was so good we had it for Sunday lunch too.

arugula salad figs prosciutto 1

Maybe I should start making soup as a first course instead of salad, especially this time of year, but this salad seems appropriate for winter. It has deep, rich flavors from the prosciutto, figs, and walnuts, so it doesn’t taste bright and light like a lot of summer salads do.

arugula salad figs prosciutto 2

And yet, even piled with crisp prosciutto and slivers of parmesan, it’s still a salad, still mostly vegetables. That makes it a great accompaniment to rich winter braises and casseroles. If this is my salad of the season, I’m glad it’s still early in the season.

arugula salad figs prosciutto 6

Printer Friendly Recipe
Arugula Salad with Prosciutto, Figs, Walnuts, and Parmesan (from Cook’s Illustrated)

4-6 servings

4 tablespoons extra-virgin olive oil
2 ounces thinly sliced prosciutto, cut into ¼-inch-wide ribbons
1 tablespoon raspberry jam or honey
3 tablespoons balsamic vinegar
½ cup dried figs, stems removed, fruit chopped into ¼-inch pieces
1 small shallot, very finely minced (about 1 tablespoon)
Table salt and ground black pepper
5 ounces lightly packed stemmed arugula (about 8 cups)
½ cup toasted, chopped walnuts
2 ounces Parmesan cheese, shaved into thin strips with vegetable peeler

1. Heat 1 tablespoon oil in 10-inch nonstick skillet over medium heat; add prosciutto and fry until crisp, stirring frequently, about 7 minutes. Using slotted spoon, transfer to paper-towel-lined plate and set aside to cool.

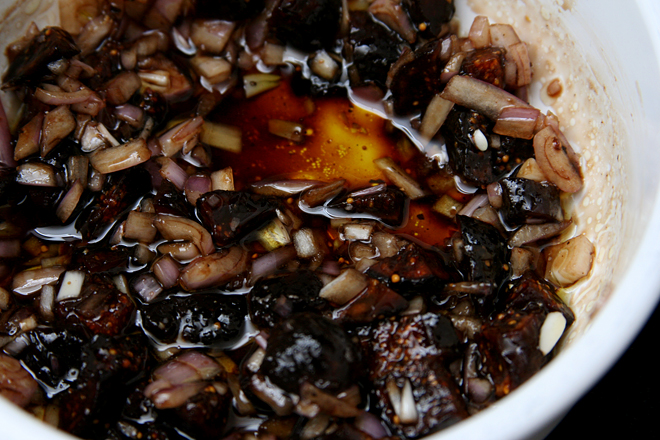
2. Whisk jam and vinegar in medium microwave-safe bowl; stir in figs. Cover with plastic wrap, cut several steam vents in plastic, and microwave on high until figs are plump, 30 seconds to 1 minute. Whisk in remaining 3 tablespoons oil, shallot, ¼ teaspoon salt, and ⅛ teaspoon pepper; toss to combine. Let cool to room temperature.

3. Toss arugula and vinaigrette in large bowl; adjust seasonings with salt and pepper. Divide salad among individual plates; top each with portion of prosciutto, walnuts, and Parmesan. Serve immediately.

arugula salad figs prosciutto 4

korean pork medallions with asian slaw

asian pork tenderloin with slaw 6

Can you believe we actually ate this in the middle of December? What were we thinking?! We could have been eating roast beef! mashed potatoes! macaroni and cheese! ‘Tis the season (well, ’twas the season) for rich and delicious food!

asian pork tenderloin with slaw 2

This vegetably starchless meal is clearly made for January. It’s actually exactly what I’m craving. Even though I don’t think I’m eating significantly more healthfully lately than I normally do, I’m more bored with healthy foods right now. Maybe it’s an instinctual reaction to winter, although considering that it was almost 70 degrees here last weekend, probably not.

asian pork tenderloin with slaw 3

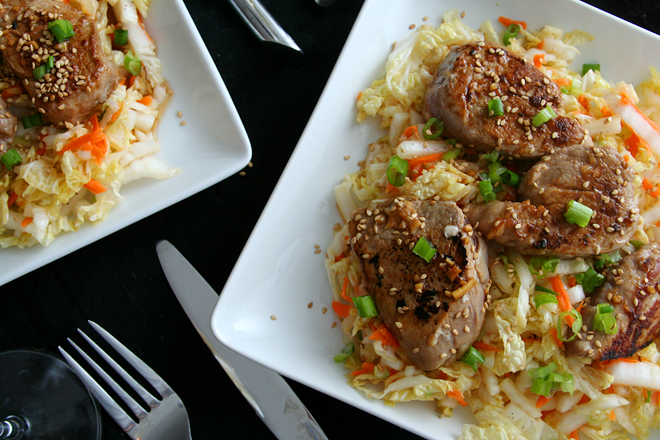
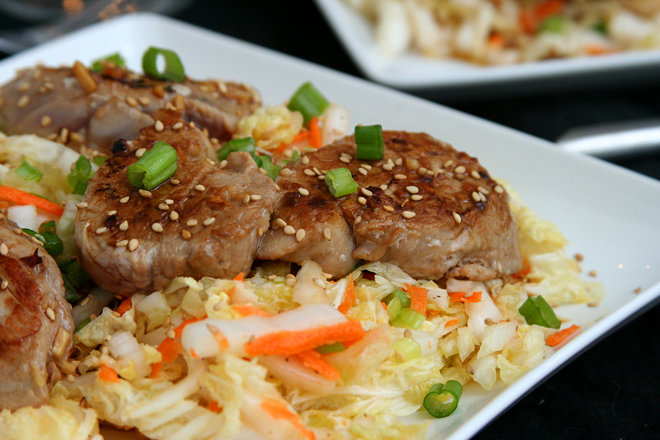
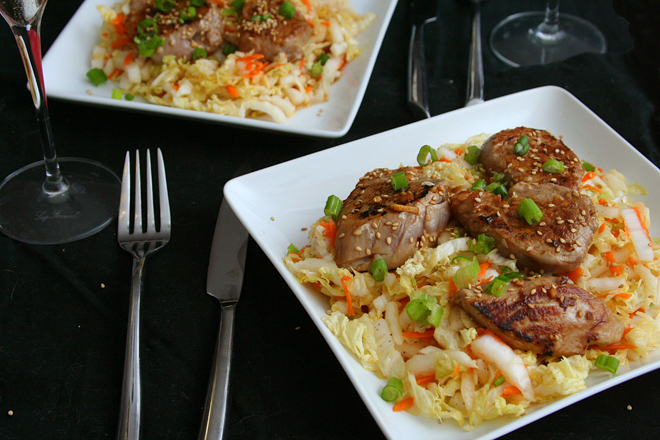
This meal, although pretty healthy, is also sweet and salty and meaty and therefore comforting. It definitely doesn’t make you feel like you’re choking down health food to make up for December’s transgressions. Sure, there’s a salad involved, but it’s topped with deeply browned meat. It really is a great meal any time of year.

asian pork tenderloin with slaw 5

Printer Friendly Recipe
Spicy Korean Pork Medallions with Asian Slaw (hardly adapted from Fine Cooking)

Serves 4 to 6

1 large or 2 small pork tenderloins (about 1¼ pounds)
⅓ cup soy sauce
¼ cup rice vinegar
3 tablespoons light brown sugar
2 medium cloves garlic, minced
1½ tablespoons minced fresh ginger
1 tablespoon toasted sesame oil
1 tablespoon sriracha
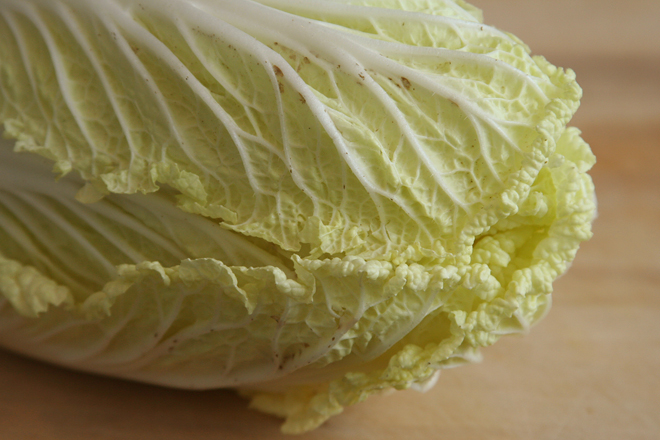
1 pound napa cabbage, thinly sliced (about 6 cups)
2 medium carrots, grated (about 1 cup)
4 scallions (both white and green parts), trimmed and thinly sliced
2 tablespoons canola or peanut oil
kosher salt

1. Trim the pork of any silverskin and excess fat, and cut on the diagonal into ½-inch-thick medallions.

2. In a small measuring cup, whisk together the soy sauce, 2 tablespoons of the rice vinegar, 2 tablespoons of the brown sugar, the garlic, ginger, ½ tablespoon of the sesame oil, and 2 teaspoons of the chile sauce. Toss ½ cup of this mixture with the pork medallions in a large bowl; reserve the remaining mixture to use as a sauce. Let the pork sit at room temperature for 25 minutes or refrigerate for up to 2 hours.

3. Meanwhile, in another large bowl, toss the cabbage and the carrot with half of the scallions, 1 teaspoon salt, and the remaining 2 tablespoons rice vinegar, 1 tablespoon brown sugar, ½ tablespoon sesame oil, and 1 teaspoon chile sauce. Let sit for 15 minutes, toss again, and transfer to a large serving platter.

4. Heat 1 tablespoon of the canola oil in a 12-inch, heavy-based skillet over medium-high heat until shimmering hot. Remove the pork from the marinade, shaking off the excess, and transfer the pork to a clean plate. Discard the marinade. Add half of the pork medallions to the skillet, spacing them evenly. Cook them without touching until well browned, about 2 minutes. Flip and cook until the pork is just cooked through (slice into a piece to check), about 2 more minutes. Set the pork on top of the slaw. Pour out the oil and wipe the pan with paper towels (if the drippings on the bottom of the pan look like they may burn, wash the pan). Return the pan to medium-high heat. Add the remaining 1 tablespoon canola oil, and cook the remaining medallions in the same manner. Top the slaw with the remaining pork, and pour the reserved soy-ginger sauce over the medallions. Serve immediately, sprinkled with the remaining scallions.

asian pork tenderloin with slaw 4

pizza with brussels sprouts, bacon, and goat cheese

brussels sprouts pizza 3

Does it seem like this holiday season has been a lot crazier than normal? It’s must be because Thanksgiving was late this year, which meant that all of the shopping, baking, and socializing had to be squished into about four weeks instead of five like last year. Even if you’re organized enough to start shopping and baking ahead of time, there’s still the parties – the office party, the other office party, the cookie decorating party, the cookie exchange, and on and on.

brussels sprouts pizza 4

In addition to all that, we ended up being part of yet another office party, this one at the Big Boss’s house, which is not an invitation you turn down. I wasn’t feeling like I had time for the party and definitely not for the baking I’d agreed to do for the party, so I had some relief when it got postponed and I got to stay home and make this pizza instead.

brussels sprouts pizza 6

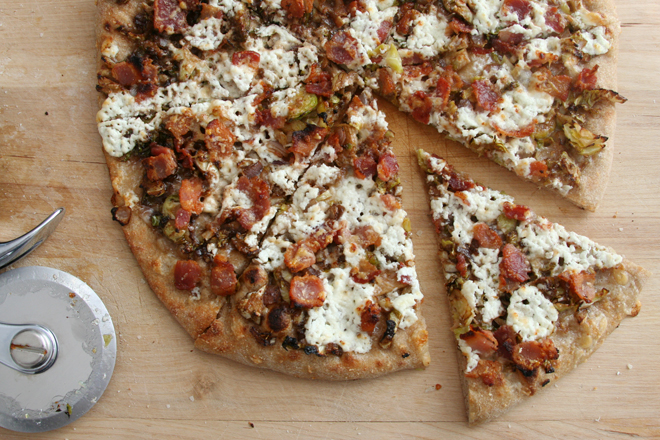
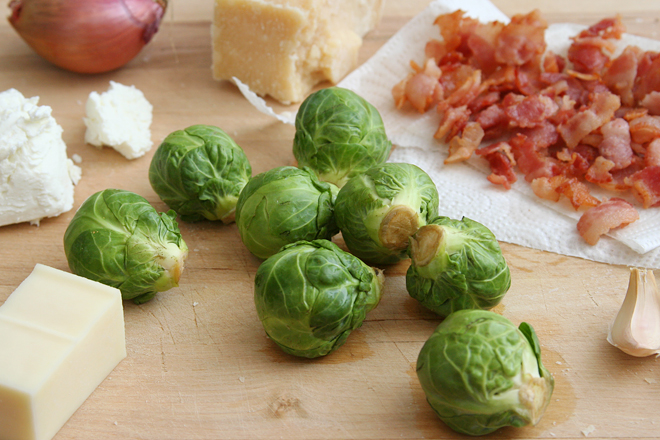
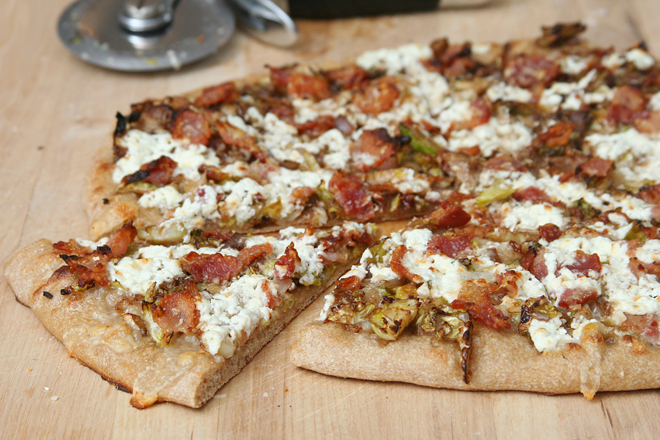
It sounds weird, I know. But it’s my favorite vegetable and one of my favorite cheeses, plus bacon, plus bread, so I knew it couldn’t be bad. The bacon, it turns out, really makes it, adding an element of sweetness to go with the nutty vegetables and tangy cheese. This pizza and a quiet night at home was exactly what I needed this holiday season.

brussels sprouts pizza 1

Printer Friendly Recipe
Brussels Sprout, Bacon, and Goat Cheese Pizza (from Shutterbean via Pink Parsley)

1 pound pizza dough (⅓ of this recipe)
4 slices of bacon, diced
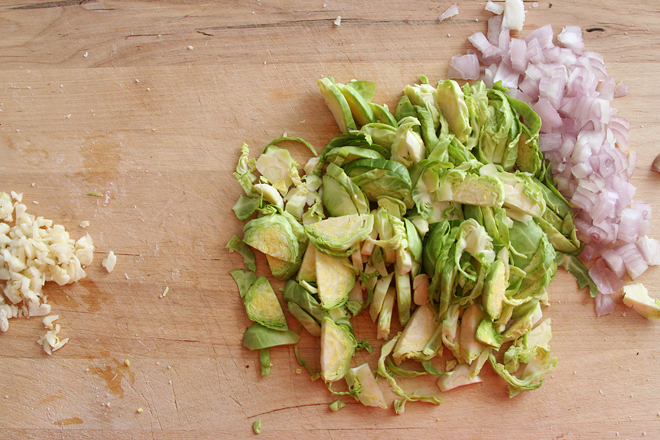
6 ounces (about 6) Brussels sprouts, halved lengthwise and thinly sliced
1 large shallot, thinly sliced
3 cloves of garlic, thinly sliced
pinch of red pepper flakes
1 tablespoon balsamic vinegar
½ cup (2 ounces) shredded mozzarella
¼ cup (2 ounces) goat cheese, crumbled
¼ cup (½ ounce) freshly grated Parmesan cheese

1. Place a pizza stone on a rack about 3 inches below the broiler and preheat the oven to 500 degrees. Shape the dough into a ball; cover and set aside for 10 to 30 minutes to allow the gluten to relax.

2. In a medium skillet, cook the bacon, stirring occasionally, over medium heat until it’s just barely crisp, about 8 minutes; use a slotted spoon to transfer it to a paper towel-lined plate. Remove all but about a thin coating of fat in the pan. Add the Brussels sprouts and shallots and cook, stirring constantly, until softened, about 3 minutes. Add the garlic and red pepper flakes and cook, stirring constantly, until fragrant, about 1 minute. Remove the pan from the heat and add the vinegar.  Set aside.

3. Flatten the dough, then pick it up and gently stretch it out, trying to keep it as circular as possible. Curl your fingers and let the dough hang on your knuckles, moving and rotating the dough so it stretches evenly. If it tears, piece it together. If the dough stretches too much, put it down and gently tug on the thick spots.

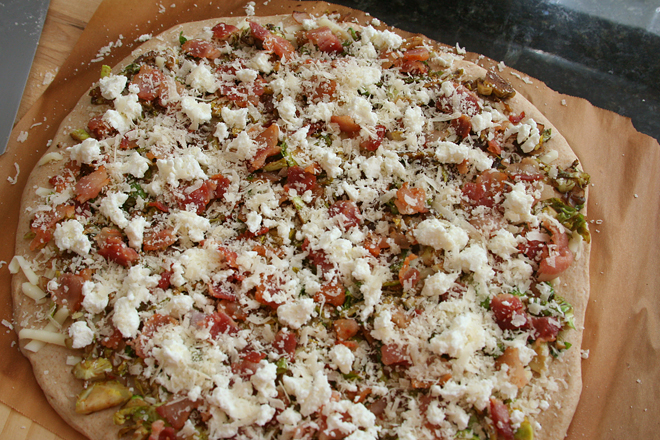
4. Line a pizza peel (or the back of a baking sheet) with parchment paper and transfer the round of dough to the peel, rearranging it to something reasonably circular. Top with the mozzarella, then the Brussels sprouts mixture, goat cheese, and parmesan. Transfer the pizza to the hot pizza stone.

5. Immediately turn the oven off and the broiler on (to high, if yours has settings). Bake the pizza for about 5 minutes, until the bottom is spotty browned and the cheese is bubbling. Transfer the pizza to a cooling rack; cool about 5 minutes before slicing and serving.

brussels sprouts pizza 7

antipasti salad

antipasto salad 6

It took me a few tries to get the office potluck right. In the meantime, I learned that goat cheese is a bad idea; the old cowboys think it sounds gross and won’t try it. Dips and spreads don’t work well because you have to dish both the spread and the item to be spread onto and guess at the ratio. Grabbable snacks are fine, but not necessary, because people aren’t hovering and grazing; they just fill a plate and find a seat at the crowded table in the conference room.

antipasto salad 1

Food in crockpots is always popular, but anything that requires a bowl is too much work for people; you need one hand for your plate and the other to scoop more food onto that plate, so a bowl overloads you. That still leaves a lot of good food though – meatballs, beans, pastas. I considered bringing macaroni and cheese in the crockpot, but after a look at the potluck’s sign-up sheet, decided that more carbs was probably unnecessary.

antipasto salad 3

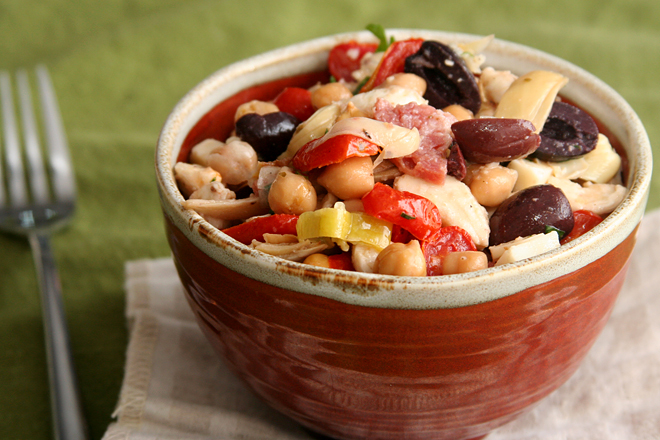
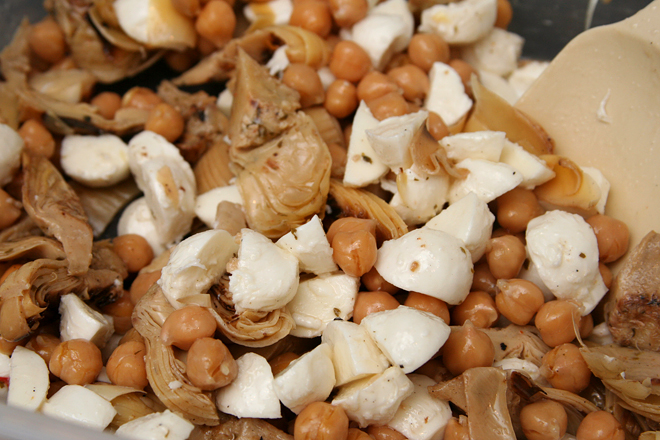
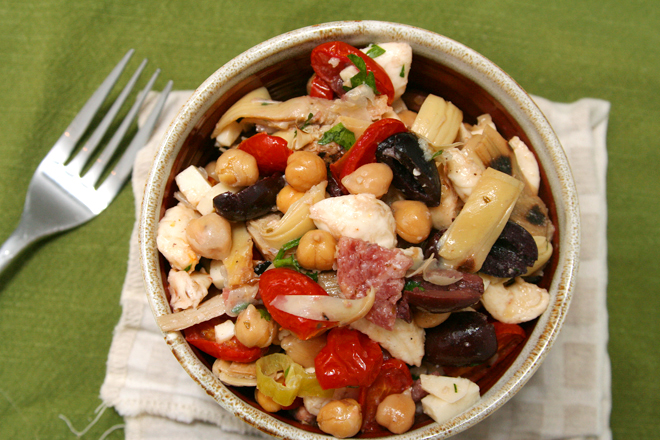
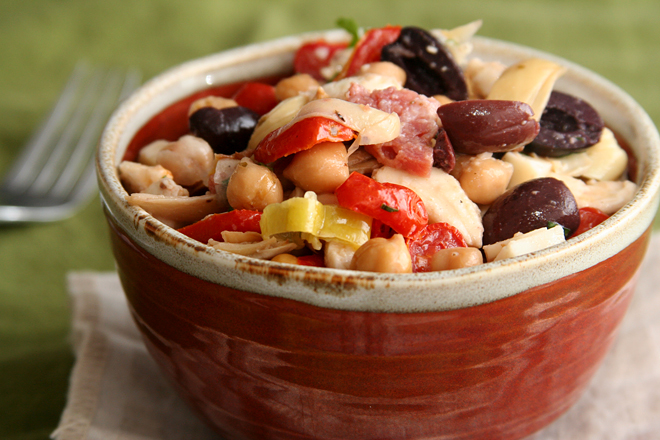
So then I started thinking that something more on the healthier side would be nice. A green salad doesn’t work though; I’m okay with my foods touching, but not grape jelly-chile meatball sauce and lettuce. Instead, I combined all of my favorite antipasti ingredients into one bowl, mixed it up, and let it sit overnight. In that time, the brine from the olives, seasoning in the salami, and herbs in the artichoke marinade seeped into the chickpeas and milky mozzarella.

antipasto salad 4

I couldn’t stop eating it when I made it. At the potluck, it didn’t get overshadowed by tasty choices like chile relleno casserole, green chile corn pudding, and green chile stew (green chile is how we do potlucks in New Mexico).  I don’t know if the picky old cowboys tried it, but several other people gave me compliments. My favorite was the leftovers though – I didn’t have to share and there were no distractions from the salad itself.

antipasto salad 5

Printer Friendly Recipe
Antipasti Salad

1 pint grape tomatoes, halved
1 clove garlic, unpeeled
1 (15-ounce) can chickpeas, drained and rinsed
2 (6.27 ounce) jars marinated quartered artichoke hearts, preferably grilled, drained but not rinsed
1 cup kalamata olives, halved
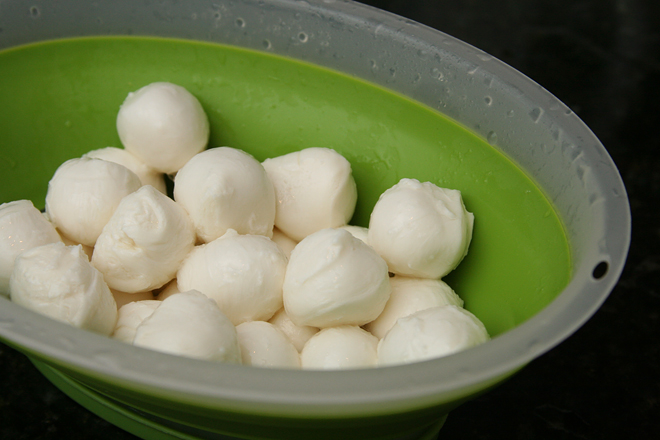
8 ounces fresh mozzarella, cubed
4 ounces sliced salami or mini pepperoni
½ small red onion, sliced thin
2 ounces parmesan, diced small
¼ cup minced parsley
¼ cup pepperoncini, sliced
1 tablespoon red wine vinegar
1 tablespoon extra-virgin olive oil

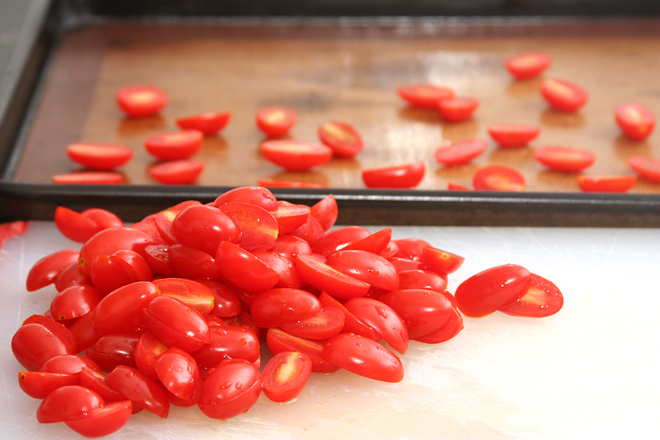
1. Heat the oven to 350 degrees. Arrange the tomatoes cut side up on a baking sheet; place the garlic on the baking sheet. Bake until the tomatoes are slightly shriveled and the garlic is soft, about 30 minutes. Cool to room temperature.

2. In a large serving bowl, mix the tomatoes and all of the remaining ingredients. Squeeze the garlic into the mixture; stir. Marinate at least 1 hour or cover and refrigerate for up to three days. Serve at room temperature.

antipasto salad 7

swiss chard mushroom sausage lasagna

swiss chard lasagna 4

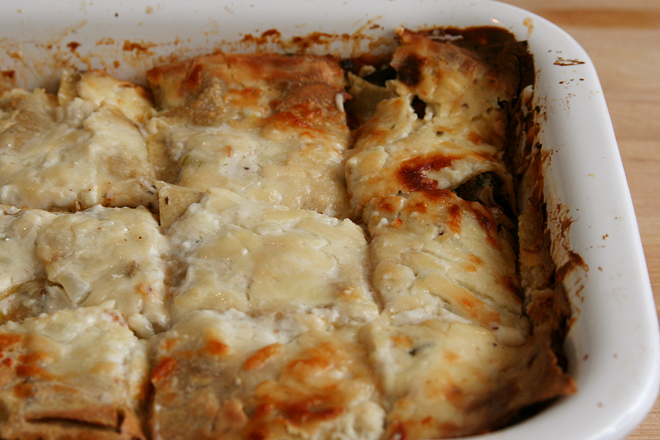
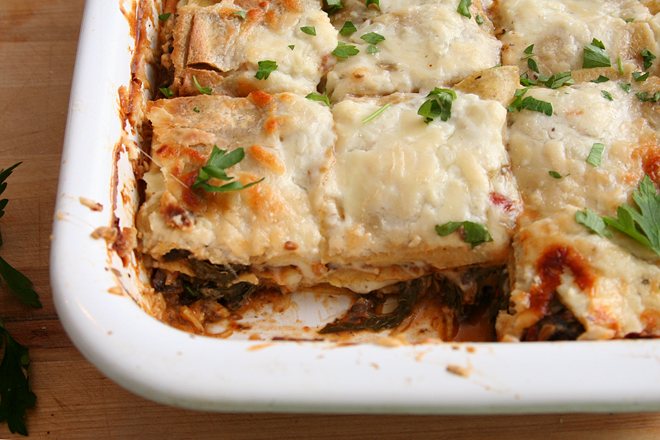
I have this weird thing with lasagna, in that I love it, and I love making it, but I have a hard time bringing myself to repeat recipes. I’m always searching for the next new lasagna recipe, but the truth is, my favorite lasagnas involve tomatoes and cheese and probably bechamel and something that tastes meaty (which could be mushrooms and not meat). And there’s only so many ways to combine those ingredients and still call it in a new recipe.

swiss chard lasagna 2

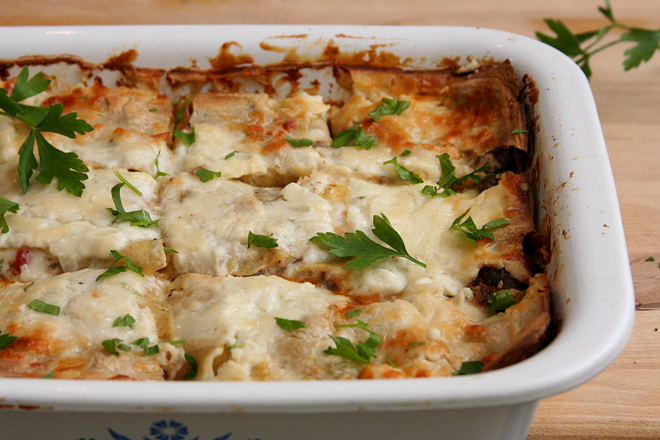
This one, however, I did make twice, because the first time wasn’t quite right. I was thinking that because I enjoy both bechamel and ricotta in lasagna, that I would enjoy having them both there. It turns out, though, that it was overkill, so I nixed the ricotta. Also, the original recipe didn’t include tomatoes or sausage, but they both mix in so well with béchamel and cheese and greens that I couldn’t resist adding them.

swiss chard lasagna 1

I can’t call this my favorite lasagna. With my compulsion to keep trying new recipes, I can’t claim any favorite. But this is certainly worth adding to the list of great recipes. It’s almost like a classic lasagna with some extra vegetables, and those vegetables fit in perfectly with the cheese and tomatoes and meat. It’s so good I might even make it again someday. But in the meantime, tell me: what’s your favorite lasagna recipe?

swiss chard lasagna 3

Printer Friendly Recipe
Swiss Chard Mushroom Sausage Lasagna (adapted from Bon Appetit via epicurious)

For instructions on boiling and rinsing the noodles, see step 4 of this recipe.  You’ll only need half of a recipe of fresh pasta.

Béchamel sauce:
3 tablespoons (½ stick) unsalted butter
¼ large onion, chopped fine
3 cloves garlic, minced
3 tablespoons all-purpose flour
3 cups milk
1 bay leaf
pinch nutmeg
½ teaspoon salt
¼ cup (½ ounce) grated parmesan cheese

Swiss chard and mushroom layer:
8 ounces Italian sausage, removed from casing
1 tablespoon olive oil
¾ large onion, diced
1 pound crimini mushrooms, sliced
salt
4 large garlic cloves, minced
¼ teaspoon dried crushed red pepper
1 (15-ounce) can diced tomatoes with juice
1 pound Swiss chard, center rib and stem cut from each leaf
pepper

Lasagna:
1 pound fresh lasagna noodles or 12 7-by-3-inch lasagna noodles, boiled and rinsed
4 ounces (1 cup) provolone, shredded
4 ounces (1 cup) mozzarella, shredded
2 ounces (1 cup) finely grated Parmesan cheese
2 tablespoons minced parsley

1. For the béchamel sauce: In a medium saucepan over medium heat, melt the butter. When the foaming subsides, add the onion and the garlic. Cook, stirring often, until the onions are softened and translucent, about 5 minutes. Add the flour and cook, stirring constantly, for 1 minute. Whisking constantly, slowly add the milk. Add the bay leaf, increase the heat to medium-high, and bring to a simmer, whisking constantly. When the mixture simmers, reduce the heat to medium-low, add the nutmeg and salt, and simmer 5 minutes. Remove the bay leaf and stir in the parmesan. Cover and set aside.

2. For the swiss chard and mushroom layer: Heat the oil in medium skillet over medium-high heat. Add the onion; sauté until the onion is tender, 3 to 4 minutes. Add the mushrooms and ½ teaspoon salt; cook, stirring occasionally, until the mushrooms release their liquid and then brown, about 8 minutes. Add the garlic and crushed red pepper; cook, stirring constantly, until fragrant, about 30 seconds. Add the tomatoes; simmer until slightly reduced, about 10 minutes. Mix in the chard; cook, stirring frequently, until wilted, about 5 minutes. Stir the sausage back into the sauce; season to taste with salt and ground black pepper.

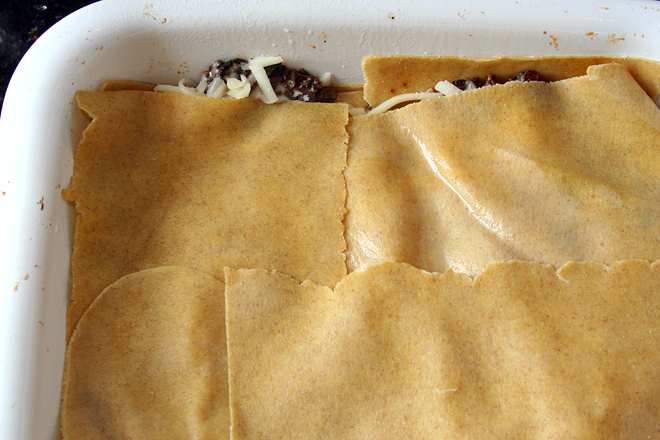
3. Heat the oven to 350 degrees. Spread a thin layer of the béchamel sauce on the bottom of a 9×13-inch baking dish. Cover the sauce with a slightly overlapping layer of boiled noodles, cutting them as needed to fill any gaps. Evenly spread ¾ cup of the sauce over the noodles. Top with one-third of the sausage-mushroom mixture and one-fourth of the cheeses.  Repeat the layers twice more. Layer a final layer of noodles, then cover with the remaining béchamel and cheeses.  Cover the pan with aluminum foil.

4. Bake, covered, for 30 minutes. Remove the foil and continue to bake until the lasagna is bubbling around the edges and golden on top, 20 to 30 minutes longer. Let stand at room temperature for 10 to 15 minutes. Sprinkle evenly with parsley and serve.

swiss chard lasagna 6

shrimp and andouille over green chile cheese grits

shrimp and grits 4

For breakfast on Saturday, we had waffles and a fantastic sausage we picked up on a recent Texas wine-tasting trip. We had dinner at a friend’s cookout, and there were so many great side dishes there that I really didn’t need any grilled meat, but there were homegrown tomatoes and green chile for toppings, so I grabbed a hot dog anyway. For breakfast Sunday, migas with chorizo. For lunch, BLT salads. For dinner, andouille and shrimp over green chile cheese grits. We like our cured pork products.

shrimp and grits 1

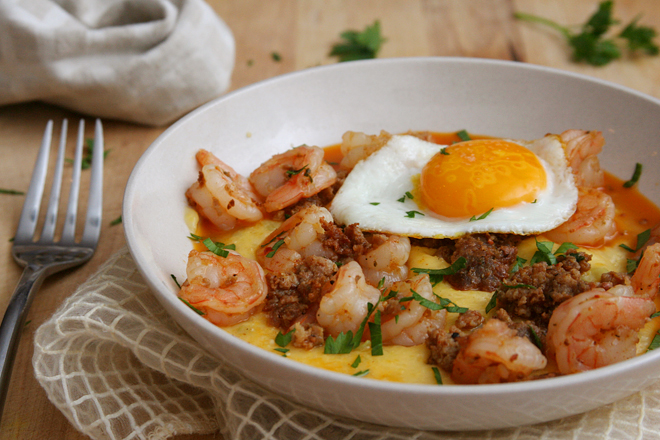
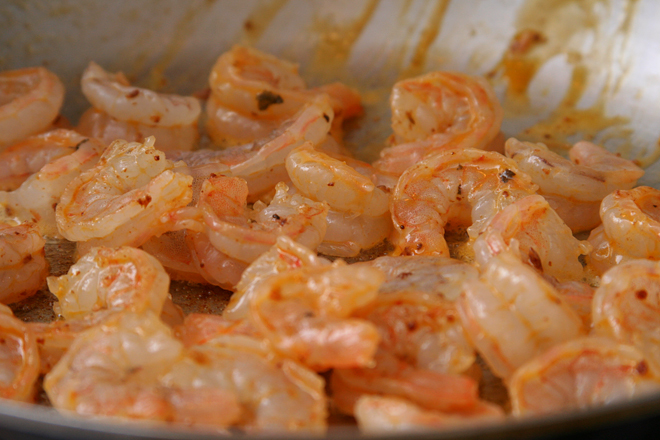
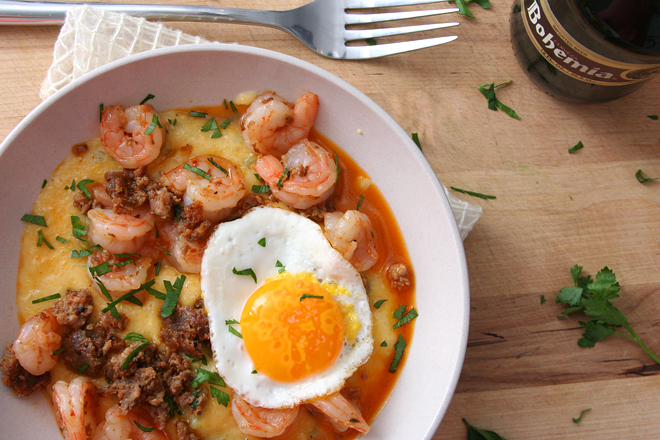
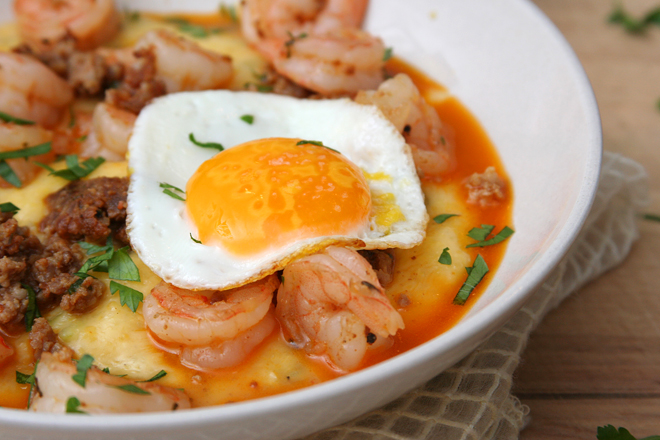
I’ve ordered shrimp and grits several times in restaurants, but it was never so good as this. These grits are enriched with butter and cheese, and if your andouille isn’t spicy enough, a jalapeno is added to the grits (I used Hatch green chiles). The shrimp is browned in butter and andouille drippings, then cooked through in beer and broth. As if there isn’t enough going on, the whole thing is topped with a fried egg.

shrimp and grits 3

For as rich as it tastes and as full as I was afterward, it isn’t quite as bad as it sounds. For two servings plus some leftover grits, I used 1 tablespoon of butter, 2 ounces of cheese, no cream (I was out), and…okay, significantly more andouille than the recipe calls for. It was worth every greasy calorie, like cured meats always are.

shrimp and grits 6

Printer Friendly Recipe
Shrimp and Andouille over Green Chile Cheese Grits (adapted from Bon Appétit via epicurious)

Serves 4 generously

I replaced the jalapeno with about ½ cup of roasted, peeled, seeded, and diced Hatch green chiles. Anaheim or poblano would be a good substitute, but I’m sure the jalapeno is good too. I used smaller shrimp (60-70 per pound) and skipped the tarragon.

Grits:
4 cups water
salt
1 cup yellow grits (not instant)
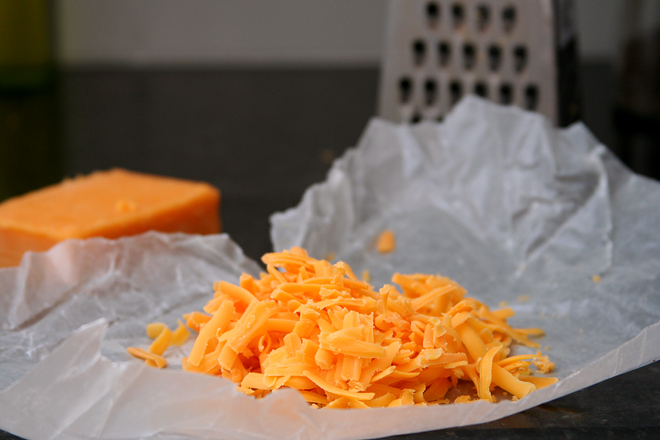
1 cup (4 ounces) grated sharp white cheddar
1 tablespoon unsalted butter
1 jalapeño, seeded, diced
¼ cup heavy cream or milk
freshly ground pepper

Shrimp:
8 ounces andouille sausage
3 garlic cloves, minced
1 pound shrimp, peeled and deveined
¼ cup beer
¼ cup low-sodium chicken broth
1 tablespoon butter
4 large eggs
salt
1 tablespoon chopped fresh tarragon

1. In a medium saucepan over medium-high heat, bring the water and 1 teaspoon salt to a boil. While continuously stirring, add the grits. Reduce to the heat to low to maintain a very slow simmer. Cook, stirring occasionally in the beginning and more frequently as the mixture thickens, for about 30 minutes, until the grits are softened. Stir in the butter, jalapenos, cheese, heavy cream or milk, and pepper. Cover and set aside.

2. In a large skillet over medium heat, cook the sausage, stirring occasionally, until cooked through and lightly browned, about 8 minutes. Add the garlic; cook and stir until fragrant, about 1 minute. Add the shrimp, beer, and stock; cook, stirring frequently, until the shrimp are cooked through, about 5 minutes.

3. Meanwhile, melt the butter in a large nonstick skillet over medium heat. Add the eggs and season with salt. Cover the pan, reduce the heat to low, and cook until the whites are set and the yolks are soft, about 5 minutes.

4. Serve the shrimp mixture over the grits, topped with an egg and sprinkled with tarragon.

shrimp and grits 5

pasta with zucchini cream sauce

pasta with zucchini cream sauce 7

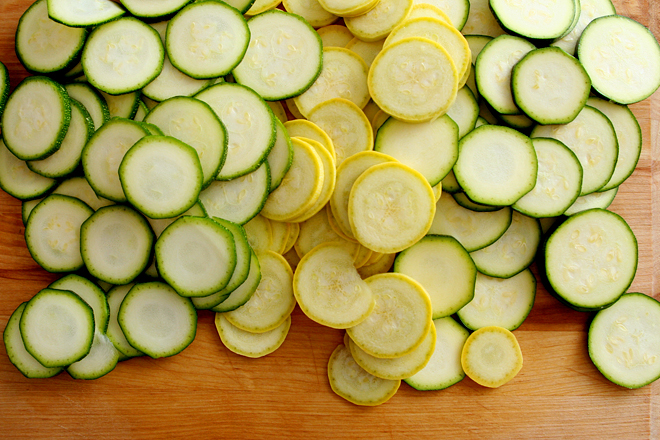
I love love love Domenica Marchetti’s The Glorious Pastas of Italy. Although it isn’t my newest cookbook, it’s still the one that gets me the most excited to cook. But somehow I’d convinced myself that it was a cookbook for winter, full of baked pastas and braised meats. A recent perusal through the book proved me wrong. Not only are there four soups specifically designed for each season, there was this recipe, based on zucchini, the butt of everyone’s summer garden jokes.

pasta with zucchini cream sauce 3

I’ve never been presented with the problem of too much zucchini, but while I happen to love the vegetable, this might be more because I’m a terrible gardener. Regardless, this is yet another great way to use it.

pasta with zucchini cream sauce 5

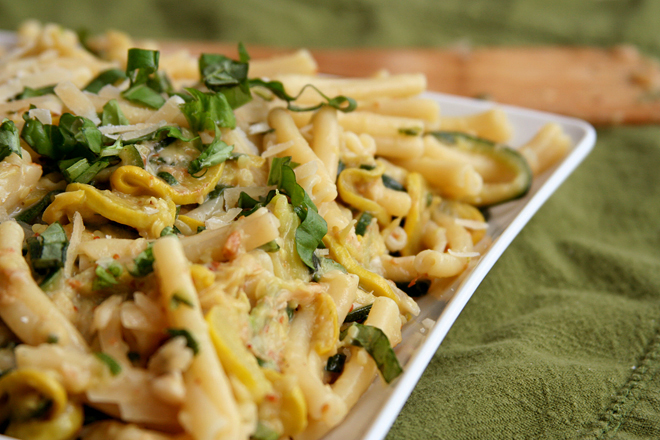
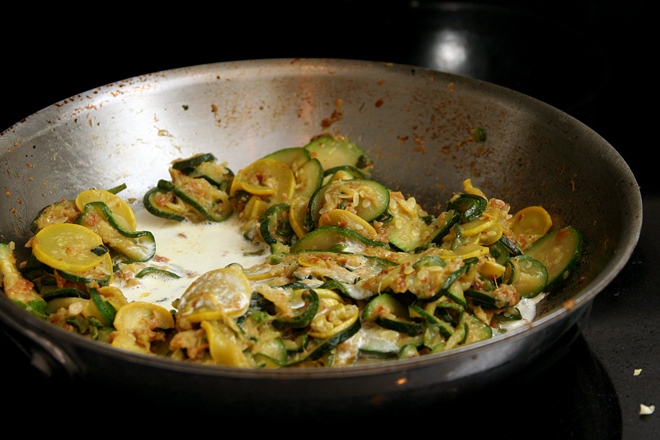
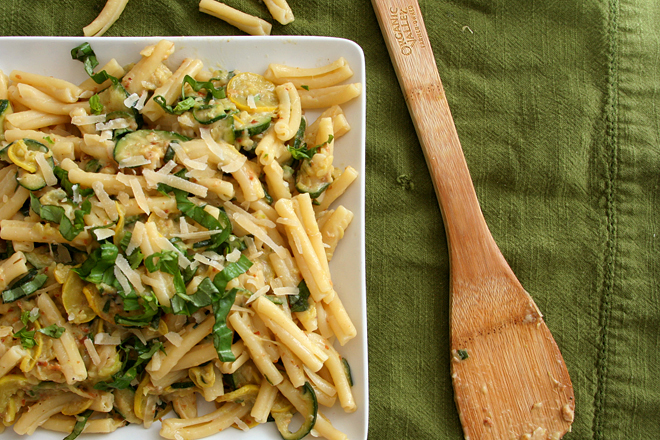
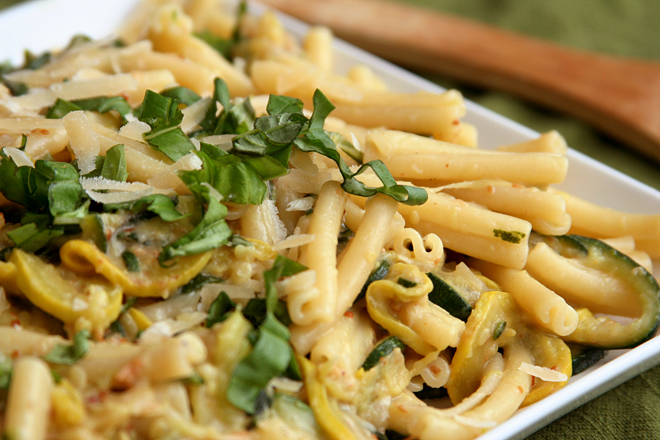
Summer squash can be difficult to cook without it getting mushy, but this recipe solves that problem for you. It’s supposed to be mush; the vegetables cook down into the sauce. There’s still toothy bites, but this isn’t pasta with zucchini; it’s pasta in sauce made from summer squash. Everything else is just playing a supporting role, with savoriness from the pancetta, body from the cream, and salty richness in the cheeses. It’s a great new way to eat this summer vegetable and a perfect example of why I love this cookbook so much.

pasta with zucchini cream sauce 6

Printer Friendly Recipe
Pasta with Zucchini Cream Sauce (adapted from Domenica Marchetti’s The Glorious Pastas of Italy)

Serves 4 as a side dish or starter course

I made this once without checking the recipe before shopping and had to substitute prosciutto for pancetta, skip the basil, and double the parmesan because I didn’t have pecorino. The dish was still delicious.

I’ve reduced the cream a bit, but the only major change I’ve made is to drastically reduce the amount of pasta, so every bite of pasta gets some creamy zucchini with it.

2 tablespoons extra-virgin olive oil
4 ounces thickly sliced pancetta, cut into narrow strips
2 cloves garlic, cut into paper-thin slices
6 to 8 small to medium zucchini or other summer squash, sliced into thin coins
salt
freshly ground black pepper
¼ cup heavy cream
8 ounces dried pasta
½ cup freshly grated Parmigiano-Reggiano cheese
½ cup freshly grated pecorino Romano cheese
5 large fresh basil leaves, cut into narrow strips (chiffonade)

1. In a large skillet over medium heat, heat the olive oil until shimmering. Add the pancetta; cook, stirring occasionally, until lightly browned. Add the garlic; cook and stir until fragrant, about 30 seconds. Add the zucchini, 1 teaspoon salt, and ½ teaspoon pepper; stir to combine. Reduce the heat to medium and cook, stirring occasionally, until the squash breaks down, about 30 minutes. Stir in the cream.

2. Meanwhile, bring 3 quarts of water to a boil. Add 1 tablespoon salt and the pasta. Cook according to package instructions; drain, reserving 1 cup of the pasta water.

3. Add the pasta, ½ cup of the reserved water, and the cheeses to the zucchini mixture. Cook and stir until the pasta is coated, adding more water if necessary to loosen the sauce. Stir in the basil and serve immediately.
pasta with zucchini cream sauce 8