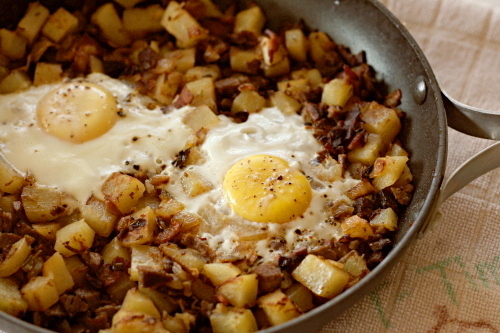
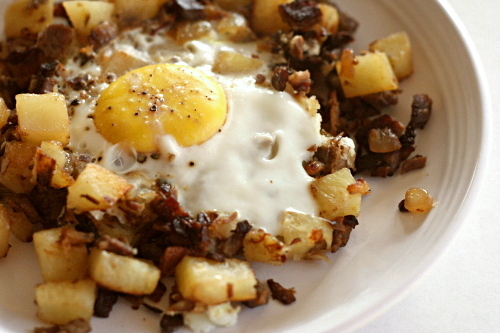
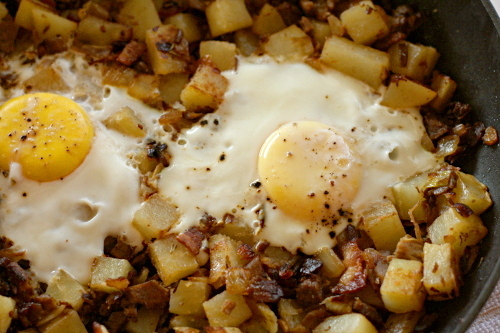
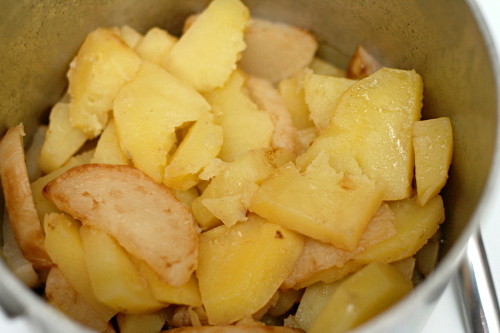
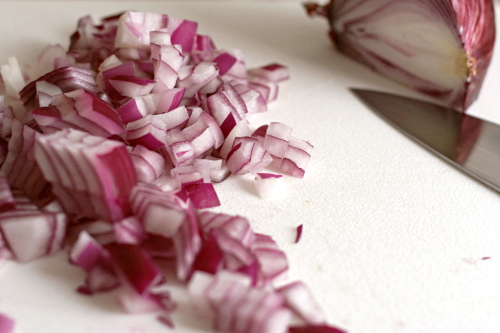
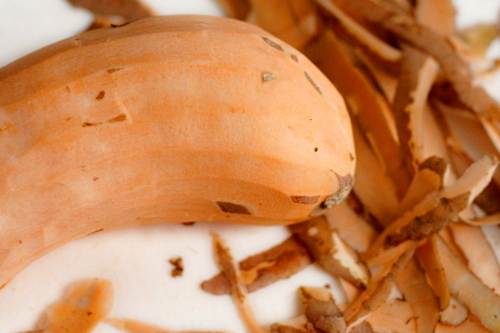
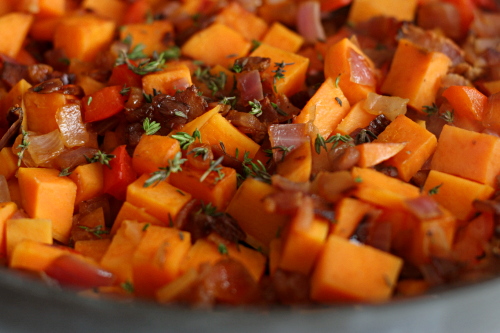
corned beef hash

One time at the zoo, I walked by the reindeer exhibit, but they weren’t out. Huh, I thought. Bummer. I would have liked to see the reindeer. But on the other side of the path, there was another animal to ooh and ahh over, and I moved on. When the reindeer came back out just a few minutes later, I overheard someone tell her friend that they could go see them now, and the lady said “Reindeer? I was excited about that 10 minutes ago!”

Reindeer lose their interestingness after 10 minutes apparently.

The moral of the story is this: No one cares about corned beef in May. You were excited about that 2 months ago. But, I am not the type of person to sit on an entry (or two, in this case) for 11 months until its season of popularity comes back, so if you’re not one to cook corned beef outside of March, you are missing out you can bookmark this post for next year.

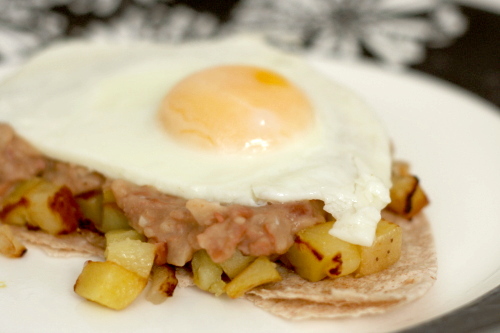
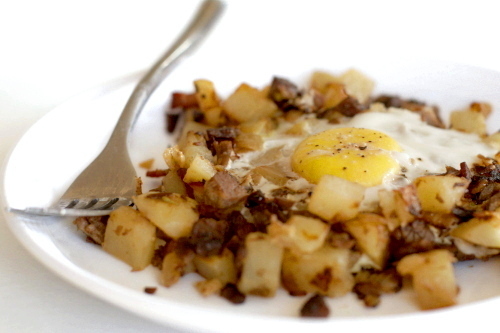
And don’t forget about it! That would be sad, because this is not just the best way to use corned beef leftovers, it is one of the best breakfasts, ever. It’s bacon, browned onions, crispy potatoes, salty seasoned beef, drippy yolks. What more could you ask for for breakfast? I’m excited about corned beef hash all year.

One year ago: Orange-Oatmeal-Currant Cookies (This is the recipe that’s had me complaining about not being able to find currants. But I recently discovered that the flavors are perfect with dried cranberries too.)
Two years ago: Double (or Triple) Chocolate Cookies

Printer Friendly Recipe
Corned Beef Hash (from Cooks Illustrated)

You absolutely do not need corned beef leftovers to make this. I often make it with thick-sliced deli corned beef, and it’s still delicious. That being said, last time I made it, I par-boiled the potatoes in the liquid leftover from cooking the corned beef, and was that ever good!

I like to give Cooks Illustrated recipes exact, because they’re so nicely detailed. However, this is one of those recipes that I’ve made so often that I often cut corners now – skipping the hot sauce, which I never have around; leaving the corned beef in large chunks; using Yukon Gold potatoes so I don’t have to peel them; pouring in a bit of whatever milk I have around instead of using cream. As long as you have the same basic ingredients and everything is crisped and browned, you can’t go wrong here.

2 pounds russet potatoes, peeled and cut into ½-inch dice
salt
2 bay leaves
4 ounces (4 slices) bacon, diced
1 medium onion, diced
2 medium garlic cloves, minced or pressed through a garlic press
½ teaspoon minced fresh thyme leaves
1 pound corned beef, minced (pieces should be ¼-inch or smaller)
½ cup heavy cream
¼ teaspoon hot pepper sauce
4 large eggs
ground black pepper

1. Bring the potatoes, 5 cups water, ½ teaspoon salt, and the bay leaves to a boil in a medium saucepan over medium-high heat. Once the water boils, cook the potatoes for 4 minutes, drain, and set aside.

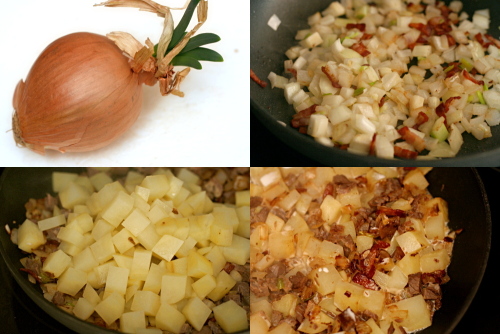
2. Place the bacon in a 12-inch nonstick skillet over medium-high heat and cook until the fat is partially rendered, about 2 minutes. Add the onions and cook, stirring occasionally, until the onion has softened and browned around the edges, about 8 minutes. Add the garlic and thyme and cook until fragrant, about 30 seconds. Add the corned beef and stir until thoroughly combined with the onion mixture. Mix in the potatoes and lightly pack the mixture into the pan with a spatula. Reduce the heat to medium and pour the heavy cream and hot pepper sauce evenly over the hash. Cook, undisturbed, for 4 minutes, then, with the spatula, invert the hash, a portion at a time, and fold the browned bits back into the hash. Lightly pack the hash into the pan. Repeat the process every minute or two until the potatoes are thoroughly cooked, about 8 minutes longer.

3. Make 4 indentations (each measuring about 2 inches across) equally spaced on the surface of the hash. Crack 1 egg into each indentation and season the egg with salt and pepper to taste. Reduce the heat to medium-low, cover the pan, and cook until the eggs are just set, about 6 minutes. Cut the hash into 4 wedges, making sure each has an egg, and serve immediately.
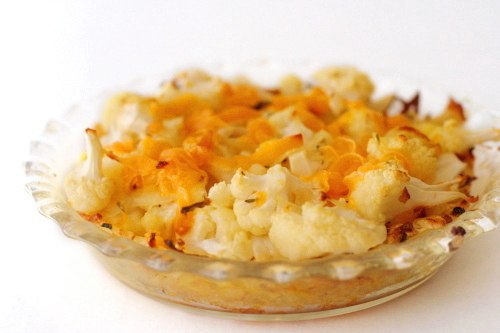
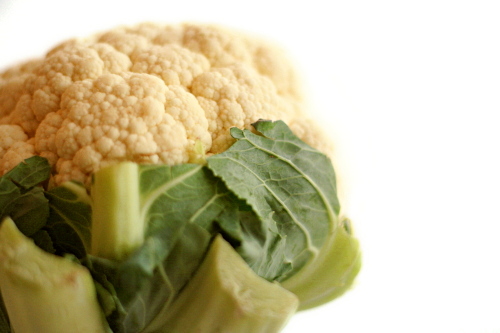
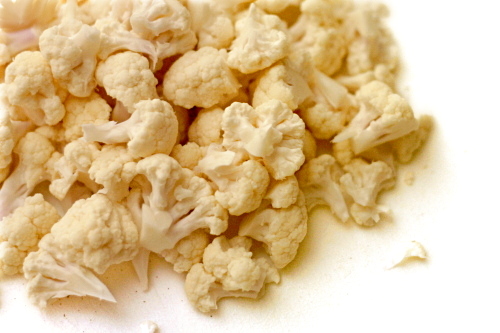
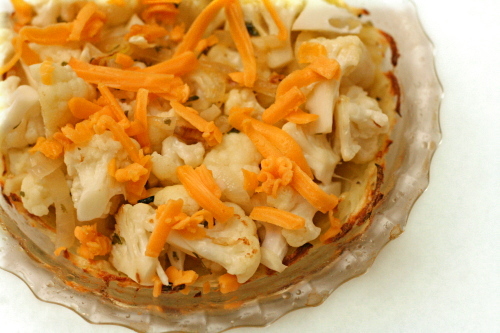
cauliflower cheese pie with grated potato crust

I have a hard time figuring out where I fit on the healthy eating spectrum. Some things are obvious. I eat a lot of fresh fruits, vegetables, and lean proteins: good. I also eat dessert often, although not necessarily a lot of it: still, bad. But everything in between, I’m not so sure.

For example, I love these bran muffins, and I consider them very healthy, as they’re completely whole grain, have a large portion of pure bran, a good dose of dried fruit, and less than 1 teaspoon fat per muffin. But someone commented, “it would be interesting to know the calorie/fat/carb ratios and that way know exactly how healthy these are…” Well, I don’t know; to me, they’re considered healthy. Maybe others disagree based on their versions of what healthy means.

Branny often “brannifies”, as she calls it, recipes by reducing the cheese and other fat, increasing the vegetables, substituting whole grains for refined, using egg whites instead of whole eggs, and choosing less saturated fats than butter. She used many of those tricks when she made this pie, but then when I made it, I…well, I unbrannified it, making the original Moosewood recipe instead of Branny’s healthier adaptation.

I like healthy foods too, and I have no problem decreasing fat and increasing vegetables when it seems reasonable, but by my standards, the original version of this recipe was healthy enough, with just a couple tablespoons of butter in the whole pie and 1 ounce of cheese per main course serving.  Perhaps milk, eggs, and potatoes are all questionable ingredients, but by my standards, they’re all fine in moderation.

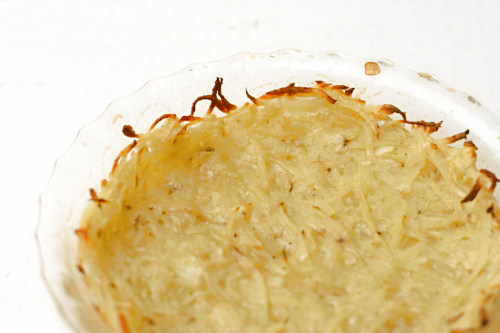
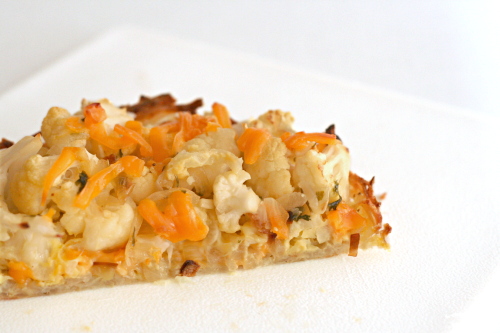
But while we may disagree on just how healthy this is, I think we can all agree that it tastes great. And if you don’t like cauliflower, I think it would be at least as good with broccoli. The crust in particular is a revelation – made of grated potatoes and held together by an egg, there is no butter or oil anywhere. How about that for a flaky delicious pie crust? I can’t wait to use it with a quiche. Because even I know that buttery regular pie crust is decadent.

One year ago: Anadama Bread (another Moosewood recipe)
Two years ago: Sichuan Green Beans (still one of my favorites)

Printer Friendly Recipe
Cauliflower Cheese Pie with Grated Potato Crust (adapted from Moosewood via Branny Boils Over)

Serves 8 as a side dish; 4 as a main course

Looking at online versions of this recipe now, I’m seeing that most call for the shredded potatoes to be salted and drained. I didn’t do this, and in fact, I thought the starch from the potatoes would help form a cohesive crust. I was very happy with how my crust turned out without the draining step.

I recommend using a food processor to shred the potatoes, grate the onion, and shred the cheese.

Crust:
2 cups packed shredded raw potatoes, preferably russet
¼ cup grated onion
½ teaspoon salt
1 egg, beaten

Filling:
2 tablespoons butter
½ onion, diced small
1 garlic clove, minced
1 dash thyme
1 medium cauliflower, broken into small florets
1 cup packed grated strong cheddar cheese
½ teaspoon salt
2 eggs
¼ cup milk
black pepper
paprika

1. Adjust a rack to the middle position and heat the oven to 400ºF. Spray a 9-inch pie pan with nonstick spray.

2. Combine the shredded potatoes, onion, salt, and egg. Pat the potato mixture into an even layer over the bottom and up the sides of the prepared pan. Bake for 30 minutes, then give the crust a spritz with nonstick spray. Continue baking for another 10 to 15 minutes, until browned. Lower the oven temperature to 375ºF.

3. Meanwhile, melt the butter in a medium saucepan over medium heat. When the foaming subsides, add the onion and cook just until they start to brown at the edges, about 5 minutes. Add the garlic and cook, stirring constantly, until fragrant, about 30 seconds. Add the thyme, cauliflower, and salt; cover the pan, and cook, stirring occasionally, until the cauliflower is just tender, about 8 minutes.

4. In a small bowl, whisk the eggs, a pinch of salt and another of black pepper, and the milk until evenly colored.

5. Spread half of the cheese on the baked crust. Top with the cauliflower mixture and the rest of the cheese. Pour the egg mixture over the pie. Dust with paprika.

6. Bake the pie until the custard is set and the top is slightly browned, 35 to 40 minutes. Let it cool for about 5 minutes before serving.

jalapeno-baked fish with roasted tomatoes and potatoes

I need every weekday meal to be exactly like this one.

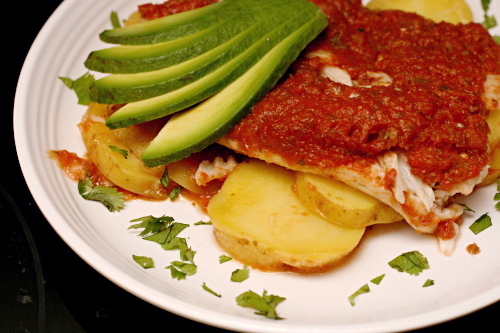
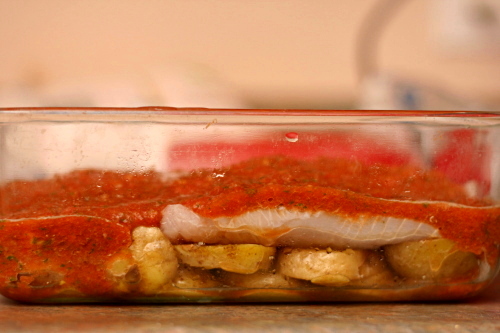
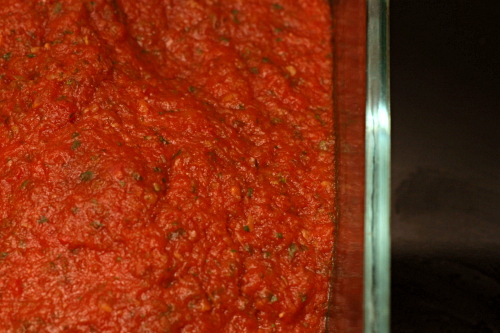
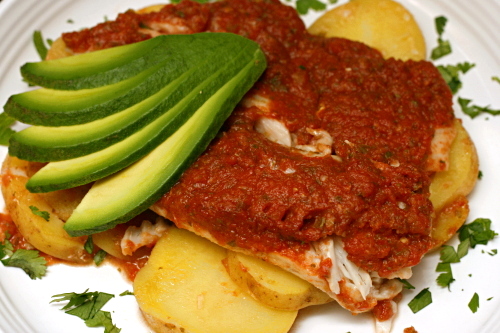
First, it took only 20 minutes of actual effort. Sliced potatoes are softened in the microwave right in the baking dish. Meanwhile, I pureed a few other ingredients, mostly straight from cans, with my immersion blender. Then I laid some fish filets over the potatoes and poured the pureed sauce on top.

Second, it only bakes for 20 minutes. This was the perfect amount of time for me to empty the dishwasher, clean up the kitchen and unpack groceries.

Third, it’s nice and light, with lean white fish, vegetables, and just a small amount of oil to help the potatoes cook.

Fourth, and of course the only point that really matters, it was just so good. The fish, potatoes, and sauce were balanced nicely and the spice level was just right.

My favorite meals have all the ingredients jumbled together like this, protein and starch and vegetables. It’s especially nice on a weeknight so I don’t have to make side dishes as well. I haven’t found many fish recipes like that, so this is perfect – in every way, really.

One year ago: Red Velvet Cake comparison
Two years ago: Olive Oil Bread

Printer Friendly Recipe
Jalapeno-Baked Fish with Roasted Tomatoes and Potatoes
(from Rick Bayless’s Mexican Everyday via Dinner and Dessert)

Serves 4

4 medium (1 pound total) red-skin boiling or Yukon Gold potatoes, sliced 1/8-inch thick
1 tablespoon vegetable or olive oil
Salt
1 (15-ounce) can diced tomatoes in juice
1 large garlic clove, peeled and cut in half
⅓ cup (loosely packed) coarsely chopped cilantro, plus extra for garnish
About ¼ cup sliced canned pickled jalapenos
1 tablespoon jalapeno pickling juice
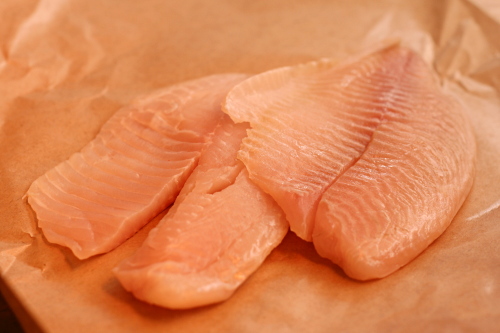
Four 4- to 5-ounce (1 to 1¼ pounds total) skinless fish fillets, preferably ¾ to 1 inch thick

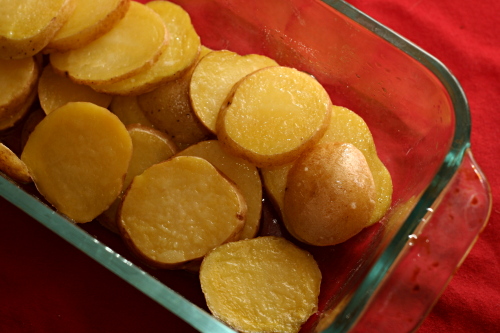
1. Turn on the oven to 400 degrees. Scoop the sliced potatoes into a microwaveable 8×8-inch baking dish. Drizzle on the oil and sprinkle with ½ teaspoon salt. Toss to coat, then spread the potatoes in an even layer. Cover with plastic wrap and poke a couple of holes in the top. Microwave on high until the potatoes are nearly tender, about 4 to 5 minutes.

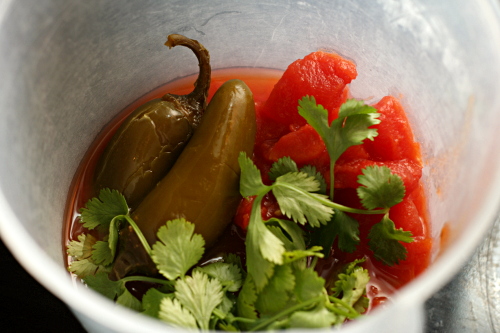
2. Meanwhile, in a food processor or blender, combine the tomatoes with their juice, garlic, cilantro, jalapenos, and pickling juice. Process to a puree, leaving just a little texture.

3. Lay the fish fillets in a single layer over the potatoes. Pour the tomato mixture evenly over the fish and potatoes.

4. Slide the baking dish into the oven. Bake for 20 minutes, until the fish flakes when pressed firmly.

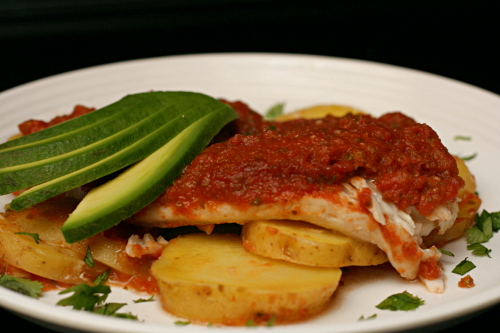
5. Scoop a portion of the fish-potato-sauce onto each dinner plate, sprinkle with cilantro, and serve right away.

twice-baked potatoes

Copy of IMG_1022

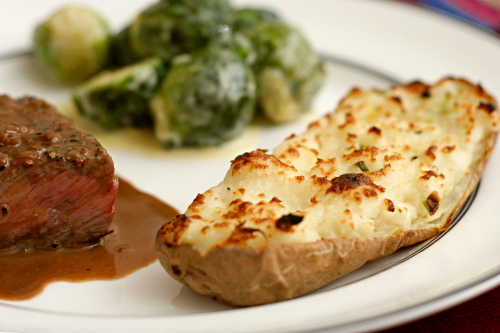
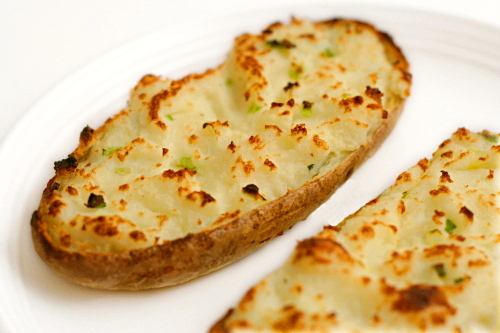
Trust me, you don’t need a recipe for twice-baked potatoes. You know what makes twice-baked potatoes so good? Fat. The more butter and sour cream you add, the better your potatoes will be. The less you add, the better you’ll feel about eating those potatoes.

Copy of IMG_0990

Decide what your goals are – if you want indulgence, you can add all sorts of sour cream, butter, cheese if you want it! If you want to keep it very light, replace the sour cream with buttermilk and reduce the butter to just enough to moisten the potato filling.

Copy of IMG_0999

Because I often serve twice-baked potatoes as part of nice meals, my goal tends to be flavor and not nutrition. In this case, I was making them just for myself and Dave, so I tried not to get carried away with the butter and sour cream. If I was serving them for a bigger occasion, I might add a bit more of each.

Copy of IMG_1005

Hey, don’t look at me like I’m some sort of fat-adding heathen. My mom pushes a small cube of butter into each potato before its second bake, which melts into an inviting pool of decadence; at least I resisted that!

Copy of IMG_1037

One year ago: Candied Orange Peels
Two years ago: Yule Log (Daring Bakers)

Printer Friendly Recipe
Twice-Baked Potatoes

Serves 4

You can certainly add cheese to these if you like that sort of thing; a couple of ounces (½ cup) of something like cheddar would compliment the other flavors nicely. If you want to make the potatoes lighter, replace all or a portion of the sour cream with buttermilk. If you want to make them even more delicious, increase the sour cream by a couple of tablespoons. The flavor of the filling won’t change significantly after its second bake, so feel free to taste and adjust as you go.

24 ounces (approximately) russet potatoes (4 small or 2 large)
4 tablespoons (½ stick) butter, room temperature
¼ cup sour cream
½ teaspoon salt
⅛ teaspoon black pepper
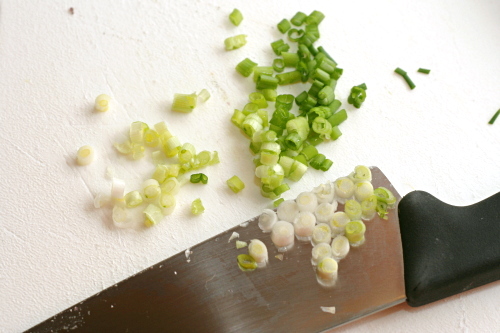
2 scallions, finely chopped

1. Adjust an oven rack to the middle position and heat the oven to 400ºF. Scrub the potatoes and stab each one several times with a fork. Place the potatoes right on the oven rack and bake them until a fork inserted into one meets no resistance, 60-75 minutes. Remove the potatoes from the oven and let them cool slightly. Heat the broiler.

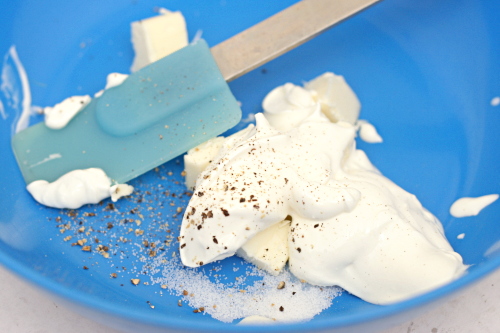
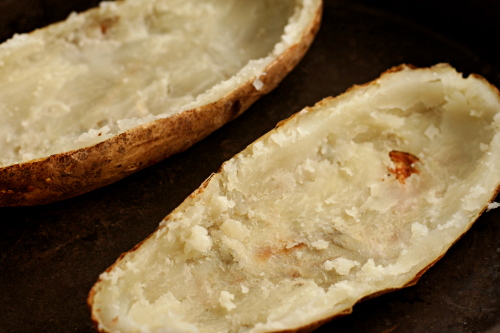
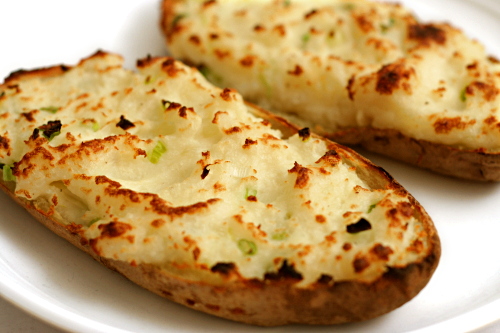
2. In a large bowl, mix the butter, sour cream, salt and pepper. Cut the potatoes in half and use a spoon to scoop out the flesh, leaving behind a thin layer of potato on the skin. Add the potato flesh to the bowl with the sour cream mixture. Using a potato masher, mash the potatoes into the sour cream mixture until it’s combined and there are no large chunks of potato. Fold in the scallions (reserving a few for a garnish, if you’d like).

3. Spoon the filling into the potato shells. Place the potatoes on a baking sheet and broil until the tops are crisp and lightly browned. Serve immediately.

Copy of IMG_1023

Suggested menu: Steak au Poivre, Brussels Sprouts Braised in Cream, Twice-Baked Potatoes

mashed potatoes with root vegetables

Copy of IMG_8247

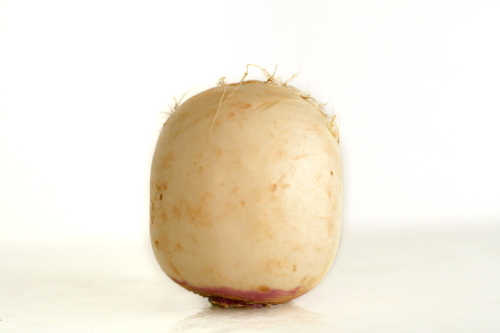
Isn’t that turnip the cutest little thing? Like an old crazed bald man, with just a few errant hairs.

Copy of IMG_8259

In truth, when I was planning this dish, I had to call a friend to give me some root vegetable knowledge. Which is the one that looks like a white carrot? (A parsnip, it turns out.) Which one should I try first? She recommended turnips, and thus dictated my first ever turnip purchase.

Copy of IMG_8262

Of course I took the wussy way out and mixed them with potatoes. Still, I enjoyed the extra dimension of flavor they provided – kind of licoricey and fennel-like. Now I’m looking forward to introducing myself to other root vegetables with this recipe – celery root in particular sounds interesting.

Copy of IMG_8280

One year ago: Chanterelle Salad with Speck and Poached Eggs

Printer Friendly Recipe
Mashed Potatoes and Root Vegetables (from Cooks Illustrated)

4 tablespoons unsalted butter
8 ounces carrots, parsnips, turnips, or celery root; carrots or parsnips cut into ¼-inch-thick half-moons; turnips or celery root cut into ½-inch dice (about 1½ inch cups)
1½ pounds Yukon Gold potatoes, peeled, quartered lengthwise, and cut crosswise into ¼-inch-thick slices; rinsed well in 3 to 4 changes of cold water and drained well
⅓ cup low-sodium chicken broth
table salt
¾ cup half-and-half, warmed
3 tablespoons minced fresh chives
ground black pepper

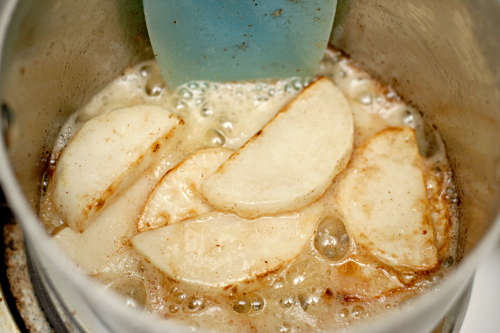
1. Melt butter in large saucepan over medium heat. When foaming subsides, add root vegetables and cook, stirring occasionally, until butter is browned and vegetables are dark brown and caramelized, 10 to 12 minutes. (If after 4 minutes, vegetables have not started to brown, increase heat to medium-high.)

2. Add potatoes, broth, and ¾ teaspoon salt and stir to combine. Cook, covered, over low heat (broth should simmer gently; do not boil), stirring occasionally, until potatoes fall apart easily when poked with a fork and liquid has been absorbed, 25 to 30 minutes. (If liquid does not gently simmer after a few minutes, increase heat to medium-low.) Remove pan from heat; remove lid and allow steam to escape for 2 minutes.

3. Gently mash potatoes and root vegetables in saucepan with potato masher (do not mash vigorously). Gently fold in warm half-and-half and chives. Season with salt and pepper to taste; serve immediately.
Copy of IMG_8289

sweet potato hash

Copy of IMG_0431

While I can be, shall we say, particular about preparation, I think keeping an open mind is so important when it comes to both ingredients and certain dishes.

Copy of IMG_0397

For example, stuffing. There’s nothing unpleasant about bread, seasonings, aromatics, and broth baked until the flavors are blended and the top is crispy. When people say they don’t like stuffing, I really think they just didn’t like the stuffing they had when they were young. They just need to try a different recipe (add bacon!) to enjoy it more.

Copy of IMG_0399

As far as ingredients that often inspire pickiness, sweet potatoes have a bad name. For a lot of people, one of the only ways they’ve seen sweet potatoes prepared is in that sugary, marshmallow-topped weirdness at Thanksgiving. Hey! Let’s take something already sweet, cook it in sugar, top it with more sugar, and serve it with dinner! Blech.

Copy of IMG_0413

Because I don’t like those sweet potatoes and wasn’t exposed to them prepared other ways, I always assumed I didn’t like sweet potatoes at all. But now I know better! I like them quite a bit in more savory preparations.

Copy of IMG_0416

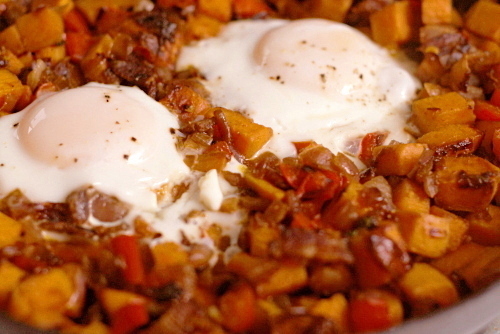
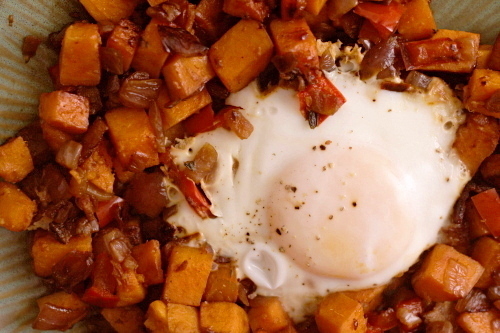
Take this dish. Salty bacon, flavorful slightly caramelized vegetables, and browned sweet potatoes. What is there not to like, especially when the whole thing is topped with an egg? It goes to prove that I could miss out on some great meals if I don’t remember that just because I don’t like an ingredient prepared one way doesn’t mean I won’t like it in other dishes.

Copy of IMG_0422

One year ago: Peter Reinhart’s Pizza Dough

Printer Friendly Recipe
Sweet-Potato Hash with Bacon (adapted from epicurious/Gourmet)

Serves 4

These are the same ingredients in the same proportions as the original recipe, but I’ve tweaked the preparation a bit because a number of reviewers complained that the original was too greasy. Adding eggs on top is also my addition, but Dave and I tried it with and without the eggs, and while it was good without, it was even better with.

½ pound sliced bacon, cut into ¼-inch strips
2 medium onions, chopped
1 large red bell pepper, cut into thin strips
salt and pepper
2 pound sweet potatoes, peeled and cut into ½-inch cubes
1 teaspoon chopped fresh thyme
4 eggs (optional)

1. Cook the bacon in a 12-inch nonstick skillet over medium heat until it renders some fat and begins to brown. Drain off all of the fat except for a thin coating on the pan, then add the onions, red pepper, ½ teaspoon salt, and ½ teaspoon pepper. Cook uncovered, stirring occasionally, until the vegetables are softened, 7-8 minutes.

2. Stir in the potatoes and ½ teaspoon salt. Cover the pan and cook, stirring occasionally, until the potatoes are tender and starting to brown, 10 to 14 minutes. Stir in the thyme and season to taste.

3. If you’re adding the eggs, create four indentions in the hash and break an egg into each. Season the eggs and cover the pan. Lower the heat to medium-low and cook without removing the lid for at least 6 minutes, when you can start testing for doneness. I like my eggs without any runniness at all in the white but with gooey yolks, and it takes around 8 minutes.

Copy of IMG_0432

sweet potato biscuits

Copy of IMG_0056

I love that not just one, but two of this month’s Tuesdays with Dorie recipes are non-desserts. I haven’t baked a TWD dessert in weeks! I’ve gone almost a month with choosing all of my own desserts!

Copy of IMG_0028

I don’t mean to complain; obviously I like being part of the group, or, well, I wouldn’t be. It’s just that I’m only baking for me and Dave, so if a dessert recipe makes 12 servings, that’s all we get for the week. That’s why I have a calculator in the kitchen and many many small oddly shaped pans. Fractions are my friend if I want to bake more than once per week.

Copy of IMG_0030

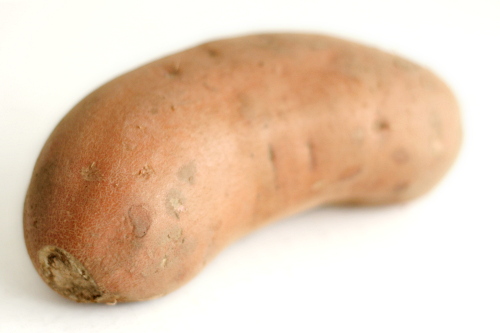
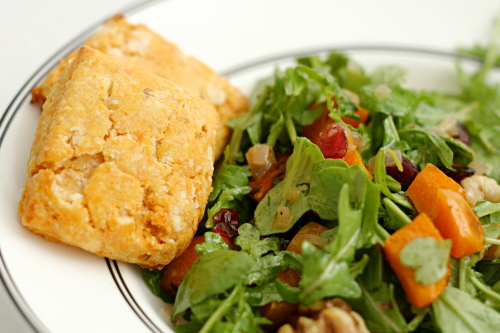
Getting to serve a TWD recipe with dinner is a rare treat. These sweet potato biscuits were a nice complement to the roasted butternut squash salad I made a few weeks ago.

Copy of IMG_0035

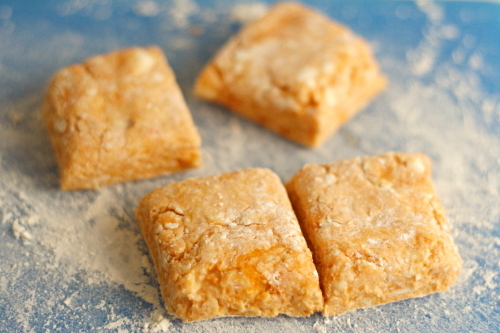
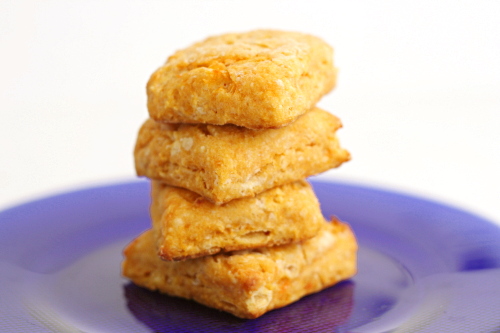
These biscuits are made the standard biscuit way – cut cold butter into flour+flavoring+leavening, then moisten the mixture, in this case with mashed sweet potatoes. It quickly became apparent that my sweet potatoes (bought fresh, then cooked and mashed) weren’t going to be able to turn the dry ingredients into biscuit dough, so I added some buttermilk, which helped.

Copy of IMG_0036

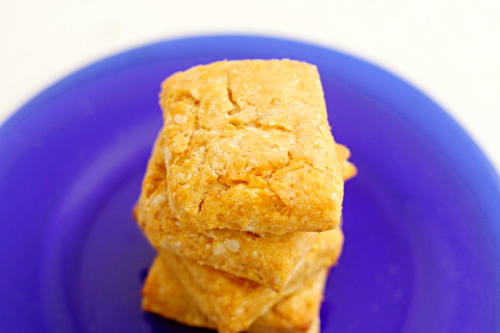
Except that something seems to have gone wrong, because my biscuits didn’t rise hardly at all. I liked the flavor quite a bit, but the texture was oh-so-dense. Still, this is the first sweet potato biscuit I’ve tried, and I quite like the idea. I’ll need to play with some more recipes.

Copy of IMG_0068

Erin chose this recipe for TWD, and she has it posted.

One year ago: Pumpkin Muffins

Copy of IMG_0058

green chile huevos rancheros

Copy of IMG_7337

Do you have a food you love from your hometown that you can’t get anymore? For New Mexicans, that food will always be Hatch green chile. It’s ubiquitous in New Mexico, and you won’t just find it in enchiladas and chile rellenos and the like, but in more unexpected places, like eggs and burgers and pizza. New Mexicans are addicted.

Copy of IMG_7321

So what is a displaced New Mexican to do? Decent green chile simply isn’t available everywhere – the 4-ounce cans of chile that most stores do carry are, sadly, largely devoid of flavor. No, the only way to get good Hatch chile outside of the state it’s grown in is to know someone kind enough to send it to you.

Copy of IMG_7327

So every year during chile season (approximately right now), my mom sends me and my brother each a big box of fresh green chiles. She packs the chiles with newspaper to soak up moisture so they don’t rot (learned that the hard way), pokes holes in the boxes, and sends it 2-day mail. And once we have the chiles, they have to be roasted, peeled, and seeded. The whole process isn’t easy or cheap.

This year, Dave and I have decided that to skip the hassle, we’ll move to New Mexico.

Copy of IMG_7324

Well, no, that isn’t why we’re moving. Really, it just worked out with our job situation. But green chiles (and easier access to some squeezy nephew cheeks that are also in New Mexico) is definitely icing on the cake.

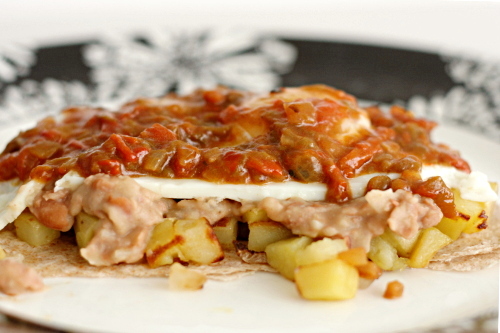
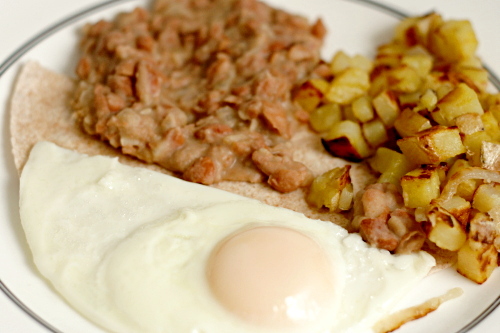
Green chile huevos rancheros is my favorite way to eat green chiles, as well as probably my favorite breakfast. The way I like it, there’s a flour tortilla base, then beans, eggs (over-medium for me) and home fries on the tortilla, all topped by green chile sauce. Definitely a meal worth moving across the country for.

Copy of IMG_7336

One year ago: Dimply Plum Cake

Printer Friendly Recipe
Green Chile Huevos Rancheros

4 servings

If you already have favorite recipes for home fries, pinto beans, and eggs, by all means, use them.

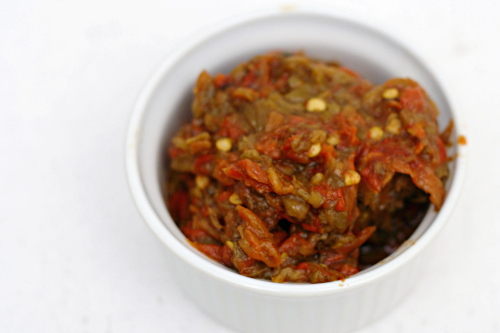
Green chile sauce:
1 tablespoon olive oil
¼ medium onion, chopped
1 garlic clove, minced
½ tablespoon flour
½ cup chicken broth
4 ounces green chile, diced
pinch sugar
1 tablespoon chopped tomatoes (or tomato juice or sauce)
salt

In a medium saucepan, heat the oil over medium heat. Add the onion and cook, stirring occasionally, until it’s just browned around the edges. Add the garlic and stir constantly for about 30 seconds, until fragrant. Mix in the flour, and continue to stir, for about one minute. Slowly add the broth, still stirring, then the chile, tomatoes, sugar and salt. Bring to a simmer, then adjust the heat to low, cover, and let cook for 10-15 minutes, stirring occasionally. (If your sauce is thinner than you like, remove the lid while it simmers.) Taste and adjust the seasonings, if necessary.
Home fries:
1 tablespoon olive oil
¼ medium onion, thinly sliced
16 ounces Yukon gold potato, diced into ¼ inch cubes
½ teaspoon salt (kosher)

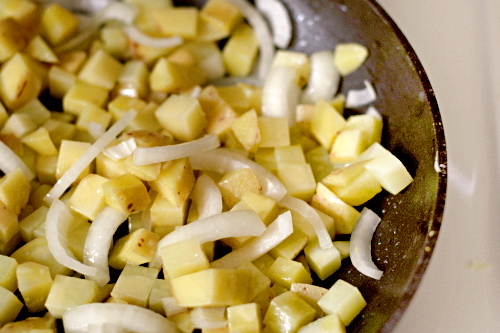
Heat the oil in a nonstick pan over medium heat. (You can use a traditional skillet if you heat it well before adding the oil.) Add the potatoes, onions, and salt, and cover the pan. Cook over medium heat until the potatoes are tender and lightly browned, about 10 minutes, stirring occasionally. Remove the cover and cook until the onions and potatoes are cooked through and nicely browned, another 5-10 minutes. Adjust the seasonings if necessary.
Refried beans:
1 (15 ounce) can pinto beans, drained and rinsed
½ cup chicken broth
1 tablespoon olive oil
¼ medium onion, minced
1 garlic clove, minced
1 teaspoon cumin
¼ teaspoon salt

Heat the oil over medium heat in a medium nonstick saucepan or skillet. Add the onions and cook until the edges start to brown. Meanwhile, using a potato masher, mash the beans until they’re mostly broken up. It’s fine if there are still some whole beans. (If you prefer your beans completely smooth, puree them in a food processor.) Stir the chicken broth into the beans. Add the garlic and cumin to the onions in the pan, and cook, stirring constantly, until fragrant, about 30 seconds. Add the bean mixture and salt and bring to a simmer. Lower the heat to low to medium-low to maintain a bare simmer, and cook the beans until they’re your desired consistency, stirring often. It should only take a few minutes. Adjust the seasonings to taste. If they’re ready before everything else, just cover them.

Eggs:
1 teaspoon oil
4 eggs
salt

Heat the oil in a medium nonstick skillet over medium-low heat. Crack each egg into a small dish. Carefully transfer the eggs to the skillet, then sprinkle them with salt. Add 2 tablespoons water and raise the heat to medium-high. Once the water simmers, cover the pan and lower the heat back to medium-low. Cook for about 3-6 minutes for over-medium eggs. Remove the lid and let the water evaporate.

Assembly:
Place a warmed 6-inch flour tortilla on each of four plates. Top each tortilla with one egg, a quarter of the beans, and a quarter of the potatoes. Divide the sauce evenly between each plate. (Alternatively, layer a tortilla, then beans, potatoes, an egg, and the sauce.)

Copy of IMG_7333

twice-baked potato cups

Copy of IMG_4842

Bad habit: I cook new recipes at a much faster rate than I get around to writing about them here.  By the time I’m ready to put them in the blog, I can’t remember what motivated me to make them in the first place.  So instead of including some sort of personalized story that hopefully makes blog a little interesting, I end up writing about something lame like how I have nothing to say.  Um.

Copy of Copy of IMG_4788

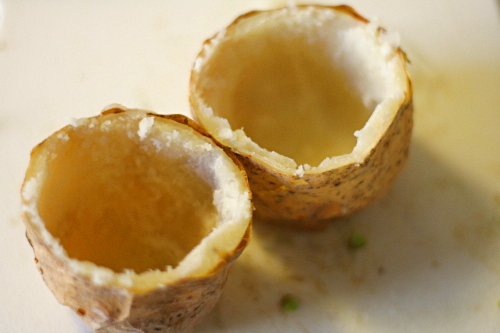
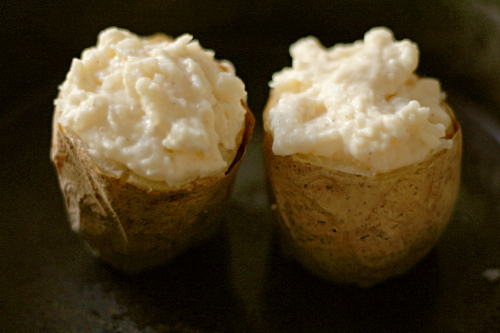
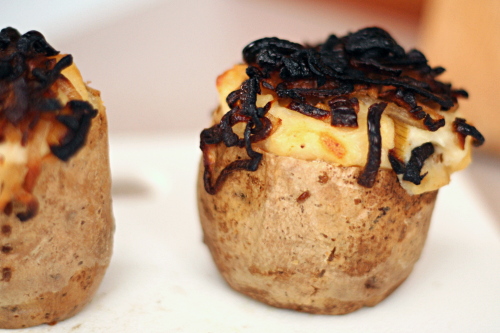
Anyway, twice baked potatoes!  You can’t go wrong, you know?  But these are way cuter than regular ones, because they stand up on their small sides and form little cups.  Love!

Copy of IMG_4815

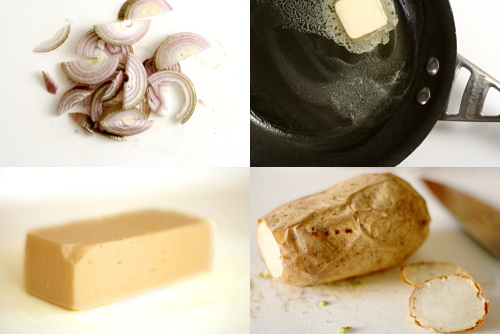
Also, shallots – so good.  So sweet and flavorful.  And charred, in this case, so watch out for that.

Harvati isn’t a cheese I’m too familiar with, but mmm, it was good.  Tasted a bit like a good cheddar, but it was softer and smoother.

Copy of IMG_4822

These were exactly as good as you’d expect based on the ingredients.  They’re also as good as any other twice baked potatoes, but they’re more interesting, not just in their shape, but with a nontraditional cheese choice and wonderful caramelized shallots.  Maybe something as good as this doesn’t need a personalized story.

Copy of IMG_4839

One year ago: Banana and Peanut Butter Stuffed French Toast

Printer Friendly Recipe
Twice-Baked Potato Cups with Caramelized Shallots
(from epicurious.com)

Serves 4 generously

I skipped the vegetable oil.  Also, I think you could substitute buttermilk for some or all of the sour cream.

4 12-ounce russet potatoes, scrubbed
Vegetable oil
1 cup coarsely grated Havarti cheese (about 4 ounces)
½ cup sour cream
¼ cup whole milk
¼ teaspoon cayenne pepper
3 tablespoons butter
1½ cups thinly sliced shallots (about 8 ounces)
1 tablespoon chopped fresh Italian parsley

1. Preheat oven to 400°F. Pierce potatoes in several places with fork, then brush lightly with oil. Place potatoes directly on oven rack and bake until tender when pierced with fork, about 55 minutes. Cool potatoes slightly.

2. Cut off thin slice from both short ends of each potato and discard. Cut each potato crosswise in half; stand each half on its small flat end. Using teaspoon, scoop out cooked potato pulp from each half, leaving ⅓-inch-thick shell and forming potato cup. Place potato cups in 13x9x2-inch glass baking dish. Place potato pulp in medium bowl; add cheese, sour cream, milk, and cayenne. Using potato masher or fork, mash until well blended and almost smooth. Season to taste with salt and pepper. Mound mashed potato mixture in potato cups.

3. Melt butter in heavy medium skillet over medium heat. Add shallots and sauté until tender and deep brown, about 12 minutes. Top potato cups with shallots. (Can be made 1 day ahead. Cover and chill.)

4. Preheat oven to 350°F. Bake potato cups until heated through, about 20 minutes. Sprinkle with parsley and serve.

Copy of IMG_4845

potato tomato tart

Copy of IMG_8028

Dave and I have this conversation nearly once a week:

Me (whining, after baking all day): I’ve been cooking all day and I’m tired and I haven’t even stupid started dinner. Stupid stupid stupid.

Dave: Okay. We’ll order pizza.

Me: We can’t order pizza! I bought ingredients for dinner! If we don’t use them tonight, they’ll go to waste!

Copy of IMG_8007

Once the week’s menu is set, it does not change.

But last week something went haywire, and I needed to come up with an extra meal on short notice.

Copy of IMG_8012

I had two potatoes that I’d bought and never got around to using (see! they almost went to waste!) and there was a pile of tomatoes leftover from tomato picking. But I couldn’t find any recipes that fit all of my requirements – used plenty of both tomatoes and potatoes, didn’t require any ingredients I didn’t have, and actually sounded good. So I <gasp> came up with something on my own.

Copy of IMG_8020

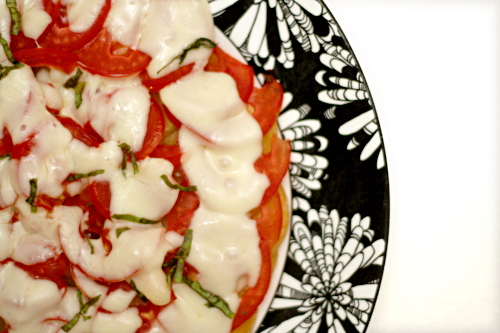
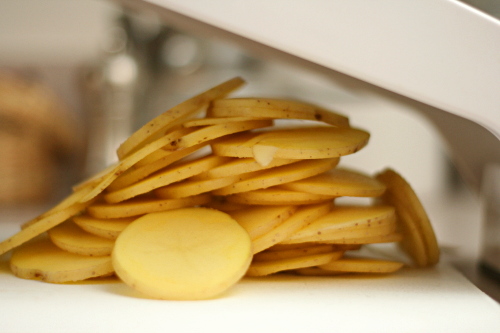
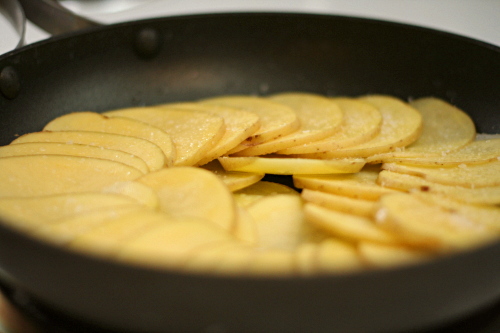
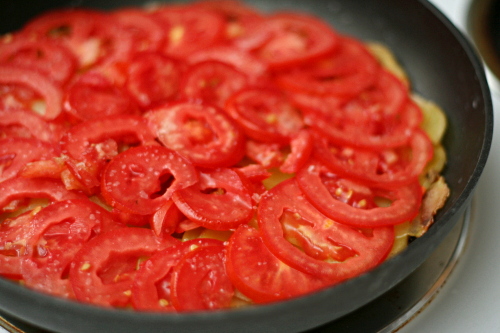
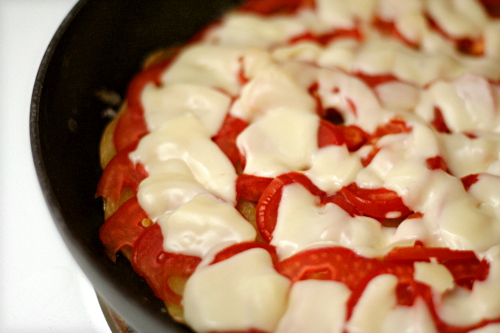
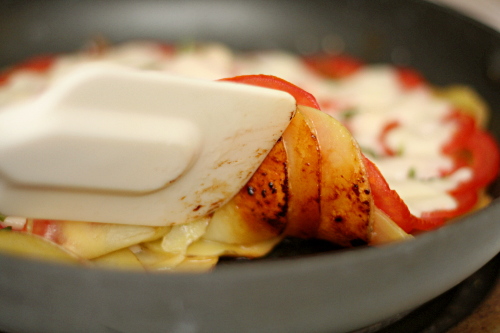
I sliced the potatoes thin and arranged them in a skillet. Once they were crisped on the bottom and mostly cooked through, I arranged sliced tomatoes over the top. Once those were softened, I arranged sliced mozzarella on top of that. It melted almost immediately, so I quickly picked a few leaves from my pathetic sun-starved basil plant, and sprinkled them over the tart.

Copy of IMG_8023

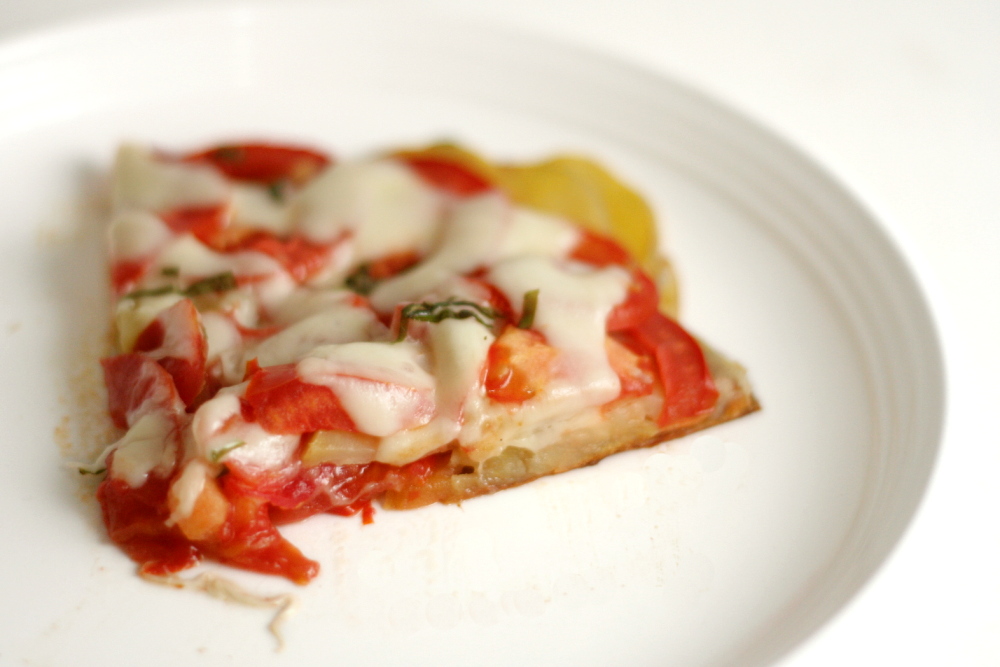
It was pizza-like, which is always a plus. The potatoes were browned and crisp on the bottom.  It was pretty. It was easy. It was tasty. It used up ingredients I didn’t know what else to do with. Perfect.

Copy of IMG_8027

One year ago: Banana Coconut Muffins

Potato Tomato Tart

Serves 2 for a light meal

I used a mandoline set at 1/8-inch to slice the potatoes and tomatoes.

1 tablespoon olive oil
2 medium Yukon gold potatoes, sliced thin
salt and pepper
2 large (or maybe 3 small) plum tomatoes, sliced thin
2½ ounces mozzarella cheese, sliced thin (or just over ½ cup shredded)
3-4 basil leaves, sliced thin

1. Heat the oil in a medium nonstick skillet over medium heat. Arrange the potatoes in one layer on the bottom of the skillet, overlapping each slice. Season with pepper and a generous pinch of salt. Cover the pan, reduce the heat to medium-low, and cook for 20 minutes, until the potatoes are almost tender and are lightly browned on the bottom.

2. Arrange the tomatoes in one layer of overlapping slices over the potatoes. Cover and cook for 5 minutes, until the tomatoes are slightly softened. Evenly disperse the mozzarella over the tomatoes and cook a few minutes, until it’s melty. Sprinkle the top of the tart with basil.

3. Serve. I was able to move the tart once, by sliding it from the pan to a serving plate. Then I realized it would be easier to cut the tart if it was on a cutting board, but moving it from the serving plate wasn’t nearly as easy as moving it from the pan. By which I mean that the whole thing mostly fell apart. So don’t try to move it around too much.

Copy of IMG_8030