skillet turkey meatballs with lemony rice

lemon turkey meatballs 5

Maybe we’re getting the hang of things. I’m still depending heavily on my freezer meals, but I can count on being able to cook a few nights per week. Last weekend, I even made salmon cakes, broiled asparagus with shallot-lemon vinaigrette, and biscuits for dinner one night. I prepped it all ahead of time, and then when we put the baby down to sleep, I finished cooking everything, plated it, poured the wine – and the baby woke up. Something else I’m getting the hang of: feeding myself while feeding the baby.

lemon turkey meatballs 3

I made this back when she was just three weeks old, when we definitely did not have the hang of things. But I got ahead of the game by making the meatballs (a double batch, with extra to freeze) in the afternoon. The dish is easy enough that it wasn’t much trouble to finish it up when the baby was sleeping that evening.

lemon turkey meatballs 2

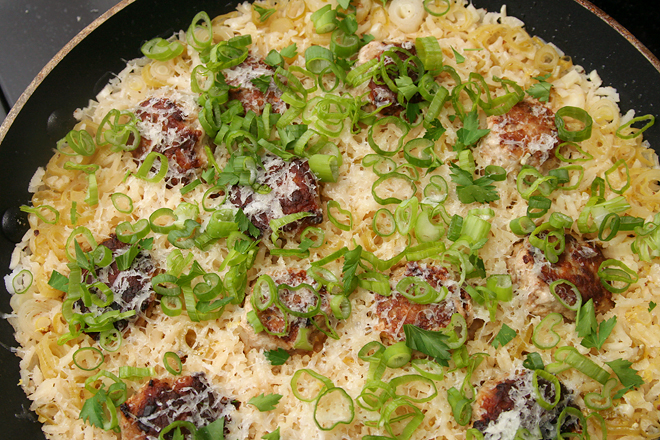
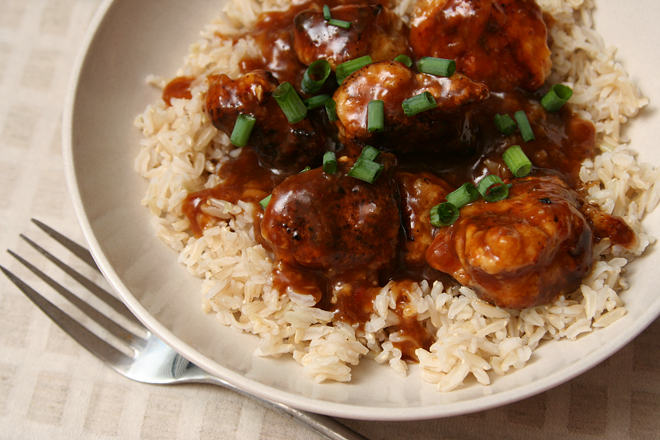
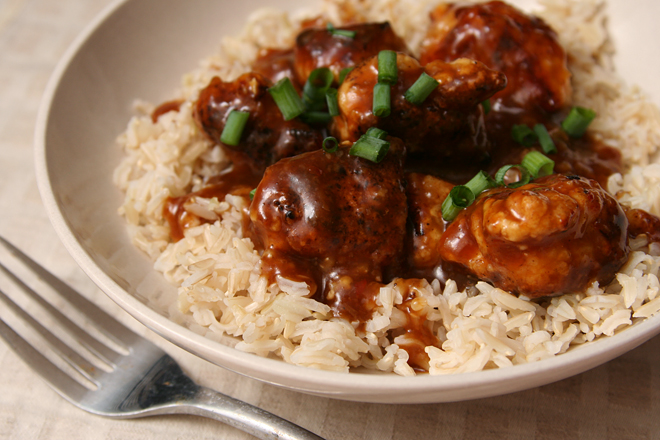
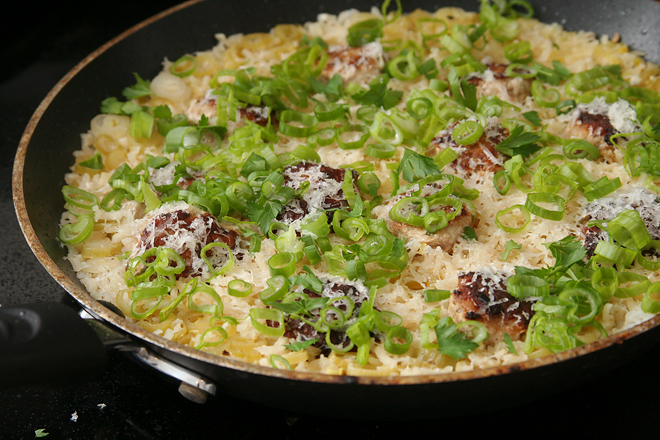
And then she woke up while it was cooking, and I fed her, and since I wasn’t proficient at feeding myself while feeding the baby then, I ate my meatballs and rice lukewarm. Fortunately, this is a meal that tastes just fine at room temperature – lemony and light, but substantial enough to last through a night of baby-feeding. However, it was even better when I made it again a few weeks later and got to eat it hot.

lemon turkey meatballs 4

Skillet Turkey Meatballs with Lemony Rice (adapted from Cook’s Country via Elly Says Opa)

Serves 4

½ cup panko bread crumbs
1 large egg
6 scallions, white and green parts separated, divided
¼ cup freshly chopped parsley, divided
½ teaspoon dried oregano
salt and pepper
1 tablespoon grated lemon zest, divided
1 pound ground turkey
2 tablespoons olive oil
1 cup white rice
3 cloves garlic, minced
2¼ cups chicken broth
2 tablespoons lemon juice
½ cup (1 ounce) grated parmesan cheese
lemon wedges for serving

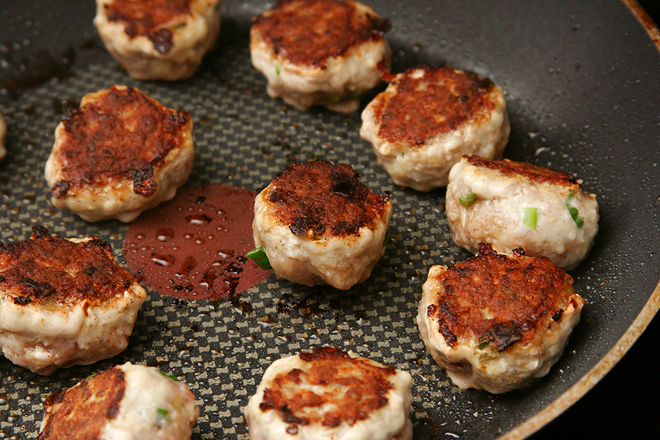
1. In a large mixing bowl, combine the panko and egg. Set aside, stirring occasionally, until the panko is moistened, about 15 minutes. Add 2 tablespoons of the scallion greens, 3 tablespoons parsley, the oregano, 1 teaspoon salt, ½ teaspoon pepper, and 1½ teaspoons lemon zest; stir to combine. Add the turkey; mix thoroughly. Form the mixture into balls approximately 1-inch in diameter; you should have about 24 meatballs.

2. In a 12-inch nonstick skillet over medium-high heat, heat the oil until it flows like water when the pan is tilted. Arrange the meatballs in the pan with space between them. Cook without stirring until the bottom sides are brown, about 2 minutes. Flip and brown the opposite side. Transfer the browned meatballs to a plate.

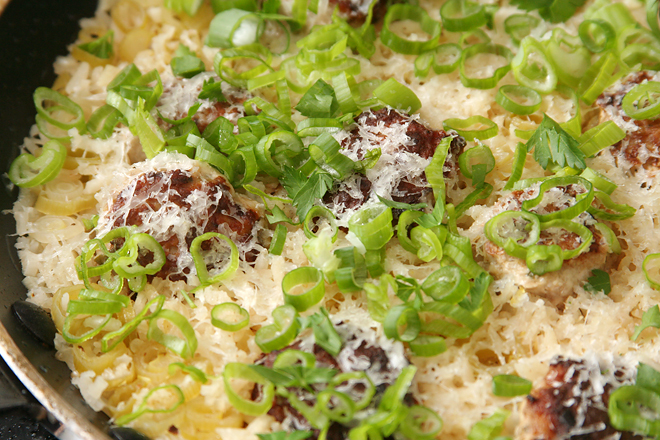
3. Leaving the remaining fat in the skillet, add the rice. Cook, stirring constantly, until the grains are translucent at the edges, 1-2 minutes. Add the garlic and scallion whites and cook, stirring constantly, until fragrant, about 30 seconds. Add the chicken broth, lemon juice, and 1½ teaspoons lemon zest; stir to combine, then arrange the meatballs in the rice. Bring to a simmer, then reduce the heat to low, cover, and cook until the rice is tender and the meatballs are cooked through, about 20 minutes. Remove from the heat and let set, covered, for an additional 5 minutes. Uncover and top with the parmesan cheese, remaining scallion greens, and remaining parsley; serve, with additional lemon wedges.
lemon turkey meatballs 6

beef satay with spicy mango dip

beef satay 5

People keep giving me venison. I have friends who enjoy hunting but have families that don’t love the flavor of venison. I have another friend who doesn’t prefer the front shoulder, so I’ve turned several into barbacoa (and then gave him the recipe, and that was the end of my venison front shoulder donations). I don’t even know how I ended up with the prized backstrap, a cut similar to the tenderloin, but I’m not complaining.

beef satay 1

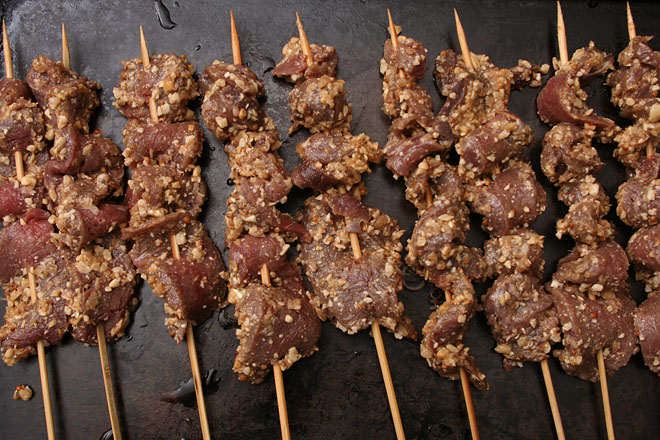
Rather than search for venison-specific recipes, I consider venison interchangeable with beef or sometimes pork. My brother sent me this recipe, and while I didn’t have the right cut of beef, I did have venison backstrap. It’s an interesting recipe, with a marinade that includes ground cashews. It ends up as more of a paste, which sticks to the meat as it cooks.

beef satay 2

It may be unusual, but it works. Dave and I made the full recipe, which supposedly feeds four, and we had no leftovers. Someone needs to give me more venison backstrap so I can make this again immediately – and this time I won’t share the recipe.

beef satay 3

Printer Friendly Recipe
Beef Satay with Spicy Mango Dip
(rewritten from Linda Doeser’s Chinese: The Essence of Asian Cooking)

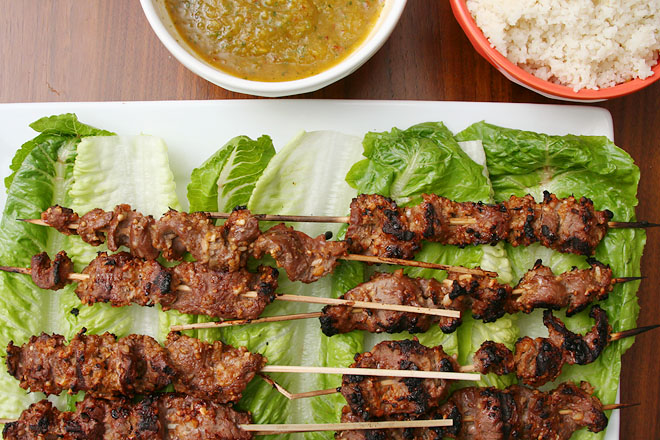
The recipe recommends serving with salad greens, but I mostly considered those garnish, while rice was important to soak up the sauce.

I made tamarind sauce the same way I do for pad Thai, by soaking tamarind paste in hot water, then straining out the solids and using the liquid in the recipe. You might also be able to find tamarind concentrate. If not, it won’t ruin the recipe to leave it out.

For the satay:
1 pound sirloin steak, thinly sliced across the grain and skewered
1 tablespoon coriander seeds
1 teaspoon cumin seeds
½ cup raw cashews
1 tablespoon vegetable oil
2 shallots or 1 small onion, finely chopped
½-inch piece fresh ginger, finely chopped
1 clove garlic, crushed
2 tablespoons tamarind sauce
2 tablespoons dark soy sauce
2 teaspoons sugar
1 teaspoon rice vinegar or white wine vinegar
Salad greens, to serve

For the spicy mango dip:
1 ripe mango, peeled and seeded
1 to 2 fresh red chiles, seeded and finely chopped
1 tablespoon fish sauce
Juice of 1 lime
2 teaspoons sugar
2 tablespoons chopped fresh cilantro
½ teaspoon salt

1. Heat a small not-notstick skillet over medium-high heat. Add the coriander and cumin seeds; toast, stirring constantly, until fragrant, about 30 seconds. Immediately transfer to a mortar and pestle or spice grinder. Let cool completely before grinding.

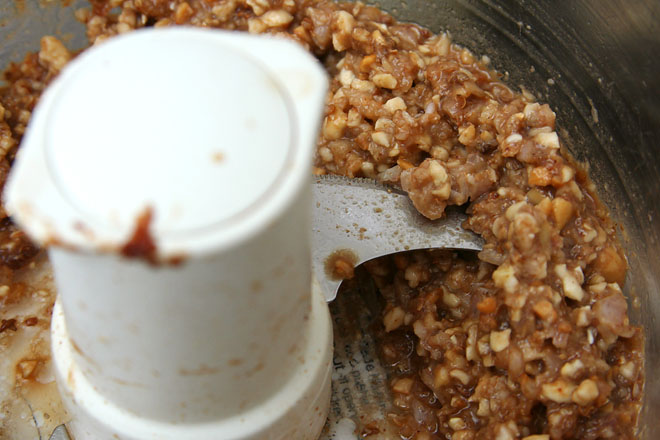
2. In the bowl of a food processor, combine the ground spices, cashews, oil, shallots, ginger, garlic, tamarind sauce, soy sauce, sugar, and vinegar. Process until the cashews are finely chopped. Coat the meat with the cashew mixture; cover and chill for at least 30 minutes or up to 8 hours.

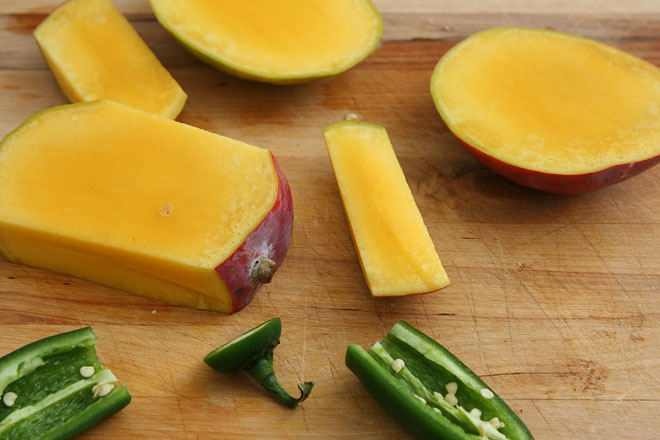
3. For the dip: Process the mango, chiles, fish sauce, lime juice, sugar, cilantro, and salt in the food processor until smooth.

4. Prepare a medium-hot grill. Cook the skewers directly over the heat until browned and cooked through, 3-4 minutes per side. (Alternatively, cook for the same amount of time as close to the broiler element as possible.) Serve with the sauce and greens.
beef satay 4

spicy mexican beans and rice

mexican rice and beans 6

It’s been a long road since I shared something vaguely similar to this recipe, well over six years ago. At the time, I said that I had a goal to make more crockpot recipes. Since then, I have made exactly three crockpot recipes worth sharing, and one of those I’ve never made again. In general, I’m more into low-and-slow oven cooking than crockpotting. Heck, I recently even made “crockpot” pulled “pork” (it was venison; still delicious) in the oven.
mexican rice and beans 1

The long road of not-crockpotting has led me to adapt my old favorite crockpot recipe for the stove. The way the original recipe is written, with bone-in chicken thighs, the crockpot is a good choice. However, I always make this as an easy, healthy, vegetarian weeknight meal, leaving the chicken out. Why spend 10 hours, the whole day when I’m away for work, slow-cooking canned beans with some seasonings?

mexican rice and beans 3

So instead of adapting stovetop or oven recipes for the crockpot like most people do, I’ve adapted a crockpot recipe for the stove. I replaced the chicken soup mix with aromatics and spices, the chicken with a greater variety of beans, and the fresh tomatoes with canned tomatoes (in season year round!). It really isn’t any harder than the crockpot recipe was, and it tastes just as good.  With this new crockpot-less recipe, it might be time to retire my crockpot entirely.  Surely I can think of another fun new kitchen tool that I don’t really need to take up that cabinet space, right?

mexican rice and beans 5

Printer Friendly Recipe
Spicy Mexican Beans and Rice

8 servings

2 tablespoons vegetable or olive oil
1 large or 2 small to medium onions, diced
salt
4 cloves garlic, minced
2 teaspoons chili powder
1 teaspoon cumin
½ teaspoon oregano
½ cup green chile, roasted, peeled, and diced
2 chipotle chiles, minced
2 (15-ounce) cans black beans, drained and rinsed
1 (15-ounce) can kidney beans, drained and rinsed
1 (15-ounce) can pinto beans, drained and rinsed
1 (14-ounce) diced tomatoes
1 cup chicken broth
juice from 1 lime
6 cups cooked rice from 2 cups uncooked rice
cilantro, minced
optional toppings: queso fresco or cheddar cheese, diced avocado, Greek yogurt or sour cream

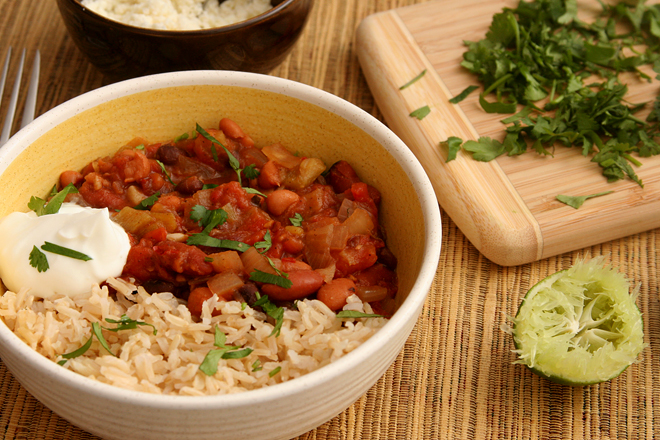
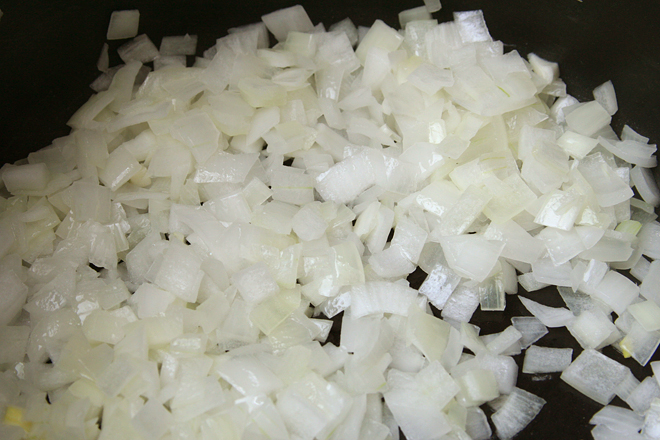
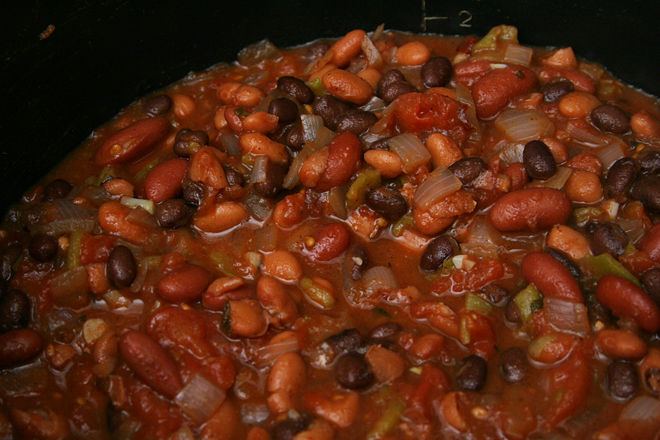
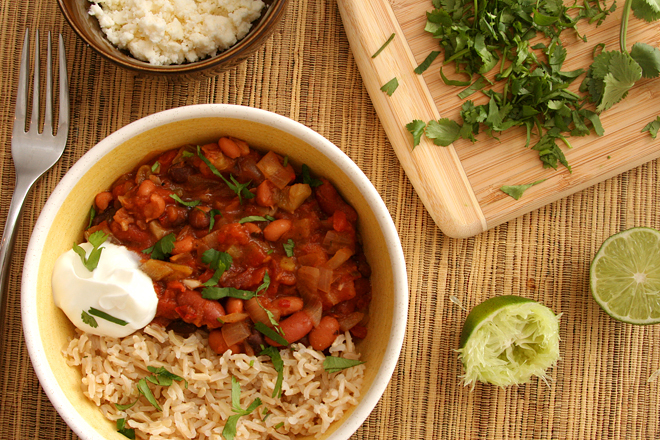
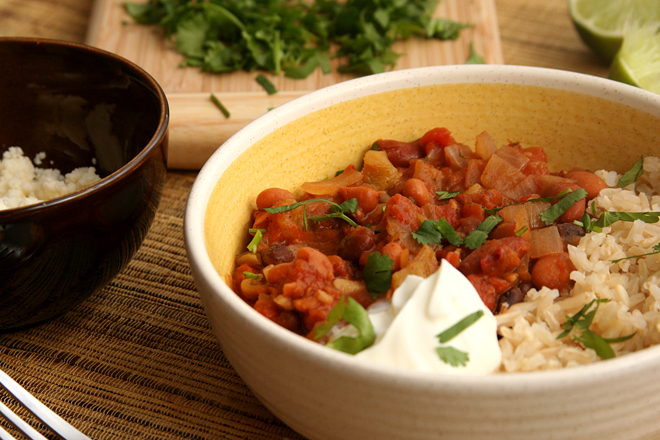
Heat the oil in a large saucepan over medium heat. Add the onion and a pinch of salt and cook, stirring occasionally, until just beginning to brown at the edges, about 8 minutes. Add the garlic, chili powder, cumin, and oregano; cook, stirring constantly, until fragrant, about 30 seconds. Add the green chile, chipotle chiles, beans, tomatoes, and broth; cover, bring to a simmer, then reduce the heat to low and lightly simmer until the flavors are blended, at least 20 minutes or up to an hour if you aren’t in a hurry. If the mixture is too liquidy, remove the cover, increase the heat to medium, and simmer until the desired thickness is reached. Taste and add salt if necessary. Stir in the lime juice. Serve over rice, topped with cilantro and other toppings as desired.
mexican rice and beans 8

chipotle shrimp

chipotle shrimp 4

One of the disadvantages-that-isn’t of living in New Mexico is that, with year-round access to a freezer full of Hatch green chiles, pretty much every other chile gets neglected. In the first three years after we moved here, I didn’t cook with poblanos, serranos, anaheims, or even chipotle chiles.  Hatch green (and, not as often, red) chile was the focus.

chipotle shrimp 1

This year we spent four hours peeling, seeding, chopping, and freezing Hatch green chiles only to realize afterward that this batch was a dud, with no flavor at all.  It’s unfortunate, but our pizzas, burgers, and beans have all been disappointing since we’ve started rationing out last year’s far superior chiles.  We’re impatient for next year’s harvest, but we’ve got five months to go.

chipotle shrimp 2

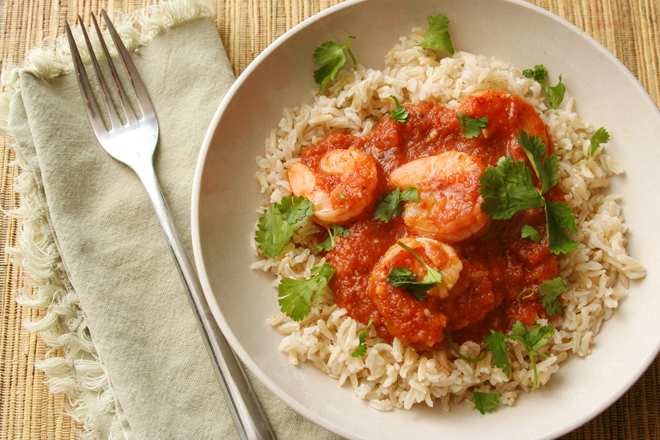
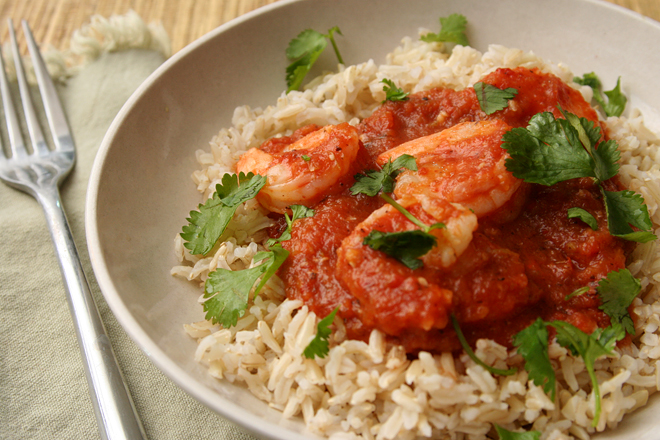
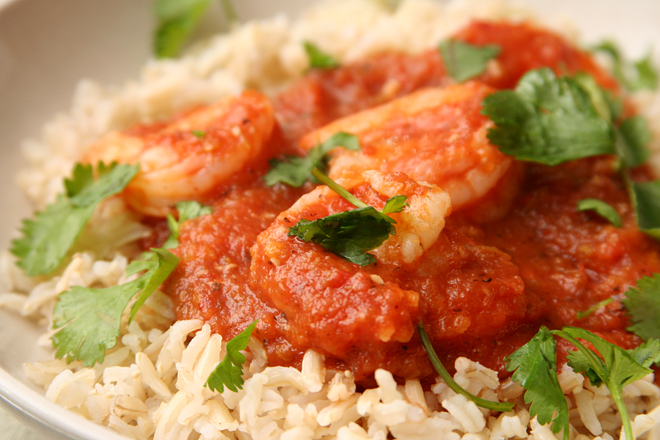
The upside is a resurgence of alternate chiles in our kitchen. Last week I made some smoky guacamole with roasted red peppers and poblanos, and chipotles are no longer languishing in the back of the freezer, forgotten. This recipe is a significant contribution to the disappearing chipotles, because any dish that takes twenty minutes to deliver a healthy bowl of spicy sauce and shellfish is going to be a favorite. Next year, it’ll be even better, when I use chipotles together with Hatch chiles, but for now, chipotles are all I’ve got.

chipotle shrimp 3

One year ago: Tomato and Four Cheese Lasagne
Two years ago: Shrimp Canapés a la Suede
Three years ago: Mediterranean Pepper Salad
Four years ago: Chocolate Whiskey Cake
Five years ago: Raspberry Bars

Printer Friendly Recipe
Chipotle Shrimp (adapted from Rick Bayless’s Mexican Everyday via Pink Parsley)

Serves 4 as a main course

1 (28-ounce) can diced fire-roasted tomatoes in juice
2-3 canned chipotles en adobo
1 tablespoon chipotle canning sauce
1 tablespoon vegetable oil
3 garlic cloves, minced or pressed through a garlic press
salt
2 pounds shrimp, peeled and deveined
1 cup rice, cooked (about 3 cups cooked rice)
about ¼ cup loosely packed, roughly chopped cilantro

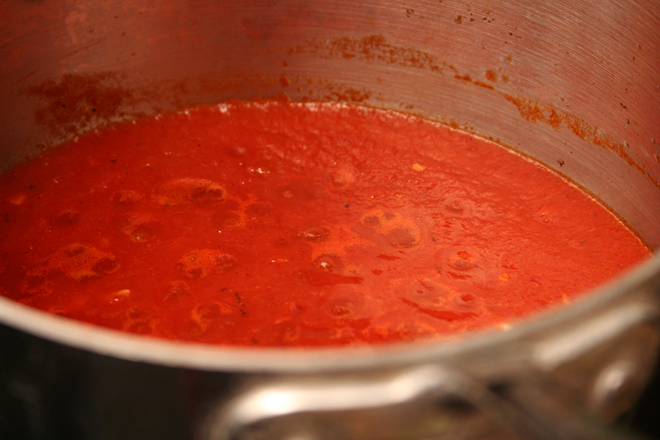
1. Process the tomatoes, chipotle chiles, chipotle sauce, and ½ teaspoon salt in the blender until pureed.

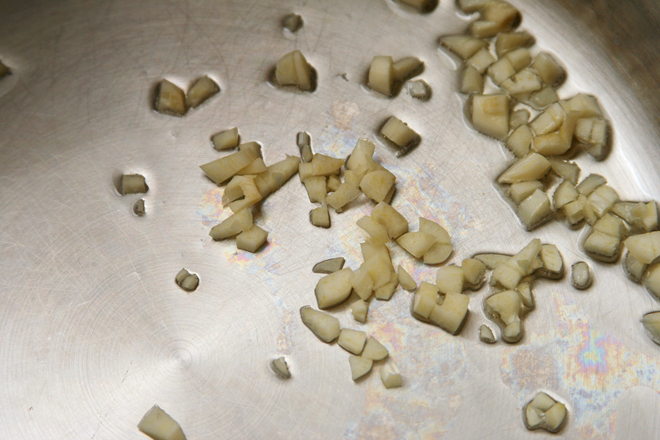
2. Heat the oil in a large skillet over medium heat. Add the garlic and stir until fragrant, about 1 minute. Add the tomato mixture and cook, uncovered, for about 5 minutes, stirring frequently. Taste and season with salt if necessary.

3. Add the shrimp to the pan, and cook, stirring constantly, until the shrimp are pink and curled up, about 6 minutes. Serve over rice with cilantro.

chipotle shrimp 5

general tso’s chicken

general tso's chicken 4

I’ve never understood fried foods that are coated in sauce, like General Tso’s chicken and buffalo wings. For me, the best part of fried food is the crisp browned coating. Once you mix that with sauce and it loses its crunch, what’s the point?

general tso's chicken 2

So I knew from the beginning that I wouldn’t be deep-frying for my version of General Tso’s chicken. Pan-frying sounded a lot easier, as least as far as clean up goes, and it seems like it should be lighter than dumping the entire piece of meat in oil, right?

general tso's chicken 3

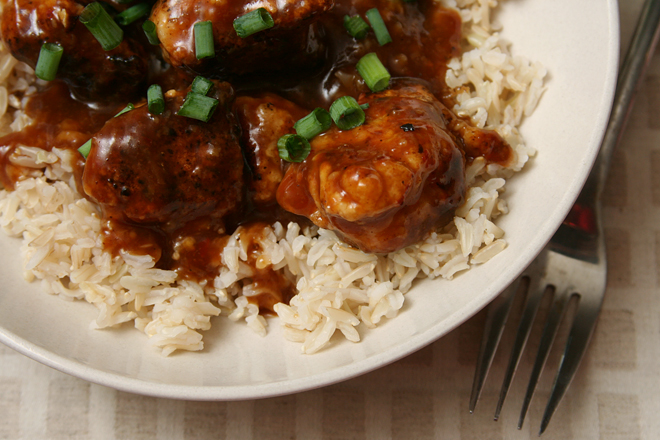
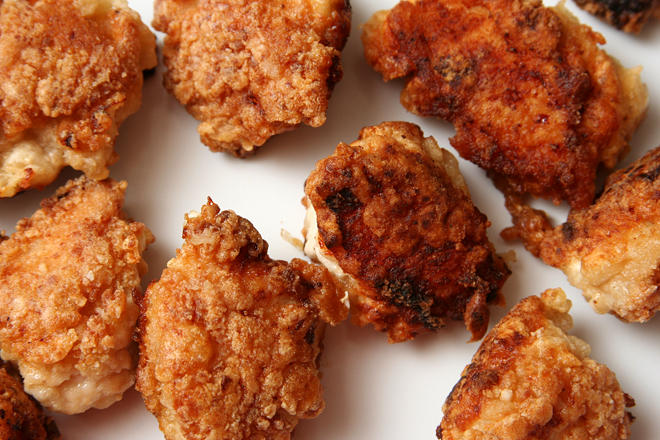
The chicken did end up good – like tender chicken nuggets – but I still have to wonder if using shredded roast chicken instead of breaded pieces would really be so bad. The rough texture of shredded chicken would soak up sauce just as well as the crags of breading. It would certainly be easier. I think the difference it would make on the final dish would be minimal, and it would without a doubt be worth avoiding the calories and mess of frying.

general tso's chicken 5

One year ago: Prosecco Raspberry Gelée
Two years ago: Espresso Chocolate Shortbread
Three years ago: Pickled Coleslaw
Four years ago: Eclairs (Daring Bakers)

Printer Friendly Recipe
General Tso’s Chicken (adapted from America’s Test Kitchen Feed and Food and Wine)

Serves 4

A couple of the commenters on the ATK recipe noted that the sauce lacked something, and I’d say what it’s lacking is balance. It was very sweet and dominated by hoisin, although this might depend largely on the brand of hoisin you use. (I used Sun Luck, the only one available in my town.)

½ cup hoisin
¼ tablespoons white vinegar
3 tablespoons soy sauce
3 tablespoons sugar
2 tablespoons cornstarch
1½ cup water
4 boneless, skinless chicken breasts, cut into 1-inch chunks
2 teaspoons oil
4 cloves garlic, minced
2 tablespoons grated ginger
½ teaspoon red pepper flakes
1½ cup cornstarch
½ cup flour
½ teaspoon baking soda
3 egg whites
oil for pan-frying
4 scallions, white and green parts, chopped

1. In a medium bowl, mix the hoisin, white vinegar, soy sauce, sugar, 2 tablespoons cornstarch, and water. Transfer 6 tablespoons of this mixture into a bowl with the chicken; stir to combine and refrigerate for 30 minutes.

2. In a medium skillet, heat the oil over medium heat. Add the garlic, ginger, and red pepper flakes; cook, stirring constantly, until fragrant, about 1 minute. Add 2 cups of the hoisin mixture; increase the high to medium-high and bring to a simmer. Simmer for 2 minutes, then remove from the heat and cover.

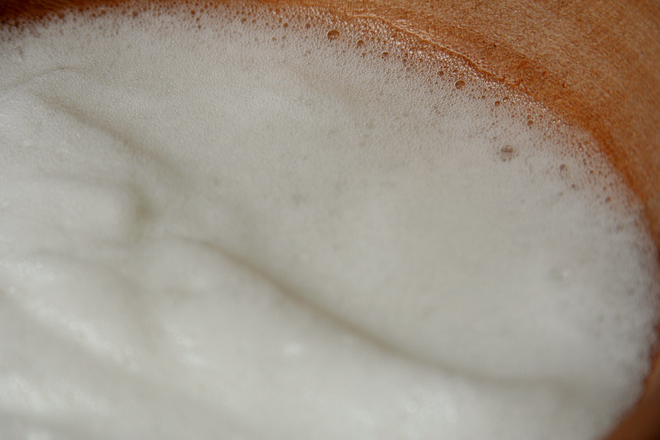
3. Add the cornstarch, flour, and baking soda to the bowl with the remaining hoisin mixture. Stir with a fork until the mixture resembles coarse meal. In a separate bowl, whip the egg whites until frothy.

4. Heat an ⅛-inch of oil in a large nonstick skillet over medium-high heat. Dip half of the chicken pieces in the egg whites, then the cornstarch mixture. Transfer to the hot skillet; cook, without moving, for 3-4 minutes, until the bottom is browned. Flip and brown the second side. Transfer to a plate. Repeat with the remaining chicken.

5. Reheat the sauce over the medium heat. Add the chicken and toss to coat. Serve over rice, topping with the scallions.

general tso's chicken 6

paella

paella 8

I will always associate paella with the group of friends I hung out with in graduate school. We all enjoyed good food and good drinks, so whenever we got together, everyone would bring food and wine to share. One of my friends was from Spain, and he made paella at several of these get-togethers. Of course, it was fully authentic, cooked in a paella pan set on a tripod over an open flame. The smoked paprika, saffron, roasted red peppers, and rice came directly from Spain, picked up on his latest trip home to visit his parents. Sitting around the fire in my friends’ backyard, drinking good wine and eating paella is one of my most vivid food memories.

paella 1

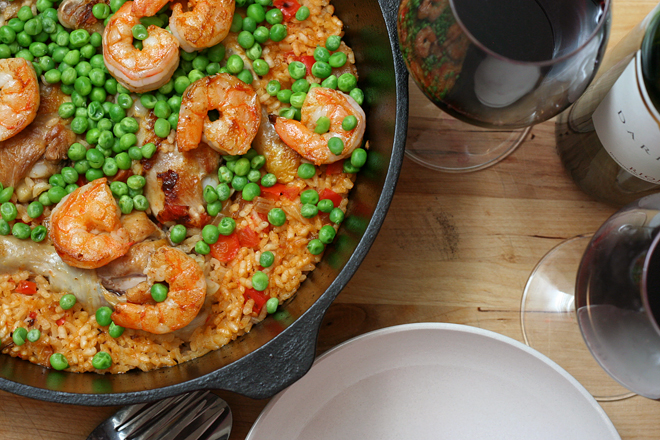
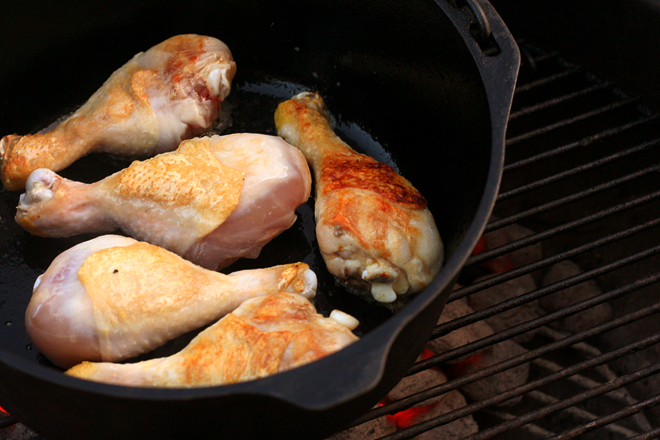
I knew that cooking paella in a Dutch oven on the grill wouldn’t be the same, but I was hoping for just a twinge of that taste, that memory. That’s why I insisted on cooking it outside on the grill instead of using the much easier option of the stove and oven. Maybe it would pick up a hint of smokiness from the coals, but it was more than just the flavor I was after, it was that feeling.

paella 2

I got some of each. With the cast iron Dutch oven, the one Dave and I have taken camping for the last ten years, heated over coals on the grill, I got some of the fun of cooking outdoors. Dave sat outside with me with a glass of wine and let me babble on about different rice dishes in cultures around the world.

paella 3

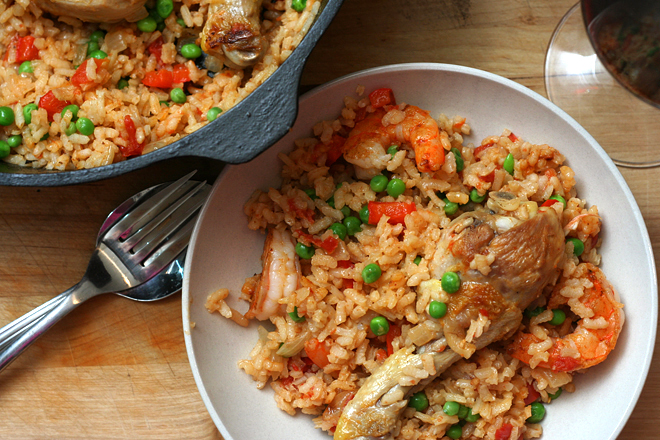
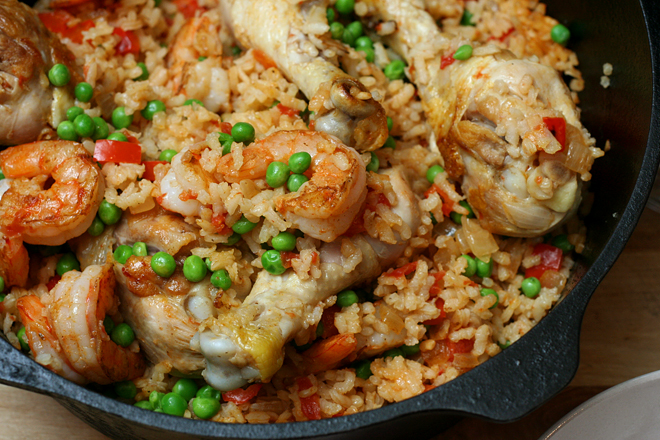
The food was good, but I need some paella practice before it’ll be up to the standards of what I remember. The biggest mistake I made was preventing the formation of a soccarat, a layer of crusty bits on the bottom of the pan, which is one of the best parts of paella. Letting rice stick to the bottom of the pan goes against years of rice-cooking training, and I ended up adding too much liquid, making a wetter, saucier paella. I also think I’ll leave out the tomatoes next time. They were included in a number of the paella recipes I looked at, but it’s not a flavor I associate with paella.

paella 6

Overall, it was a successful meal, in that I had fun making it and it tasted good. But next time, I’ll use the lessons I learned, like not stirring the rice and leaving out the tomato, and my paella will be that much better. However, I doubt it’ll ever taste as good as one cooked over a fire in a paella pan while enjoying the company of good friends.

paella 10

One year ago: Bruschetta with Chickpea Puree
Two years ago: Grilled Potato and Vegetable Salad
Three years ago: Casatiello
Four years ago: Soba Salad with Feta and Peas

Printer Friendly Recipe
Paella (adapted from Cooks Illustrated, Alton Brown, the New York Times, Leite’s Culinaria, and About.com)

Most of my problems came from not following this method, adding more liquid and stirring more often because I was worried about the rice cooking unevenly. However, it should be noted that the recipe given here has not been perfected.

The recipe specifically refers to charcoal grilling methods, but I think it could be easily adapted to a gas grill.

4 cups water
8 ounces shrimp, peeled, shells reserved
1 onion, half sliced, half diced
2 garlic cloves, 1 sliced, 2 minced
1 small bay leaf
1 large thyme sprig
salt and pepper
1 pounds chicken legs and/or thighs, bone-in, skin-on
2 tablespoons olive oil
1 red pepper, diced
½ teaspoon smoked paprika
¼ teaspoon crumbled saffron
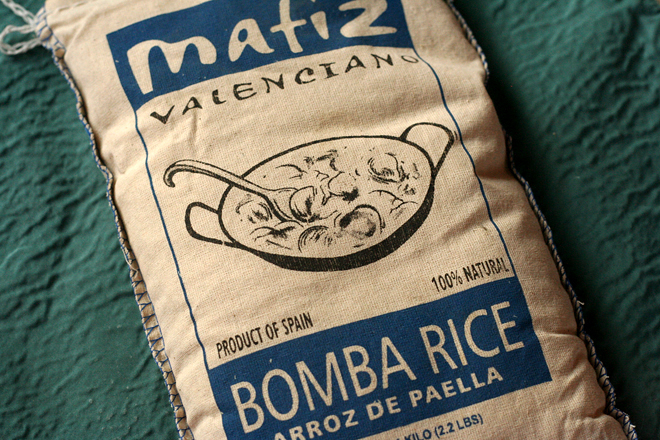
1 cup short-grain rice, preferably Bomba
7 ounces canned diced tomatoes with juice
2 tablespoons white wine
½ cup peas

1. In a medium-size pot over medium-high heat, bring the water, shrimp shells, sliced onion, sliced garlic, bay leaf, thyme sprig and 1 teaspoon salt to a boil. Reduce the heat to medium and simmer for about 30 minutes. Strain, discarding the solids. Return the broth to the saucepan, cover, and keep warm over low heat.

2. Combine the shrimp with 2 teaspoons olive oil, the minced garlic, ¼ teaspoon paprika, and a pinch of teaspoon salt. Mix well to coat with seasonings and let marinate at least 15 minutes or up to 1 hour.

3. Light about 2 quarts of charcoal briquettes; once the briquettes are lightly covered with gray ash, spread them over the bottom grate of the grill, then top with another 2 quarts of unlit coals.

4. Heat a 10-inch cast-iron skillet or Dutch oven directly over the coals. Add the shrimp and cook, without moving, until browned and pink on one side, 30 seconds to a minute. Flip the shrimp to brown the second side. Transfer to a plate.

5. Season the chicken generously with salt and ground black pepper. Add 1 tablespoon of olive oil to the hot skillet (or Dutch oven). Add the chicken, skin-side down, and cook with moving until the bottom is deeply browned, 3-4 minutes. Turn each piece of chicken to brown the other side. Transfer the browned chicken to a plate. (Because the chicken is mostly raw and the shrimp is cooked and will only be briefly reheated, don’t put them on the same plate.)

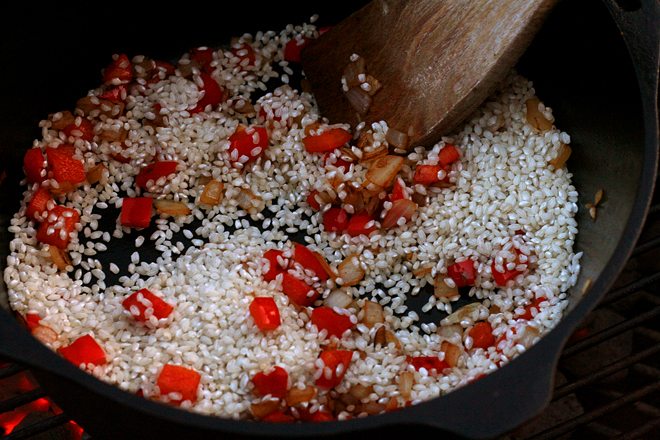
6. Add the diced onion, red pepper, and a pinch of salt to the skillet; sauté, stirring frequently, until softened and lightly browned, 8-10 minutes. Add the saffron and remaining ¼ teaspoon paprika and cook, stirring constantly, until fragrant, about a minute.

7. Add the rice, stirring well to coat with the onion mixture. Add the tomatoes, wine, half of the hot shrimp broth, ½ teaspoon salt, and the browned chicken. Bring to a brisk simmer, stirring once. Simmer, uncovered, until most of the broth has been absorbed, about 10 minutes.

8. Add the remaining broth and cook for an additional 10 minutes. Turn off the heat and arrange the peas and shrimp over the surface of the rice in one layer. Cover the pan with a clean dish cloth. Let the rice rest for 10 minutes before serving.

paella 9

brown rice pudding

brown rice pudding 5

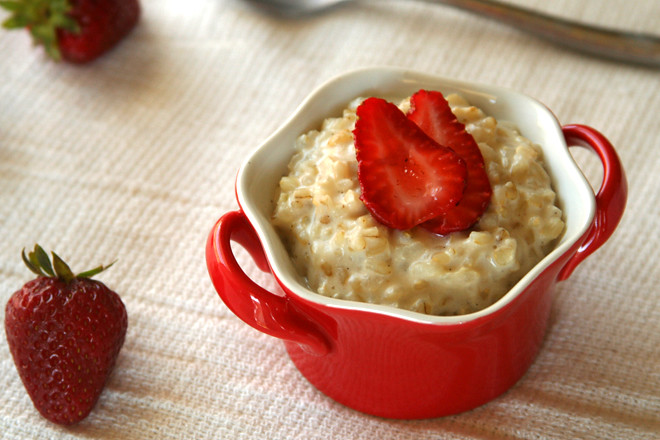
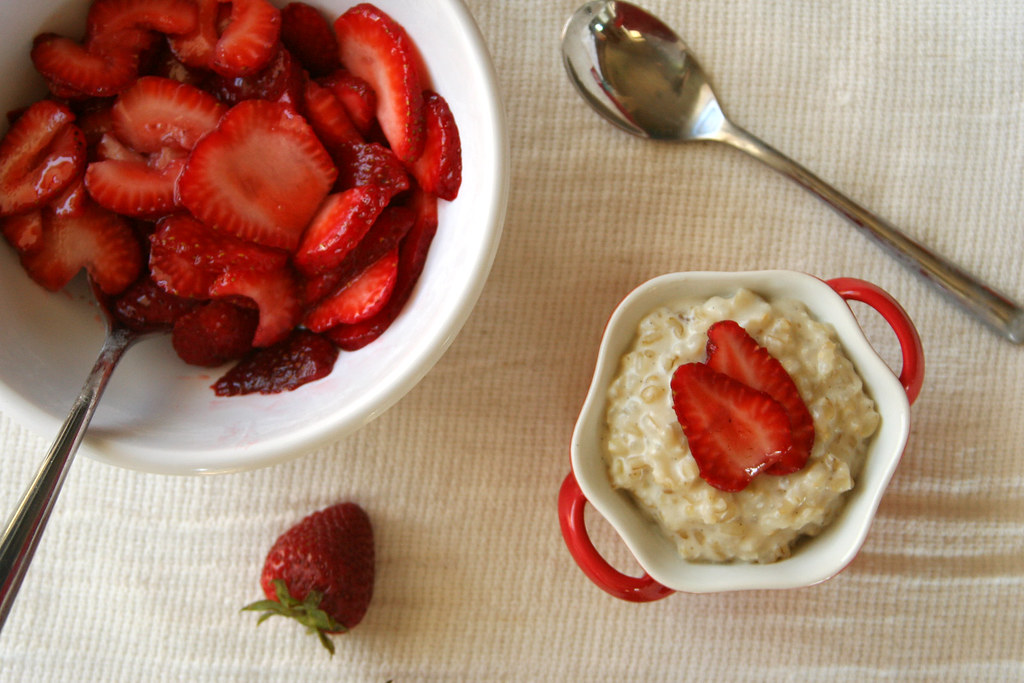
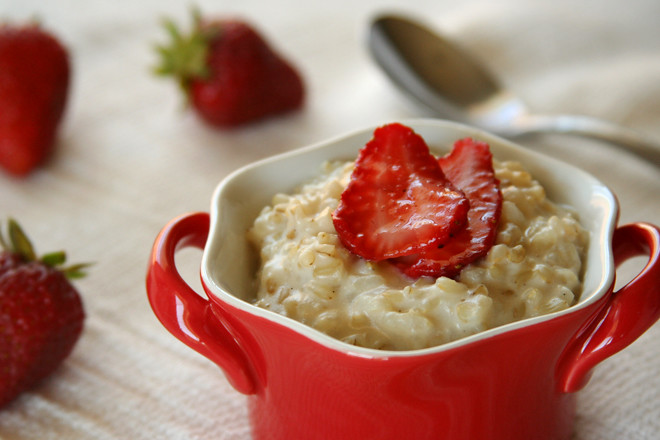
I’ve taken to eating pudding for breakfast. It was Deb’s idea, and it’s a very good one. After all, if we regularly heat one whole grain with milk to make oatmeal, why not do the same with rice? Somehow, oatmeal feels like winter food. Rice pudding seems lighter, more appropriate for warm temperatures and topping with strawberries.

brown rice pudding 1

This might seem obvious at first – you usually eat oatmeal warm and pudding cold. Except so far, I’ve been eating the rice pudding warm, so it’s more like rice porridge I suppose. But if I was organized enough, I think making it the night before and chilling it would not only save time in the morning, but make a great cool breakfast for the 100+ degree days we’ve been having around here.

brown rice pudding 2

Eating dessert for breakfast isn’t anything new – who hasn’t indulged in a slice of leftover cake with their morning coffee? But that isn’t what this is about. By using brown rice instead of white and reducing the sugar, rice pudding is actually full of fiber and protein instead of empty calories. Rice pudding has never been my favorite dessert, but it’s starting to become one of my favorite breakfasts.

brown rice pudding 3

One year ago: Brown Sugar Blueberry Plain Cake
Two years ago: Tender Shortcakes
Three years ago: Cappuccino Muffins
Four years ago: Baba Ghanoush, Falafel, and Hummus

Printer Friendly Recipe
Brown Rice Pudding
(adapted from Joy the Baker)

Serves 4 to 6

This is a basic recipe that you can add all sorts of goodies to, from dried fruit and nuts to spices or a swirl of jam.

If you plan to serve this for dessert instead of breakfast, double both the sugar and the honey.

1 cup brown rice, rinsed
½ teaspoon salt
4 cups whole milk
1 tablespoon sugar
1 tablespoon honey
½ vanilla bean, split open (or 1 teaspoon vanilla extract)

1. Bring 4 cups of water to a boil over high heat. Add the rice and salt; reduce the heat to medium and simmer, partially covered, for 30 minutes. Drain the rice in a strainer and return it to the pot, off the heat. Cover tightly and let set for 10 minutes.

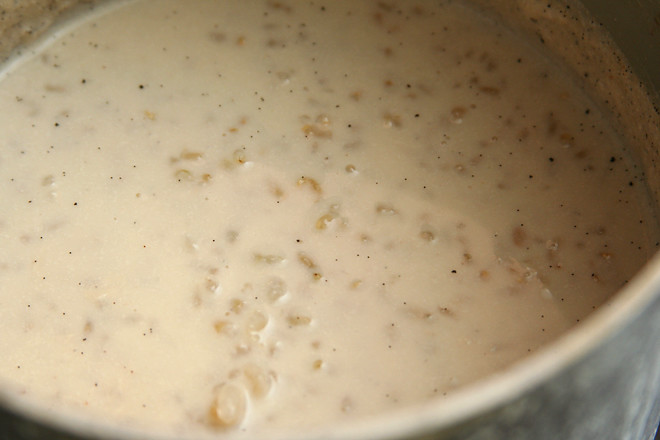
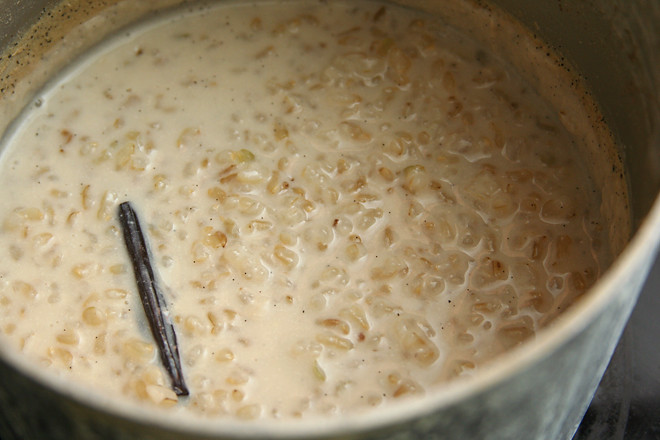
2. Add the milk, sugar, honey, and vanilla bean to the pot with the rice. (If you’re using vanilla extract, add it just before serving.) Bring the mixture to a simmer over medium-high heat, then reduce the heat to medium-low. Simmer until the milk is reduced and the rice is creamy, about 30 minutes. If you’re using vanilla extract, stir it in now. If you’re planning to eat the pudding warm, serve it now. If you’re planning to eat it cold, transfer it to serving dishes to chill.

brown rice pudding 4

dolmades

dolmades 10

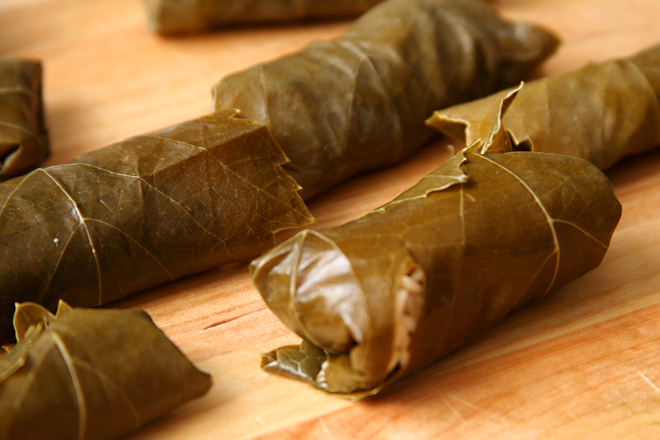
Someone please tell me to stop making recipes that involve individually filling and shaping portions after a full workday! Last week it was these dolmades, this week it was tortellini. (Tortellini, it turns out, are a lot more time-consuming to make than ravioli. A lot.) Evenings after work are not a good time to take on ambitious cooking projects.

dolmades 2

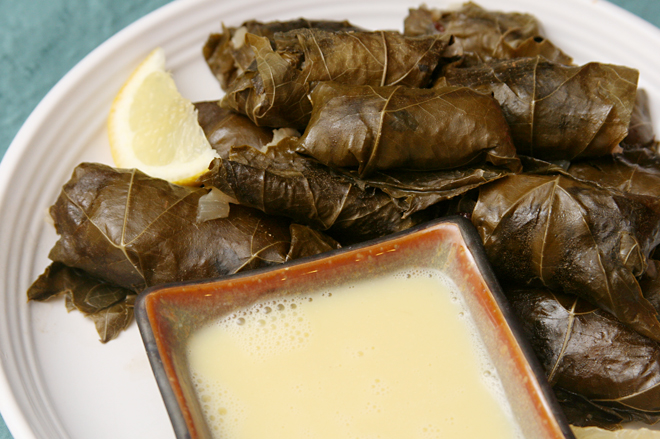
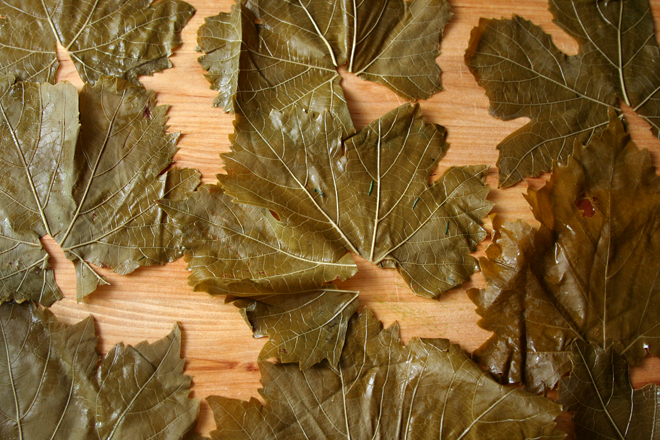
It didn’t help that this venture started out with a jar full of grape leaves stuffed so tightly they wouldn’t come out. All I could think of to do was rip out the middle leaves in a messy clump to loosen up the remainder, which wasn’t very satisfying. Then I discovered that grape leaves are not a shape that lends itself to easy rolling. And finally, at the end of it all, I realized that the early step of boiling the grape leaves before filling them was more important than I had counted on when I cut it short in my rush to get dinner on the table.

dolmades 3

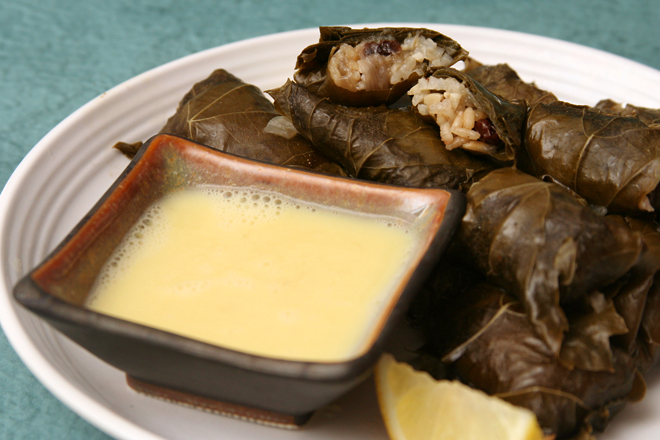
And then I learned that it doesn’t matter how smoothly the dolmades come together, because the combination of grape leaves, rice, and a lemony sauce will always be a hit. Even if the grape leaves mostly unroll. And they’re just a little tough. Even if dinner is nearly an hour late. Or maybe they tasted so good because dinner was an hour late?

dolmades 4

One year ago: Cornmeal Shortbread Cookies
Two years ago: Chockablock Cookies
Three years ago: Brownies (comparison of 4 recipes)
Four years ago: Cheesecake Pops (Daring Bakers)

Printer Friendly Recipe
Dolmades (adapted from Elly Says Opa and Emeril Live)

Makes about 36

1 (8-ounce) jar grape leaves, or 36 medium-sized fresh leaves
1 tablespoon olive oil
1 onion, diced
3 cloves garlic, minced
½ cup pine nuts
1 cup long-grain rice
1 teaspoon salt
½ cup currants (or raisins)
⅔ cup broth + additional for cooking dolmades
1 lemon
2 tablespoons chopped parsley
Avgolemono sauce (recipe follows)

1. Bring a medium pot of water to a simmer. Remove the grape leaves from the jar and drop them in batches of 4 or 5 into the hot water. Leave them in the simmering water for 4-5 minutes, then spread them flat on a towel-lined work surface. Cut the stem from each grape leaf, as needed.

2. In a large skillet over medium- high heat, heat the olive oil. Add the onions and sauté until translucent, about 6 minutes. Add the garlic and pine nuts and sauté for 2 minutes. Add the rice, salt, currants, broth, and the juice of half the lemon. Simmer, stirring occasionally, until the liquid is absorbed. Stir in the parsley.

3. To assemble the dolmades, place 1 grape leaf on the work surface, dull side (or underside) of the leaf up. Place 1 to 2 teaspoons of rice filling near the stem end of the leaf. Fold the stem (bottom) end up over the filling, fold the sides toward the filling in the center, then roll up the leaf into a small cylindrical package, being careful not to fold too tightly, as the rice will expand during cooking.

4. Place the dolmades in a large Dutch oven or wide sauté pan, seam side down. Add the juice from the remaining lemon half, plus enough broth to just cover the dolmades. Rest a heavy plate or baking dish directly on top of the dolmades. Bring to a boil over high heat, lower the heat, and simmer for 30 minutes, or until the rice is tender. Serve with avgolemeno sauce.

Avgolemono Sauce (adapted from Elly Says Opa)

2 eggs
⅓ cup fresh lemon juice (about 2-3 lemons)
liquid from cooking dolmades

In a medium bowl, whisk the eggs with the lemon juice until combined. Slowly drizzle the hot dolmades cooking liquid into the egg/lemon mixture, whisking continuously to avoid scrambling the eggs.

dolmades 9

butterscotch peanut butter chocolate rice krispy treats

rice krispie treats 8

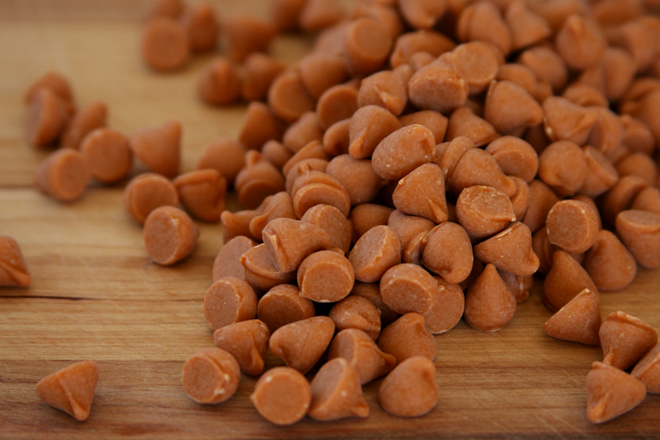
I did something very, very stupid with this recipe. It calls for 1½ bags of butterscotch chips. The thing is, I don’t like butterscotch chips very much, so I didn’t want half a bag leftover that I would feel obligated to keep around indefinitely, where it would take up valuable cabinet space. I only bought one bag, deciding to wing it (always trouble) for the remainder.

rice krispie treats 3

I started regretting this shortly after leaving the store. Because obviously I could have just dumped that half bag of chips into a batch of chocolate chip cookies and they would be hardly noticeable. Or, heaven forbid, I could just throw a handful of butterscotch chips away if I didn’t plan to use them.

rice krispie treats 12

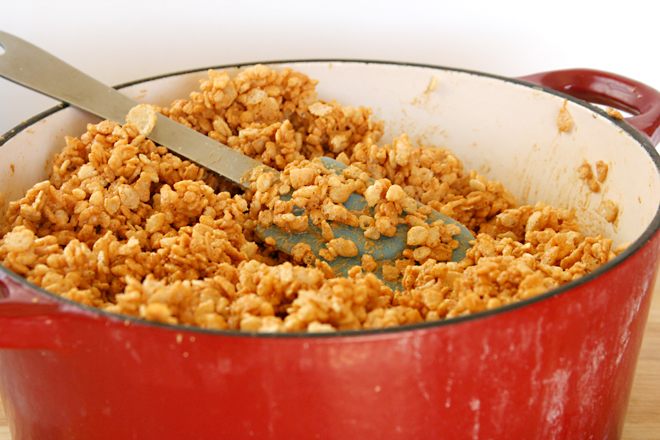
Instead of making an extra trip back to the store, I forged ahead. Things looked bad from the beginning when I measured out my single bag of butterscotch chips and it was even less than I was expecting. I still forged ahead, adding in a couple tablespoons of butter and another couple tablespoons of corn syrup to make up for the fat and sugar I was missing from the extra chips. I knew I was in bad shape when I poured in the entire box of cereal, and it filled my pot to the brim. I thought about shoveling some of the cereal out before mixing it into the melted butterscotch and peanut butter mixture but stubbornly forged ahead instead.

rice krispie treats 7

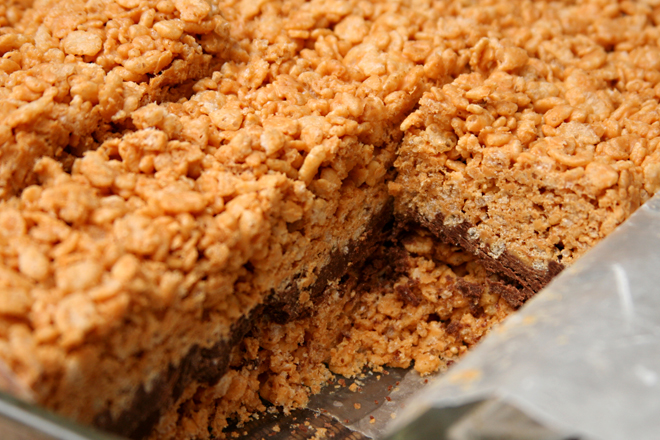
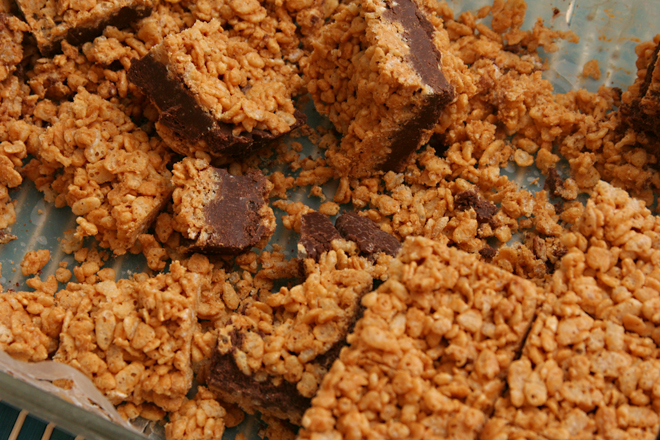
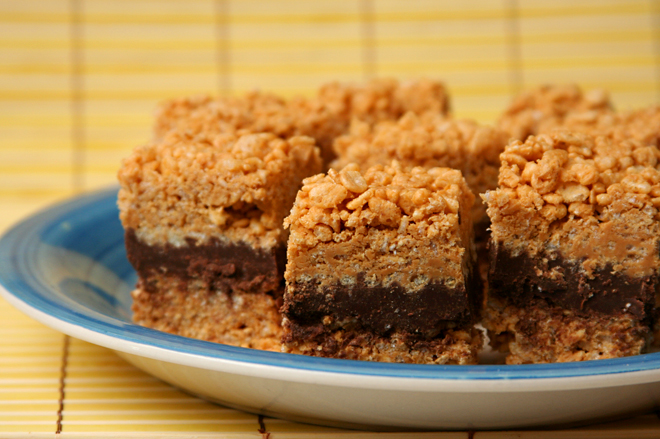
No one is surprised that my rice krispy bars were a crumbly mess, are they? There simply wasn’t enough glue to hold together all that cereal. They tasted good, like that classic combination of peanut butter and chocolate, but, while I did manage to cut a few clean squares, they’re so delicate that they crumble as soon as they’re touched. Of course I ate them anyway, because they’re butterscotch peanut butter chocolate rice krispy bars. Crumbles aside, what’s not to love? But next time, I’ll follow the directions, half bag of extra chips be damned.

rice krispie treats 10

One year ago: Strawberry Buttercream
Two years ago: Bacon-Wrapped Stuffed Dates
Three years ago: Beer-Battered Fish
Four years ago: Julia Child’s French Bread

Printer Friendly Recipe
Butterscotch Peanut Butter Chocolate Rice Krispy Treats (slightly adapted from Cara’s Cravings)

About 32 tall bar cookies

3 cups (1½ to 2 11-ounce bags) butterscotch chips
1½ cups (13½ ounces) creamy peanut butter
salt
1 (12-ounce) box crisp rice cereal
4 cups (2 12-ounce bags) semi-sweet chocolate chips
8 tablespoons (1 stick) butter, cut into ½-inch cubes
1½ cups (6 ounces) confectioners’ sugar
¼ cup water

1. Spray a 9-by-13 inch pan with cooking spray.

2. In a large (at least 5-quart) pot over medium-low heat, melt the butterscotch chips with the peanut butter and ¼ teaspoon salt. When the mixture is smooth, which will take 8-10 minutes, add the cereal and stir to thoroughly coat the cereal with the peanut butter mixture.

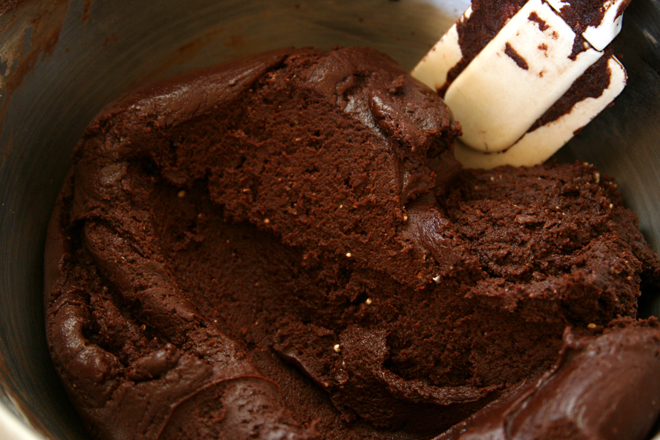
3. Meanwhile, bring 1-inch of water to a simmer in a saucepan. Place the chocolate, water, 1/8 teaspoon salt, and butter in a heatproof bowl and set it over the simmering water. Stir occasionally until the chocolate is melted and smooth, 6-8 minutes. Stir in the powdered sugar.

4. Transfer half of the cereal mixture to the prepared pan; use a rubber spatula or greased hands to pat the mixture into an even layer, pressing lightly to compact. Spread the chocolate mixture evenly over the cereal in the pan. Top with the remaining cereal mixture. Cover lightly with plastic wrap and refrigerate until set, about 2 hours.

rice krispie treats 9

Normally I wouldn’t waste your time describing such a mistake, but this recipe was on my list of 2012 goals for February.

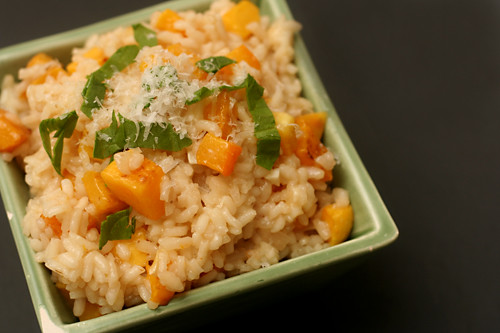
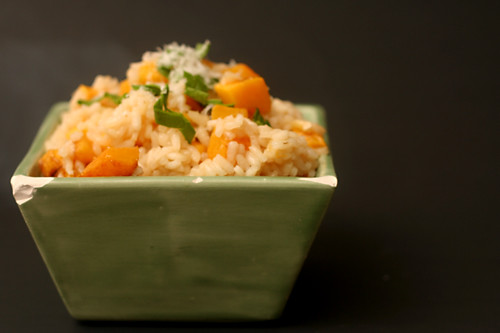
butternut squash risotto

butternut squash risotto 7

The first time I made this risotto, all the smoke from the chicken I was roasting set off the fire alarm in my apartment building. Everyone had to go stand outside in the cold (this is back when I lived somewhere where it actually got cold), but I didn’t want to leave the stove because I needed to stir my risotto! So Dave was the one who had to go confess to everyone that the alarm was my fault. He loved that.

butternut squash risotto 2

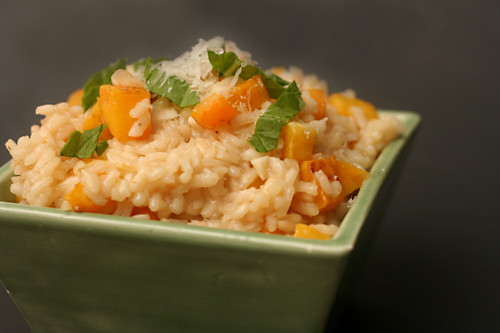
And I loved this risotto. It isn’t nearly as rich as the pumpkin risotto I made a couple years ago; that one has twice the cooking fat and a generous dollop of mascarpone. All that cheese mutes the flavor of the squash, and squash is what I want to highlight in a squash risotto.

butternut squash risotto 3

This recipe has a trick (it’s a Cooks Illustrated recipe; of course it has a trick) to eeking out all of the possible flavor from squash, and that’s to sauté to fibers and seeds, then use them as a base for the liquid used to cook the rice. It’s almost like making a squash broth, which is the perfect way to incorporate squash flavor into the entire risotto, not just in the chunks of squash distributed throughout the rice.

butternut squash risotto 4

The risotto was much better than that alarm-raising chicken. It involves some annoying steps with straining the broth and of course the tedious peeling and chopping of squash, but it isn’t anything as bad as explaining to your neighbors why they have to stand out in the cold on a Sunday night.

butternut squash risotto 6

One year ago: Pomegranate-Glazed Salmon
Two years ago: Brown Rice with Black Beans
Three years ago: Sushi Bowls

Printer Friendly Recipe
Butternut Squash Risotto (from Cooks Illustrated)

Serves 4 as a main course and 6 as a first course

2 tablespoons olive oil
1 medium butternut squash (about 2 pounds), peeled, seeded, and cut into ½-inch dice (about 3½ cups), seeds and fibers reserved
¾ teaspoon salt
¾ teaspoon pepper
4 cups low-sodium chicken broth
1 cup water
4 tablespoons unsalted butter
2 small onions, chopped very fine (about 1½ cups)
2 cloves garlic, minced
2 cups Arborio rice
1½ cups dry white wine
¾ cup (1½ ounces) finely grated Parmesan cheese
¼ teaspoon grated nutmeg
2 tablespoons minced fresh sage leaves

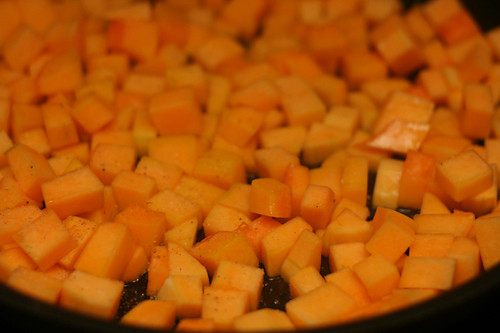
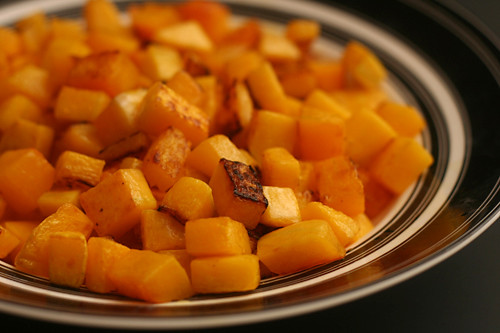
1. Heat the oil in a 12-inch skillet over medium-high heat until shimmering but not smoking. Add about 3½ cups of the squash in an even layer and cook without stirring until the squash is golden brown, 4-5 minutes; stir in ¼ teaspoon salt and ¼ teaspoon pepper. Continue to cook, stirring occasionally, until the squash is tender and browned, about five minutes longer. Transfer the squash to a small bowl and set aside.

2. Return the skillet to medium heat; add the reserved squash fibers and seeds and any leftover diced squash. Cook, stirring frequently to break up the fibers, until lightly browned, about 4 minutes. Transfer to a large saucepan and add the chicken broth and water; cover the saucepan and bring the mixture to a simmer over high heat, then reduce the heat to medium-low to maintain a bare simmer.

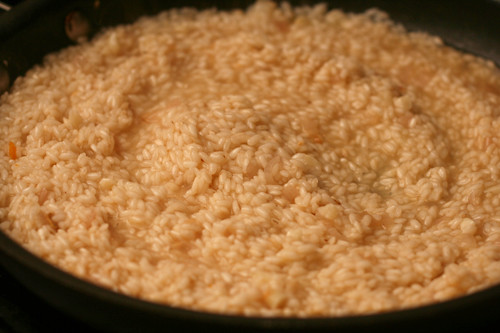
3. Melt 3 tablespoons of butter in the now-empty skillet over medium heat; when the foaming subsides, add the onions, garlic, remaining ½ teaspoon salt, and remaining ½ teaspoon pepper. Cook, stirring occasionally, until the onions are softened, 4 to 5 minutes. Add the rice to the skillet and cook, stirring frequently, until the grains are translucent around the edges, about 3 minutes. Add the wine and cook, stirring frequently, until fully absorbed, 4 to 5 minutes.

4. Meanwhile, strain the hot broth through a fine-mesh strainer set over a medium bowl, pressing on the solids to extract as much liquid as possible. Return the strained broth to the saucepan and discard the solids in the strainer; cover the saucepan and set over low heat to keep the broth hot.

5. When the wine is fully absorbed, add 3 cups of the hot broth and half of the reserved squash to the rice. Simmer, stirring every 3 to 4 minutes, until the liquid is absorbed and the bottom of the pan is almost dry, about 12 minutes.

6. Stir in about ½ cup of hot broth and cook, stirring constantly, until absorbed, about 2 minutes; repeat with additional broth 2 or 3 more times, until the rice is al dente. Off the heat, stir in the remaining tablespoon of butter, the Parmesan, sage, and nutmeg. Gently fold in the remaining cooked squash. If desired, add an additional ¼ cup of broth to loosen the texture of the risotto. Serve immediately.

butternut squash risotto 5