brown rice

I thought I’d already nailed my favorite brown rice recipe, but over time, I found myself not using it. There were two issues I was having.  One was that it takes an hour and a half, and I don’t have that kind of foresight on an average weeknight.  The other problem is that it starts on the stovetop and is transferred to the oven, which sounds simple enough, but I could never remember the cooking times and didn’t want to check a recipe for a basic side dish.  I have too much else to do and think about; rice can’t be complicated.

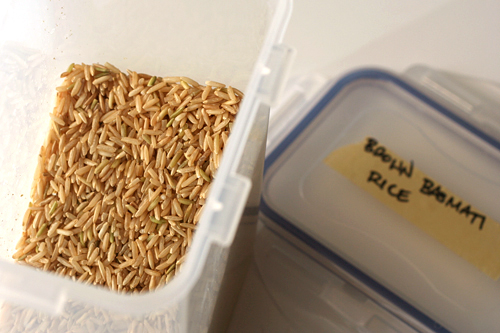
In the comments of that baked brown rice post, I was pointed toward a recipe for rice cooked like pasta. Also, Stacy recommended basmati brown rice over other varieties, claiming that it’s more fragrant and flavorful. Because the nutty scent of white rice is one of my favorite aspects of it, I was eager to try any trick to get that experience with brown rice.

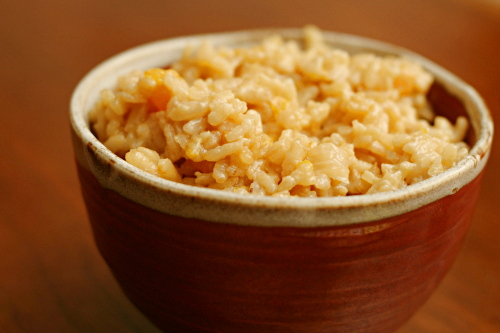
This worked. The basmati rice smells sweet and nutty while it boils, exactly how white rice smells while it steams. And the best part is that it’s so simple to make that even I can get it done on an average weeknight.  That means we’ve pretty much eliminated another refined grain from our diets, with very little compromise in terms of effort or flavor.

One year ago: Chicken Fajitas
Two years ago: Anadama Bread
Three years ago: Sichuan Green Beans

Printer Friendly Recipe
Brown Rice
(adapted from Saveur via Pinch My Salt)

This recipe can be scaled up or down as much as you want.

8 cups water
1 cup rice, rinsed
2 teaspoons salt

Bring the water to a boil over high heat. Add the rice and salt; reduce the heat to medium and simmer uncovered, stirring occasionally, for 30 minutes. Drain the rice in a strainer and return it to the pot, off the heat. Cover tightly and let set for 10 minutes. Fluff with a fork; serve.
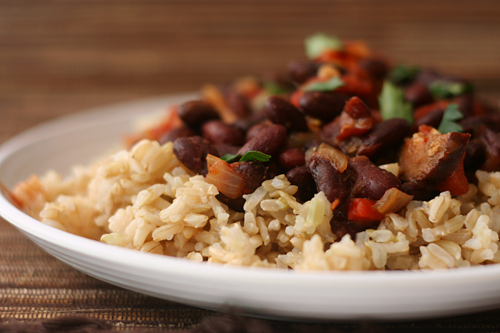
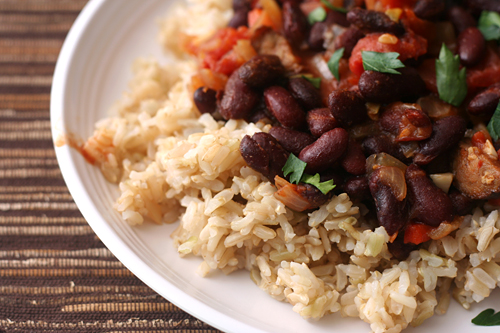
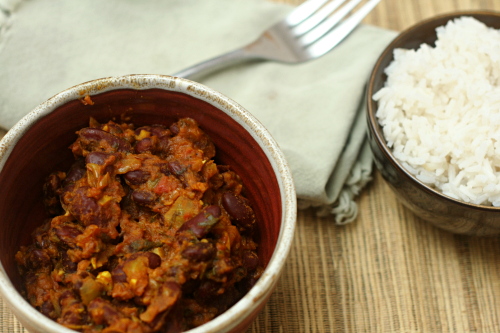
(This is Red Beans and Rice.)
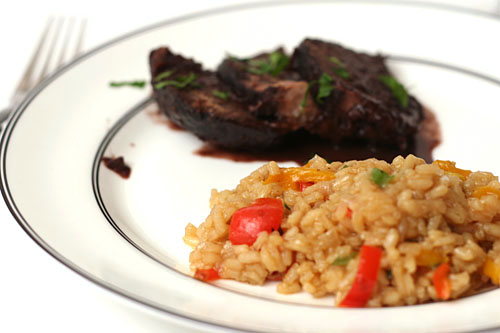
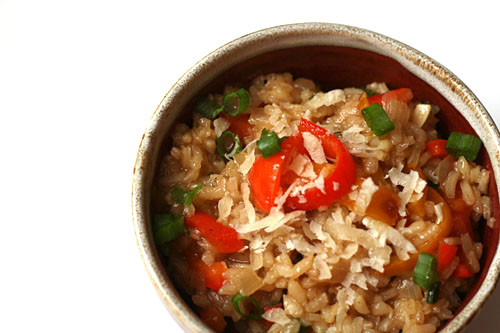
red pepper risotto

This was one of the first recipes I ever made from the Food Network. Back before I had cable, I’d heard of a lot of the chefs, but I hadn’t seen any of their shows myself. Once when I was traveling, the hotel had cable, and I was transfixed.

I still remember the first shows I saw. Alton Brown, making tomato sauce; Rachael Ray, making crab salad served on endive leaves; and Emeril, making bagna cauda, red pepper risotto, beef in Barolo, and chocolate chestnut mousse. As soon as I got home, I invited a group of friends over for dinner and made the entire menu from Emeril’s episode. I even wrote reviews on the site later, the only I’ve ever written.

It was the first risotto I’d ever made and is still my go-to risotto recipe. It’s actually a very standard risotto – sweat onions, toast Arborio, evaporate wine, gradually add broth, stir in parmesan. I’ve tried other methods, but this one is my favorite. It’s perfectly adaptable too – I’ve added peas and leafy greens, but I still think the peppers are the best addition, especially if the risotto is being used to soak up delicious beef in Barolo juices.

One year ago: Steak au Poivre
Two years ago: Sausage Apple Hash

Printer Friendly Format
Risotto with Sweet Peppers (adapted slightly from Emeril)

6 cups chicken stock
1 tablespoon olive oil
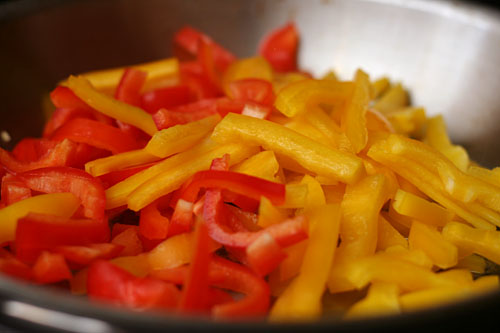
1½ medium red bell peppers, seeded and diced
1½ medium yellow bell peppers, seeded and diced
2 tablespoons butter
½ onion, finely chopped
1 clove garlic, minced
1½ cups arborio or carnaroli rice
½ cup dry white wine
2 sprigs fresh thyme
4 scallions, green parts only, thinly sliced
1 teaspoon salt
½ teaspoon fresh cracked white pepper
1 cup grated Parmigiano-Reggiano

1. In a small saucepan, bring the stock to a simmer. Remove from the heat and cover to keep warm.

2. In a large skillet, heat the oil over medium-high heat. Add the peppers and cook, stirring frequently, until cooked through but still slightly crunchy, about 5 minutes. Remove from the heat and set aside.

3. In a large heavy saucepan, heat the butter over medium-high heat. Add the onions and cook, stirring, for 2 minutes. Add the garlic and cook until fragrant, about 30 seconds. Add the rice and cook, stirring constantly, until opaque, 2 minutes. Add the wine and cook, stirring until the rice nearly completely absorbs all the liquid, about 1 minute.

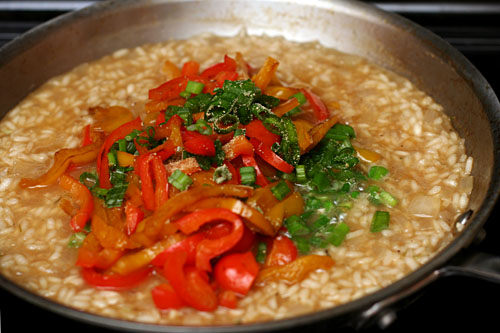
4. Reduce the heat to medium and stir in the thyme. Add 1½ cups of the hot stock, and cook, stirring frequently. Cook the risotto, adding more stock 1 cup at a time as it is absorbed, about 20 minutes total cooking time. Stir in the green onions and cooked bell peppers after 15 minutes cooking time. Season the risotto with 1 teaspoon of salt and white pepper. The rice should be slightly al dente.

5. Remove from the heat. Discard the thyme sprigs. Add the cheese, and stir well to mix. Adjust the seasoning, to taste, with salt and pepper. Serve immediately.

red kidney bean curry

When my schedule picks up, I tend to fall into a weeknight dinner rut. I think we ate pasta with chopped tomatoes and fresh mozzarella ten times during the month or so of peak tomato season. Fish tacos are in no short supply around here year-round. Red beans and rice, salmon pesto pasta, braised white beans, jalapeno-baked fish

Surely there must be new recipes for me to try that fit my tough weeknight standards – quick, light, fully balanced, vegetarian or seafood-based. And yes! This is perfect. Plus I love my one other Indian curry standard and knew there must be similar-but-different dishes out there to try.

It’s such a basic recipe – sauté aromatics and spices, add beans and other flavorings, simmer, serve over starch. It makes me wonder how many other cuisines I could do this with. I suspect I’ll be trying a few, because you can never have enough quick healthy balanced vegetarian meal ideas.

One year ago: Stuffed Mushrooms with Sun-Dried Tomatoes
Two years ago: Mulled Cider

Printer Friendly Recipe
Red Kidney Bean Curry
(adapted from Smitten Kitchen)

This recipe has another trait I love – it takes well to freezing. Make a large batch, freeze in portions, and your next meal is that much easier!

The first time I made this, it seemed a little bland so I’ve increased the spices and added garam masala. I love garam masala. I’ve also changed the tomatoes around to something that makes more sense to me.

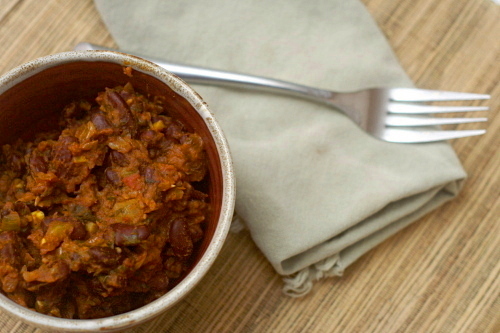
I know Deb’s looks like soup and mine looks like a paste. My only explanation is that this batch was frozen and defrosted, and I was too busy catching up on The Office episodes to see that it needed more liquid.

Serves 6

2 tablespoons olive oil
1 medium onion, finely chopped
1 jalapeno, minced
2 tablespoons chopped fresh ginger
3 cloves garlic, chopped
1 tablespoon tomato paste
2 teaspoons ground turmeric
2 teaspoons garam masala
1½ teaspoon ground cumin
1½ teaspoon ground coriander
1 teaspoon cumin seeds
¼ teaspoon cayenne
1 (15-ounce) can diced tomatoes, with juice
2 (15-ounce) cans red kidney beans, rinsed and drained (or 3 cups cooked beans)
1 teaspoon salt
½ cup chopped fresh cilantro

In a 3-quart saucepan over medium heat, heat the oil. Add the onion and jalapeno and cook, stirring occasionally, until the onion just starts to brown at the edges, 5-8 minutes. Add the garlic, ginger, tomato paste and spices; cook, stirring constantly, until fragrant, about 1 minutes. Add the tomatoes and their juice, the beans, and the salt. Bring to a boil over medium-high heat, then decrease the heat to low and simmer uncovered for 10 minutes. Stir in the cilantro, taste for seasoning, and serve over rice or with naan.

rice and peas

Side dishes aren’t my strong suit. I often find myself googling dorky things like “what to serve with Jamaican jerk chicken?” Rice and peas kept coming up, and I kept bypassing it. Who wants green peas mixed with plain white rice?

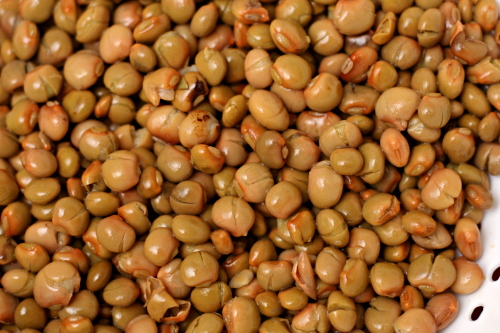
It turns out, of course, that rice and peas is nothing of the sort. Peas, in the Jamaican way, are beans. I was fortunate enough to find pigeon peas at my store (another reason to stop complaining about my grocery store), but red beans work too.

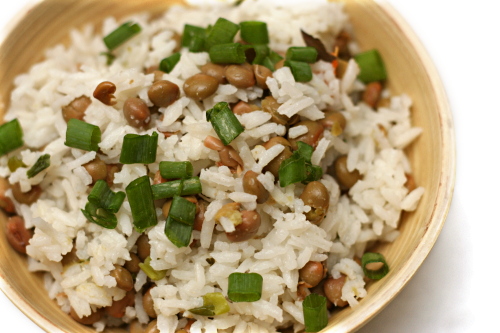
Rice and peas, then, is rice and beans cooked in coconut milk with thyme, green onions, and a spicy chile. The chile isn’t minced and eaten; it’s left whole and removed after cooking, so it adds just a hint of heat, which really does make this the perfect side dish for spicy jerk chicken. Thanks, Google!

Two years ago: Croque Madame

Printer Friendly Recipe
Rice and Peas

1 tablespoon vegetable oil
1 cup long-grained white rice
1 clove garlic, minced
½ cup coconut milk
1 cup water
½ teaspoon salt
½ teaspoon dried thyme
1 (15-ounce) can pigeon peas (or red beans), drained and rinsed
1 habanero chile, whole
2 green onions, chopped, plus extra for garnish

1. In a medium heavy-bottomed saucepan, heat the oil over medium heat until shimmering. Add the garlic and rice; cook, stirring constantly, until the rice is translucent at the edges and the garlic is fragrant, about 1 minute. Add the remaining ingredients. Stir once, increase the heat to medium-high, and bring to a simmer. Once the mixture simmers, reduce the heat to the lowest heat.

2. Cook for 15 minutes, then, without removing the lid or moving the pot, turn off the heat and let the rice sit for another 15 minutes. Remove the chile pepper, fluff the rice with a fork, and serve, topping with additional green onions.

pork chops loco moco

Copy of IMG_9853

I feel a little guilty when Dave and I spend most of the weekend sleeping in, watching football, reading books, and, in my case, cooking. We are booooring.

Copy of IMG_9835

But then I figure that someday, if everything goes as planned, we’ll have kids and then we won’t be able to spend all weekend being lazy. I don’t think I’ll be cooking from Cooks Illustrated’s Restaurant Favorites at Home very often when we have kids, which is a shame, because it’s a fun cookbook and I haven’t used it as much as I should. I better take advantage while I can.

Copy of IMG_9837

Although really, this meal didn’t take nearly as long to prepare as I thought it would based on the length of the recipe. It’s true that there are five parts – rice, pork chops, scrambled eggs, mushroom gravy, and fried onions. Fortunately, the rice, meat and eggs are as simple as they could get, and the sauce is pretty quick as well. That means that only the onions take some time.

Copy of IMG_9846

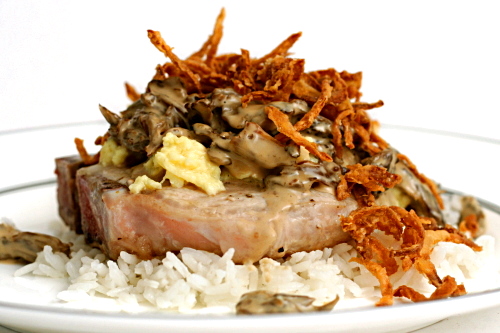
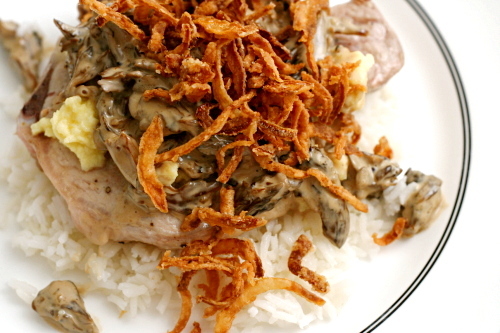
Loco moco is a Hawaiian dish that, as its most basic, is rice, a hamburger patty, gravy, and a fried egg. For their cookbook, Cooks Illustrated adapted the recipe from Sam Choy’s, who replace the hamburger with a pork chop, the fried egg with scrambled, and the brown gravy with a mushroom cream sauce, in addition to adding the fried onions.

Copy of IMG_9841

Hoo boy, I like this kind of meal anyway, where a bunch of different stuff all meshes together, but this in particular was fantastic. So many textures – the meat, the rice, soft eggs, crunchy onions. So many flavors – nutty white rice, sweet fried onions, savory pork, all coated in a rich mushroom sauce. Even if it had taken most of a day to make, which it didn’t, it would have been worth it. Especially since I would have just been lounging around in my pajamas anyway.

Copy of IMG_9854

One year ago: Pumpkin Pancakes

Printer Friendly Recipe
Pork Chops with Rice, Eggs, Onions, and Gravy
(from Cooks Illustrated’s Restaurant Favorites at Home)

This is the recipe straight from the cookbook. However, next time I plan to use a boneless pork chop. I think it will brown better in the pan, plus it was a little hard to see where the bone was versus the meat once the pork was covered in sauce and other goodies.

Also, I think it makes more sense to cook the pork chop before the eggs. And, in step 3, I don’t see why you’d want to dirty an extra dish by transferring the sauce to a measuring cup; just cover the pan you cooked it in. Finally, the recipe calls for both the eggs and the pork chops to be cooked on high heat, but I’ve had better luck with medium-high heat for both.

Fried Onions:
3 cups vegetable oil
½ cup all-purpose flour
1 teaspoon salt
½ tablespoon ground black pepper
1 small yellow onion, halved and sliced thin

Rice:
2 teaspoons vegetable oil
1 cup long-grain white rice
½ teaspoon salt

Sauce:
1 teaspoon cornstarch
1 tablespoon vegetable oil
4 ounces fresh shiitake mushrooms, stemmed and sliced thin
1 cup heavy cream
2 teaspoons soy sauce
1 teaspoon oyster sauce
salt and ground black pepper

Eggs:
4 large eggs
¼ cup whole milk
pinch ground black pepper
1 tablespoon unsalted butter

Pork chops:
1 tablespoon vegetable oil
4 thin bone-in center-cut loin pork chops, about ½ inch thick
salt and ground black pepper

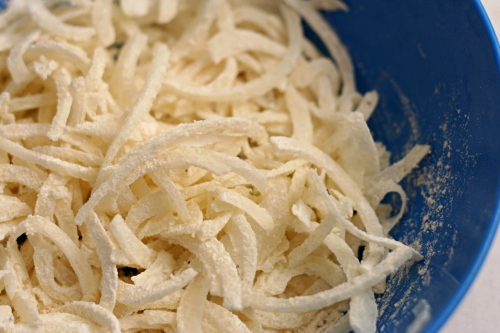
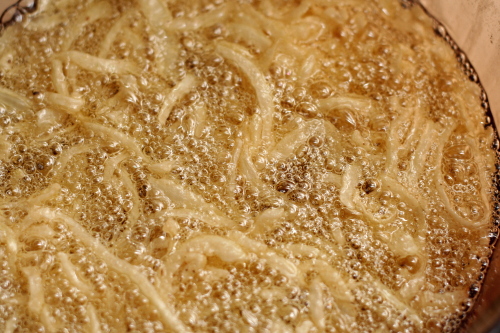
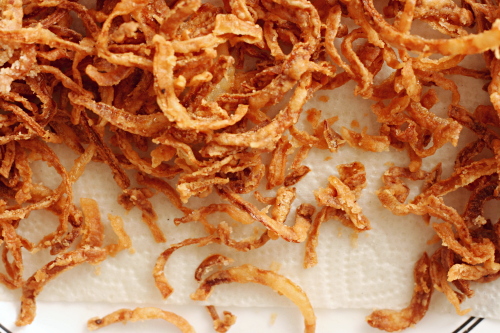
1. For the fried onions: Heat the vegetable oil in a Dutch oven over medium-high heat until it reached 350 degrees. (Use an instant-read thermometer that registers high temperatures or clip a candy/deep-fat thermometer onto the side of the pan before turning on the heat.) Meanwhile, mix the flour, salt, and pepper together in a large bowl. Add the onion to the flour mixture and toss thoroughly to coat. Transfer the floured onion to a large strainer (or colander) set over another bowl (or the sink) and shake vigorously to remove the excess flour. Add the onion to the oil and fry until golden brown, 2 to 2½ minutes, adjusting the heat as necessary to maintain the cooking temperature. Remove the onion from the oil using a spider or slotted spoon, tapping the handle several times on the rim of the pot to drain any excess oil, then transfer to a large plate lined with several layers of paper towels. Set aside.
2. For the rice: Heat the vegetable oil in a small saucepan over medium heat until shimmering. Add the rice and cook, stirring constantly, until transparent, 2 to 3 minutes. Add 1½ cups water and the salt. Bring to a boil, swirling the pan to blend the ingredients. Reduce the heat to low, cover tightly, and cook until the liquid is absorbed, about 15 minutes. Remove from the heat and cover the pan with a clean dish towel and then the lid. Let the rice stand, covered, to finish cooking, about 15 minutes longer. Fluff with a fork and set aside.

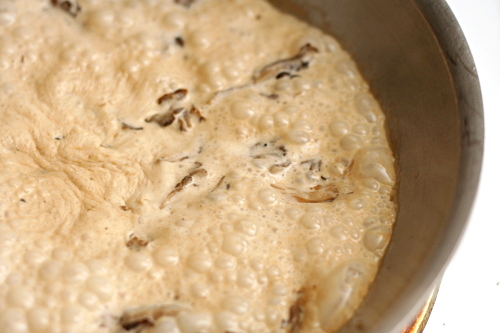
3. For the sauce: Mix the cornstarch and 1 teaspoon water together in a small bowl and set aside. Heat the vegetable oil in a large saucepan over medium-high heat until shimmering. Stir in the shiitakes, cover, and reduce the heat to low. Cook until the mushrooms release their moisture and begin to brown, about 5 minutes. Stir in the cream, soy sauce, and oyster sauce, increase the heat to medium-high, and bring to a boil. Whisk in the cornstarch mixture and return to a boil, whisking constantly. Cook, whisking constantly, until the sauce is slightly thickened, about 30 seconds. Remove the sauce from the heat and season with salt and pepper to taste. Transfer the sauce to a liquid measuring cup, cover tightly with plastic wrap, and set aside.

4. For the eggs: Crack the eggs into a medium bowl and add the milk, salt and pepper. Beat with a fork until the streaks are gone and the color is pure yellow; stop beating while the bubbles are still large. Melt the butter in a 12-inch nonstick skillet over high heat until foaming, swirling it around and up the sides of the pan. Before the form completely subsides, pour in the beaten eggs. Using a heatproof spatula, push the eggs from one side of the pan to the other, slowly but deliberately lifting and folding the eggs as they form curds, until the eggs are nicely clumped into a single mound but remain shiny and set, about 2 minutes. Transfer to a medium bowl and cover to keep warm.

5. For the pork chops: Wipe the nonstick skillet clean with a wad of paper towels. Add the vegetable oil and heat over high heat until smoking. Season the pork chops generously with salt and pepper. Lay the pork chops in a single layer in the skillet and cook until golden brown, 2 to 3 minutes. Turn and cook on the second side until lightly brown and cooked through, 1 to 2 minutes longer.

6. To serve: Divide the rice among 4 individual plates. Lay a pork chop on top of the rice and top with equal portions of scrambled eggs. Pour about 3 tablespoons of the sauce over the egg and pork on each plate, and sprinkle with the fried onions. Serve immediately.

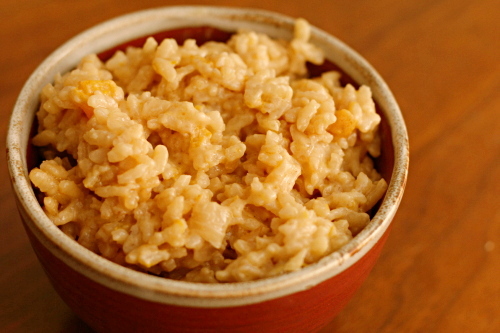
pumpkin risotto

Copy of IMG_0156

Everyone’s goal for their food blog is different. Are you keeping a log of recipes you make for your own sake – to store them somewhere, or to track your progress as a cook? Do you only publish recipes that you recommend others make? Do you have a blog just to cook along with various groups? All are perfectly fine reasons to maintain a food blog.

Copy of IMG_0100

Periodically I have to ask myself what my stance is. The question only comes up when I make something that I’d like to share, even though it wasn’t necessarily my favorite dish ever. And I think I’ve decided that, for me, my food blog is somewhere I get to talk about cooking to people who are also interested in food. Basically it’s to offload my food thoughts to people who actually care, saving my friends and family from hearing about cooking nonstop. Not that the topic doesn’t still come up…let’s just say, periodically.

Copy of IMG_0102

So, let us discuss, then, this risotto. I’ve made risotto plenty of times before, but usually following the same basic recipe and just adding in whatever extra ingredient I wanted (peppers, peas, greens, etc). This time I decided to follow a different recipe.

Copy of IMG_0114

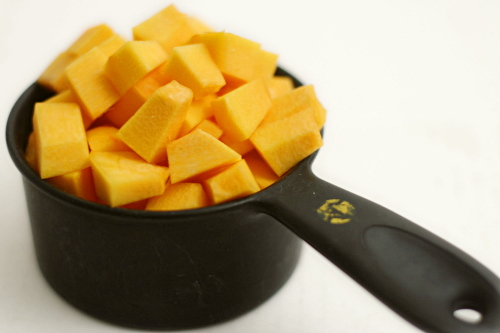
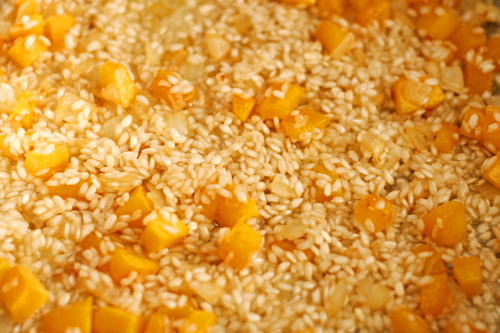
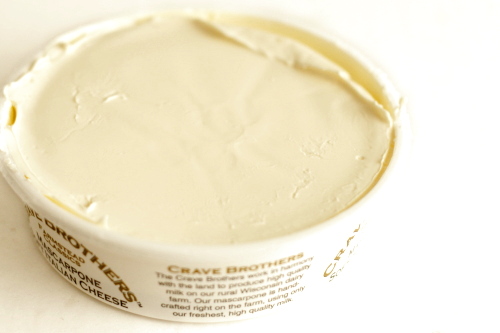
You probably know the basic risotto process – sauté onions and garlic, add the rice, then the wine, then the chicken broth, gradually, and ending with parmesan cheese. This recipe is a bit different. It starts with substantially more butter than I would normally use, in which the onion (supposed to be leeks, but I always forget to buy them) and pumpkin are sautéed. Then the rice is stirred in, like normal, but next is the chicken broth instead of the wine. The broth and wine are added alternately as the rice cooks. Mascarpone is stirred in at the end along with the parmesan.

Copy of IMG_0133

It was quite a bit winier than I’m used to risotto tasting, which isn’t necessarily a bad thing. It was also quite a bit cheesier, which I suppose should have been a no-brainer with all the mascarpone, but somehow I was expecting it to add richness without the cheesy flavor.

Copy of IMG_0147

Overall, it was…fine. Good? Not necessarily great. I just like my regular risotto better. Some foods are already rich enough that you don’t really need to add twice the butter and a dollop of the creamiest cheese ever. So maybe I don’t strongly recommend this recipe, but I thought it was interesting, and when it comes to choosing recipes to blog about, I guess interesting (to me, and if I’m lucky, to you) is what I’m most concerned with.

Copy of IMG_0163

One year ago: Mulled Cider

Printer Friendly Recipe
Pumpkin Risotto
(copied with no changes from Cucina Italiana April 2001)

3.5 cups chicken broth
1 small pumpkin (about ½ pound)
6 tablespoons unsalted butter
1 large leek, white part only, halved lengthwise, rinsed, and diced
1 cup Arborio rice
1 cup dry white wine
¼ cup Mascarpone
⅓ cup (.67 ounce) grated Parmigiano Reggiano

1. Heat broth in a small pan and keep it hot. Cut off the pumpkin stem. With a vegetable peeler, remove the skin. Cut the pumpkin in half, and remove and discard the seeds and stringy flesh. Dice enough of the pumpkin to make 1 cup. (Save any remaining pumpkin for another use; soup is a particularly good possibility.)

2. In a large saucepan, melt the butter. Add the pumpkin and leek, and cook over medium heat, stirring often, until softened, about 10 minutes. Add the rice and stir well to coat it with the butter. Cook, stirring, until the rice begins to crackle, about 5 minutes; do not let the rice brown.

3. Slowly add ½ cup of the broth and stir constantly until the rice absorbs all the liquid; add 2 tablespoons of the wine and continue stirring until it is absorbed by the rice. Continue adding broth and wine alternately to the rice, stirring all the while, until the rice is al dente and has a creamy consistency, about 15 minutes.

4. Stir in the Mascarpone and Parmigiano, blending well and stirring until the Mascarpone melts. Serve immediately.

risotto with swiss chard

Copy of IMG_6075

Although I think that adding green pepper is the easiest way to ruin otherwise perfectly good pizza, I’m not in general a picky eater. There are no common ingredients that I refuse to eat, I’m game to try just about anything, and I think even green pepper has its place. (Caveat: margarine and the like – gross. But that stuff doesn’t count.)

On the other hand, sometimes I do have problems wrapping my mind around certain things. For example, I love sushi, love it, and make an opportunity to eat it once every week or two, but somewhere, in the back of my mind, when I eat tuna sashimi, I’m still thinking “ew, raw fish.”

Copy of IMG_6060

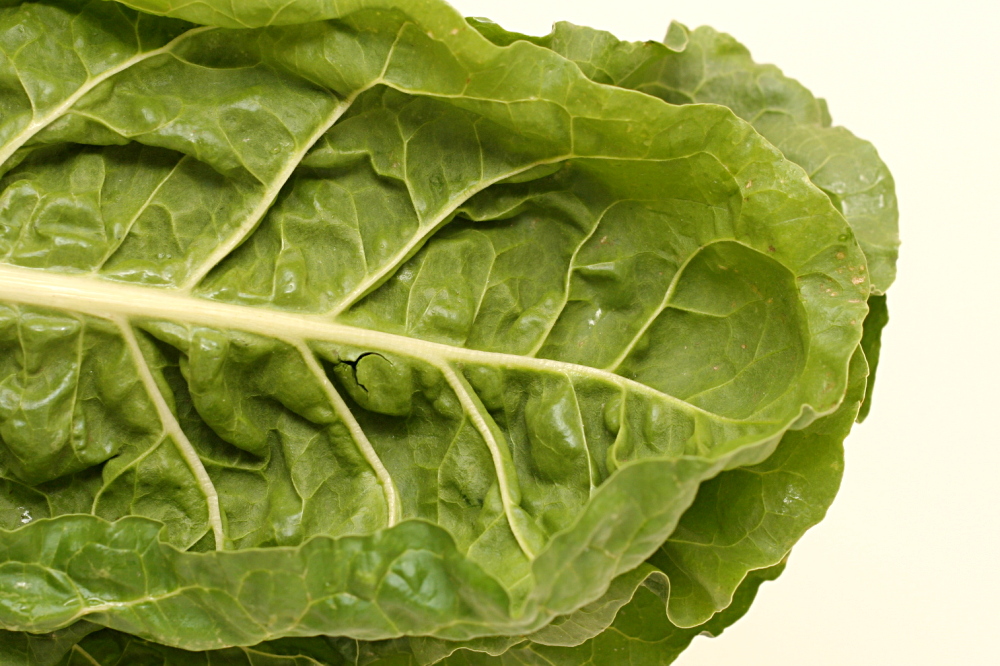
A year or two ago, I realized that I really like kale, and you might think that would lead me to believe I’d also enjoy other hearty greens, like swiss chard. But I had it in my head that swiss chard would be bitter and mushy. It took me a long time to convince myself to try it.

Risotto is a really good way to introduce new vegetables. For one thing, it’s so freakin’ good on its own, and the flavors go with a lot of different ingredients. For another, it makes a convenient side dish to a nice piece of meat, because it often incorporates both a starch and vegetables, so you only need to make one side instead of two.

Copy of IMG_6064

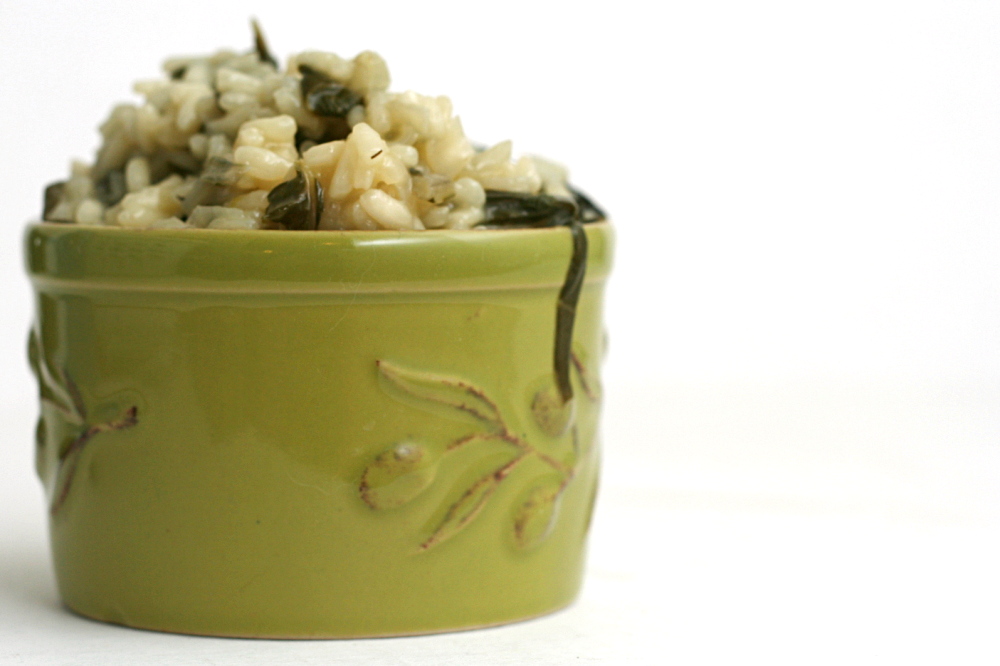
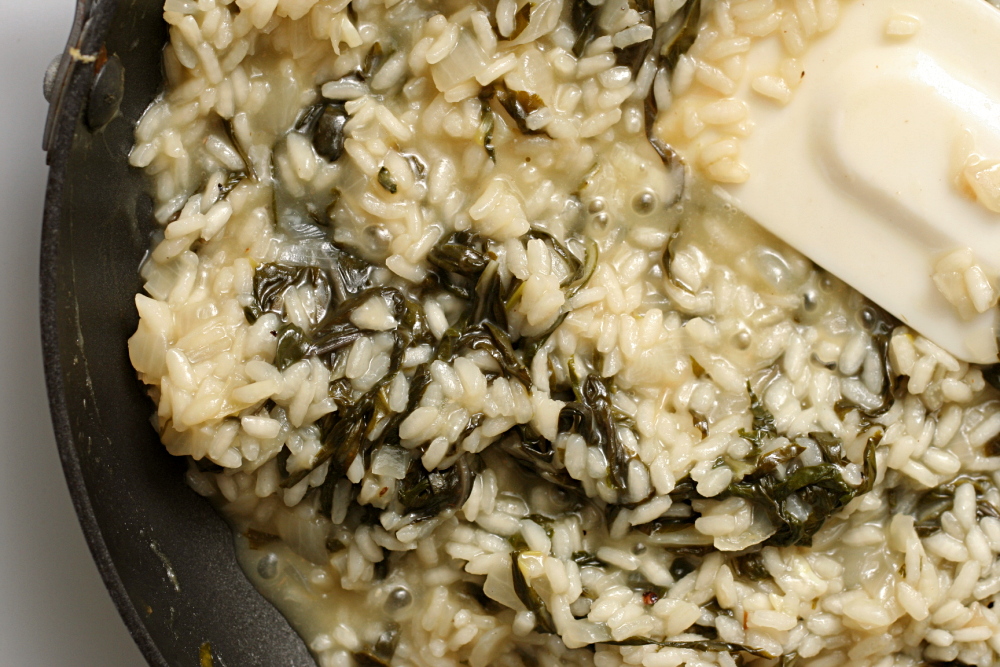
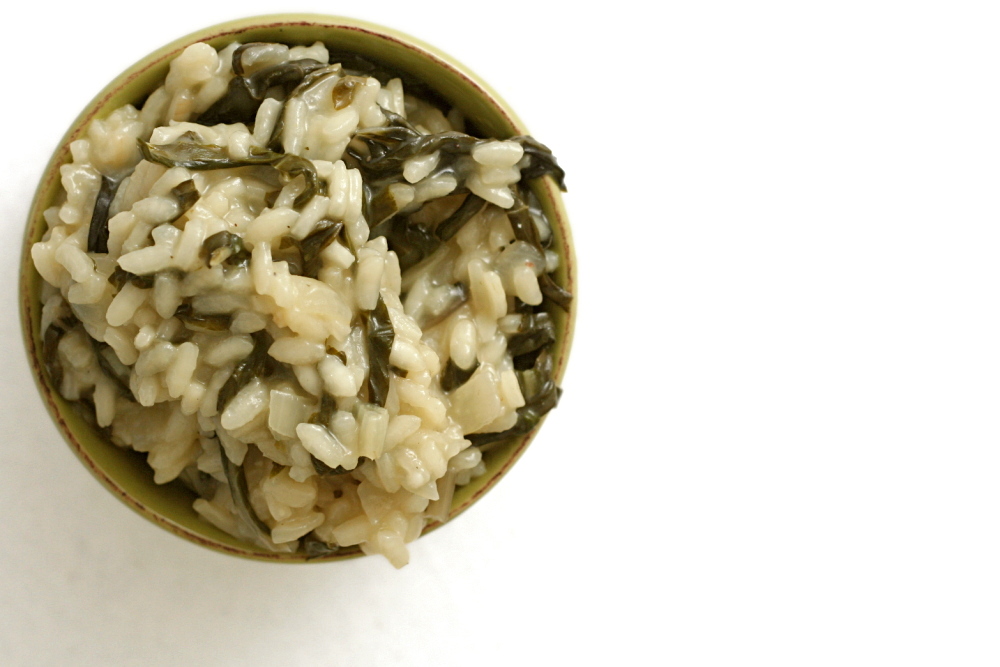
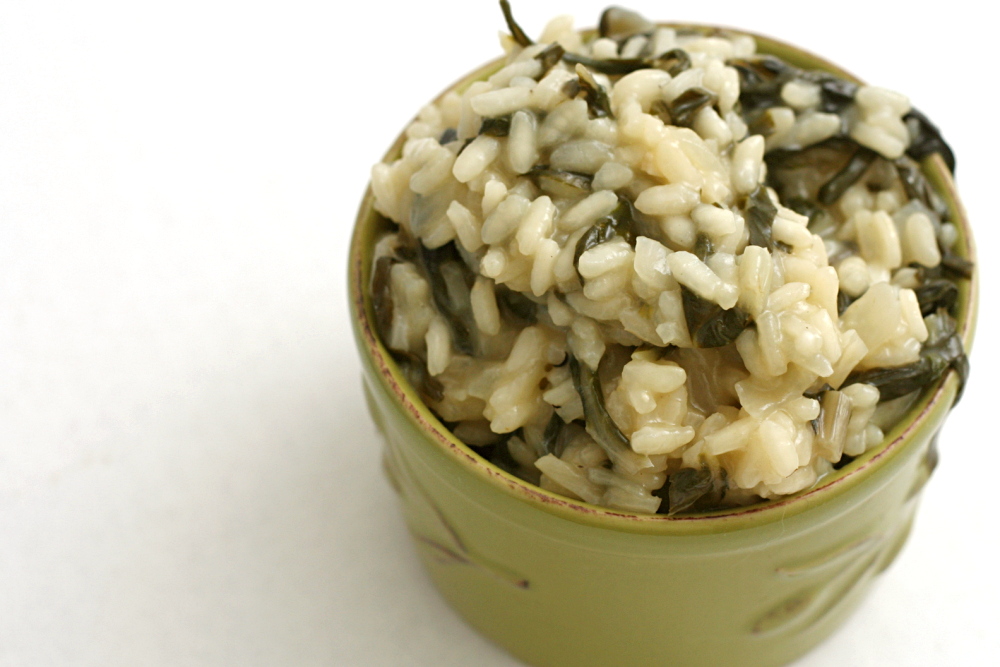
I did look at a recipe for risotto with swiss chard, but ultimately decided to just add chard to my standard risotto recipe. I tried adding it with the rice at first, but I was worried that it was overcooking, and even though the final result was actually very good, I had hoped to hold on to the bright green color that the chard turns midway through cooking. I tried again, this time adding the greens later, with the broth. And it made no difference that I could tell. Once cooked, chard turns a dark olive green, and there’s no getting around it.

Copy of IMG_6074

The earthiness of swiss chard goes really well with risotto. And one thing that’s satisfying about eating hearty greens like this is that they lose so much volume during cooking that I feel like it’s easy to eat a whole lot of greens! As usual, I’m glad I tried and managed to accept a new ingredient. Maybe raw oysters will be next?

Copy of IMG_6080

One year ago: Gazpacho

Printer Friendly Recipe
Risotto with Swiss Chard

6 servings

3½ cups low-sodium chicken broth
3 cups water
2 tablespoons olive oil
1 medium onion, diced fine
2 cloves garlic, minced
salt
2 cups Arborio rice
1 large bunch swiss chard, coarsely chopped (4-5 cups)
1 cup dry white wine
2 ounces (1 cup) parmesan cheese
pepper

1. Bring the broth and water to a simmer in a medium saucepan over medium-high heat. Cover; turn the burner off but keep the pot on the burner.

2. Heat the olive oil over medium heat until the foaming subsides. Add the onion and sauté until softened, about 5 minutes. Add the garlic and cook until fragrant, about 30 seconds. Add the rice, chard, and 1 teaspoon salt and cook, stirring constantly, until the rice is opaque, about 2 minutes. Add the wine and cook, stirring until the rice nearly completely absorbs all the liquid, about 1 minute.

3. Add 2 cups of the hot stock and stir occasionally until it’s mostly absorbed (the spoon will leave a trail on the bottom of the pan), about 6 minutes. Continue to add stock, 1 cup at a time, stirring frequently, until each addition is absorbed. Cook until rice is creamy but still somewhat firm in center (add more water in ½ cup increments if broth/water mixture runs out), 10 to 12 minutes longer.

4. Stir in the cheese. Season with salt and pepper, if necessary. Serve.

Copy of IMG_6079

vegetable curry

Copy of IMG_7904

I’m particular about cookbooks. I’ve gotten into the habit of buying one hopefully comprehensive cookbook per cuisine. It started with Julia Child’s Mastering the Art of French Cooking and Marcella Hazen’s Essentials of Classic Italian Cooking, then it was Corinne Trang’s Essentials of Asian Cooking, and most recently, Julie Sahni’s Classic Indian Cooking.

Copy of IMG_7885

The thing is, I’ve hardly made anything from any of these. I’ve barely even opened Indian Cooking since I got it for Christmas this year, and to be honest, I’m really not bothered by this. It makes me happy just knowing that I have them, and that someday, hopefully sooner rather than later, I’ll find the time and discipline to learn what I can from each one.

Copy of IMG_7889

In fact, I’ve only made a couple of Indian dishes ever, but that was all I needed to be convinced that I’ll love it; I enjoy the basic flavors and ingredients so much. One of my favorites is a vegetable curry dish from Cooks Illustrated, but every time I made it, I was surprised by how long it took. I wanted something simpler that I could reasonably make on a weeknight.

Copy of IMG_7892

Then I found a recipe for Aloo Gobi that had a lot of the same ingredients, except less of them, plus a simpler cooking method. It has potatoes in it, as does the CI recipe, but since I wanted to serve my curry mixture over rice, I decided that I could eliminate the potatoes. I also wanted this to be a one-dish meal, but the original didn’t have any protein. Exchanging the potatoes for chickpeas killed two birds with one stone.

Copy of IMG_7898

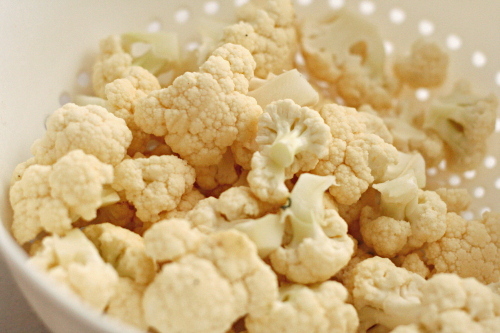
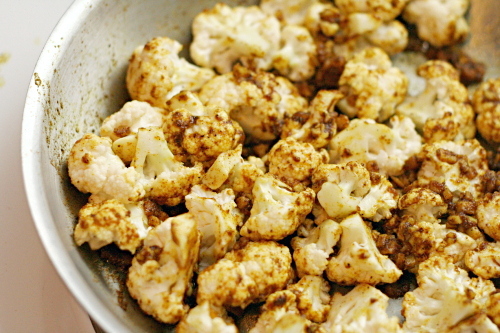
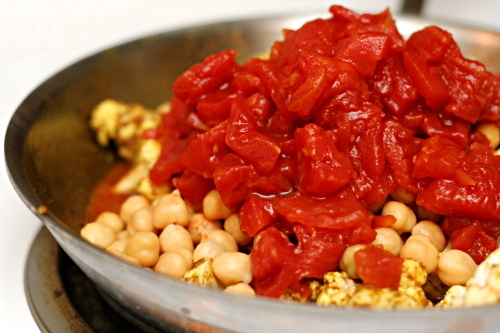
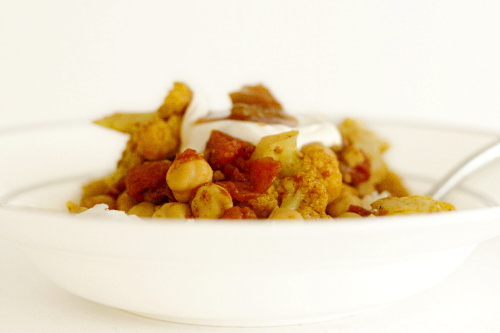
The recipe starts out with sautéing all sorts of delicious aromatics – garlic and ginger of course, but also spices, including curry powder and garam masala. Garam masala is seriously delicious stuff. It’s a blend, so brands will vary, but I’ve been perfectly happy with McCormick’s. Then I added cauliflower, which is my favorite vegetable, and then tomatoes and chickpeas. One ingredient I love after another. At the end, peas are stirred in.

Copy of IMG_7900

This was exactly what I was looking for. It has similar ingredients to the Cooks Illustrated recipe that I enjoyed so much, but it’s easy enough to make on a weeknight. Aloo gobi  has similar flavors, but this version has the right nutritional balance for a one-pot meal. I wonder how many more great Indian dishes I can discover by actually looking through a cookbook?

Copy of IMG_7905

One year ago: Grits, Onion, and Cheese Souffles

Printer Friendly Recipe
Vegetable Curry

Serves 3-4

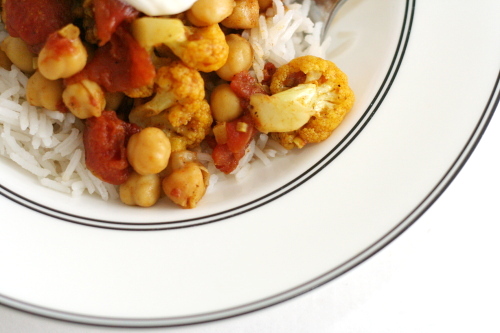
I love this over basmati rice (I like to put a cinnamon stick and some cloves in the pot with the rice cooks) and topped with mango chutney and plain yogurt.

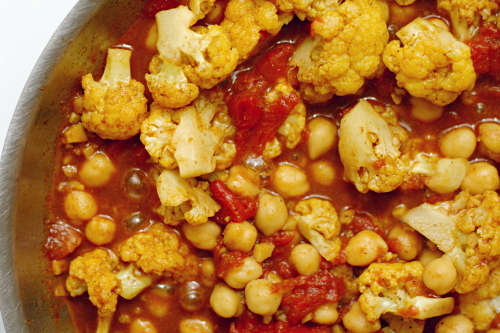
I didn’t have peas when I photographed this. Also, I used too much of the spices; the recipe below calls for less than I used, so if yours looks a little different from the pictures, that may be the reason.

1 tablespoon canola oil
1 tablespoon minced or grated ginger
3 large garlic cloves, finely chopped
1 teaspoons garam masala
2 teaspoons curry powder
Salt
½ medium head cauliflower, cut into small-medium sized florets
1 (15-ounce) can diced tomatoes
1 (15-ounce) can chickpeas, drained and rinsed
4 ounces (about ¾ cup) frozen peas

1. In a large skillet, heat the canola oil over medium heat. Add the garlic, ginger, garam masala, and curry powder. Cook until fragrant, 1-2 minutes, stirring constantly.

2. Add the cauliflower and toss to incorporate with the spices, then stir in ½ teaspoon salt, the chickpeas, and the tomatoes with their liquid. Cover the pan and simmer over medium heat for 10 to 15 minutes, until the cauliflower is tender, stirring occasionally. Stir in the peas, cover again, and continue simmering for 2-3 minutes, until the peas are heated through. Serve over rice, topped with plain yogurt and mango chutney, if desired.

Copy of IMG_7902

crispy bagel roll

copy-of-img_1619

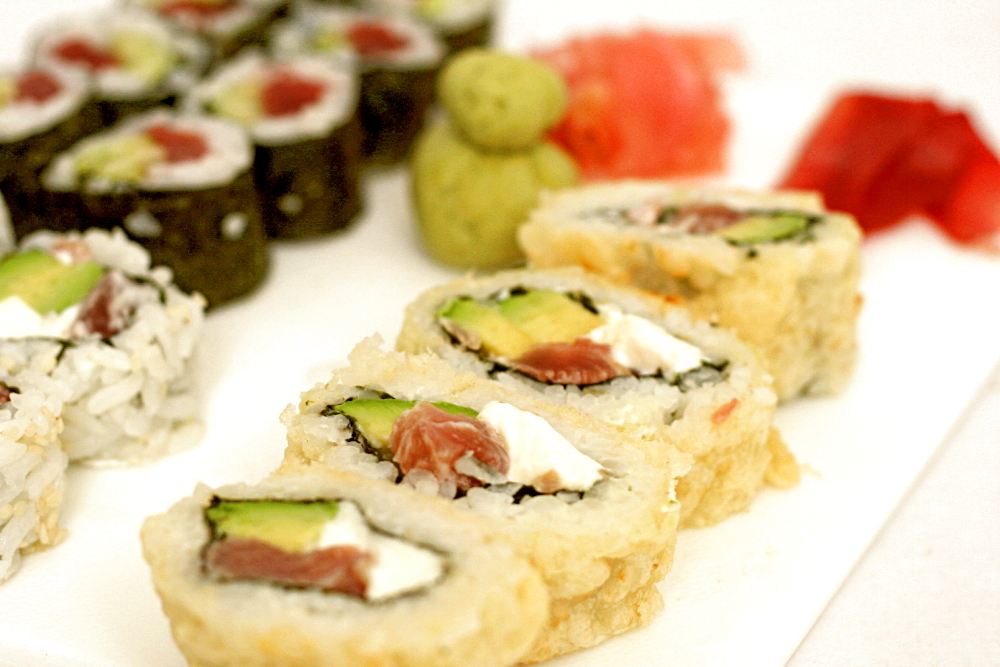
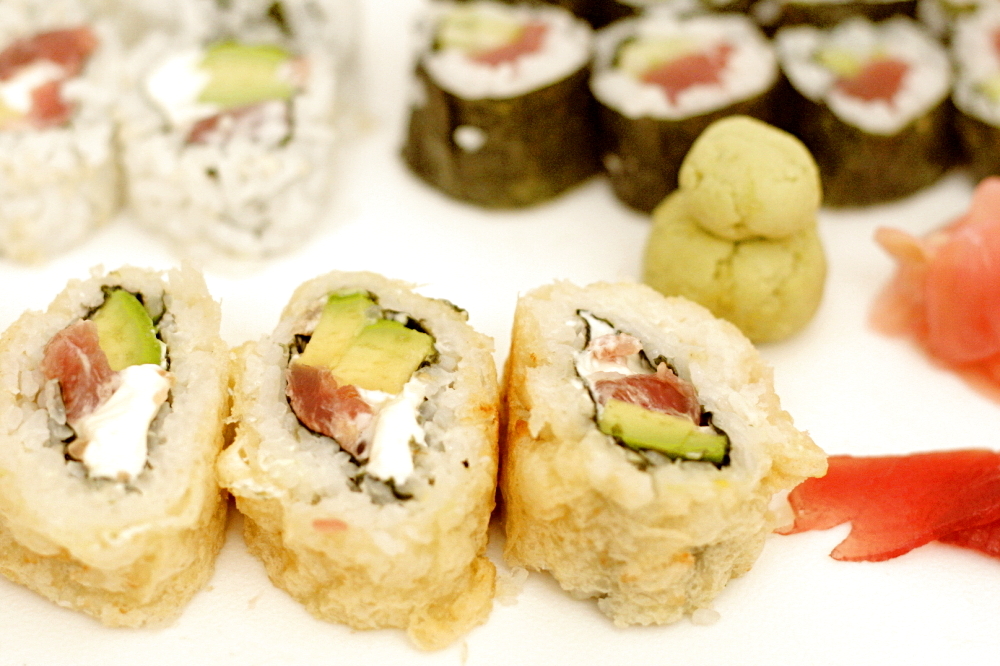
A third grader was telling me once about her favorite restaurant, and she said that it served “eggs and bagels and bacon and everything good.” That’s kind of how this sushi roll is – full of fish and cream cheese and avocado and everything good. And then it’s fried.

copy-of-img_1601

The first time Dave and I tried sushi, we were visiting friends, who took us to one of their favorite sushi restaurants. We ordered a crispy bagel roll, and it was so good! I haven’t found even one restaurant since then that serves anything similar. After almost two years of my friends mentioning that they went out for sushi and enjoyed the crispy bagel roll, I decided I’d have to try to re-create it at home.

copy-of-img_1602

I made sushi rolls a few times last year, and it wasn’t a disaster, but it was a lot of work, and I always ended up frustrated because my dull chef’s knife couldn’t cut through the nori. But since then, I’ve acquired a new knife and new inspiration from Jen, who makes homemade sushi seem so approachable.

copy-of-img_1605

Bagel rolls aren’t original to the restaurant I had them at, but recipes differ slightly. I looked up their menu and found that their version includes pretty much all of my favorite sushi ingredients – fish, cream cheese, avocado – everything good indeed. If I recall, they serve theirs with aioli, but I opted to just mix the mayonnaise with the fish before forming the roll.

copy-of-img_1606

And then there’s the “crispy” part. The rolls are delicious without frying, so if you want to stop here, be my guest! Making tempura batter, heating oil, and deep-frying the rolls adds a significant amount of work to an already labor-intensive meal. But it’s a fun way to give this roll a different flavor profile than a lot of other sushi rolls.

copy-of-img_1610

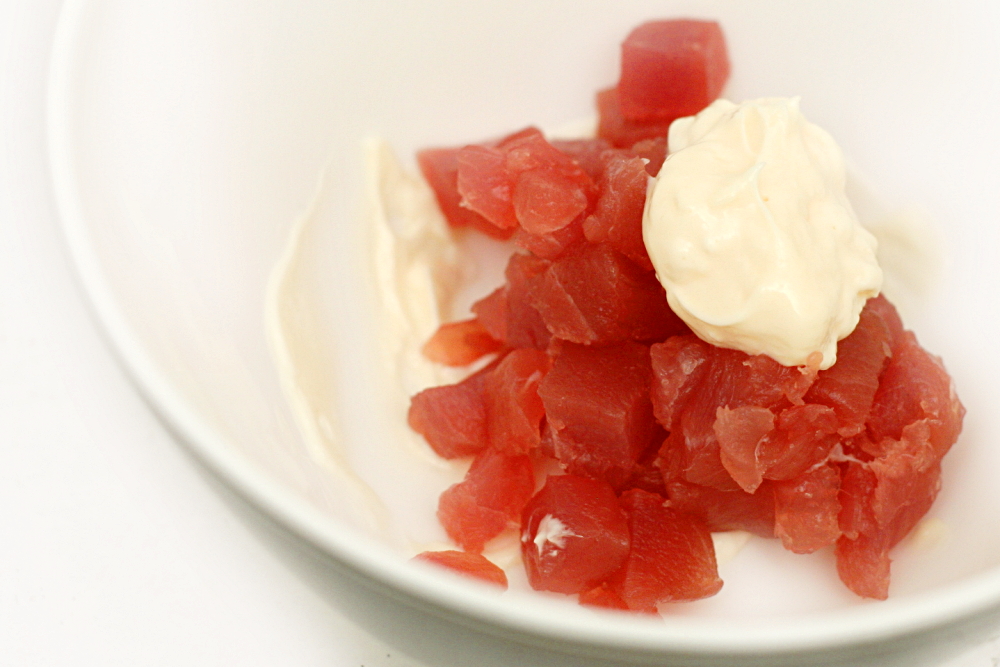
This roll lends itself especially well to being made at home, because it calls for smoked salmon, so there’s no worry about finding or working with quality raw fish. (Um, except that the pictures show tuna, because we love tuna. But smoked salmon makes more sense in this roll.) Plus, the roll is full of everything good. How can you go wrong?

copy-of-img_1614

One year ago: Olive Oil Bread

Bagel Rolls (rice recipe adapted from Alton Brown)

Unfortunately, I can’t share the tempura batter recipe I used because it’s I recipe I tested for Cooks Illustrated, and it isn’t published yet. However, I think this one would work fine. I fried the rolls until they were just slightly browned. I didn’t want the filling to cook, or even get warm really.

The only part of making homemade sushi that I haven’t nailed down is how much of the sheet of nori to use. The whole sheet is too much and ends up forming a spiral, but a half sheet isn’t quite enough to fit the fillings. I ended up using about 3/5 of the sheet and saving the scraps for sushi bowls.

Makes 4 rolls, serving 2 people

Rice:
1 cup sushi rice
1 cup water
1 tablespoon rice vinegar
1 tablespoon sugar
½ teaspoon salt

Filling:
4 (8- by 7-inch) sheets nori (see comments above)
4 ounces smoked salmon
1 tablespoon mayonnaise
1 avocado, sliced
2 ounces cream cheese
2 teaspoons sesame seeds

For serving:
Wasabi
Pickled ginger
Soy sauce

Rice:
Rinse rice and let drain for 30-60 minutes. (I often skip this without any huge loss in quality.)

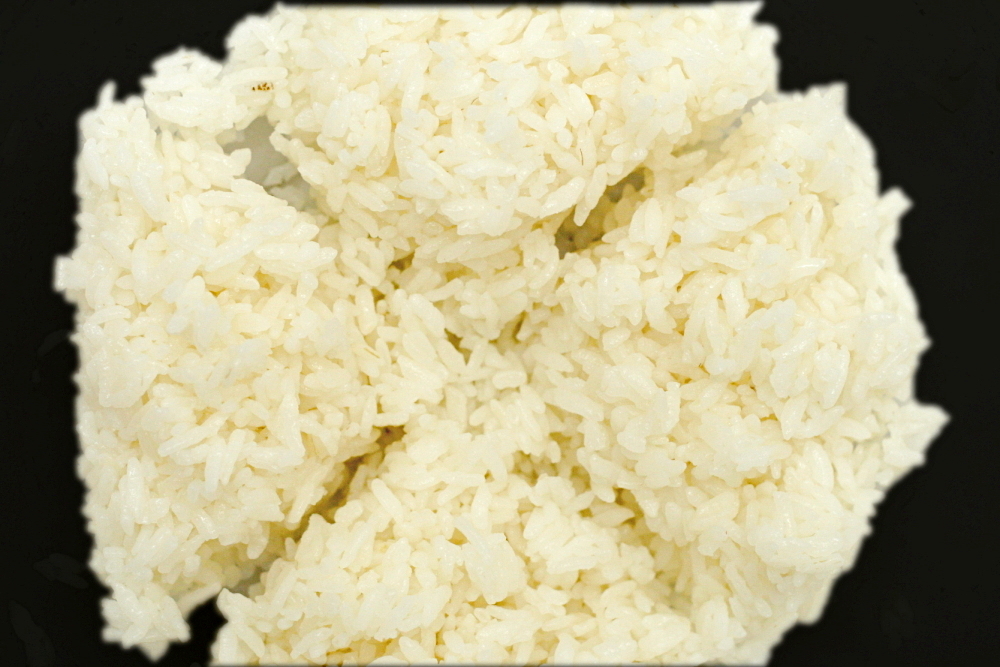
Place the rice and water into a medium saucepan and place over high heat. Bring to a boil, uncovered. Once it begins to boil, reduce the heat to the lowest setting and cover. Cook for 15 minutes. Remove from the heat and let stand, covered, for 10 minutes.

Heat the rice vinegar, sugar and salt (either in a small pot on the stove or in the microwave) until the sugar is dissolved. Transfer the rice into a large wooden or glass mixing bowl and add the vinegar mixture. Fold and cut thoroughly to combine and coat each grain of rice with the mixture. Fan until rice is near room temperature. Do not

Chop the salmon into approximately ⅛-inch pieces and mix it with the mayonnaise. Fill a small bowl with tap water and place it near where you’ll be doing the rolling.

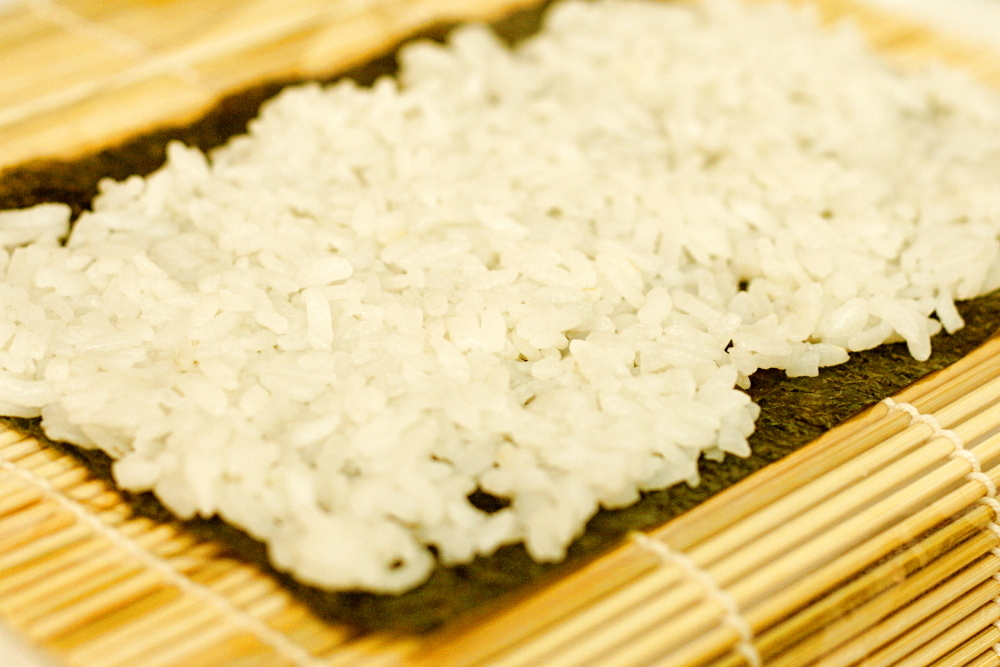
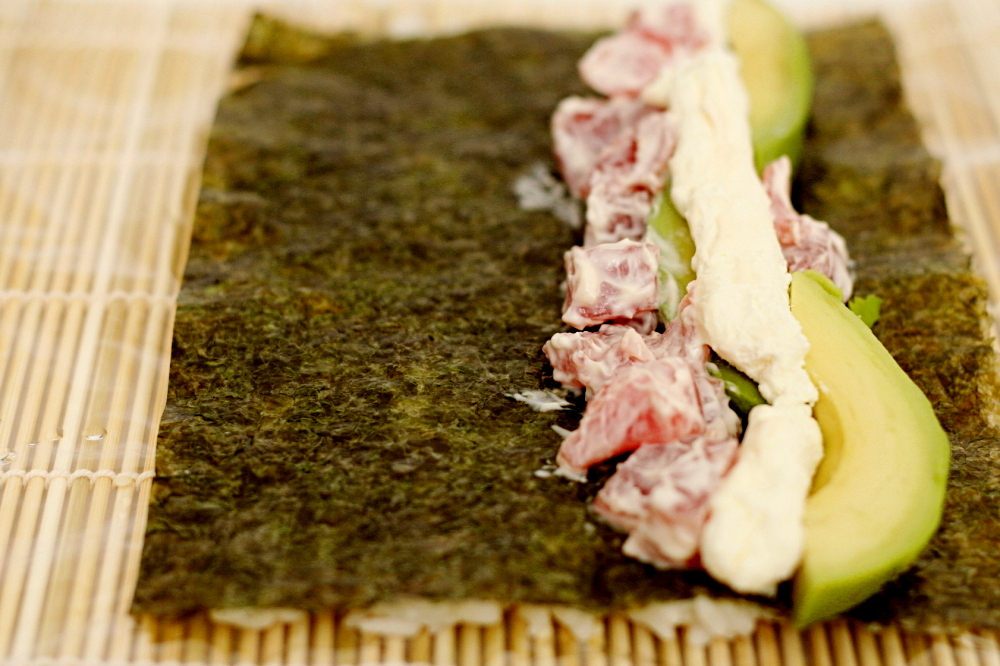
Lay a sheet of plastic wrap over a bamboo rolling mat. Lay 1 sheet of nori, shiny side down, on the plastic wrap. Wet your fingers with water and spread ¼ of the rice evenly onto the nori. Sprinkle the rice with ½ teaspoon sesame seeds. Flip the nori over so that the rice faces down onto the plastic wrap. Place ¼ of salmon mixture, the avocado, and the cream cheese in the middle of the nori. Use the plastic wrap to roll the nori and rice around the fillings, as tight as possible without squeezing the fillings out. Use the bamboo mat to shape and compact the roll. Leave the roll covered in the plastic wrap while you use the remaining ingredients to make three more rolls.

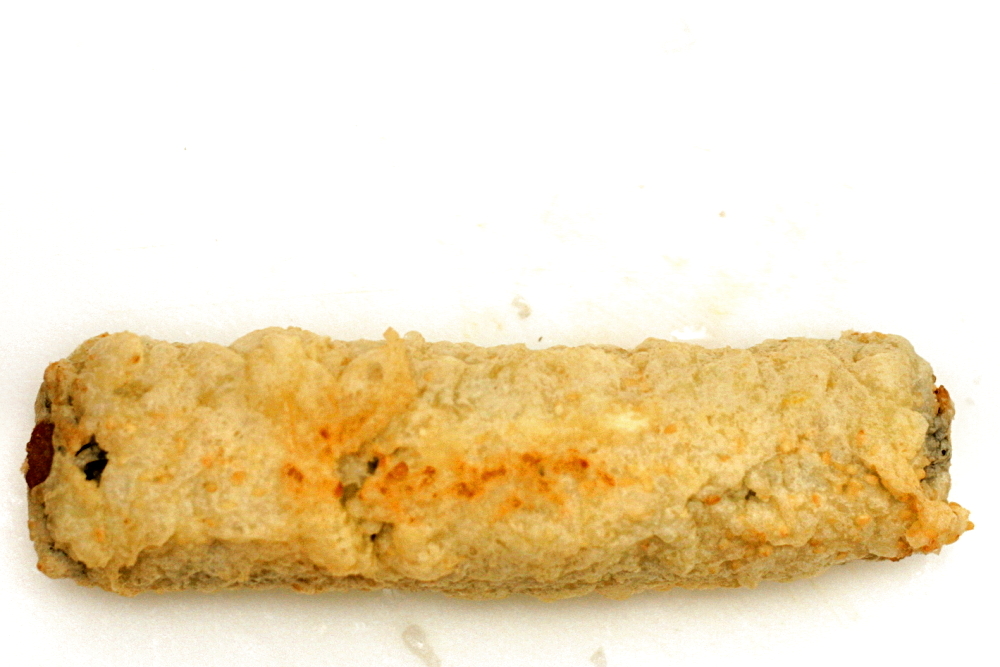
If you’re frying the sushi rolls: Heat 2-3 quarts of canola, vegetable, or peanut oil to 400C in a Dutch oven that holds at least 5 quarts. Remove the plastic wrap from a roll. Dip the entire roll into tempera batter. Fry one roll at a time for about 2 minutes, until the batter is firm and slightly browned. Drain on a cooling rack. Repeat with the remaining rolls, making sure that the oil is at 400 degrees before adding the next roll.

Remove the plastic wrap from the rolls (if you didn’t fry them). Cut each roll in half, then half again and again to make 8 pieces for each roll. Serve with wasabi, pickled ginger and soy sauce.

copy-of-img_1615

rice pudding

copy-of-img_8780

I thought Tuesdays with Dorie was going to mutiny this week. Isabelle chose rice pudding for us to make, but the recipe has a mistake in it regarding the cooking time, and Dorie was traveling without an internet connection and wasn’t able to give us a heads up until many of us had already had frustrating experiences.

copy-of-img_8720

Even worse, the recipe was suspicious from the beginning. Dorie uses just ¼ cup of rice to thicken 3¼ cups of milk, far less rice than most rice pudding recipes use. Plus, the instructions actually say that the pudding will be thin when it’s taken off of the stove, but it’ll thicken once it chills. I don’t think Dorie meant that it should be quite this thin.

copy-of-img_8674

Unsurprisingly, my “pudding” never thickened. I left it in the fridge for two days, too irritated to think about it, until I realized that I could just put it back on the stove and try cooking it longer and maybe it would thicken. And eventually it did. Once Dorie was able to let the group know about the typo, I realized that the cooking time was indeed supposed to be longer than what the book says.

copy-of-img_8713

In the end, the rice pudding was pretty good. I wouldn’t say that it was any better or worse than the only other time I’ve had rice pudding. At least there was chocolate this time.  Rice pudding just isn’t really my thing though. I kept thinking to myself, “why is there rice in my pudding?” Dave wondered why anyone would eat rice pudding when they could be eating tapioca pudding. He has a good point.

Isabelle has posted Dorie’s rice pudding recipe. Keep in mind that you’ll need to cook it for 55 minutes or so, until the texture is pudding-like. The ratio of rice to milk does work.

copy-of-img_8785