brown rice

I thought I’d already nailed my favorite brown rice recipe, but over time, I found myself not using it. There were two issues I was having.  One was that it takes an hour and a half, and I don’t have that kind of foresight on an average weeknight.  The other problem is that it starts on the stovetop and is transferred to the oven, which sounds simple enough, but I could never remember the cooking times and didn’t want to check a recipe for a basic side dish.  I have too much else to do and think about; rice can’t be complicated.

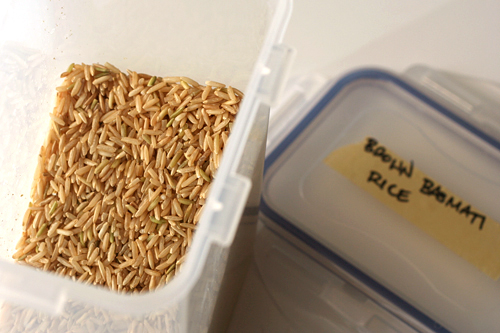
In the comments of that baked brown rice post, I was pointed toward a recipe for rice cooked like pasta. Also, Stacy recommended basmati brown rice over other varieties, claiming that it’s more fragrant and flavorful. Because the nutty scent of white rice is one of my favorite aspects of it, I was eager to try any trick to get that experience with brown rice.

This worked. The basmati rice smells sweet and nutty while it boils, exactly how white rice smells while it steams. And the best part is that it’s so simple to make that even I can get it done on an average weeknight.  That means we’ve pretty much eliminated another refined grain from our diets, with very little compromise in terms of effort or flavor.

One year ago: Chicken Fajitas
Two years ago: Anadama Bread
Three years ago: Sichuan Green Beans

Printer Friendly Recipe
Brown Rice
(adapted from Saveur via Pinch My Salt)

This recipe can be scaled up or down as much as you want.

8 cups water
1 cup rice, rinsed
2 teaspoons salt

Bring the water to a boil over high heat. Add the rice and salt; reduce the heat to medium and simmer uncovered, stirring occasionally, for 30 minutes. Drain the rice in a strainer and return it to the pot, off the heat. Cover tightly and let set for 10 minutes. Fluff with a fork; serve.
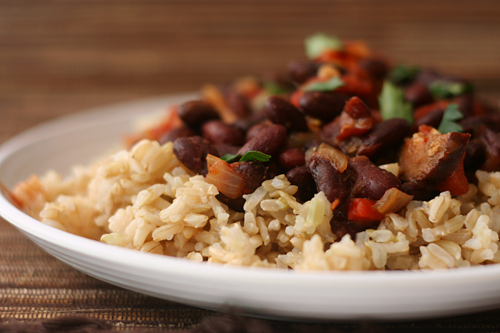
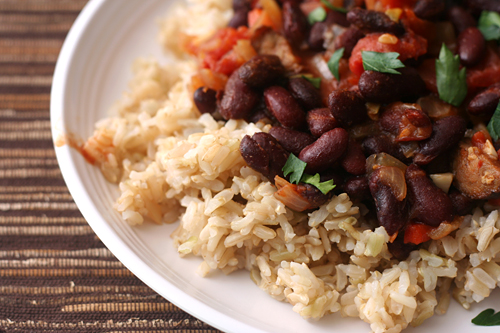
(This is Red Beans and Rice.)

fettuccine alfredo

I am healthy. I am not perfect. But I am thin. I am fit. And I’m tired of holding myself up to an impossible standard.

I eat more fruits, vegetables, and whole grains than anyone I know. I exercise regularly. I don’t drink alcohol on weekdays. My lifestyle now is healthier than has it ever been.

And yet it is not enough. Not enough to feel confident in a bathing suit, not enough to lose this bit of pudge around my belly, maybe not enough to balance my slowing metabolism.

I’ve spent most of my life convinced I should exercise harder or more intensely, I should eat as healthy on weekends as I do on weekdays, I shouldn’t eat until I’m overfull. I should be perfect, or at least perfecter than I am now.

It will never happen. It isn’t worth it to me. I won’t give up baking or the batter-eating that accompanies it, I won’t give up sharing a bottle of champagne with Dave on Sunday afternoons, I won’t give up the too many hobbies that keep me from longer workouts, I won’t give up eating sushi rolls until I nearly burst, I won’t give up pasta, I won’t give up butter, I won’t give up cream.

Instead, I will give up bikinis. I will give up pants that don’t quite fit. I will give up guilt. I will not eat differently than I do now, but I will stop believing I should.

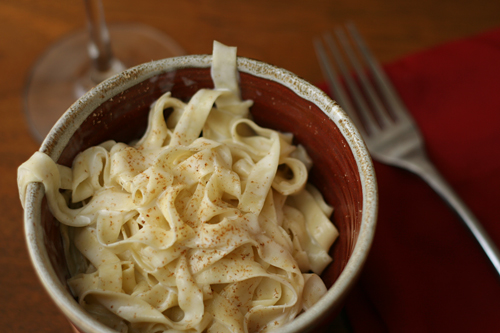
I am healthy. I am thin. I am fit. And I can eat pasta coated in cream and still be all of those things. I will never give up pasta and cream, but I will give up feeling bad about myself for eating it.

One year ago: Oatmeal Raisin Muffins
Two years ago: Crispy Bagel Roll
Three years ago: Fish Tacos

Printer Friendly Recipe
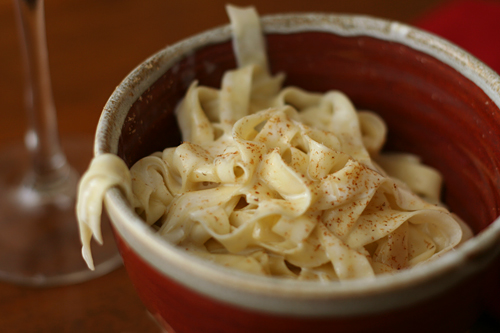
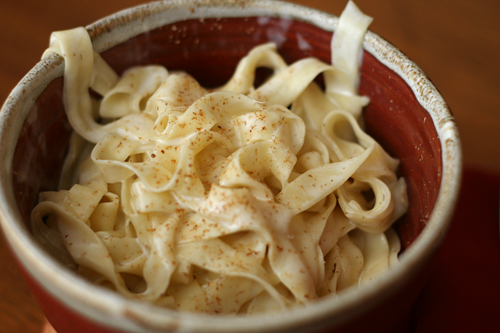
Fettuccine Alfredo
(from Cooks Illustrated’s The New Best Recipe)

6 appetizer servings

I’ve reproduced Cooks Illustrated’s recipe exactly below. But, in step 1, I found I needed to heat the cream-butter mixture over higher heat (medium-low to medium) for the cream to simmer.

To heat the bowls, either put them in a warm oven for a few minutes or ladle some of the hot pasta water into the bowls; leave the water in the bowl while you mix the pasta and sauce.

1⅔ cups heavy cream, preferably not ultrapasteurized
5 tablespoons unsalted butter
Salt
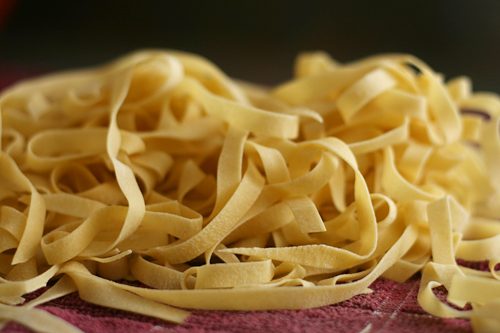
1 recipe fresh egg pasta, cut into fettuccine (below)
2 ounces (1 cup) parmesan cheese, freshly grated
Ground black pepper
Pinch freshly grated nutmeg

1. Bring 4 quarters water to a rolling boil in a large pot.

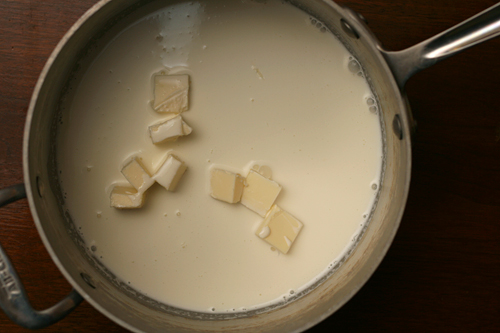
2. Combine 1⅓ cups of the cream and the butter in a sauté pan large enough to accommodate the cooked pasta. Heat over low heat until the butter is melted and the cream comes to a bare simmer. Turn off the heat and set aside.

3. When the water comes to a boil, add 1 tablespoon salt and the pasta to the boiling water and stir to separate the noodles. Cook until almost al dente. Drain the pasta and add it to the sauté pan. Add the remaining ⅓ cup cream, the parmesan, ½ teaspoon salt, pepper to taste, and the nutmeg. Cook over very low heat until the sauce is slightly thickened, 1 to 2 minutes. Serve the fettuccine immediately in heated pasta bowls.

Fresh Egg Pasta (adapted from Cooks Illustrated)

You can mix this in the food processor, but for me, it’s easier to mix two ingredients by hand than it is to wash the food processor (even in the dishwasher).

You can also use store-bought pasta dough instead of making your own. You’ll need a pound for the amount of sauce in the alfredo recipe.

2 cups (10 ounces) all-purpose flour
3 eggs

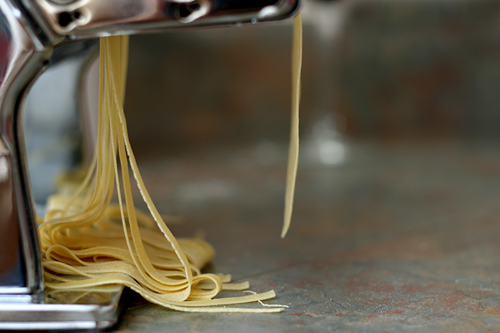
1. Measure out the flour into a large bowl. Make a well in the center and add the eggs. Use a fork to break up the eggs slightly. Use a rubber spatula to mix the eggs into the flour until the dough is smooth. If it’s sticky, knead in more flour. If it’s too dry to mix in all the flour, knead in water ½ teaspoon at a time until the dough comes together.

2. Divide the dough into 6 portions. Spread dry kitchen towels under the pasta roller and over the counter. Set the pasta machine at its widest opening. Working with one portion of dough at a time and keeping the others covered, roll the dough through the pasta roller. Fold it in thirds like a letter and roll it through the wide setting again. Repeat four more times, adding flour as needed to prevent the dough from sticking to the machine.

red pepper risotto

This was one of the first recipes I ever made from the Food Network. Back before I had cable, I’d heard of a lot of the chefs, but I hadn’t seen any of their shows myself. Once when I was traveling, the hotel had cable, and I was transfixed.

I still remember the first shows I saw. Alton Brown, making tomato sauce; Rachael Ray, making crab salad served on endive leaves; and Emeril, making bagna cauda, red pepper risotto, beef in Barolo, and chocolate chestnut mousse. As soon as I got home, I invited a group of friends over for dinner and made the entire menu from Emeril’s episode. I even wrote reviews on the site later, the only I’ve ever written.

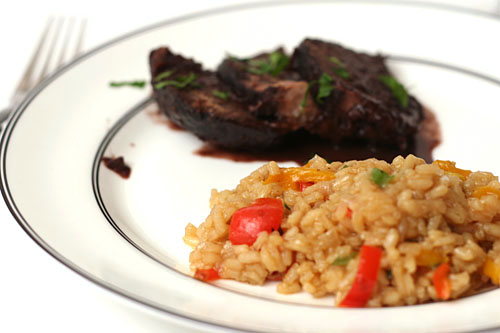
It was the first risotto I’d ever made and is still my go-to risotto recipe. It’s actually a very standard risotto – sweat onions, toast Arborio, evaporate wine, gradually add broth, stir in parmesan. I’ve tried other methods, but this one is my favorite. It’s perfectly adaptable too – I’ve added peas and leafy greens, but I still think the peppers are the best addition, especially if the risotto is being used to soak up delicious beef in Barolo juices.

One year ago: Steak au Poivre
Two years ago: Sausage Apple Hash

Printer Friendly Format
Risotto with Sweet Peppers (adapted slightly from Emeril)

6 cups chicken stock
1 tablespoon olive oil
1½ medium red bell peppers, seeded and diced
1½ medium yellow bell peppers, seeded and diced
2 tablespoons butter
½ onion, finely chopped
1 clove garlic, minced
1½ cups arborio or carnaroli rice
½ cup dry white wine
2 sprigs fresh thyme
4 scallions, green parts only, thinly sliced
1 teaspoon salt
½ teaspoon fresh cracked white pepper
1 cup grated Parmigiano-Reggiano

1. In a small saucepan, bring the stock to a simmer. Remove from the heat and cover to keep warm.

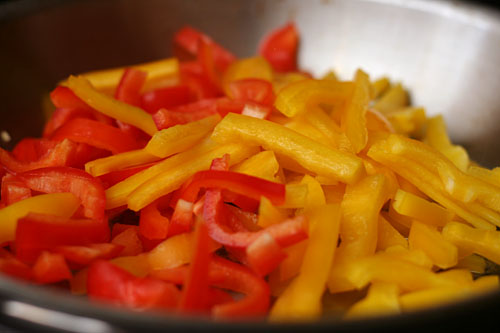
2. In a large skillet, heat the oil over medium-high heat. Add the peppers and cook, stirring frequently, until cooked through but still slightly crunchy, about 5 minutes. Remove from the heat and set aside.

3. In a large heavy saucepan, heat the butter over medium-high heat. Add the onions and cook, stirring, for 2 minutes. Add the garlic and cook until fragrant, about 30 seconds. Add the rice and cook, stirring constantly, until opaque, 2 minutes. Add the wine and cook, stirring until the rice nearly completely absorbs all the liquid, about 1 minute.

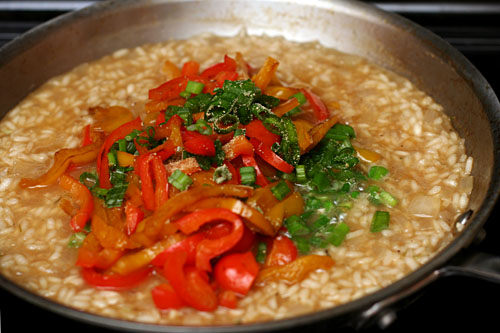
4. Reduce the heat to medium and stir in the thyme. Add 1½ cups of the hot stock, and cook, stirring frequently. Cook the risotto, adding more stock 1 cup at a time as it is absorbed, about 20 minutes total cooking time. Stir in the green onions and cooked bell peppers after 15 minutes cooking time. Season the risotto with 1 teaspoon of salt and white pepper. The rice should be slightly al dente.

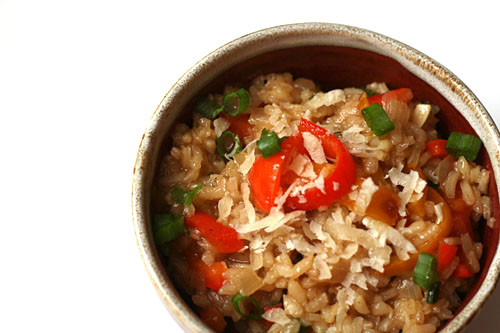
5. Remove from the heat. Discard the thyme sprigs. Add the cheese, and stir well to mix. Adjust the seasoning, to taste, with salt and pepper. Serve immediately.

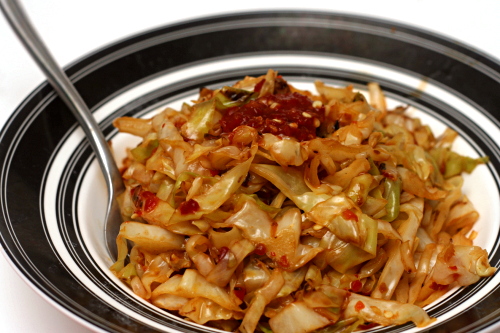
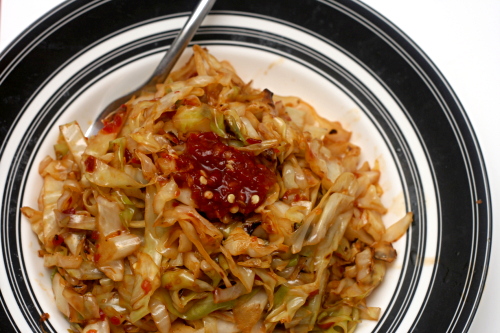
sauteed cabbage with hot sauce

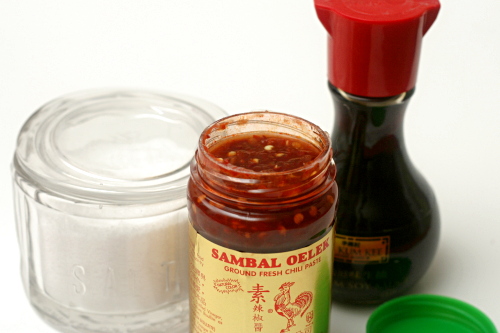
I don’t know what convinced me to save this recipe. It’s just cabbage. I didn’t even know what sambal oelek was. Molly certainly doesn’t give it the most raving recommendation.

I’m so glad I did though, because I got to see this line again: “…sometimes, when I sit very still and let my mind go to the places where it goes when I don’t stop it, I miss those days so much.” I want to read that over and over. I have read it over and over.

What days am I missing so much?  Does it even matter?  I can think of a few in particular, but there are so many times that I wouldn’t mind going back to visit.  Maybe someday I’ll look back on today and miss it so much.

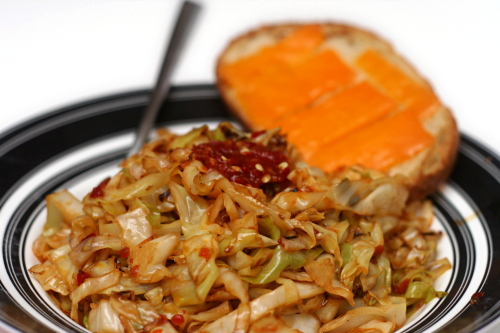
Fortunately, the cabbage is worth making not just because it accompanies a beautiful blog entry, but because of its flavor and ease. A few simple ingredients provide a salty spicy savory mix to what starts as a rather bland vegetable. Sometimes I miss this cabbage so much.  But then I just go make some more.

One year ago: Applesauce Snack Cake (Don’t let fall pass you by without making this!)
Two years ago: Green Chile Rellenos

Printer Friendly Recipe
Spicy Sautéed Cabbage (adapted from Orangette)

All of the ingredient amounts in this simple recipe will vary depending on your taste and the size of your cabbage.

½ head green cabbage, quartered, cored, and sliced into ¼-inch-thick ribbons
1 tablespoon canola oil
¼ teaspoon salt
1-3 teaspoons sambal oelek
1 tablespoon soy sauce

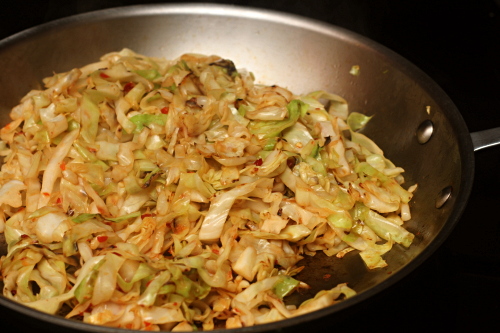
Heat a 12-inch not-nonstick skillet over medium-high heat. Meanwhile, in a large bowl, mix the cabbage, oil, and salt. Add the cabbage mixture to the hot skillet and cook without stirring for 1 minute. Stir in the hot sauce and continue cooking, stirring occasionally, until the cabbage is browned and wilted. Stir in the soy sauce; taste for seasoning, adding additional salt or soy sauce if necessary; serve.

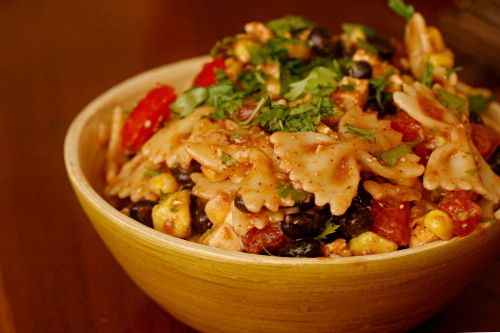
taco pasta salad

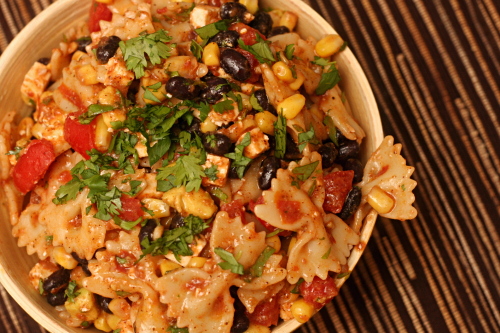
My inclination to overthink was very clearly exhibited with this recipe. I’ve heard approximately eight thousand raving reviews of this pasta salad. And still, I doubted. Salsa mixed with pasta? Cheddar cheese in pasta salad? I wasn’t convinced.

I asked Cara for advice. Really? Salsa? She said she never thinks twice about it, because this dish is always a hit. Shredded yellow cheese? Yes, she said. Stop asking questions and just go make it, she probably wanted to say.

I started slowly, adding only a third of the salsa called for, thinking I’d just mix in extra fresh tomatoes and some red onions and a jalapeno separately if I didn’t like the salsa. And then I realized – yes, salsa mixed with pasta. And I stirred in the rest of the salsa.

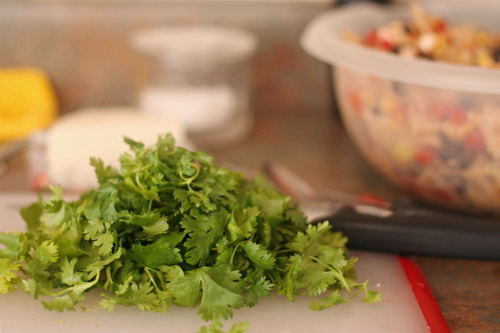
Right after those two ingredients were mixed is when I started nibbling. And then I added black beans… cilantro… avocado… tomatoes… cheese… corn… dressing… and I just kept nibbling and nibbling as I went. And the salad just kept getting better and better.  Forget instincts. I should just trust the recipe.

One year ago: Risotto with Swiss Chard
Two years ago: Gazpacho

Printer Friendly Recipe
Taco Pasta Salad (adapted slightly from Cara’s Cravings)

Serves 8-12

Apparently there’s no wagon wheel pasta in my little town. Bowties worked just fine.

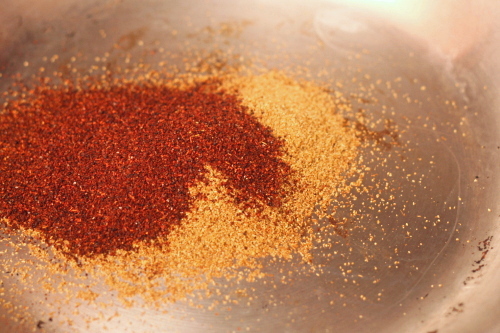
I toasted the spices before mixing them into the dressing. Just heat a small not-nonstick pan over medium heat for a few minutes, then add the spices and stir them around just until they start to smoke, no longer than a minute.

1 pound wagon wheel pasta
salt
1 (10-ounce) package frozen corn
1½ cups salsa
1 (15-ounce) can black beans, drained and rinsed
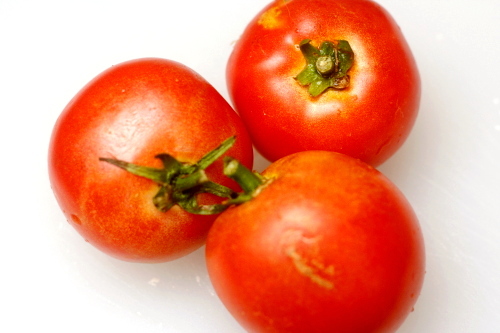
2 medium tomatoes, diced
½ cup chopped fresh cilantro
8 ounces (2 cups) shredded cheddar cheese
3-4 tablespoons lime juice
1 large (or 2 small) avocado, peeled, seeded, and diced
1 tablespoon cumin
2 teaspoon chili powder
¼ teaspoon freshly ground pepper
2 garlic cloves, minced
¼ cup olive oil

1. Bring a large pot of water to a boil. Add 1 tablespoon salt and the pasta. Cook according to the package directions. Drain; stir the frozen corn into the pasta to cool the pasta and defrost the corn. Stir the salsa into the pasta and corn, then add the beans, tomatoes, cilantro, and cheese.

2. Squeeze the lime juice into a small bowl and add the avocado; stir to coat the avocado. Remove the avocado from the lime juice and stir it into the pasta mixture. Add the spices, garlic, and ½ teaspoon salt to the lime juice, then slowly whisk in the oil. Stir the dressing into the salad. Serve immediately or chill for up to 1 day (longer if you don’t add the avocado).

grilled corn salad

It’s green chile season! My sister recently told me that, for her, fall in New Mexico means green chiles roasting, the state fair, and the Balloon Fiesta. Fall isn’t so bad out here, even without rolling hills of trees that turn brown, red, pink, maroon, orange, yellow. I will miss the crisp air, pumpkins, apples, and chill days of fall on the East coast, but when I was out there, I missed green chile. So I win either way.

The only problem is that I tend to get into a hoarding pattern with my annual green chile supply. I buy them every fall when they come into season, roast them, and freeze them to last until the following September. And then, aside from the occasional huevos rancheros, I mostly ignore them, because what if I run out? This is a mindset I’m determined to get out of. Not only is that not the kind of life I want to lead, but, as Jen warns, they seem to get hotter as they’re frozen for longer periods.

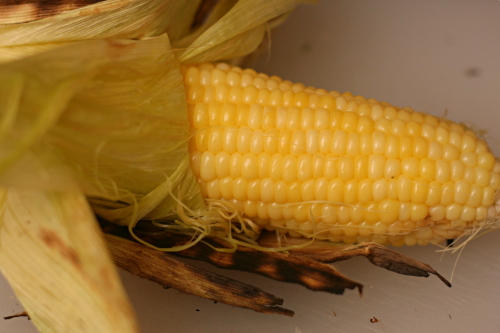
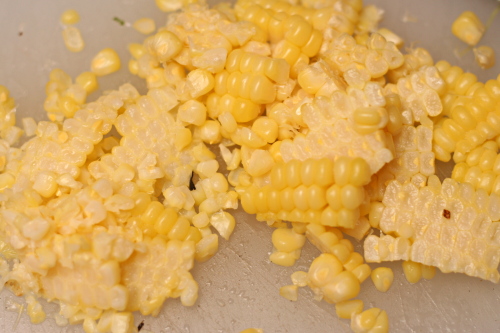
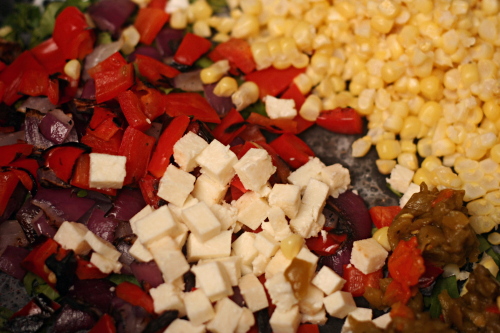
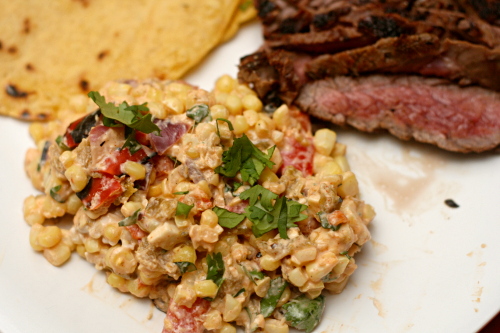
This corn salad doesn’t even call for green chile, but I had some leftover from the previous day’s burgers, so I went ahead and added them. They’ve been in the freezer for about a year, and maybe that’s why the dish ended up so, um, kind of painful to eat, actually. The heat was somewhat dulled by the dairy in the recipe, and once I smooshed the corn into a tortilla with some flank steak, it was downright edible. Not that the corn even needed extra flavor, what with having been grilled and mixed with chili powder, cilantro, lime juice and salty cotija. But I need to use up some of these chiles in my freezer to make room for the new crop!

One year ago: Pickled Coleslaw
Two years ago: Sausage and Red Pepper Hash

Printer Friendly Recipe
Grilled Corn Salad (from Bobby Flay via Savory Spicy Sweet)

I used a not-nonstick skillet on the stove instead of a cast iron pan on the grill, and I substituted greek yogurt for the crème fraiche. And I added an ounce or two of very spicy diced Hatch green chiles, plus some diced red pepper and red onion.

8 ears fresh corn, silks removed, husk on, soaked in cold water 30 minutes
canola oil
salt and freshly ground black pepper
¼ cup creme fraiche
2 limes, juiced and 1 zested
1 tablespoons ancho chili powder
¼ cup chopped fresh cilantro leaves
¼ cup grated cotija cheese

1. Heat grill to high. Grill corn until charred on all sides, 10 or so minutes. Take off the grill and remove the kernels with a sharp knife. While you are cutting the corn, put a cast iron skillet on the grill to heat.

2. Add the corn and the remaining ingredients to the hot pan and cook, stirring occasionally, until creamy and heated through. Serve.

rice and peas

Side dishes aren’t my strong suit. I often find myself googling dorky things like “what to serve with Jamaican jerk chicken?” Rice and peas kept coming up, and I kept bypassing it. Who wants green peas mixed with plain white rice?

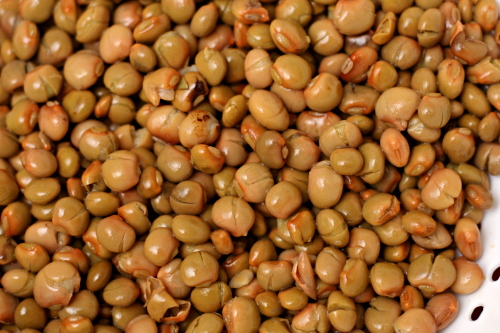
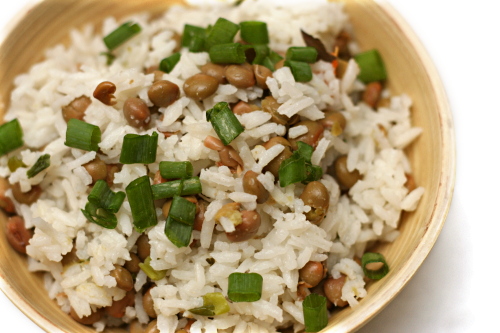
It turns out, of course, that rice and peas is nothing of the sort. Peas, in the Jamaican way, are beans. I was fortunate enough to find pigeon peas at my store (another reason to stop complaining about my grocery store), but red beans work too.

Rice and peas, then, is rice and beans cooked in coconut milk with thyme, green onions, and a spicy chile. The chile isn’t minced and eaten; it’s left whole and removed after cooking, so it adds just a hint of heat, which really does make this the perfect side dish for spicy jerk chicken. Thanks, Google!

Two years ago: Croque Madame

Printer Friendly Recipe
Rice and Peas

1 tablespoon vegetable oil
1 cup long-grained white rice
1 clove garlic, minced
½ cup coconut milk
1 cup water
½ teaspoon salt
½ teaspoon dried thyme
1 (15-ounce) can pigeon peas (or red beans), drained and rinsed
1 habanero chile, whole
2 green onions, chopped, plus extra for garnish

1. In a medium heavy-bottomed saucepan, heat the oil over medium heat until shimmering. Add the garlic and rice; cook, stirring constantly, until the rice is translucent at the edges and the garlic is fragrant, about 1 minute. Add the remaining ingredients. Stir once, increase the heat to medium-high, and bring to a simmer. Once the mixture simmers, reduce the heat to the lowest heat.

2. Cook for 15 minutes, then, without removing the lid or moving the pot, turn off the heat and let the rice sit for another 15 minutes. Remove the chile pepper, fluff the rice with a fork, and serve, topping with additional green onions.

grilled artichokes

When it comes to groceries, I’m not particularly thrifty. I don’t know if my old grocery store (the much-missed Wegman’s) even had sales, and if they did, it wasn’t on anything I was buying. I see more sales at my new grocery store; I don’t plan my shopping around them, but I can’t always resist them either.

Fresh artichokes for 69 cents each! That is a deal that is not to be passed up, especially when I was keeping an eye out for some fancy sides to compliment my celebration lamb.

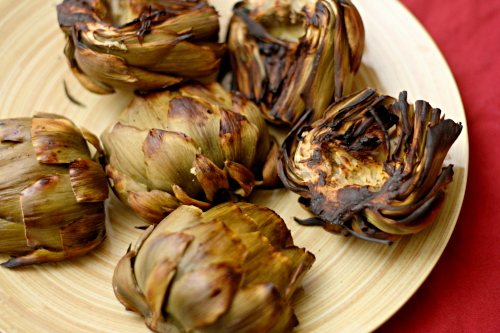
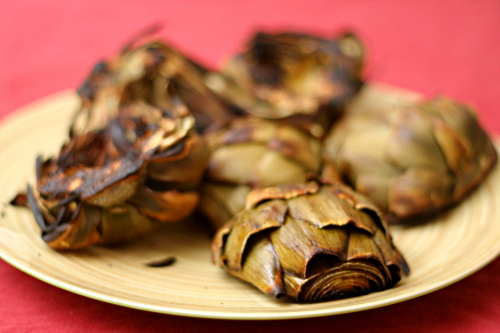
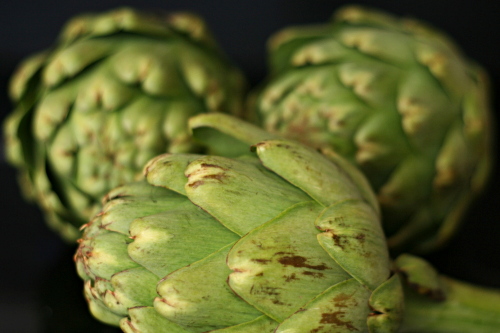
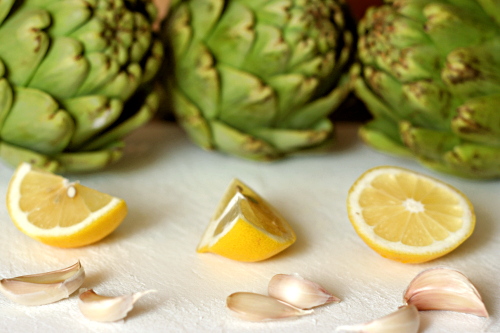
When Dave and I grill, we like to cook the whole meal on the grill, so I definitely wanted to grill the artichokes. Katie’s recipe uses the perfect approach, because the artichokes are steamed in foil packets first, and then unwrapped and seared over a hot flame. The artichokes end up both perfectly tender and decorated with beautiful grill marks.

Artichokes aren’t as time-consuming to prepare as I used to think, but they’re still pretty messy to eat. You remove individual leaves and scrape the meaty edible part off with your teeth, until you get to that delicious heart. Artichokes are good on their own, but they’re even better with a decadent dipping sauce; we used the sauce that was served with the lamb. It made a perfect compliment to perfect artichokes that accompanied a perfect meal.

Two years ago: Asparagus and Arugula Salad with Cannellini Beans

Grilled Artichokes (adapted from Good Things Catered)

Katie added extra lemon to the packets and served the grilled artichokes with cherry tomatoes. It makes for a beautiful presentation, but didn’t compliment the flavors I was serving these with. However, it serves as a great example of how easily this recipe can be adapted to the meal you’re serving.

Serves 4

8 cloves garlic, smashed and peeled
4 globe artichokes
salt and pepper
1 lemon, quartered
about 2 tablespoons olive oil

1. Prepare a two-level fire, where one side of the grill is hotter than the other.

2. Tear off four 12-inch pieces of aluminum foil. Place two cloves of garlic in the center of each square of foil.

3. Working with one artichoke at a time, cut the stem off and the top 1½ inches of leaves. Cut the sharp tips off of the outside leaves. Halve the artichoke and carve out the fuzzy purple choke. Place the artichoke halves in one square of foil, season with salt and pepper, squeeze one lemon quarter over it, and drizzle with about 1½ teaspoons of oil. Enclose the artichoke in the foil. Repeat with the remaining three artichokes.

4. Place the foil packets on the cooler side of the grill and cook, rotating occasionally, for 25-30 minutes, until the center of the artichokes are tender. Remove the artichokes from the foil and place, cut side down, on the hot side of the grill. Cook for about 2 minutes, until seared.

5. Serve immediately, with a dipping sauce if desired.

slaw tartare

“Here, taste this”, I requested, bringing Dave a cornichon.

He obliged, then made a face. “Euck, it’s a pickle.”

I sighed. Brined food is Dave’s single food hangup, but the cornichons had seemed relatively mild to me. I was hoping he wouldn’t mind them.

I went back into the kitchen to finish the salad, snacking on at least one cornichon for every one I chopped.

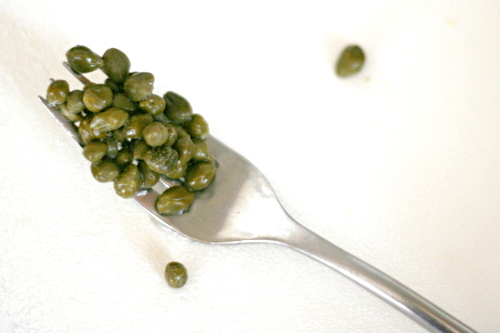
Before too long, I tried again, this time with capers. “Too briny”, he insisted.

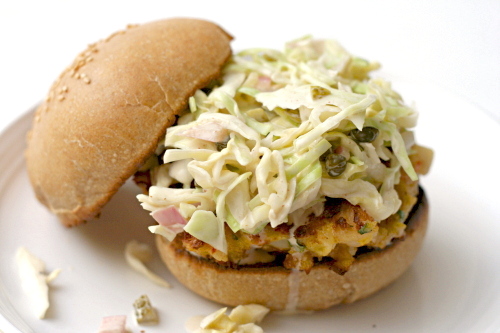
I was starting to get worried about whether Dave would tolerate this slaw at all. Instead of coleslaw, he might be topping his shrimp burger with arugula and, uh…ketchup? We were out of mayonnaise; it had all gone into the dressing.

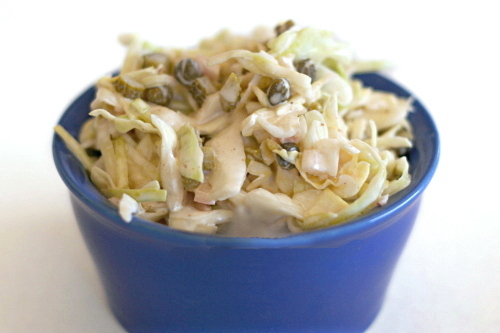
I forged on, but halved the capers and reduced the vinegar by even more. After mixing the dressing into the salad, I started tasting for seasoning. Results were inconclusive, so I tasted again. Seems okay, but I should take one more taste. When I realized that all my tasting was simply to keep eating, I decided the seasoning was just fine.

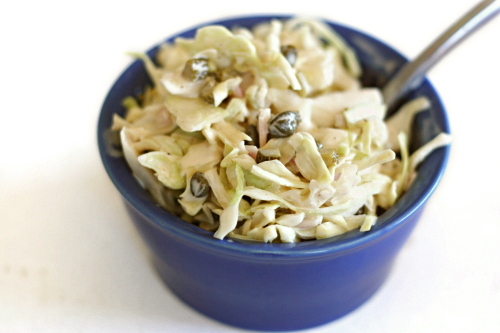
But it was time for the real test. I took a small bowl of the coleslaw to Dave. “Ooh, this is good slaw!” he exclaimed, finishing the bowl off in no time. I let out the breath I’d been holding. He was right. It is good slaw.

(The shrimp burgers were delicious.  They will be my next entry.)
One year ago: Pasta with Cauliflower, Walnuts, and Ricotta Salata
Two years ago: Creamy Buttermilk Coleslaw (okay, that’s kind of wierd)
Printer Friendly Recipe
Slaw Tartare (adapted from Smitten Kitchen who adapted it from Rebecca Charles’ and Deborah Di Clementi’s Lobster Rolls and Blueberry Pies)

Not a fan of watery coleslaw, these days I salt all of my cabbage destined for slaw.

Also, the recipe on Deb’s site, which reportedly already has less mayonnaise than the original, still seems to have a crazy amount of it. I’ve reduced it to about a third of what she recommends and thought the slaw was perfectly creamy. I’ve reduced some of the other dressing components accordingly.

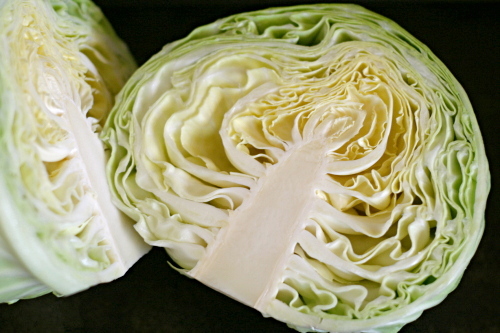
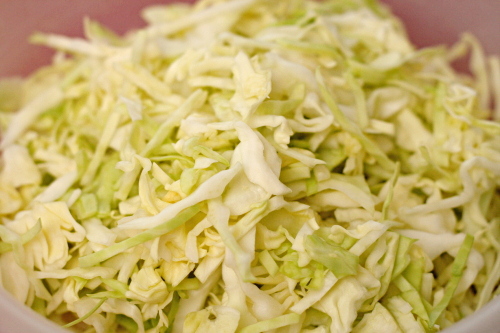
½ cabbage (about 1 pound), shredded fine (5-6 cups)
kosher salt
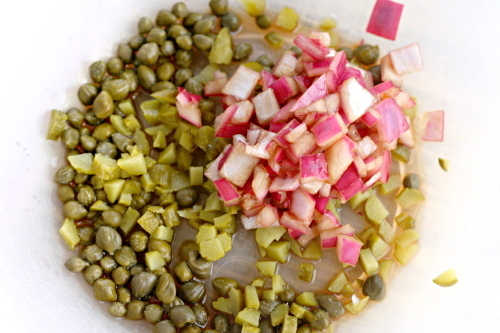
¼ cup chopped red onion
2 tablespoons sherry vinegar
½ teaspoon sugar
¼ cup capers
¼ cup chopped cornichons, plus 1 tablespoon of the juice
2 teaspoons Dijon mustard
6 tablespoons mayonnaise
½ teaspoon freshly ground black pepper

1. Toss the shredded cabbage and 1 teaspoon salt in a colander or large mesh strainer set over a medium bowl. Let it stand until cabbage wilts, at least 1 hour or up to 4 hours. Rinse the cabbage under cold running water. Spin the cabbage in a salad spinner until it’s dry or press, but do not squeeze, to drain it; pat dry with paper towels. Place the wilted cabbage in a large bowl.

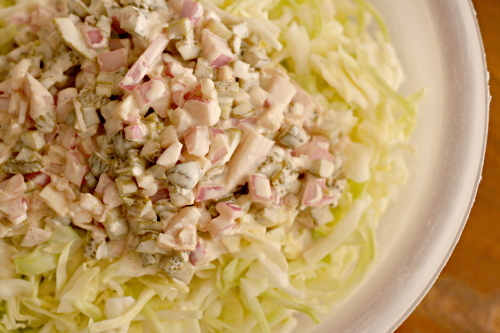
2. Mix the onions, sherry vinegar, and sugar together in a small bowl. Let it set for about 15 minutes, then mix in the capers, cornichons, cornichon juice, mustard, mayonnaise, and pepper. Fold the dressing into the cabbage and serve, or refrigerate for several hours for serving.

cauliflower cheese pie with grated potato crust

I have a hard time figuring out where I fit on the healthy eating spectrum. Some things are obvious. I eat a lot of fresh fruits, vegetables, and lean proteins: good. I also eat dessert often, although not necessarily a lot of it: still, bad. But everything in between, I’m not so sure.

For example, I love these bran muffins, and I consider them very healthy, as they’re completely whole grain, have a large portion of pure bran, a good dose of dried fruit, and less than 1 teaspoon fat per muffin. But someone commented, “it would be interesting to know the calorie/fat/carb ratios and that way know exactly how healthy these are…” Well, I don’t know; to me, they’re considered healthy. Maybe others disagree based on their versions of what healthy means.

Branny often “brannifies”, as she calls it, recipes by reducing the cheese and other fat, increasing the vegetables, substituting whole grains for refined, using egg whites instead of whole eggs, and choosing less saturated fats than butter. She used many of those tricks when she made this pie, but then when I made it, I…well, I unbrannified it, making the original Moosewood recipe instead of Branny’s healthier adaptation.

I like healthy foods too, and I have no problem decreasing fat and increasing vegetables when it seems reasonable, but by my standards, the original version of this recipe was healthy enough, with just a couple tablespoons of butter in the whole pie and 1 ounce of cheese per main course serving.  Perhaps milk, eggs, and potatoes are all questionable ingredients, but by my standards, they’re all fine in moderation.

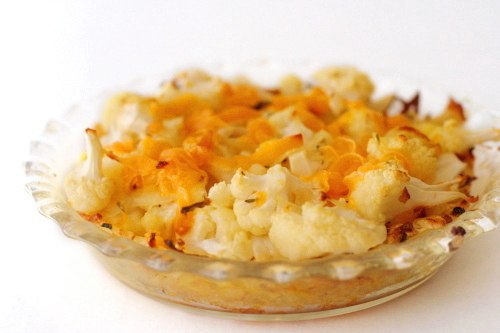
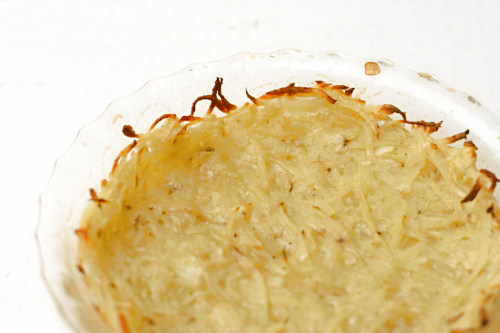
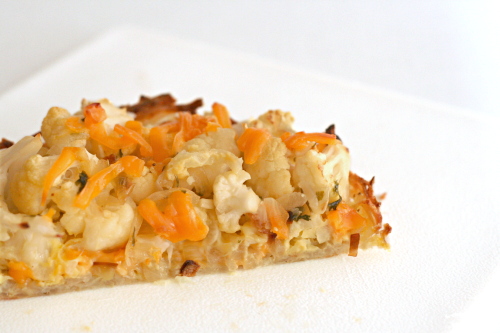
But while we may disagree on just how healthy this is, I think we can all agree that it tastes great. And if you don’t like cauliflower, I think it would be at least as good with broccoli. The crust in particular is a revelation – made of grated potatoes and held together by an egg, there is no butter or oil anywhere. How about that for a flaky delicious pie crust? I can’t wait to use it with a quiche. Because even I know that buttery regular pie crust is decadent.

One year ago: Anadama Bread (another Moosewood recipe)
Two years ago: Sichuan Green Beans (still one of my favorites)

Printer Friendly Recipe
Cauliflower Cheese Pie with Grated Potato Crust (adapted from Moosewood via Branny Boils Over)

Serves 8 as a side dish; 4 as a main course

Looking at online versions of this recipe now, I’m seeing that most call for the shredded potatoes to be salted and drained. I didn’t do this, and in fact, I thought the starch from the potatoes would help form a cohesive crust. I was very happy with how my crust turned out without the draining step.

I recommend using a food processor to shred the potatoes, grate the onion, and shred the cheese.

Crust:
2 cups packed shredded raw potatoes, preferably russet
¼ cup grated onion
½ teaspoon salt
1 egg, beaten

Filling:
2 tablespoons butter
½ onion, diced small
1 garlic clove, minced
1 dash thyme
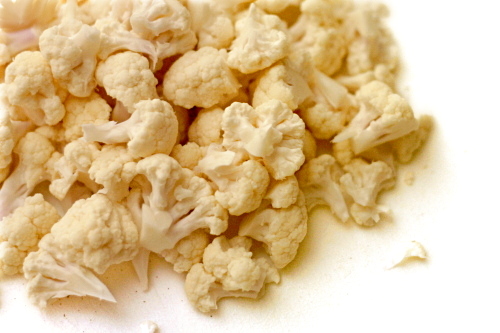
1 medium cauliflower, broken into small florets
1 cup packed grated strong cheddar cheese
½ teaspoon salt
2 eggs
¼ cup milk
black pepper
paprika

1. Adjust a rack to the middle position and heat the oven to 400ºF. Spray a 9-inch pie pan with nonstick spray.

2. Combine the shredded potatoes, onion, salt, and egg. Pat the potato mixture into an even layer over the bottom and up the sides of the prepared pan. Bake for 30 minutes, then give the crust a spritz with nonstick spray. Continue baking for another 10 to 15 minutes, until browned. Lower the oven temperature to 375ºF.

3. Meanwhile, melt the butter in a medium saucepan over medium heat. When the foaming subsides, add the onion and cook just until they start to brown at the edges, about 5 minutes. Add the garlic and cook, stirring constantly, until fragrant, about 30 seconds. Add the thyme, cauliflower, and salt; cover the pan, and cook, stirring occasionally, until the cauliflower is just tender, about 8 minutes.

4. In a small bowl, whisk the eggs, a pinch of salt and another of black pepper, and the milk until evenly colored.

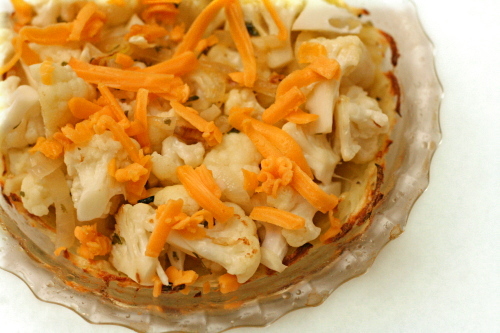
5. Spread half of the cheese on the baked crust. Top with the cauliflower mixture and the rest of the cheese. Pour the egg mixture over the pie. Dust with paprika.

6. Bake the pie until the custard is set and the top is slightly browned, 35 to 40 minutes. Let it cool for about 5 minutes before serving.