lemon ricotta strawberry muffins

Sometimes it bothers me that I can’t buy any locally produced food. I get to thinking that if food can’t be grown here, maybe we shouldn’t live here. Clearly it’s an unenvironmental place to live if everything from greens to beef to beans has to be shipped here.

Then I remember that I’m here for an environmental reason. I work for a radioactive waste disposal site. And it’s here because there aren’t a lot of people here. Do you want radioactive waste stored anywhere near your city? Probably not. (Although the truth is that most of the locals here appreciate the repository’s presence, as it brings good jobs to the area and has had no environmental effect.) And there aren’t a lot of people here because stuff doesn’t grow here.

The upshot of this is that I have no qualms about buying California strawberries or Florida peaches. If I tried to follow a 100-mile diet in southern NM, we’d have to survive on pecans. Even the state’s prized green chiles are grown almost 200 miles away. I draw the line at Chilean berries, but anything from the US or Mexico is fair game.

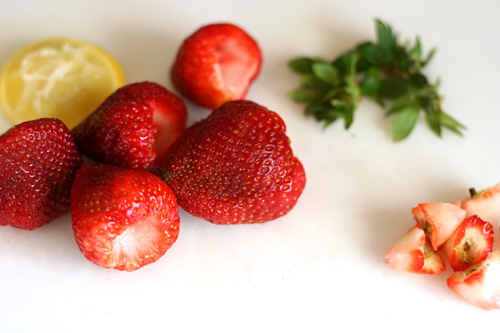
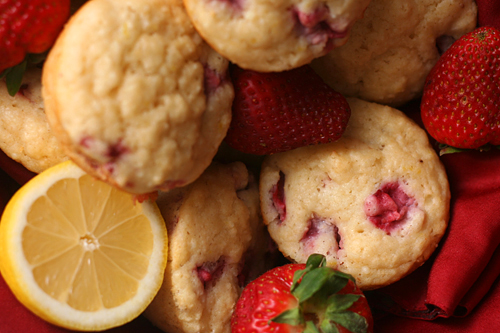
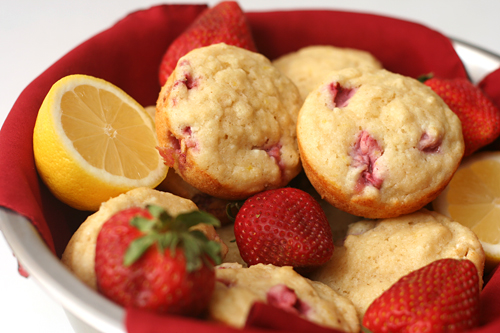
If you try to eat local and you live farther north, you probably don’t have strawberries yet. When you do, here’s a great way to use them. These light, tender muffins are fragrant with lemon and studded with sweet berries. We enjoyed them while sitting outside in our sunbaked parched desert.

One year ago: Cauliflower Cheese Pie with Grated Potato Crust
Two years ago: Pan-Roasted Asparagus
Three years ago: Hazelnut Dried Cherry Biscotti

Printer Friendly Recipe
Lemon Ricotta Strawberry Muffins (adapted from Mollie Katzen via Apple a Day)

Makes 12 muffins

I substituted ½ cup whole wheat pastry flour for an equal amount of the all-purpose flour.

2 cups (9.6 ounces) all-purpose flour
1½ teaspoon baking powder
½ teaspoon salt
⅛ teaspoon baking soda
½ cup (3.5 ounces) granulated sugar
1 tablespoon lemon zest
1 cup ricotta cheese
2 large eggs
1 cup buttermilk
1 tablespoon vanilla extract
1 tablespoon lemon juice
4 tablespoons unsalted butter, melted and cooled
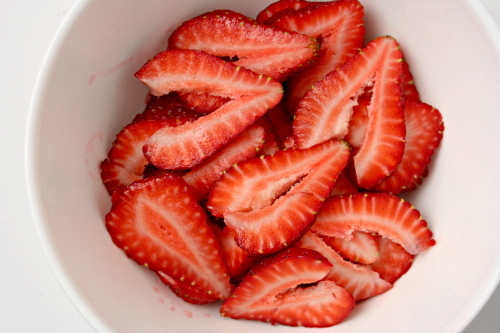
1½ cups strawberries, chopped

1. Heat the oven to 350ºF. Spray the bottoms only of a 12-cup muffin pan with nonstick spray or line with paper liners. In a large bowl, combine the flour, baking powder, salt, and baking soda.

2. In a medium bowl, rub the lemon zest into the sugar. Whisk in the eggs, ricotta, buttermilk, vanilla, lemon juice, and butter. Pour the ricotta mixture into the flour mixture and fold until the flour is evenly dispersed but not completely mixed in. Add the strawberries and fold until the flour is moistened (some lumps are okay) and the strawberries are evenly distributed.

3. Divide the batter evenly between the muffin cups. Bake until a toothpick inserted into a muffin comes out clean, 18-22 minutes. Set the pan on a rack to cool slightly, about 5 minutes, then use a thin-bladed knife to remove the muffins from the pan.
green pea ravioli in lemon broth

My notes call this Saturday night cooking adventure “Light Italian Meal”. I was experimenting with wet scallops – scallops that have been treated with sodium triphosphate to help them retain moisture. Cooks Illustrated has a recipe designed to make wet scallops palatable, so I gave it a go. I tried to keep the rest of the meal relatively light to compliment the scallops, starting with these ravioli, then moving onto insalata di crudita before serving the seared scallops with almond cream sauce. Pinot grigio and whole wheat ciabatta accompanied every part of the meal.

This was the only recipe I made that night that I was really excited by. The only reason the ciabatta doesn’t qualify is because I didn’t follow much of a recipe, and the salad, although crisp and fresh, was a fairly typical side salad. The scallops were a disaster. Not only was the almond cream sauce too rich, but the scallops themselves didn’t brown until they had overcooked into balls of rubber. What’s worse, while I set them aside to finish the sauce, the cooked scallops released a freaky blue liquid. I choked a down few and filled up on bread.

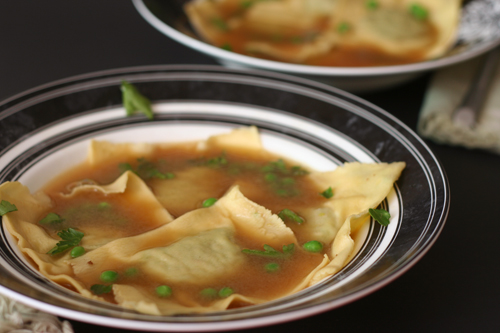
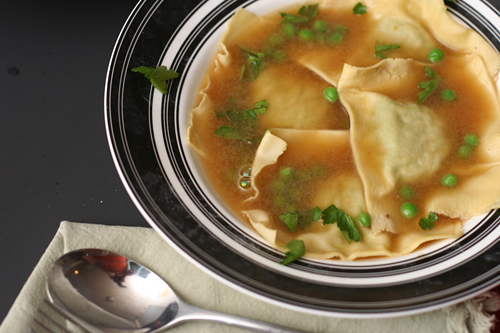
I wish I had made enough ravioli to fill up on those, rather than teasing myself with a small starter course serving. These pasta pouches with their vibrant filling were the highlight of my meal that night. There aren’t many ingredients in the filling, but each one has something to offer: the peas are both sweet and earthy, the shallots are bright, the parmesan salty. This humble mixture might have not had much to live up to compared to the rest of the meal, but it would have been just as special on its own.

One year ago: Vodka Gimlets
Two years ago: Pasta with Roasted Red Pepper Sauce
Three years ago: Cinnamon Rolls

Printer Friendly Recipe
Green Pea Ravioli with Lemon Broth (adapted from Gourmet via epicurious)

6 servings

I’ve doubled the amount of filling, because I only had enough filling for 9 ravioli, not the 18 the original recipe indicates.

Pasta:
1⅓ cups (6.4 ounces) all-purpose flour
2 eggs, lightly beaten

Filling:
2 cups baby peas, defrosted
1 tablespoon olive oil
2 shallots, minced
Salt
6 tablespoons freshly grated parmesan
6 tablespoons fresh bread crumbs

Broth:
4 cups chicken broth
2 garlic cloves, smashed
1 teaspoon freshly grated lemon zest
Squeeze fresh lemon juice

Garnish: fresh chervil or parsley and cooked peas

1. Combine the flour and eggs until smooth (either by hand, with a food processor, or with a stand mixer). Add more flour if the dough is sticky or more water if it’s crumbly. If you stick a dry finger into the center of the dough, it should come out nearly clean. Wrap the dough in a damp towel and set aside to rest while you prepare the filling.

2. Force the peas through the fine disk of a food mill into a bowl to remove their skins. Heat the oil in a small skillet over medium heat; add the shallot and a pinch of salt; cook until shallot is softened, 3-4 minutes, stirring occasionally. Combine the pea puree, cooked shallot, parmesan, and bread crumbs.

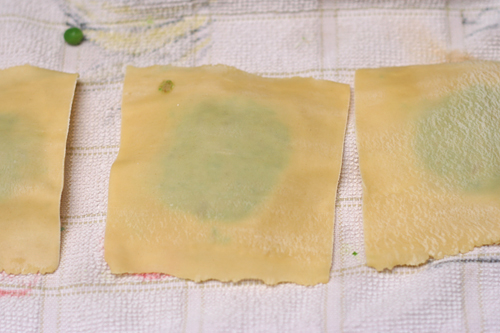
3. Divide the dough into 6 portions. Working with one portion at a time, flatten it and fold in thirds, like a letter. Roll it through the widest setting on a pasta roller. Repeat the folding and rolling 3-4 more times, flouring the dough as needed to prevent sticking. Adjust the pasta roller to the next thinnest setting; roll the pasta sheet through. Continue thinning the pasta until the next-to-thinnest setting. Lay the thinned pasta sheet on a dry dish towel. Repeat with the remaining portions of pasta.

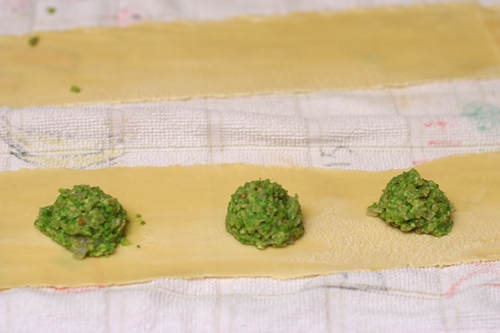
4. Place one rounded teaspoon of filling every 3 inches along the length of a pasta sheet. Using a pasta brush or your fingers, wet the pasta in between the rounds of filling. If the pasta sheet is at least 4 inches wide, fold it lengthwise over the filling. If the pasta sheet is too thin to fold lengthwise, lay a second pasta sheet over the filling. Press around each ball of filling to seal the two layers of pasta together. Use a pizza roller to cut between the filling to form squares of ravioli. Store the ravioli on a dry dish towel (there’s no need to cover it). Repeat with the remaining dough and filling.

5. Combine the broth, garlic, lemon zest, and salt and pepper to taste in a saucepan; bring to a simmer. Lower the heat and cover to keep warm.

6. Bring a large pot of water to a boil; add a tablespoon of salt and lower the heat until the water is at a lively simmer. Cook the ravioli in small batches until al dente, 2 to 3 minutes, using a skimmer or large slotted spoon to remove the ravioli from the boiling water. Divide the cooked ravioli between six soup bowls.

7. Discard the garlic in the broth. Ladle the hot broth over the ravioli. Garnish with herbs and cooked peas, if desired; serve immediately.

strawberry double crisp

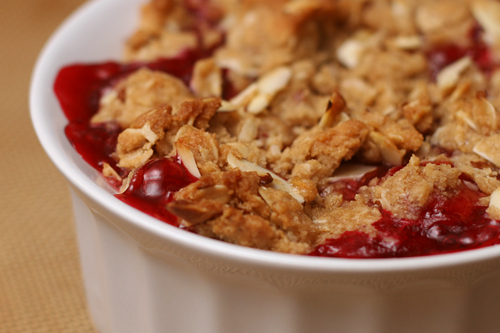
There’s an inverse relationship between how doughy a dessert is and how often I’ll make it. That means that I will never make something for dessert that doesn’t contain anything resembling flour and butter, like poached pears. Pound cake, on the other hand, is my favorite thing to bake, because it’s nothing but dough. I hardly ever make crisps, and cobbler is only slightly more popular in my kitchen; at least cobbler biscuits are based on dough, even if there is all kinds of fruit mucking up the pureness of the butter and flour mixture.

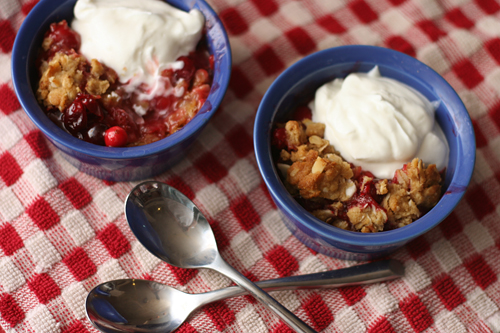
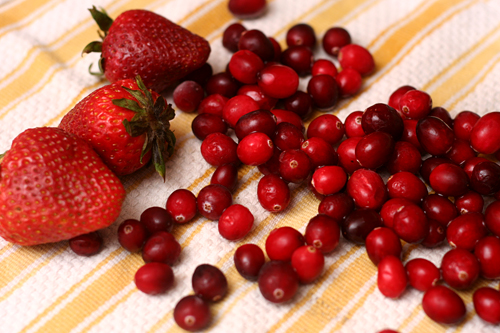
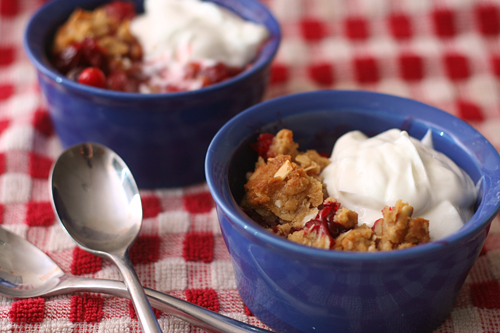
But oh, this was good. I loved how the strawberries were simmered and crushed into a jam, I loved the combination of strawberries and cranberries (standing in for the unavailable rhubarb), and most of all, I loved how there was crisp topping lining the bottom of the pan as well as sprinkled on top. That bottom layer of topping (bottoming?), which contains both butter and flour and thus resembles dough, baked into something almost cookie-like.

The ratio of fruit to topping was perfect. The combination of berries and plain Greek yogurt was perfect. And most of all, the presence of baked dough was perfect.

Sarah chose this for Tuesdays with Dorie and has the recipe posted. I substituted cranberries for rhubarb, although I’m sure rhubarb would be delicious. I used almond slivers instead of walnuts, then added a dribble of almond extract for good measure. I didn’t have crystallized ginger, so minced up a cube of fresh ginger. I melted the brown sugar with the butter for the topping instead of adding it to the dry ingredients.

One year ago: Swedish Visiting Cake
Two years ago: Chocolate Amaretti Torte
Three years ago: Marshmallows


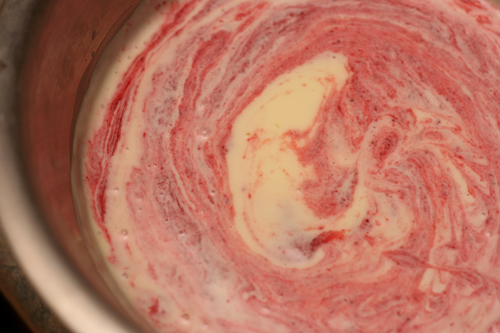
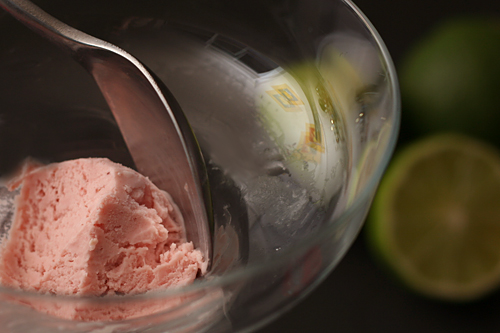
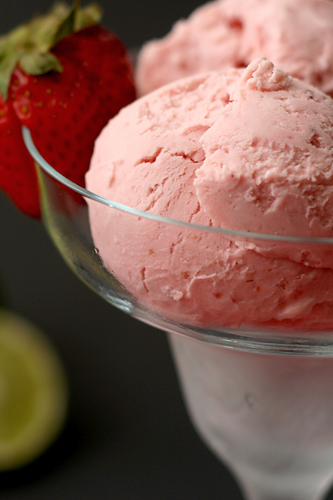
strawberry daiquiri ice cream

When it comes to alcohol, I pretty much like it all. Red wine, white wine, dark beers, light beers, vodka cocktails, straight whiskey. It’s all good. I don’t drink foo-foo drinks often, only because they’re too much work to mix up at home and too low on alcohol to pay for in a bar. But that doesn’t mean I have anything against the combination of fruit and liquor.

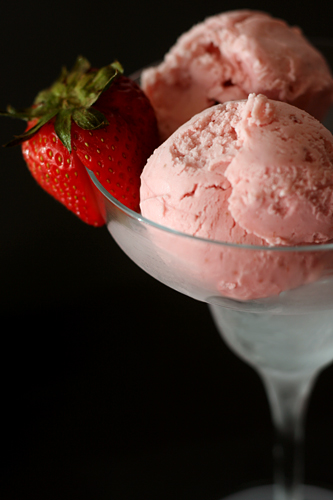
Still, doesn’t it seem like fruit puree, citrus, alcohol, and the cream that’s inevitably served, whipped, on top, would be an even better combination churned into ice cream?  The same combination of strawberries and lime, but smoother, richer, and, okay, less alcoholic.

I wish it had occurred to me earlier – like before we ate all the ice cream – to pour rum over the ice cream. Rum float!  Or to mix so much rum into the base that the ice cream doesn’t freeze completely.  Rum slushy!  Or I suppose we could keep this recipe as a dessert and not a cocktail.  If I must.

One year ago: Artichoke Ravioli
Three years ago: Blueberry Poppy Seed Brunch Cake

Printer Friendly Recipe
Strawberry Daiquiri Ice Cream (adapted from David Lebovitz’s Raspberry Ice Cream recipe in The Perfect Scoop)

Makes about 1 quart

Mine wasn’t as limey as I would have liked, so I’ve doubled both the zest and the juice from what I used. I don’t believe the extra juice will be detrimental to the smoothness of the ice cream. You could also let the half-and-half mixture steep with the zest for up to an hour before reheating it and mixing it with the yolks.

When strawberries are pureed, I often prefer to use frozen berries that have been defrosted. Because they are picked at their peak and immediately frozen, they are often of higher quality than fresh strawberries. Furthermore, they make a smoother puree.

To make this more kid-friendly, feel free to use only half the rum.  Don’t leave it all out, as it helps keep the ice cream softer.

1 cup (7 ounces) sugar, separated
Zest from 2 limes
Pinch salt
1½ cups half-and-half
1½ cups heavy cream
4 yolks
1½ cups (6 ounces) strawberry puree
¼ cup lime juice (2 limes)
2 tablespoons rum

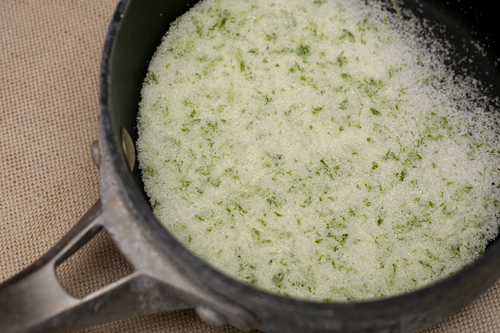
1. In a medium saucepan, rub the lime zest into ½ cup (3.5 ounces) of the sugar until fragrant. Add the half-and-half and heat the mixture over medium-high heat until it simmers. Meanwhile, pour the cream into a large bowl; set a fine-mesh strainer over the bowl.

2. In a separate medium bowl, beat the egg yolks with the remaining ½ cup (3.5 ounces) sugar. When the half-and-half simmers, very slowly pour it into the beaten egg yolks, whisking constantly. Pour the mixture back into the pot and bring just to a simmer over medium heat, still whisking constantly. Pour through the strainer into the bowl with the cream; stir to combine. Mix in the strawberry puree, lime juice, and rum. Chill until cold, at least 4 hours or up to overnight.

3. Freeze the ice cream custard in your ice cream maker according to the manufacturer’s instructions. Once frozen to the consistency of soft serve ice cream, transfer the ice cream to a chilled bowl and freeze until firm.


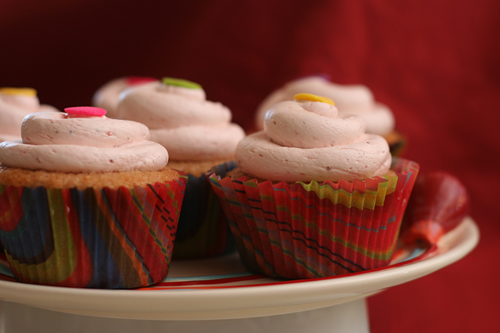
strawberry buttercream

One of my favorite parts of birthdays as a kid was flipping through my mom’s stack of Wilton yearbooks to pick out my cake. I remember cakes shaped like treasure chests, dice (every guest got their own die), telephones, dollar bills, a whole scene with penguins and an igloo and a pond (that was my brother’s cake, two years in a row), so many others.

My mom, of course, used the Wilton buttercream recipe, a simple mixture of powdered sugar and solid fat (butter or shortening), with a bit of vanilla for flavor, milk to loosen it up, and meringue powder to help it set. This is what I knew as frosting as a kid; I loved it then and still do.

To some, it’s too sweet and it’s certainly grainy, and those people often prefer swiss meringue buttercreams, in which butter is mixed into a meringue built from egg whites and sugar. My first experiences with these weren’t great; I felt like I was eating lightly sweetened butter. Dorie Greenspan’s recipe, a lemon version, changed my mind, because it actually tasted like something.

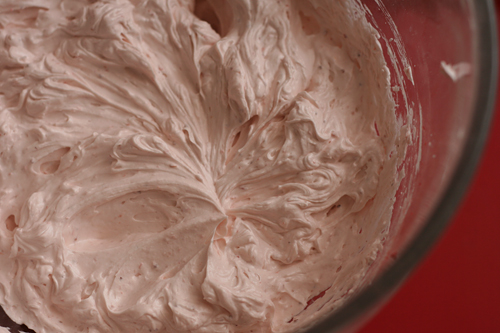
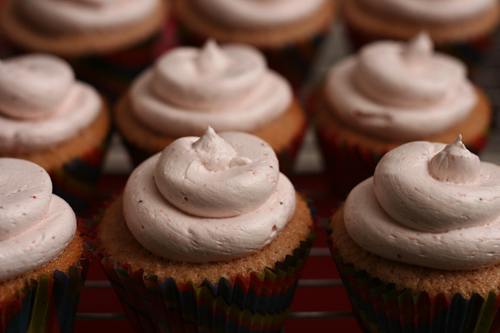
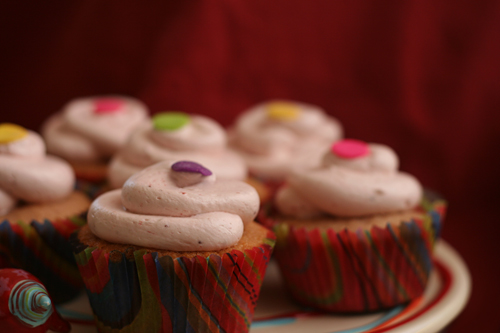
Now I love both types of frosting (is there any horribly fattening food I don’t enjoy, I wonder?), although I always add at least a couple drops of lemon juice into my meringue buttercreams to brighten their taste. But this strawberry version might just take the cake. It’s light and smooth, like all meringue buttercreams, but it has plenty of flavor from all those strawberries. I don’t think anyone will be shaping this frosting into penguins anytime soon, but it might top my next birthday cake anyway.

One year ago: Bacon-Wrapped Goat Cheese and Almond-Stuffed Dates
Two years ago: Beer-Battered Fish
Three years ago: Cream Cheese Brownies

Printer Friendly Recipe
Strawberry Buttercream (adapted from Martha Stewart via Annie’s Eats)

The original recipe calls for fresh strawberries, but I prefer to use frozen strawberries when their texture isn’t important, because they’re available year-round and always picked at the peak of their ripeness.

1 cup strawberry puree (from 8 ounces frozen defrosted strawberries)
4 large egg whites
1¼ cups (8.75 ounces) sugar
Pinch salt
24 tablespoons (3 sticks) unsalted butter, at room temperature

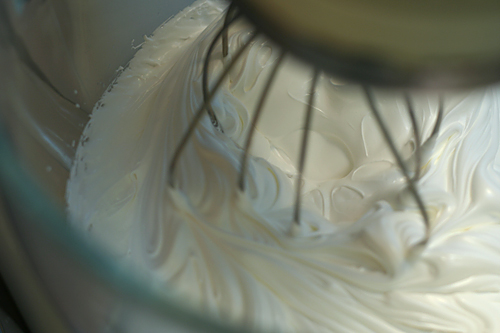
1. Combine the egg whites and sugar in a heatproof mixer bowl set over a pot of simmering water. Whisk until the sugar dissolves and the mixture registers 160 degrees on a candy thermometer.

2. Remove the bowl from heat and attach it to a mixer fitted with the whisk attachment. Beat on medium-high speed until stiff peaks form and the mixture has cooled to room temperature, about 8 minutes. (The bowl should be cool to the touch.)

3. Reduce the speed to medium and add the butter, 2 tablespoons at a time, whisking well after each addition. With the mixer on low, whisk in the strawberry puree, mixing just until incorporated. Use immediately, or cover and refrigerate for up to 3 days. (Bring to room temperature, and beat on low speed until smooth before using.)

This frosting topped Sky High’s Pink Lady Cake.

rhubarb crumb coffee cake

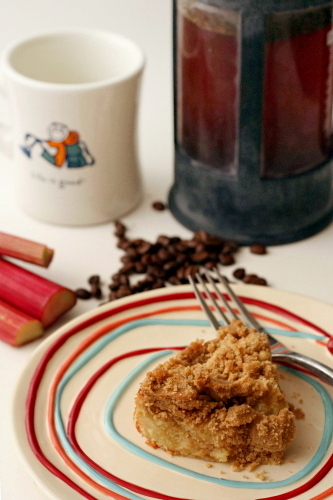
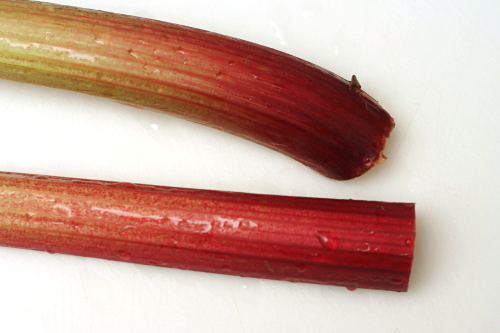
Did you know rhubarb has a second harvest in the late summer? It was news to me, but very happy news, as I’d missed the early spring crop in the busyness of starting a new job. Every time I saw rhubarb at the store, I thought, Next time. Next week. Next week I’ll have more time, more opportunities for baking, a rhubarb recipe I just can’t resist.

You know how this story ends. Finally, I said, Enough! I’ll make scones! I’ll shape the dough and freeze the scones to eat whenever the mood strikes! And then there was no rhubarb.

Taking pity on me, my friend in Tacoma sent me a jar of homemade strawberry rhubarb jam. And then another, bigger jar of strawberry rhubarb jam when the first didn’t last through a week. And then, finally, the perfect birthday present for someone like me: rhubarb from her garden.

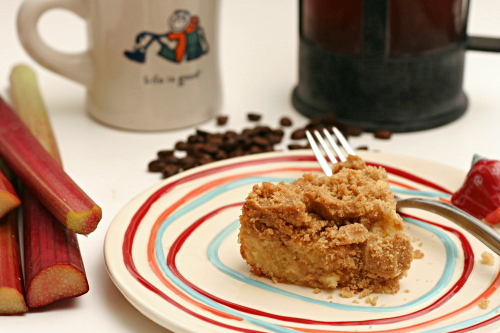
After the freezer was stocked with scones, I still wanted rhubarb for breakfast. And I always want cake. Especially this one, with its fluffy and soft cake studded with sweet-tart rhubarb and topped with a layer of sugary crisp crumbs. I’m so grateful for that second harvest of rhubarb – and to friends who send me produce as gifts!

One year ago: Amaretto Cheesecake
Two years ago: Fruit Bruschetta

Printer Friendly Recipe
Rhubarb Crumb Cake (from Smitten Kitchen via the New York Times)

Serves 6-8

For the rhubarb filling:
8 ounces rhubarb, trimmed
¼ cup (1.75 ounces) sugar
2 teaspoons cornstarch
½ teaspoon ground ginger

For the crumbs:
⅓ cup (2.33 ounces) dark brown sugar
⅓ cup (2.33 ounces) granulated sugar
1 teaspoon ground cinnamon
½ teaspoon ground ginger
⅛ teaspoon salt
8 tablespoons (1 stick) butter, melted
1¾ cups cake flour

For the cake:
⅓ cup sour cream
1 large egg
1 large egg yolk
2 teaspoons vanilla extract
1 cup cake flour
½ cup (3.5 ounces) sugar
½ teaspoon baking soda
½ teaspoon baking powder
¼ teaspoon salt
6 tablespoons softened butter, cut into 8 pieces

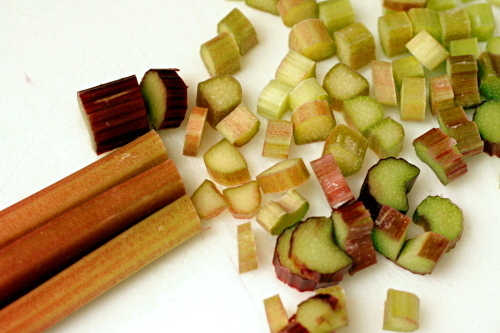
1. Preheat oven to 325 degrees. Grease an 8-inch-square baking pan. For filling, slice rhubarb ½-inch thick and toss with sugar, cornstarch and ginger. Set aside.
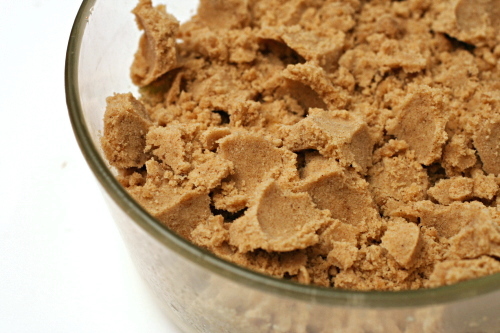
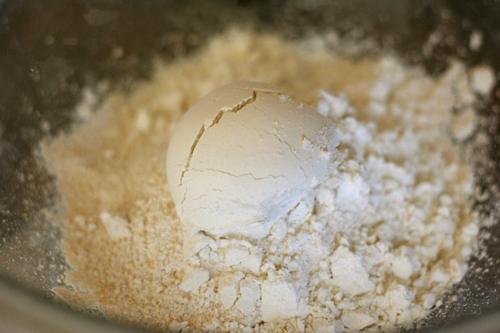
2. To make crumbs in a large bowl, whisk sugars, spices and salt into melted butter until smooth. Stir in flour with a spatula or wooden spoon. It will look and feel like a solid dough. Leave it pressed together in the bottom of the bowl and refrigerate.

3. To prepare the cake, in a small bowl, stir together the sour cream, egg, egg yolk and vanilla. Using a mixer fitted with paddle attachment, mix the flour, sugar, baking soda, baking powder and salt. Add the butter and a spoonful of the sour cream mixture and mix on medium speed until the flour is moistened. Increase the speed and beat for 30 seconds. Add the remaining sour cream mixture in two batches, beating for 20 seconds after each addition, and scraping down the sides of bowl with a spatula. Scoop out about ½ cup batter and set aside.

4. Scrape remaining batter into the prepared pan. Spread the rhubarb over batter. Dollop reserved batter over rhubarb; it does not have to be even.
5. Using your fingers, break the topping mixture into big crumbs, about ½-inch to ¾-inch in size. Sprinkle over cake. Bake cake until a toothpick inserted into the center comes out clean of batter (it might be moist from rhubarb), 45 to 55 minutes. Cool completely before serving.
roasted red pepper pasta salad with peas and beans

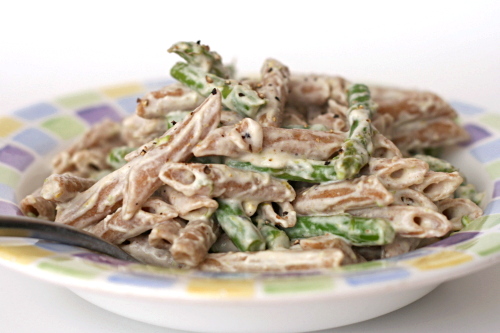
I had my doubts about this salad the whole time I was shopping for it, making it, testing it for seasoning, and serving it. But now, weeks later, my doubts are gone and I want some more. Except with better peas.

Most of the doubts came from an unsuccessful shopping trip for ingredients. Sometimes I complain after shopping at my regular grocery store, but in truth, I usually get by just fine with what I can find there. However, it is a 7-minute drive from my house. Walmart, while not my favorite place on earth, is a 2-minute drive. I tried to cut corners, and I paid the price. Walmart didn’t have whole wheat pasta, any sort of fresh pea or bean, frozen petite peas (which are sweeter and less starchy than regular peas), or shallots.

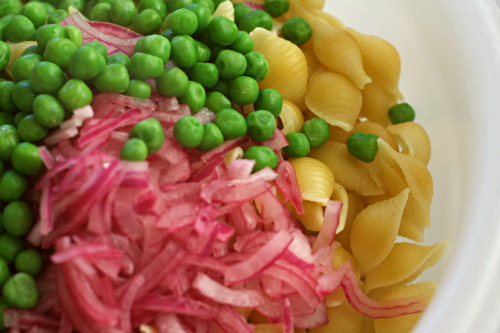
So, yes, frozen petite peas would be better than the larger starchy ones, and fresh peas are so fun, and I would love some sort of fresh beans, and yellow beans would add a nice contrasting color. But one change I was forced to make, skipping the shallots, actually worked out better I think, with some lightly pickled red onions adding tartness to the salad instead.

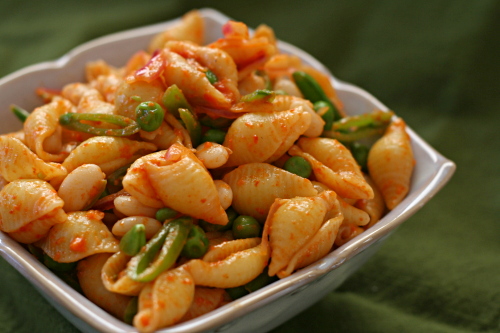
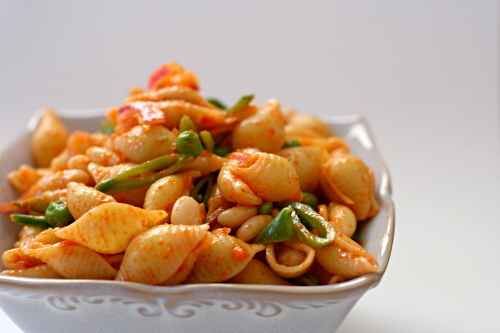
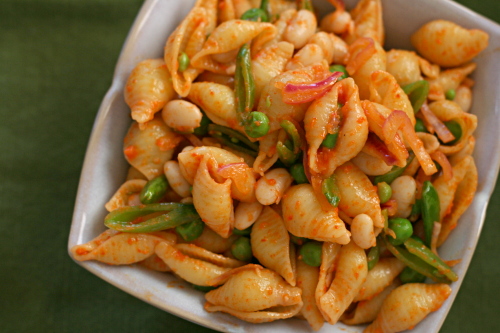
And even at its simplest, this salad is unique and interesting, with smoky sweet roasted red pepper dressing coating pasta, creamy white beans, and crisp vegetables. Plus I learned a valuable lesson about driving that extra five minutes to the regular grocery store, and how it’s worth every second.

One year ago: Sourdough Bagels
Two years ago: Danish Braids

Printer Friendly Recipe
Roasted Red Pepper Pasta Salad with Peas and Beans (adapted from Smitten Kitchen)

Deb based this salad on one she had in a restaurant, which also included yellow string beans, fava beans, fresh cranberry beans, among other wonderful bean types that simply aren’t available in small desert towns. I would have loved any or all of those, but the salad was wonderful at its most simple as well.

1 pound small pasta
salt
¼ red onion, very thinly sliced
1 tablespoon red wine vinegar
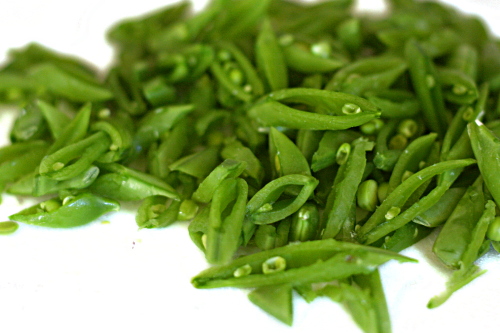
4 ounces snow pea pods, ends trimmed, cut on an extreme diagonal
1 cup peas (from about 8 ounces with their shells, if you can find fresh)
1 (15-ounce) can great northern (or navy) beans, drained and rinsed
¾ to 1 cup Roasted Red Pepper Vinaigrette (recipe below)

1. Bring a large pot of water to a boil; add the pasta and 1 tablespoon salt and cook according to the package instructions. One minute before the pasta is done, add the peas. Drain the pasta and peas together.

2. Meanwhile, combine the onion, vinegar, and a pinch of salt in a large bowl; set aside for 10 minutes. When the pasta has cooled, add the remaining ingredients and stir thoroughly. Taste and add more salt if necessary, which it probably will be.

Roasted Red Pepper Vinaigrette

Makes about one cup of dressing

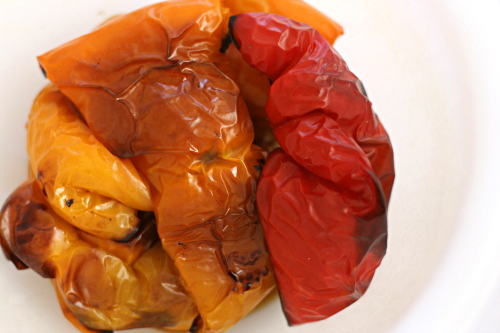
1 red bell pepper, roasted, skinned and seeded or the equivalent from a jar, drained
2 tablespoons extra virgin olive oil
2 tablespoons red wine vinegar, plus up to 1 tablespoon more
½ teaspoon salt
freshly ground black pepper

Combine all of the ingredients in a blender or food processor; process until smooth. Taste and add more salt, pepper, or vinegar if necessary.

pasta with asparagus and goat cheese

I feel like I used to have this room (my life), and it had some stuff in it; mostly stuff I liked (cooking, reading, teaching, gardening), although of course there were things I didn’t (cleaning). My main problem was that it was too empty. There was too much space, and I could never get it arranged in any pleasing way. It made me frustrated and unhappy, and I took less enjoyment even from the things I did like.

Then I added this huge, I don’t know, piece of furniture or some other room-dominating thing (a full-time job). And now the room is too full. I like it more overall, I just don’t know where to put everything. Some things I’m willing to give up (hours mindlessly spent searching the internet), but the rest I’m trying to rearrange. Where does exercise go? What about blogging? Keeping in touch with friends, spending quality time with my husband, learning new things? I know there’s room for them all, I just have to find out how to make it work.

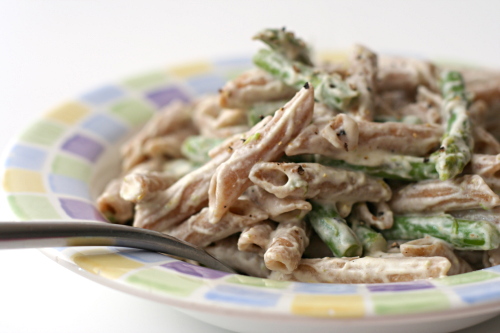
I’m not going to stop cooking, obviously. But I will change the way I cook most nights of the week, keeping things simple. This dish, with only a handful of ingredients and one ingredient to chop, is a perfect example of how easy meals can still be tasty meals. This meal definitely fits into my crowded new room, and it leaves me plenty of space for exercise, a full day of work, a long chat with a friend, and even a batch of brownies. A life too full is certainly better than a life too empty.

Two years ago: Kung Pao Shrimp

Printer Friendly Recipe
Asparagus, Goat Cheese and Lemon Pasta
(adapted from Smitten Kitchen)

Serves 6

16 ounces pasta
salt and pepper
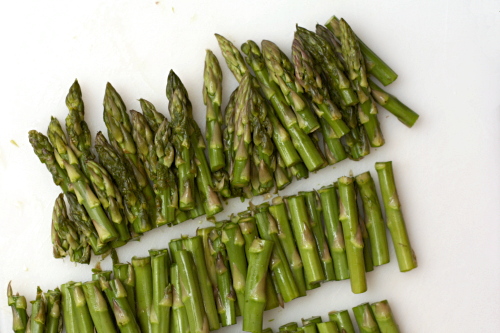
2 pounds slender asparagus spears, trimmed, cut into 1- to 1½-inch pieces
2 tablespoons extra virgin olive oil
1 lemon
8 ounces soft goat cheese

1. Bring at least 6 quarts of water to a rolling boil over high heat. Add the pasta and 1 tablespoon of salt and cook the pasta until it is almost tender, about 2 minutes short of the package instructions. Add the asparagus and cook until it is crisp-tender, about 2 minutes. Reserving 1 cup of the pasta cooking water, drain the pasta and asparagus.

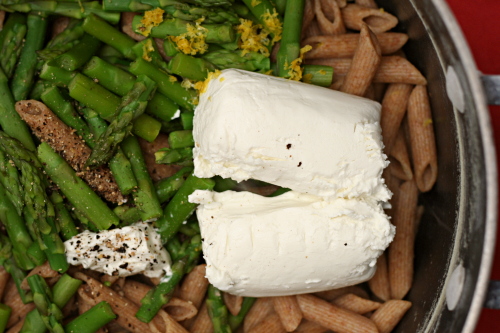
2. Return the pasta and asparagus to the pot and add the oil, zest from the whole lemon, juice from ½ the lemon, goat cheese, a generous grinding of pepper, and ½ cup pasta cooking water; stir until the goat cheese melts. Taste and add salt (you’ll probably need some), freshly ground black pepper, and more lemon juice if necessary. If the sauce becomes thick and sticky, stir in more pasta cooking water.

tender shortcakes

Dave and I ate dessert first this weekend, but not in the fun-loving, live life to its fullest, carefree kind of way. More in the ‘it’s too hot outside to grill dinner until the sun goes down’ kind of way. 110 degrees, people. I told you I live in the desert.

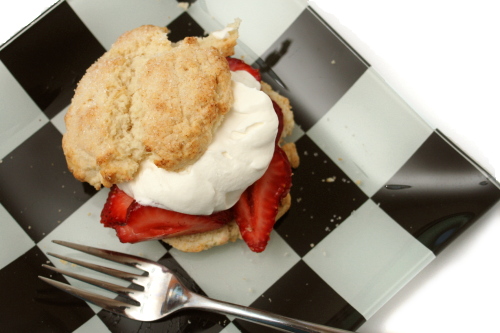
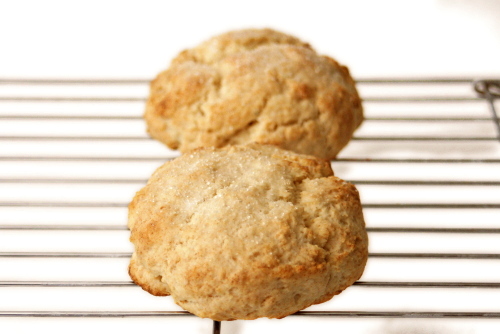
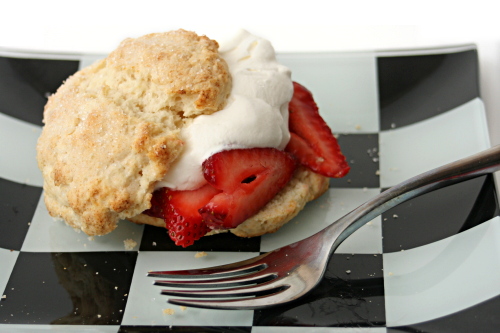
But whatever, I got to eat strawberry shortcake for dinner, so I’m not complaining. With a tender biscuit, sweet berries, and silky whipped cream, what is there to complain about? Especially since we have air conditioning. Otherwise I have a feeling I’d be doing a lot of complaining, shortcakes for dinner or not.

Cathy chose this recipe for Tuesdays with Dorie, and she has it posted. I used cake flour for half of the flour and doubled the salt.

One year ago: Parisian Strawberry Tartlets
Two years ago: Strawberry Tart

I see a pattern here…

grilled artichokes

When it comes to groceries, I’m not particularly thrifty. I don’t know if my old grocery store (the much-missed Wegman’s) even had sales, and if they did, it wasn’t on anything I was buying. I see more sales at my new grocery store; I don’t plan my shopping around them, but I can’t always resist them either.

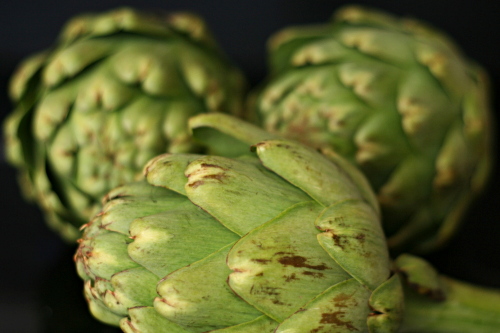
Fresh artichokes for 69 cents each! That is a deal that is not to be passed up, especially when I was keeping an eye out for some fancy sides to compliment my celebration lamb.

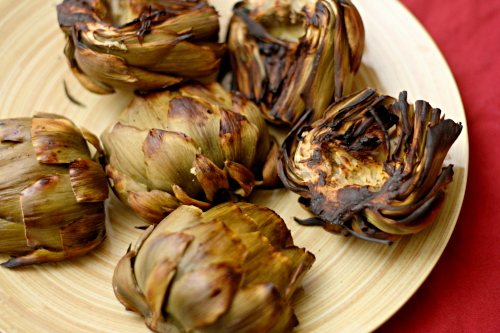
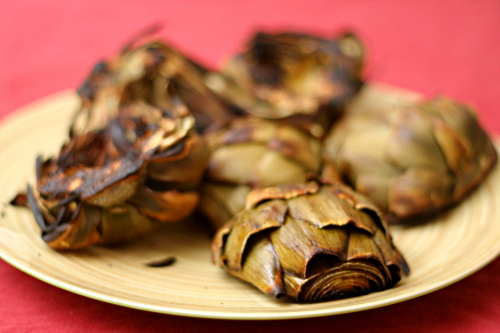
When Dave and I grill, we like to cook the whole meal on the grill, so I definitely wanted to grill the artichokes. Katie’s recipe uses the perfect approach, because the artichokes are steamed in foil packets first, and then unwrapped and seared over a hot flame. The artichokes end up both perfectly tender and decorated with beautiful grill marks.

Artichokes aren’t as time-consuming to prepare as I used to think, but they’re still pretty messy to eat. You remove individual leaves and scrape the meaty edible part off with your teeth, until you get to that delicious heart. Artichokes are good on their own, but they’re even better with a decadent dipping sauce; we used the sauce that was served with the lamb. It made a perfect compliment to perfect artichokes that accompanied a perfect meal.

Two years ago: Asparagus and Arugula Salad with Cannellini Beans

Grilled Artichokes (adapted from Good Things Catered)

Katie added extra lemon to the packets and served the grilled artichokes with cherry tomatoes. It makes for a beautiful presentation, but didn’t compliment the flavors I was serving these with. However, it serves as a great example of how easily this recipe can be adapted to the meal you’re serving.

Serves 4

8 cloves garlic, smashed and peeled
4 globe artichokes
salt and pepper
1 lemon, quartered
about 2 tablespoons olive oil

1. Prepare a two-level fire, where one side of the grill is hotter than the other.

2. Tear off four 12-inch pieces of aluminum foil. Place two cloves of garlic in the center of each square of foil.

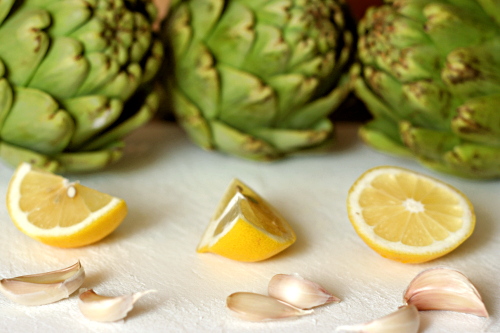
3. Working with one artichoke at a time, cut the stem off and the top 1½ inches of leaves. Cut the sharp tips off of the outside leaves. Halve the artichoke and carve out the fuzzy purple choke. Place the artichoke halves in one square of foil, season with salt and pepper, squeeze one lemon quarter over it, and drizzle with about 1½ teaspoons of oil. Enclose the artichoke in the foil. Repeat with the remaining three artichokes.

4. Place the foil packets on the cooler side of the grill and cook, rotating occasionally, for 25-30 minutes, until the center of the artichokes are tender. Remove the artichokes from the foil and place, cut side down, on the hot side of the grill. Cook for about 2 minutes, until seared.

5. Serve immediately, with a dipping sauce if desired.