home corned beef

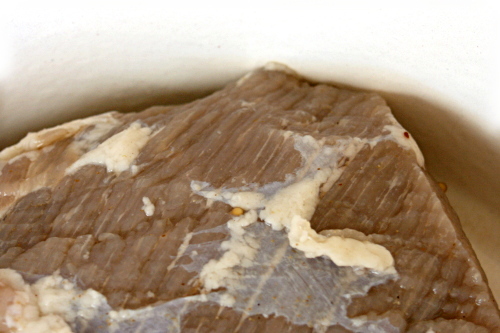
Can someone explain to me why the only way I can buy brisket in my tiny town is to get the whole brisket? (And why are there no dried currants? Or mini-cupcake liners?) I didn’t even know what a whole brisket looked like before last month. First off, it’s huge. Who needs to buy 15 pounds of meat at a time? Second, half of that 15 pounds is fat. I actually weighed the fat after I spent an entire hour aaaargh! trimming it off the brisket. An inch-thick layer of fat, yum.


monkey peeler for scale

And why is brisket so much more expensive to buy than prepared corned beef anyway? Corned beef is just seasoned brisket. I didn’t corn my own beef because I have a problem with the store-bought versions of corned beef; it’s just that…I can’t help myself. Homemade corned beef sounded fun.

I tried it a few years ago (back in the glorious days when I could buy pre-trimmed brisket in reasonable sized roasts), using Cooks Illustrated’s dry rub recipe. In that one, a mixture of salt and other seasonings is rubbed onto the brisket and left to set for several days. It was good, because it’s salty brisket, but I didn’t think it was significantly better than what I could buy.

I started out this time using Alton Brown’s recipe, which is a wet brine similar to what is often used for chicken. However, I balked when I was supposed to add 2 pounds of ice to 2 quarts of water to make the brine for four pounds of brisket. That seemed like an excessive amount of liquid per meat; I’m not sure I have the fridge space for all that. So I halved the liquid, but that means that my brine was far more concentrated, and the resulting corned beef was not-quite-inedibly salty.

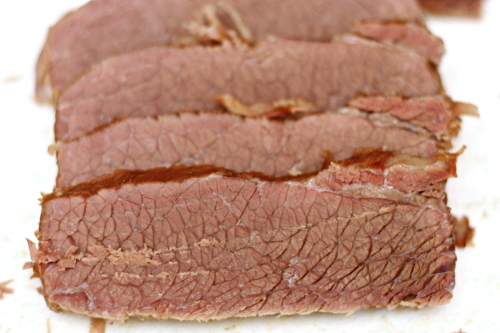
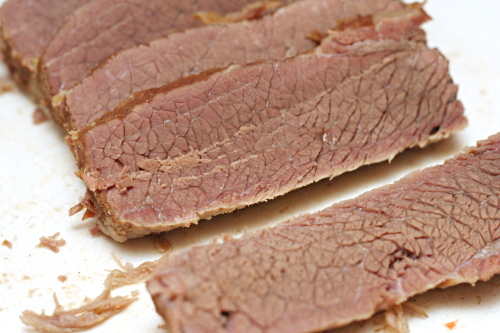
I tried again (after all, I still had plenty of brisket in the freezer), dialing back the amount of salt by half. And what do you know? Perfection. Dave is already requesting more reubens, so it looks like I’ll use up 15 pounds of brisket after all.  Maybe next time I can get the butcher to trim it for me.

One year ago: Roasted Baby Artichokes
Two years ago: Red Beans and Rice

Printer Friendly Recipe
Corned Beef (adapted from Alton Brown)

6 to 8 servings

The use of saltpeter (potassium nitrate) is up to you. Its purpose is to make the meat pink; without it, it turns the purpley gray that you see in my pictures. Cooks Illustrated’s corned beef write-up reported chemical flavors whenever they used saltpeter, and I couldn’t find it anyway, so I left it out, and truthfully, I quite like the color of the meat at the end of cooking.

4 cups water
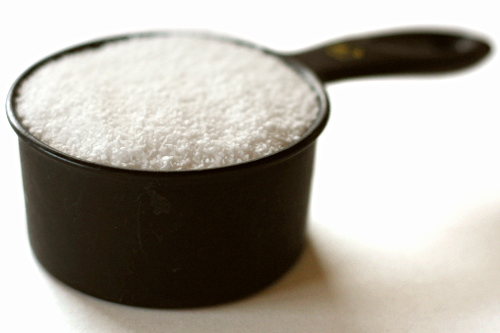
½ cup kosher salt
6 tablespoons brown sugar
1 tablespoon saltpeter (optional)
½ cinnamon stick, broken into several pieces
1 teaspoon mustard seeds
1 teaspoon black peppercorns
4 whole cloves
4 whole allspice berries
6 whole juniper berries
2 bay leaves, crumbled
¼ teaspoon ground ginger
4 quarts ice
1 (4 to 5 pound) beef brisket, trimmed

Place the water in a 5-quart pot along with the salt, sugar, saltpeter (if using), and spices. Cook over high heat until the salt and sugar have dissolved. Add the ice and let set the mixture until the ice is mostly melted. Once the liquid is cold, place the brisket in a 1-gallon zip-top bag and add the brine. Seal and lay flat inside a 9×13-inch pan. Refrigerate for 5 days, turning occasionally. After 5 days, remove the meat from the brine and rinse it under cool water. Cook using your favorite recipe. (I like to keep it very simple, just simmering the brisket in water for a few hours until it’s tender, adding potatoes, carrots and cabbage near the end.)

tortellini soup with carrots, peas and leeks

Copy of IMG_7222

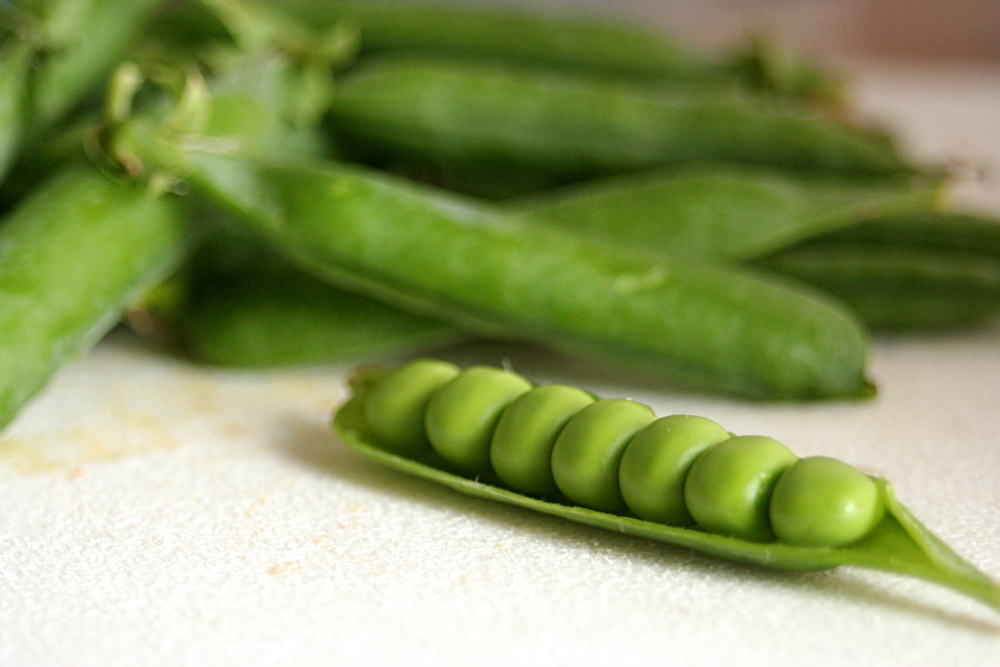
It turns out that pea-picking is way more fun than strawberry picking. For one thing, it isn’t nearly as crowded. Shocking, I know, that strawberries are more popular than peas. There’s also nothing squishy lurking under the foliage, and the peas are plentiful and just demanding to be picked. And pick we did, far more than we needed for this soup.

Copy of IMG_7448

I know, it’s July, and you’re not interested in soup. Rest assured that I tried it both ways, and it’s just as good with frozen peas, so you’re free to wait until the weather cools down a bit. Either way, it takes all of 15 minutes to make. Even better, it covers all of your nutritional bases, making side dishes unnecessary, although we found that a chunk of crusty bread is a welcome addition.

Copy of Copy of IMG_7433

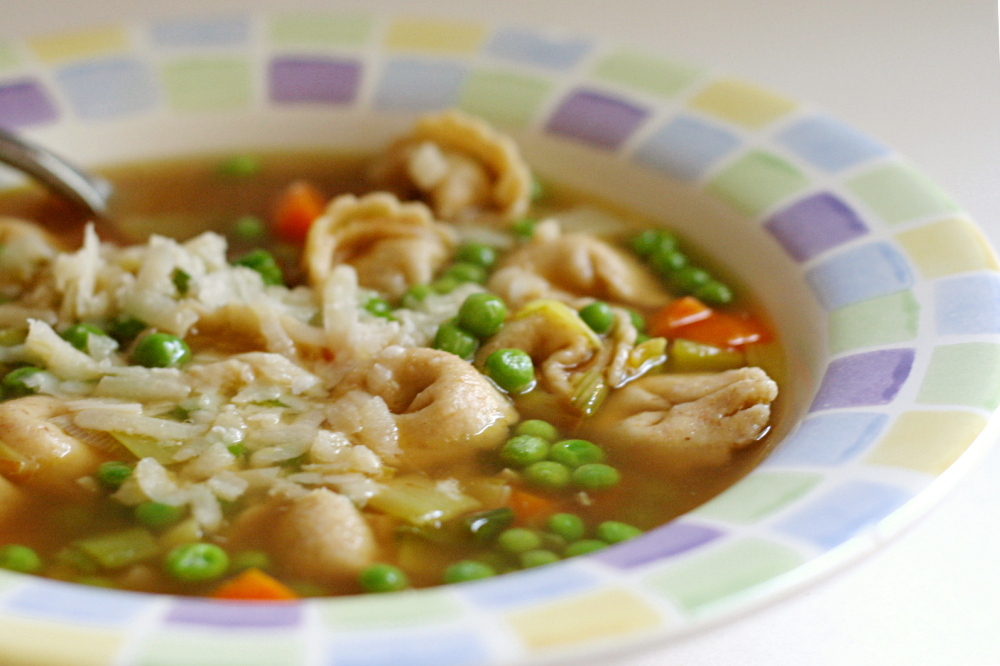
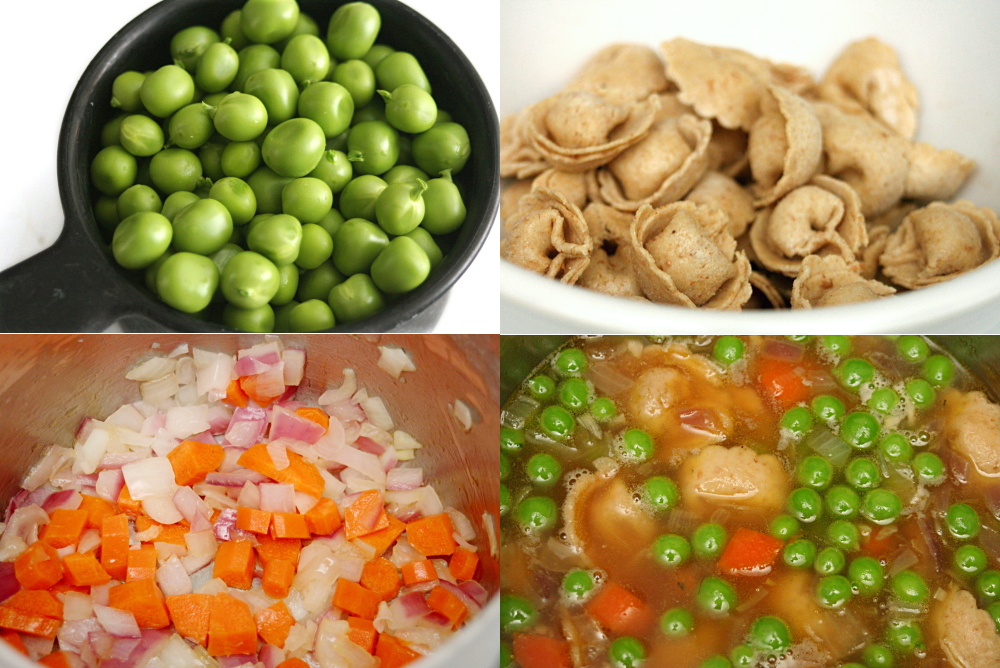
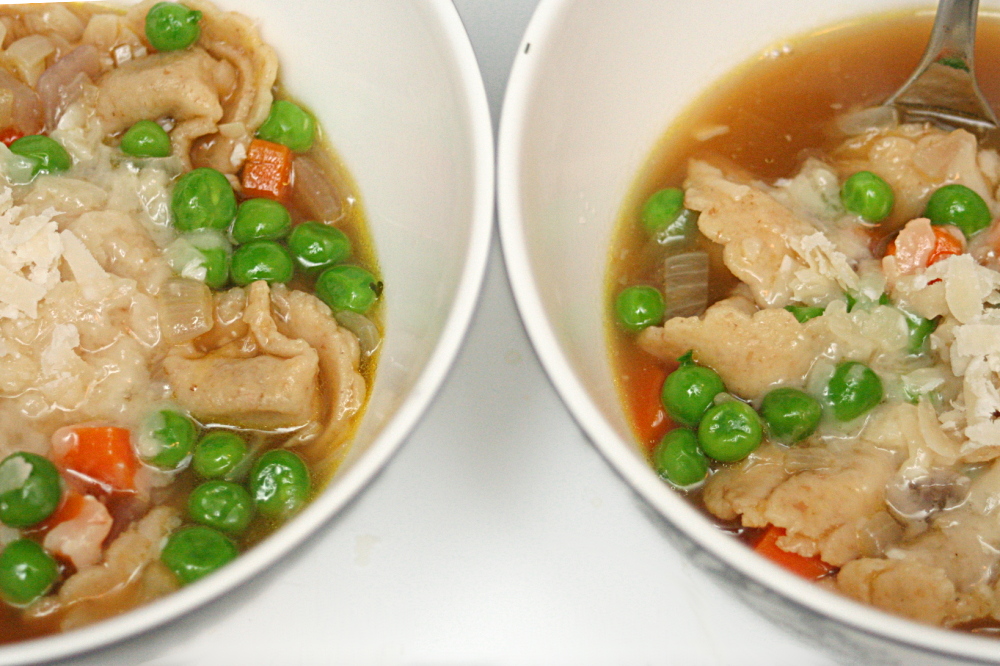
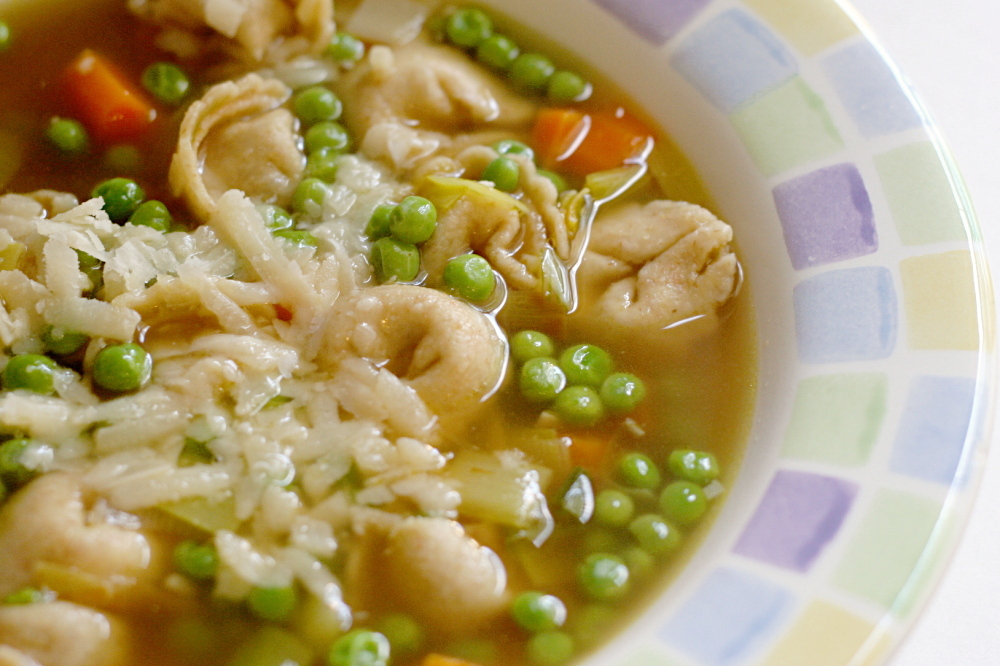
It comes together like any soup, starting with sautéing aromatics, adding broth, then tortellini, and finally the peas near the end. Pour it into bowls, top with some parmesan, and enjoy an assortment of light, spring flavors.

Copy of IMG_7457

One year ago: Cherry Rhubarb Cobbler

Tortellini Soup with Carrots, Peas and Leeks (from Fine Cooking, November 2006)

I doubled, or maybe even quadrupled the carrot. Also, the second time I made it (when I took photos), I didn’t have leeks, so I had to use red onion instead.

2 medium leeks (12 ounces untrimmed)
1 tablespoons unsalted butter
3 cloves garlic, finely chopped (about 1 tablespoon)
½ medium carrot, peeled and finely diced (2 tablespoons)
kosher salt
freshly ground black pepper
5 cups low-salt canned chicken broth
8 ounces frozen cheese tortellini
1 cup frozen peas
¼ cup (½ ounce) freshly grated Parmigiano-Reggiano or Grana Padano

1. Trim the roots and dark green leaves from the leeks. Slice the white and light green part in half lengthwise and then slice the halves thinly crosswise. Rinse well and drain.

2. Melt the butter in a 4-quart saucepan over medium heat. Add the garlic, leeks, and carrot. Season with a couple pinches of salt and cook, stirring occasionally, until tender, 5 to 7 minutes. (It’s fine if the vegetables brown lightly.) Stir in ¼ teaspoon pepper and cook for about 20 seconds, then add the chicken broth and bring to a boil. Add the tortellini and cook for 3 minutes. Reduce the heat to a simmer and add the peas. Continue to simmer until the tortellini are cooked, 3 to 5 minutes.
3. Season to taste with salt and pepper. Portion the soup into warm bowls, top each with some of the cheese, and serve.

Copy of IMG_7223

strawberries and cream pie

copy-of-img_6404

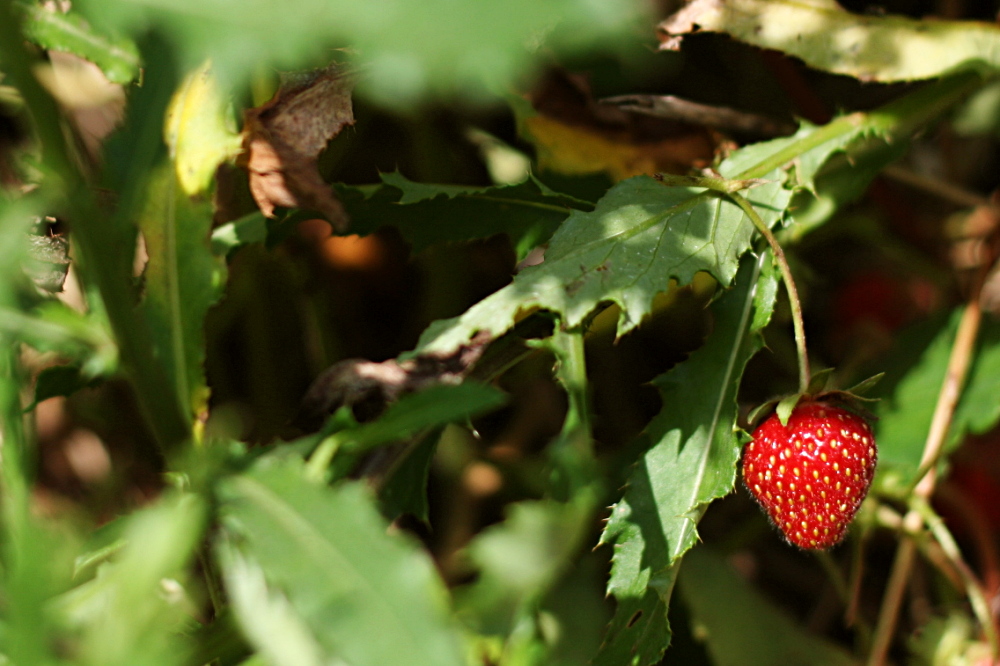
Those U-pick places tend to be better in theory than in practice for me. I do like knowing that my food is picked at its peak ripeness. It makes for some wonderfully sweet strawberries. On the other hand, ew, bugs. And thorns, and rotting berries that you can’t see under all the leaves and you don’t find until you reach under to grab for a nearby berry and squish!

copy-of-img_6327

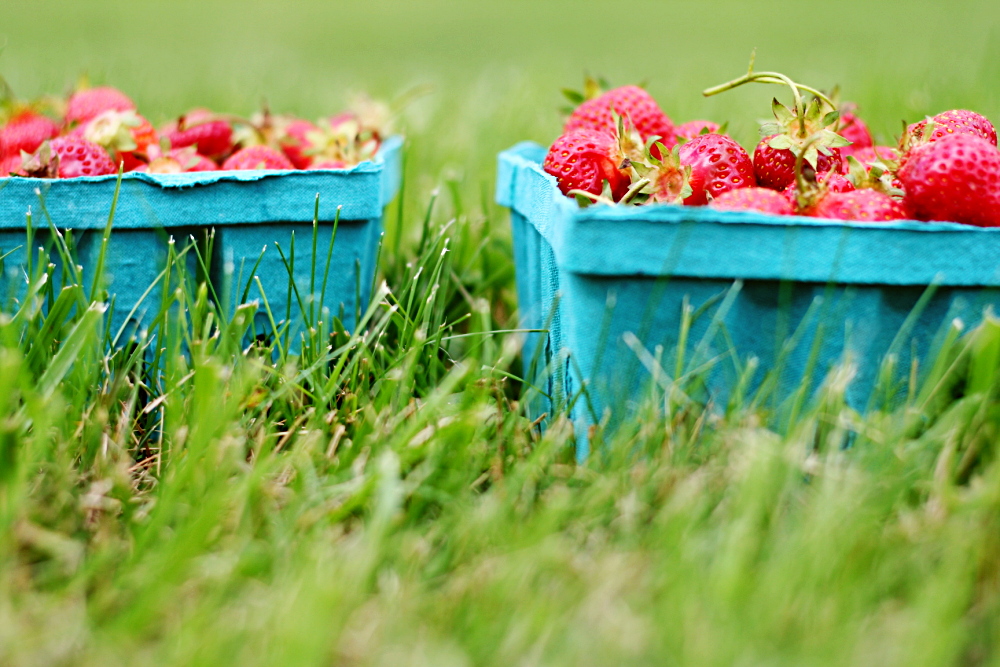
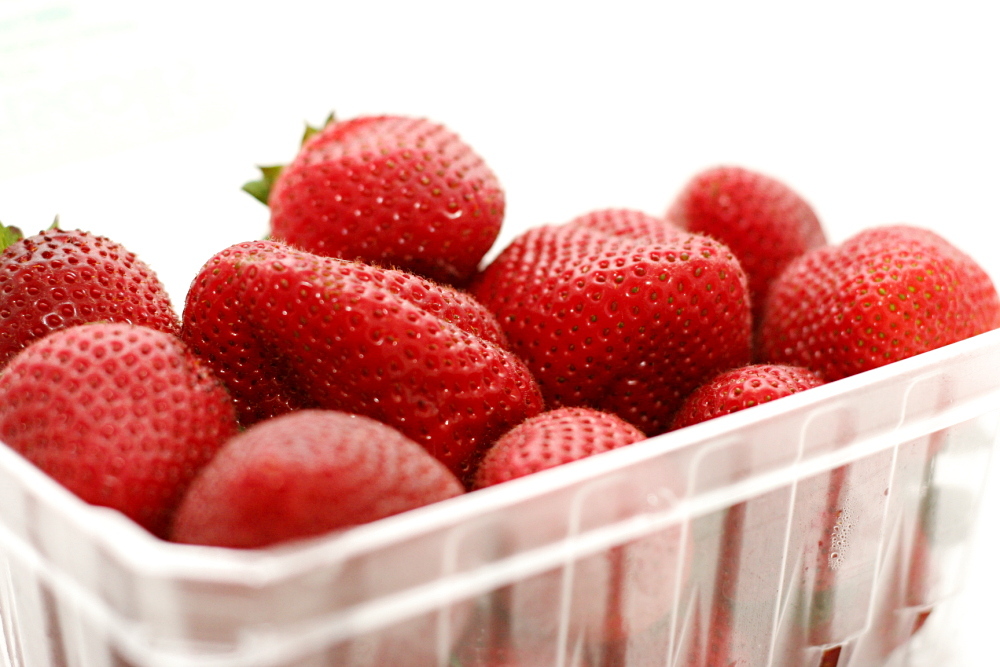
Not that you shouldn’t try it! Or you could just buy the pre-picked cartons in the farm store right nearby.

copy-of-img_6341

It was worth it in the end though, because I love this pie. I’ve managed to make it once each spring since I found the recipe. And Dave and I managed to eat three-quarters of it within 24 hours this year! That’s something to be proud of.

copy-of-img_6393

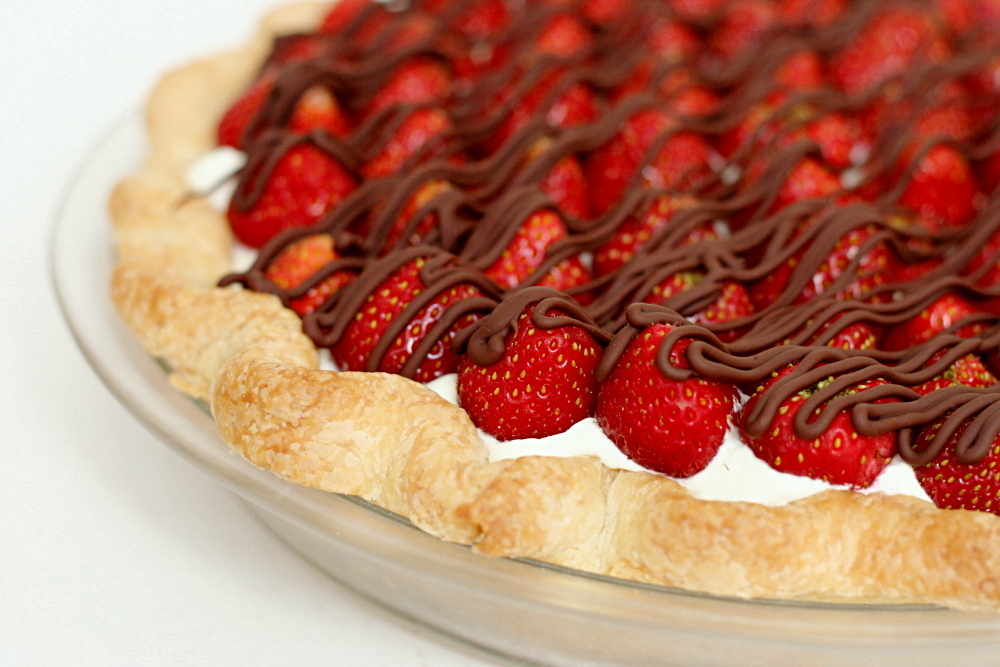
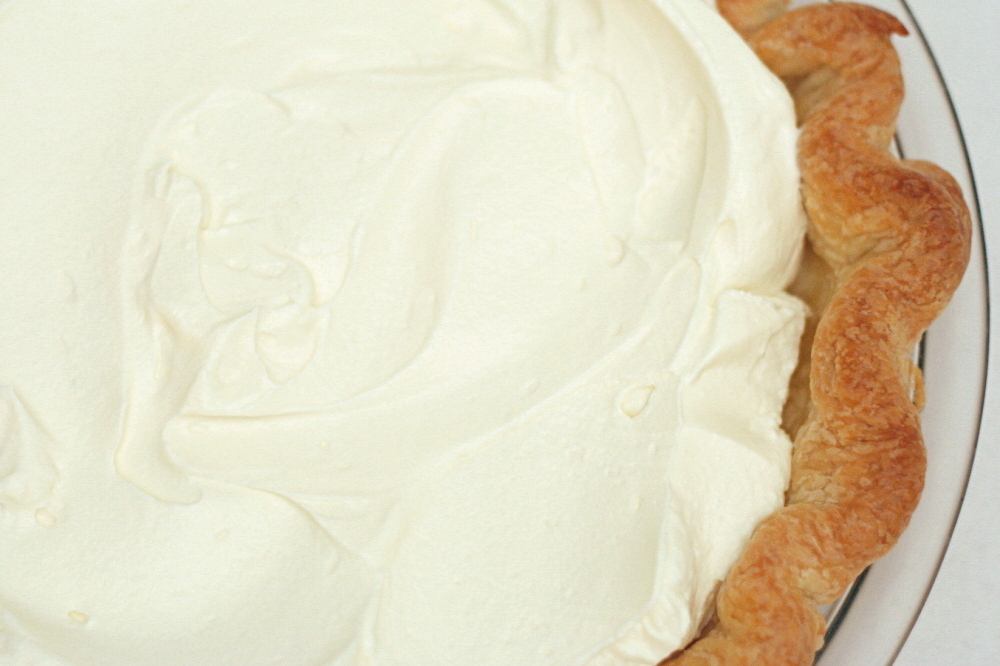
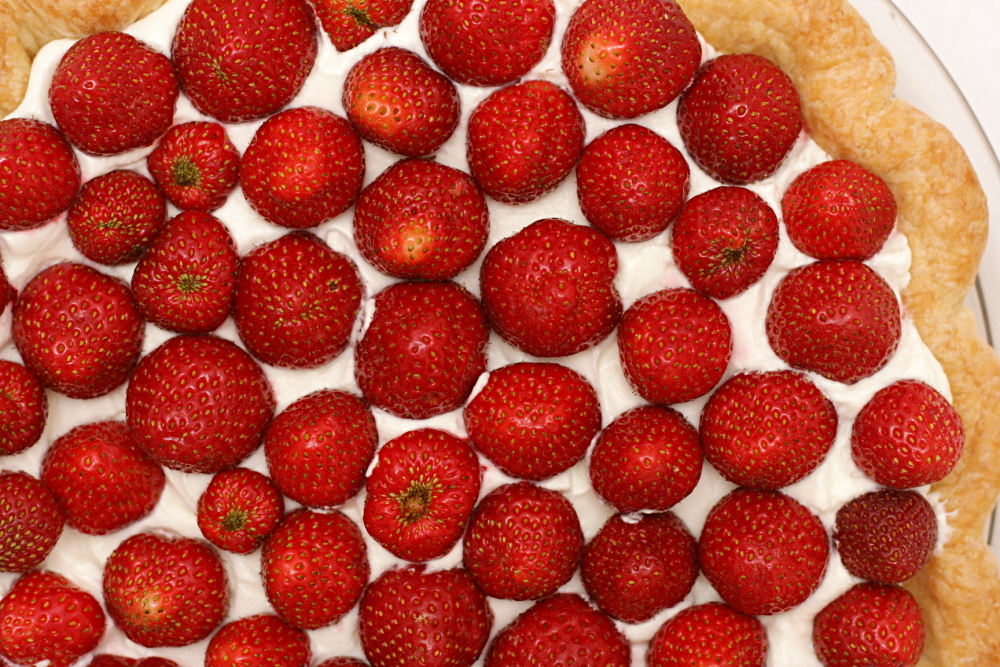
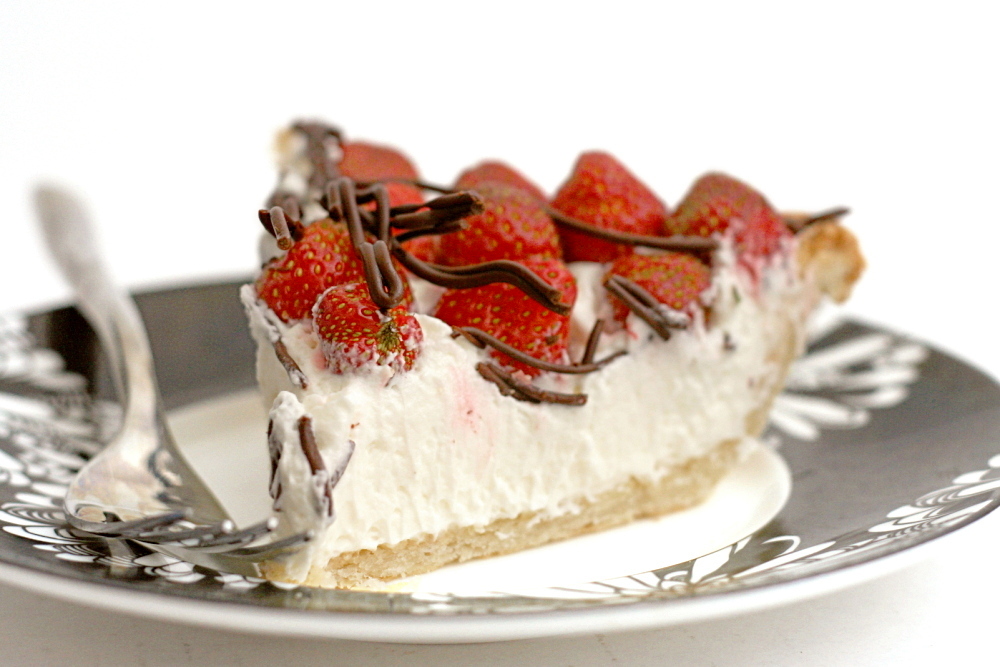
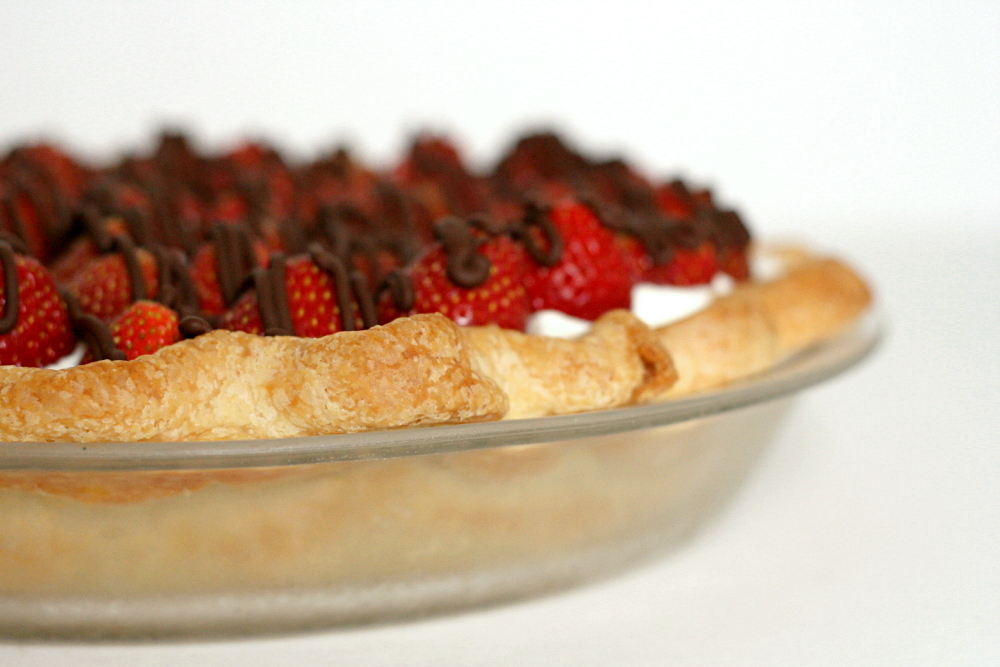
The thing is, I can’t resist cheesecake batter (sugary cream cheese!), and that’s mostly what this pie is. Cream cheese is mixed with sugar and a bit of almond extract, then whipped cream is folded in to lighten it. (I love when heavy cream is used to lighten something.)  The cream filling is topped with strawberries, which are kept whole for maximum visual impact, and then a bit of dark chocolate is drizzled over the top for some contrasting color and flavor.
copy-of-img_6402

You don’t need fresh-picked strawberries for this pie. The little raspberry-sized berries we picked made it a little easier to cut nice slices, but bigger strawberries require less hulling.  And anyway, it’s hard to mess up this pie, with the sweet, creamy filling topped with slightly tart strawberries and just a bit of bitter chocolate, all supported by flaky pie crust.  This is the only strawberry dessert I make a point to make every single spring.

copy-2-of-img_6419

One year ago: Poached Eggs with Arugula and Polenta Fingers

Strawberries and Cream Pie (adapted from Pillsbury’s Complete Cookbook)

Serves 8-10

You could definitely use the full cup of cream in the filling (which is what the original recipe recommends) if you have more cream around for the chocolate, but I didn’t and I kicked myself for not saving a bit of the 1-cup container of cream I’d brought. I used butter with the chocolate instead, but the chocolate hardened too much when it was cold and broke apart into shards when I cut slices.  Cream will keep it softer.

1 cup cold heavy cream, divided
8 ounces cream cheese, softened
1/3 cup (2.33 ounces) sugar
¼ to ½ teaspoon almond extract
1 pie crust for a 1-crust pie, completely baked and cooled
2 pints fresh whole strawberries, hulled
2 ounces bittersweet chocolate, finely chopped

1. In a medium bowl (or the bowl of a standing mixer fitted with the whisk attachment), beat 1 cup minus 1 tablespoon of the cream on medium speed. When the cream is frothy, increase the speed to high and whip until the cream holds firm peaks.

2. In a separate large bowl (or the bowl of a standing mixer fitted with the paddle attachment), beat the cream cheese on medium speed until it’s soft and creamy. Add the sugar and extract and continue beating until combined.

3. Fold about 1/3 of the whipped cream into the cream cheese to lighten the mixture, then add the remaining cream and continue folding until it’s incorporated. Evenly spread the cream mixture in the pie crust. Arrange the strawberries, pointed side up, over the filling.

4. Melt the chocolate with the remaining 1 tablespoon cream over very low heat, stirring constantly, or in the microwave on medium power, or in a double boiler. Drizzle the chocolate over the strawberries. Refrigerate the pie until set, about 1 hour.

copy-of-img_6413

pork tenderloin with rhubarb sauce

copy-of-img_6083

For years, before I had a food blog, I primarily cooked Cooks Illustrated recipes. I did worry about whether I was relying on them too much and if I was creative enough, but because I was making great food and learning useful tricks, I didn’t think too much of it. The main problem I had was that CI’s schtick is to perfect common recipes, so while I was making very good versions of familiar foods, I rarely tried unfamiliar flavor combinations.

copy-of-img_6056

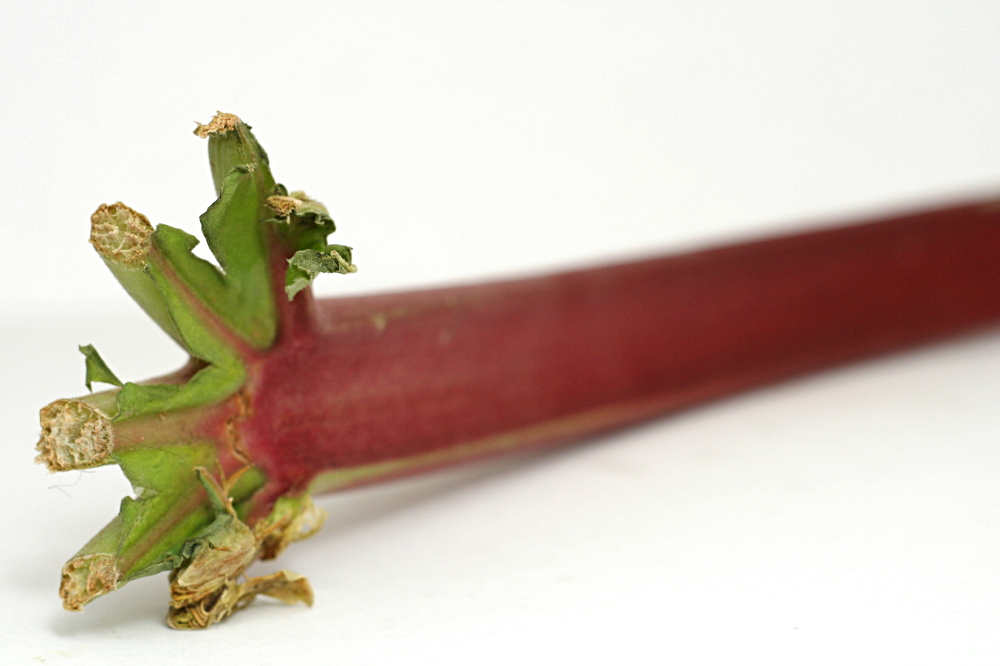
To solve this problem, I bought their Restaurant Favorites at Home cookbook. And then I started a food blog, found other fun recipes to try, and this cookbook mostly got ignored. Feeling uninspired recently, I did a quick flip through it and lucked into something perfect – an opportunity to use rhubarb while it’s in season, plus a type of meat that I underutilitize.

copy-of-img_6057

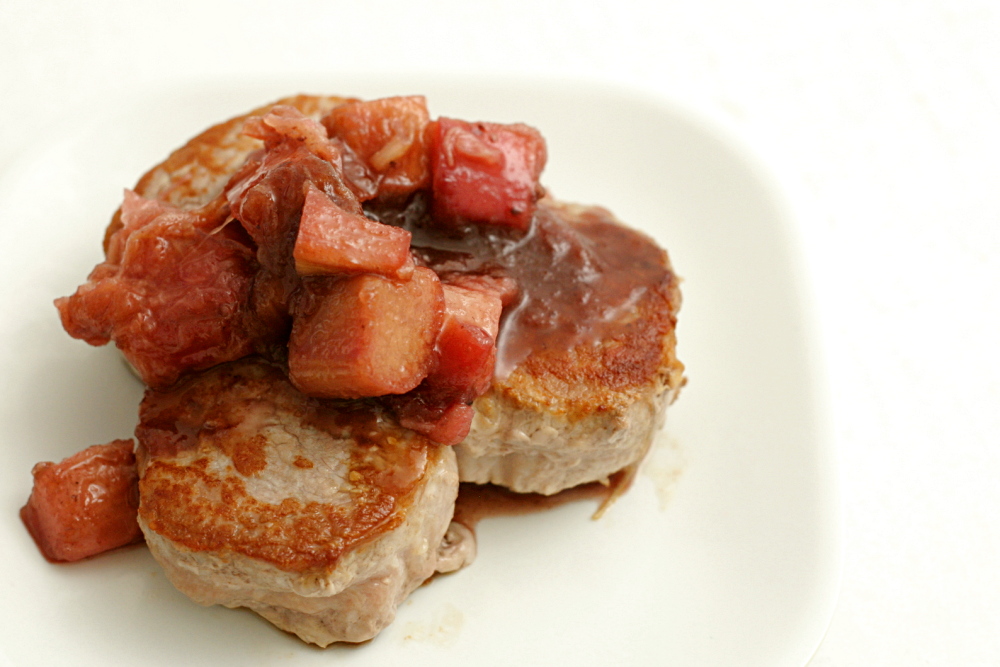
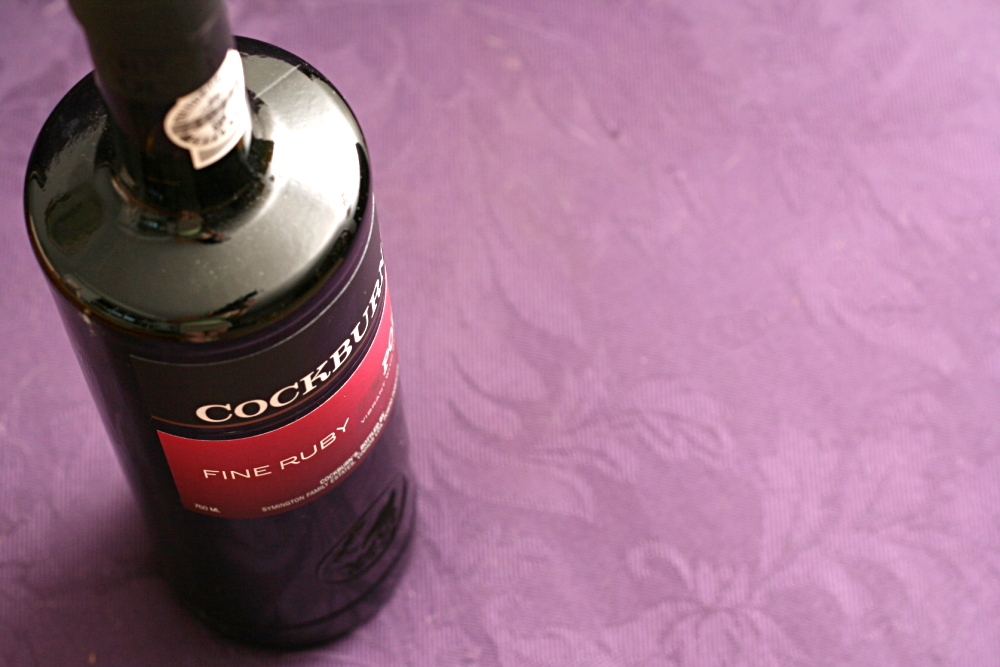
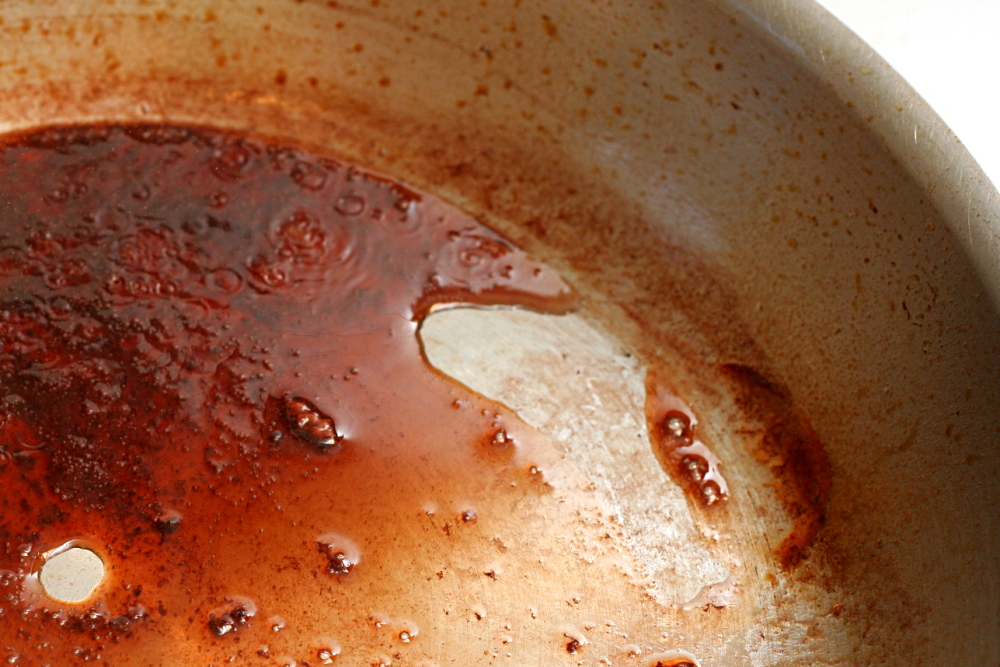
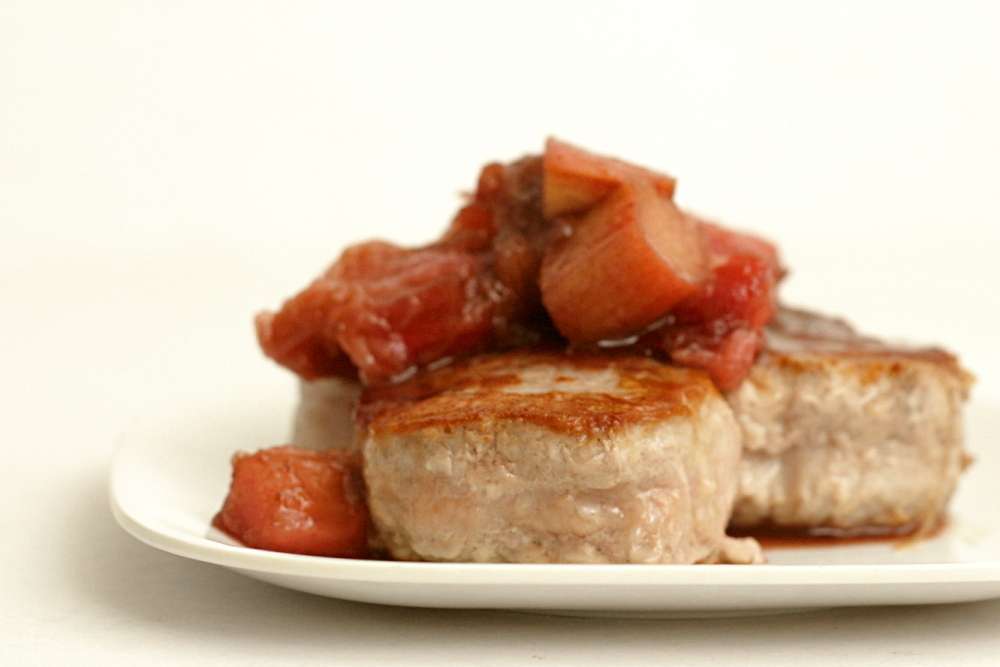
Pork tenderloin seems underappreciated, considering that it’s the pig version of filet mignon. Plus one tenderloin is such a perfect serving size for two people, and it’s easy to cook. Season, set in a hot pan, flip. Then maximize flavor by using the fond in a sauce – a sauce with reduced port and rhubarb.

copy-of-img_6070

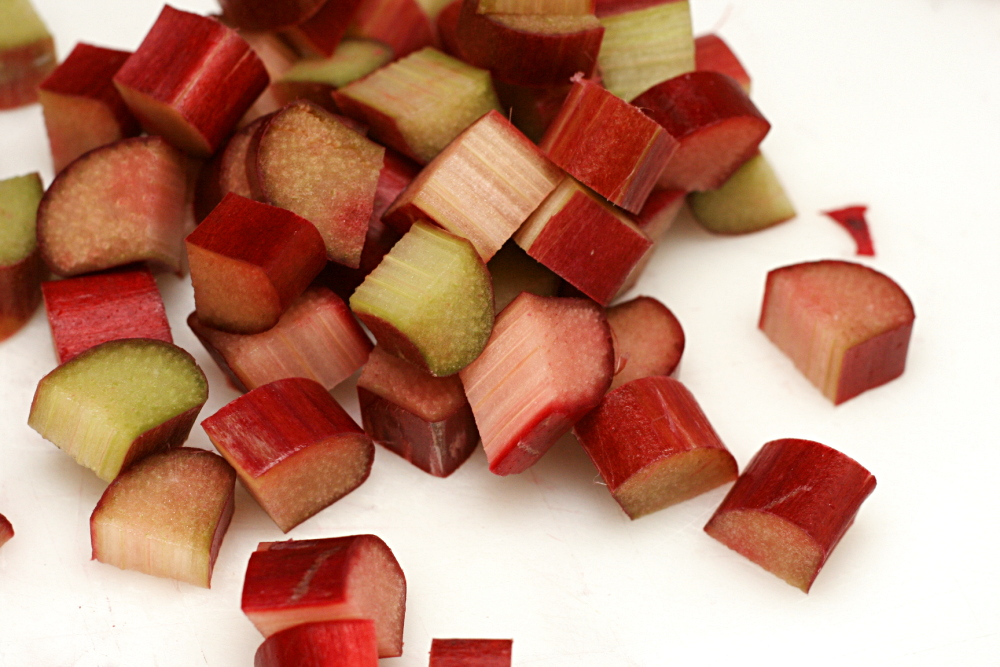
As much as I do like sweet sauces with pork, the ratio of rhubarb to meat was too much for me. I’d prefer about half of the amount of sauce because it overpowered the meat. The other, less important, change I needed to make was to cook the rhubarb for a lot less time, previous to adding it to the rest of the sauce ingredients. Reaching the recommended “softened but still retains its shape” texture took about half the time as the recipe implies.

copy-of-img_6081

With those very easy adjustments, this was a simple and elegant seasonal main dish. I love rhubarb, so I’m happy with any chance I get to eat it, and especially with one of my favorite cuts of meat.

copy-of-img_6087

One year ago: La Palette’s Strawberry Tart

Pork Tenderloin with Rhubarb Sauce (from Cooks Illustrated’s Restaurant Favorites at Home)

6 servings

This is the original recipe. Next time I make it, I’ll halve the rhubarb and the sugar (using 3 stalks of rhubarb and 6 tablespoons of sugar) and keep a close eye on the rhubarb while it cooks in Step 1, counting on it being tender after about 15 minutes of cooking. Also, I found it unnecessary to pound the meat – I just squashed it down a bit.

6 large rhubarb stalks, cut into ½ inch dice (about 4 cups)
¾ cup sugar
3 small pork tenderloins (12-16 ounces each, for a total of 2.5-3 pounds), trimmed of silver skin and excess fat
salt and ground black pepper
2 tablespoons vegetable oil
½ cup ruby port
1 cup low-sodium chicken broth

1. Cook the rhubarb and sugar together in a medium, heavy-bottomed saucepan over low heat until the rhubarb has softened but still retains its shape, 25-35 minutes.

2. Cut each pork tenderloin crosswise into six 2-inch-thick slices. With a cut side facing up, lightly pound each slice into a round ¾-inch-thick medallion. Season the medallions generously with salt and pepper.

3. Adjust an oven rack to the middle position and heat the oven to 200 degrees. Heat 1 tablespoon vegetable oil in a 12-inch skillet (not nonstick) over medium-high heat until just smoking. Lay 9 medallions in the pan and cook until lightly browned, 3 to 4 minutes. Flip the medallions and cook on the second side until lightly browned and nearly cooked through, 3 to 4 minutes longer. Transfer to a clean plate and keep warm in the oven. Add the remaining 1 tablespoon vegetable oil to the skillet and repeat with the remaining 9 medallions. Transfer to the plate in the oven.

4. Add the port and bring to a simmer. Simmer until the port is thick and syrupy, about 2 minutes. Stir in the broth and any accumulated rhubarb juices and return to a simmer. Simmer until the mixture is thick and has reduced to about ½ cup, about 12 minutes. Stir in the rhubarb mixture and any accumulated juices from the pork medallions and heat through, about 30 seconds. Season with salt and pepper to taste. Arrange 3 pork medallions on each of 6 individual plates and spoon about ¼ cup of the rhubarb sauce over the top. Serve immediately.

parisian strawberry tartlets

copy-of-img_6106

Once I started making an effort to eat seasonally, I realized that apples were my best bet for a large part of the year. By the end of winter, I’m impatient for strawberries to kick off the farmer’s market season. I try to avoid apples in the spring and summer, because it’s nice to take a break when I can, and then I get to look forward to them in the fall.

copy-of-img_6090

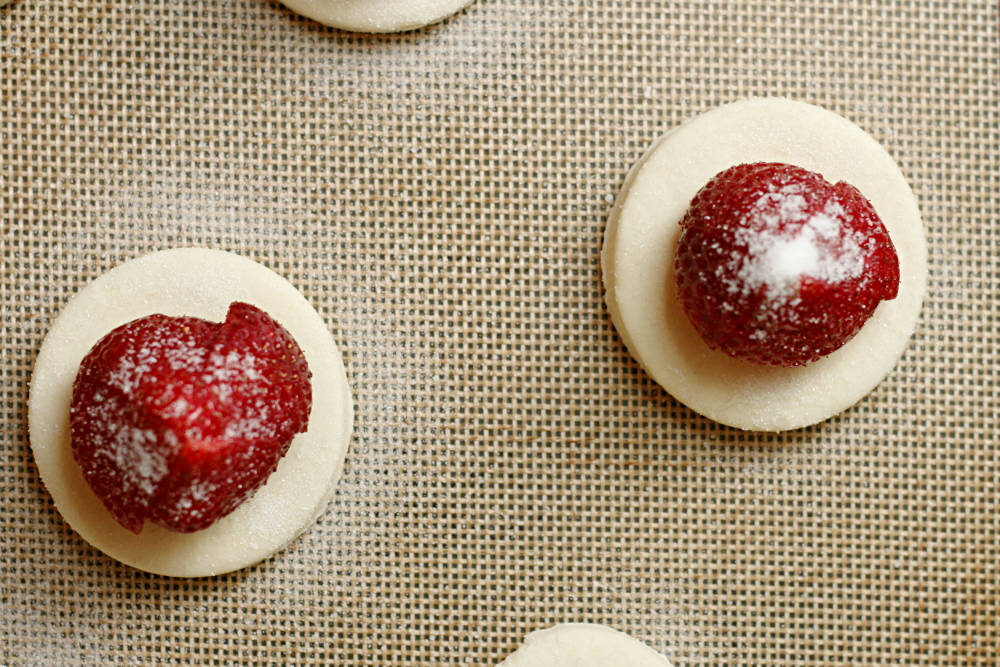
So I didn’t want to make the apple version of this dessert. Most of the other fruits that Dorie recommends are stone fruits that won’t be in season for a month or so. I thought that strawberry mini-tarts would work though.

copy-of-img_6092

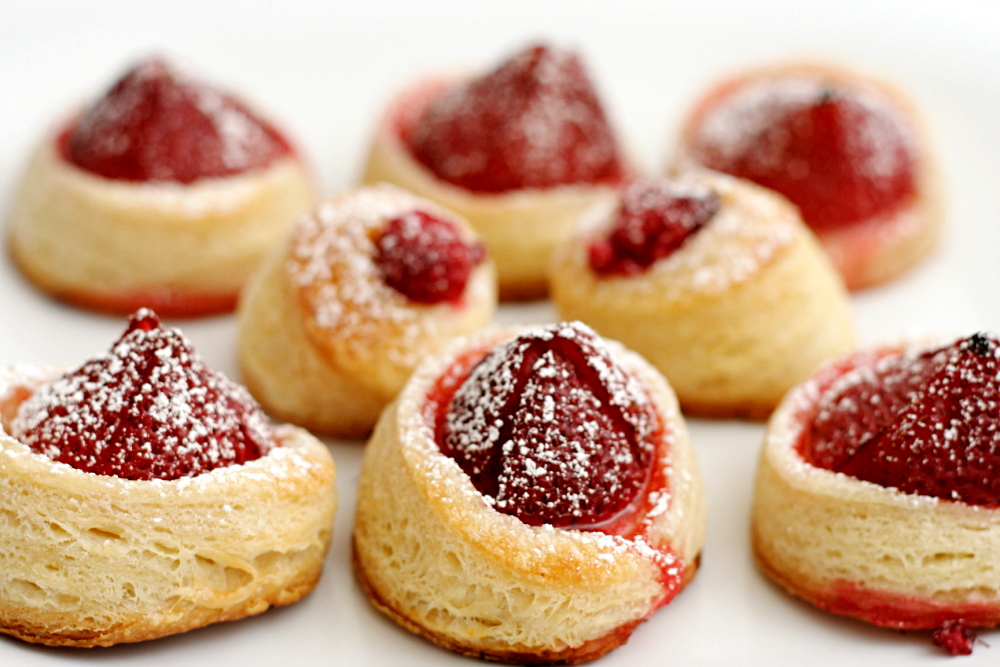
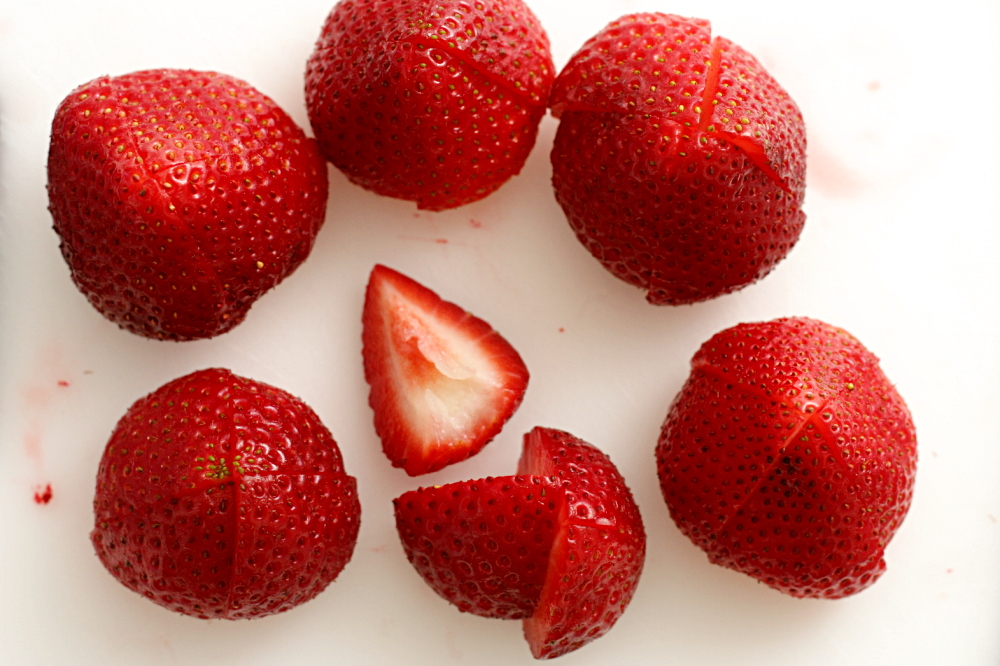
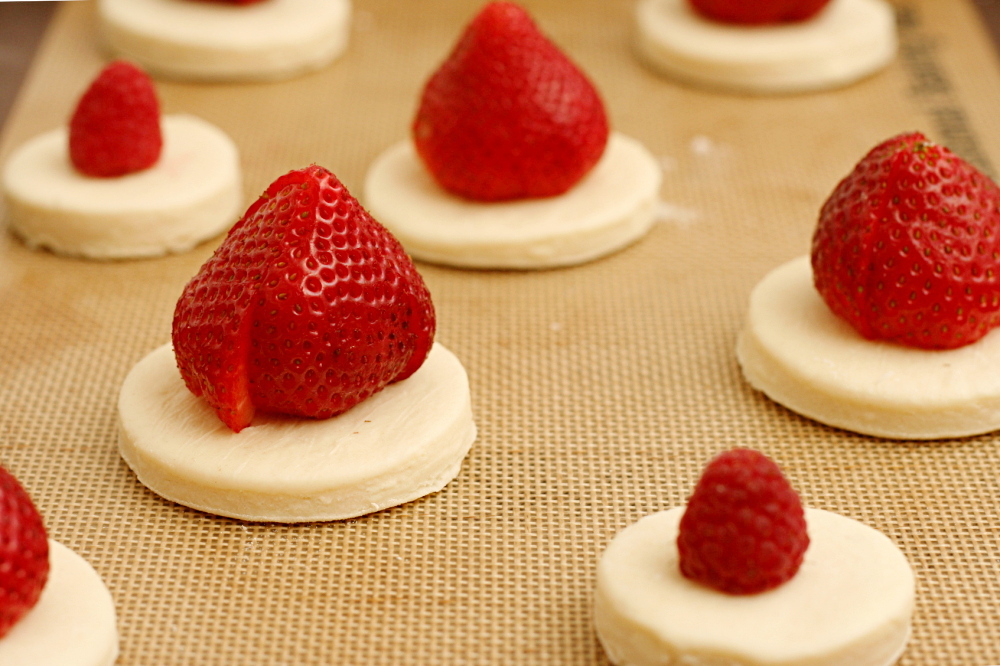
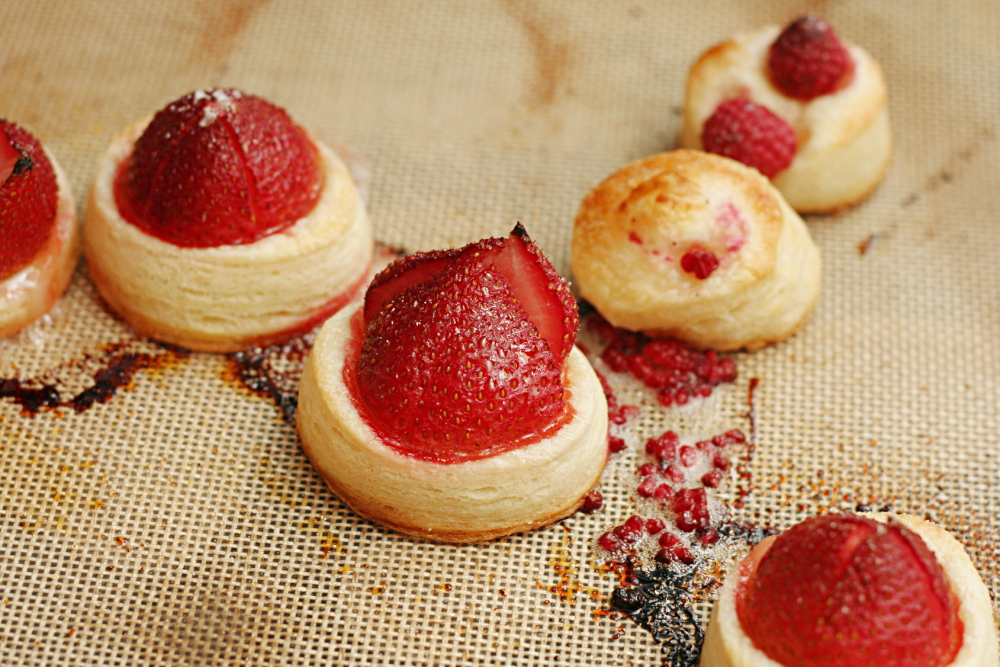
This recipe is very easy. Quartered fruit is positioned in the middle of a round of puff pastry, sprinkled with sugar, dotted with butter, and baked. I skipped the butter and added a pinch of salt.

copy-of-img_6095

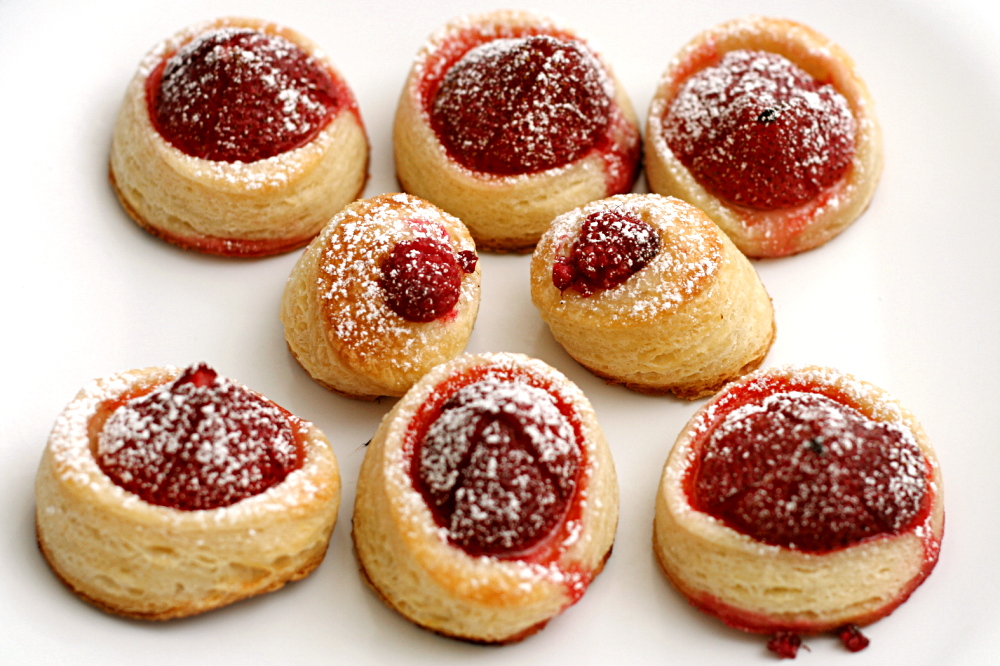
I made even miniaturer tarts too, each topped with a single raspberry, but those didn’t work quite as well. The pastry puffed the berries right off. I sort of balanced the berries back on the pastry after baking, and all was good.

The tarts were great. The flaky, buttery pastry was a great base for the sweet berries.

copy-of-img_6101

Jessica has posted the recipe for this easy, tasty, impressive dessert that she chose for Tuesdays with Dorie.

One year ago: Pita Bread

copy-of-img_6107

strawberry cake

copy-of-img_5603

I do not like oddball mixing methods. In fact, unless they’re explained, my habit is to ignore them completely. I know that muffins are sometimes mixed like cakes and that there are different types of cookies, but in general, I’m familiar with the normal mixing methods, and if something strays too far from what I recognize, it annoys me and I adapt the recipe to what seems more sensible.

copy-of-img_5021

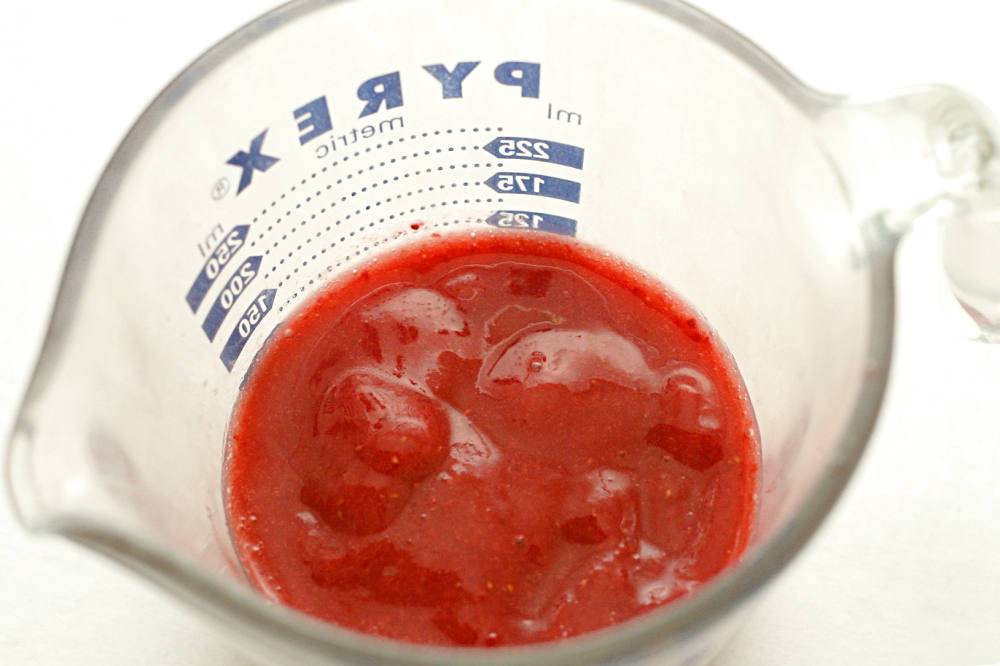
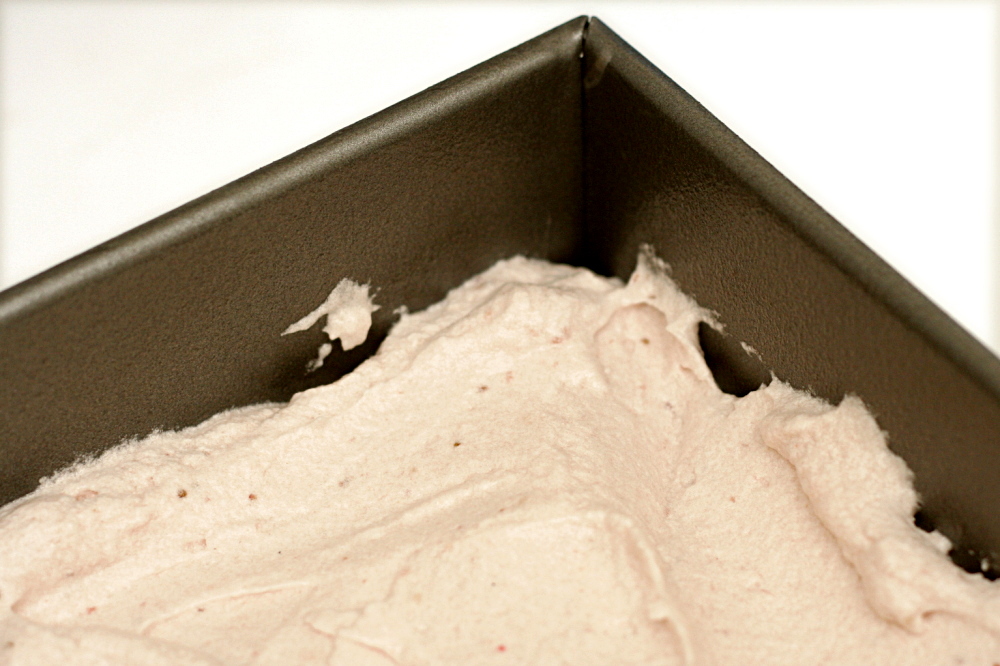
The first strawberry cake I made has a weird mixing method. You mix the dry ingredients in the mixer bowl, then add strawberry puree and softened butter and beat the mixture until it’s fluffy. Only then do you add milk and the egg whites in a few additions, mixing just until they’re mixed in.

copy-of-img_5026

The egg whites are added at the end? Bizarro.

*Disclaimer: I accidentally added the milk with the strawberry puree. I don’t think this would have a significant effect on the outcome, but I can’t be sure.

copy-of-img_5033

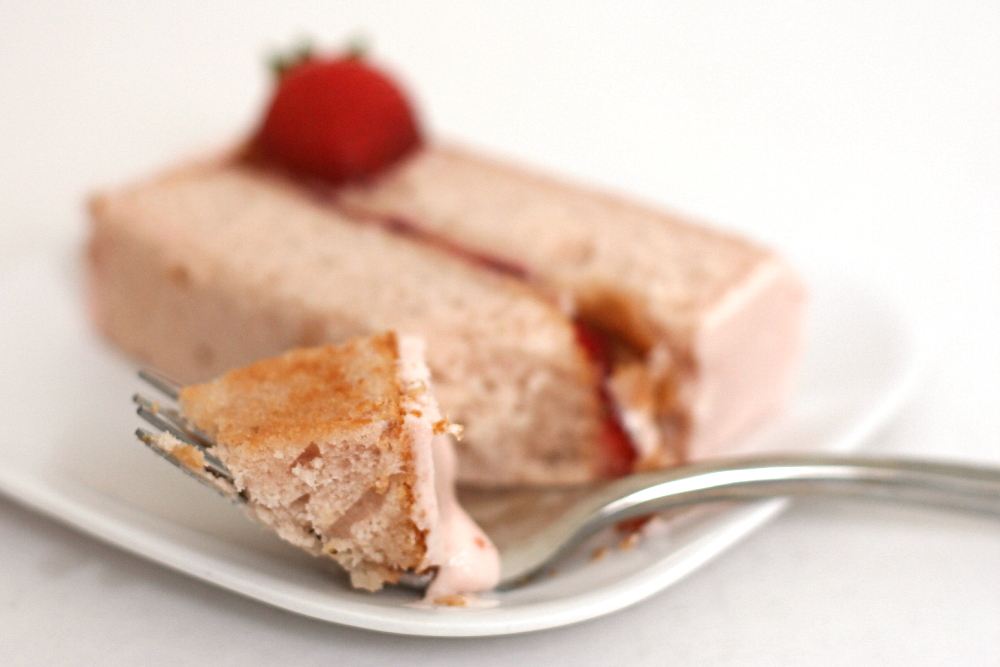
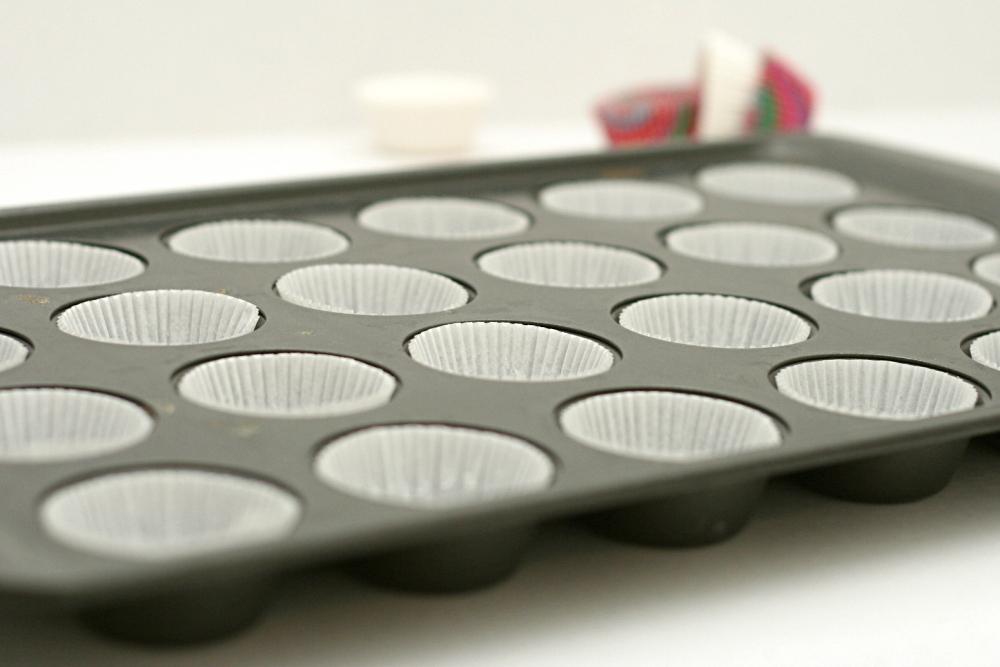
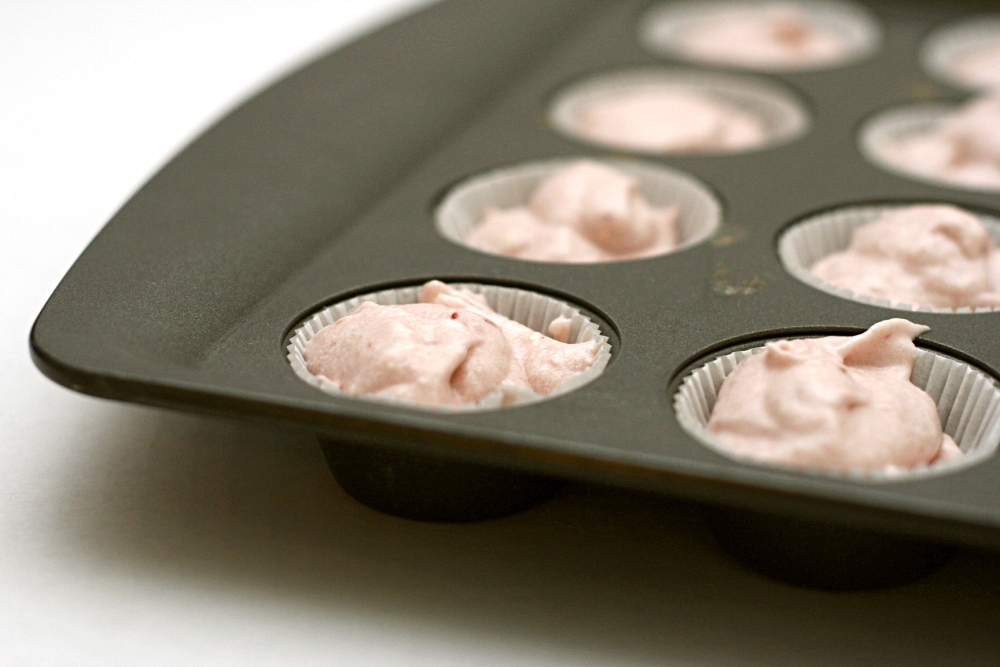
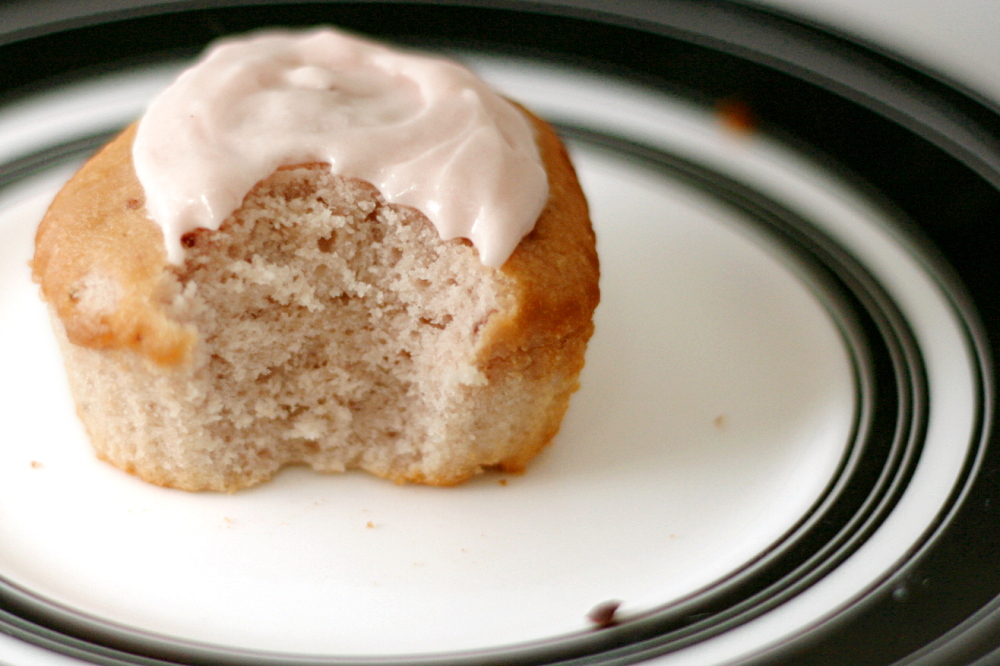
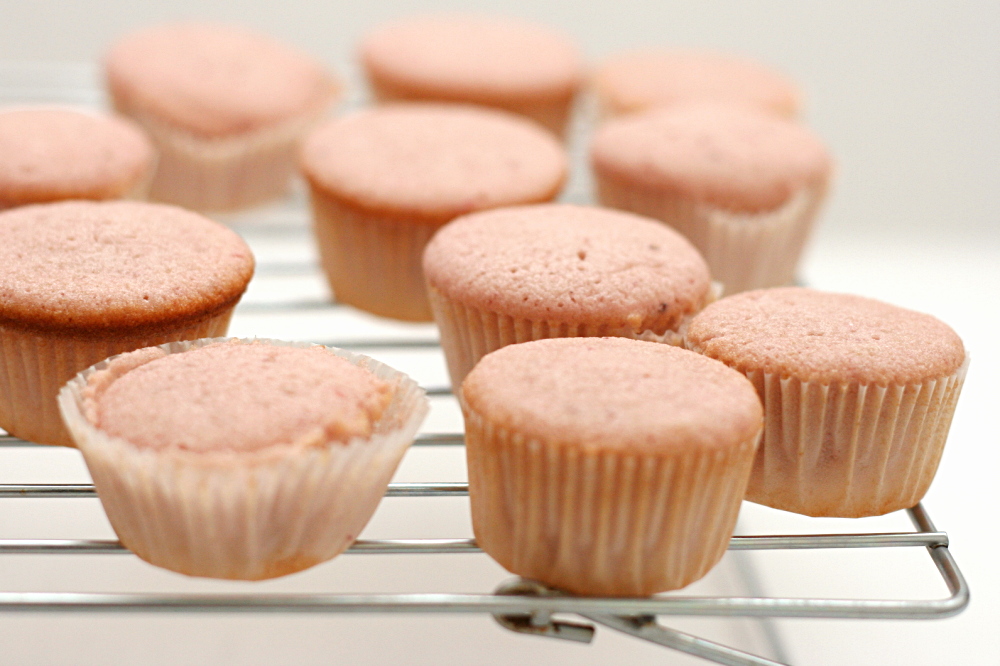
The cake was good, but, to me, not perfect. My mini cupcakes were a little sticky, or maybe gummy is a better word. What’s stranger is that all of the cupcake wrappers detached themselves from the cupcake within a few hours of baking. The flavor was great though, and every time I opened the lid to the container, I got a nice whiff of strawberries.

copy-of-img_5042

The other recipe I tried, from Good Things Catered, is similar to Cooks Illustrated’s white cake recipe, which I have previously enjoyed, with strawberry puree substituted for a portion of the milk. This recipe also has an unusual method – dry ingredients, then butter, most of the eggs + liquid, and then the rest of the eggs and liquid, followed by about a minute of beating the batter.

copy-of-img_5565

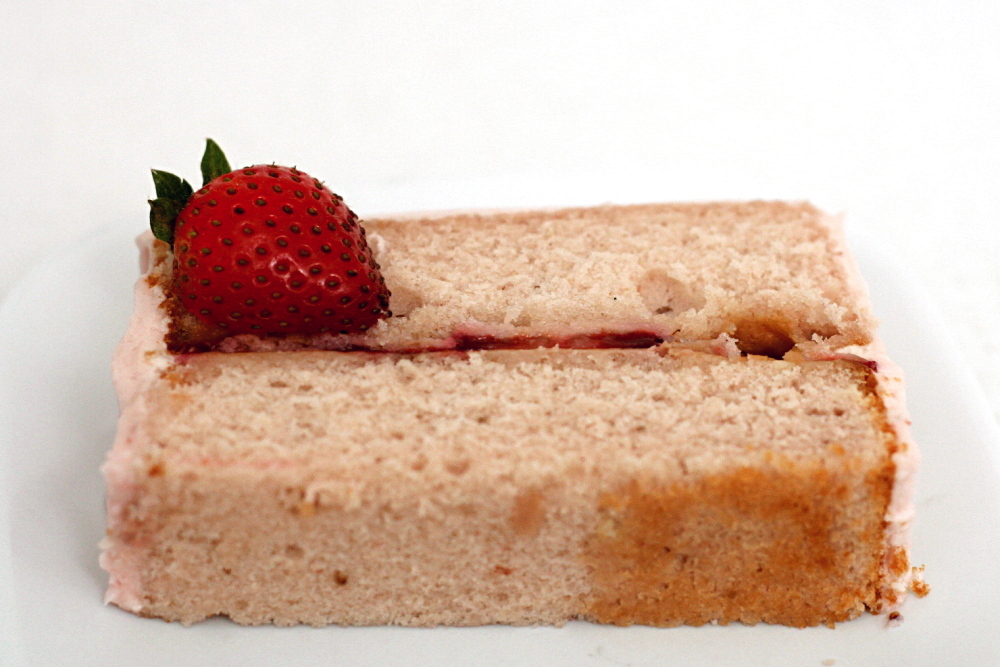
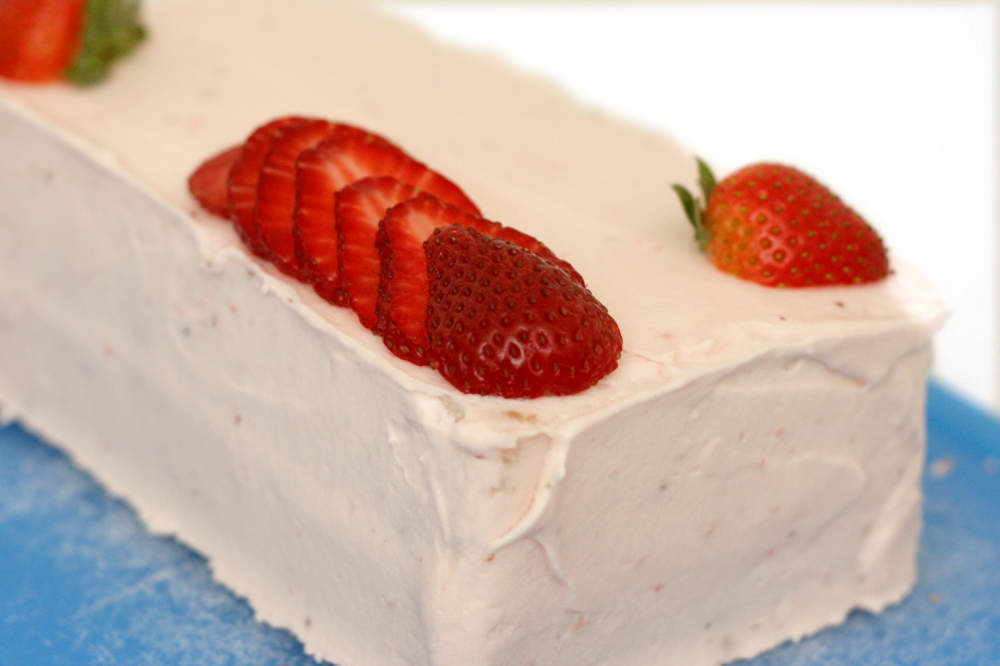
This cake, I have to admit, seemed a little dry. On the other hand, I did refrigerate it almost immediately after cooling, and then it was in and out of the freezer as I tried to neatly frost it, so perhaps I was a little too rough with it.

copy-of-img_5043

Both cakes were good. The strawberry flavor is definitely noticeable, which is nice. If I had to choose between the two, I’d choose the first one, from the Sky High cookbook, because it seemed more tender. However, what I really want to do is try the ingredients of the first one with a different mixing method. I have a feeling you can’t combine those ingredients and end up with anything that isn’t good, but I love to experiment.

copy-of-img_5568

One year ago: Baba Ghanoush and Fafafel

Pink Lady Cake (from Sky High via Smitten Kitchen)

Keep in mind that Sky High designs recipes for big cakes. If you’re not feeding a crowd, don’t be afraid to cut the recipe in half, which will yield the same amount of cake as most other cake recipes. Divide the batter between two 8- or 9-inch round pans and bake for 23-25 minutes.

All of the cupcake pictures are of this cake.

4½ cups cake flour
3 cups sugar
5¼ teaspoons baking powder
¾ teaspoon salt
3 sticks (12 ounces) unsalted butter, at room temperature
1½ cups pureed frozen strawberries (from about 12 ounces of strawberries)
8 egg whites
⅔ cup milk
1 to 2 drops red food dye, optional (to make the pink color more intense)

1. Preheat the oven to 350F. Butter three 9-inch round or 8-inch square cake pans. Line with parchment or waxed paper and butter the paper.

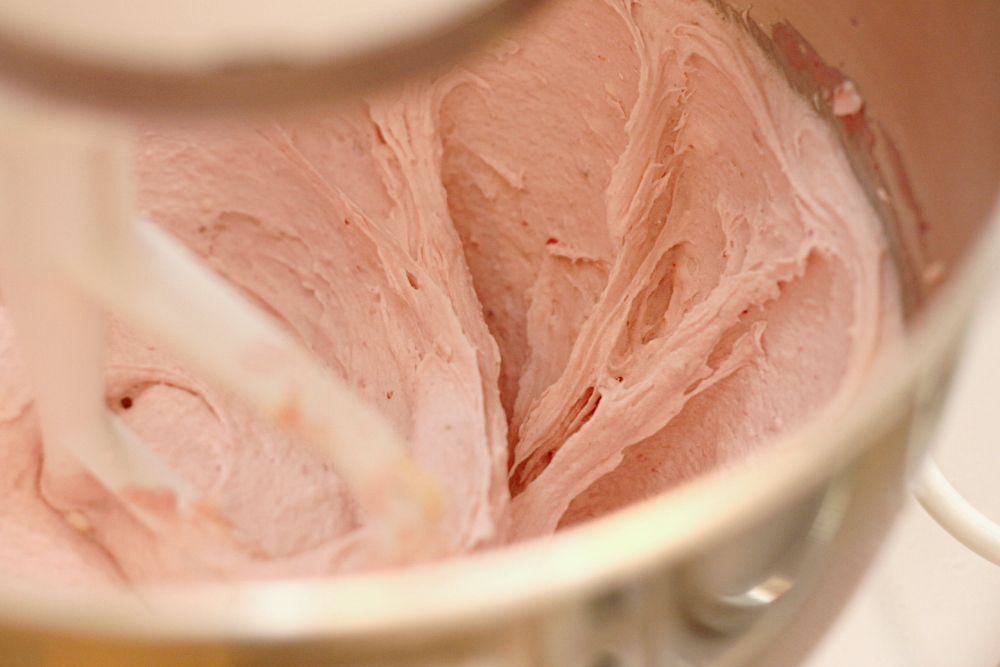
2. Put the flour, sugar, baking powder, and salt in a large mixer bowl. With the electric mixer on low speed, blend for 30 seconds. Add the butter and strawberry puree and mix to blend the ingredients. Raise the speed to medium and beat until light and fluffy, 2 to 3 minutes; the batter will resemble strawberry ice cream at this point.

3. In another large bowl, whisk together the egg whites, milk and red food dye, if using, to blend. Add the whites to the batter in two or three additions, scraping down the sides of the bowl well and mixing only to incorporate after each addition. Divide the batter among the three prepared pans.

4. Bake the cakes for 30 to 34 minutes, or until a cake tester or wooden toothpick inserted into the center comes out clean. Allow the layers to cool in the pans for 10 to 15 minutes. Invert and turn out onto wire racks and peel off the paper liners. Let stand until completely cooled before assembling the cake, at least an hour.

copy-of-img_5054

Strawberry Cake (adapted from Good Things Catered and Cooks Illustrated’s Classic White Layer Cake)

All of the layer cake pictures are from this cake.

Serves 12

Nonstick cooking spray
2¼ cups cake flour (9 ounces), plus more for dusting the pans
¼ cup whole milk, at room temperature
¾ cup strawberry puree (from about 6 ounces strawberries)
6 large egg whites (¾ cup), at room temperature
1 tablespoon vanilla extract
1¾ cups granulated sugar (12¼ ounces)
4 teaspoons baking powder
1 teaspoon table salt
12 tablespoons unsalted butter (1½ sticks), softened but still cool

1. Set oven rack in middle position. (If oven is too small to cook both layers on a single rack, set racks in upper-middle and lower-middle positions.) Heat oven to 350 degrees. Spray two 9-inch round cake pans with nonstick cooking spray; line the bottoms with parchment or waxed paper rounds. Spray the paper rounds, dust the pans with flour, and invert pans and rap sharply to remove excess flour.

2. Pour milk, strawberry puree, egg whites, and extract into 2-cup glass measure, and mix with fork until blended.

3. Mix cake flour, sugar, baking powder, and salt in bowl of electric mixer at slow speed. Add butter; continue beating at slow speed until mixture resembles moist crumbs, with no powdery streaks remaining.

4. Add all but ½ cup of strawberry mixture to crumbs and beat at medium speed (or high speed if using handheld mixer) for 1½ minutes. Add remaining ½ cup of strawberry mixture and beat 30 seconds more. Stop mixer and scrape sides of bowl. Return mixer to medium (or high) speed and beat 20 seconds longer.

5. Divide batter evenly between two prepared cake pans; using rubber spatula, spread batter to pan walls and smooth tops. Arrange pans at least 3 inches from the oven walls and 3 inches apart. (If oven is small, place pans on separate racks in staggered fashion to allow for air circulation.) Bake until thin skewer or toothpick inserted in the center comes out clean, 23 to 25 minutes.

6. Let cakes rest in pans for 3 minutes. Loosen from sides of pans with a knife, if necessary, and invert onto wire racks. Reinvert onto additional wire racks. Let cool completely, about 1½ hours.

copy-of-img_5597

rhubarb scones

copy-of-img_5500

Scones get a seriously bad rap. People think they’re bland, dense, and/or crumbly. People think you can only enjoy them if you have a mug of coffee or tea with them. Branny told me that her husband thinks they taste like chalk. And these people aren’t completely wrong – some scones are pretty terrible. As for the whether they need to be accompanied by a hot drink, I happen to think that everything even a little sweet is better with coffee or tea.  But that doesn’t mean that I can’t enjoy a cookie without coffee.

copy-of-img_5281

Like a lot of foods, you might have to make scones yourself to get good ones. I can’t personally attest to the scones at coffee shops, but if they’re on par with every other baked treat I’ve ordered from a national coffee shop chain, they’ll be stale and bland. Don’t judge scones based on this example.

copy-of-img_5288

Scones are similar to biscuits, although many scone recipes have eggs included, which is rare in biscuits. In both, the dry ingredients are mixed first, and cold butter is cut in, then cold liquid is gently stirred in. Compared to the last scone recipe I made, this one has less butter, but richer dairy (cream as opposed to yogurt + milk).

copy-of-img_5517

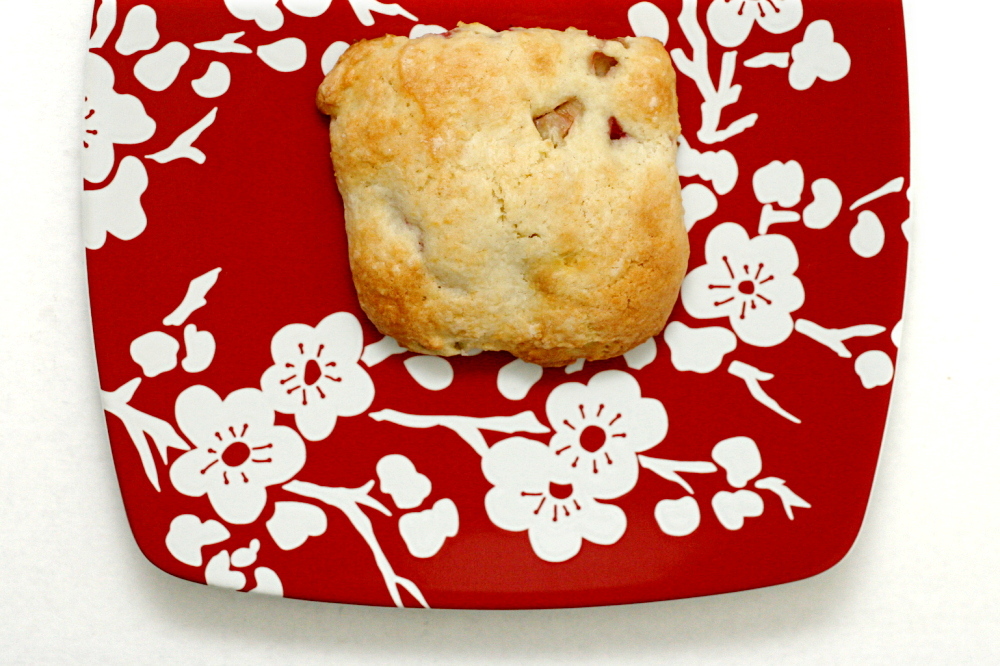
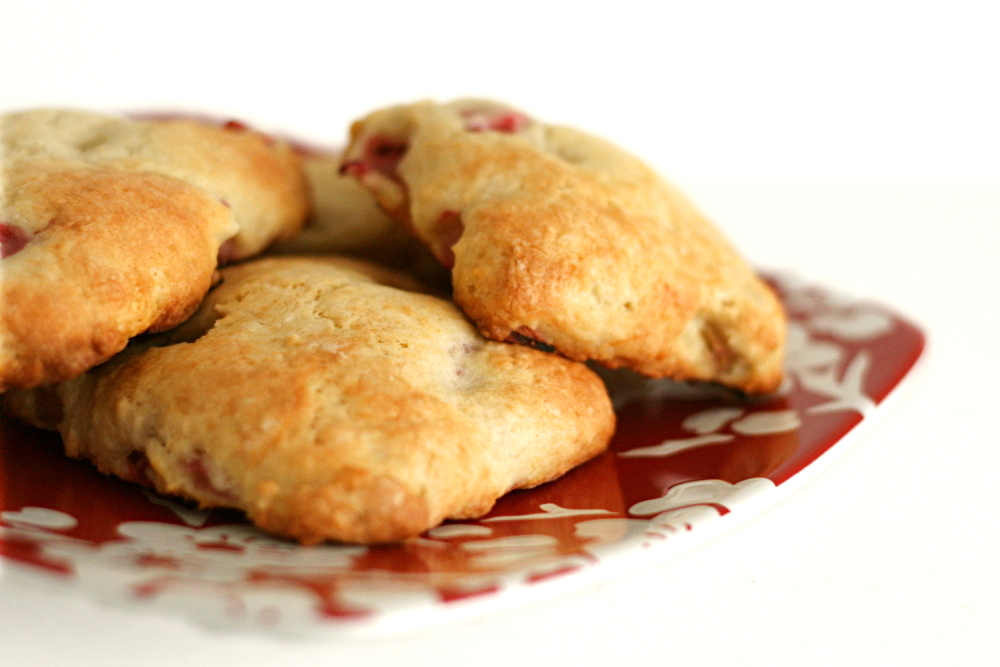
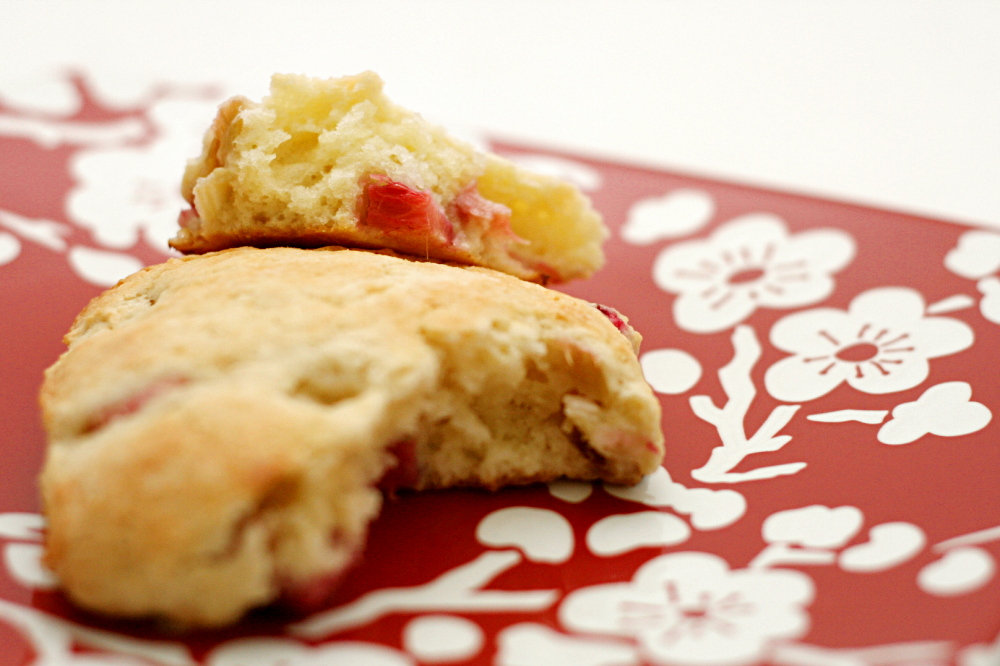
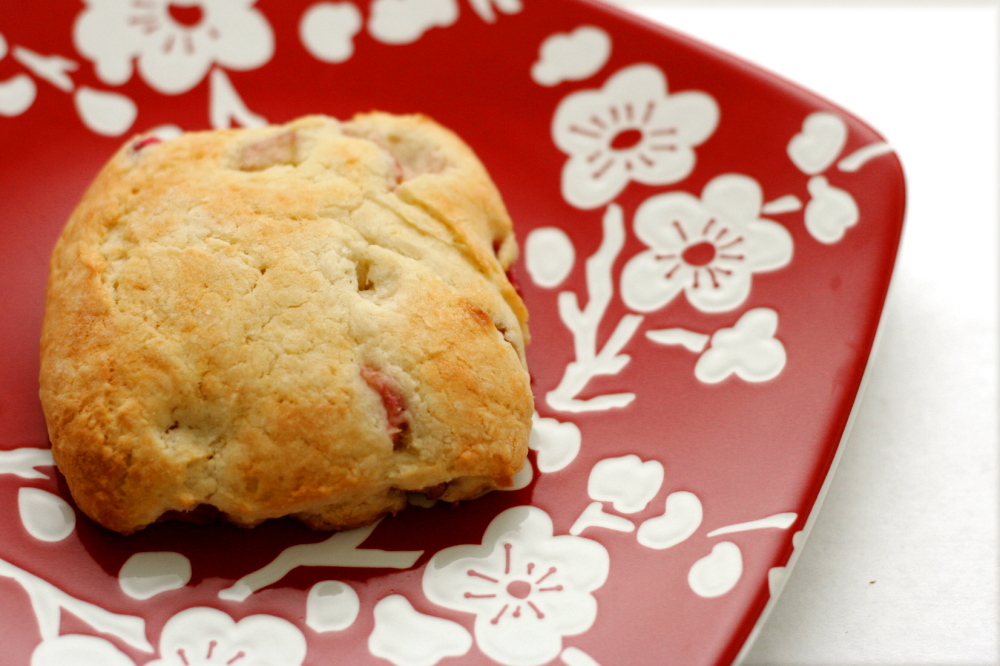
The cream changes the texture from flaky to melt-in-your-mouth tender. They’re sweet, but only slightly so, and studded by juicy, tart bits of rhubarb. There’s nothing bland, dense, crumbly, or chalky about these scones, and while I enjoyed mine with my Saturday cup of coffee, a hot drink is not required to appreciate these. If you think you don’t like scones, try these.

copy-of-img_5496

One year ago: Kaiser Rolls – I have to admit that I’ve made these twice and have decided that they’re just not worth the effort.  I like using this much easier dough instead.

Printer Friendly Recipe
Rhubarb Cream Scones
(adapted from Gourmet via Smitten Kitchen)

I only used 1½ cups (2 stalks) of rhubarb, but it wasn’t nearly enough. I would even err on the high side of 2 cups.

Update 5/8/2012 – While many people have had good results with this recipe, a few commenters have complained that their dough was too wet. This might have to do with imprecise volume measurements of flour, variability in rhubarb juiciness, or perhaps the size of the eggs used. Regardless, start with ½ cup of cream, then add more until the dough comes together but holds its shape. It might be sticky, but you should be able to pat it out with floured hands.

2½ cups (12 ounces) all-purpose flour
½ cup sugar (3.5 ounces) plus 3 tablespoons
1 tablespoon baking powder
½ teaspoon salt
¾ stick (6 tablespoons) cold unsalted butter, cut into bits
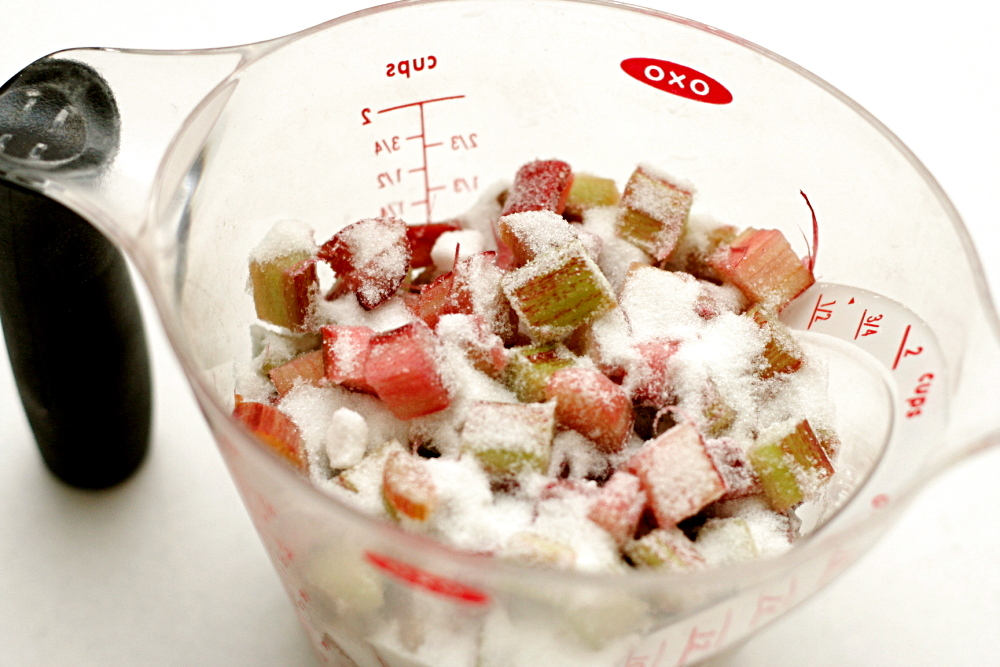
2 cups diced rhubarb (¼-inch cubes), about 3 stalks
1 large egg
1 large egg yolk
1 cup heavy cream (see update)

1. Preheat oven to 400F and line a large baking sheet with parchment paper. Adjust a baking rack to the middle position. In a small bowl, mix the rhubarb with 3 tablespoons sugar.

2. In a food processor, pulse the flour, ½ cup sugar, baking powder, and salt a few times, just to mix. Distribute the butter evenly over the dry ingredients and pulse until the mixture resembles coarse meal. Transfer to a large bowl.

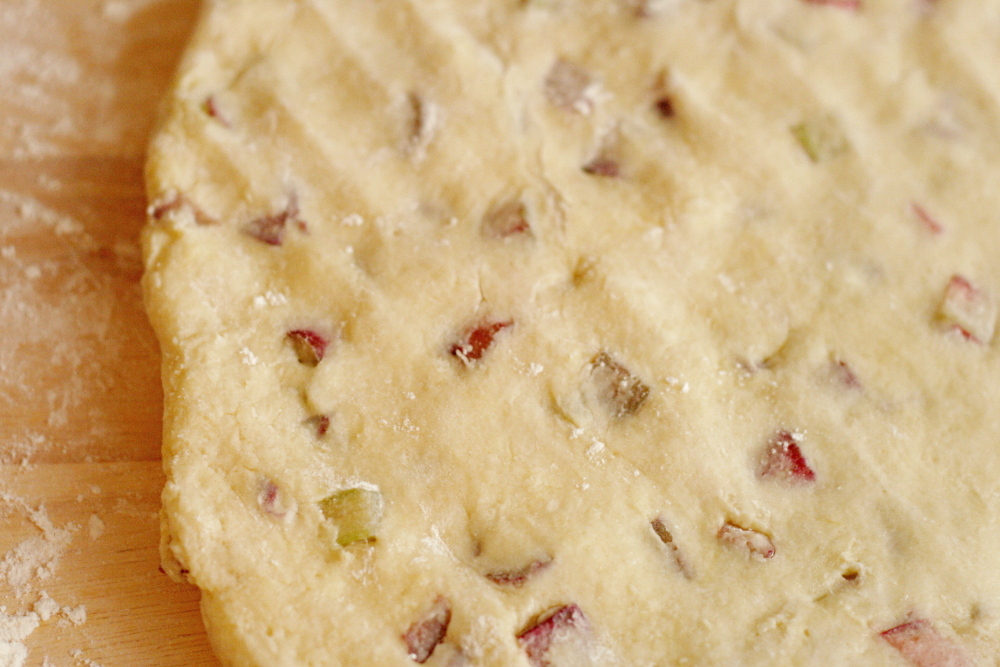
3. Stir the rhubarb into the flour mixture. Lightly beat the egg, yolk, and cream together in a bowl (use the same one you used for the rhubarb), then add this mixture to the flour mixture. Stir until just combined.

4. On a well-floured surface with floured hands, pat the dough into a 1-inch-thick round (about 8 inches in diameter). Using a 2-inch round cutter or rim of a glass dipped in flour, cut out as many rounds as possible, rerolling scraps as necessary. Arrange rounds about 1 inch apart on baking sheet and bake for 15 to 20 minutes, or until pale golden.  Transfer the scones to a cooling rack and let them cool slightly before serving.

copy-of-img_5495

strawberry lemon sorbet

copy-of-img_5483

I think I’ve developed a warped sense of nutrition. For the most part, I maximize fruits and vegetables, minimize carbs, focus on lean, usually vegetarian proteins, and avoid alcohol. But this all gets thrown out the window on the weekends, when all I do is try not to overeat and hopefully get some fiber at some point. Oh, and then there’s dessert, which I eat every day.

copy-of-img_5180

I do not skip dessert. I try to control portion sizes of course, but I recognize that this is an indulgence that’s important to me and I’m willing to make other sacrifices (i.e., alcohol on weekdays) to account for it. But somewhere along the way I’ve tricked myself into thinking that as long as something doesn’t have loads of butter in it, it must be healthy.

copy-of-img_5185

That means that I’m under the impression that this sorbet isn’t just “not so bad”, but it’s downright good for me! Pureed strawberries! A whole lemon! …2 cups of sugar? Oh well.

copy-of-img_5192

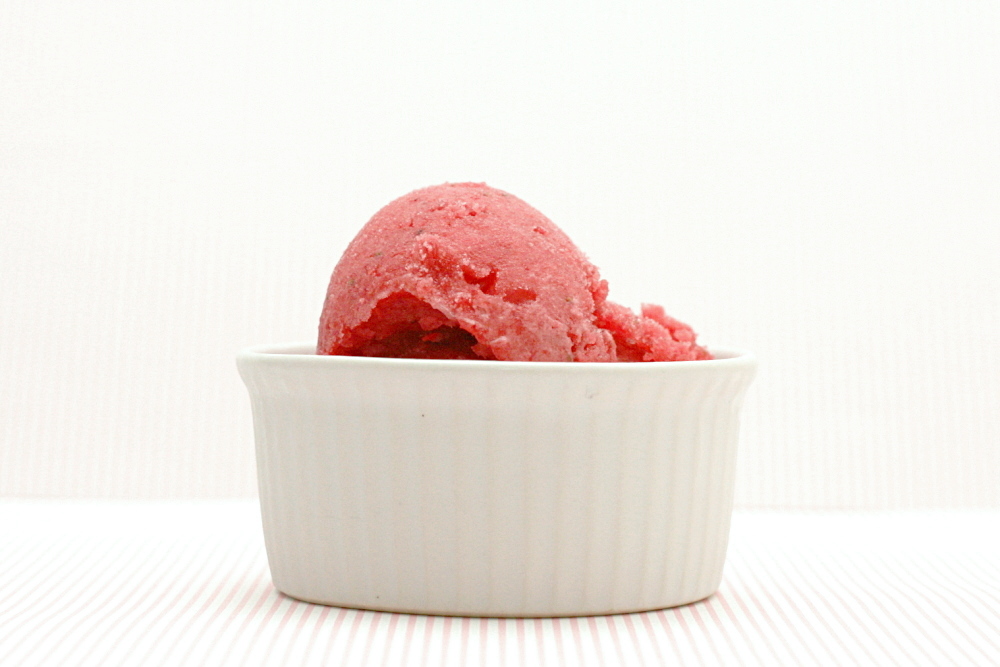
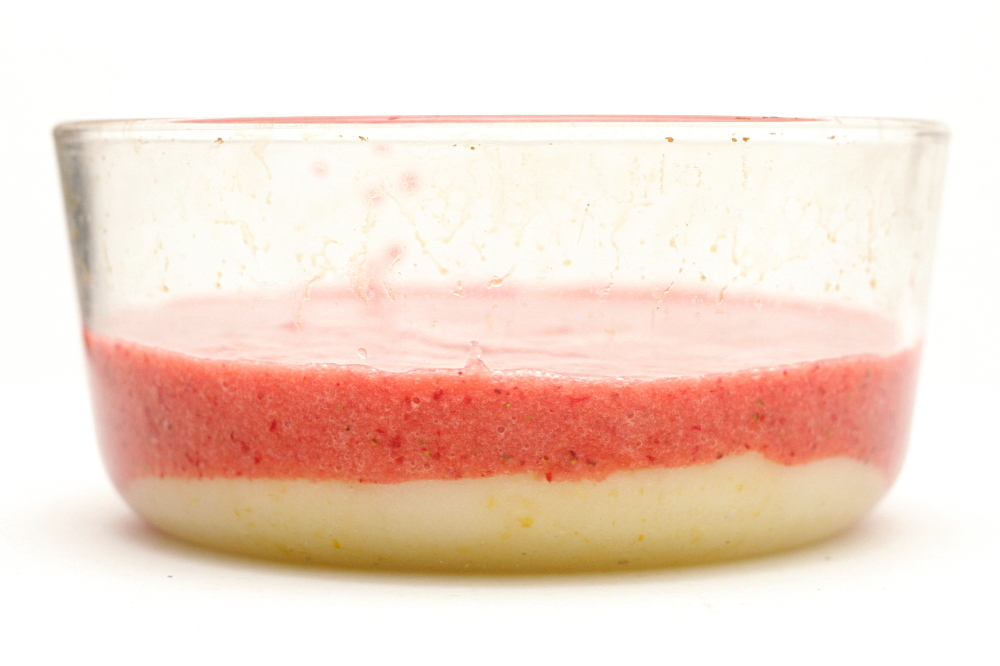
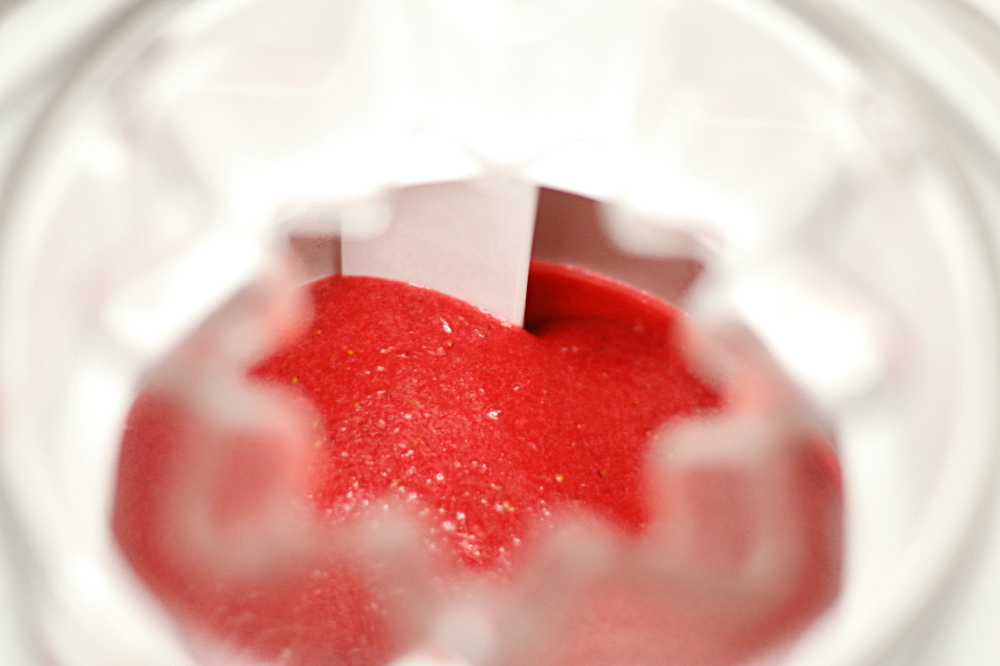
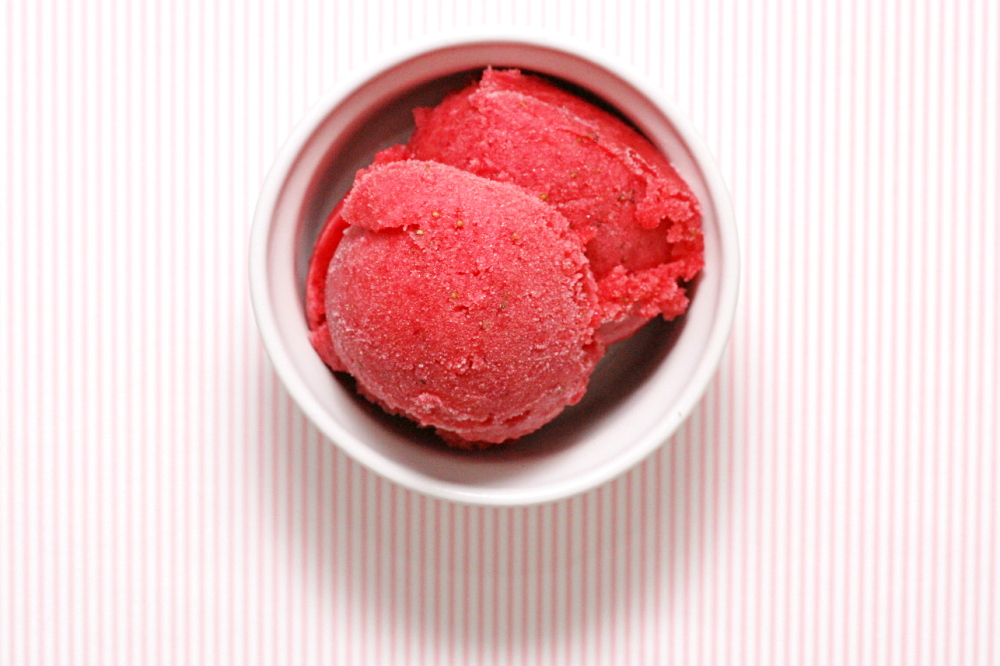
This is another whole lemon dessert, which makes it that much easier to make. All you do is puree everything and churn it in your ice cream maker. This smooth, bright pink sorbet tastes not just of strawberries, but almost equally of lemon, pleasantly tinged by bitterness from the lemon peel. It actually tastes a lot like a strawberry daiquiri. All that and it isn’t even an indulgence! Kinda.

copy-of-img_5235

One year ago: Asparagus and Arugula Salad with Cannellini Beans and Balsamic Vinegar

Strawberry Sorbet (from Smitten Kitchen, who reports the original source as the London River Cafe Cook Book)

Makes 1½ quarts

I added a bit of vodka, maybe a couple of teaspoons, just to keep it from freezing too solid. It was the perfect consistency. I’m wondering if rum would be even better, to keep with the daiquiri flavor?

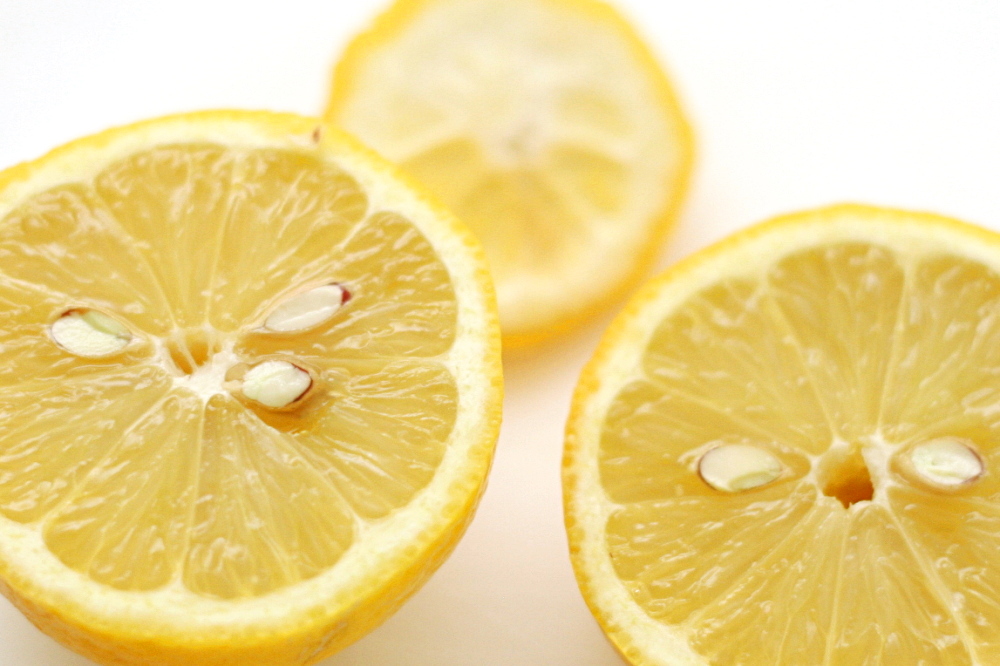
1 lemon, seeded and roughly chopped
2 cups sugar
2 pounds strawberries, hulled
Juice of 1 to 2 lemons

1. Place the chopped lemon and sugar in a food processor, and pulse until combined. Transfer to a bowl.

2. Puree the strawberries in a food processor, and add to the lemon mixture, along with the juice of 1 lemon. Taste and add more juice as desired. The lemon flavor should be intense but should not overpower the strawberries. Pour the mixture into an ice cream machine and churn until frozen.

copy-of-img_5490

fresh strawberry scones

copy-of-img_3628

What’s fun about going through phases with certain foods, like my recent scone phase, is that it gives you a chance to really explore that category. I’ve made all sorts of scones in the past few months – cream scones, scones made with lighter dairy but more butter, scones filled with fresh fruit and with nuts. So far I’ve avoided scones with dried fruit, even though it’s traditional.

Instead, I tried scones with one of the juiciest fruits. Katie’s recipe for strawberry scones closely resembles most other scone recipes, with butter cut into the dry ingredients before dairy is gently stirred in. The recipe includes yogurt and milk instead of the richer cream often called for in scones.

copy-of-img_3487

The recipe was a little tricky for me. Because strawberries vary so much in water content, Katie recommends a range of flour. I knew my early season berries weren’t at their juicy peak, so I kept to the lower end of the range. However, I still needed far more liquid than the original recipe requires before the dough would come together. Kelsey indicated that she had a similar problem. Fortunately, it was easy enough to increase the milk until all of the flour was evenly moistened.

copy-of-img_3488

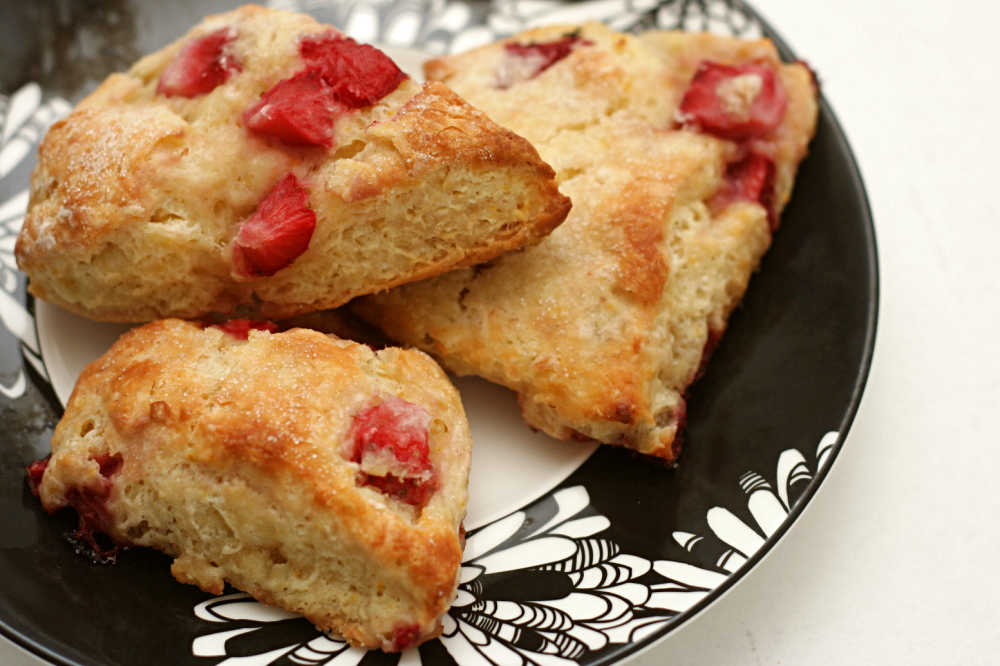
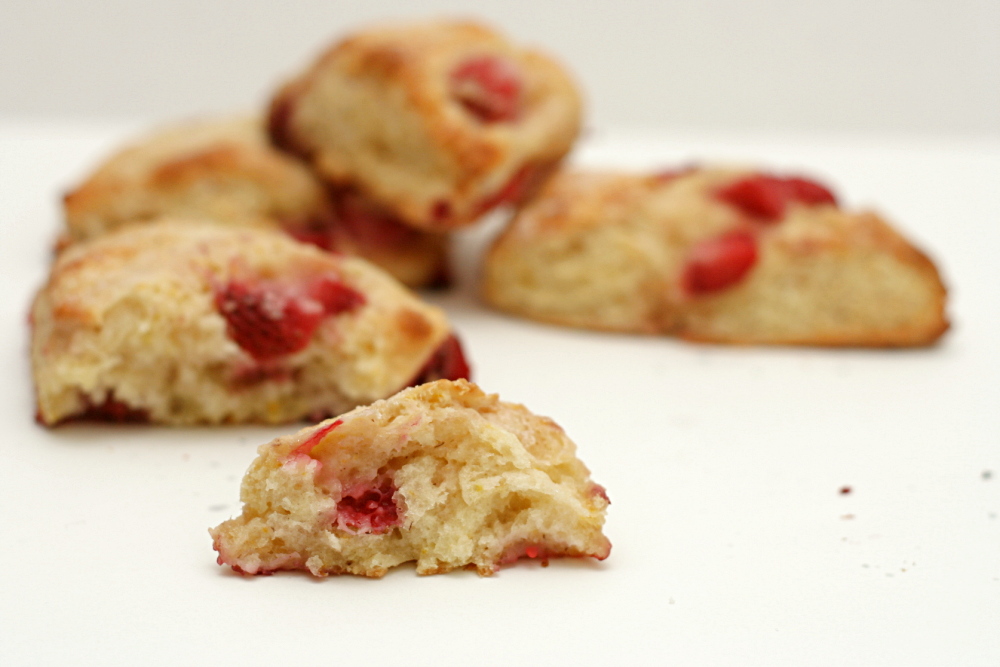
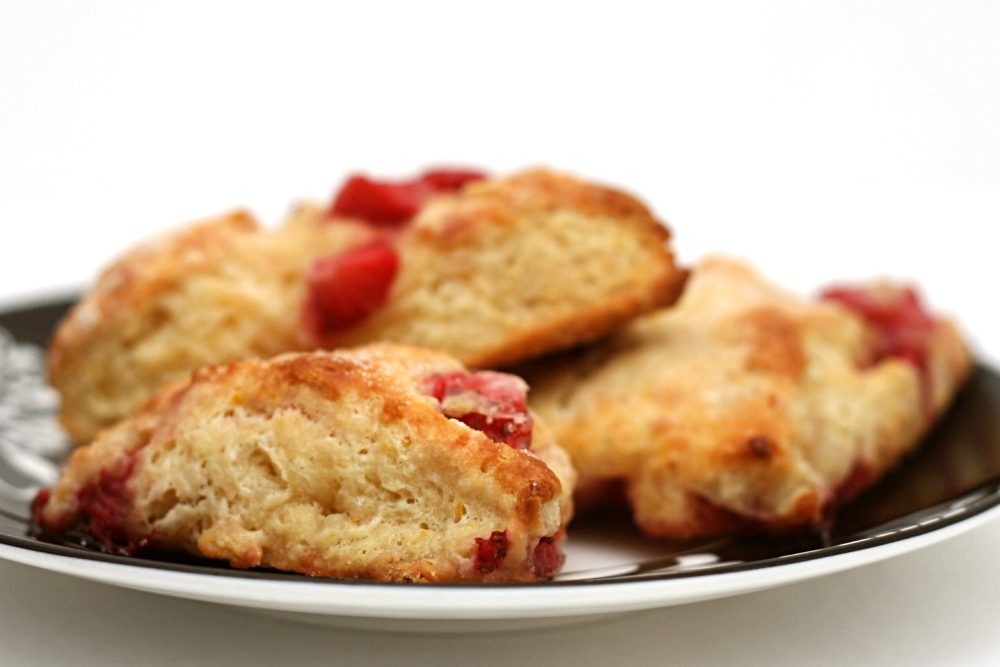
I’ve found that I generally prefer cream scones for their rich tender crumb that has no trace of dryness. These scones were a little different, and my first instinct was to prefer the cream scones that I’m used to, but then I realized that these were every bit as good. Because of the higher amount of butter compared to flour, the scones had crisper edges, especially the bottom, but it was good, almost like a flaky pie crust. And you know how scones are so good topped with jam? Putting strawberries right in the scone is ten times better.

One year ago: Peanut Butter Torte

copy-of-img_3626

Strawberry Scones (adapted from Good Things Catered)

When I make scones, I almost always prepare them up to just before baking (through step 5 in this recipe), then freeze the shaped dough. The scones can be baked straight from the freezer, with just a few minutes added to the baking time.

2¼ cups (10.8 ounces) all purpose flour
¼ cups (1.75 ounces) granulated sugar, plus extra for sprinkling
1 tablespoon baking powder
½ teaspoon salt
8 tablespoons (1 stick) butter, chilled and cut into small pieces
1 egg
¼ cup plain yogurt
½ cup milk
1 teaspoons orange zest
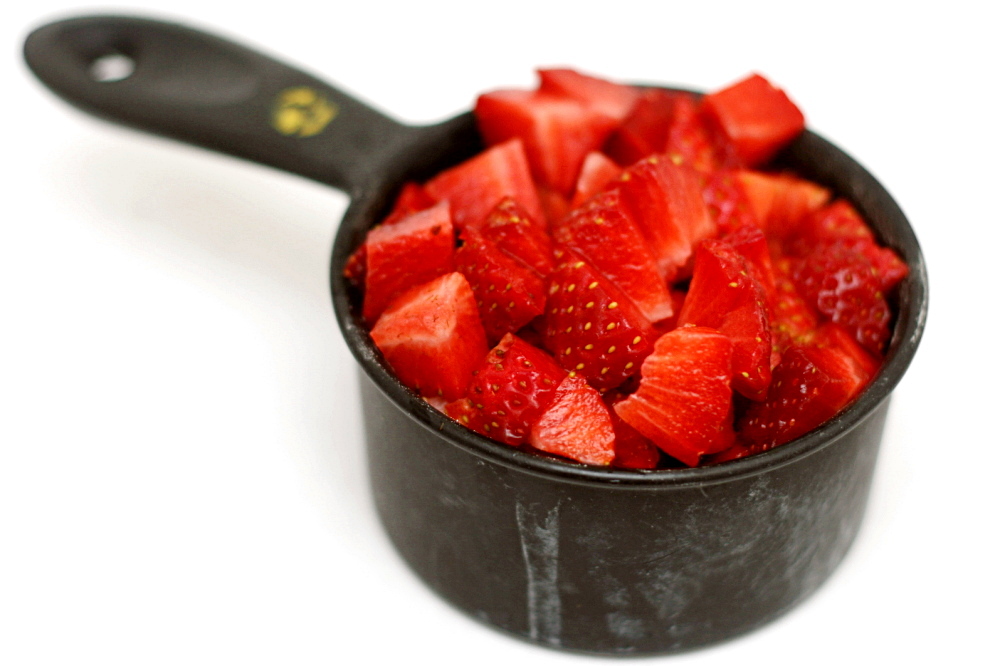
1 cup diced fresh strawberries

1. Adjust an oven rack to the middle position and heat the oven to 425F. Line a baking sheet with parchment paper or a silicone mat.

2. In a small bowl, combine the egg, yogurt, milk and zest and whisk to thoroughly combine. Set aside.

3. Place the flour, sugar, baking powder, and salt in the work bowl of a food processor. Pulse to combine (or mix with a whisk in a large bowl). Add the cubes of butter and pulse several times, until the butter pieces are all smaller than pea-sized (or cut the butter into the flour with a pastry cutter or two knives). Transfer the mixture to a large bowl.

4. Add the strawberries to the flour mixture and toss to coat. Add the wet ingredients and fold them into the dry ingredients, mixing just until the dough comes together and all of the flour is hydrated.

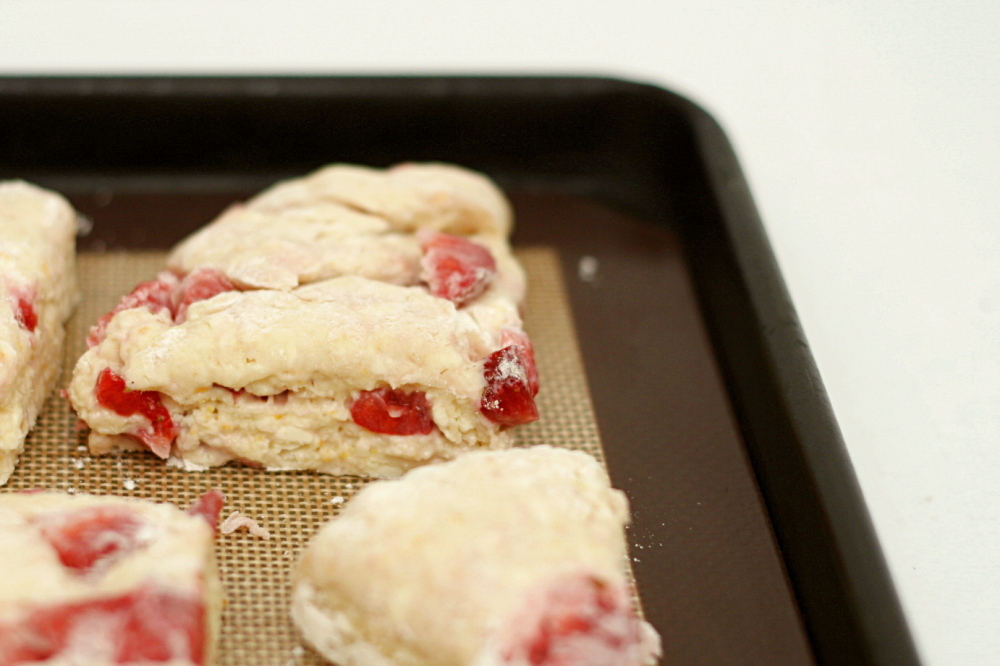
5. Turn the dough out onto a well-floured work surface and pat it into a large ball. Cut the ball in half, and shape each half into a flat disk about ½-inch thick. Cut the discs into 8 wedges.

6. Place the wedges on the prepared baking sheet and sprinkle sugar on top. Bake until slightly browned on top, about 15 minutes. Remove the baking sheet from the oven and let the scones cool on the sheet for a few minutes before transferring to a wire rack. The scones are best served when still slightly warm.

copy-of-img_3630

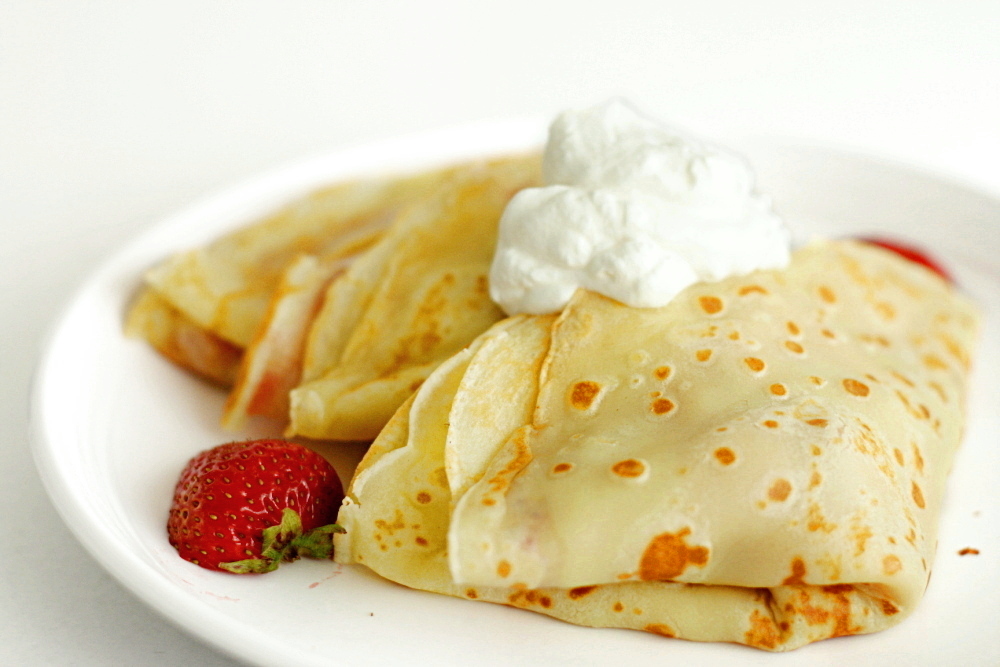
brandied berry crepes

copy-of-img_3826

When I scoped out the fresh blueberry selection while shopping for the blueberry crumb cake a few weeks ago, I caught a strong scent of strawberries. Yay! I hadn’t seen them there, hadn’t even though to look for them yet, but I definitely wasn’t passing them up. After months of apples and pumpkin, I am so ready for some different fruit. Since then, I’ve been using strawberries in everything possible.

copy-of-copy-of-img_3818

I made crepes a few months ago, and while I was perfectly happy with the recipe I used, I decided to try a new one anyway. I didn’t use any whole wheat flour this time, but this recipe uses a quarter of the butter as the other one, which is even better. I just mixed everything in a blender and let it set while I waited a few hours for Dave to wake up.

copy-of-img_3831

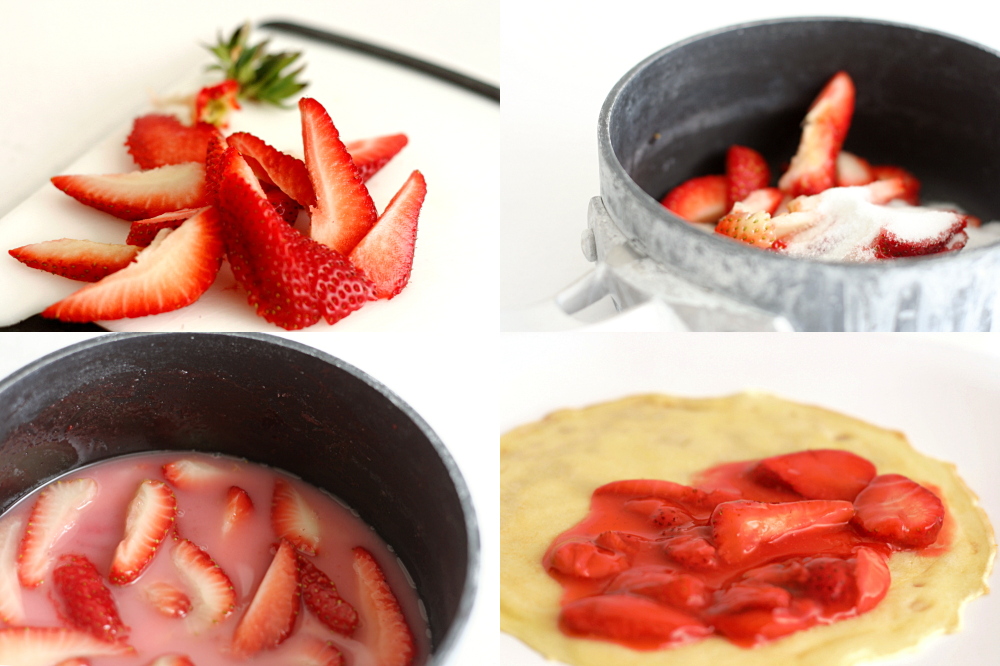
The filling was more of an adventure. Berries and sugar are heated to dissolve the sugar, then a mixture of cornstarch and kirsch is added. The filling is finished off with lemon juice and more fresh berries. For one pound of berries, the filling has ¼ cup kirsch, which seemed on the high side, especially considering the very low quality of my kirsch (and that this is breakfast). Then I accidentally added twice as much alcohol as I was supposed to. Blech, it was disgusting – it tasted like a college party. Fortunately, I had more of everything else, so I just doubled the rest of the ingredients. It still has a pretty strong alcohol flavor, but in a good way.

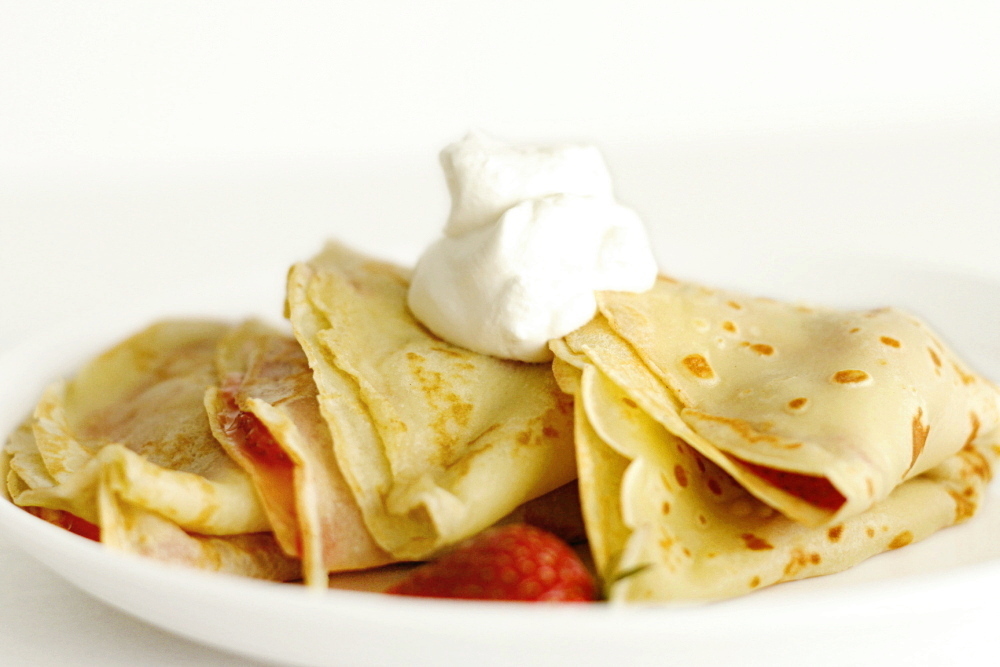
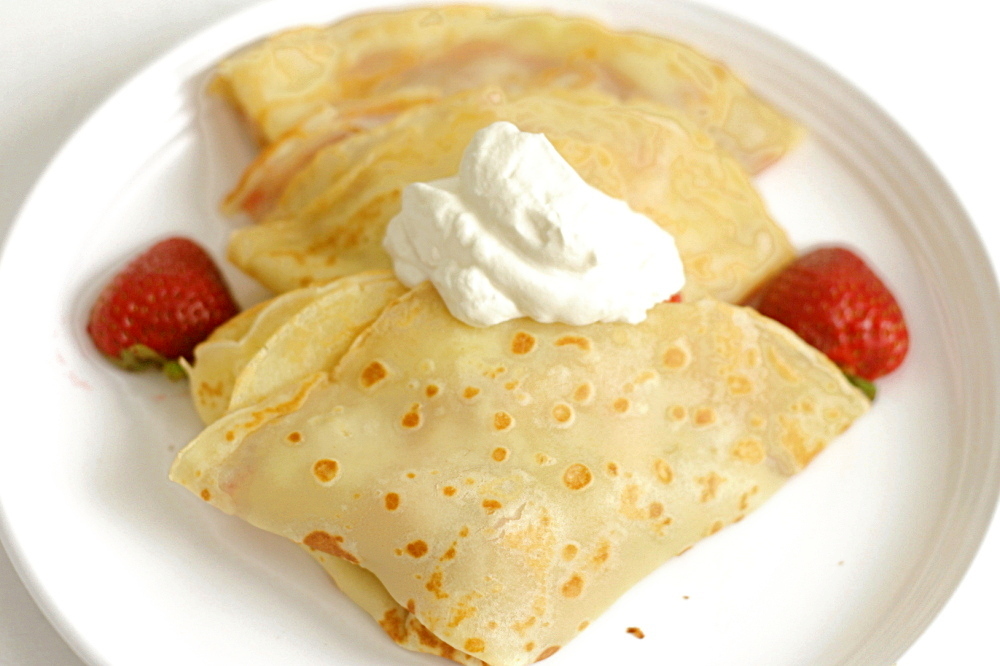
Topping with whipped cream, it’s a pretty decadent breakfast, one that could easily pass as dessert. But who wants to wait all day for something this good?

copy-of-img_3827

One year ago: Almond Biscotti – still the best biscotti I’ve made

Brandied Berry Crepes (adapted from Williams-Sonoma Desserts via Evan’s Kitchen Ramblings)

For the crepe batter:
1¾ cup + 2 tablespoons (8.8 ounces) all-purpose flour
1 tablespoon sugar
¼ teaspoon salt
1 cup + 1 tablespoon milk
1 egg
1 egg yolk
2 tablespoons butter, melted, plus more for cooking the crepes
1 teaspoon vanilla extract

For the filling:
8 ounces mixed berries or berry puree
¼ cup (1.75 ounces) sugar
pinch salt
1½ tablespoon cornstarch
¼ cup brandy, preferably kirsch
1 tablespoon lemon juice
8 ounces mixed berries

1. For the crepe batter: Add all of the ingredients to the blender and blend until smooth. Let stand for at least 15 minutes or refrigerate for up to 8 hours.

2. For filling: Combine cornstarch and brandy in a small bowl. Combine the mixed berries or berry puree, the sugar, and the salt in a medium saucepan, then cook over medium heat, stirring, until the sugar is dissolved. Reduce the heat to maintain a simmer, then stir in the brandy mixture and cook until slightly thickened. Remove from heat. Stir in the lemon juice and add the remaining berries. Set aside.

3. Preheat a crepe pan or medium nonstick skillet of medium heat. When hot, grease with a dollop of butter (using a stick of butter to smear some directly on the skillet works nicely), and add enough batter to coat the skillet in a thin, even layer when you swivel the skillet around in your hand. Cook just until batter is set and golden on bottom, then flip and cook on second side for another minute or two. Repeat with the remaining batter, stacking the cooked crepes on a plate.

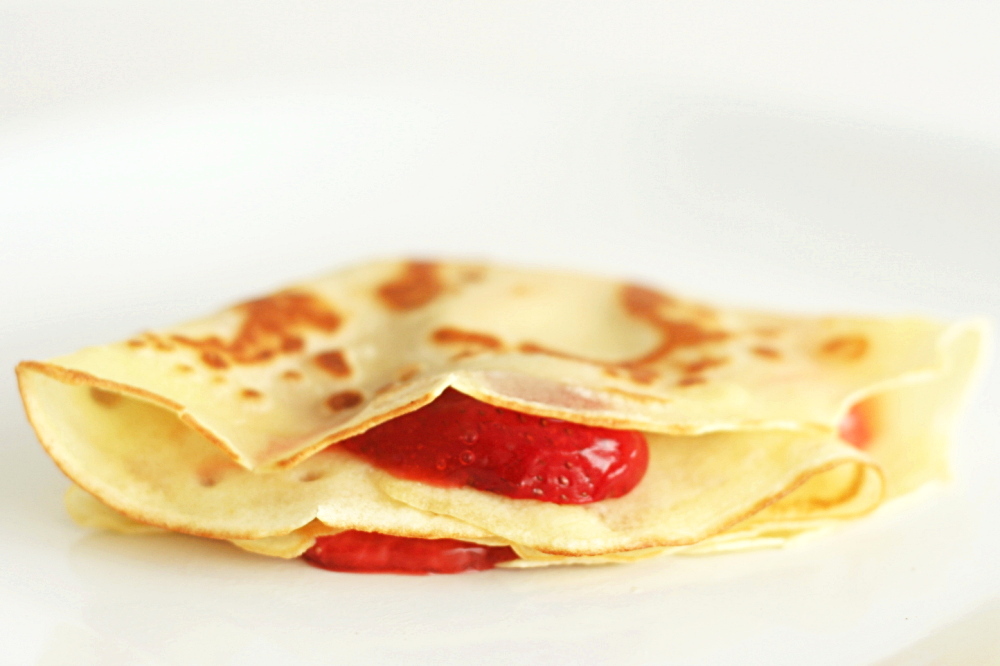
4. Spoon filling onto crepes, fold into quarters and serve.

copy-of-img_3829