sun-dried tomato jam

Copy of IMG_0278

Crusty bread, cheese, cured sausage, fruit. It’s a seriously underestimated meal. Yes, a meal. Not a particularly healthy one, I admit, but it does cover all of the nutritional bases, as long as you make an extra effort to eat a lot of the fruit. It doesn’t hurt to use 100% whole wheat bread either.

Copy of IMG_0255

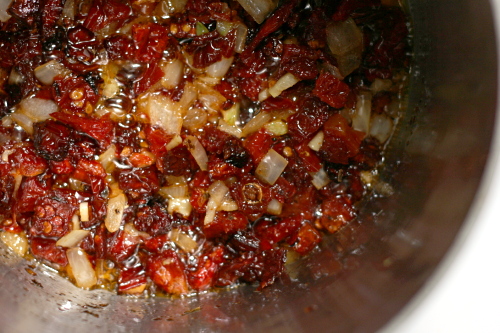
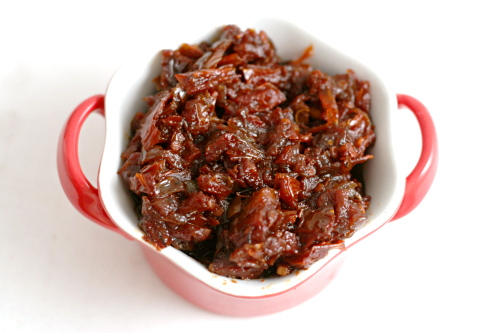
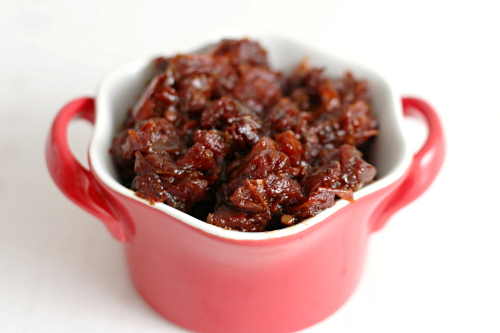
And if you add a bit of tomato jam, you’ve just given yourself one more healthy-ish vegetably option. (“Healthy-ish” and “vegetably” really is how I think about nutrition. It seems to sorta kinda work.) The jam is just sautéed and then stewed vegetables.

Copy of IMG_0266

The result is a perfect counterpart for creamy or sharp or tangy cheese (or one of each!), salty salami, and fresh berries or grapes. The jam is both sweet and savory, fantastic spread on a slice of baguette by itself or combined with cheese. Definitely a great addition to one of my favorite somewhat indulgent meals.  Or maybe you’re a normal person and would serve this as an appetizer?  I guess that would work too.

Copy of IMG_0288

Printer Friendly Recipe
Sun-dried Tomato Jam
(adapted from Everyday Italian via Confections of a Foodie Bride)

The original recipe is for crostini with goat cheese, but I thought the jam was a great addition to a cheese plate on its own.

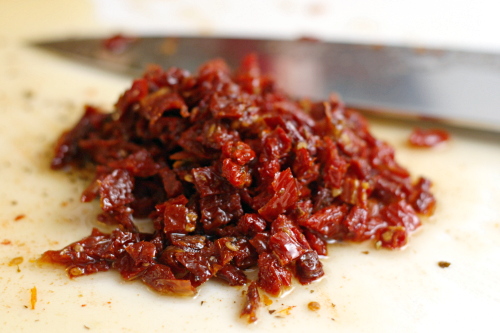
If you can find pre-sliced dried tomatoes, your life will be much easier.  Chopping greasy, slippery tomatoes is the hardest part of this recipe.

Makes about 1½ cups

8oz jar sun-dried tomatoes packed in oil, drained and chopped, oil reserved
1 tablespoon olive oil
½ onion, thinly sliced
1 clove garlic, minced
2 tablespoon sugar
¼ cup red wine vinegar
1 cup water
½ cup chicken broth
1 teaspoon chopped fresh thyme leaves
½ teaspoon salt
½ teaspoon freshly ground black pepper

1. Place a medium saucepan over medium heat. Add the chopped sun-dried tomatoes, 1 tablespoon of the reserved sun-dried tomato oil, olive oil, onion, and garlic. Stir and cook until the onions are soft and beginning to brown at the edges, about 5 to 7 minutes.

2. Add the sugar, vinegar, water, chicken broth, thyme, salt, and pepper. Bring the liquid to a boil, reduce the heat, and simmer, covered, for 30 minutes. Remove the cover and continue simmering until most of the liquid is reduced and the mixture is the consistency of jam, about 5 to 10 more minutes. Remove from the heat, let cool slightly, and serve.
Copy of IMG_0280

brown rice with black beans

Copy of IMG_0357

Of all the whole grains, brown rice has been the hardest for me to accept. I realize now that I’d been cooking it wrong for years. I just couldn’t seem to cook it through all the way, and I tried a bunch of different recipes, but it was always crunchy.

Copy of IMG_0345

Then sometime last year, Cooks Illustrated sent me a recipe to test for them for brown rice with andouille, and not only does it have andouille, which, come on, andouille, delicious, but at the time I was religiously making every recipe they sent for me to test. (It got to the point where I’d get the magazines and I’d already have made half the recipes. I’ve since slacked off.) So I only made the recipe because I felt like I had to, plus of course the andouille. But it was fantastic, just so, so good. It was a revelation for me, because it was the first brown rice I’d made that was not just edible, but delicious.

Copy of IMG_0344

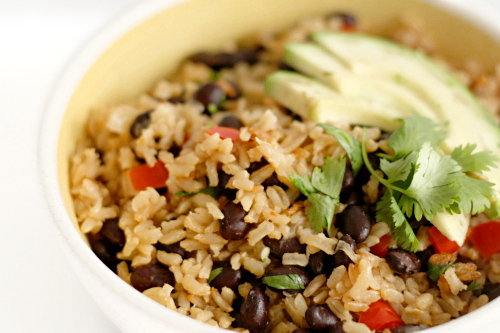
But that isn’t the recipe I’m telling you about today. Ha! When the magazine issue came out, it had a few other variations, and one is just perfect for me. Brown rice, black beans and a bunch of aromatics, how healthy and tasty does that sound?

Copy of IMG_0347

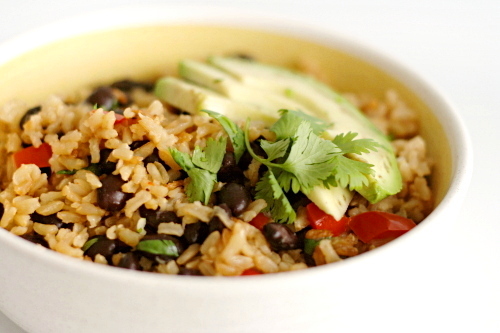
The first time I made it, I followed the directions fairly closely, just adding the scraped-off kernels of one cob of corn at the end of cooking. That was a great addition, especially visually. Corn isn’t in season anymore, so I skipped it this next time. I doubled the black beans the second time, because you can never go wrong with more black beans. I also added an avocado and wow! I mean, it goes without saying that avocado improves almost anything, but it was particularly complimentary with this.

Copy of IMG_0354

If you’ve ever had doubts about brown rice, this recipe will make a believer out of you. And if you’re already a convert, this dish will be a great addition to your repertoire.

Copy of IMG_0355

One year ago: Sushi Bowls

Printer Friendly Recipe
Brown Rice with Black Beans and Cilantro
(from Cooks Illustrated)

I like to double the black beans. Corn, either cut off of the cob or 1 cup frozen and defrosted, is a good addition stirred in with the black beans. One diced avocado is delicious added with the cilantro. I used red pepper, because I like them better than green.

Serves 4 to 6

4 teaspoons olive oil
1 medium onion, chopped fine (about 1 cup)
1 green bell pepper, chopped fine
3 garlic cloves, minced
1 cup low-sodium chicken broth
2¼ cups water
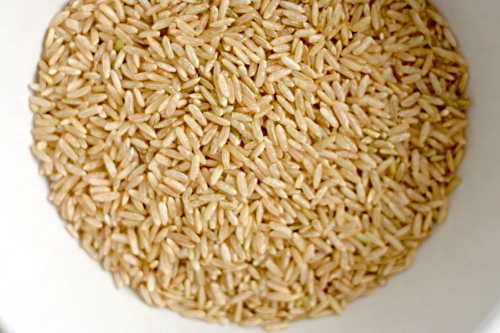
1½ cups brown rice, long-grain
1 teaspoon salt
1 (15.5-ounce) can black beans, drained and rinsed
¼ cup chopped fresh cilantro leaves
¼ teaspoon ground black pepper
1 lime, cut into wedges

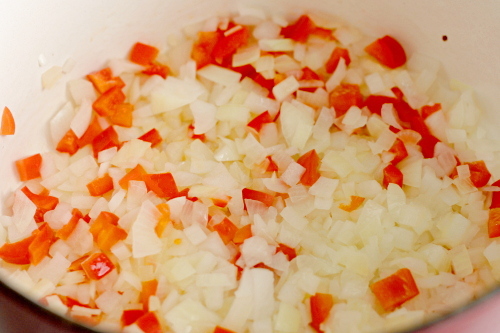
1. Adjust oven rack to middle position; heat oven to 375 degrees. Heat oil in large Dutch oven over medium heat until shimmering. Add onion and pepper and cook, stirring occasionally, until well browned, 12 to 14 minutes. Stir in garlic and cook until fragrant, 30 seconds.

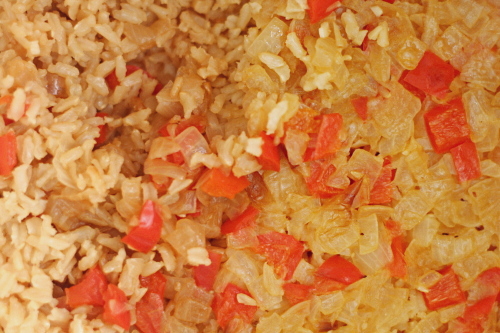
2. Add broth and water; cover and bring to boil. Remove pot from heat; stir in rice and salt. Cover and bake rice until tender, 65 to 70 minutes.

3. Remove pot from oven, uncover, fluff rice with fork, stir in beans, and replace lid; let stand 5 minutes. Stir in cilantro and black pepper. Serve, passing lime wedges separately.

pumpkin risotto

Copy of IMG_0156

Everyone’s goal for their food blog is different. Are you keeping a log of recipes you make for your own sake – to store them somewhere, or to track your progress as a cook? Do you only publish recipes that you recommend others make? Do you have a blog just to cook along with various groups? All are perfectly fine reasons to maintain a food blog.

Copy of IMG_0100

Periodically I have to ask myself what my stance is. The question only comes up when I make something that I’d like to share, even though it wasn’t necessarily my favorite dish ever. And I think I’ve decided that, for me, my food blog is somewhere I get to talk about cooking to people who are also interested in food. Basically it’s to offload my food thoughts to people who actually care, saving my friends and family from hearing about cooking nonstop. Not that the topic doesn’t still come up…let’s just say, periodically.

Copy of IMG_0102

So, let us discuss, then, this risotto. I’ve made risotto plenty of times before, but usually following the same basic recipe and just adding in whatever extra ingredient I wanted (peppers, peas, greens, etc). This time I decided to follow a different recipe.

Copy of IMG_0114

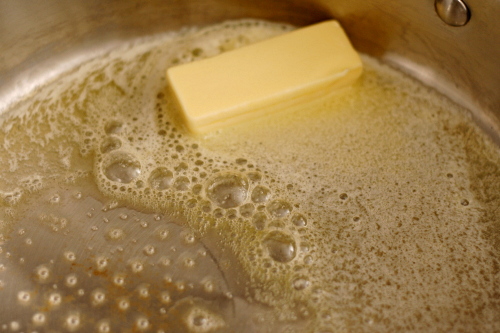
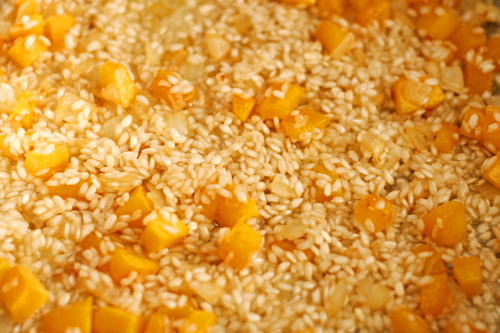
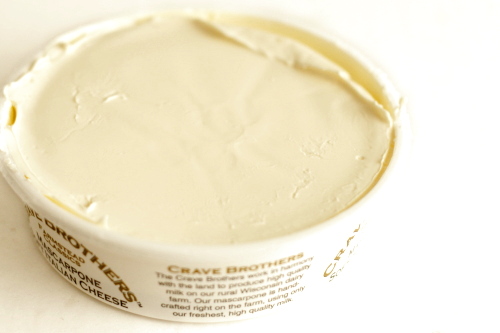
You probably know the basic risotto process – sauté onions and garlic, add the rice, then the wine, then the chicken broth, gradually, and ending with parmesan cheese. This recipe is a bit different. It starts with substantially more butter than I would normally use, in which the onion (supposed to be leeks, but I always forget to buy them) and pumpkin are sautéed. Then the rice is stirred in, like normal, but next is the chicken broth instead of the wine. The broth and wine are added alternately as the rice cooks. Mascarpone is stirred in at the end along with the parmesan.

Copy of IMG_0133

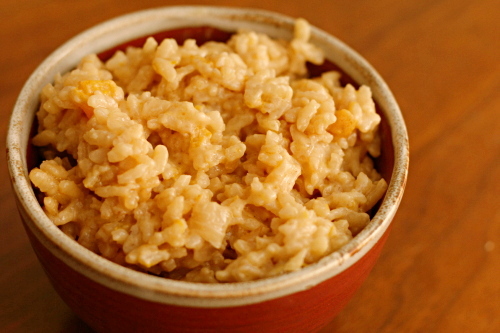
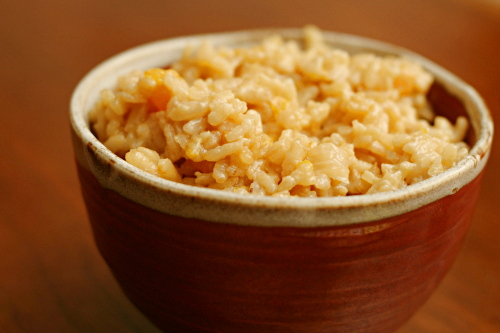
It was quite a bit winier than I’m used to risotto tasting, which isn’t necessarily a bad thing. It was also quite a bit cheesier, which I suppose should have been a no-brainer with all the mascarpone, but somehow I was expecting it to add richness without the cheesy flavor.

Copy of IMG_0147

Overall, it was…fine. Good? Not necessarily great. I just like my regular risotto better. Some foods are already rich enough that you don’t really need to add twice the butter and a dollop of the creamiest cheese ever. So maybe I don’t strongly recommend this recipe, but I thought it was interesting, and when it comes to choosing recipes to blog about, I guess interesting (to me, and if I’m lucky, to you) is what I’m most concerned with.

Copy of IMG_0163

One year ago: Mulled Cider

Printer Friendly Recipe
Pumpkin Risotto
(copied with no changes from Cucina Italiana April 2001)

3.5 cups chicken broth
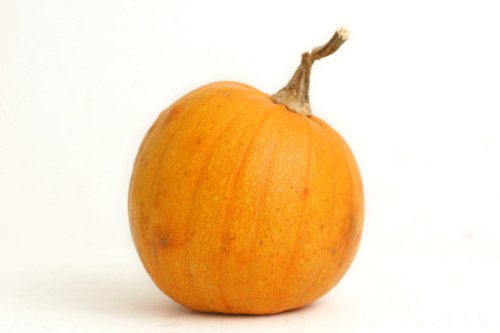
1 small pumpkin (about ½ pound)
6 tablespoons unsalted butter
1 large leek, white part only, halved lengthwise, rinsed, and diced
1 cup Arborio rice
1 cup dry white wine
¼ cup Mascarpone
⅓ cup (.67 ounce) grated Parmigiano Reggiano

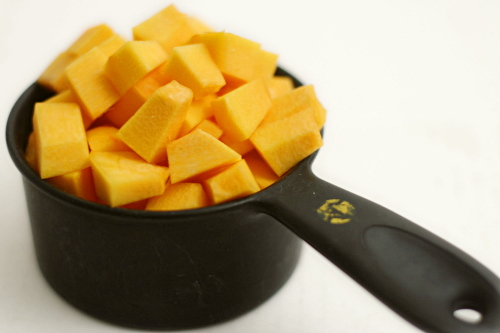
1. Heat broth in a small pan and keep it hot. Cut off the pumpkin stem. With a vegetable peeler, remove the skin. Cut the pumpkin in half, and remove and discard the seeds and stringy flesh. Dice enough of the pumpkin to make 1 cup. (Save any remaining pumpkin for another use; soup is a particularly good possibility.)

2. In a large saucepan, melt the butter. Add the pumpkin and leek, and cook over medium heat, stirring often, until softened, about 10 minutes. Add the rice and stir well to coat it with the butter. Cook, stirring, until the rice begins to crackle, about 5 minutes; do not let the rice brown.

3. Slowly add ½ cup of the broth and stir constantly until the rice absorbs all the liquid; add 2 tablespoons of the wine and continue stirring until it is absorbed by the rice. Continue adding broth and wine alternately to the rice, stirring all the while, until the rice is al dente and has a creamy consistency, about 15 minutes.

4. Stir in the Mascarpone and Parmigiano, blending well and stirring until the Mascarpone melts. Serve immediately.

white bean avocado sandwich

Copy of IMG_8653

I believe that people are what they think they are, which is just a less fancy way of saying that you can do just about anything you think you can do. I remember in high school, I consistently got an 89% in my classes, and I always wondered why I hadn’t worked just a bit harder to get an A. But I knew myself as a B+ student, so I worked just hard enough to get a B+.

Copy of IMG_8622

Early on in college, more by luck than design, I got straight A’s one semester. And then I knew I could do it – from then on, I was a pretty solid A student.

Copy of IMG_8627

Lately I’ve been thinking of myself as an indulgent eater. I see so many people on strict diets – raw food, clean food, low carb, vegan. I don’t, and never plan to, follow any of these eating philosophies. I eat refined flours and sugars, red meat and full-fat cheeses, butter and alcohol. When I compared myself to these people, I felt lax in my eating habits. And once I started believing I ate poorly, my eating habits did, indeed, decline.

Copy of IMG_8634

But the truth is, more of the time, I eat very healthfully. All of those treats above? You’ve heard it before – moderation. Most of my snacks are fresh fruit and vegetables. My tiny daily bagel is 100% whole grain. We rarely eat meat on weekdays, and I don’t drink alcohol on weekdays. I do eat dessert every single day, but we’re talking one, maybe two, small cookies.

Copy of IMG_8638

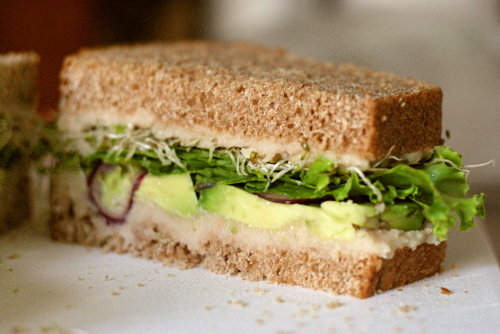
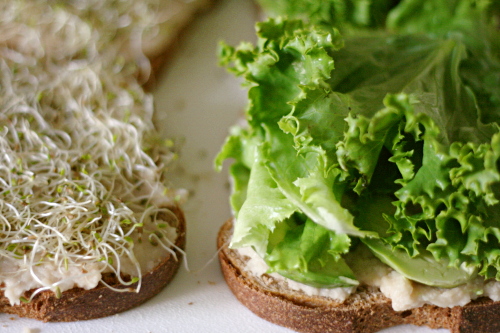
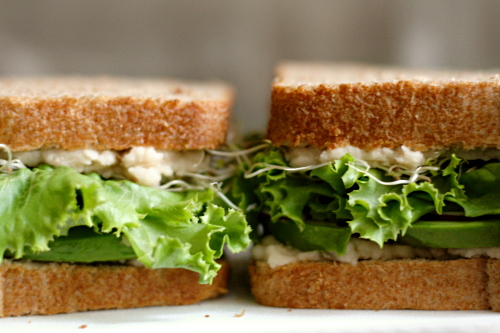
I need to remember that I do follow a good diet regularly, so that making healthy choices is easier. This sandwich, introduced to me by the same friend whose recipes for pumpkin muffins and peanut dip I love, is a perfect example of how I like to eat. Whole grains, beans, and lots of vegetables. It’s easy, filling, portable, and most importantly – delicious.

Copy of IMG_8641

One year ago: Green Chile Rellenos

Printer Friendly Recipe
White Bean Avocado Sandwich

Serves 4

I’ve tried mushing the beans up with a potato masher, but I really do prefer the creamy smooth texture a food processor provides. Also, one thing I’ve learned after making this a few times is to overseason the beans. The seasonings in the beans are flavoring the entire sandwich, so add the lemon juice, salt, and pepper until just past how you’d normally prefer them. Because I’m apparently salt-crazy, I also give the avocado slices a light sprinkling of salt, as well as squeeze some more lemon juice over them.

1 (15-ounce) can white beans, drained and rinsed
1 lemon
salt and pepper
8 slices hearty whole-grain sandwich bread
1 avocado, quartered, peeled, and sliced thin
a few leaves of leaf lettuce, torn into sandwich-sized pieces
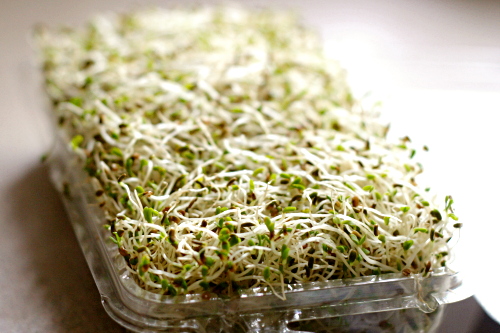
some alfalfa sprouts
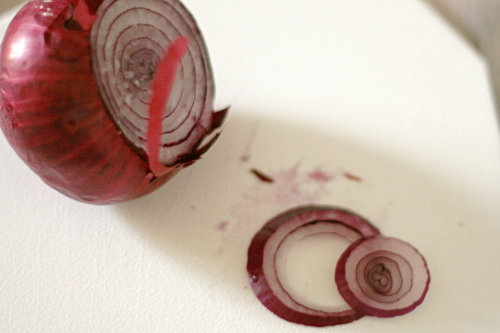
a bit of red onion, sliced thin

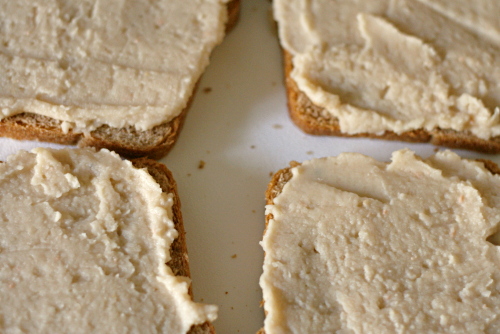
1. In a food processor, puree the beans until they’re completely smooth. Season with lemon juice, salt and pepper to taste (see note).  I took notes on about how much of everything to add and then lost them, but I think a reasonable place to start is 2 tablespoons lemon juice, ¼ teaspoon salt, and ⅛ teaspoon pepper.

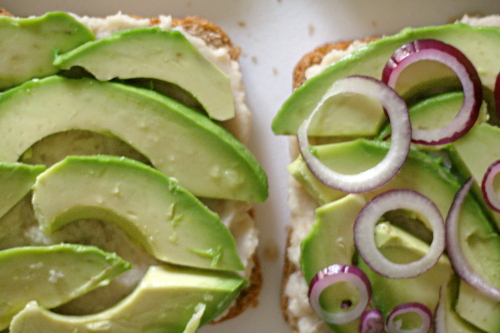
2. Thickly spread one side of each piece of bread with the bean mixture. Top four of the bread slices with slices of avocado, a bit of onion, and plenty of lettuce. Press some sprouts into the bean mixture on the other four slices of bread. Place the sprout-bread, spout side down (duh) on the other-stuff-bread, slice the sandwich in half if you want, and enjoy.

Copy of IMG_8649

roasted butternut squash salad with cider vinaigrette

Copy of IMG_0065

It’s hard to believe that most years, I’m anti-anything fall until October 1st. Not this year. September included pumpkin breakfasts, apple desserts, and plenty of pumpkin beer. Granted, the weather was pretty warm in September and the trees were still green so it didn’t feel much like fall, but it didn’t feel like summer either.

Copy of IMG_0045

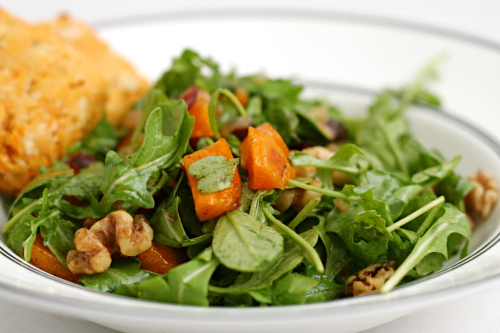
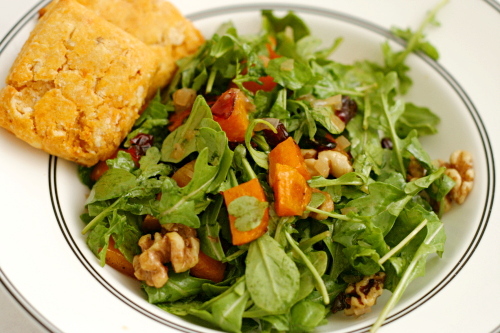
That all changed on October 1st, when I had to turn the heat on for the first time, and our dinner complimented the cool, crisp weather – salad with roasted butternut squash, cranberries, walnuts, and dressing made from reduced apple cider, served with sweet potato biscuits.

Copy of IMG_0049

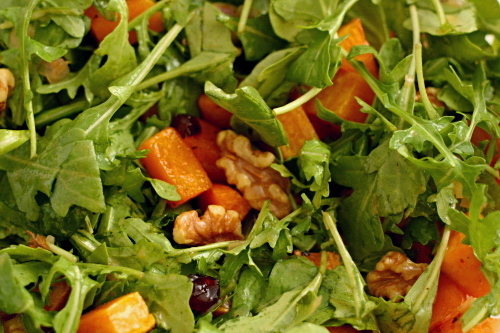
Every ingredient in the salad is maximized. The squash, seasoned and drizzled with maple syrup, is roasted until it’s caramelized. The walnuts are toasted, and so are the cranberries, which was a trick I hadn’t seen before. The cider, reduced to less than a third of its initial volume, is mixed with acidic cider vinegar and emulsifying mustard to form the base of the dressing.

Copy of IMG_0062

It was delicious; so good, in fact, that I made again the next day for lunch. It was sweet, but also tangy from the dressing, a bit bitter from the walnuts, and spicy from the arugula. I also like that the hot squash and dressing slightly wilt the arugula – it shrinks it a bit, so it doesn’t take so darn long to eat a nice bowl full of greens. Which is a good thing, because then I can eat more of it.

Copy of IMG_0063

One year ago: Spinach, Artichoke, and Red Pepper Strata

Printer Friendly Recipe
Roasted Butternut Squash Salad with Warm Cider Vinaigrette
(adapted just slightly from Barefoot Contessa)

I used less oil. I didn’t measure the amount, but I’m guessing it was ¼ cup; I only ever use enough oil to just balance the acidity. Also, I liked to let the dressing and squash cool just a few minutes before mixing them with the greens. I forgot the cheese the first time I made the salad, when I photographed it.

1 (1½-pound) butternut squash, peeled and ¾-inch) diced
good olive oil
1 tablespoon pure maple syrup
kosher salt and freshly ground black pepper
3 tablespoons dried cranberries
½ cup walnuts halves
¾ cup apple cider or apple juice
2 tablespoons cider vinegar
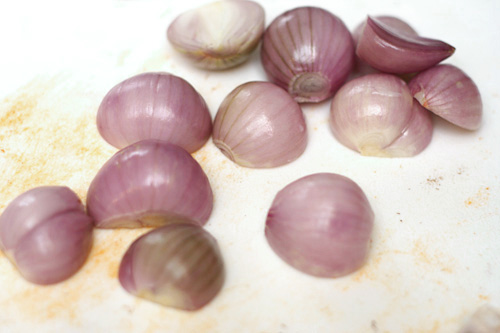
2 tablespoons minced shallots
2 teaspoons Dijon mustard
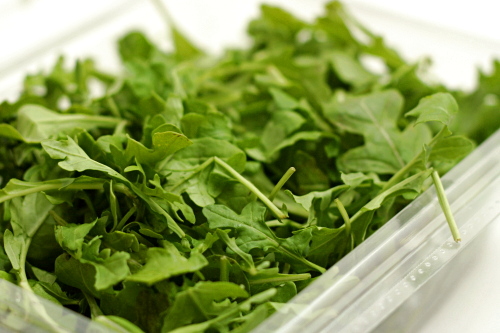
4 ounces baby arugula, washed and spun dry
¾ cup freshly grated Parmesan

1. Preheat the oven to 400F.

2. Place the butternut squash on a sheet pan. Add 2 tablespoons olive oil, the maple syrup, 1 teaspoon salt and ½ teaspoon pepper and toss. Roast the squash for 15 to 20 minutes, turning once, until tender. Add the cranberries and walnuts to the pan for the last 5 minutes.

3. While the squash is roasting, combine the apple cider, vinegar, and shallots in a small saucepan and bring to a boil over medium-high heat. Cook for 6 to 8 minutes, until the cider is reduced to about ¼ cup. Off the heat, whisk in the mustard, ½ cup olive oil, 1 teaspoon salt, and ½ teaspoon of pepper.

4. Place the arugula in a large salad bowl and add the roasted squash mixture, the walnuts, and the grated Parmesan. Spoon just enough vinaigrette over the salad to moisten and toss well. Sprinkle with salt and pepper and serve immediately.

Copy of IMG_0064

stuffed mushrooms with sun-dried tomatoes

Copy of IMG_9931

I’ve started my annual football season tradition of planning to eat snacks on Sundays instead of a full dinner, which will invariably last two weeks before I forget all about it and go back to planning a meal and then whining that “I don’t feel like cooking, I just wanna relax!” My life is so hard.

Copy of IMG_9913

But it can be tricky to come up with snacks that are really good but not so filling that I can’t graze on them for a while. (Translation: I’d like to be eating cheese and bread and sausage and mayonnaise-based dips and chips and cookies and, you know, tasty delicious things like that. But I also want my pants to fit.)

Copy of IMG_9924

Stuffed mushrooms are a good example of something that seems like it should be fairly healthy, but on closer inspection, is often full of cheese, and not just any cheese, but that most-delicious and fattening of examples – cream cheese.

Copy of IMG_9919

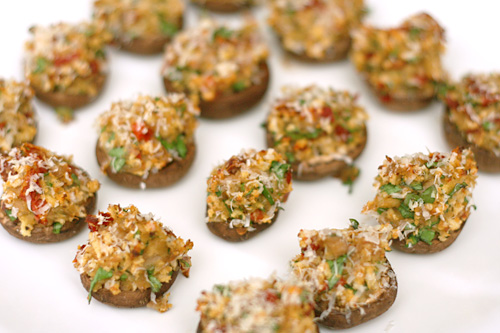
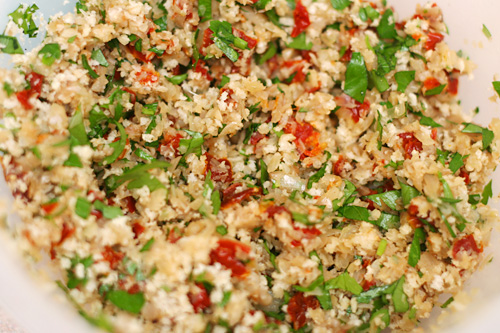
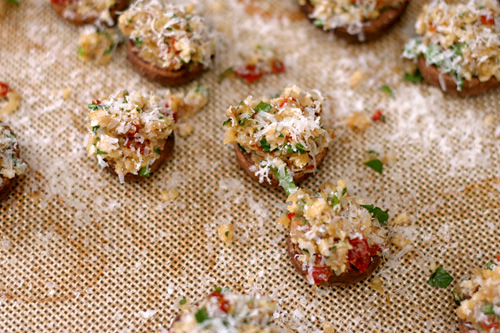
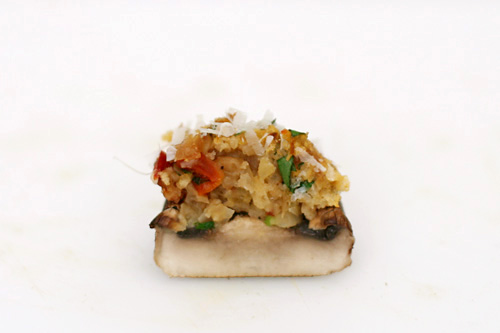
Fortunately, this recipe keeps it light by skipping the cheese, flavoring the filling with just shallots, parsley, and sun-dried tomatoes, with bread crumbs used for bulk and just a sprinkle of parmesan grated on top for an accent.

Copy of IMG_9922

Even though it was just Dave and I watching football together on a Sunday afternoon, and we had a few other snacks, I made the full recipe. But it turns out these stuffed mushrooms aren’t the type of snack that you graze on throughout an afternoon, because they were so darn good that we snarfed them up immediately. And since they’re not very filling, you can eat a bunch of them and still have plenty of room for some hummus!

Copy of IMG_9929

One year ago: Roasted Carrots

Printer Friendly Recipe
Mushrooms Stuffed with Sun-Dried Tomatoes
(adapted from Gourmet via Smitten Kitchen)

The only minor change I’ll make to this recipe, to bring it from really damn good to perfect, is to sprinkle the inside of the mushrooms with a bit of salt before roasting them the first time. Not so much to eliminate more liquid, but just to season them. (Even Dave agreed with this, and he isn’t as salt-crazy as I am.)

Makes 18

½ ounce sun-dried tomatoes (about 5)
2 tablespoons olive oil
18 white mushrooms, caps reserved, stems pulled out and chopped fine
½ cup finely chopped shallots
2 garlic cloves, minced
⅓ cup fine dry bread crumbs
1 large egg yolk, beaten lightly
¼ cup fresh parsley leaves, washed well, spun dry, and minced
½ teaspoon dried basil, crumbled
2 tablespoons freshly grated Parmesan

1. Preheat oven to 400°F.

2. If your tomatoes are packed in oil, rinse them before chopping them finely. If they’re not packed in oil, soak them in a small bowl in hot water to cover for 5 minutes. Reserving 1 tablespoon soaking liquid, drain tomatoes well and chop fine.

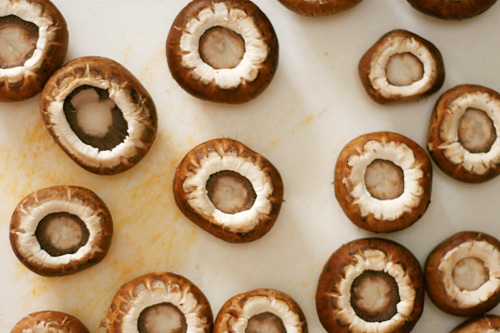
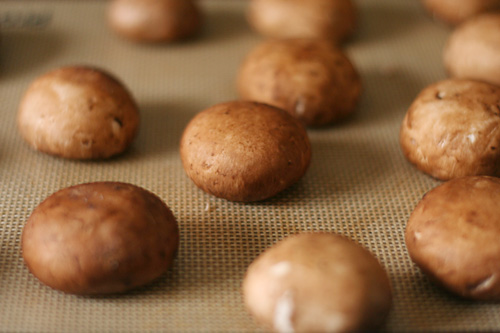
3. Lay mushroom caps, stems removed, face down on baking sheet either lightly sprayed with cooking spray or lined with parchment paper. Bake them approximately 10 minutes, or until their liquid puddles underneath. Remove from the oven. Carefully pour off liquid that has gathered in the bottom of the pan, and then again, carefully, turn mushroom caps over so they are ready to be filled.

4. In a small skillet heat oil over moderate heat until hot but not smoking and cook chopped mushrooms stems, shallots and garlic, stirring until shallots are softened. In a bowl stir together mushrooms mixture, bread crumbs, tomatoes, reserved soaking liquid, yolk, parsley, basil, and salt and pepper to taste. Mound stuffing in reserved mushroom caps and arrange caps in a lightly greased shallow baking dish, or the same parchment-lined pan you’ve roasted your mushrooms in. Sprinkle mushrooms with Parmesan and bake in middle of oven 15 minutes.

Copy of IMG_9937

herb-roasted onions

Copy of IMG_8470

I’m pretty sure I’m the worst yoga-er ever. I think it provides a pretty good workout, but, honestly, it kind of bores me. I know I’m supposed to get all meditative and stuff, but I don’t, and I end up bored, and I end up not doing yoga at all, and that’s no good.

Copy of IMG_8402

So my new trick is to watch the Food Network while I do yoga. See? Worst yoga-er ever.

Copy of IMG_8414

But if I think of yoga as “ooh, I get to watch Barefoot Contessa!” instead of “bleah, exercise”, I actually look forward to it. I recently saw her make chicken piccata, buttermilk mashed potatoes, and roasted onions, and I decided right there, in the middle of the warrior series, that I was making the whole meal that weekend.

Copy of IMG_8417

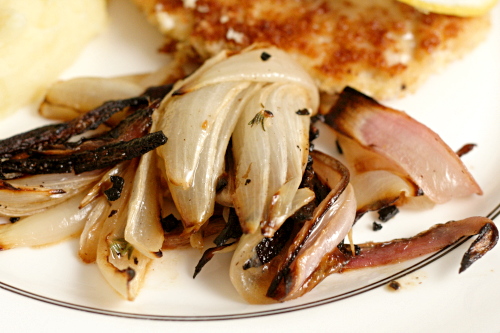
The buttermilk mashed potatoes were just as good as you’d expect (in other words, very, although I didn’t follow her recipe to a tee), and the chicken was actually a big failure, but the onions were what really stole the show. They get two major hits of flavor, a quick soak in lemony herb mustard vinaigrette before baking, and then another dip in the same dressing after they’re cooked.

Copy of IMG_8425

This was my first experience serving onions on their own instead of as a support to a dish’s main flavor, and, damn! I’ve been missing out. I really do love onions when they’re soft and caramelized, and the dressing brightened and enhanced the onions’ own sweetness. All that and stretchier muscles. Not bad for half an hour of watching television.

Copy of IMG_8439

Printer Friendly Recipe
Herb-Roasted Onions
(from Barefoot Contessa)

2 red onions
1 yellow onion
2 tablespoons freshly squeezed lemon juice
1 teaspoon Dijon mustard
1 teaspoon minced garlic
½ tablespoon minced fresh thyme leaves
¾ teaspoon kosher salt
¼ teaspoon freshly ground black pepper
¼ cup good olive oil
½ tablespoon minced fresh parsley leaves

1. Preheat the oven to 400F.

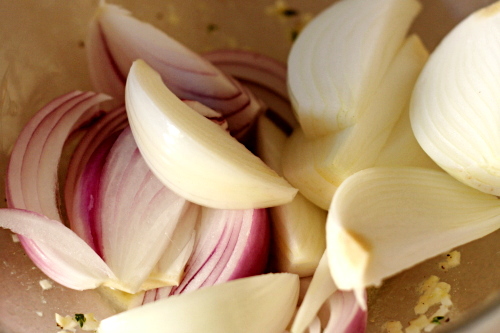
2. Remove the stem end of each onion and carefully slice off the brown part of the root end, leaving the root intact. Peel the onion. Stand each onion root end up on a cutting board and cut the onion in wedges through the root. Place the wedges in a bowl.

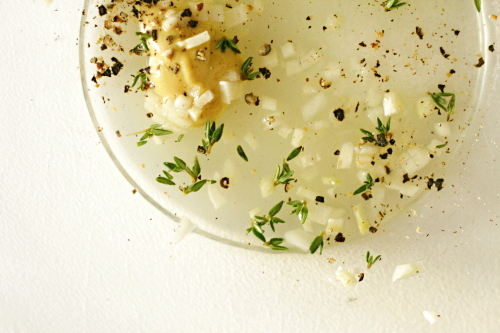
3. For the dressing, combine the lemon juice, mustard, garlic, thyme, salt, and pepper in a large bowl. Slowly whisk in the olive oil. Pour the dressing over the onions and toss well.

4. With a slotted spoon, transfer the onions to a sheet pan, reserving the vinaigrette that remains in the bowl. Bake the onions for 30 to 45 minutes, until tender and browned. Toss the onions once during cooking. Remove from the oven, and drizzle with the reserved dressing. Sprinkle with parsley, season to taste and serve warm or at room temperature.

Copy of IMG_8472

goat cheese, pesto, and sun-dried tomato terrine

Copy of IMG_9428

Dave is, it should come as no surprise to me by now, quite a good match for me. I used to wish that he was as excited about food as I was. I’d ask him for meal ideas, I’d demand feedback after trying a new recipe, and I wished he’d cook with me. Invariably, his replies were, respectively, “salmon pesto pasta”, “good”, and “sure, someday.”

Which, actually – is fine by me. Do I really need someone picking apart each dish I make? Or adding even more ideas to an already overstuffed recipes-to-try folder? Or taking up valuable cooking opportunities?

Copy of IMG_9404

No, his uncritical, always-appreciative, open-minded attitude toward food is perfect. And when he does get excited by a dish, I know to take note, like when he came home from a work party raving about a goat cheese pesto spread someone had brought.

Copy of IMG_9406

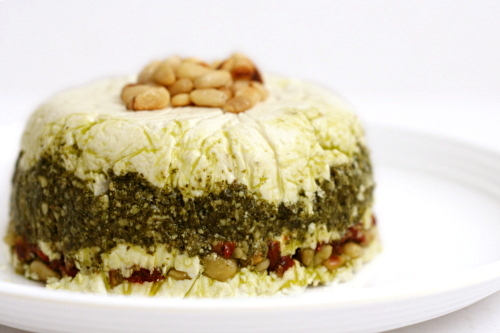
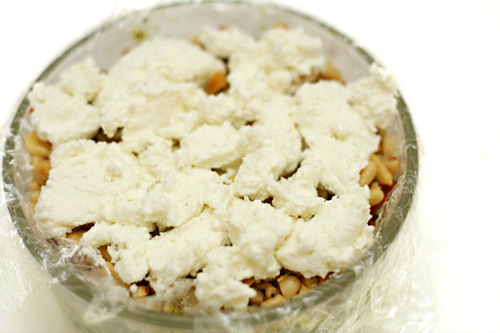
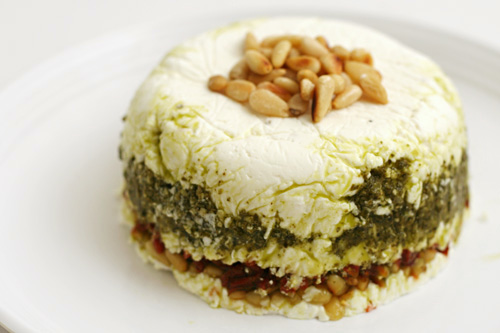
What you do is line a bowl with plastic wrap, then spread some softened goat cheese in the bottom. You’re supposed to make the goat cheese spreadable by adding cream, but I used milk and it worked just fine. Over the first layer of goat cheese, you add some pesto, then more goat cheese, then minced sun-dried tomatoes and chopped toasted pine nuts, then more goat cheese. After chilling for a few hours, it inverts nicely, and you pull the plastic wrap off to reveal nice layers.

Copy of IMG_9411

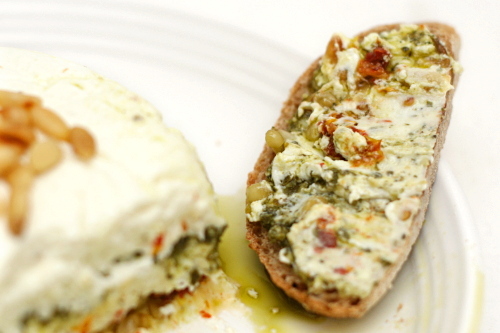
Wow, what a great combination of ingredients. The sweetness of the sun-dried tomatoes balances the tart goat cheese, and pesto is always delicious.  I served it with a whole wheat baguette, and we ate, um, a lot of it. It was completely irresistible.

Copy of IMG_9433

One year ago: Lavash Crackers and Pesto Goat Cheese Spread (Hi! I like pesto! And goat cheese!)

Printer Friendly Recipe
Goat Cheese, Pesto, and Sun-Dried Tomato Terrine
(from Fine Cooking)

Dave did tell me, too late, that his coworker had advised that one of the tricks to making the terrine look neat was to not overfill the intervening layers. That would have been nice to know before I spooned in a bunch of extra pesto.

My personal preference would have been for one more tomato. Dave didn’t agree.

10 ounces goat cheese
¼ to ½ cup heavy cream
Kosher salt and freshly ground black pepper
3 tablespoons basil pesto (homemade or store-bought)
5 oil-packed sun-dried tomatoes, drained and finely chopped
¼ cup pine nuts, toasted and coarsely chopped
Extra-virgin olive oil for drizzling

1. Line the inside of a 2-cup sharply sloping bowl (about 4 inches across the top) with plastic; let the ends extend over the sides a few inches. In a mixing bowl, mash the goat cheese and ¼ cup of the cream with a fork and season with ¼ teaspoon salt and a few grinds of pepper; add more cream if the cheese hasn’t softened.

2. Spoon about one-third of the cheese into the lined bowl and pack it into an even layer. Spread the pesto almost completely to the sides of the first layer of cheese. Top with another third of the cheese, the sun-dried tomatoes, and all but ½ tablespoon of the pine nuts. Top with the remaining cheese. Pack down, fold the plastic over, and refrigerate for at least 30 minutes.

3. Half an hour before serving, take the bowl out of the refrigerator. Pull on the edges of the plastic to loosen the terrine from the bowl. Invert the terrine onto a plate, drizzle with a little olive oil, and let sit for ½ hour to warm up. Sprinkle with the remaining pine nuts, season liberally with pepper, and serve.
Copy of IMG_9427

risotto with swiss chard

Copy of IMG_6075

Although I think that adding green pepper is the easiest way to ruin otherwise perfectly good pizza, I’m not in general a picky eater. There are no common ingredients that I refuse to eat, I’m game to try just about anything, and I think even green pepper has its place. (Caveat: margarine and the like – gross. But that stuff doesn’t count.)

On the other hand, sometimes I do have problems wrapping my mind around certain things. For example, I love sushi, love it, and make an opportunity to eat it once every week or two, but somewhere, in the back of my mind, when I eat tuna sashimi, I’m still thinking “ew, raw fish.”

Copy of IMG_6060

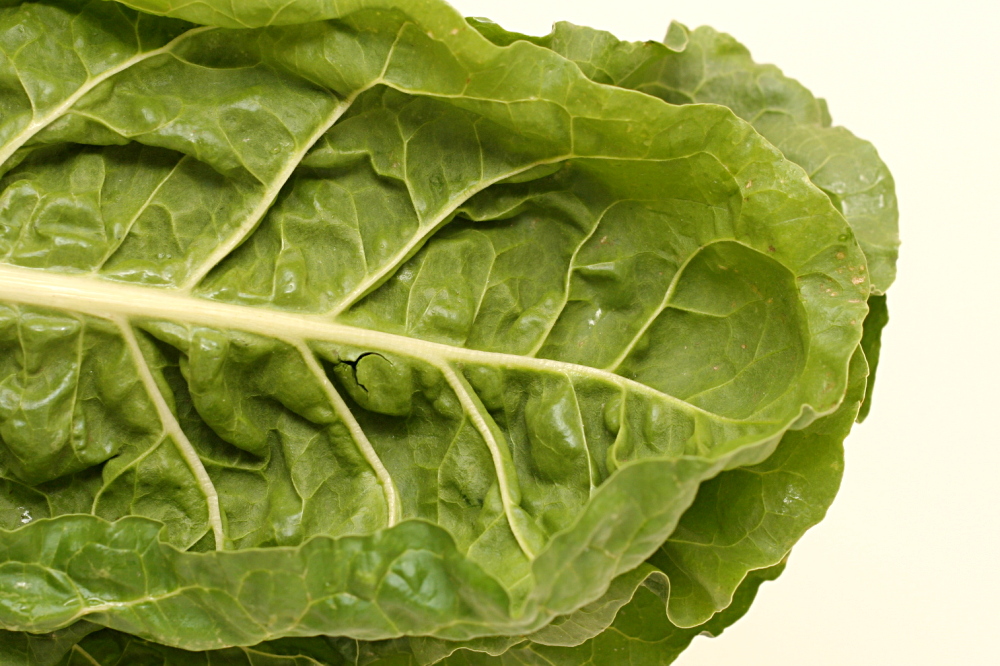
A year or two ago, I realized that I really like kale, and you might think that would lead me to believe I’d also enjoy other hearty greens, like swiss chard. But I had it in my head that swiss chard would be bitter and mushy. It took me a long time to convince myself to try it.

Risotto is a really good way to introduce new vegetables. For one thing, it’s so freakin’ good on its own, and the flavors go with a lot of different ingredients. For another, it makes a convenient side dish to a nice piece of meat, because it often incorporates both a starch and vegetables, so you only need to make one side instead of two.

Copy of IMG_6064

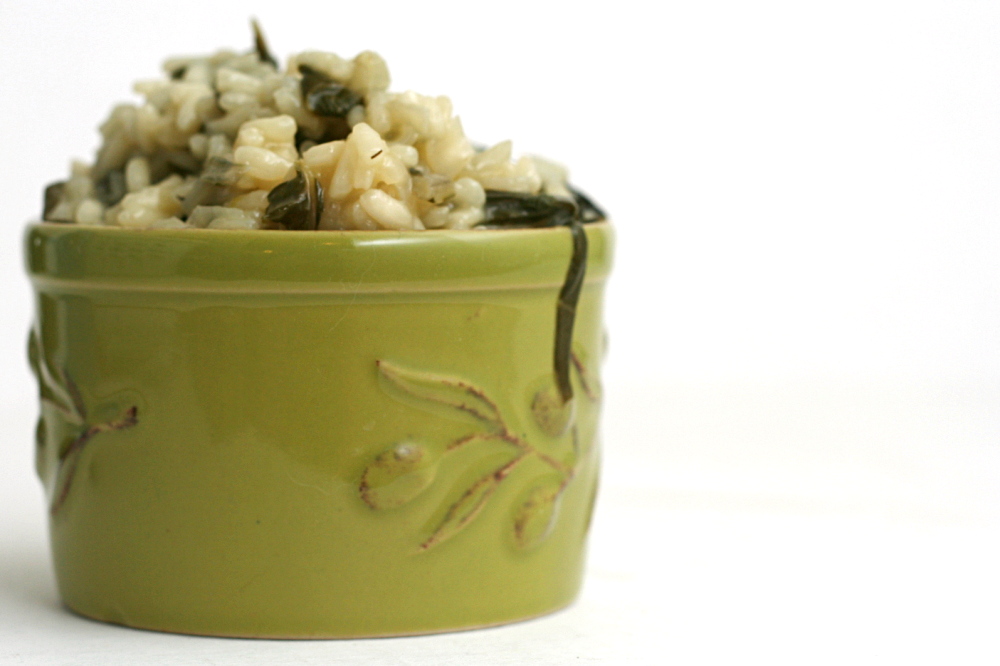
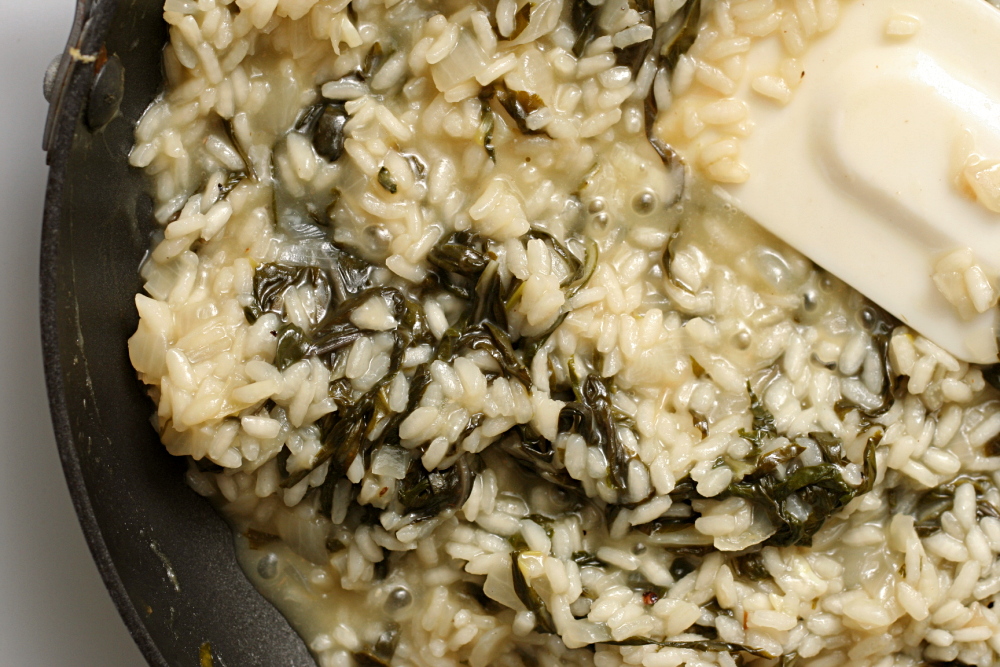
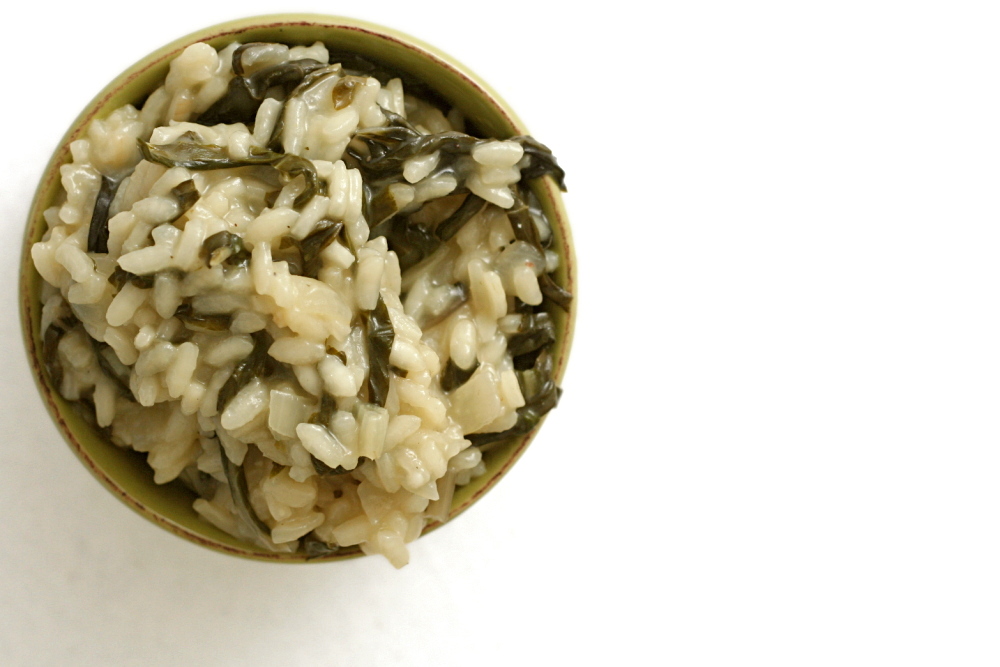
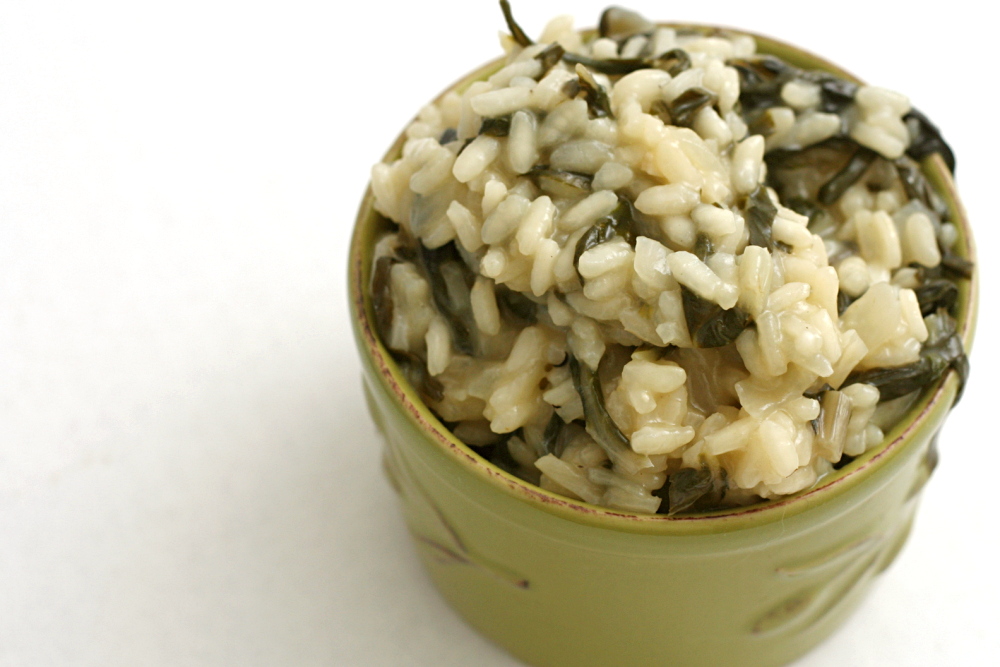
I did look at a recipe for risotto with swiss chard, but ultimately decided to just add chard to my standard risotto recipe. I tried adding it with the rice at first, but I was worried that it was overcooking, and even though the final result was actually very good, I had hoped to hold on to the bright green color that the chard turns midway through cooking. I tried again, this time adding the greens later, with the broth. And it made no difference that I could tell. Once cooked, chard turns a dark olive green, and there’s no getting around it.

Copy of IMG_6074

The earthiness of swiss chard goes really well with risotto. And one thing that’s satisfying about eating hearty greens like this is that they lose so much volume during cooking that I feel like it’s easy to eat a whole lot of greens! As usual, I’m glad I tried and managed to accept a new ingredient. Maybe raw oysters will be next?

Copy of IMG_6080

One year ago: Gazpacho

Printer Friendly Recipe
Risotto with Swiss Chard

6 servings

3½ cups low-sodium chicken broth
3 cups water
2 tablespoons olive oil
1 medium onion, diced fine
2 cloves garlic, minced
salt
2 cups Arborio rice
1 large bunch swiss chard, coarsely chopped (4-5 cups)
1 cup dry white wine
2 ounces (1 cup) parmesan cheese
pepper

1. Bring the broth and water to a simmer in a medium saucepan over medium-high heat. Cover; turn the burner off but keep the pot on the burner.

2. Heat the olive oil over medium heat until the foaming subsides. Add the onion and sauté until softened, about 5 minutes. Add the garlic and cook until fragrant, about 30 seconds. Add the rice, chard, and 1 teaspoon salt and cook, stirring constantly, until the rice is opaque, about 2 minutes. Add the wine and cook, stirring until the rice nearly completely absorbs all the liquid, about 1 minute.

3. Add 2 cups of the hot stock and stir occasionally until it’s mostly absorbed (the spoon will leave a trail on the bottom of the pan), about 6 minutes. Continue to add stock, 1 cup at a time, stirring frequently, until each addition is absorbed. Cook until rice is creamy but still somewhat firm in center (add more water in ½ cup increments if broth/water mixture runs out), 10 to 12 minutes longer.

4. Stir in the cheese. Season with salt and pepper, if necessary. Serve.
Copy of IMG_6079

zucchini bread

Copy of IMG_8571

You know what always makes me twitchy with envy? Hearing people talk about how they just have sooo many zucchini or tomatoes or whatever from their garden, and they just don’t know what to do with it all.

Shut. Up.

Also: Give them to me.
Copy of IMG_8549

I live in an apartment. There are no raised beds and no compost bins. There isn’t enough sunlight for container plants. I can’t even keep herbs because the cats eat them.
No, I bought these zucchini from the grocery store, although it at least was from the local farm section. But it’s the end of summer, and, damn it, I wanted zucchini bread.

Copy of IMG_8552

I’m not a big carrot cake fan – vegetables? dessert? they do not belong together – but zucchini bread I can do. It’s a quick bread, a snack; it isn’t masquerading as a fancy cake. Like most quick breads, this one starts with the dry ingredients (flour, salt, leavener, nuts) and the wet ingredients (eggs, butter, sugar, yogurt, a little lemon juice) mixed separately before being folding together.

Copy of IMG_8557

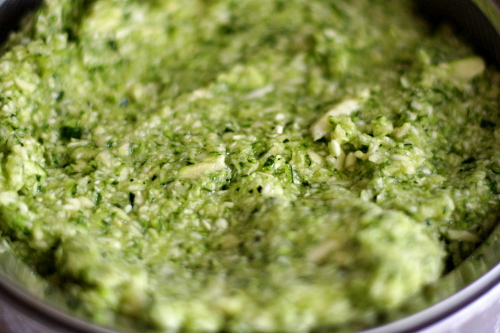
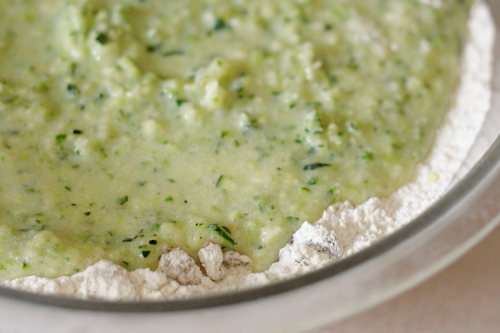
What I like about this recipe is how it treats the zucchini. Zucchini is full of water, and think about it – when did you last add water to a quick bread? You don’t, because it makes baked foods wet and gummy. So you have to remove the water from the zucchini. After the zucchini is shredded, mix it with a couple tablespoons of sugar, and let it sit and drain in a strainer while you prepare the rest of the ingredients. By the time you’re ready to move on with the recipe, the zucchini will have given up something like a half-cup of (bright green) water. What’s even better about this method is that you end up using more zucchini than you could if you had to keep all of the water in the dough.

Copy of IMG_8562

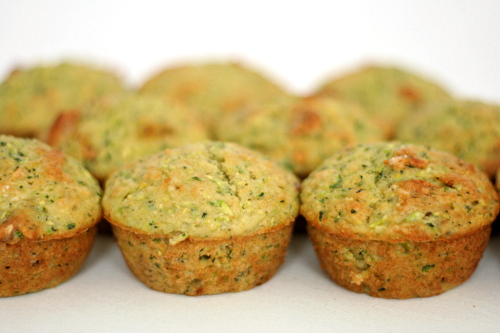
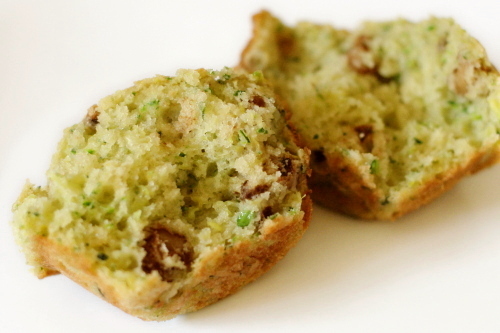
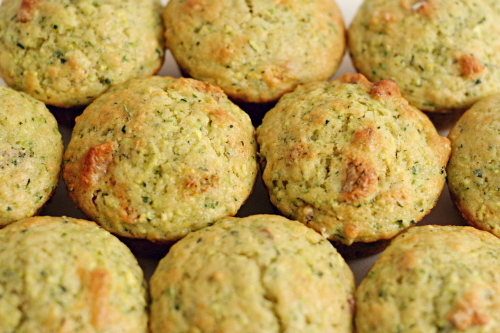
Ooh, I loved these. Loved them. So soft, so tender, so pretty and green. They don’t taste at all vegetal, and they’re just sweet enough. Someday I’ll have a house and a vegetable garden, and I will turn so much zucchini into beautiful bread. Until then, I’ll be grateful that zucchini is available year-round from the grocery store.

Copy of IMG_8568

One year ago: Sausage and Red Pepper Hash

Zucchini Bread (from Cooks Illustrated)

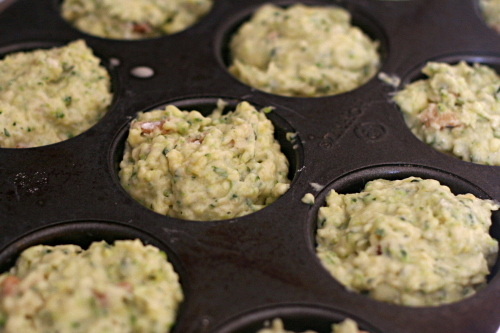
To make muffins instead of a loaf, divide the batter between 12 greased and floured muffin cups. Bake at 375 degrees for 18-25 minutes.

2 cups (10 ounces) all-purpose flour, plus more for dusting
1 pound zucchini, washed and dried, ends and stems removed, cut in half lengthwise and seeded if using large zucchini, each half cut into 1-inch pieces
¾ cups (5¼ ounces) sugar
½ cup pecans or walnuts, chopped coarse
1 teaspoon baking soda
1 teaspoon baking powder
½ teaspoon salt
¼ cup plain yogurt
2 large eggs, beaten lightly
1 tablespoon lemon juice
6 tablespoons (¾ stick) butter, melted and cooled

1. Adjust an oven rack to the middle position and heat the oven to 375 degrees. Grease the bottom and sides of a 9 by 5-inch loaf pan; dust with flour, tapping out the excess.

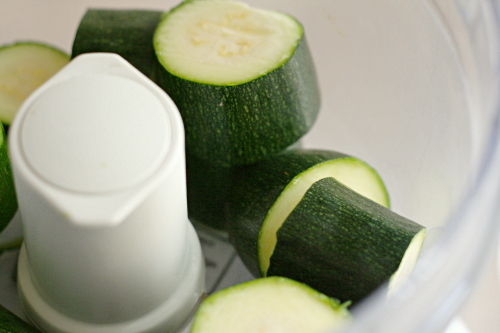
2. In the bowl of a food processor fitted with the metal blade, process the zucchini and 2 tablespoons of the sugar until the zucchini is coarsely shredded, twelve to fifteen 1-second pulses. Transfer the mixture to a fine-mesh strainer set at least 2 inches over a bowl and allow to drain for 30 minutes. Alternatively, you can shred the halved zucchini (don’t cut into 1-inch pieces) on the large holes of a box grater, toss with the 2 tablespoons of sugar, and drain.

3. Meanwhile, spread the nuts on a baking sheet and toast until fragrant, 5 to 7 minutes. Transfer the nuts to a cooling rack and cool completely. Transfer the nuts to a large bowl; add the flour, baking soda, baking powder, and salt, and whisk until combined. Set aside.

4. Whisk together the remaining ½ cup plus 2 tablespoons of sugar, yogurt, eggs, lemon juice, and melted butter in a 2-cup glass measure until combined. Set aside.

5. After the zucchini has drained, squeeze the zucchini with several layers of paper towels to absorb excess moisture. Stir the zucchini and the yogurt mixture into the flour mixture until just moistened. Scrape the batter into the prepared pan and smooth the surface with a rubber spatula.

6. Bake until the loaf is golden brown and a skewer inserted in the center comes out clean, 55 to 60 minutes, rotating the pan halfway through baking. Cool in the pan for 10 minutes, then transfer to a wire rack and cool for at least one hour before serving. (The bread can be wrapped with plastic wrap and stored at room temperature for up to 3 days.)

Copy of IMG_8579