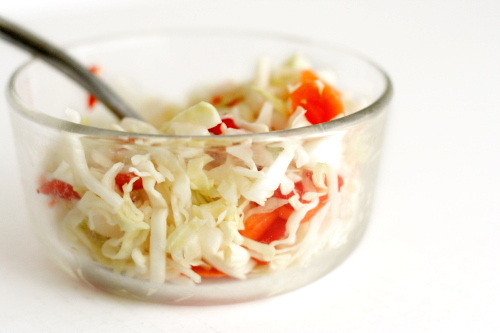
pickled coleslaw

Copy of IMG_6584

Salads can be tricky, because if I’m eating a big bowl of vegetables, it better be healthy, you know? But there’s the whole salad dressing issue. Vinaigrette is the standard lighter option, but even it’s usually based on olive oil.

Coleslaw is no exception to the salad dressing problem. Many coleslaws are simply cabbage, mayonnaise and seasoning. Not only is this a little plain for my taste, but it turns coleslaw into a full-on indulgence. Even my favorite buttermilk coleslaw recipe includes a bit of mayonnaise and sour cream (which could probably be replaced by plain yogurt), although the base of the dressing is lowfat buttermilk.
Copy of IMG_6553

A lot of people don’t even like creamy coleslaws, preferring vinegar-based slaws instead. I like both types, and at first I thought these vinegar dressings were the no-fat answer for coleslaw, until I found out that most involve oil, like a typical vinaigrette does.
Copy of IMG_6547

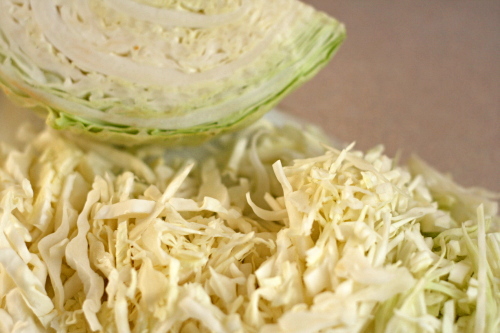
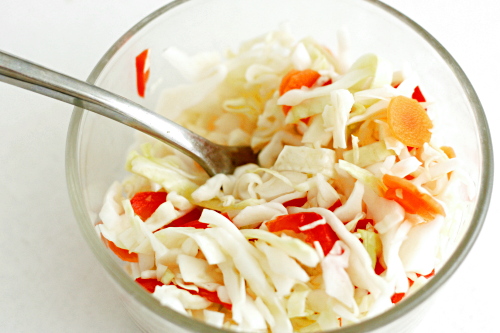
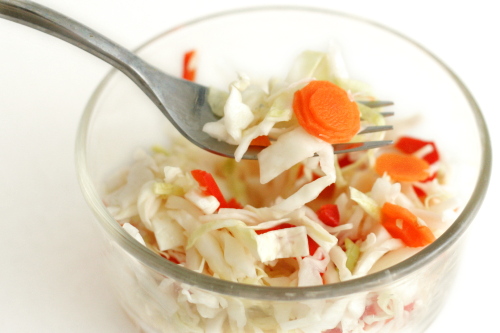
The solution, it turns out, is pickled coleslaw. The cabbage here is mixed with nothing but vinegar, water, sugar and salt. Those ingredients have to be heated to dissolve the sugar, then cooled so they don’t wilt the cabbage. Then they’re mixed with the shredded cabbage and a few other vegetables (sadly, I didn’t have a cucumber around when I made this, so I had to skip it), and refrigerated overnight – or for longer, if need be.

Copy of IMG_6556

What a great way to eat a big bowl of vegetables. Since I’m not worried by a wee bit of sugar, there’s nothing for me to feel guilty about here. And it isn’t just about being healthy – it tastes great too. It’s tart without being too sour and has a wonderful crunch. Even Dave, pickle-hater that he is, enjoyed it. Gotta love a salad without compromise.
Copy of IMG_6583

One year ago: Mashed Potatoes with Kale

Pickled Coleslaw (from Deb Perelman for NPR)

Makes 8 to 10 servings

Brine:
1½ cups distilled white vinegar
1½ cups water
⅓ (2.33 ounces) cup sugar
2½ tablespoons kosher salt

Slaw:
1 small head green cabbage
1 red bell pepper, cored, seeded and thinly sliced into 1- to 2-inch pieces
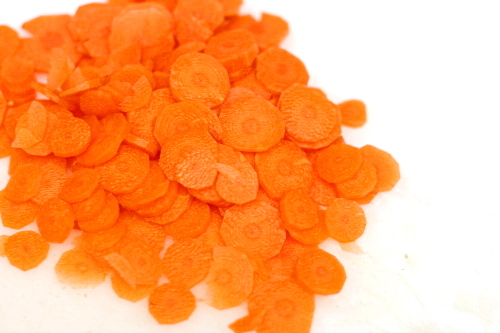
1 carrot, peeled and very thinly sliced
1 kirby cucumber, thinly sliced

Bring brine ingredients to a boil in a 2-quart nonreactive saucepan over moderate heat, stirring until sugar is dissolved. (Use a pan of stainless steel, glass and enameled cast iron; avoid pure aluminum and uncoated iron, which can impart an unpleasant taste to recipes with acidic ingredients) Transfer to a 3- to 4-quart nonreactive bowl and cool completely. To speed this process up, you can set the bowl over a second bowl of ice water, and stir, which will quickly chill the brine.

Halve, core and halve again the head of cabbage, then finely slice it with a knife, or run the quarters through a food processor fitted with a slicing blade.

Toss sliced cabbage, bell pepper, carrot and cucumber in bowl with brine. Cover with lid or plastic wrap, and refrigerate, tossing the ingredients once or twice in a 24-hour period. After one day in the brine, the coleslaw is ready to serve. It keeps for up to 1 week, chilled.
Copy of IMG_6586

pasta with no-cook tomato sauce and fresh mozzarella

Copy of IMG_8005

I know I’ve been harping on my love of summer lately, and I did the same thing last year. Honestly, while summer is undoubtedly my favorite season, fall is a not-too-distant second, and really, there are aspects I like about every season. But summer doesn’t just have sunlight and warmth and lightning bugs and beach trips and fireworks and…well, all of those other things I love, but very importantly, it has tomatoes.

Copy of IMG_7989

I love fresh summer tomatoes so much that, other than the very occasional container of cherry tomatoes, I don’t bother buying fresh tomatoes any other time of the year. Why set myself up for disappointment? Why bother with those dry, mealy, flavorless winter tomatoes? I’d rather just wait for the real thing.

Copy of IMG_7995

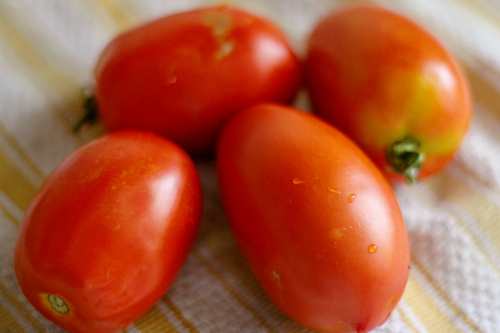
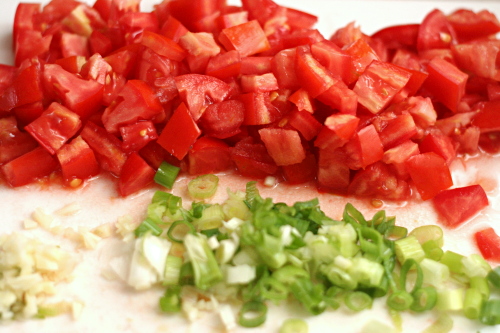
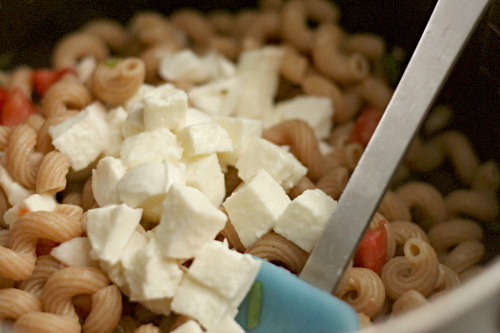
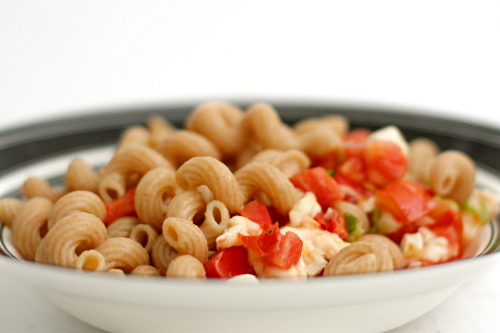
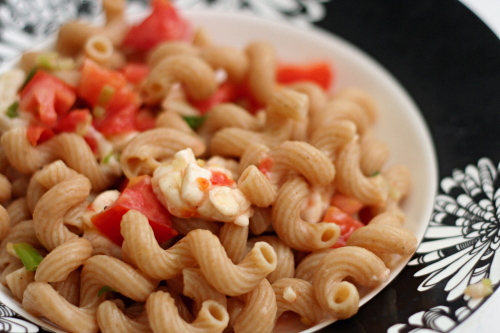
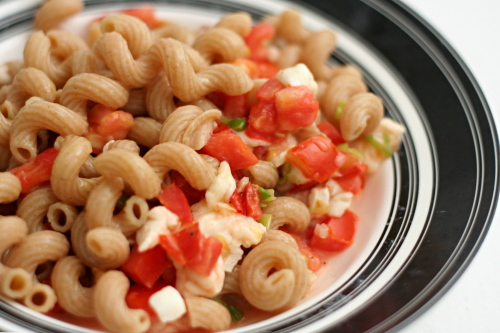
And then – then I go crazy. Gazpacho, BLTs, maybe a potato tomato tart, and this pasta. Oh this pasta. It’s a perfect meal. Super simple, it can be made in the time it takes to boil the noodles. The sauce, uncooked, retains the brightness of tomatoes at their peak, accented with smooth fresh mozzarella, tangy green onions, and fruity extra virgin olive oil.

Copy of IMG_7999

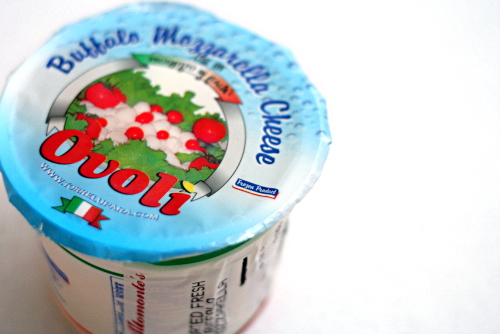
With almost no cooking and so few ingredients, you need to make sure you’re using the best ingredients you can get. Summer tomatoes, of course. Use whatever your favorite mozzarella is – this time I used buffalo mozzarella, but I’ve also tried the little balls my grocery sells in its olive bar, as well as the shrink-wrapped balls that I’m guessing are more widely available. Also, be careful of your garlic – I once made this (for a large group, no less) with some incredibly strong garlic, and it really ruined the whole dish. I recommend toasting the unpeeled cloves, either in a dry skillet or in the oven if it’s already on.

Copy of IMG_8001

Fall is closing in fast (pumpkin and cider and football and colorful trees and crisp air!) but there’s still time! We still have at least a month of wonderful tomatoes left! What are your favorite ways to use them?

Copy of IMG_8006

One year ago: Blueberry Sour Cream Ice Cream

Pasta with No-Cook Tomato Sauce and Fresh Mozzarella (from Cooks Illustrated)

This is the recipe directly from Cooks Illustrated. I do make a few small changes. First, I don’t seed the tomatoes, which does make the pasta a little wetter, but I just can’t throw away so much precious summer tomato flavor. I also use less oil, because, you know, fat and all that. And sometimes I reduce the amount of pasta.
Also, you’ll probably want to warm your serving bowl for this recipe.  I usually put the bowl in the oven, turn the oven on to warm for a few minutes, then turn the oven off, leaving the bowl in there until I’m ready for it.

salt
1 pound pasta (a short, curly type is best)
1½ pounds ripe tomatoes, cored, seeded, and cut into ½-inch dice
¼ cup extra virgin olive oil
1 medium garlic clove, minced or pressed through a garlic press
3 medium scallions, sliced thin
ground black pepper
8 ounces fresh mozzarella cheese, cut into ½-inch cubes

1. Bring 4 quarts water to a rolling boil in a large pot. Add 1 tablespoon salt and the pasta to the boiling water, stir to separate the noodles, and cook until al dente. Drain and return the pasta to the pot.

2. While the pasta is cooking, prepare the sauce. Combine the tomatoes, oil, garlic, scallions, ½ teaspoon salt, and ¼ teaspoon pepper in a medium bowl. Add the tomato mixture and mozzarella to the pasta in the pot and toss to combine. Adjust the seasonings with salt and pepper to taste and serve immediately.

Copy of IMG_8002

potato tomato tart

Copy of IMG_8028

Dave and I have this conversation nearly once a week:

Me (whining, after baking all day): I’ve been cooking all day and I’m tired and I haven’t even stupid started dinner. Stupid stupid stupid.
Dave: Okay. We’ll order pizza.
Me: We can’t order pizza! I bought ingredients for dinner! If we don’t use them tonight, they’ll go to waste!

Copy of IMG_8007

Once the week’s menu is set, it does not change.

But last week something went haywire, and I needed to come up with an extra meal on short notice.

Copy of IMG_8012

I had two potatoes that I’d bought and never got around to using (see! they almost went to waste!) and there was a pile of tomatoes leftover from tomato picking. But I couldn’t find any recipes that fit all of my requirements – used plenty of both tomatoes and potatoes, didn’t require any ingredients I didn’t have, and actually sounded good. So I <gasp> came up with something on my own.

Copy of IMG_8020

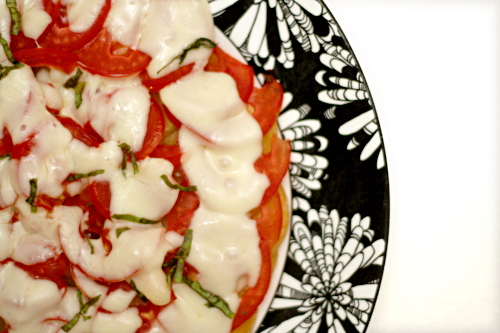
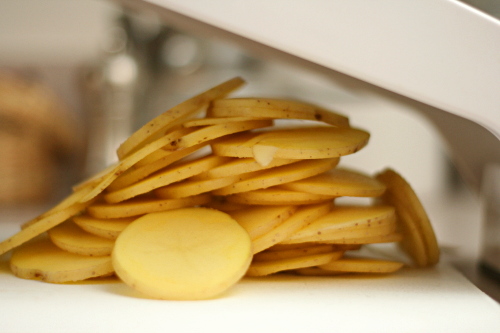
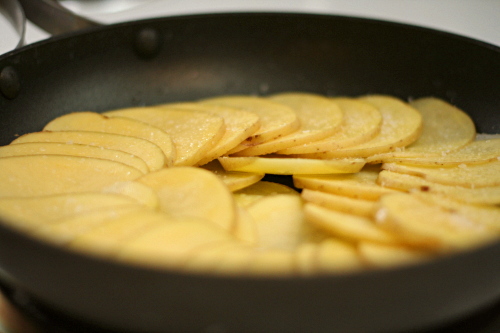
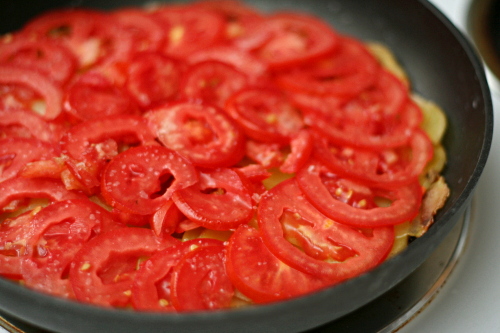
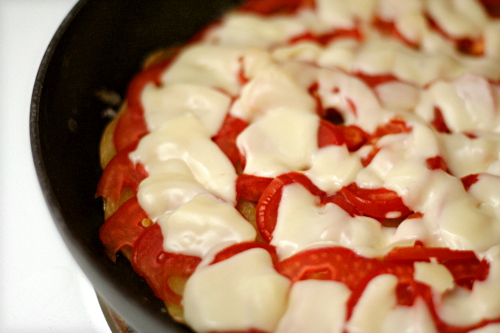
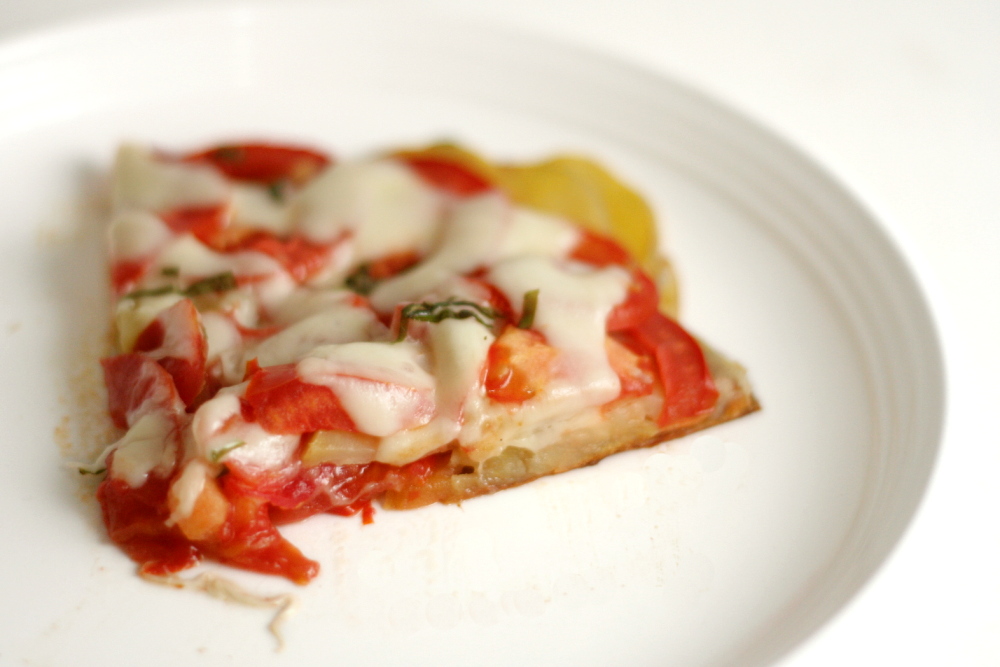
I sliced the potatoes thin and arranged them in a skillet. Once they were crisped on the bottom and mostly cooked through, I arranged sliced tomatoes over the top. Once those were softened, I arranged sliced mozzarella on top of that. It melted almost immediately, so I quickly picked a few leaves from my pathetic sun-starved basil plant, and sprinkled them over the tart.

Copy of IMG_8023

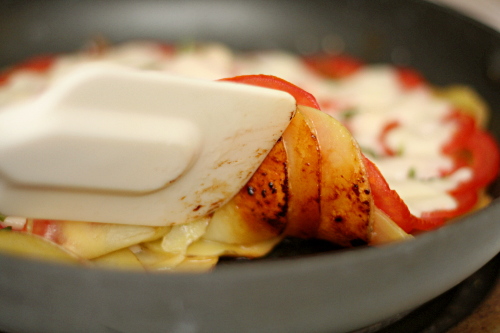
It was pizza-like, which is always a plus. The potatoes were browned and crisp on the bottom.  It was pretty. It was easy. It was tasty. It used up ingredients I didn’t know what else to do with. Perfect.

Copy of IMG_8027

One year ago: Banana Coconut Muffins

Potato Tomato Tart

Serves 2 for a light meal

I used a mandoline set at 1/8-inch to slice the potatoes and tomatoes.

1 tablespoon olive oil
2 medium Yukon gold potatoes, sliced thin
salt and pepper
2 large (or maybe 3 small) plum tomatoes, sliced thin
2½ ounces mozzarella cheese, sliced thin (or just over ½ cup shredded)
3-4 basil leaves, sliced thin

1. Heat the oil in a medium nonstick skillet over medium heat. Arrange the potatoes in one layer on the bottom of the skillet, overlapping each slice. Season with pepper and a generous pinch of salt. Cover the pan, reduce the heat to medium-low, and cook for 20 minutes, until the potatoes are almost tender and are lightly browned on the bottom.

2. Arrange the tomatoes in one layer of overlapping slices over the potatoes. Cover and cook for 5 minutes, until the tomatoes are slightly softened. Evenly disperse the mozzarella over the tomatoes and cook a few minutes, until it’s melty. Sprinkle the top of the tart with basil.

3. Serve. I was able to move the tart once, by sliding it from the pan to a serving plate. Then I realized it would be easier to cut the tart if it was on a cutting board, but moving it from the serving plate wasn’t nearly as easy as moving it from the pan. By which I mean that the whole thing mostly fell apart. So don’t try to move it around too much.

Copy of IMG_8030

vegetable curry

Copy of IMG_7904

I’m particular about cookbooks. I’ve gotten into the habit of buying one hopefully comprehensive cookbook per cuisine. It started with Julia Child’s Mastering the Art of French Cooking and Marcella Hazen’s Essentials of Classic Italian Cooking, then it was Corinne Trang’s Essentials of Asian Cooking, and most recently, Julie Sahni’s Classic Indian Cooking.

Copy of IMG_7885

The thing is, I’ve hardly made anything from any of these. I’ve barely even opened Indian Cooking since I got it for Christmas this year, and to be honest, I’m really not bothered by this. It makes me happy just knowing that I have them, and that someday, hopefully sooner rather than later, I’ll find the time and discipline to learn what I can from each one.

Copy of IMG_7889

In fact, I’ve only made a couple of Indian dishes ever, but that was all I needed to be convinced that I’ll love it; I enjoy the basic flavors and ingredients so much. One of my favorites is a vegetable curry dish from Cooks Illustrated, but every time I made it, I was surprised by how long it took. I wanted something simpler that I could reasonably make on a weeknight.

Copy of IMG_7892

Then I found a recipe for Aloo Gobi that had a lot of the same ingredients, except less of them, plus a simpler cooking method. It has potatoes in it, as does the CI recipe, but since I wanted to serve my curry mixture over rice, I decided that I could eliminate the potatoes. I also wanted this to be a one-dish meal, but the original didn’t have any protein. Exchanging the potatoes for chickpeas killed two birds with one stone.

Copy of IMG_7898

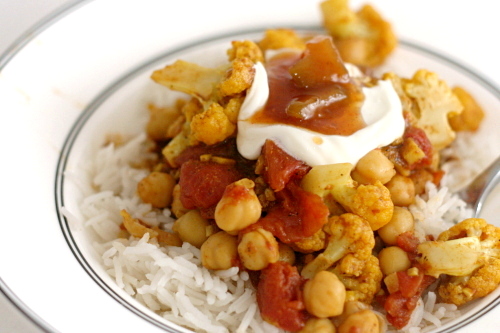
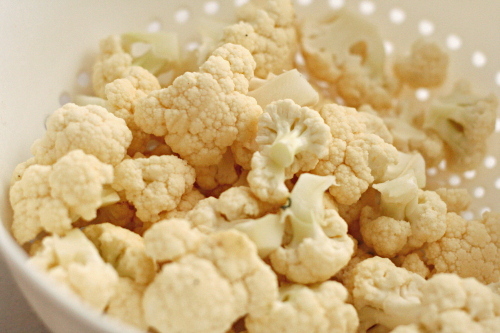
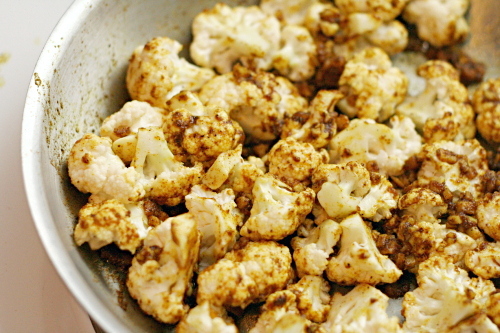
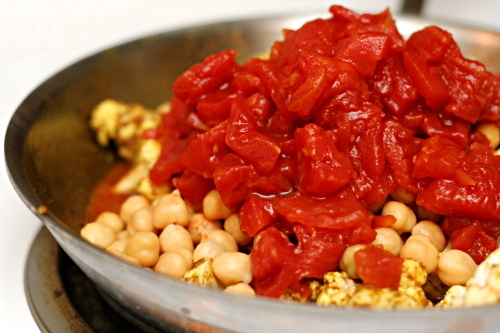
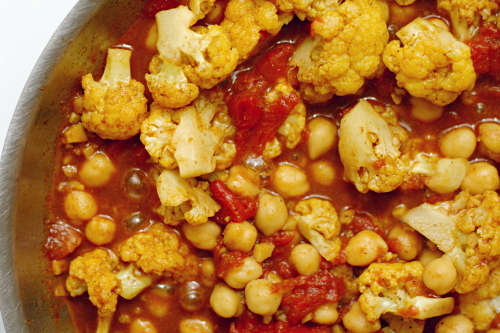
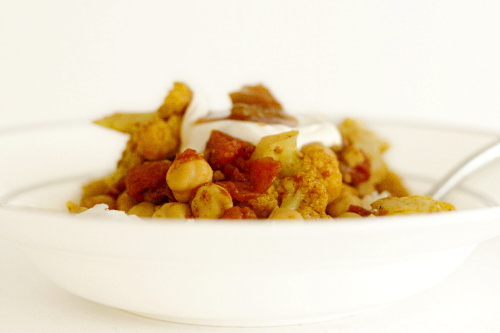
The recipe starts out with sautéing all sorts of delicious aromatics – garlic and ginger of course, but also spices, including curry powder and garam masala. Garam masala is seriously delicious stuff. It’s a blend, so brands will vary, but I’ve been perfectly happy with McCormick’s. Then I added cauliflower, which is my favorite vegetable, and then tomatoes and chickpeas. One ingredient I love after another. At the end, peas are stirred in.

Copy of IMG_7900

This was exactly what I was looking for. It has similar ingredients to the Cooks Illustrated recipe that I enjoyed so much, but it’s easy enough to make on a weeknight. Aloo gobi  has similar flavors, but this version has the right nutritional balance for a one-pot meal. I wonder how many more great Indian dishes I can discover by actually looking through a cookbook?

Copy of IMG_7905

One year ago: Grits, Onion, and Cheese Souffles

Printer Friendly Recipe
Vegetable Curry

Serves 3-4

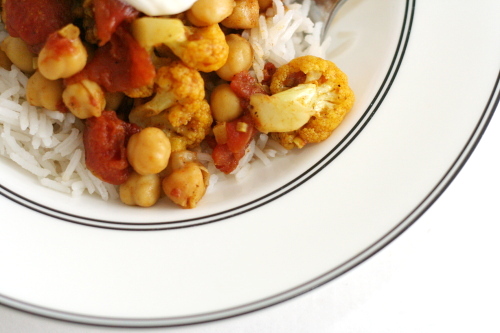
I love this over basmati rice (I like to put a cinnamon stick and some cloves in the pot with the rice cooks) and topped with mango chutney and plain yogurt.

I didn’t have peas when I photographed this. Also, I used too much of the spices; the recipe below calls for less than I used, so if yours looks a little different from the pictures, that may be the reason.

1 tablespoon canola oil
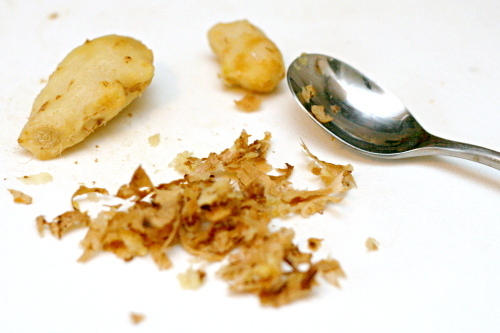
1 tablespoon minced or grated ginger
3 large garlic cloves, finely chopped
1 teaspoons garam masala
2 teaspoons curry powder
Salt
½ medium head cauliflower, cut into small-medium sized florets
1 (15-ounce) can diced tomatoes
1 (15-ounce) can chickpeas, drained and rinsed
4 ounces (about ¾ cup) frozen peas

1. In a large skillet, heat the canola oil over medium heat. Add the garlic, ginger, garam masala, and curry powder. Cook until fragrant, 1-2 minutes, stirring constantly.

2. Add the cauliflower and toss to incorporate with the spices, then stir in ½ teaspoon salt, the chickpeas, and the tomatoes with their liquid. Cover the pan and simmer over medium heat for 10 to 15 minutes, until the cauliflower is tender, stirring occasionally. Stir in the peas, cover again, and continue simmering for 2-3 minutes, until the peas are heated through. Serve over rice, topped with plain yogurt and mango chutney, if desired.

Copy of IMG_7902

farmer’s market salad with spiced goat cheese rounds

Copy of IMG_7094

This is a bit of a misnomer for me, as I haven’t found a convenient farmers market since we moved to Pennsylvania last January. We drove half an hour to one last year and bought some nice eggs, but it didn’t have much in the way of produce. I hear there’s another, 30 minutes in the opposite direction, but honestly, my grocery store sells local produce and I’m lazy.

Copy of IMG_6535

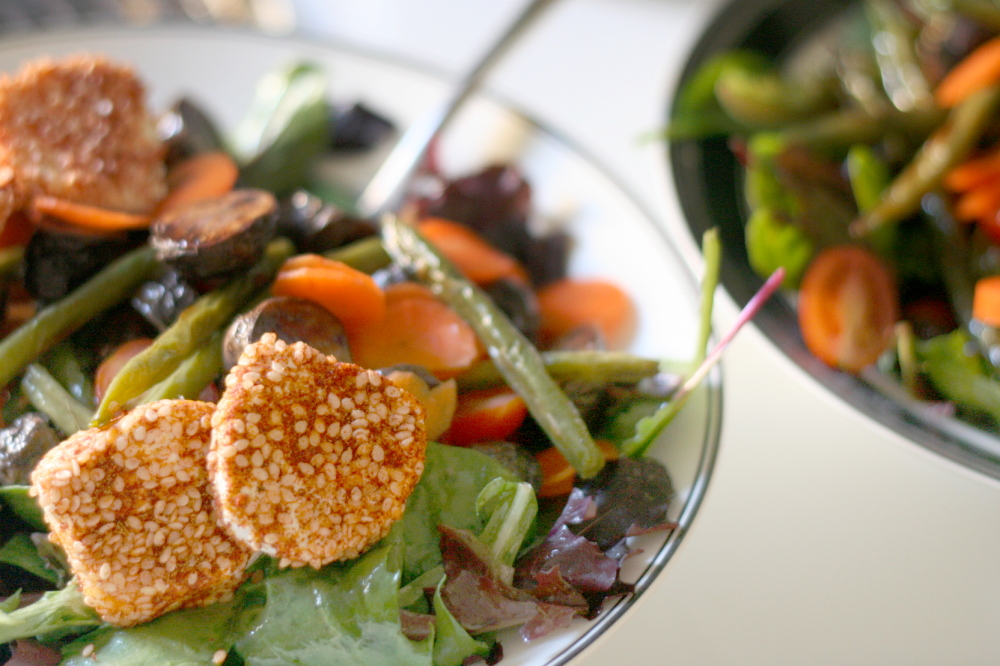
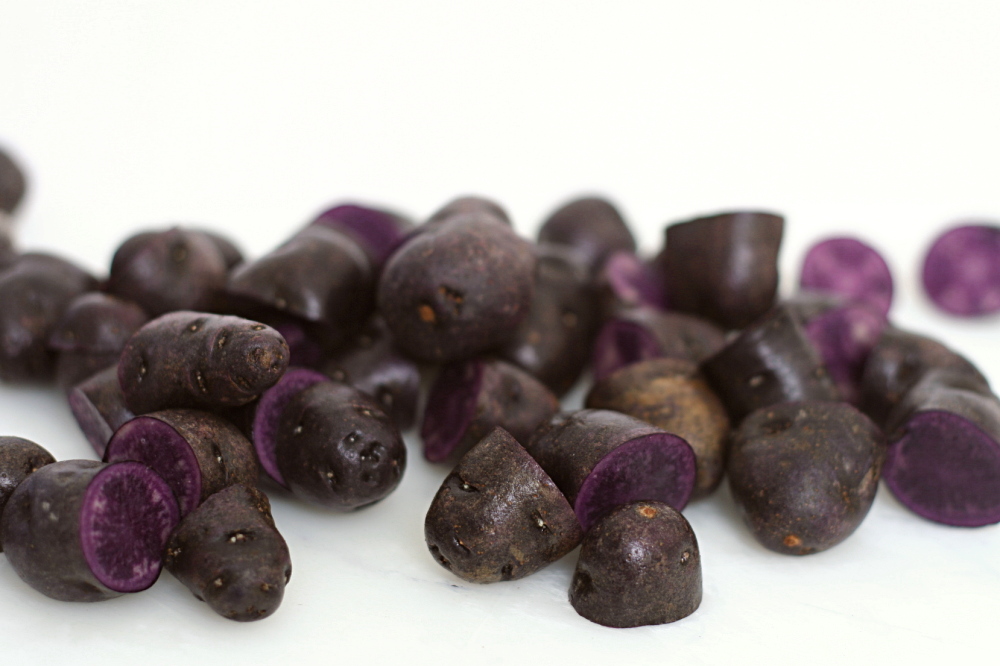
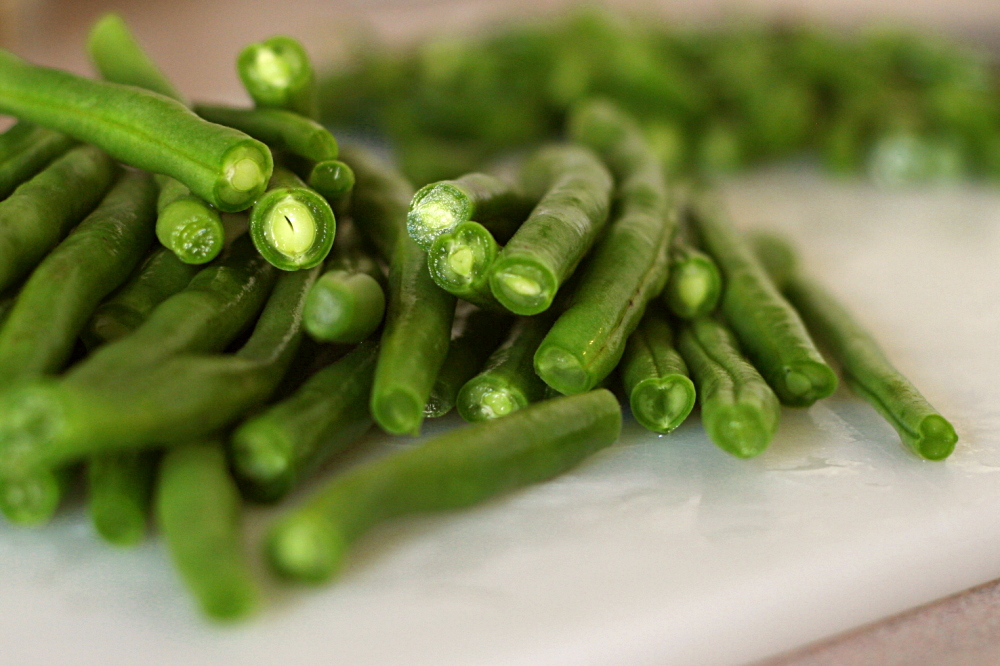
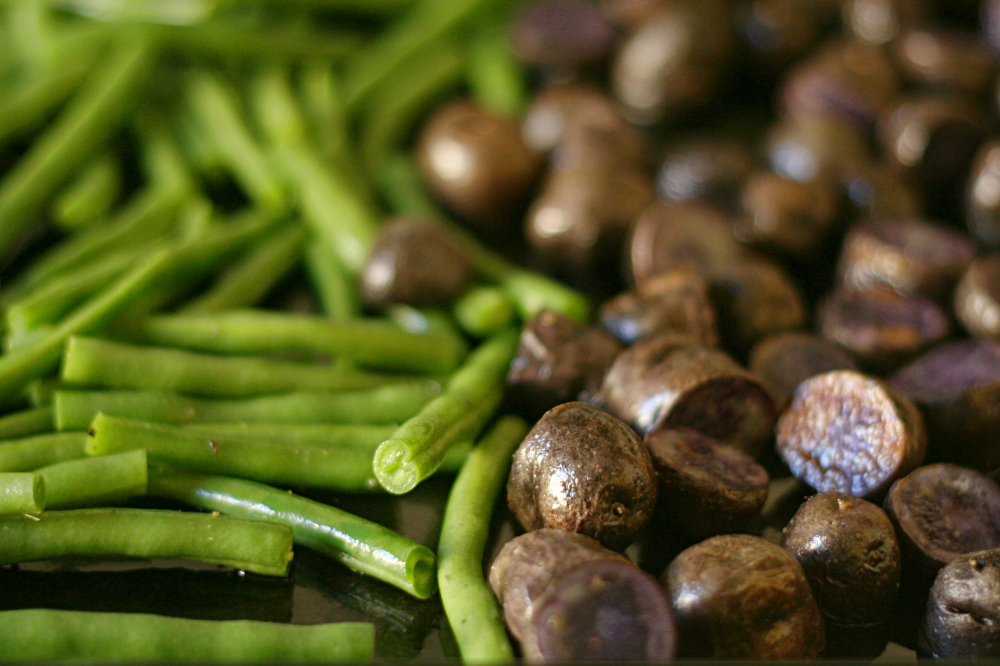
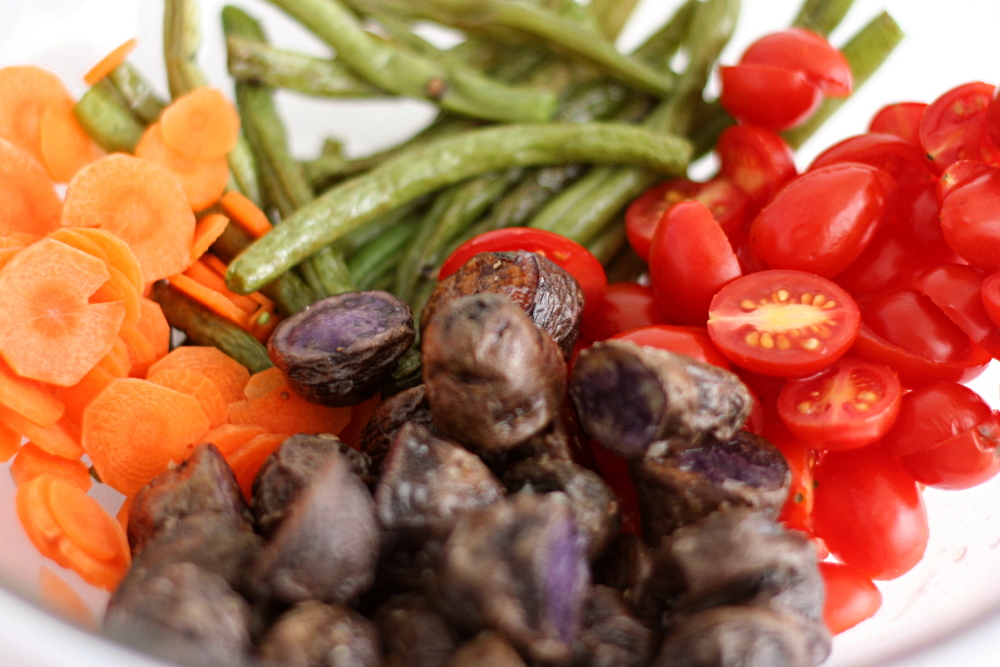
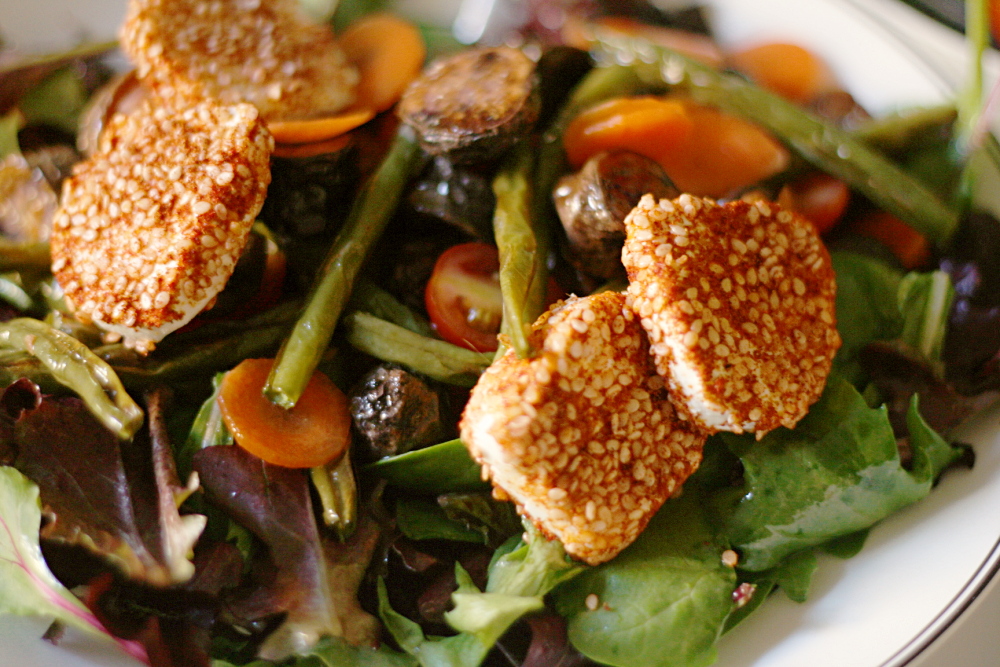
Whether you buy your ingredients at a farmers market or the grocery store, you’ll end up with a delicious salad. We’re talking greens, topped with potatoes, green beans, slivered carrots, tomatoes, and, mmm, goat cheese. I used purple potatoes and I wanted yellow beans (yellow green beans?) for maximum color impact, but couldn’t find them. The original recipe also has black olives, and I included them the first time I made this salad, but they didn’t seem to fit with the other flavors.

Copy of IMG_7054

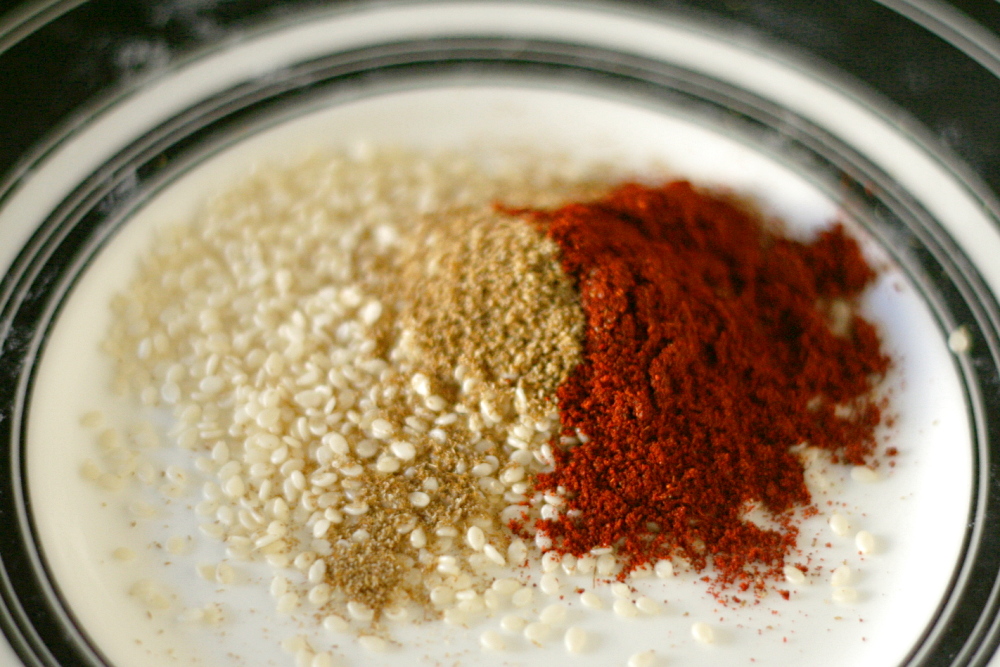
Now let me be honest: I put quite a bit of work into this salad. I roasted the potatoes and the green beans, I cut the carrots into the thinnest of coins, and I dutifully rolled discs of goat cheese in a colorful spice mixture. (Oh, and I unceremoniously dumped a pre-washed bag of mixed greens into a bowl.)

Copy of IMG_7061

Some of this is nice for maximum potential, but not strictly necessarily. The tomatoes? Expendable; I’m not sure they matched the rest of the ingredients anyway. The spices? Couldn’t taste ‘em. And it’s not like you’re really going to improve on goat cheese anyway. The shallot in the dressing? Nah. You could spend half the time, focusing on just the key components of this salad – the greens, dressing, potatoes, beans, and did I mention how much I love goat cheese? – and get a very similar result.

Copy of IMG_7075

On the other hand, if you do you have access to one of those colorful outside markets where the farmers are friendly and the produce is varied, mix it up! It’s a salad, and you’re not going to ruin it by making it your own.

Copy of IMG_6559

One year ago: Filbert Gateau with Praline Buttercream

Farmers Market Salad with Spiced Goat Cheese Rounds (adapted from epicurious)

Makes 4 main-course servings

Goat cheese rounds:
2 tablespoons sesame seeds
2 teaspoons ground cumin
1½ teaspoons paprika
1 teaspoon finely chopped fresh thyme
¼ teaspoon coarse kosher salt
⅛ teaspoon ground black pepper
16 (½-inch-thick) rounds chilled soft fresh goat cheese (from one 11-ounce log)

Vinaigrette:
2 tablespoons red wine vinegar
1 shallot, minced
1 teaspoon chopped fresh thyme
1 teaspoon Dijon mustard
5 tablespoons extra-virgin olive oil
Coarse kosher salt

Salad:
1 pound baby new potatoes (such as Dutch yellow baby potatoes), halved
1 pound green beans (or mix of green and yellow), trimmed
8 cups (loosely packed) mixed salad greens
12 ounces assorted small tomatoes (such as cherry, grape, and teardrop; preferably mix of red and yellow)

For goat cheese rounds:
Line baking sheet with waxed paper or parchment paper. Mix first 6 ingredients in shallow bowl. Dip cut sides of goat cheese rounds into spice mixture to coat. Place on prepared baking sheet. Chill until ready to serve. DO AHEAD Can be made 1 day ahead. Cover and chill. Bring to room temperature before serving.

For vinaigrette:
Whisk first 4 ingredients in small bowl. Gradually whisk in olive oil. Season with coarse salt and pepper. (Can be made 1 day ahead. Cover and refrigerate. Rewhisk before using.)

For salad:
Steam potatoes until just tender, about 10 minutes. Transfer to plate; cool. Steam green beans until crisp-tender, about 5 minutes. Rinse under cold water; drain. Pat dry with paper towels. ( Potatoes and green beans can be made 6 hours ahead. Wrap separately in paper towels. Place in resealable plastic bag; chill.)

Combine greens and basil in large bowl. Add enough vinaigrette to coat lightly; toss. Arrange on large platter. Add potatoes and green beans to same large bowl; add remaining dressing and toss. Arrange potatoes and beans atop greens. Scatter tomatoes and olives over. Surround with goat cheese rounds.

Copy of IMG_7083

tortellini soup with carrots, peas and leeks

Copy of IMG_7222

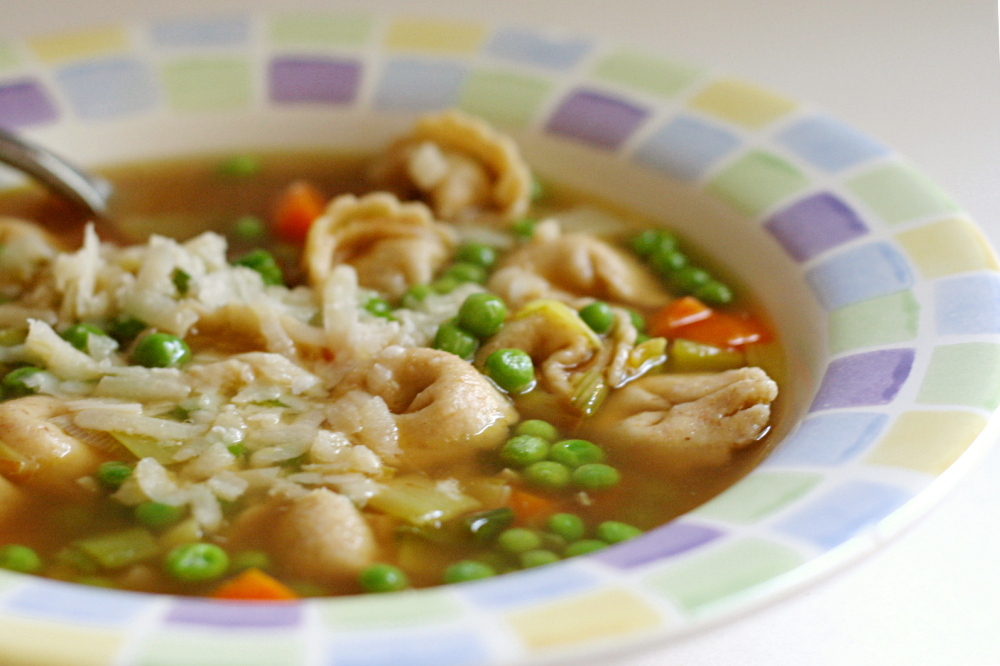
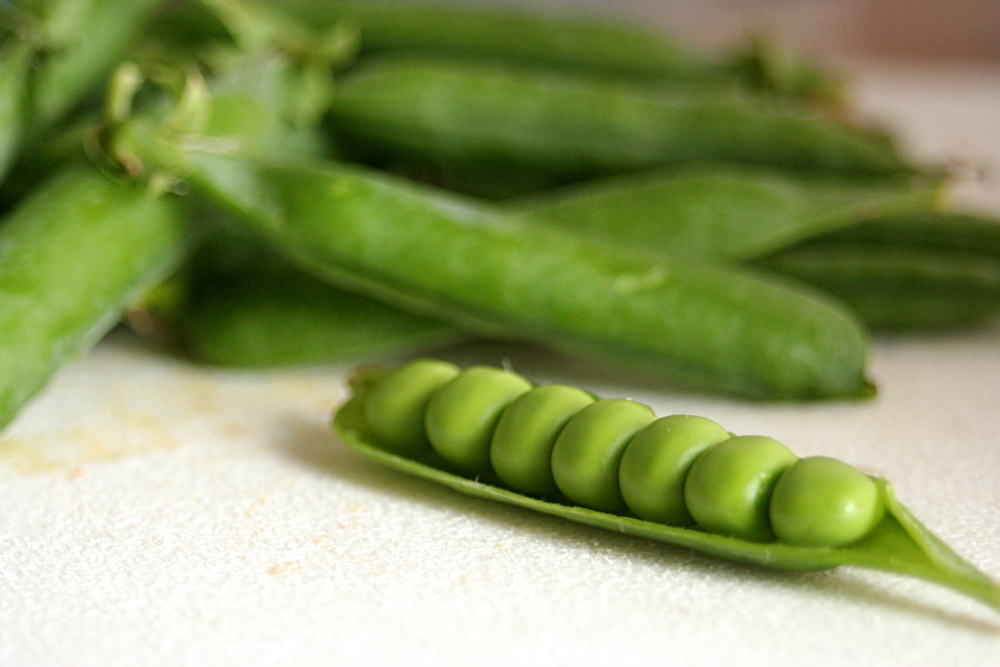
It turns out that pea-picking is way more fun than strawberry picking. For one thing, it isn’t nearly as crowded. Shocking, I know, that strawberries are more popular than peas. There’s also nothing squishy lurking under the foliage, and the peas are plentiful and just demanding to be picked. And pick we did, far more than we needed for this soup.

Copy of IMG_7448

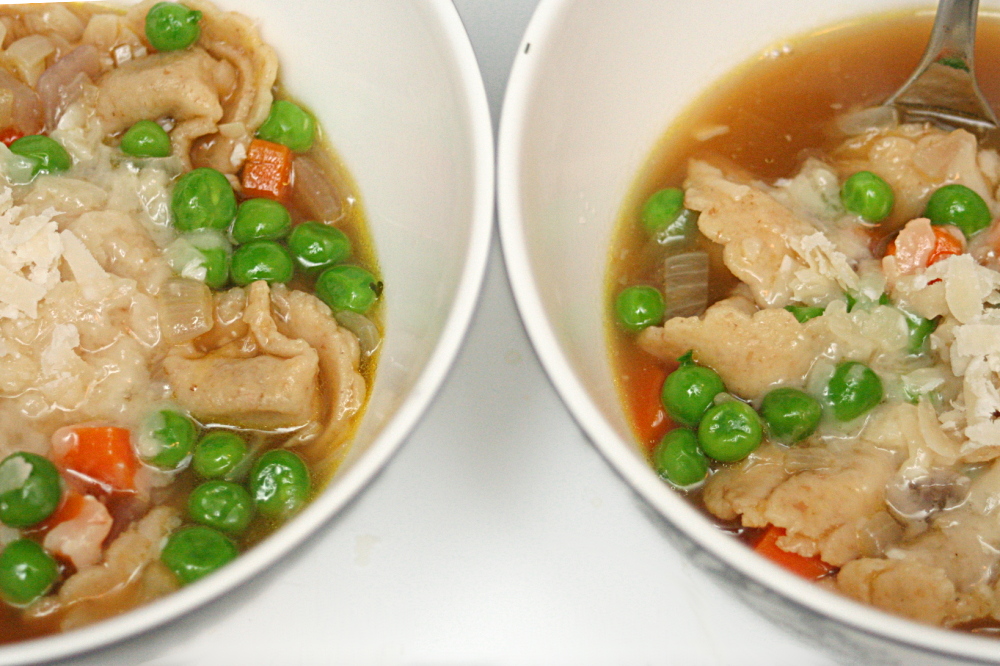
I know, it’s July, and you’re not interested in soup. Rest assured that I tried it both ways, and it’s just as good with frozen peas, so you’re free to wait until the weather cools down a bit. Either way, it takes all of 15 minutes to make. Even better, it covers all of your nutritional bases, making side dishes unnecessary, although we found that a chunk of crusty bread is a welcome addition.

Copy of Copy of IMG_7433

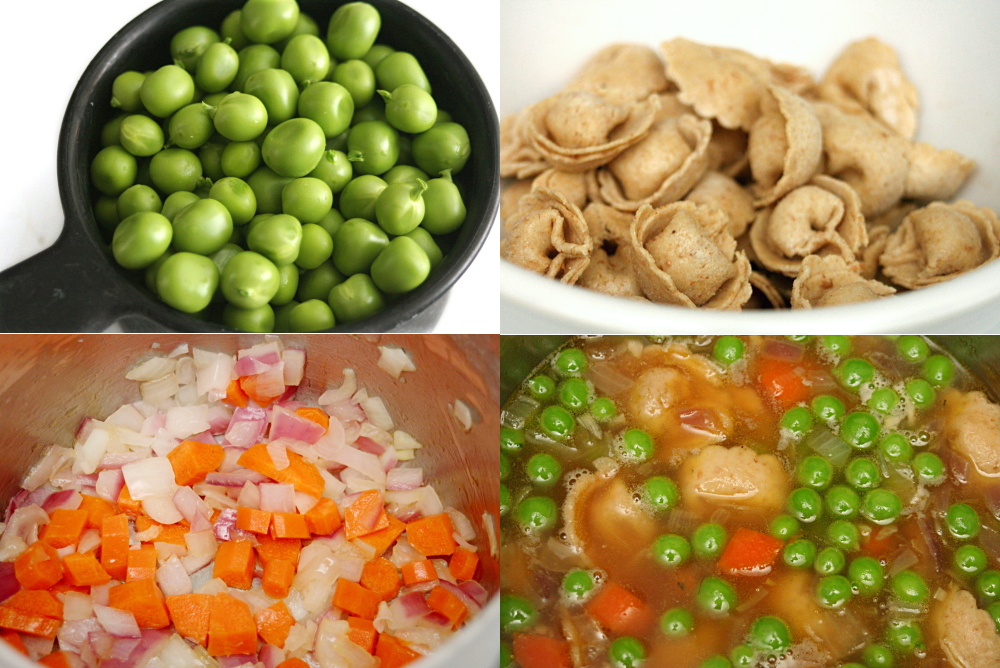
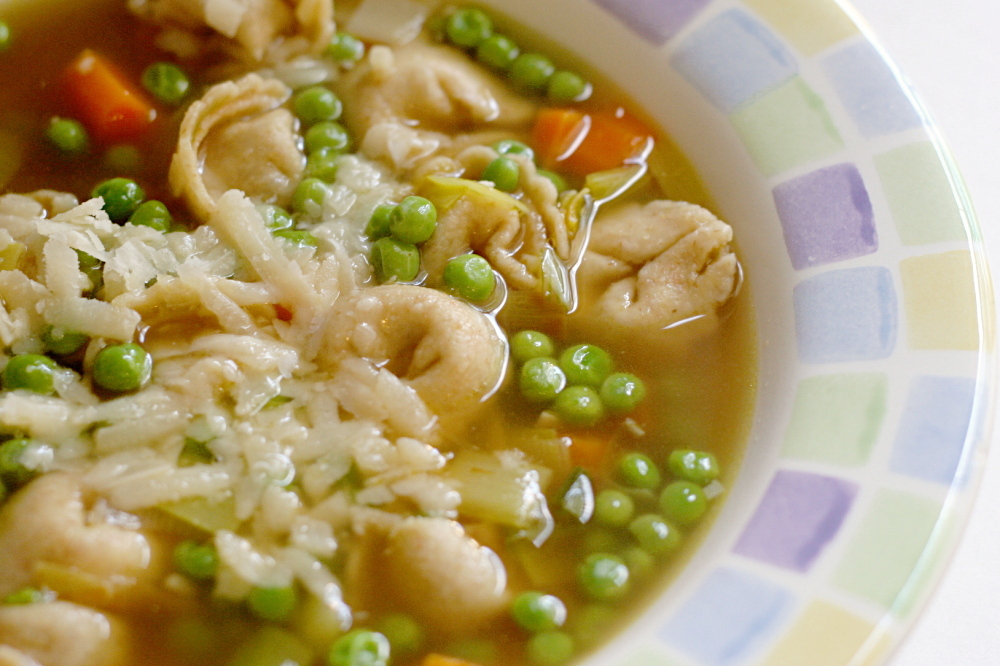
It comes together like any soup, starting with sautéing aromatics, adding broth, then tortellini, and finally the peas near the end. Pour it into bowls, top with some parmesan, and enjoy an assortment of light, spring flavors.

Copy of IMG_7457

One year ago: Cherry Rhubarb Cobbler

Tortellini Soup with Carrots, Peas and Leeks (from Fine Cooking, November 2006)

I doubled, or maybe even quadrupled the carrot. Also, the second time I made it (when I took photos), I didn’t have leeks, so I had to use red onion instead.

2 medium leeks (12 ounces untrimmed)
1 tablespoons unsalted butter
3 cloves garlic, finely chopped (about 1 tablespoon)
½ medium carrot, peeled and finely diced (2 tablespoons)
kosher salt
freshly ground black pepper
5 cups low-salt canned chicken broth
8 ounces frozen cheese tortellini
1 cup frozen peas
¼ cup (½ ounce) freshly grated Parmigiano-Reggiano or Grana Padano

1. Trim the roots and dark green leaves from the leeks. Slice the white and light green part in half lengthwise and then slice the halves thinly crosswise. Rinse well and drain.

2. Melt the butter in a 4-quart saucepan over medium heat. Add the garlic, leeks, and carrot. Season with a couple pinches of salt and cook, stirring occasionally, until tender, 5 to 7 minutes. (It’s fine if the vegetables brown lightly.) Stir in ¼ teaspoon pepper and cook for about 20 seconds, then add the chicken broth and bring to a boil. Add the tortellini and cook for 3 minutes. Reduce the heat to a simmer and add the peas. Continue to simmer until the tortellini are cooked, 3 to 5 minutes.

3. Season to taste with salt and pepper. Portion the soup into warm bowls, top each with some of the cheese, and serve.

Copy of IMG_7223

seafood lasagna

Copy of IMG_5691

My sister reads my blog, more because she likes me than because she likes cooking.  She doesn’t hate to cook; but she has a full-time job, two toddlers, and the normal allotment of hobbies, friends, and family to balance.

Copy of IMG_5638

I try to keep her in mind when I need perspective, so I don’t say things like “this extra step is worth the effort.”  It’s all relative.  It’s worth it to me, sure, but I like cooking enough to have a blog about it.  What’s worth the effort for her is very different than it is for me.

Copy of IMG_5642

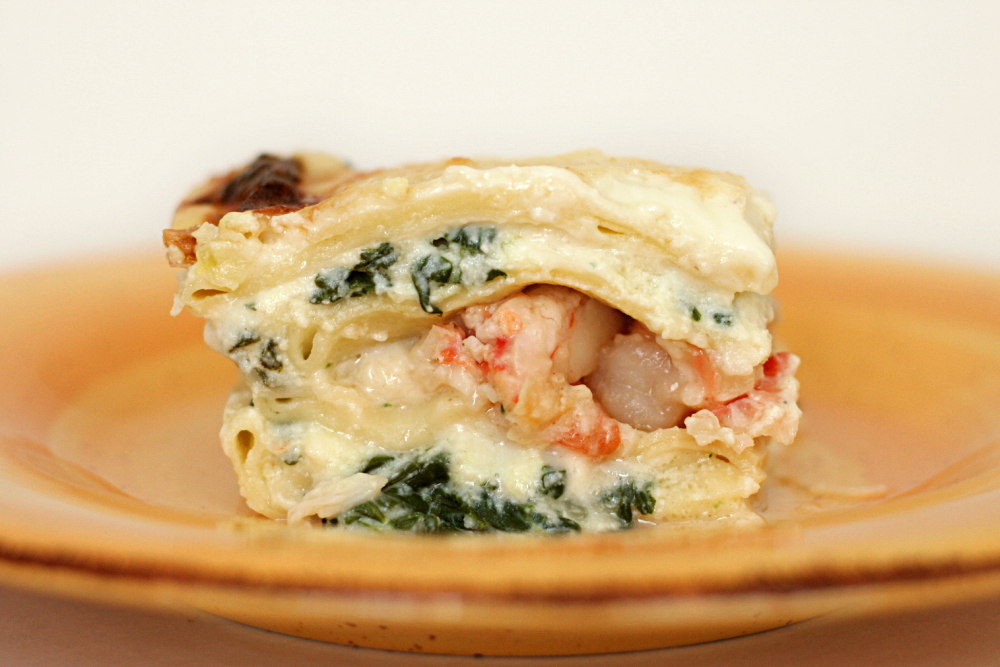
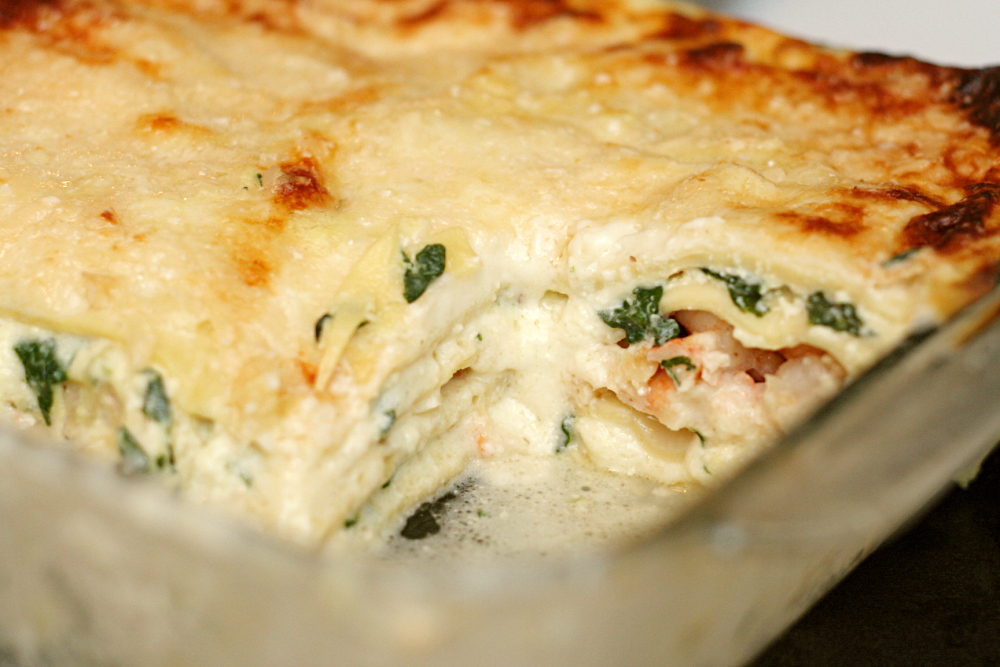
For example, my sister would not make this lasagna. This lasagna is a lot, a lot, of effort. It was worth it to me, sure, not just because the lasagna turned out amazing and it made enough food for a week, but because I had all kinds of fun making it.

Copy of IMG_5676

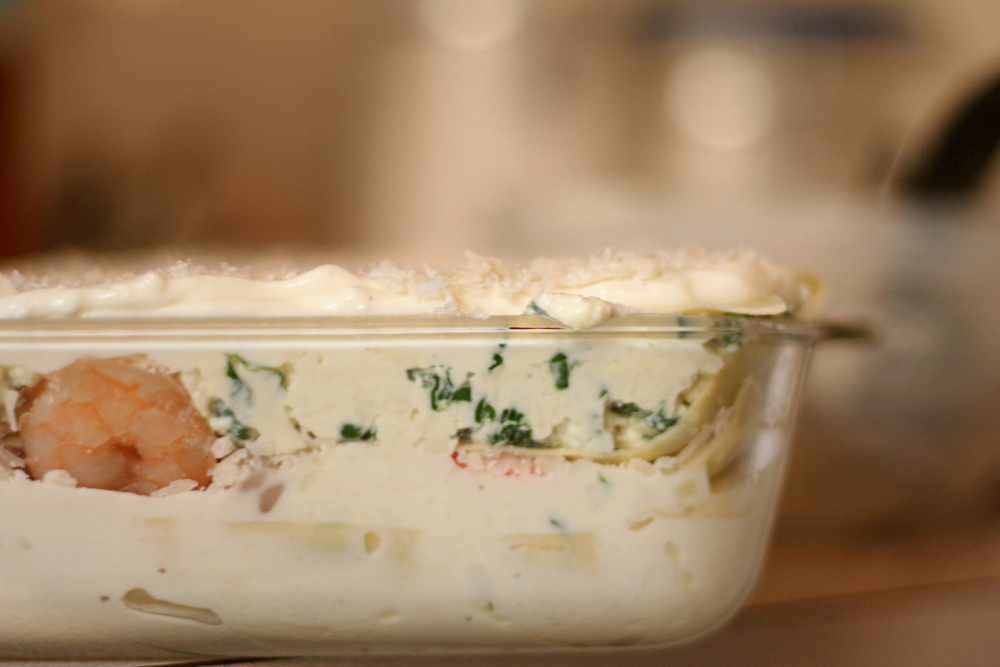
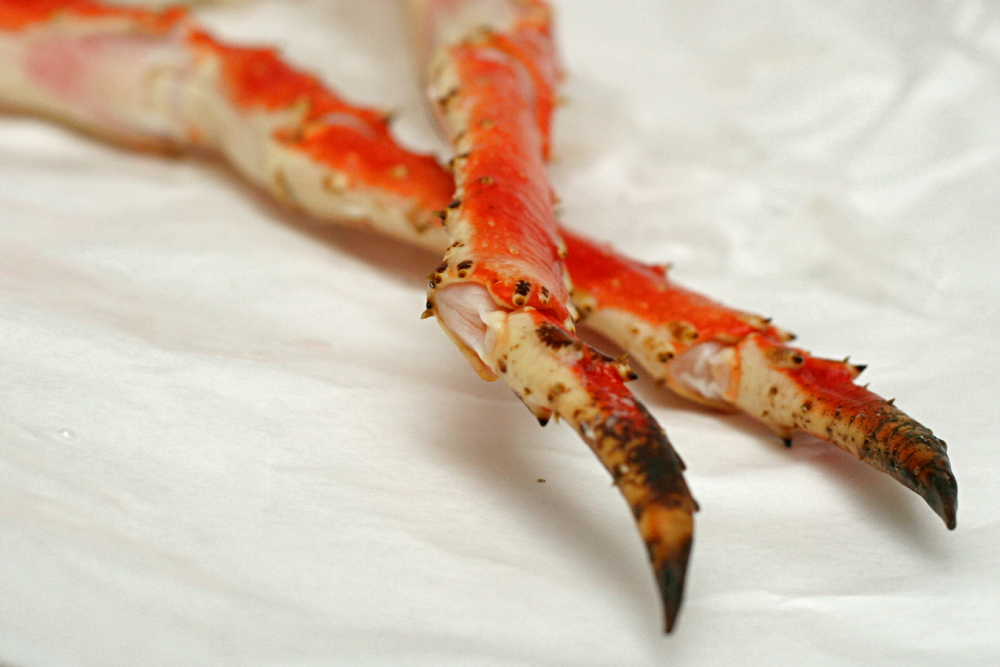
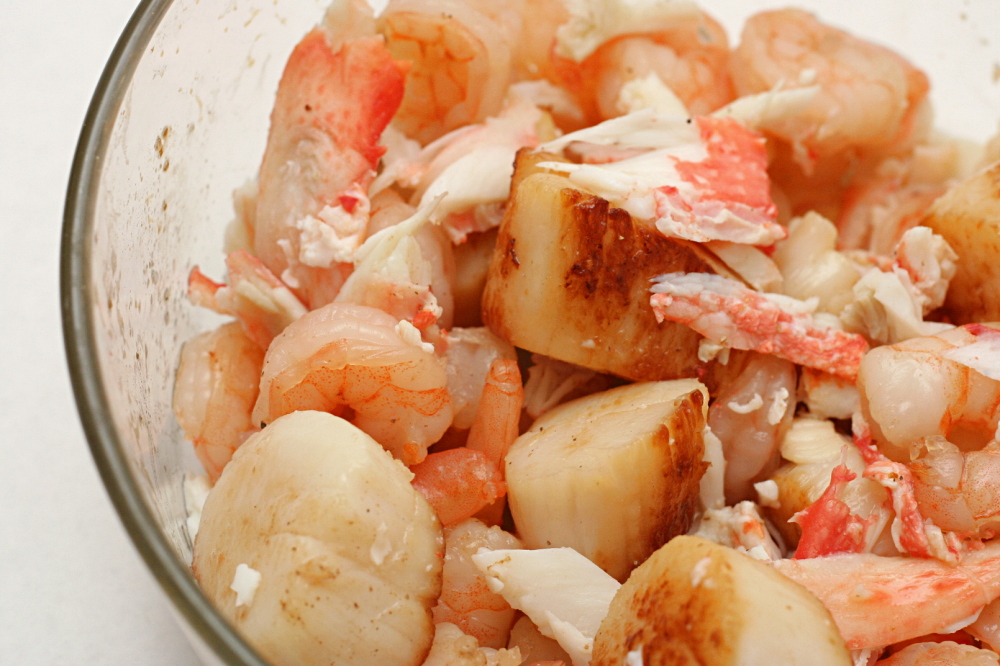
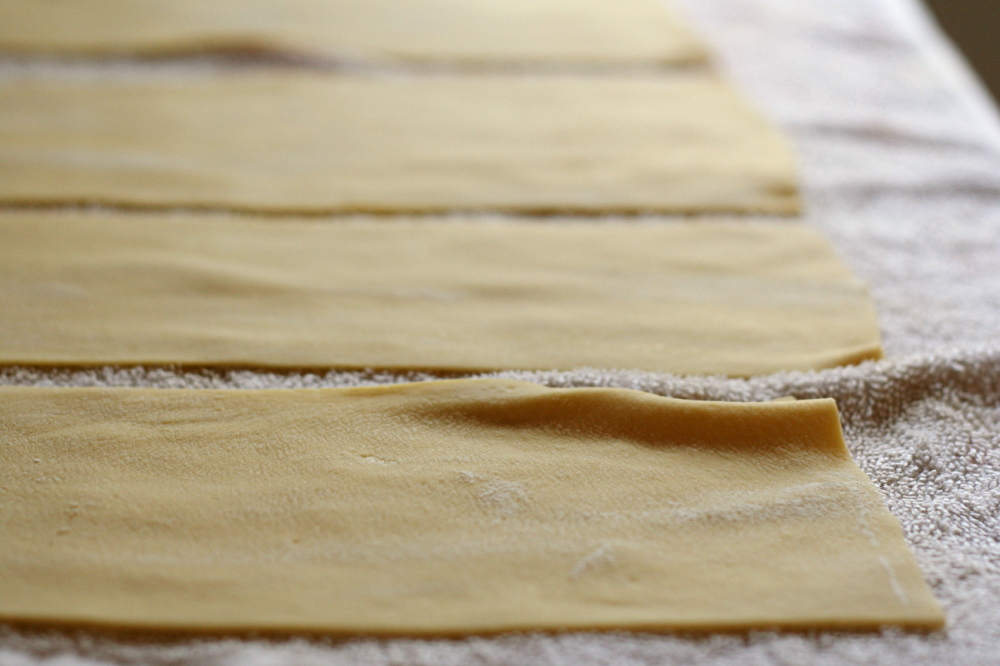
There are a whole lot of components. A béchamel sauce, which is no problem. The seafood mixture – crab legs steamed in the oven, scallops sautéed on the stove, shrimp that was supposed to be poached, but instead I sautéed them quickly on the stove after the scallops. Cheese needs to be grated and shredded, spinach needs to be cooked, dried, and chopped (I never like the frozen blocks). Fresh pasta needs to be made (or purchased, I suppose, but man, that’s a lot of money for what are actually very cheap ingredients). Only once all of that is finally prepared can the ingredients be layered and baked.

Copy of IMG_5677

The end product was so, so good. There are so many flavors all supporting and enhancing each other. The seafood wasn’t overshadowed by the other rich ingredients. The sweetness of the scallops stood out, as well as the salty ocean flavor of the crab. What’s more, we ate two dinners worth of leftovers, plus several lunches. (I was surprised by how well it reheated, but by slightly undercooking the lasagna the first time and then heating individual portions in the oven on low heat just until hot, the seafood didn’t overcook and the top didn’t burn.) All in all, it was a lot of effort, but I had fun and I made delicious meals for almost a week. One might even say that it was worth all the effort. You know, if you’re into that sort of thing.

Copy of IMG_5688

One year ago: Salmon Clubs with Avocado Butter

Seafood Lasagna (adapted from Foodie Bride, who adapted it from the Food Network)

Serves 10-12

If you’re as stubborn as I am about frozen spinach (too stemmy!) and purchased fresh pasta (too expensive!), you can find preparation instructions for both of those ingredients here. (You’ll want to make half the dough recipe and all of the spinach.) The only change I’d consider making to this recipe for next time is cutting the scallops into smaller pieces. As it was, there were occasional bites of pure scallop, which isn’t as fun as scallops + other lasagna goodness.

Seafood mixture:
3 king crab legs
1 tablespoon butter
12 ounces scallops
12 ounces shrimp, peeled, deveined, tails removed
salt
freshly ground white pepper

Béchamel:
6 tablespoons butter
2 teaspoons chopped garlic
6 tablespoons flour
4 cups milk
1 ounce (½ cup) grated parmesan cheese
salt
freshly ground white pepper

Cheese mixture:
10 oz frozen spinach, thawed and squeezed of excess water
15 ounces part-skim ricotta cheese
1 egg
1 ounce (½ cup) grated parmesan cheese
salt
freshly ground white pepper
8 ounces grated Mozzarella cheese

8 ounces lasagna noodles, cooked and drained

1. Cook the seafood: Preheat the oven to 350F. Form a large foil pouch around the king crab legs. Before sealing tightly, add ¼ cup water. Heat in the oven for 8-10 minutes. Remove the pouch from the oven and carefully open it to vent the steam. Let it cool for a few minutes, then crack the shells and place the meat in a medium bowl. Lightly shred any large pieces but don’t overshred.

2. Heat the butter in a sauté pan over medium-high heat. Pat the scallops dry with a paper towel. Place them in the pan and cook, without stirring, for 3-4 minutes, until golden brown. Flip the scallops and cook on the second side until browned, another 3-4 minutes. Drain the scallops and place them in the bowl with the crab meat.

3. Add the shrimp to the same pan (no need to wash or even rinse) used for sautéing the scallops. Cook, stirring occasionally, just until the shrimp are opaque, 5-6 minutes. Place them in the bowl with the crab meat and scallops. Add a pinch of salt and some white pepper, them toss to mix.

4. Make the béchamel: Melt the butter in a medium saucepan over medium heat. Add the garlic, and cook until very fragrant, but don’t let the garlic brown (about 3 minutes). Whisk in the flour and cook 2-3 minutes, stirring constantly. Gradually add the milk, whisking continuously. Cook an additional 4-6 minutes, stirring frequently and taking care that the bottom does not scorch. Remove from heat and whisk in salt and pepper to taste and ½ cup (1 ounce) of Parmesan cheese.

5. Make the ricotta filling: Mix the spinach, ½ cup (1 ounce) Parmesan, ricotta, egg, all of the mozzarella, salt, white pepper, and 1 cup béchamel in a bowl until thoroughly combined.

6. Assemble: Spread 1 cup of the béchamel sauce in the bottom of a 9×13 pan. Arrange 3 lasagna noodles in the pan and spread half of the ricotta-spinach mixture over the noodles, covering completely. Top with ½ cup béchamel. Arrange 3 lasagna noodles in the pan and add all of the crab-shrimp-scallops, spreading to distribute evenly. Sprinkle half of the remaining parmesan cheese over the seafood layer and top with ½ cup béchamel. Arrange 3 lasagna noodles in the pan and spread the remaining ricotta-spinach mixture over the noodles. Top with ½ cup béchamel. Add the remaining 3 lasagna noodles, remaining béchamel, and sprinkle the remaining Parmesan cheese over the top.

(A simple breakdown of the lasagna structure: sauce, noodles, ½ of the cheese mixture, sauce, noodles, all of the seafood, ½ the remaining parmesan, sauce, noodles, the rest of the cheese mixture, sauce, noodles, the rest of the sauce, the rest of the parmesan.)

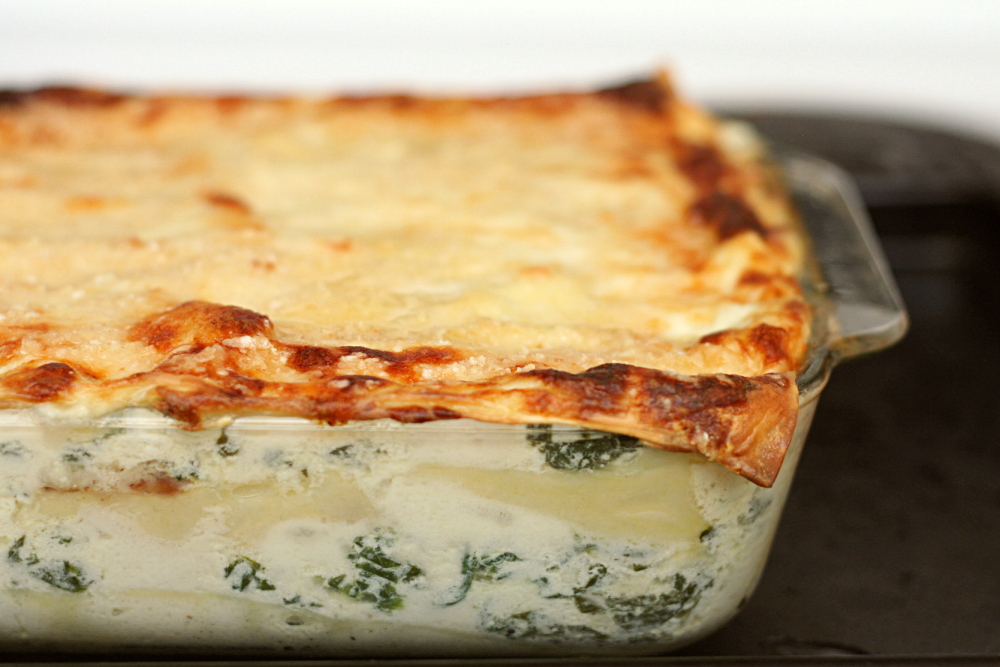
7. Place in the oven and bake until bubbly and golden, about 55 minutes. Remove from the oven and let sit for 15 minutes before serving.

Copy of IMG_5696

mushroom salad

copy-of-img_5931

I used to read cookbooks like novels. I don’t require pictures, and I don’t like to skip around – I’ll be annoyed making the chocolate cake from Chapter 10 if I’m still reading through Chapter 2’s salads. It feels like a spoiler; like when I was sad to see Gandalf die in The Fellowship of the Ring, and Dave tried to make me feel better by telling me that he comes back in the next book/movie. I hate spoilers.

copy-of-img_5920

These days, though, I can’t seem get through an entire cookbook. I think I need a new method – like accepting that it’s okay not to read every step in every recipe. I’m only on Chapter 3 (Eggs, Dairy and Cheese, yum) in Bittman’s How to Cook Everything Vegetarian, which I got for Christmas. I’m still very happy with the cookbook – everything I’ve made from it has been great, and the recipes get me excited to cook. But right now, it’s just sitting on my shelf while I focus on other things. Since I haven’t read much more than the soups and salads chapters, that’s all I ever make from the book.

copy-of-img_5925

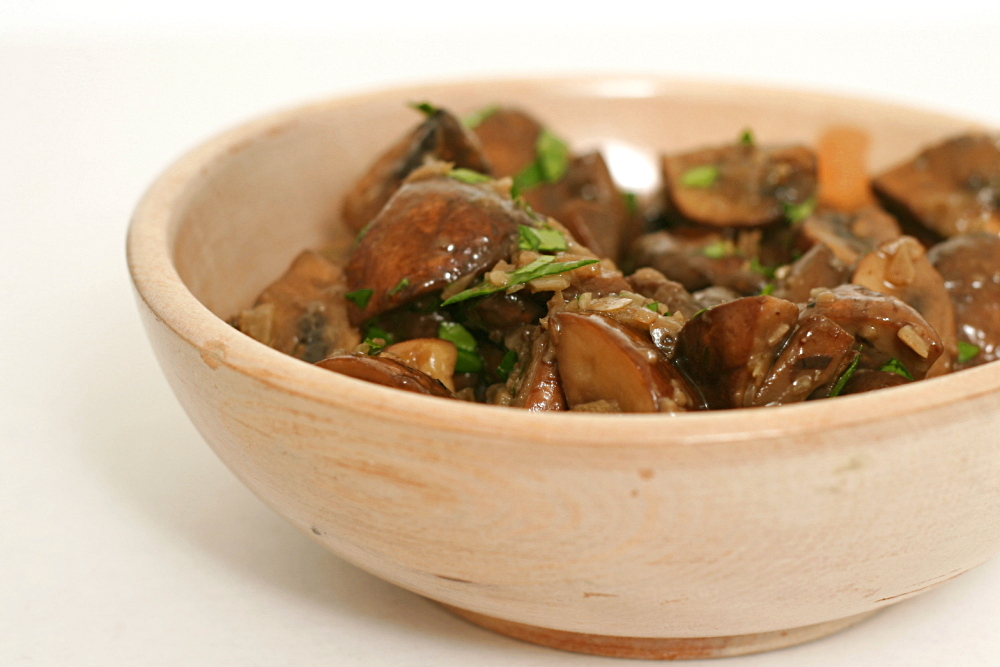
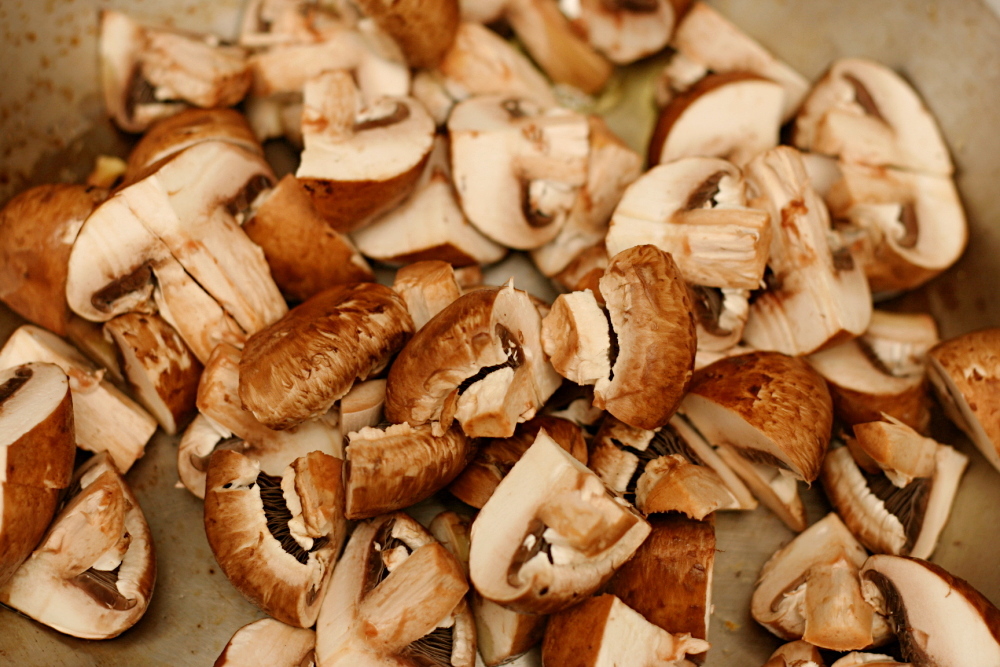
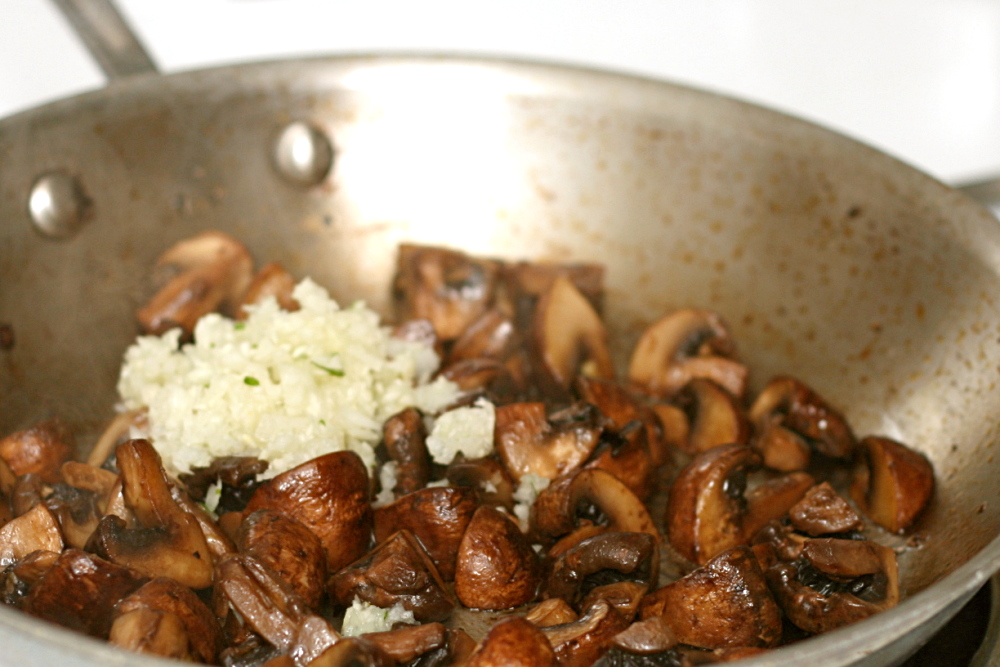
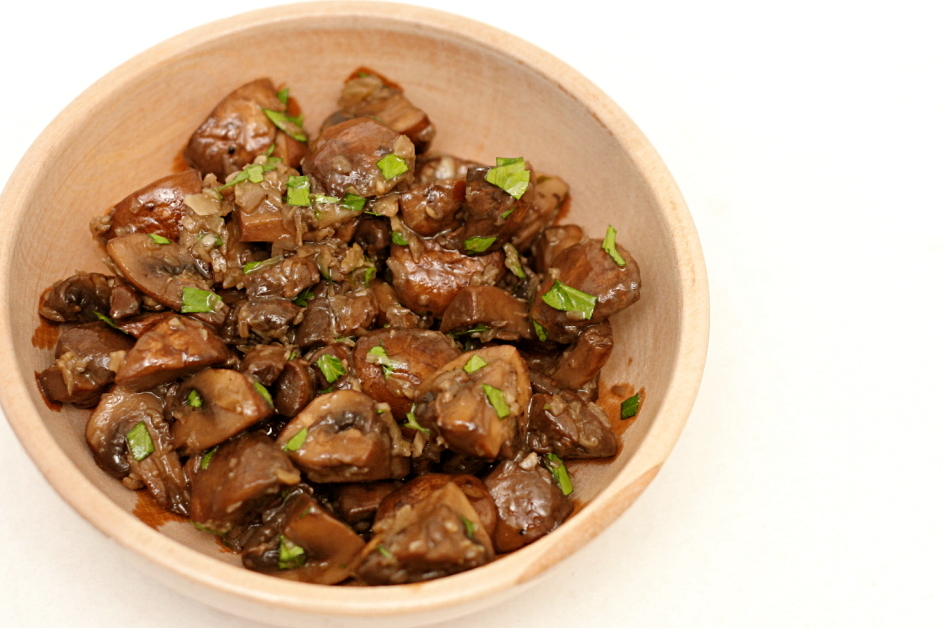
These mushrooms, from the salad chapter, made a handy side dish for meatball sliders. They’re nice and easy – after sautéing the quartered mushrooms with some aromatics, you mix them with vinegar and olive oil. Then just set them aside to marinate.

The simple mixture was surprisingly good. I was worried that Dave wouldn’t like them, because he doesn’t like pickled anything, but they weren’t sour, just a little tangy. It makes the big green cookbook on my shelf that much more enticing.

copy-of-img_5935

One year ago: Cappuccino Cream Puff Rings

Mushroom Salad, Italian-American Style (from Mark Bittman’s How to Cook Everything Vegetarian)

I didn’t actually measure anything, which is normal for me for a Bittman recipe. He presents his recipes more as ideas to get you started than rules to follow. I’m guessing I used less oil, and I just added vinegar to taste.

¼ cup extra virgin olive oil
1 pound butter or other mushrooms, trimmed and quartered
salt and freshly ground black pepper
¼ cup minced onion
1 tablespoon slivered garlic
½ cup red wine vinegar
½ cup chopped parsley leaves for garnish

1. Put 3 tablespoons oil in a wide skillet over medium heat. When hot, add the mushrooms, and cook, stirring occasionally and sprinkling with salt and pepper, until they give up their liquid and begin to brown, about 10 minutes. Lower the heat a bit and add the onion, then cook until the onion softens, another 5 minutes or so. Add the garlic and cool, stirring occasionally, about 2 minutes more. Turn off the heat.

2. Transfer the mushrooms to a bowl and stir in the vinegar and remaining tablespoon of oil. Let cool to room temperature for at least 30 minutes. Garnish and serve or let sit at room temperature for another hour or two before serving.

tofu mu shu

copy-of-img_5589

A friend of mine once, oh-so-innocently, asked me if I had any recipes with napa cabbage. Poor guy. You have to be careful talking to me about food, because I can go on forever. I sent him longwinded comments about a bunch of recipes. I also sent a recipe for tofu mu shu, which I overcomplicated by providing two versions, one a super-anal-Bridget-version and the other simpler. Of course I had only made the super anal one. Of course.

copy-of-img_5570

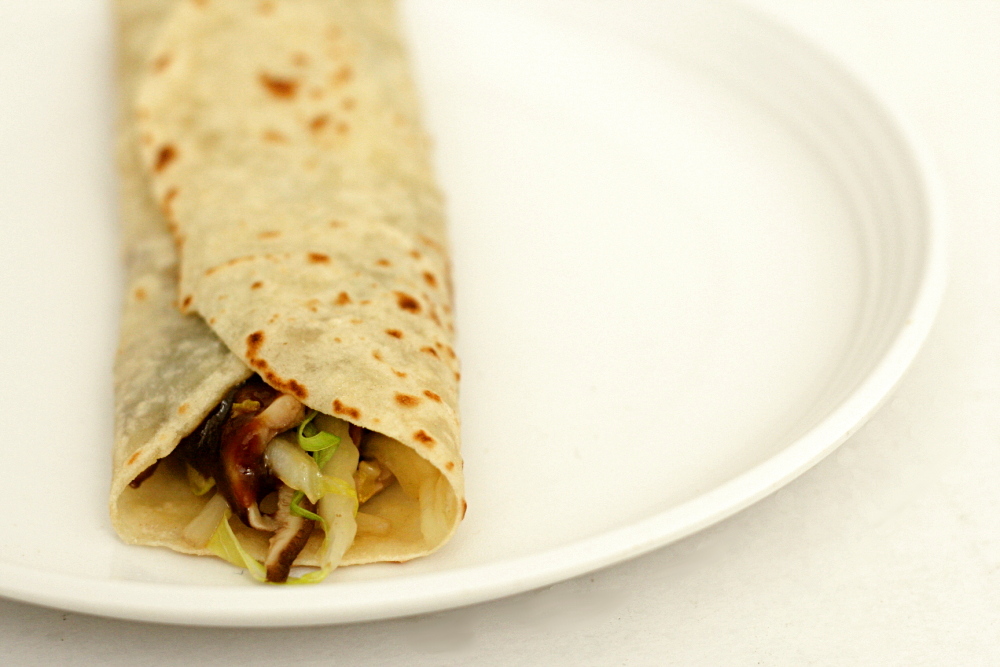
Mu shu is stir-fry wrapped in a thin bread-like shell. The first several times I made it with pork using Jen’s recipe, which is quite delicious. I did want a vegetarian version though, as we tend to save meat for special occasions (you know, like weekends). I haven’t been able to find the dried tofu cakes that Jen recommends substituting for the pork.

copy-of-img_5574

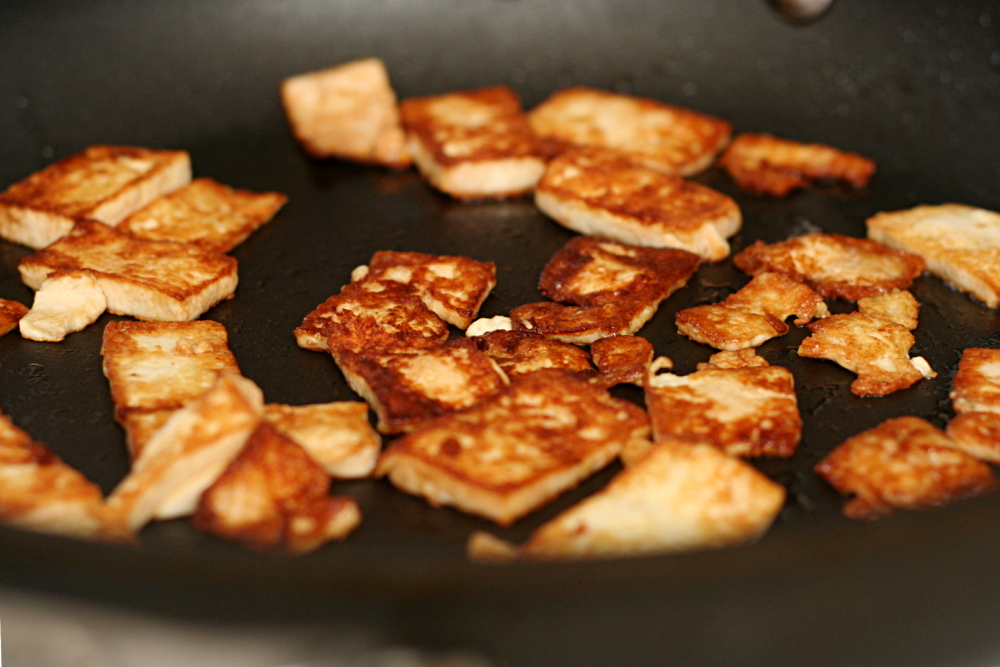
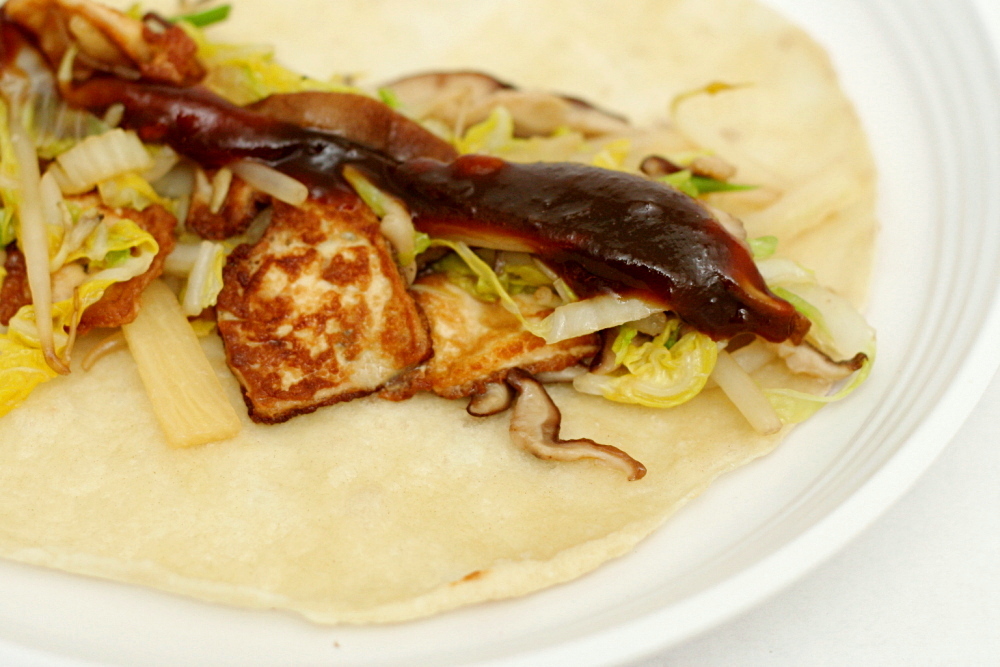
I’ve had good results from pressing firm tofu, marinating it briefly in soy sauce, and sautéing it in a very hot pan. Tofu prepared this way was excellent in mu shu, so it was included in my super-anal-Bridget-version.

copy-of-img_5580

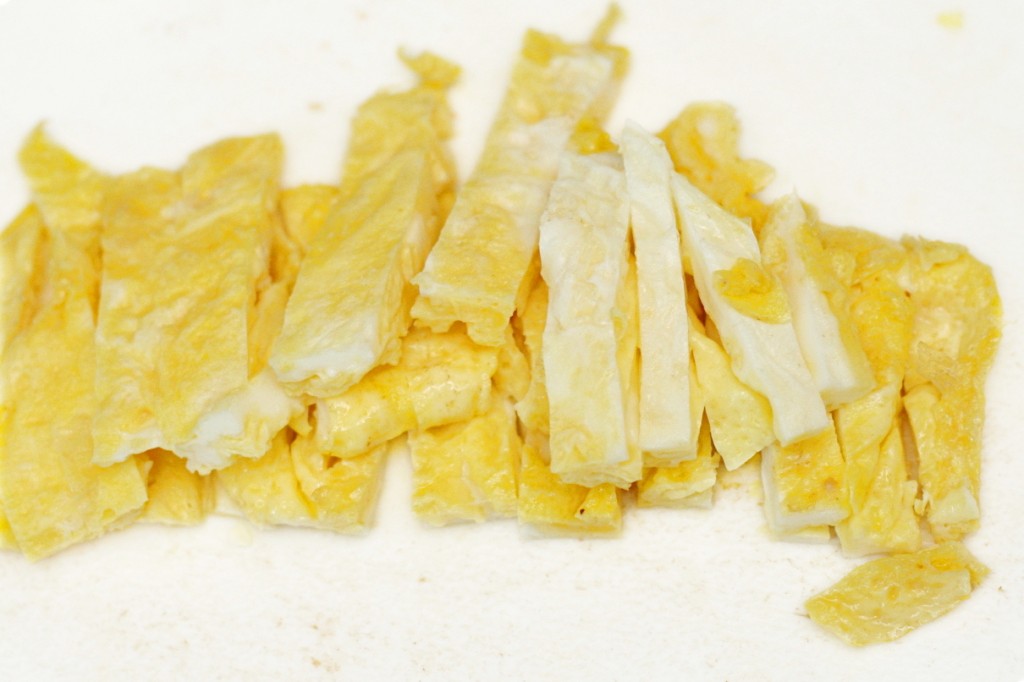
The other difference between my two recipes is the shape of the chopped ingredients. Jen has exceptional knife skills, and her prepped ingredients for mu shu are beautifully julienned. Frankly, it takes me forever to do. Jen also cooks the eggs as one sheet, then removes it from the pan and cuts it into strips, which is far more attractive than clumpy scrambled eggs.

copy-of-img_5582

But are crisped tofu, julienned vegetables, and eggs cut into strips worth the extra time? I made my easy version first, with unbrowned tofu, scrambled eggs, and coarsely chopped vegetables. Two days later, I made the other version, sautéing the tofu, cooking the eggs as a sheet, and julienning the vegetables.

copy-of-img_5585

Dave and I didn’t notice a difference in flavor in the finished product. The easy version probably took me about 15 minutes less time. With pre-made mu shu pancakes, that makes this a pretty reasonable weeknight meal.

copy-of-img_5587

One consideration is that the more work-intensive method is more attractive, as the ingredients are all approximately the same shape. That could be an important consideration if you’re serving this to guests. I, for one, am happy to have a simpler version of this, so I can eat it that much more often.

copy-of-img_5588

One year ago: Pecan Honey Sticky Buns

Mu Shu Tofu (adapted from Use Real Butter)

Start to press the tofu before preparing the remaining ingredients.

Serves 6

1 (12-ounce package) firm or extra-firm tofu
3 tablespoons soy sauce
1 tablespoon toasted sesame oil
2 teaspoons cornstarch
3 teaspoons canola oil
3 eggs, beaten
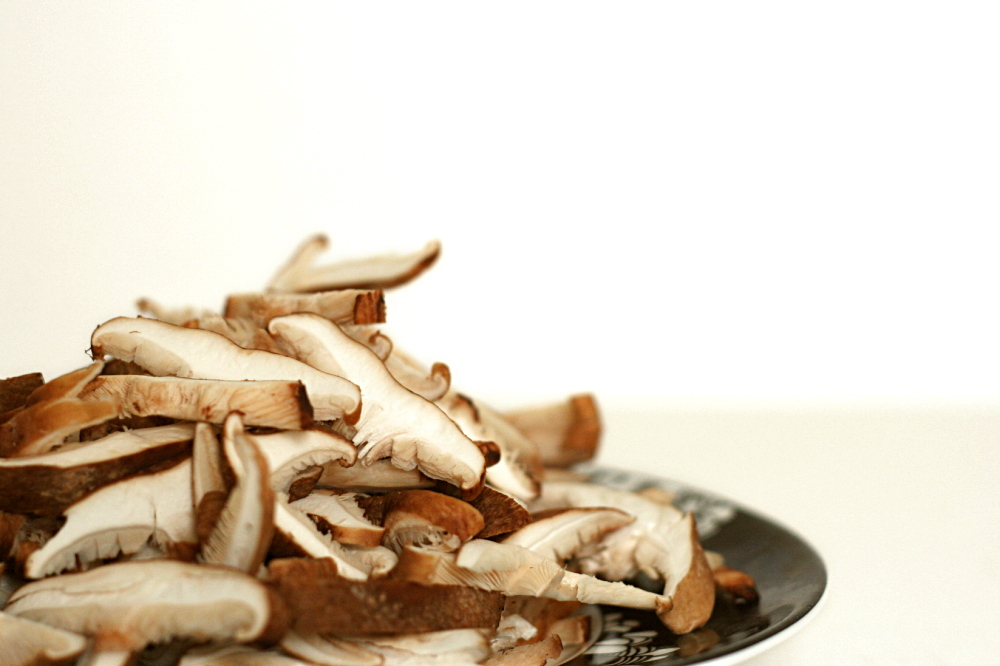
8 ounces shiitake mushrooms, stemmed and cut into strips
3 cloves garlic, minced or julienned
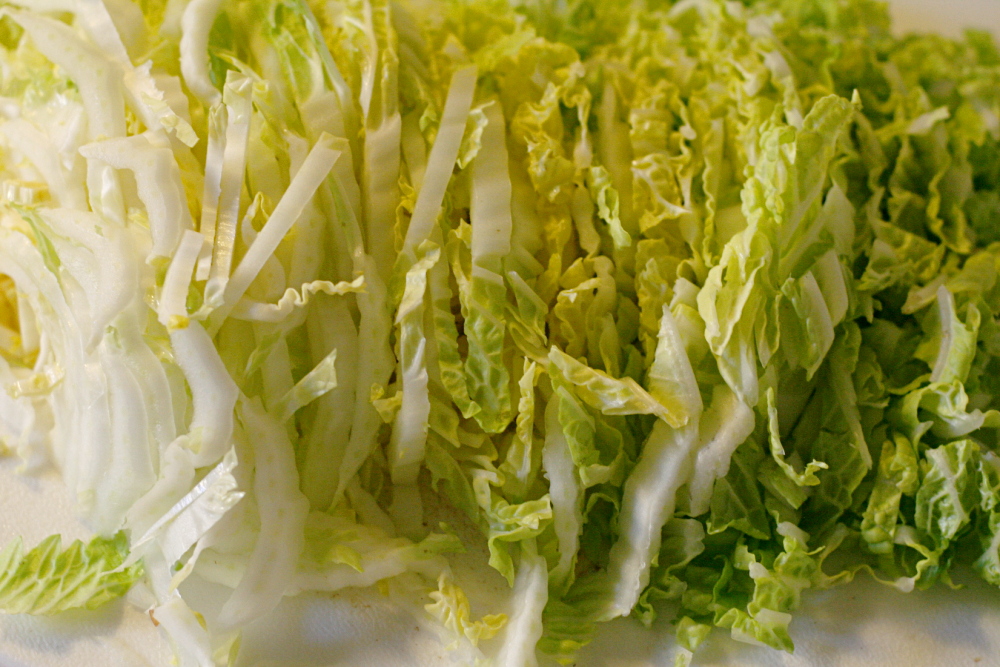
1 medium head napa cabbage, halved and shredded
2 cups bean sprouts
4 green onions, sliced
1 can bamboo shoots, roughly chopped
12 mu shu shells
hoisin sauce

1. Cut tofu in half horizontally to make two flat rectangles. Layer it between double layers of paper towels or clean dish towels. Put all of that in a pie plate and put something heavy on top, maybe another pie plate with some cans in it or something. Set it aside while you prepare the other ingredients.

2. In a small bowl, mix together the soy sauce, sesame oil, and cornstarch. Cut the tofu into strips and add it to liquid ingredients; stir gently.

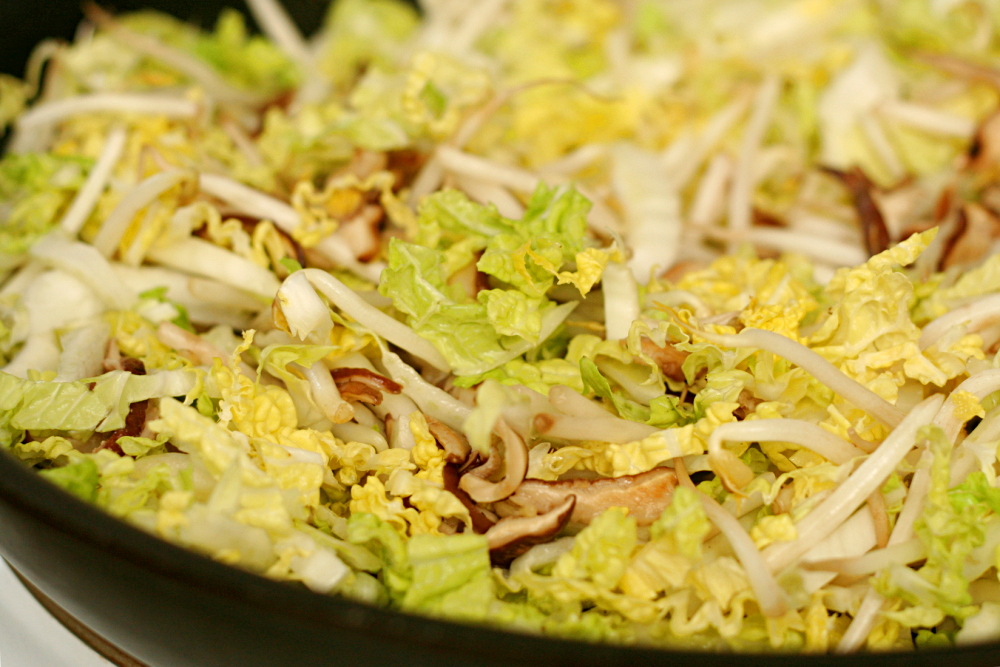
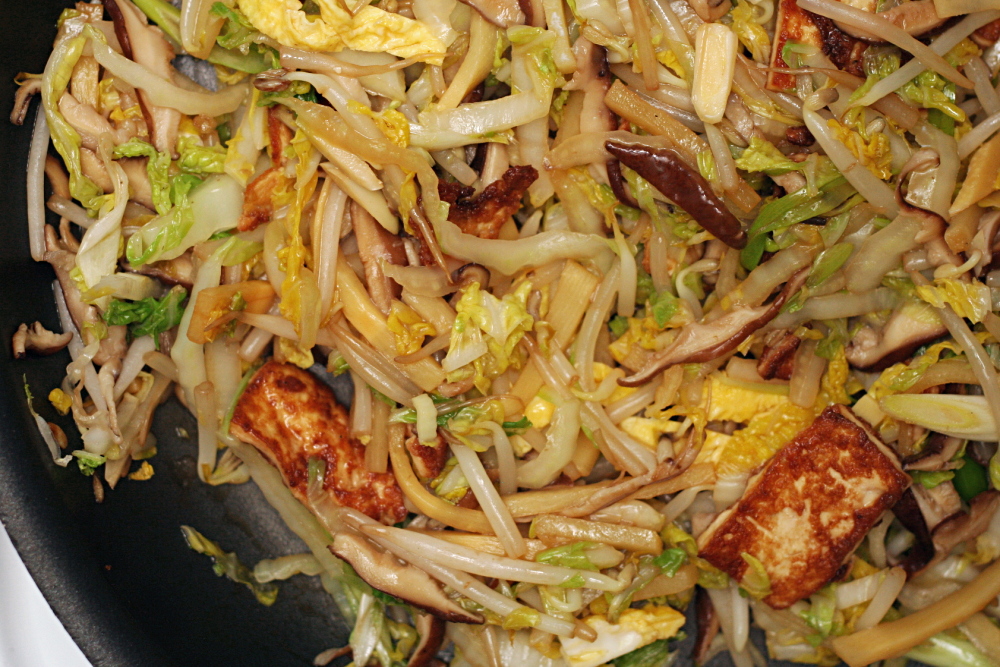
3. Heat 2 teaspoons canola oil in a 12-inch nonstick skillet over medium-high heat and add the mushrooms. Once the mushrooms are softened (2-3 minutes), add the garlic; cook and stir until fragrant, about 30 seconds. Add the eggs and stir vigorously with wooden spoon until scrambled and barely moist, about 20 seconds. Add the cabbage and bean sprouts. Sauté until the cabbage is wilted but still a little crunchy, 3-4 minutes. Add the remaining ingredients and the tofu mixture. Cook and stir until evenly heated.

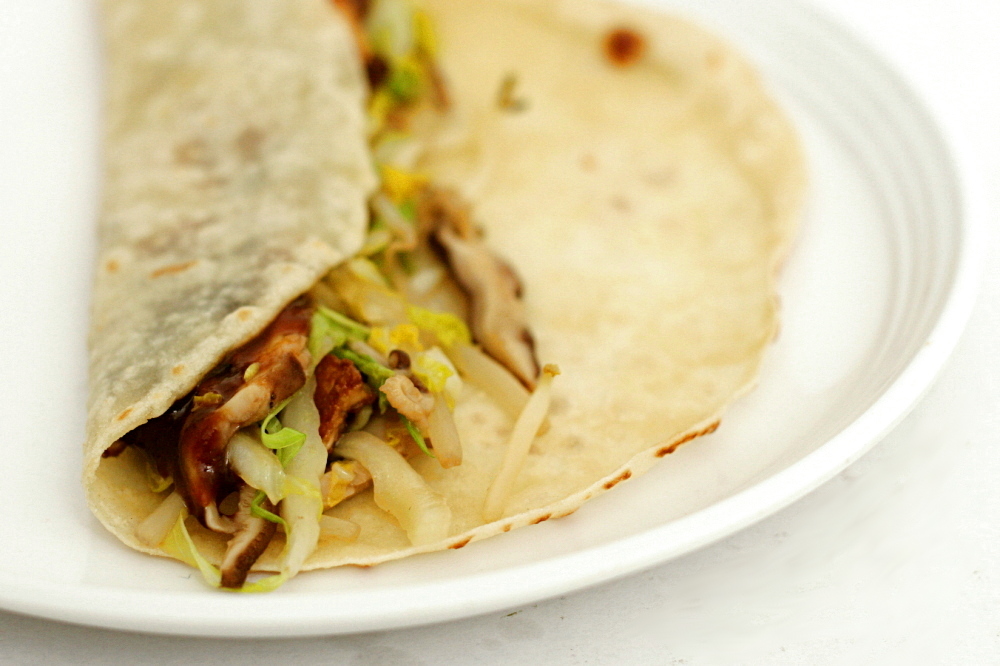
4. Heat the mu shu shells according to the instructions on the package. Serve each mu shu shell with a smear of hoisin sauce down the middle. Place several spoonfuls of mu shu on the shell and fold the sides in.

copy-of-img_5593

basic lentil soup

copy-of-img_5478

I recently had a friend visit, and somehow, her week-long trip turned into a wine and cheese fest. The wine part of the trip started immediately. We didn’t start hitting the cheese until the third day, but once we’d started, it quickly escalated. On her last night, for a grand finale, we made macaroni and cheese for dinner. We had cheese and crackers for an appetizer. We had chocolate fondue for dessert, and one of the dippers was cheesecake. We also had a lot of wine. It was glorious.

copy-of-img_5455

The next day, however, not so much. Poor Ramie was stuck on planes all day, but after dropping her off at the airport, I came home and immediately worked out. Then I considered what to make for dinner – something healthy(!) and easy that didn’t require a trip to the store. I didn’t have salad ingredients and the weather was rainy and cold, so lentil soup was exactly what I wanted.

copy-of-img_5449

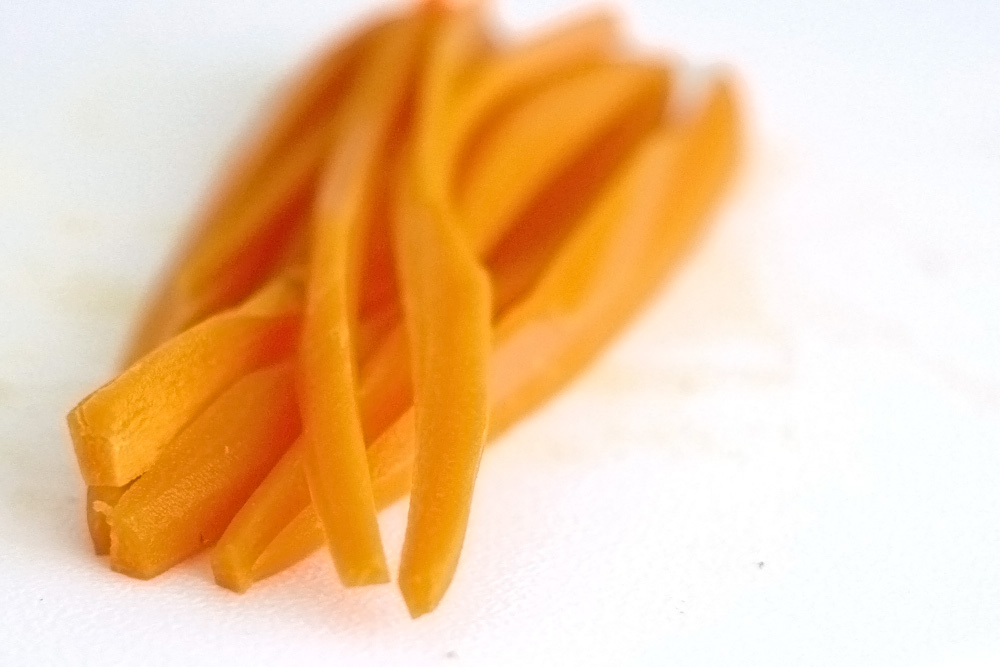
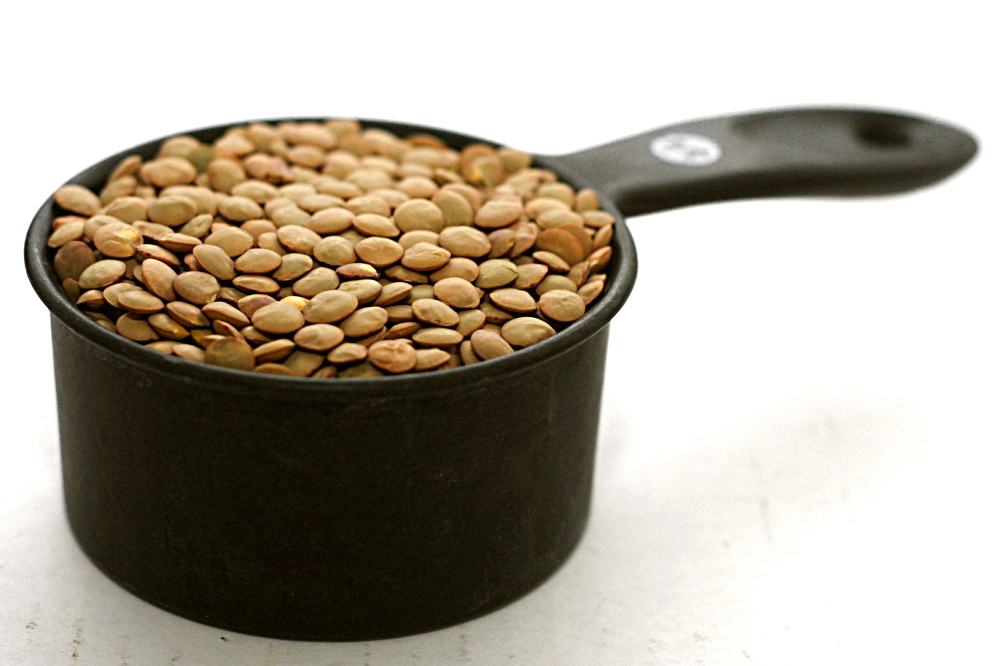
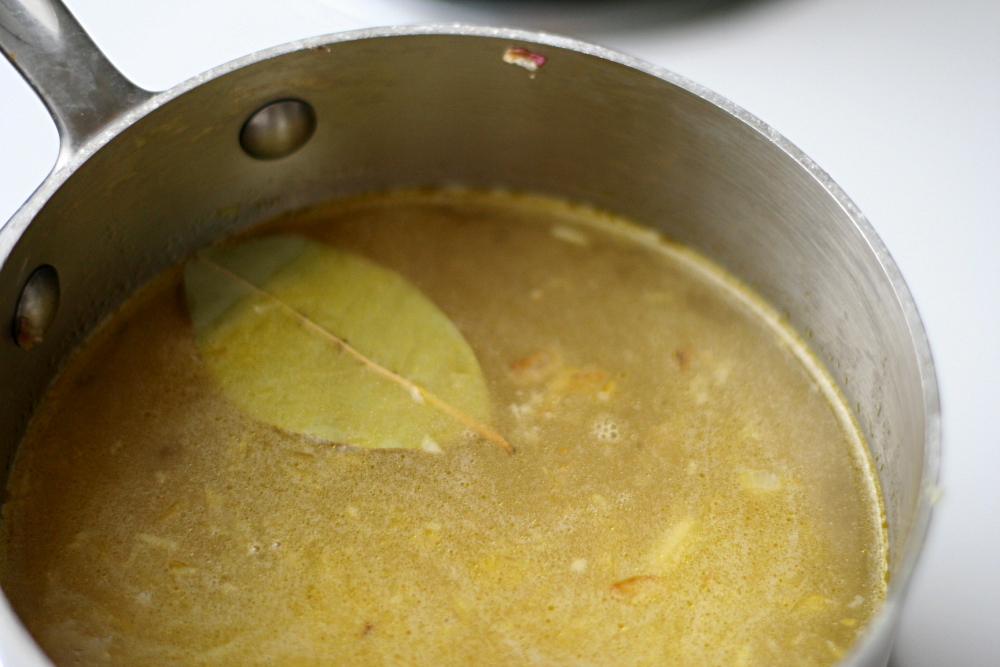
Mark Bittman has a simple recipe in his How to Cook Everything Vegetarian that calls for lentils, carrots and celery to be cooked in broth. An onion is supposed to be sautéed separately and then stirred into the cooked lentils. What is that about? Why am I using an extra dish, skipping any sort of caramelization of the carrots and celery, and denying my broth of soaking up onion flavor as it simmers? With no explanation for such an unusual method, I chose to cook this in a more traditional order, sautéing all of the aromatics together before adding the broth and lentils. I also decreased the oil and increased the amount of vegetables, because, you know, the cheese and wine detox.

copy-of-img_5468

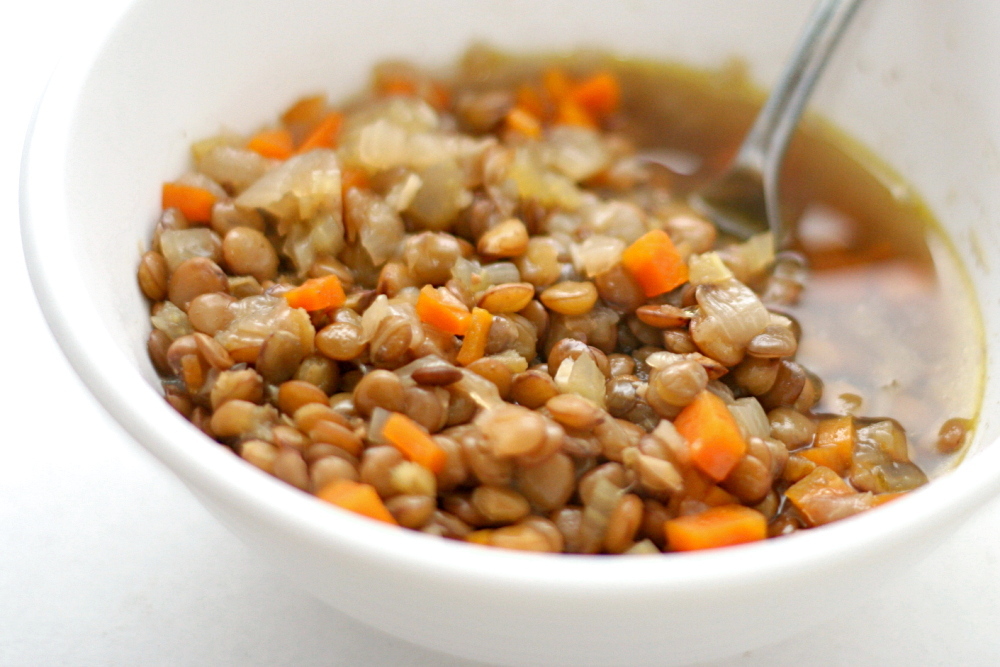
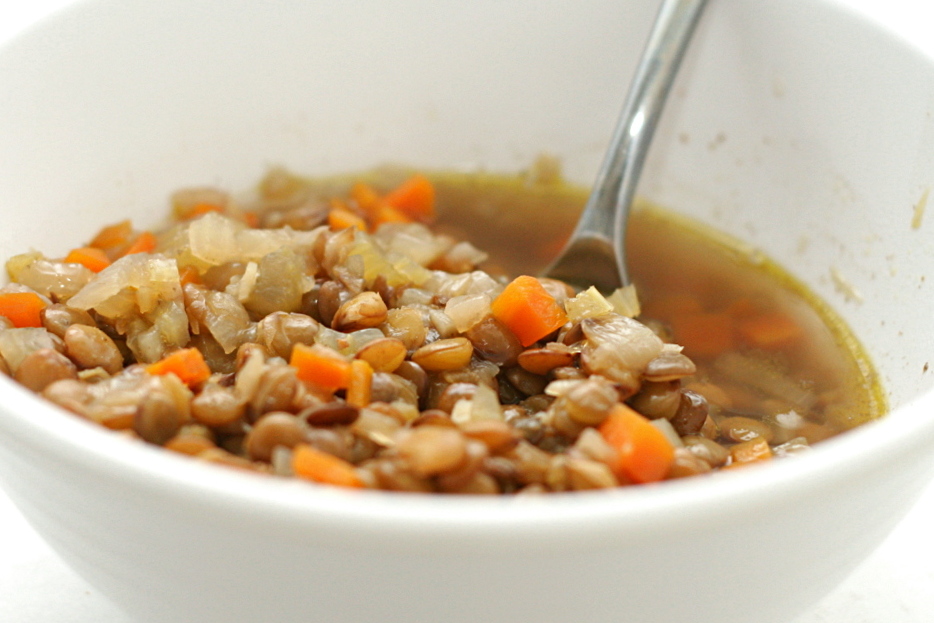
The soup was just perfect. It was simple, it was filling, it was healthy, and it was delicious. The lentils were tender but not mushy, and the broth was perfect with some rustic whole wheat bread. It goes to show that healthy food can be just as tasty as something more indulgent. Of course, the next day we had pizza for dinner. I don’t want to go too crazy with taking a break from cheese.

copy-of-img_5472

One year ago: Florida Pie

Basic Lentil Soup (adapted from Mark Bittman’s How to Cook Everything Vegetarian)

Obviously, Bittman calls for vegetable broth (or water) in his Vegetarian cookbook, but since I’m not actually a vegetarian, I usually use chicken broth. How much salt you need to add will depend a lot on your broth.

2-3 main dish servings

1 tablespoon olive oil
1 carrot, diced small
1 celery stalks, diced small
1 onion, diced small
2 cloves garlic, minced
¾ cup lentils, washed and picked over
4 cups chicken broth
1 bay leaf
freshly ground black pepper
salt to taste

1. Heat the oil in a medium saucepan over medium heat. Add the carrots, celery, and onions and cook until just brown around the edges, about 8 minutes, stirring occasionally. Add the garlic; cook, stirring constantly, until fragrant, about 1 minute. Stir in the lentils, broth, bay leaf, and black pepper, increase the heat to medium-high, and bring to a boil. Once the mixture boils, reduce the heat to medium-low, cover, and simmer until the lentils are tender, about 30 minutes. Adjust the heat as necessary to keep the soup at a simmer.

2. Once the lentils are tender, remove the bay leaf and adjust the seasonings as necessary. Serve. The soup can be made a few days in advance and refrigerated.

copy-of-img_5481